Colony Flow Level 10 Walkthrough Solution & Guides | How to solve Colony Flow 10

Guide By Liam Stone
Updated on July 12, 2026
The video above has you covered on Level 10, so skip the text if you'd rather watch it play out.
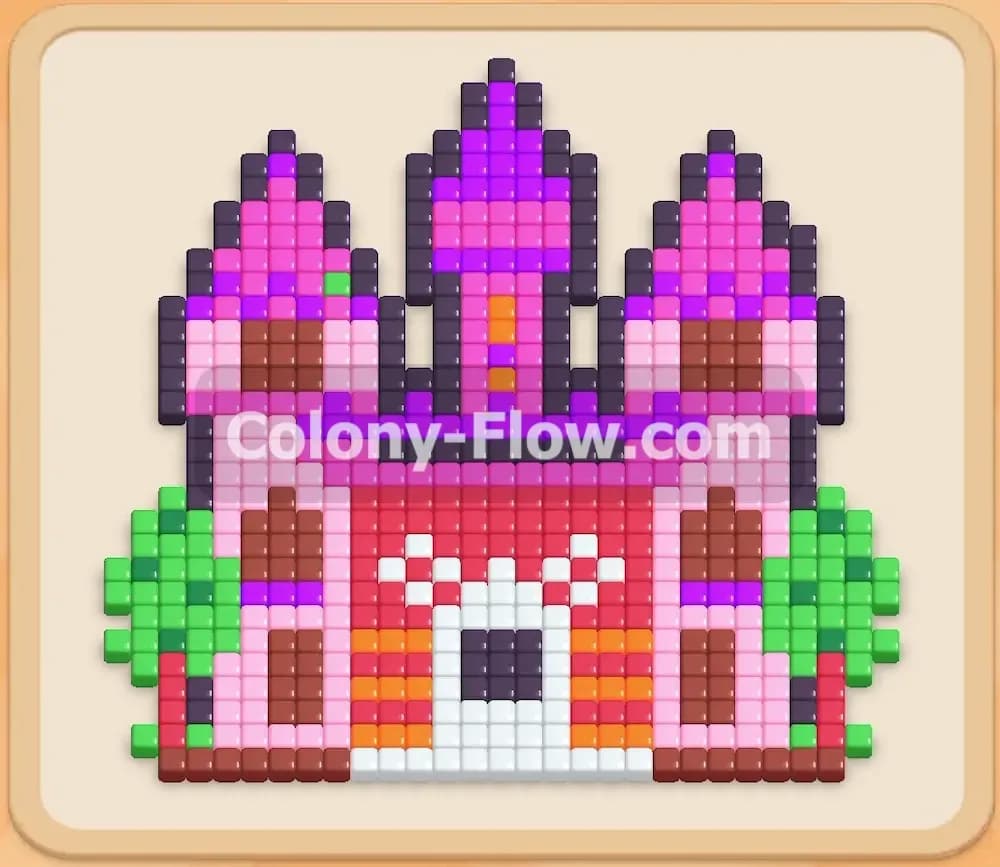
Video doesn't match your screen?
Game updates frequently scramble layouts! Try our AI Screenshot Solver first to find your exact board instantly, or report broken guides to our team.
Colony Flow Level 10 brings a fantastic architectural puzzle where you get to tear down a bright pixel art castle. You will see immediately that the board is dense with high numbered blocks taking up space in your tray. I found that clearing the outer edges first is the absolute best way to survive the strict slot limits of this game. This guide covers the exact moves you need to dismantle the fortress without ever clogging your waiting slots.
Colony Flow Level 10 Overview
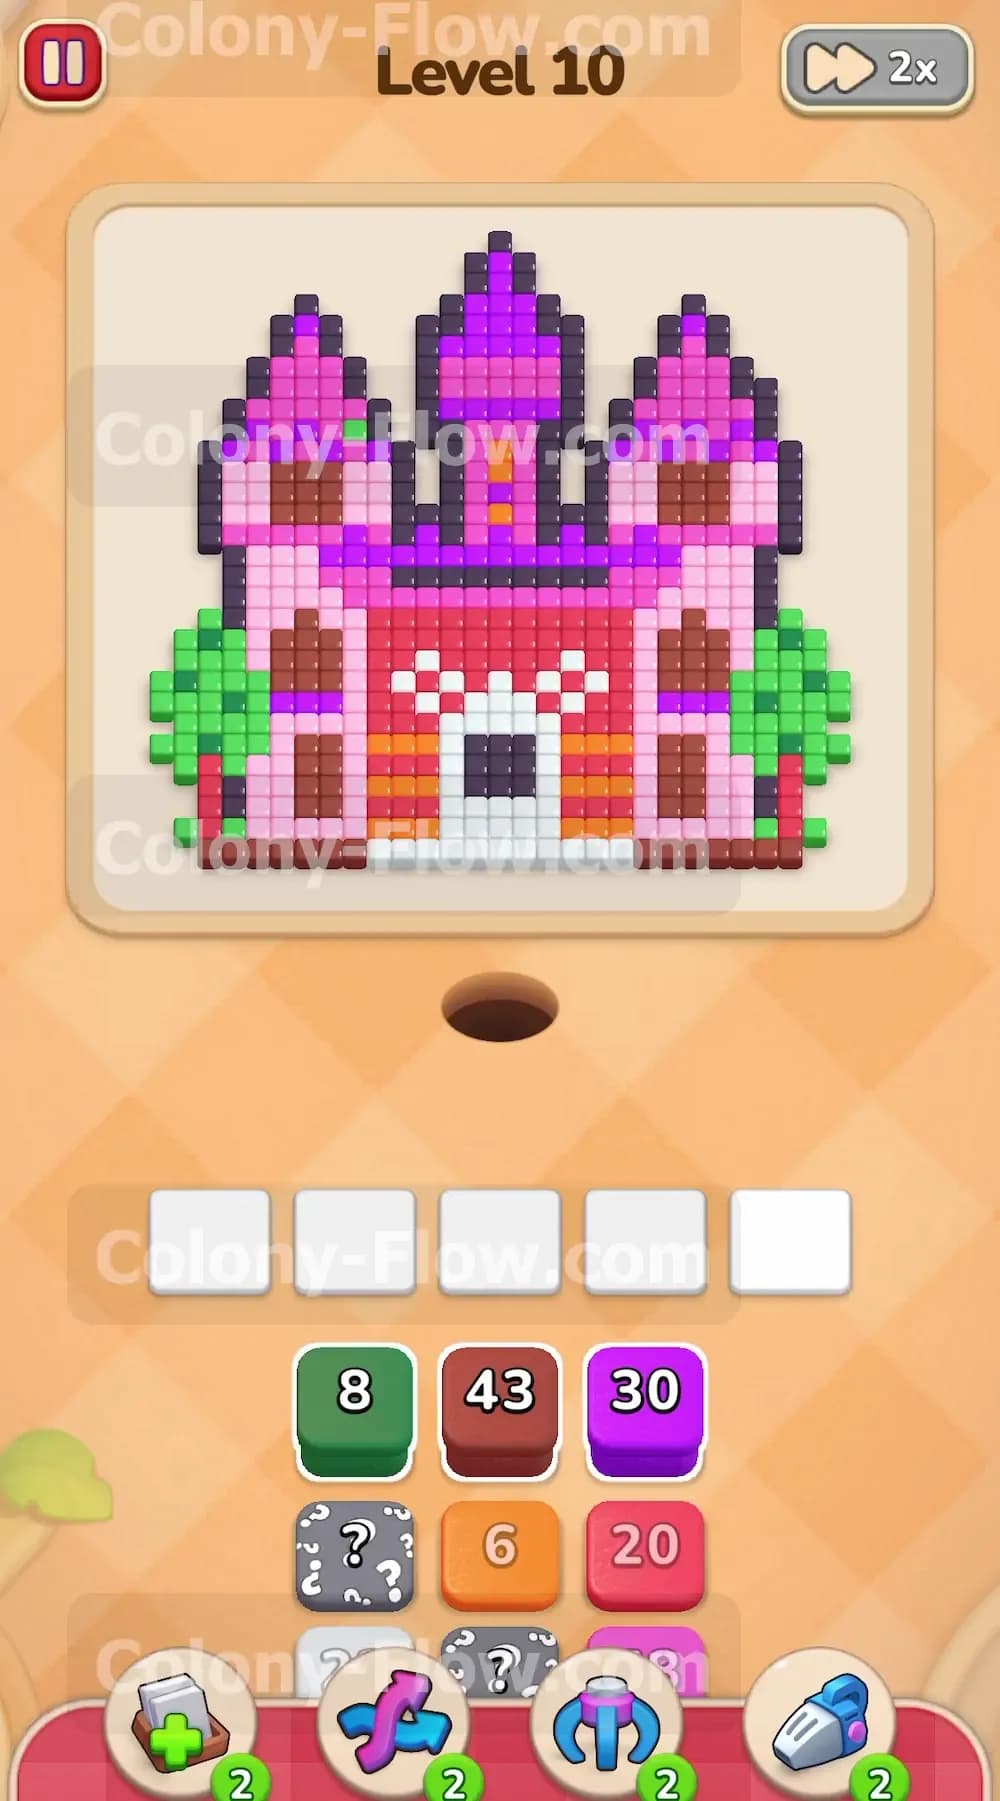
What You Are Working With
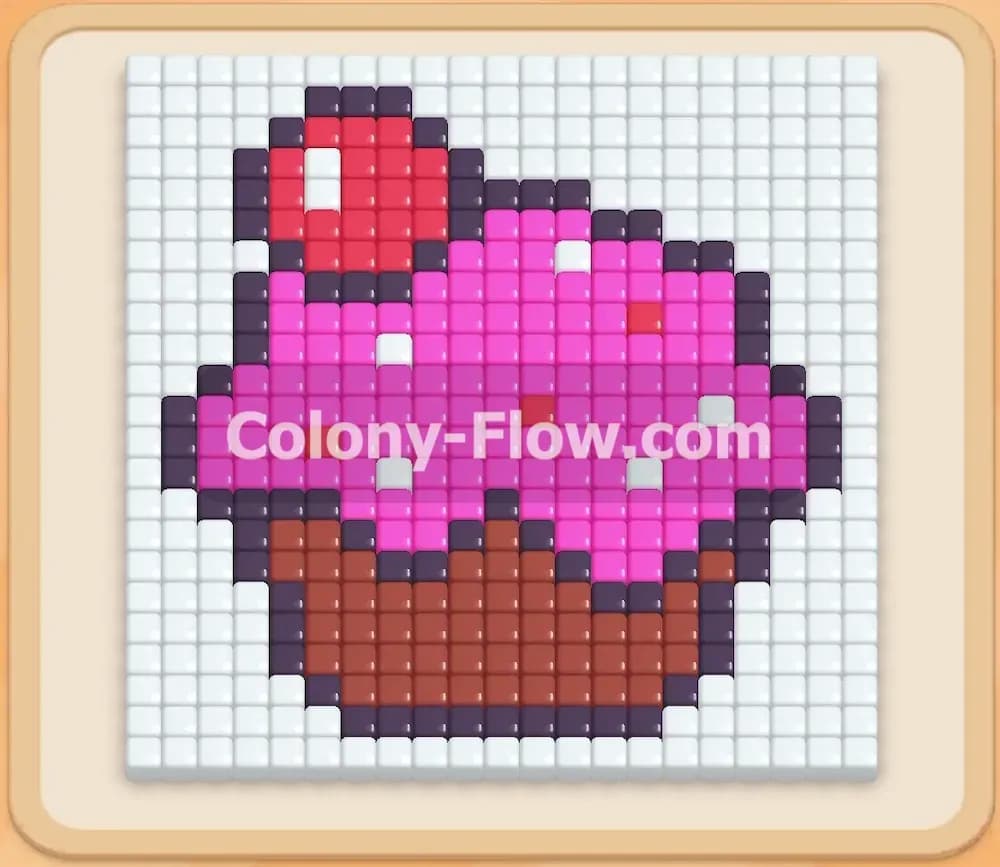
The pixel picture is a vibrant building made up of several distinct colored sections. You have a solid brown foundation along the very bottom edge. Above that brown base sits a set of white doors and some tiny decorative orange accents. The lower walls are completely built out of red tiles. The massive upper walls and towers consist of bright pink tiles. The very tops of the towers feature dark purple roofs. Flanking the left and right sides of the building are thick green trees. Down in your tray you have numbered blocks corresponding to all these exact colors. You will see numbers ranging from small single digits up to a massive brown block holding 43 ants. You also face several Hidden Boxes. These grey blocks with question marks conceal their true colors and will only reveal what they hold once you pull them into an active slot.
Level 10 Objective
Your goal is to clear every single pixel tile from the board. You achieve this by matching the colored blocks in your tray to the exposed tiles on the castle. You win when the entire building vanishes and no blocks remain in your tray. You lose if you fill all five waiting slots with blocks that have no open path to their matching tiles on the board. Keeping your traffic moving is your top priority.
Colony Flow Level 10 Step by Step Solution
Step 1: Deploy the heavy brown block to destroy the castle foundation
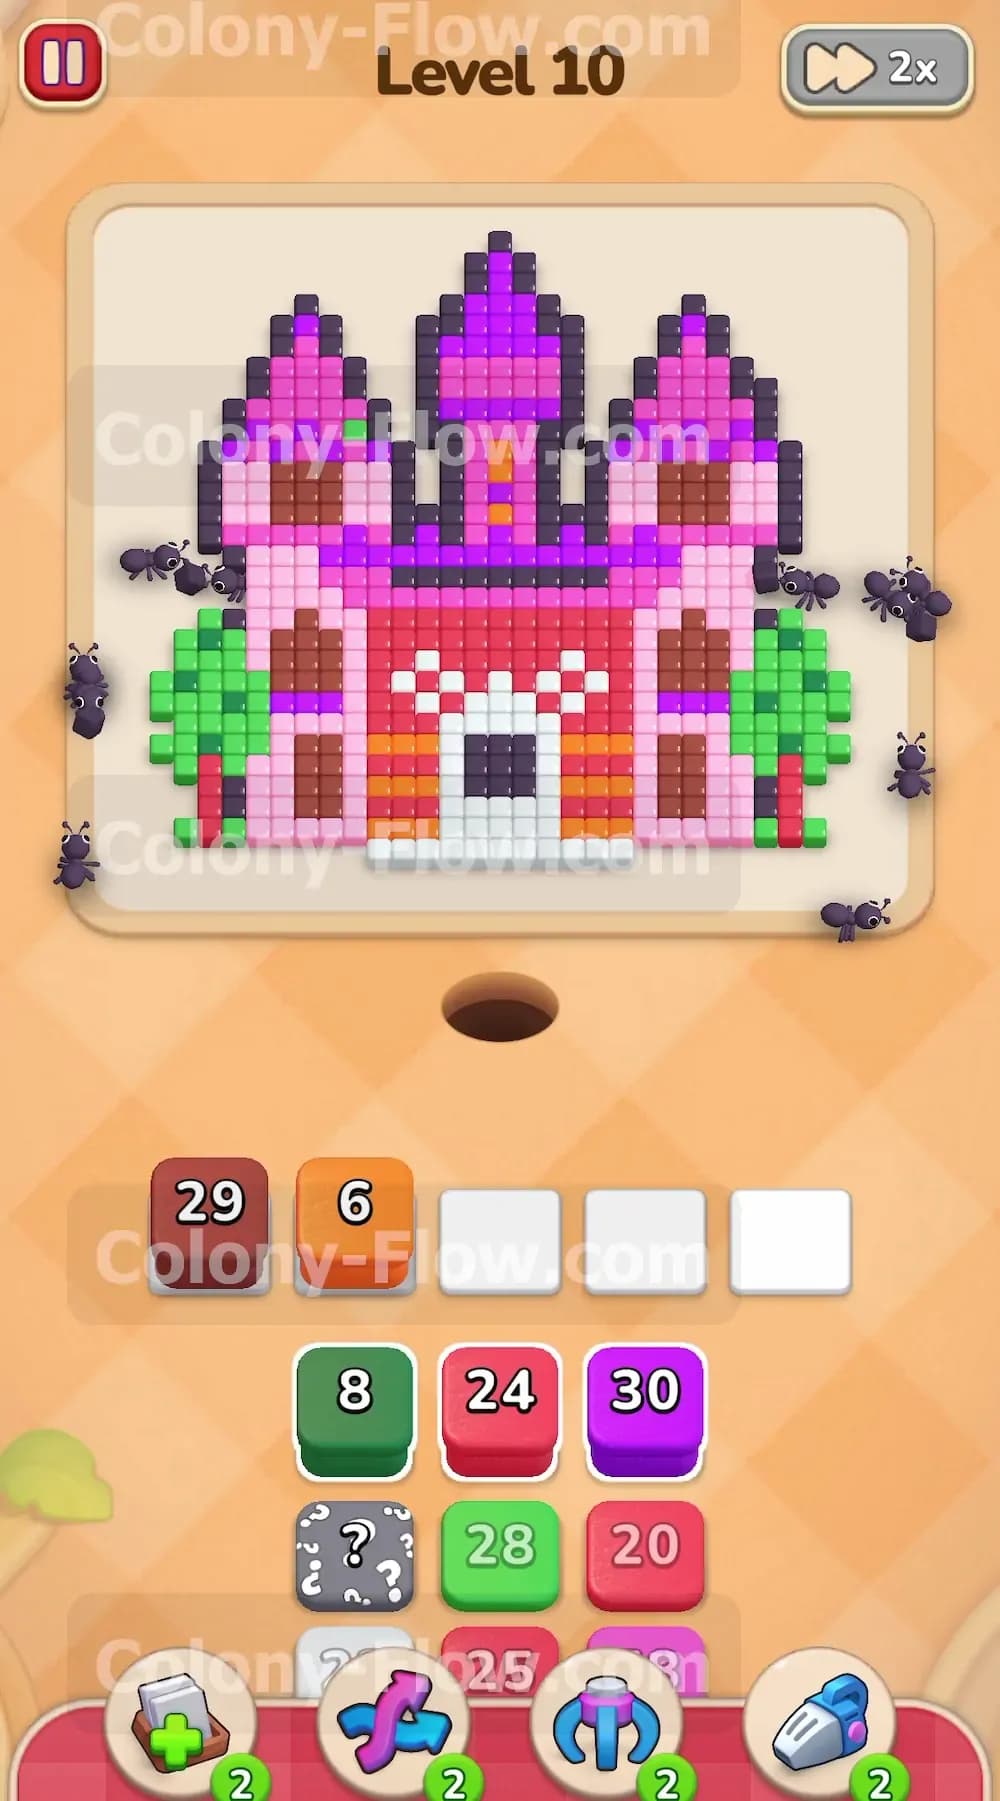
Begin your game by tapping the massive brown 43 block located right at the top of your tray. This block holds an enormous number of ants. The brown tiles form the base foundation of the entire castle structure. Because these tiles sit directly at the bottom edge they are immediately accessible to your colony. The brown ants will stream out of the nest and start eating away at the entire bottom row. Tapping this block first is vital because it initiates a huge wave of action and gets this large number counting down right away. Clearing the brown foundation physically removes the barrier blocking the higher sections of the building. Keep your slots open and let the brown ants do the heavy lifting.
Step 2: Send out the green ants to chop down the side trees
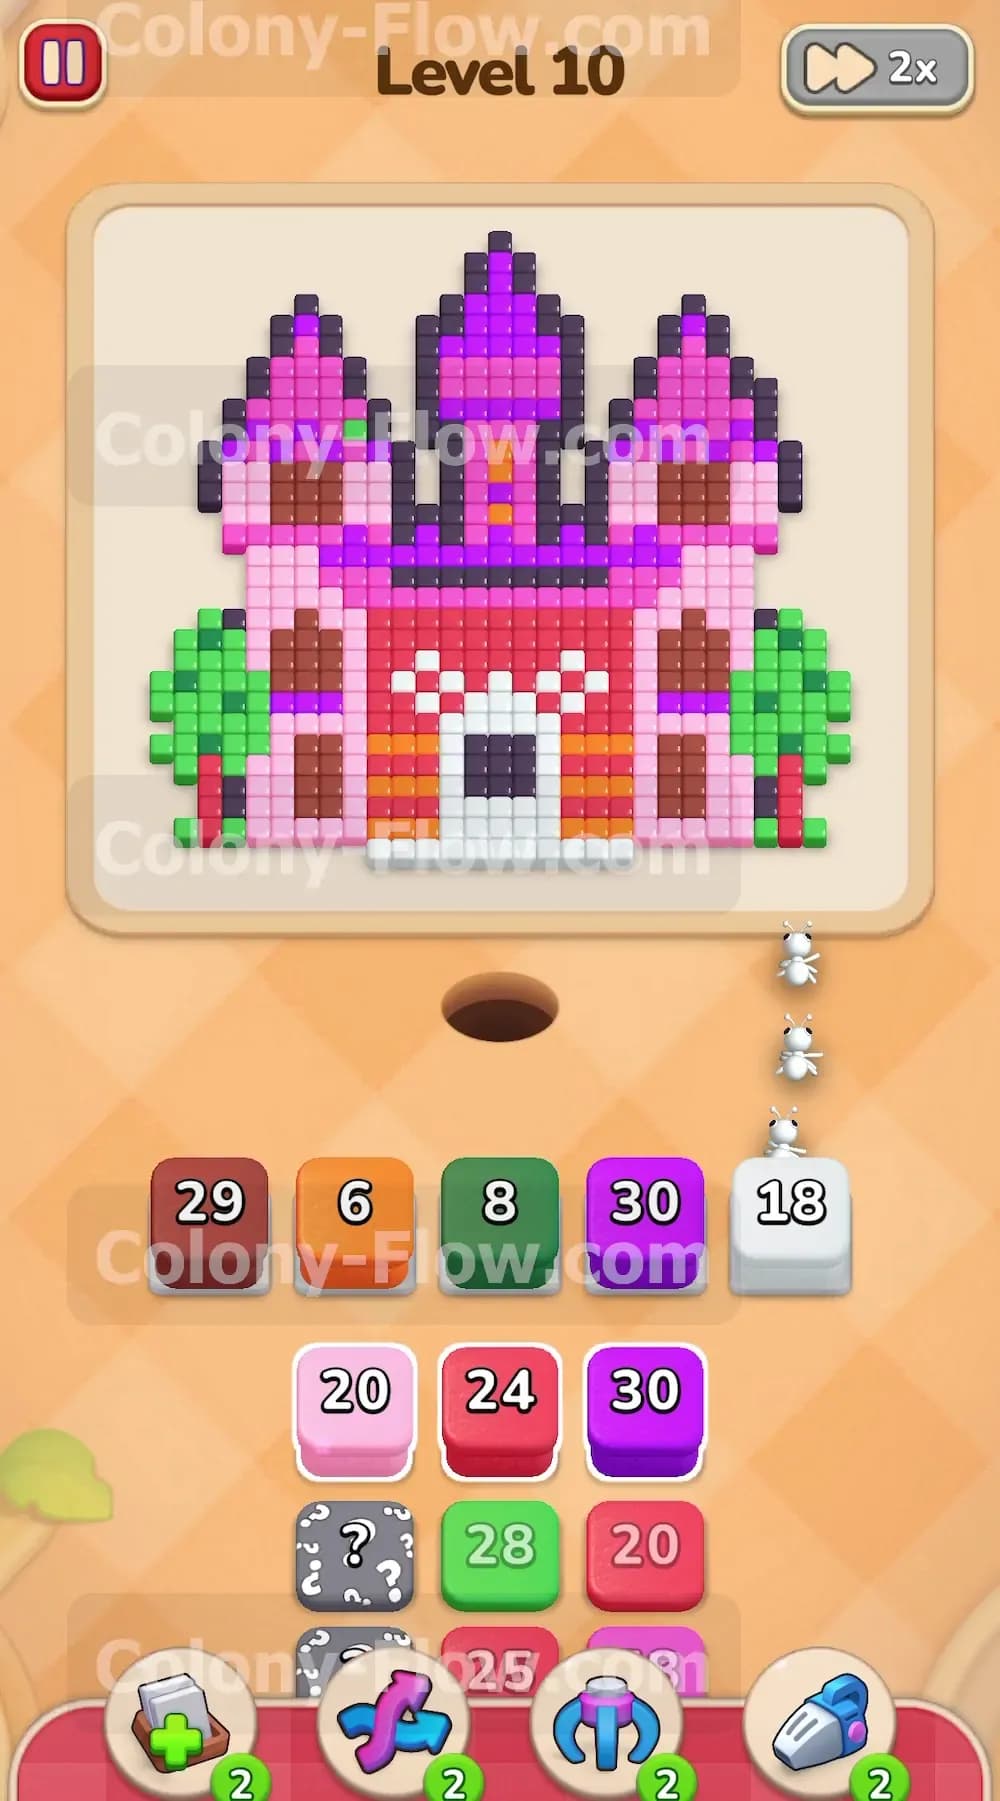
While the brown ants are busy at the bottom you should turn your attention to the sides of the board. Locate the green 8 block in your tray and send it up to the waiting slots. The green tiles represent the trees flanking the castle on the left and right. Just like the brown foundation these outer green tiles are completely exposed to the open board. The green ants will easily march up the sides and consume the foliage. Clearing the trees is a smart strategic move because removing them strips away the outer defenses of the castle. This creates open pathways for your ants to attack the pink main walls later in the game. Your waiting slots remain perfectly safe during this move because the green ants have completely unrestricted access to their targets.
Step 3: Unveil the hidden boxes cautiously to find the white and orange blocks
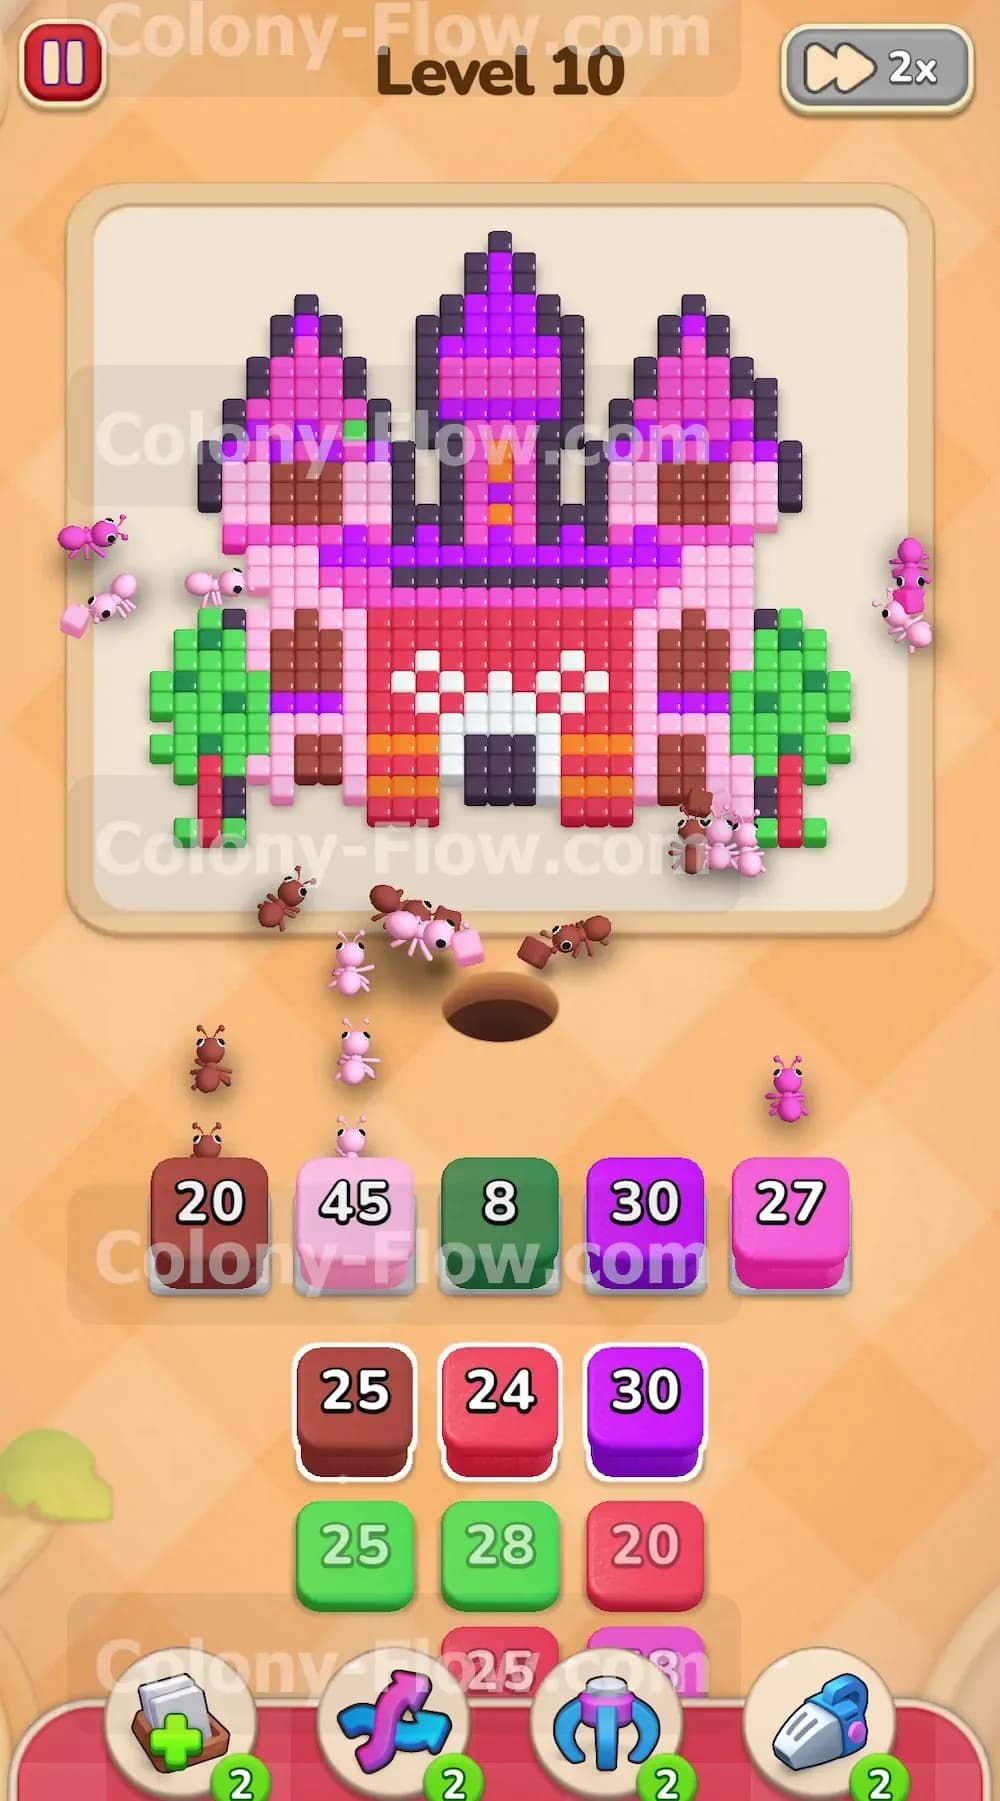
Now that you have active ants clearing the borders you can afford to take a slight risk with the tray. Your tray contains several grey hidden boxes marked with question marks. You need to pull these into your waiting slots to reveal their hidden colors. Make sure you have at least two completely empty slots before doing this. Pulling these hidden boxes will reveal an orange 6 block and a white 18 block. Thanks to your earlier moves on the foundation the orange decorative accents and the white double doors are now fully exposed. Send the orange ants to clear the tiny details just above the foundation line. Then send the white ants straight up the middle to consume the large doors. The white block holds 18 ants so it will take a moment to finish counting down.
Step 4: Break through the red lower walls to open the inner structure
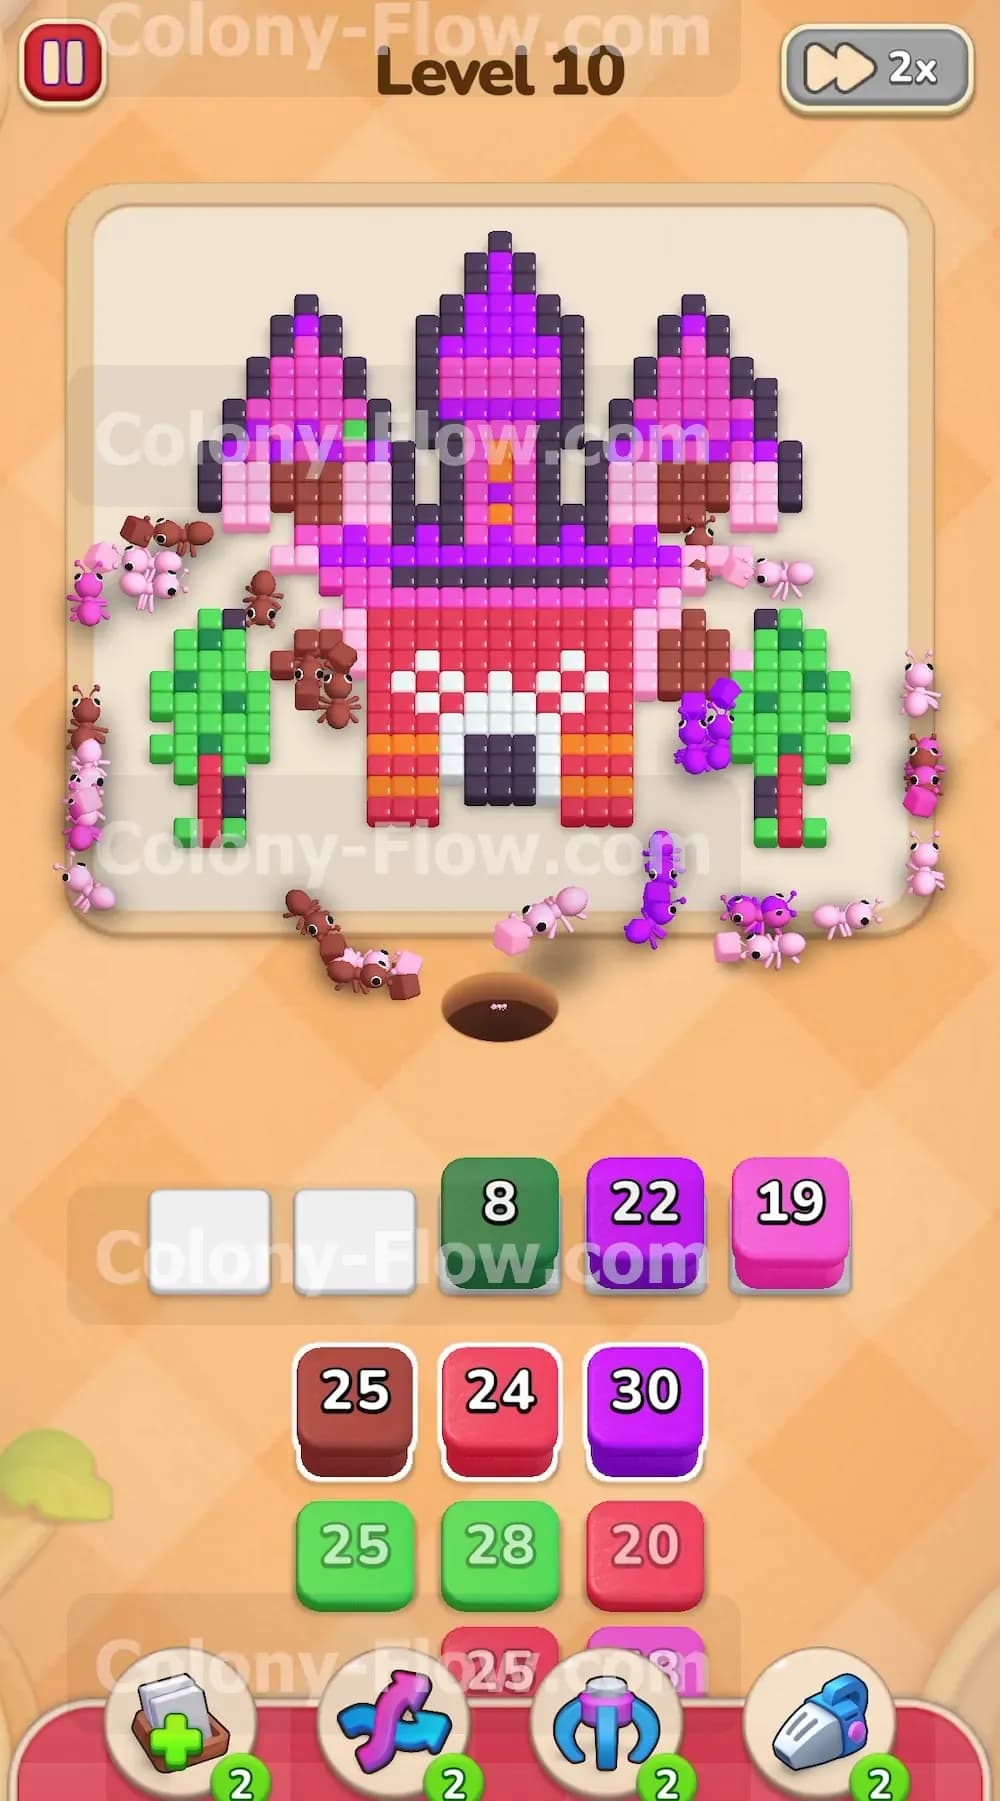
With the foundation gone and the central doors cleared the red lower walls become completely vulnerable to attack. Find the red blocks in your tray and move them up into the active slots. You will see the red ants rush in to tear down the thick lower sections of the fortress. This step is critical because the red tiles act as a floor holding up the rest of the massive building. You must ensure every single red tile is consumed before you commit heavily to the colors located higher up. Watch the block numbers count down steadily. Do not overcrowd your tray with other colors yet. Let the red ants finish their meal entirely so your waiting slots empty out naturally.
Step 5: Launch a massive pink wave to devour the central towers
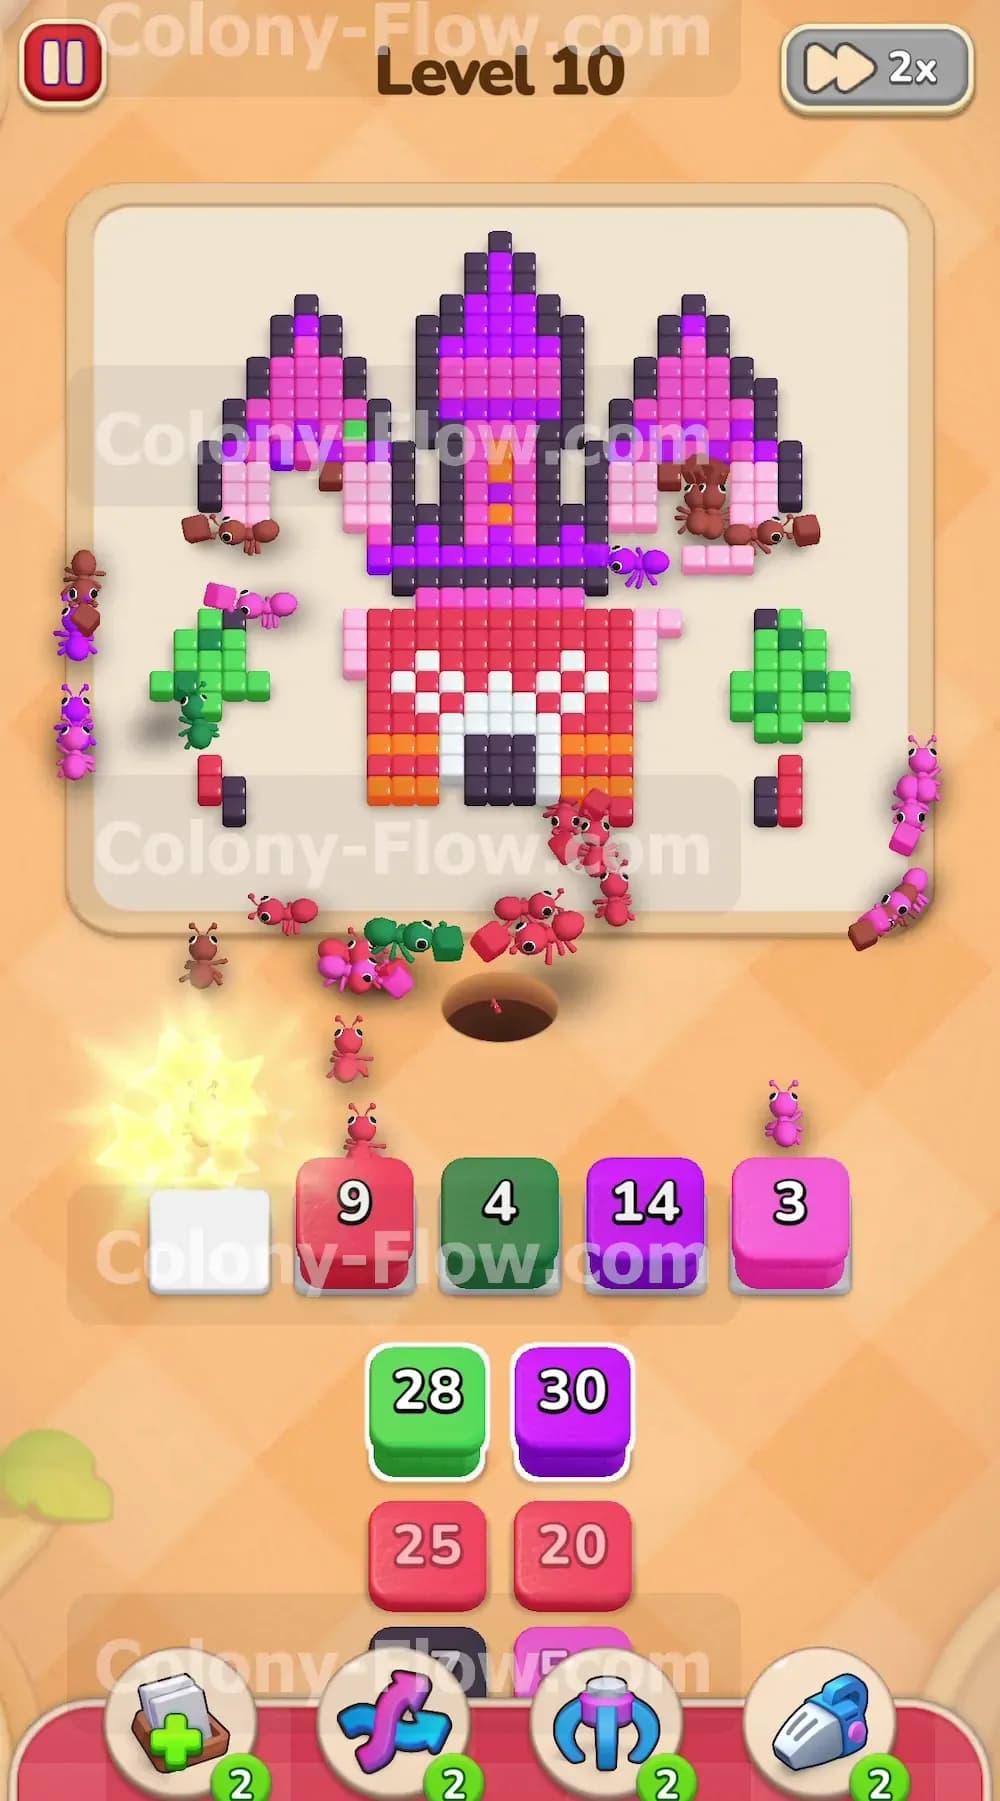
The pink tiles form the absolute bulk of the pixel picture in this stage. You have multiple high capacity pink blocks waiting in the tray including a pink 20 block and a pink 24 block and an even larger pink 45 block later on. Wait until the red walls are sufficiently cleared before you start pulling these pink blocks. Once the path opens up load the pink blocks into your active slots. The pink ants will flood the center of the board and systematically eat through the tall towers and thick walls. Because you have so many pink blocks to process you must exercise patience. Loading too many pink blocks at the exact same time might jam your slots if the ants block each other. Stagger your taps and let the pink wave steadily shrink the building.
Step 6: Clear the remaining hidden boxes and secondary tree elements
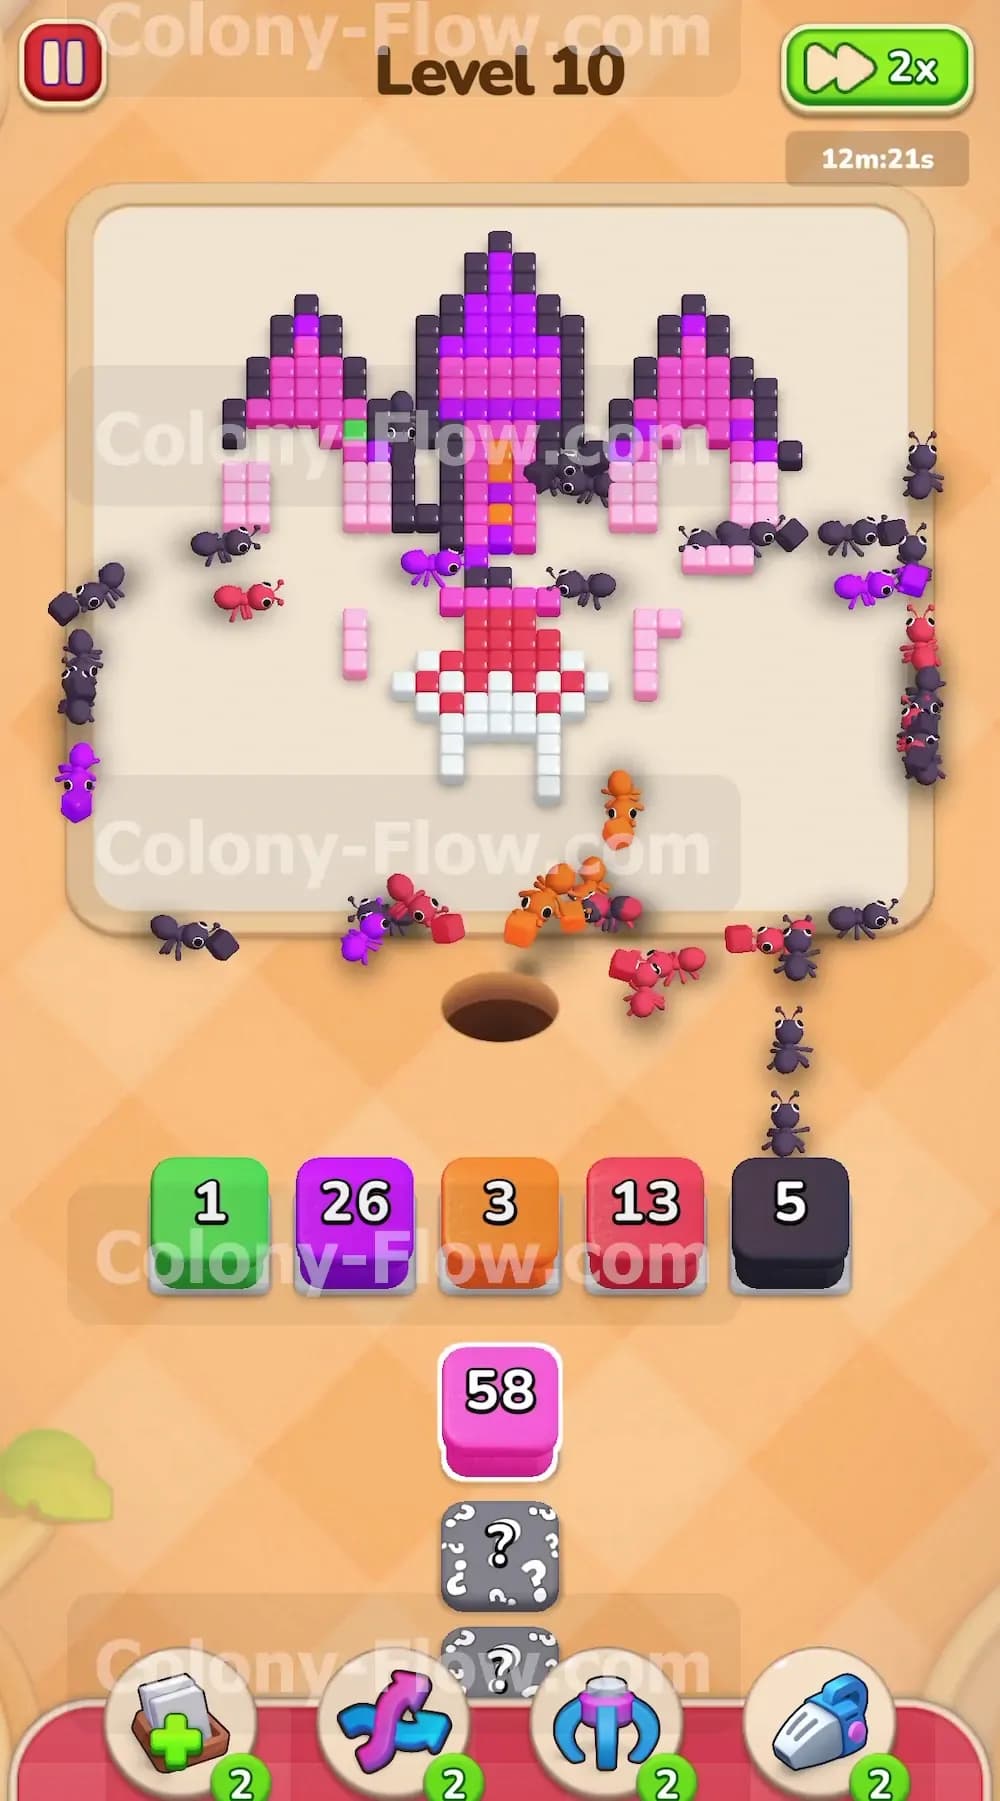
As the pink walls disappear you will dig much deeper into your tray. You will uncover more hidden boxes resting underneath the initial rows. Pull these new hidden boxes into your tray to reveal the additional colors you need. You will find more green blocks required to finish off the final remnants of the side trees. Send these green blocks out to clean up any stray green pixels on the left and right edges. Taking care of these smaller leftover blocks keeps your tray organized and prevents lingering stragglers. You want a perfectly clean tray before you attempt the final stage of the level. The board should look incredibly bare right now with only the highest purple points remaining.
Step 7: Send the dark purple ants to consume the highest roofs
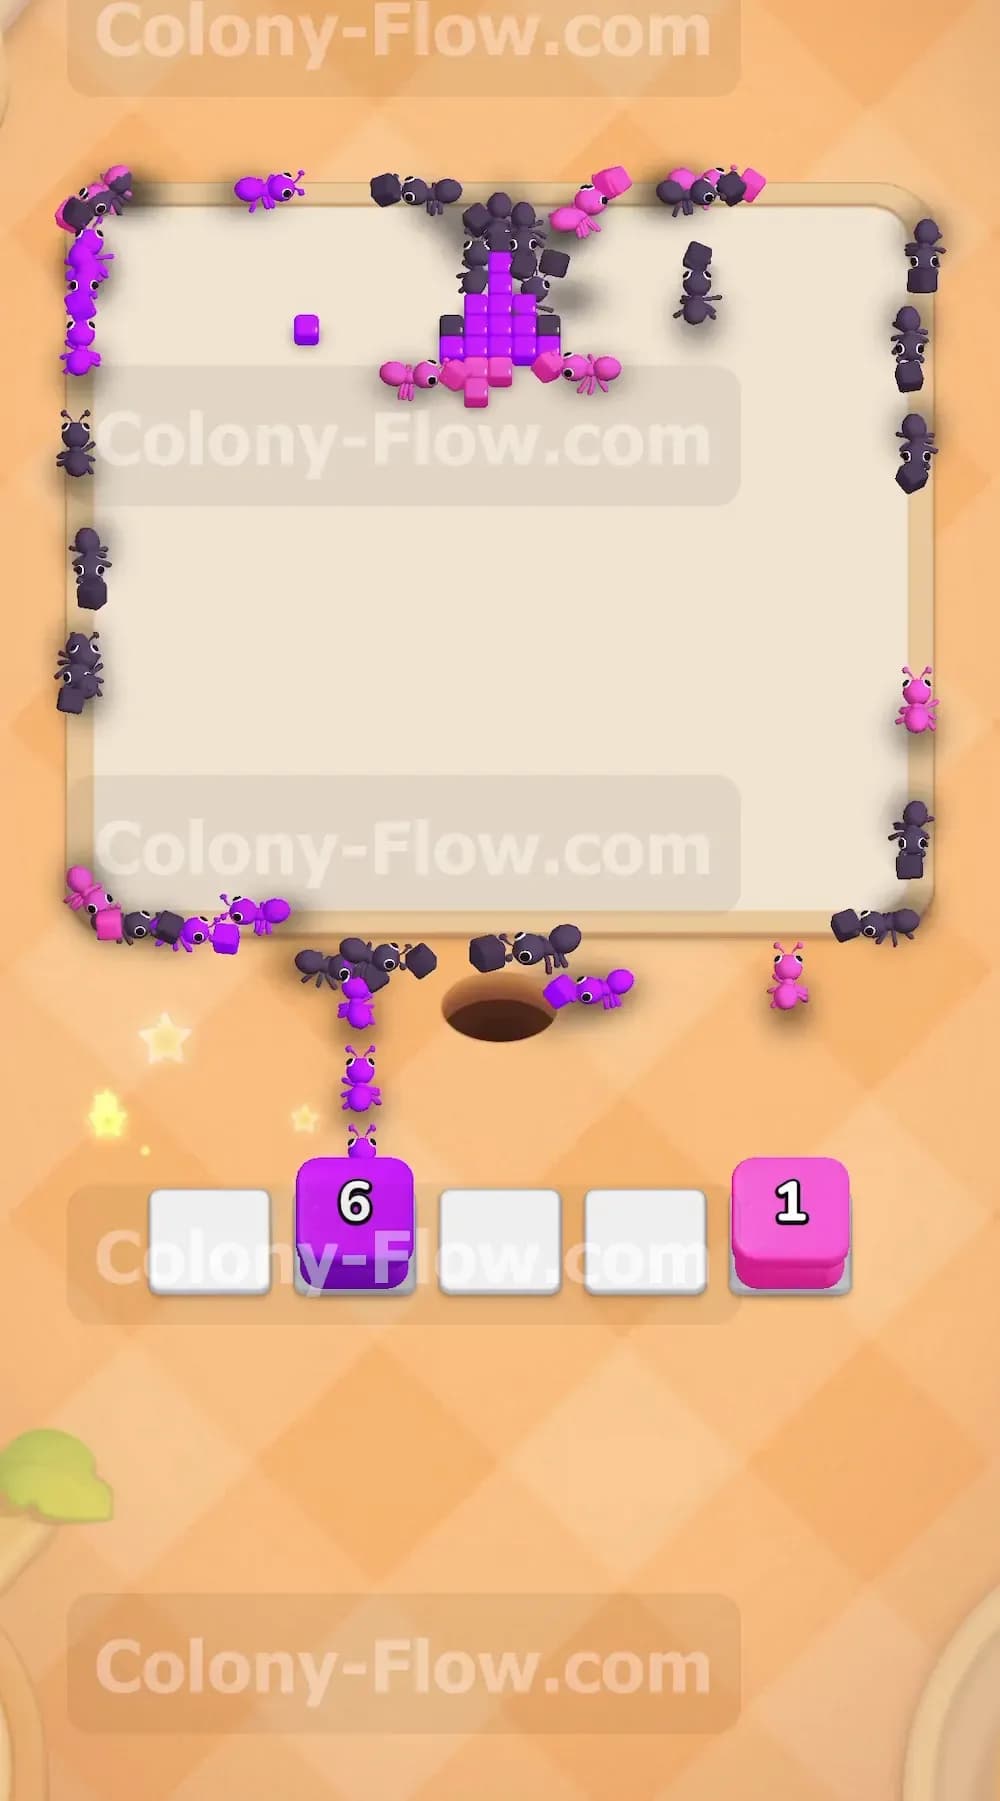
The very last pieces of the puzzle are the dark purple triangular roofs. These tiles sit at the extreme top edge of the board. They are completely inaccessible until the pink walls beneath them fall away entirely. This is exactly why you save the dark purple blocks for the very end of the game. Pull your purple 30 block and any other remaining dark purple blocks into your slots now. The dark purple ants will march all the way up the empty screen to reach the peaks. They will chew through the final remaining tiles of the castle. Watch your tray as the final block counts down to zero. The board goes completely clear and you win the stage.
Overall Strategy to Clear Level 10 Board
- Work strictly from the outside edges inward. Always target the brown foundation and the green side trees first because they are naturally exposed to the open board from the very first second.
- Hold off on the dark purple blocks until the very end. The dark purple roofs sit at the absolute highest point of the board. Pulling purple blocks early guarantees a permanently jammed waiting slot that will cost you the game.
- Manage the massive pink tile volume with patience. The pink central walls require multiple large blocks to clear. You must stagger your taps to avoid traffic jams in your active waiting area.
- Use empty slot buffers before pulling hidden boxes. Never tap a grey question mark box unless you have at least two empty slots available to safely absorb a potentially blocked color.
- Let the white door ants finish their job before overwhelming the middle space. The white 18 block takes significant time to empty out and you need that space completely clear before sending the red ants into the exact same central area.
Final Thought
Level 10 demands strict queue management and a lot of patience to beat. Following the outside to inside sequence ensures your ants never get stuck looking for an open meal. If you find yourself struggling to visualize any of the specific pathing steps I highly recommend you watch the video above this article. Seeing the ants clear the brown foundation helps make the whole strategy click perfectly into place.