Colony Flow Level 438 Walkthrough Solution & Guides | How to solve Colony Flow 438

Guide By Liam Stone
Updated on July 29, 2026
Check out the video above for the full Level 438 walkthrough if you want to skip the written steps below.
Video doesn't match your screen?
Game updates frequently scramble layouts! Try our AI Screenshot Solver first to find your exact board instantly, or report broken guides to our team.
Playing Colony Flow Level 438 requires careful planning and strategic timing to take apart a beautiful pixel art sea turtle without jamming your waiting slots. I played this level from start to finish and mapped out the exact sequence of moves needed to clear the board. You will need to manage the outer water tiles before you can safely reach the main sea turtle resting in the center. The colony moves at a set pace so understanding which paths open first is the secret to winning.
Colony Flow Level 438 Overview
What You Are Working With
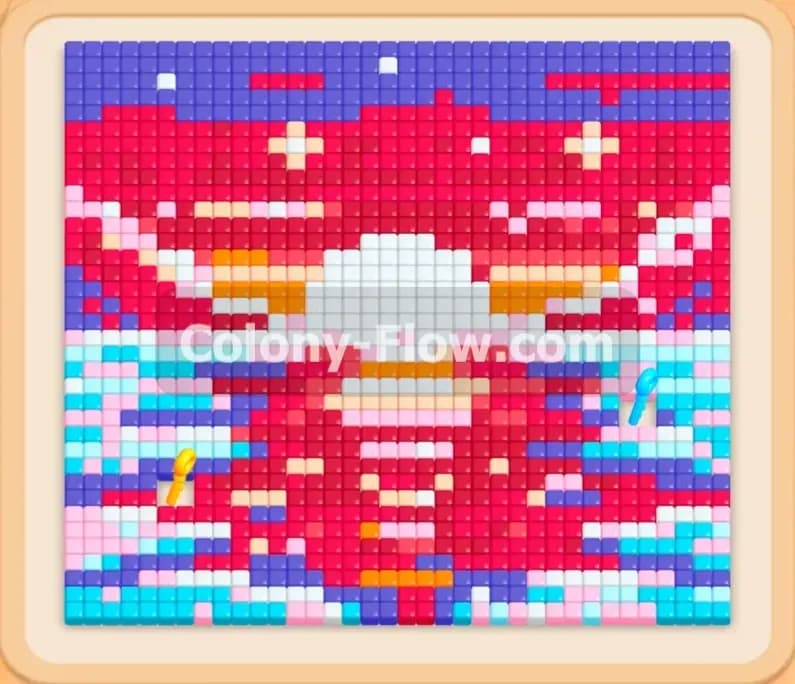
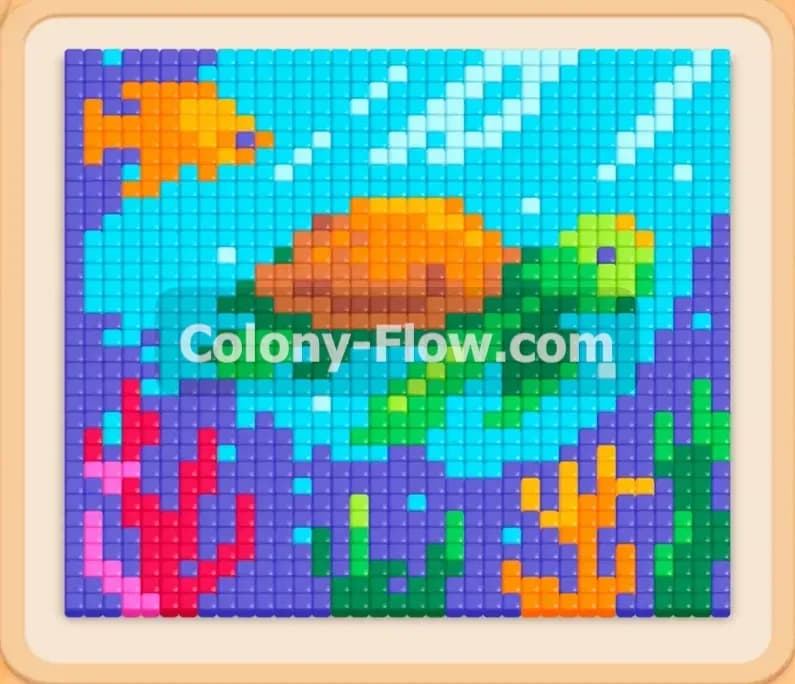
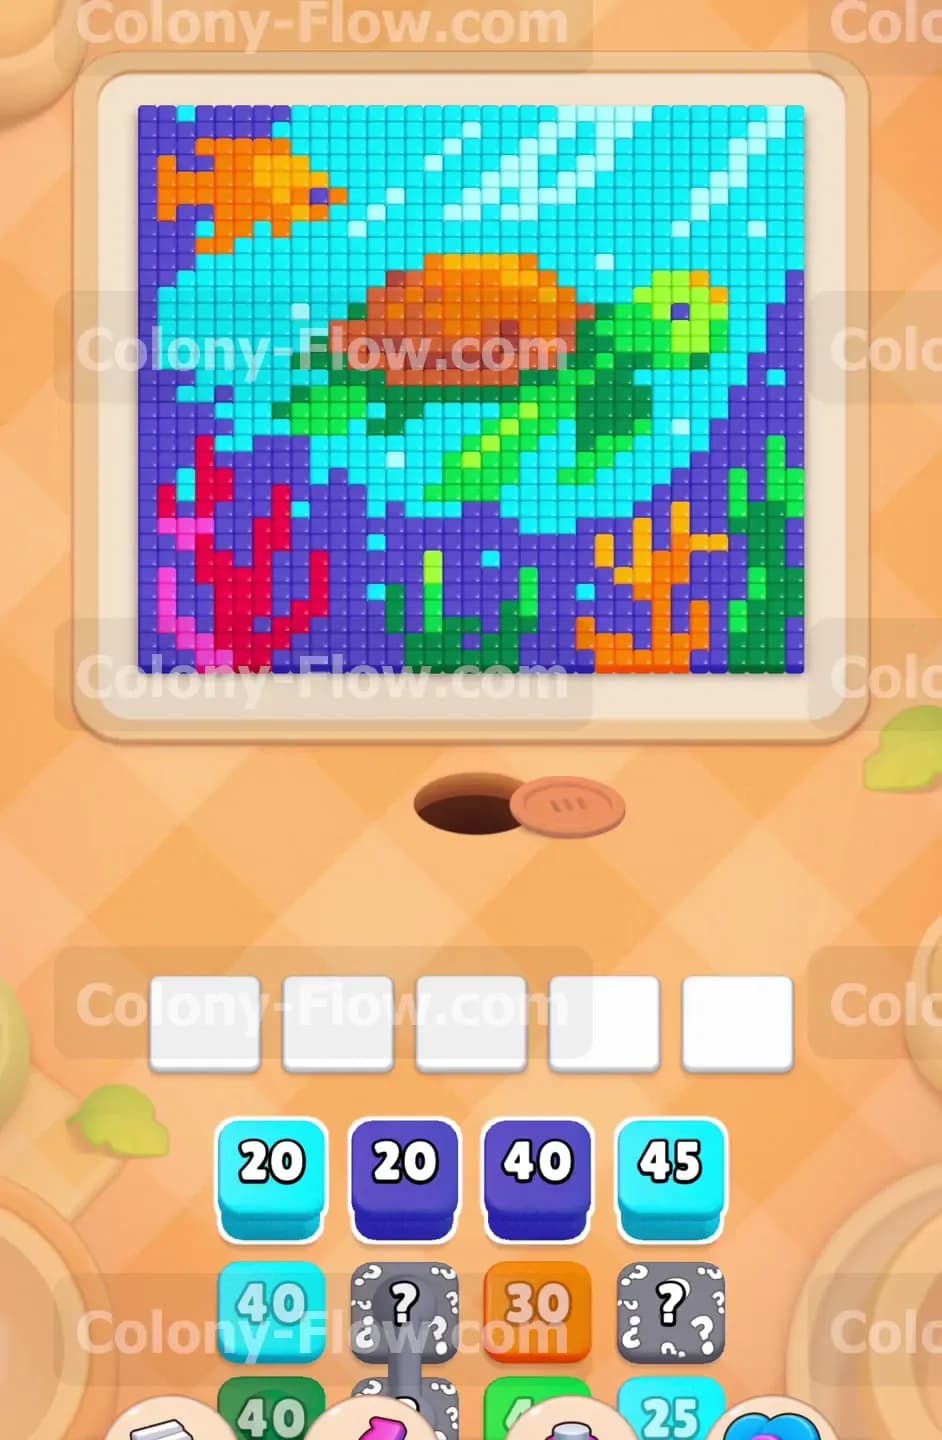
The puzzle board displays a highly colorful underwater scene made entirely of small pixel art food tiles. A massive sea turtle dominates the middle of the picture. The turtle features a large orange shell highlighted with a dark brown ridge along the top edge. The turtle also has bright green fins and a bright green head extending outward. An orange pixel art fish sits completely isolated in the top left corner of the screen. Bright pink and deep purple coral formations line the bottom edge of the board near the nest hole. Light blue water tiles create a thick outer border around the entire scene. Dark blue water tiles fill in the negative space to create a deep background behind the animals. The block tray at the bottom of your screen gives you a constant mix of colors. You will see cyan blocks dark blue blocks orange blocks and green blocks. You will also encounter hidden boxes holding question marks in the early stages of the level. A hidden box hides its color until it has a valid path to move onto the board. Connected dark blue blocks also appear in your queue. Connected boxes feature two or more boxes linked together that must be cleared as a group.
What It Takes to Clear Level 438 Board
You win the level when every single colored food tile disappears into the nest hole and the entire board is empty. Your ants constantly stream out of the nest hole at the bottom. They require open paths to walk up and reach the food tiles. You feed and steer the colony by pulling the colored numbered blocks from the tray into the five waiting slots. The ants automatically carry matching food tiles to the correct colored blocks. The number on each block counts down by one for every tile the ants deliver. Once the number hits zero the block vanishes from the waiting slot. The primary challenge comes from managing your limited space. If blocks fill all five waiting slots and no ants can reach the board you instantly lose the level. Every single move you make must keep at least one path open for the colony. You must carefully peel away the outer cyan layer and the dark blue layers first. Doing this ensures your ants can eventually reach the inner orange shell and green fins without ever blocking the board.
Colony Flow Level 438 Step by Step Solution
Step 1: Clear the outer light blue water boundary to open paths.
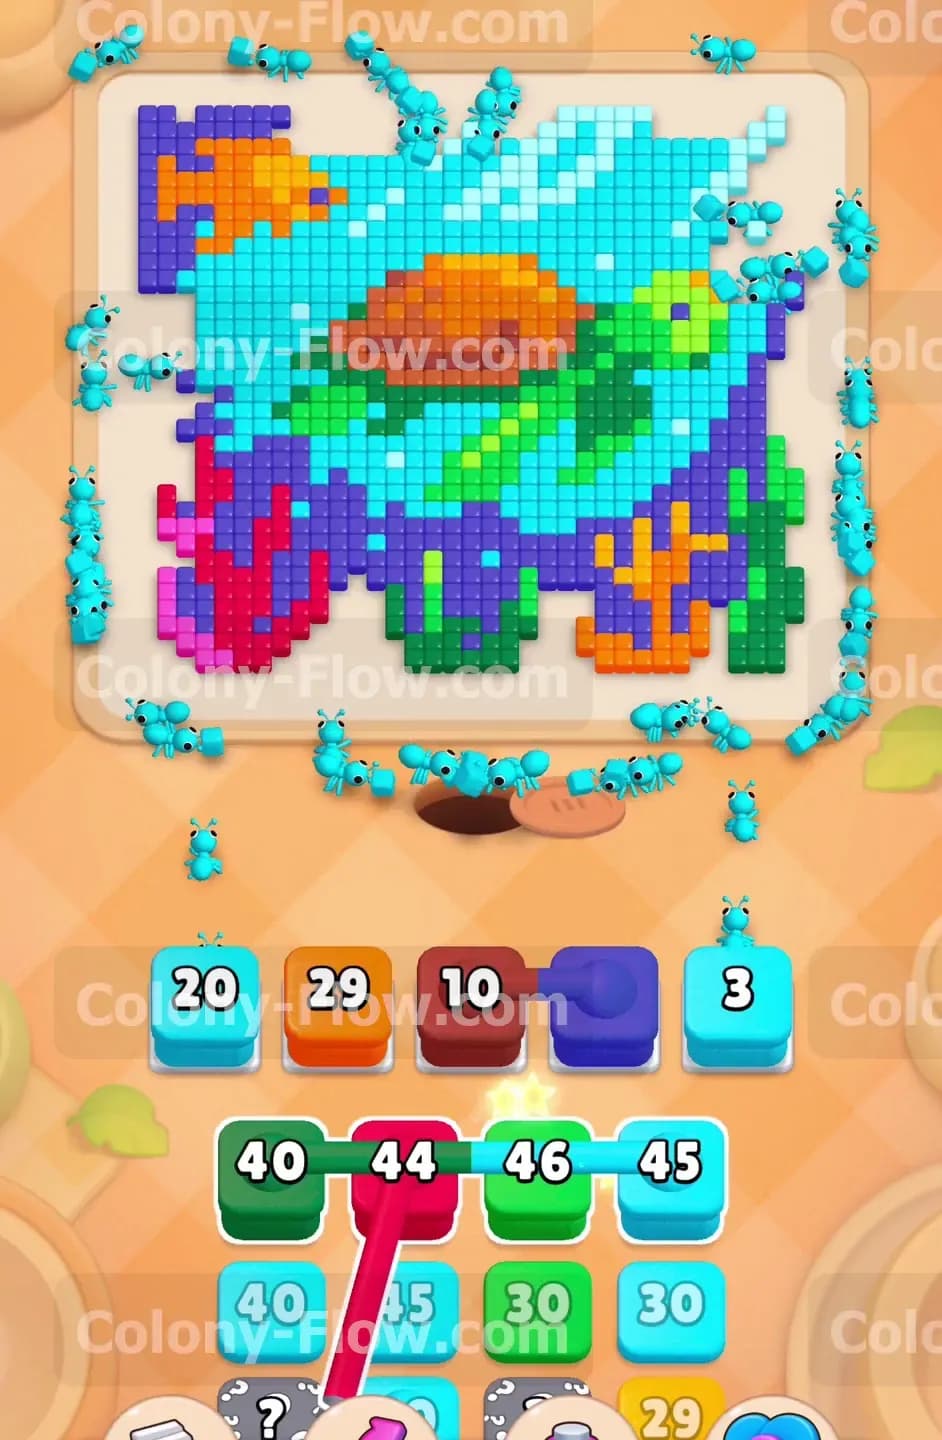
Start the level by pulling the Cyan 20 block and the Cyan 45 block from the tray into your waiting slots. The ants will immediately stream out of the nest hole and attack the massive light blue water perimeter. The top right corner and the outer left edges contain huge continuous clusters of these cyan tiles. Feeding these outer light blue pieces to your colony opens up physical paths to the dark blue background layer trapped deeper inside the puzzle. You will notice several hidden gray boxes sitting in your tray during this early stage. You should ignore the hidden boxes for now and focus purely on the exposed light blue water. Clearing this outer cyan boundary provides the safest way to ensure your colony always has an open route to gather food. You never want to dead end the board by pulling colors you cannot physically reach. The light blue tiles block access to almost everything else so they must go first.
Step 2: Tackle the dark blue background and purple bottom coral.
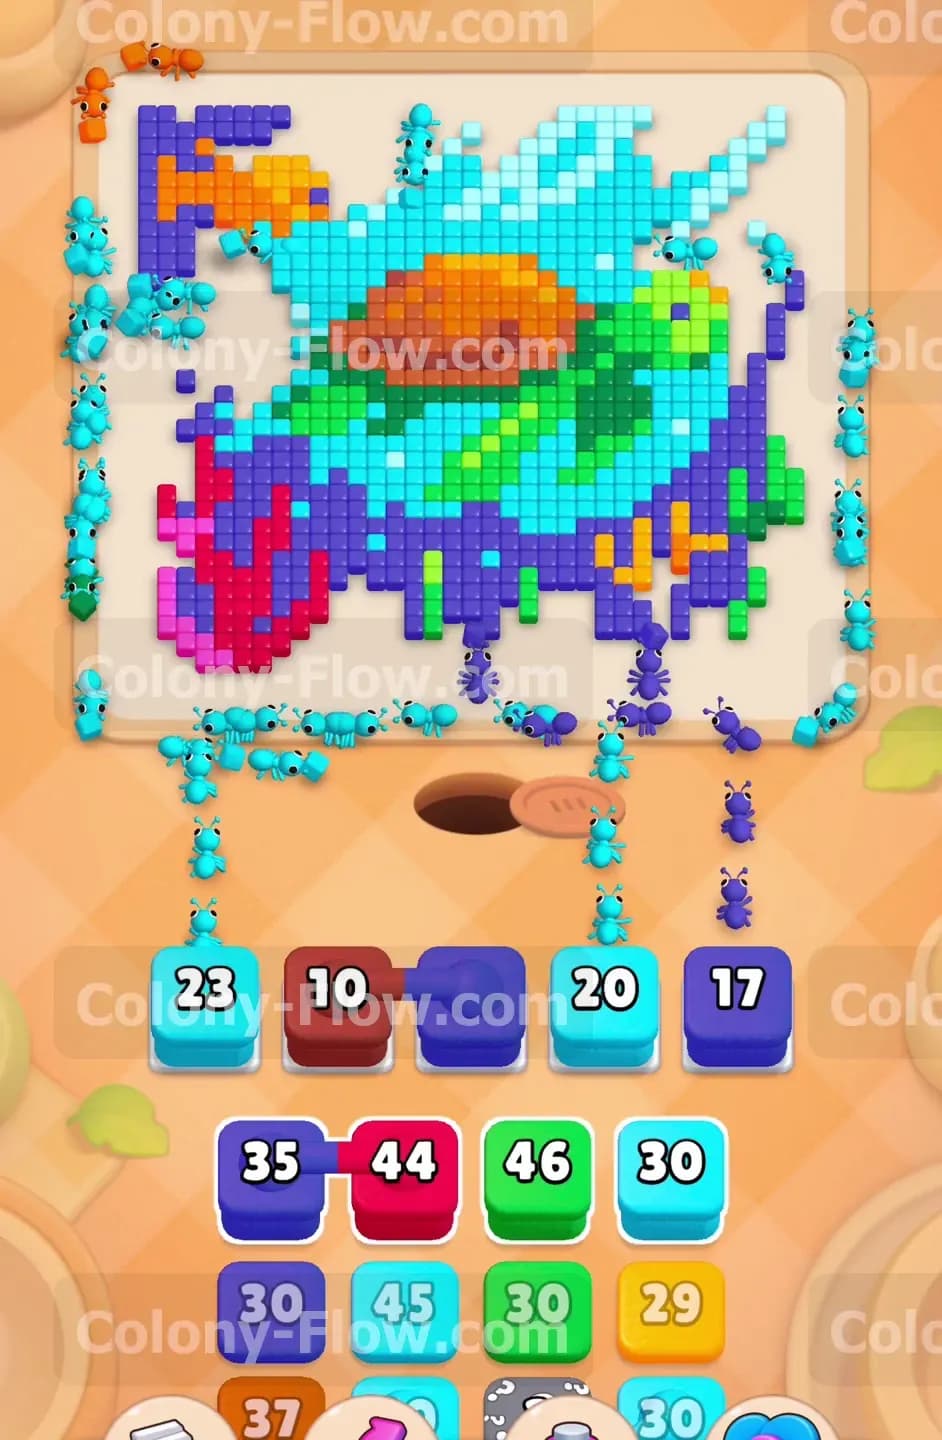
Once the light blue water recedes enough you gain clear access to the dark blue background and the bottom coral structures. You can now safely pull the connected dark blue blocks into your waiting slots. Connected blocks physically link together and take up significant space in your limited queue. They clear as a single massive group once the ants feed them enough matching tiles. The ants will quickly swarm the large dark blue sections of the background to count down these connected numbers. At this exact same time you need to pull a Pink 13 block and a Purple 30 block. The pink and purple coral pieces line the bottom edge of the puzzle right above the nest hole. Feeding the bottom coral to your ants simultaneously prevents your waiting slots from jamming. If you pull too many colors that remain buried deep inside the central sea turtle your slots will fill up and you will lose. Keep your colony evenly divided and busy on the newly exposed dark blue background and the purple outer edges.
Step 3: Break down the orange fish and the outer turtle shell.
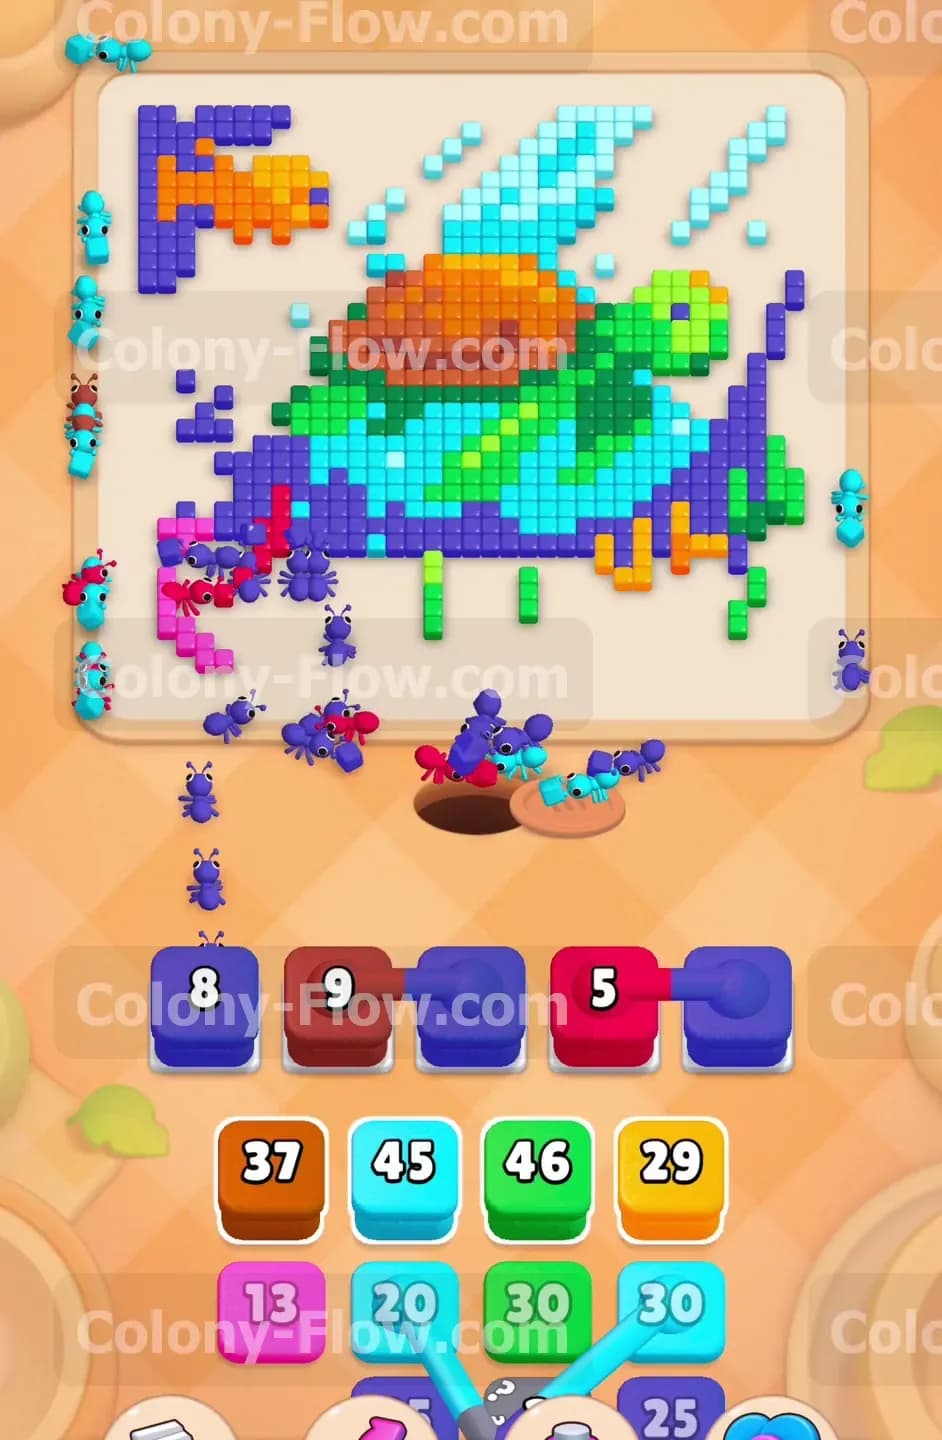
The top left corner features a distinct orange fish surrounded by dark blue tiles. Now that the dark blue background is shrinking your ants can safely reach this isolated corner. Pull an Orange 29 block and an Orange 30 block into the waiting area to feed your colony. They will march up to the top left and make quick work of the fish. You can also start pulling brown blocks to chip away at the top ridge of the central turtle shell. Your waiting slots might hold a Brown 10 block and an Orange 29 block at this stage. You must keep pulling cyan blocks into the queue because large pockets of light blue water still surround the turtle body and the fish. Balancing the orange brown and cyan blocks ensures a steady continuous flow of movement. Sending different groups of ants to clear multiple separate sections of the board at once keeps your waiting slots cycling efficiently.
Step 4: Dismantle the massive central turtle shell with large blocks.
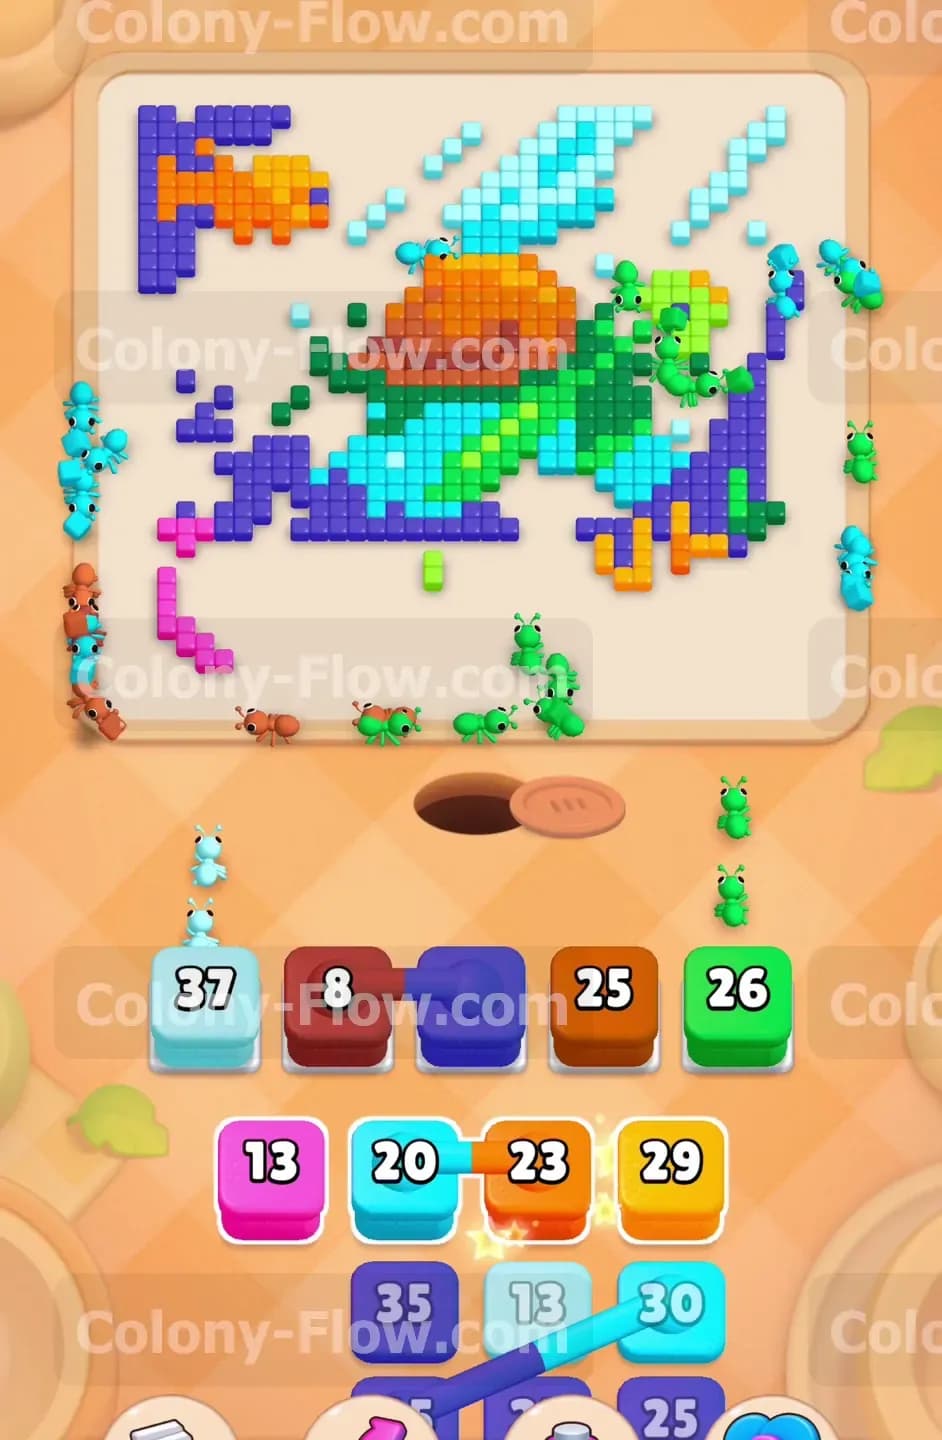
The main bulky body of the sea turtle is completely exposed by this point in the level. Pull the larger orange blocks and brown blocks from the tray to dismantle the bulky shell. An Orange 37 block will absorb a massive portion of the turtle back very quickly. You will also uncover more purple and pink coral pieces fully exposed at the bottom right. Pull a Purple 35 block and another pink block to keep the bottom ants active and moving. The central strategy to this phase involves avoiding a total traffic bottleneck. The orange shell contains a very high number of tiles tightly packed together. If you only pull orange blocks into the waiting slots your other ants will sit completely idle. You risk filling your five available waiting slots with blocks you cannot immediately clear. Mix a Green 40 block into the queue so the ants can begin nibbling on the green turtle head and the lower fins.
Step 5: Erase the green fins and the remaining dark blue background.
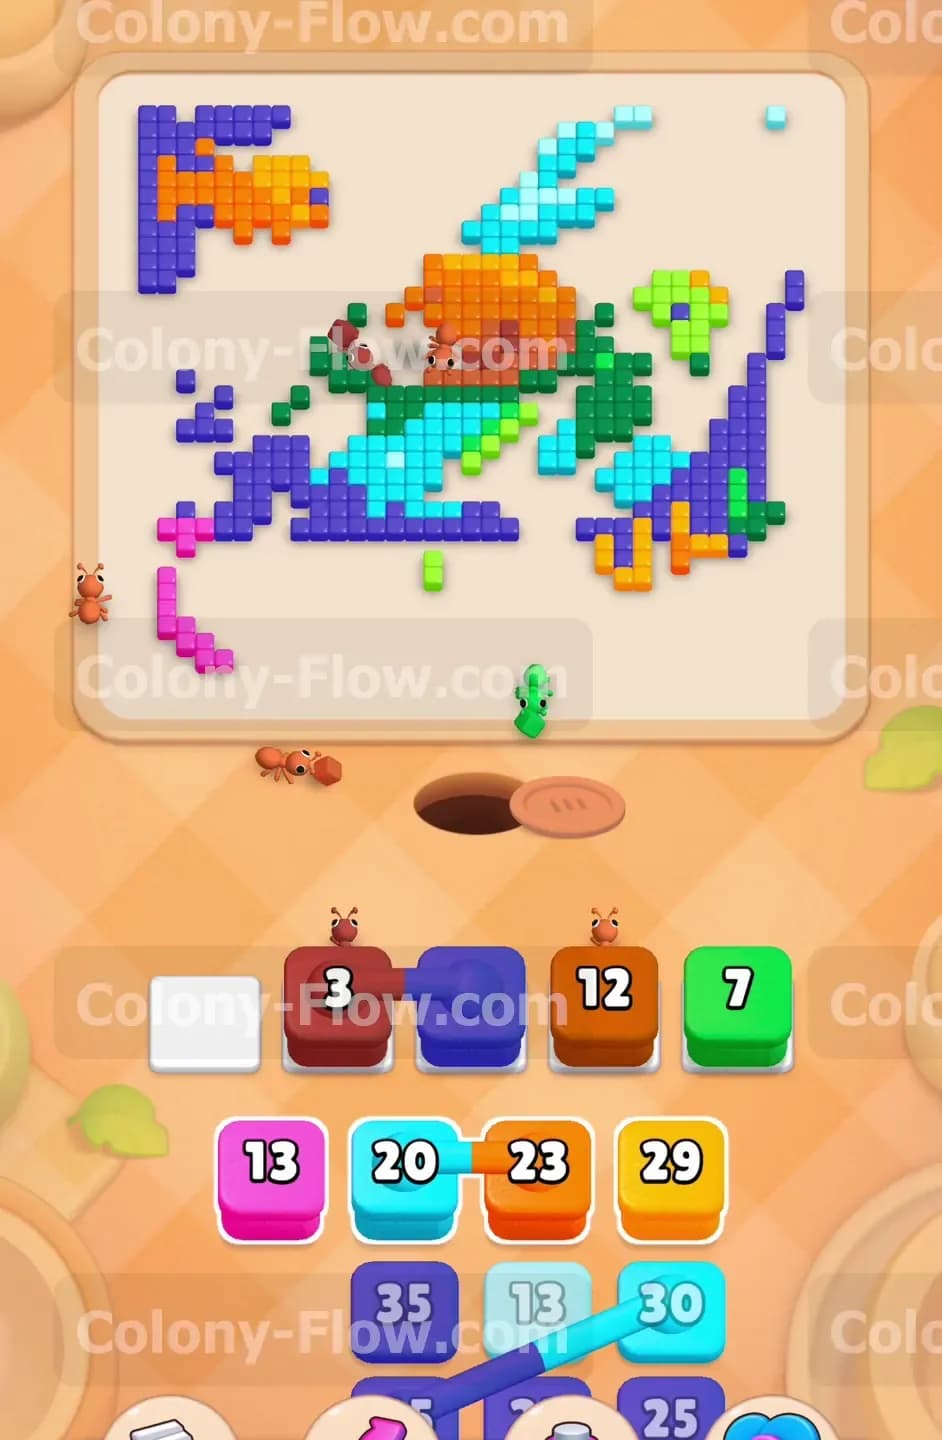
Your puzzle board now mostly consists of the core green turtle parts and a few scattered dark blue water tiles. Pull a Green 46 block and a Green 30 block to wipe out the head and the large front fins. The ants will swarm the exact center of the board to carry these green tiles away in massive numbers. You should also pull any remaining dark blue blocks to clean up the last few background pieces clinging to the sides of the turtle shell. A Dark Blue 42 block will likely appear in your tray around this time. Move it up to clear the large leftover dark blue patches near the bottom right. You must always watch your waiting slots closely during this heavy clearing phase. Make absolutely sure every block you move up has matching exposed tiles on the board. When the green fins are completely exposed the high numbered green blocks will count down incredibly fast because the ants have a very short walking distance from the nest.
Step 6: Manage the final scattered fragments across the empty board.
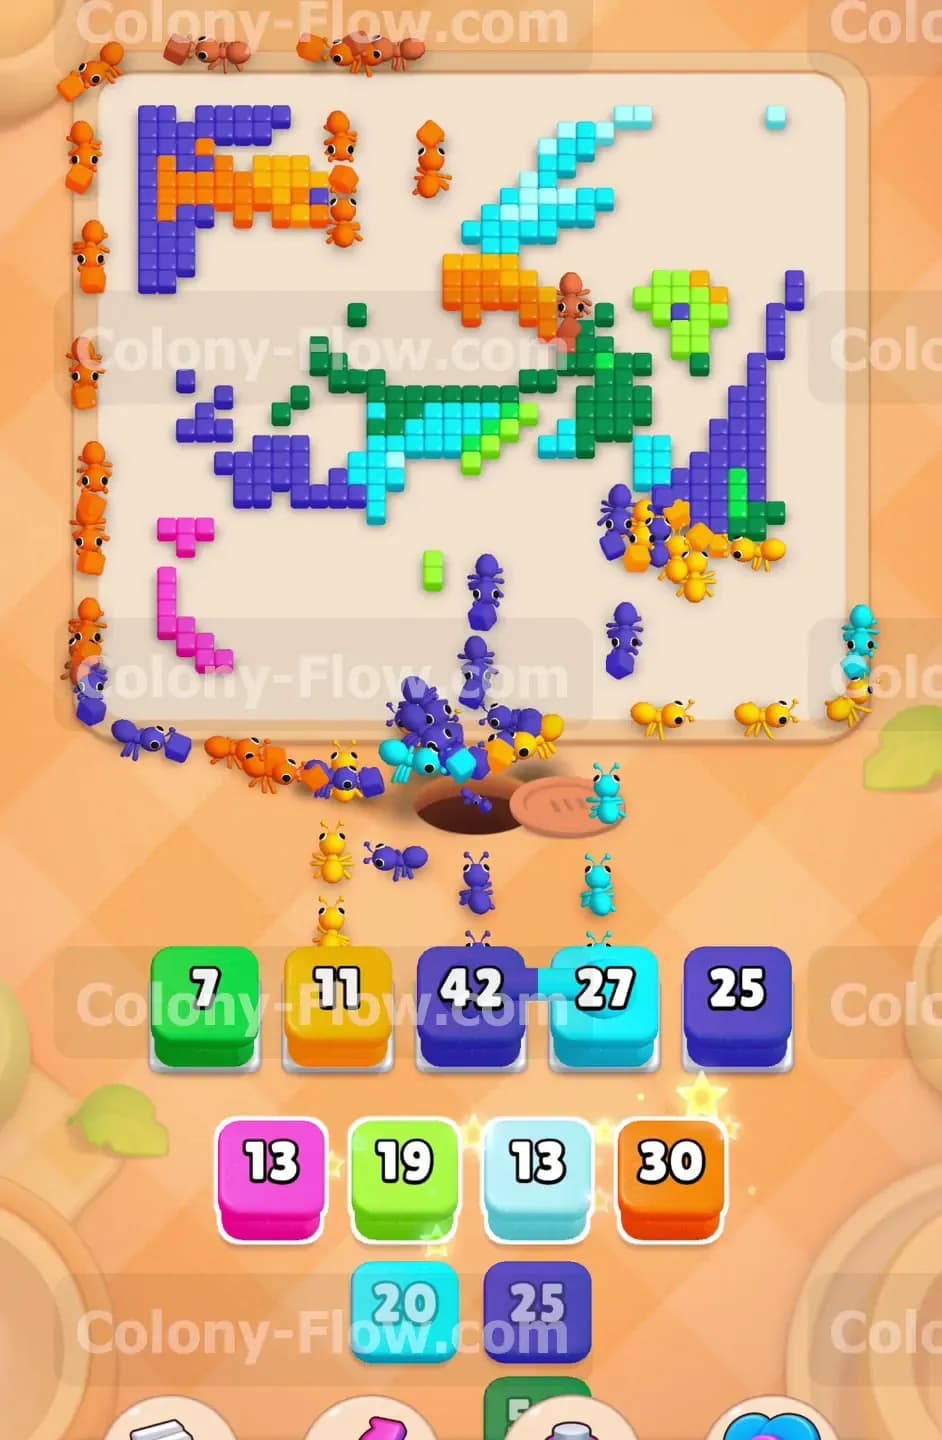
The final phase of the level leaves a sparse scattered mess of orange cyan and green tiles across the empty board. You must act very precisely here to avoid a loss near the end. Do not pull large numbered blocks if only a few tiles of that specific color remain on the board unless it is your only available option. Pull a Green 7 block an Orange 12 block and a Cyan 27 block to match the small isolated clusters perfectly. Your colony will rush across the large empty space to grab these final scattered pieces. The connected dark blue blocks should finally finish counting down and disappear from your waiting slots completely. Just keep pulling the exact colors from the tray that match the remaining small fragments on the board.
Step 7: Clear the final single pieces to win the level.
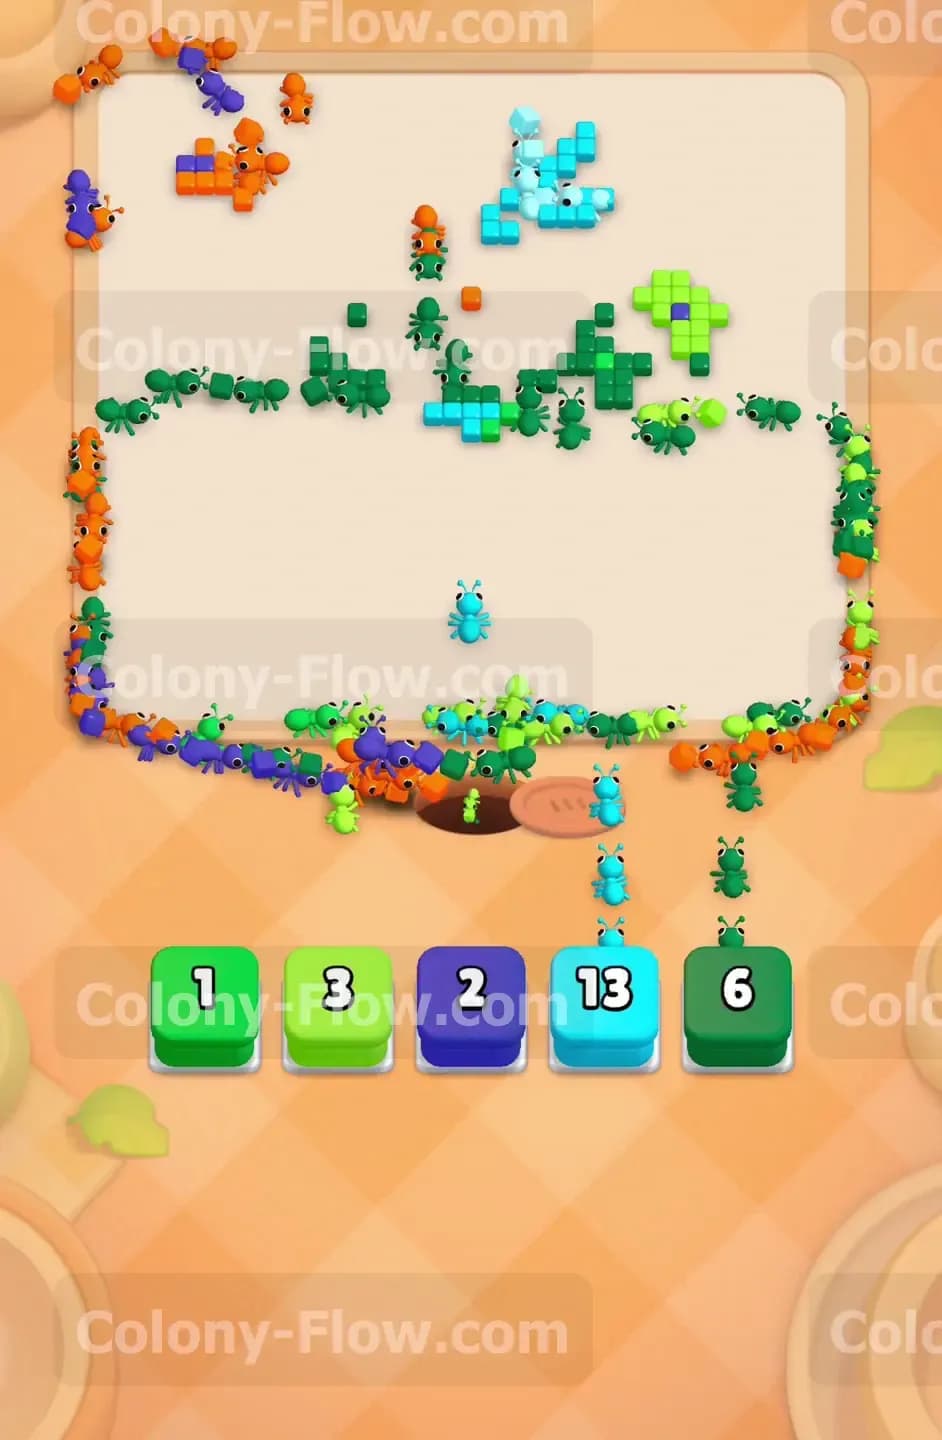
As the last few blocks enter the waiting slots your board will slowly become completely blank. Pull the final Green 1 block Green 3 block and Dark Blue 2 block from the tray. The ants will sprint to the very edges to gather the last remaining single tiles. Watch the numbers tick down to zero for the final time. You do not need to worry about dead ending the board here because everything is completely exposed and open. Once the final green and cyan tiles vanish down the nest hole the rest of the colony will follow them inside. The screen will clear and you will win the level.
Final Thought
Colony Flow Level 438 tests your patience with deeply layered colors and demanding connected blocks. You must clear the outside light blue boundaries completely before rushing into the central turtle shape. Managing the five waiting slots requires constant attention so you never trap your colony behind a solid wall of food tiles. If you ever feel stuck on a specific section you should watch the video above this article to see the exact block order in action. Keeping your ants moving and your waiting slots completely open will guarantee your victory.