Colony Flow Level 740 Walkthrough Solution & Guides | How to solve Colony Flow 740

Guide By Liam Stone
Updated on August 8, 2026
You can jump straight to the video above and watch the full Level 740 solution instead of reading on.
Video doesn't match your screen?
Game updates frequently scramble layouts! Try our AI Screenshot Solver first to find your exact board instantly, or report broken guides to our team.
Welcome back to another puzzle guide. Colony Flow Level 740 brings a fun retro camera picture to your screen but hides some tricky mechanics in the tray. You have a massive amount of background to clear and very limited tray space to manage your moves. I played through this level multiple times to find the safest path that keeps your waiting slots open. You will need careful planning to get past the locked blocks and linked boxes.
Colony Flow Level 740 Overview
What You Are Working With
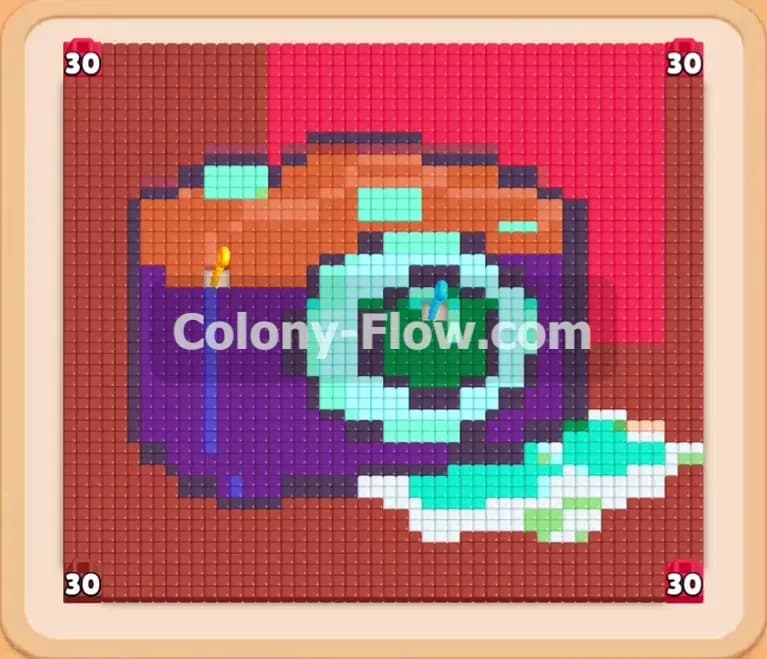
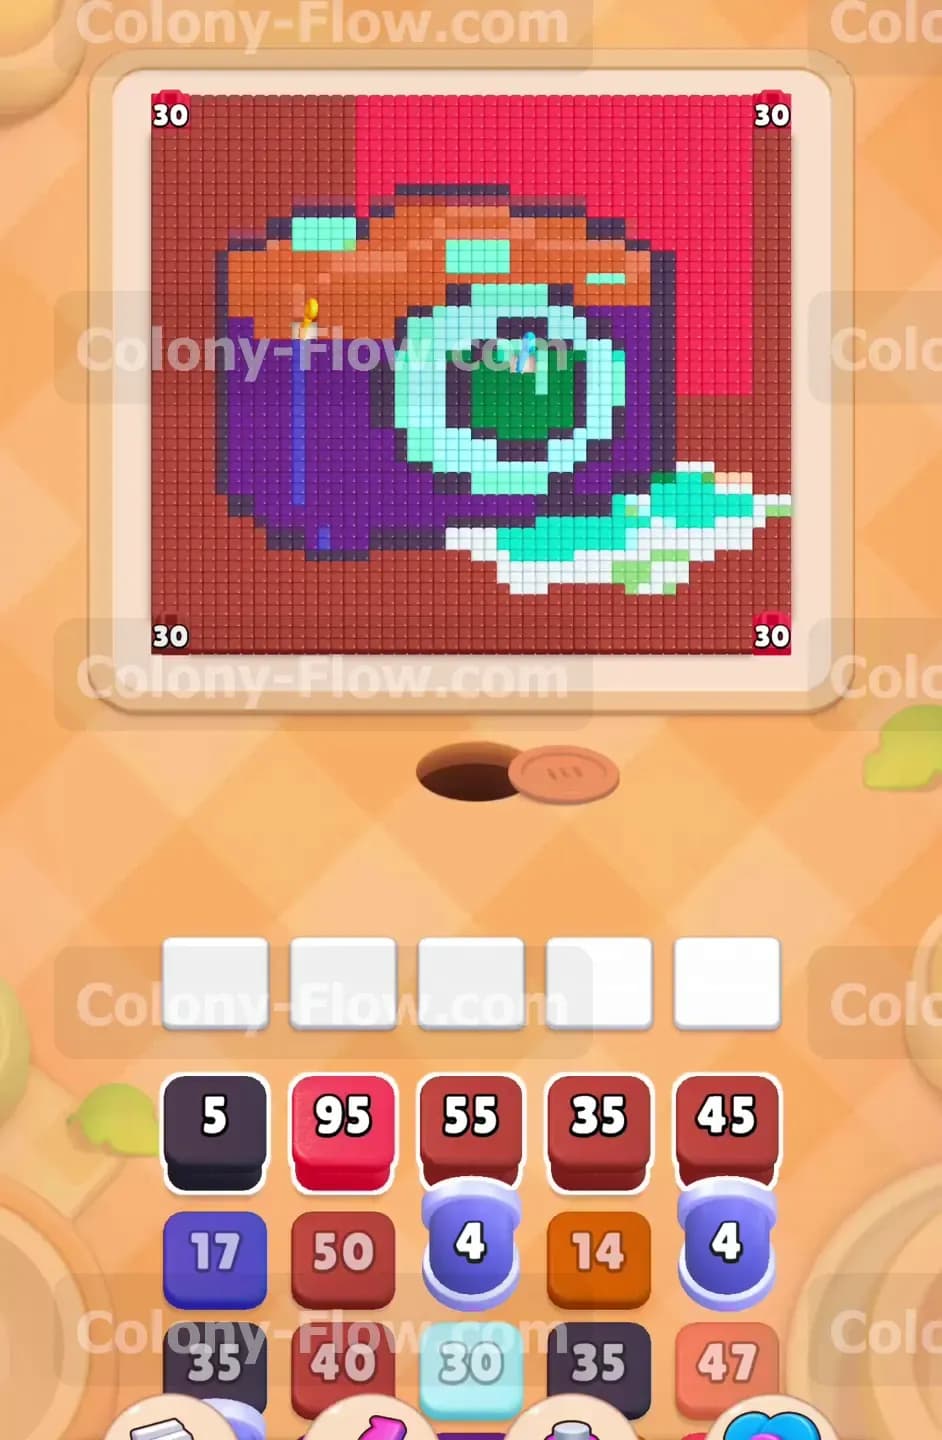
The picture on your board is a classic retro camera made of vibrant pixel art tiles. The camera features a large purple body and a bright orange and brown top section. The center holds a massive lens built out of teal and green blocks. You will also see some white flash paper shapes resting near the bottom right corner of the camera. The entire camera design sits on top of a solid red background that completely fills the outer edges of the board. Your tray at the bottom holds highly numbered color blocks. You will see red blocks carrying numbers like 95 and 55. This level also introduces two special mechanics that will challenge your tray management. One of your tray blocks is trapped behind a yellow lock. You must locate and collect the hidden key on the board before you can use that locked block. You will also deal with connected boxes. These are separate tray blocks physically linked together by bright colored lines.
What It Takes to Clear Level 740 Board
You win the level when every single tile is cleared from the board and the ants return to the nest. Your absolute biggest threat is the row of five waiting slots just above your tray. If you fill all five waiting slots with blocks that have no open paths to their matching board colors, you lose the level instantly. The entire board jams and no ants can move. Your main goal is to feed the ants the right blocks in the exact right sequence to guarantee they always have an open path. You must carefully strip away the solid red background first because it blocks all access to the purple camera body. You will constantly balance large numbered blocks against the speed of the ants to ensure your slots never jam up.
Colony Flow Level 740 Step by Step Solution
Step 1: Start with the heavy red background blocks to expose the camera
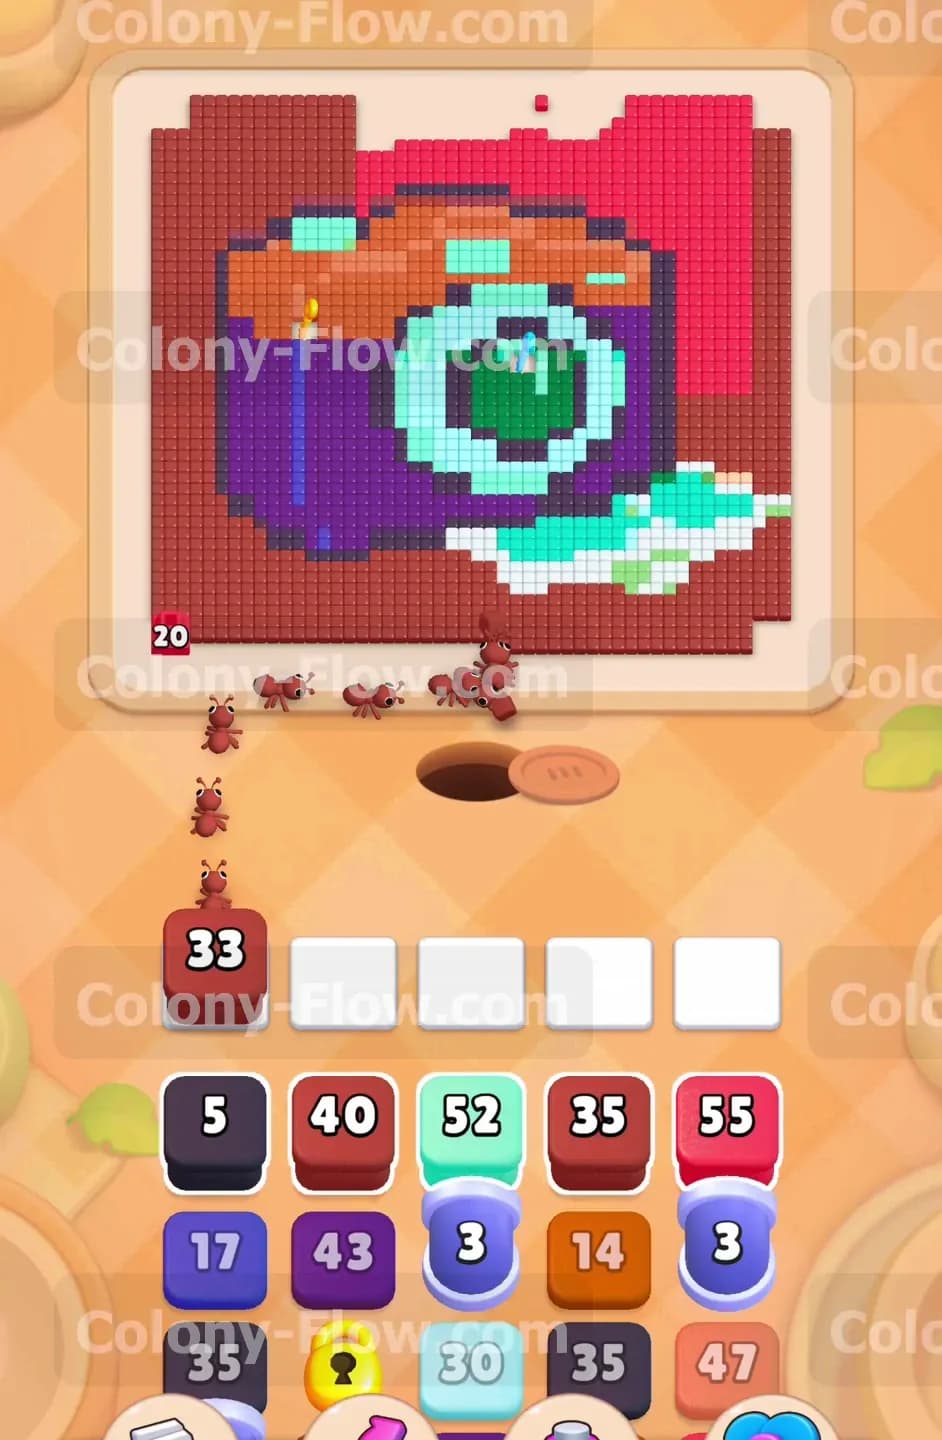
The board begins with only the red outer background tiles exposed for the ants to eat. You must tap your red 95 block first to send it up to your first waiting slot. A huge swarm of ants will stream out of the nest hole and march toward the red border. Do not touch any other colors in your tray right now. The purple camera body is completely sealed off by the red background tiles. If you pull a purple or orange block into a waiting slot, it will just sit there frozen. The ants cannot reach the purple food yet so that waiting slot becomes completely useless. You must wait for the ants to reduce the red 95 block down to zero. Once that large block finally clears out of the waiting slot, you can pull your next large red block. I brought up the red 55 block next so the ants could continue chewing through the top and side background borders.
Step 2: Open safe paths to the purple camera body
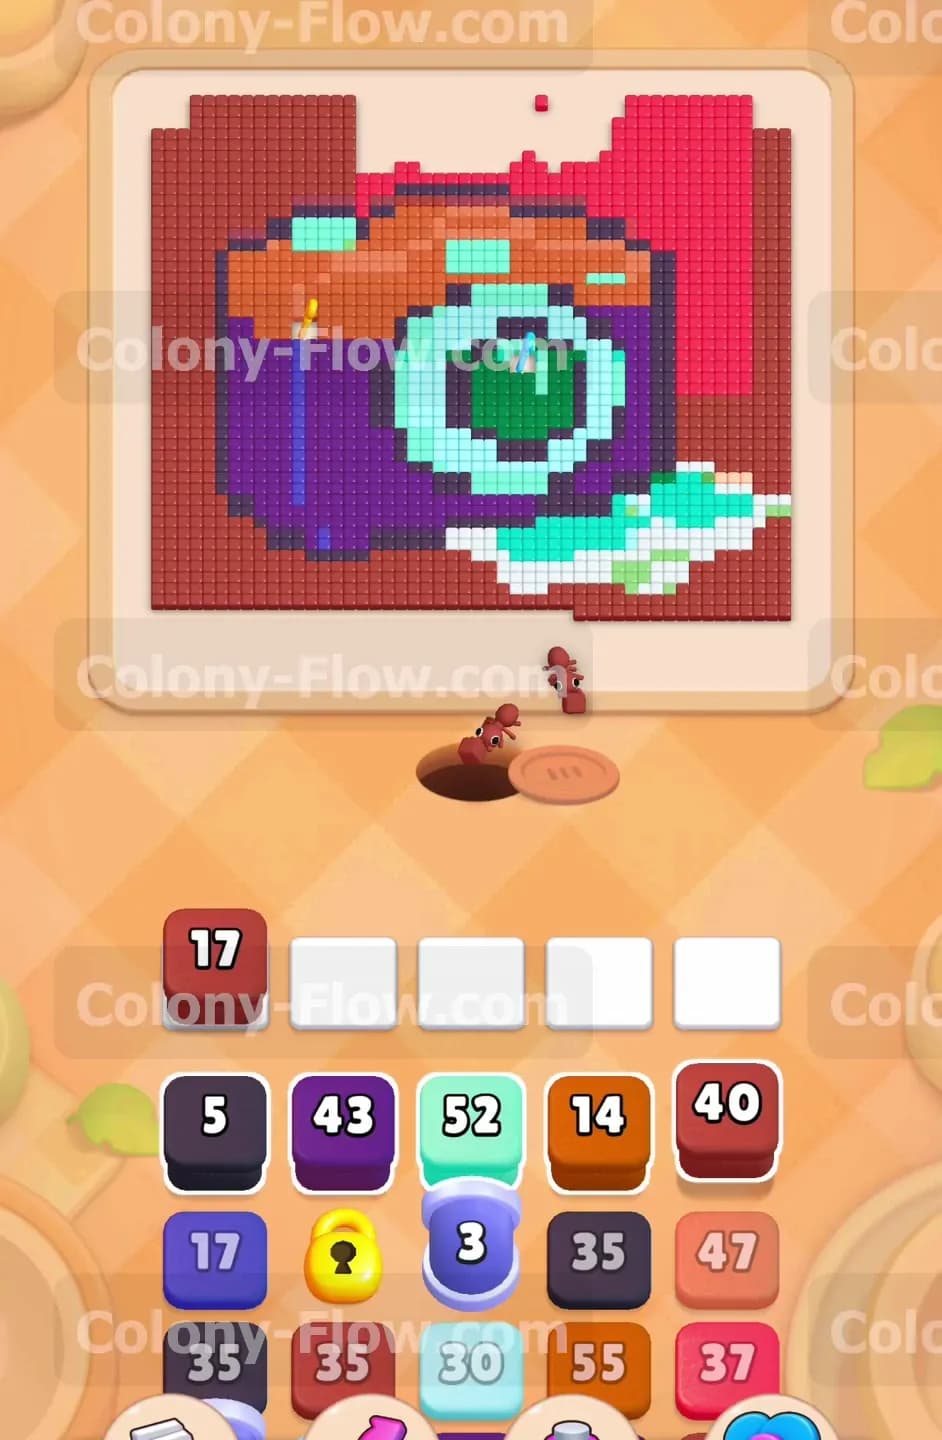
The ants will eventually eat away enough of the red background to expose the outer edges of the purple camera body. Now you have a clear and safe path for your purple blocks. Pull the purple 17 block into an empty waiting slot. The ants will immediately target the exposed left and right sides of the camera body. You can also pull a smaller purple 4 block to help speed up the clearing process. You must keep a close eye on your row of five waiting slots. You always want to leave at least two empty slots open at all times just in case you make a slight mistake. Let the ants carve out the bottom half of the purple camera. This steady progress will expose the bright white tiles sitting near the bottom right corner of the picture.
Step 3: Collect the key to free your locked tray block
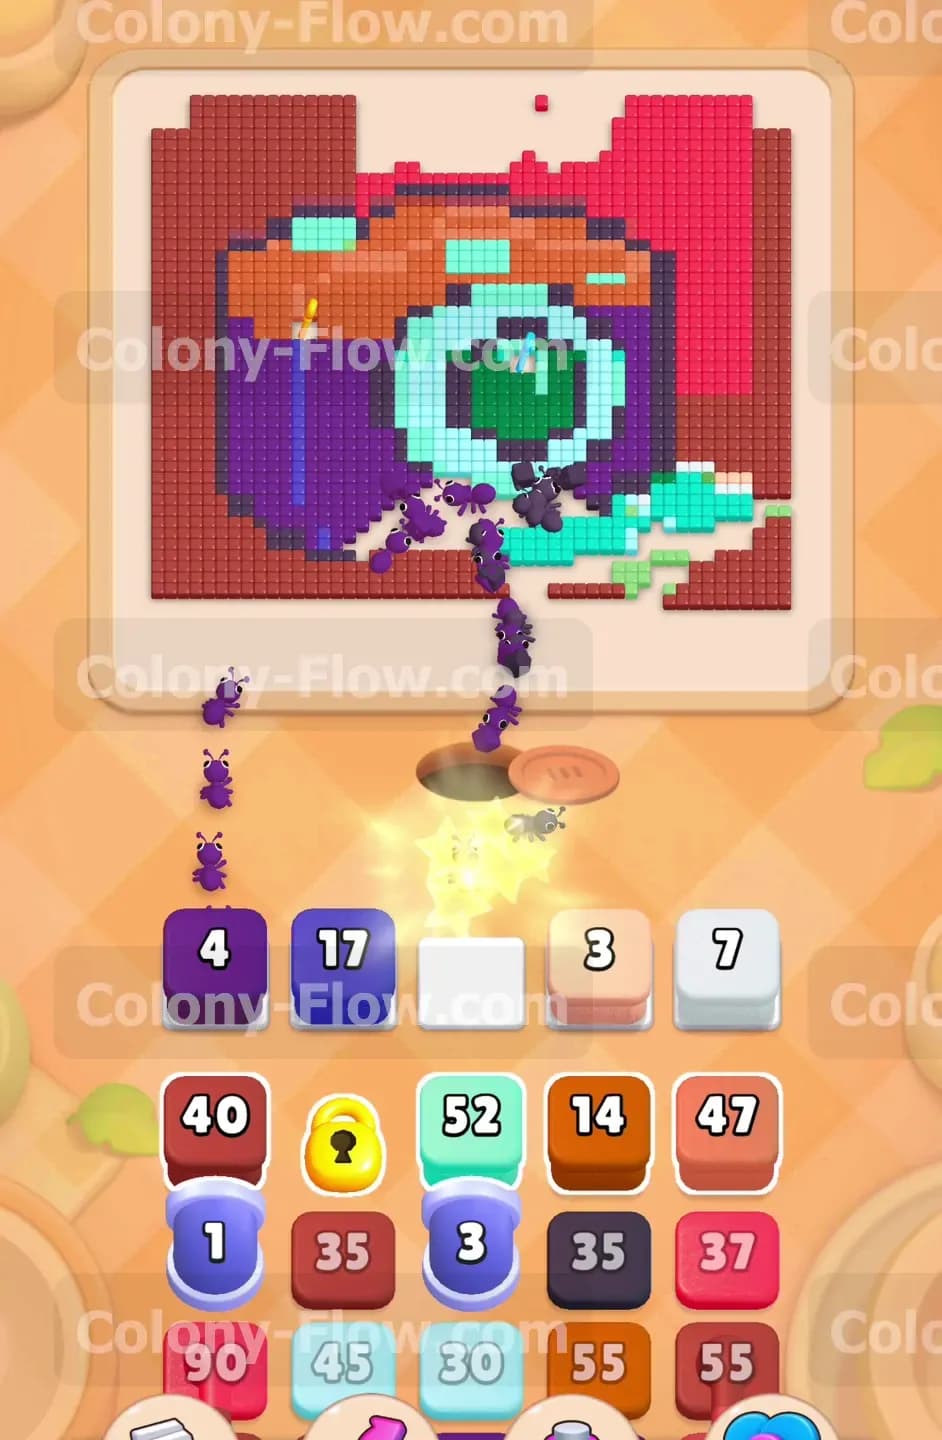
You will notice a large yellow lock covering one of your crucial blocks down in the tray. You cannot tap this block or move it until you find the hidden key. The key is located among the white tiles at the bottom right corner of the camera design. Pull a white 3 block and a white 7 block into your available waiting slots. The ants will rush straight to the bottom right corner and rapidly clear those white flash shapes. Clearing these specific white tiles automatically collects the key for you. The yellow lock immediately vanishes from your tray. This frees up a vital new block for you to use in the upcoming steps. You should never let locked blocks force you into a bad position. Always prioritize clearing the specific board area that holds the key so you regain full access to your tray options.
Step 4: Clear the teal and green camera lens sections
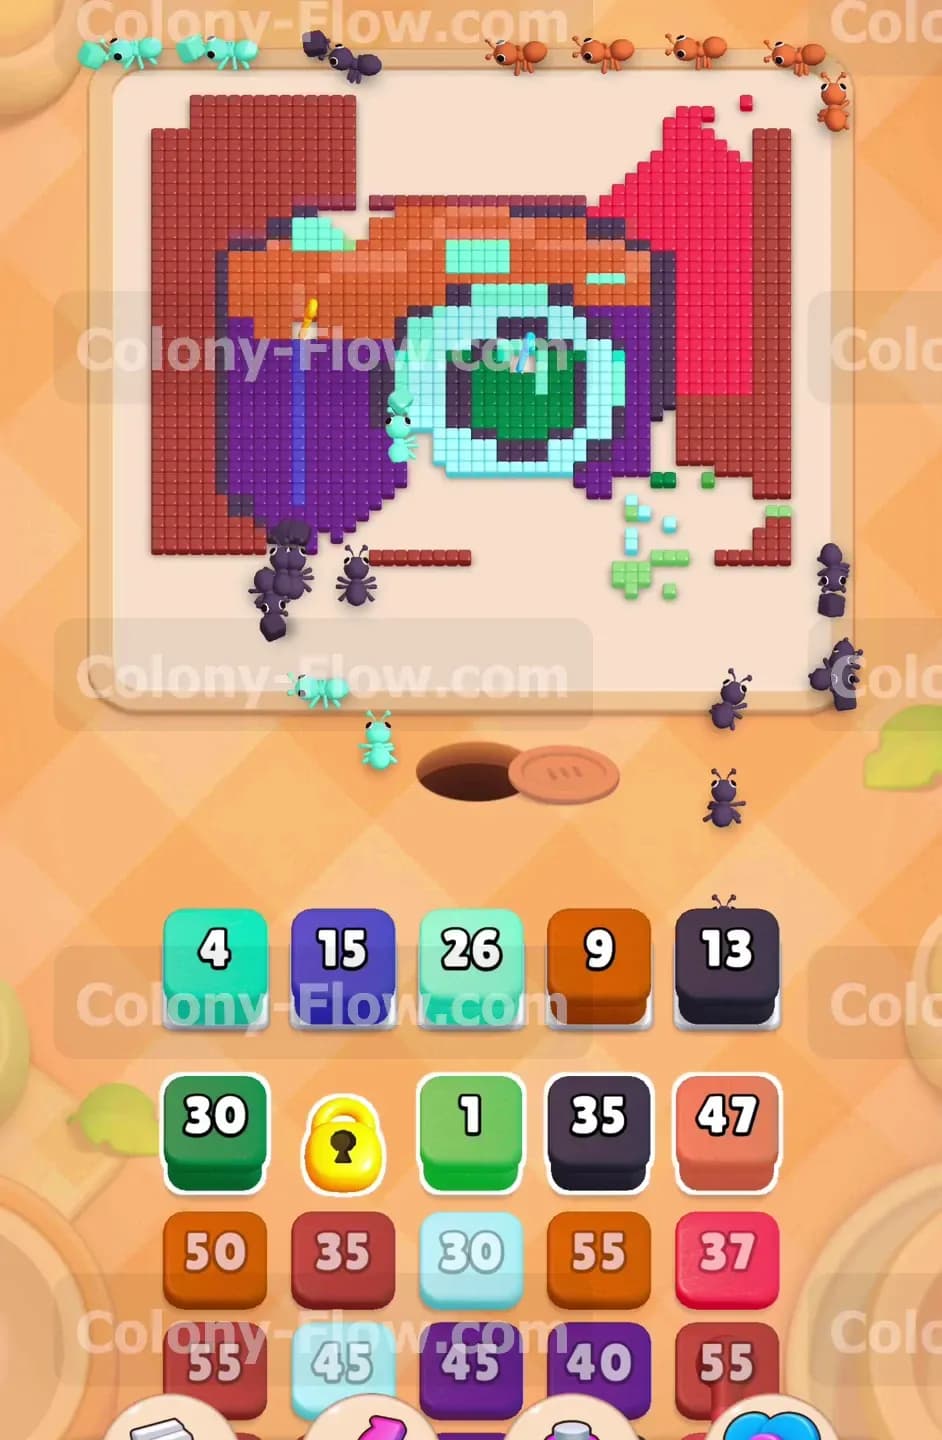
The dead center of the camera features a massive round lens made entirely of teal and green tiles. The ants have now cleared away enough purple tiles to easily reach this central area. Pull the teal 52 block up into an open waiting slot. A massive wave of light blue ants will flood into the center of the board. This is a very large number so it will take a significant amount of time for the ants to carry away 52 tiles. Do not panic and start randomly tapping other blocks while you wait. Just let the teal ants do their work and clear the outer ring of the lens. Once the teal block hits zero and vanishes, you can tap a green block to clear the inner ring of the lens. You always want to fully finish one complete section before opening up too many random colors.
Step 5: Pull the first set of connected boxes safely
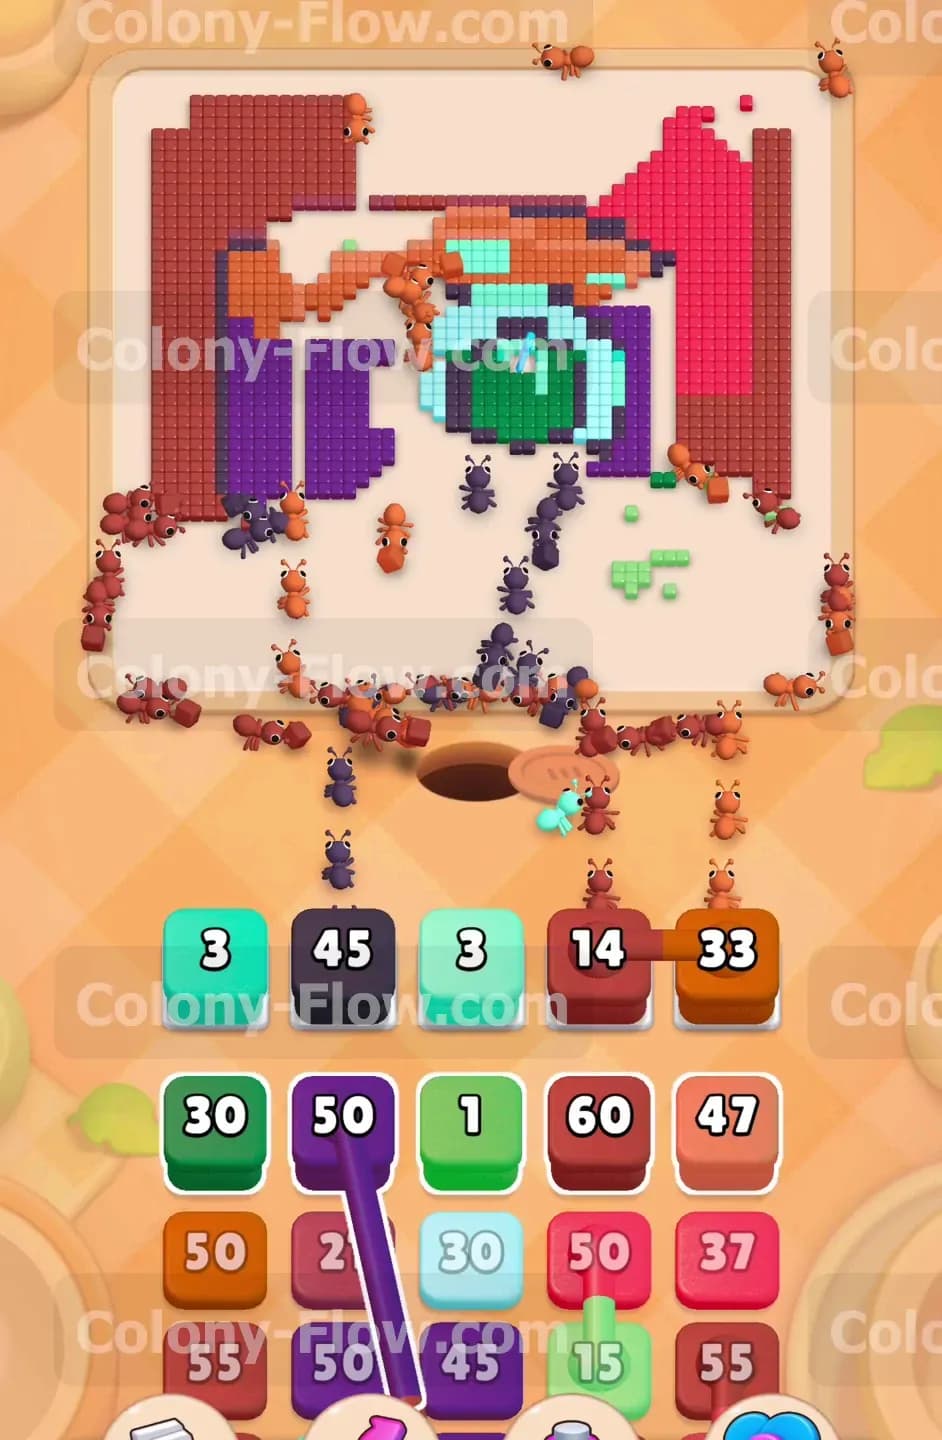
Look closely at your tray and you will notice bright colored lines linking two distinct blocks together. These are the connected boxes. When you tap just one of these blocks, every single linked block jumps up into your waiting slots at the exact same time. This is easily the most dangerous mechanic in the entire level. If you tap a pair of connected boxes recklessly, they instantly consume two of your precious five waiting slots. Before you even think about touching them, you must look at the game board and guarantee that both required colors have fully exposed paths. I waited until the camera body was completely accessible before pulling the purple and orange connected boxes. Because the ants had clear access to both colors simultaneously, the numbers ticked down fast and my slots stayed safe.
Step 6: Target the orange and brown camera top
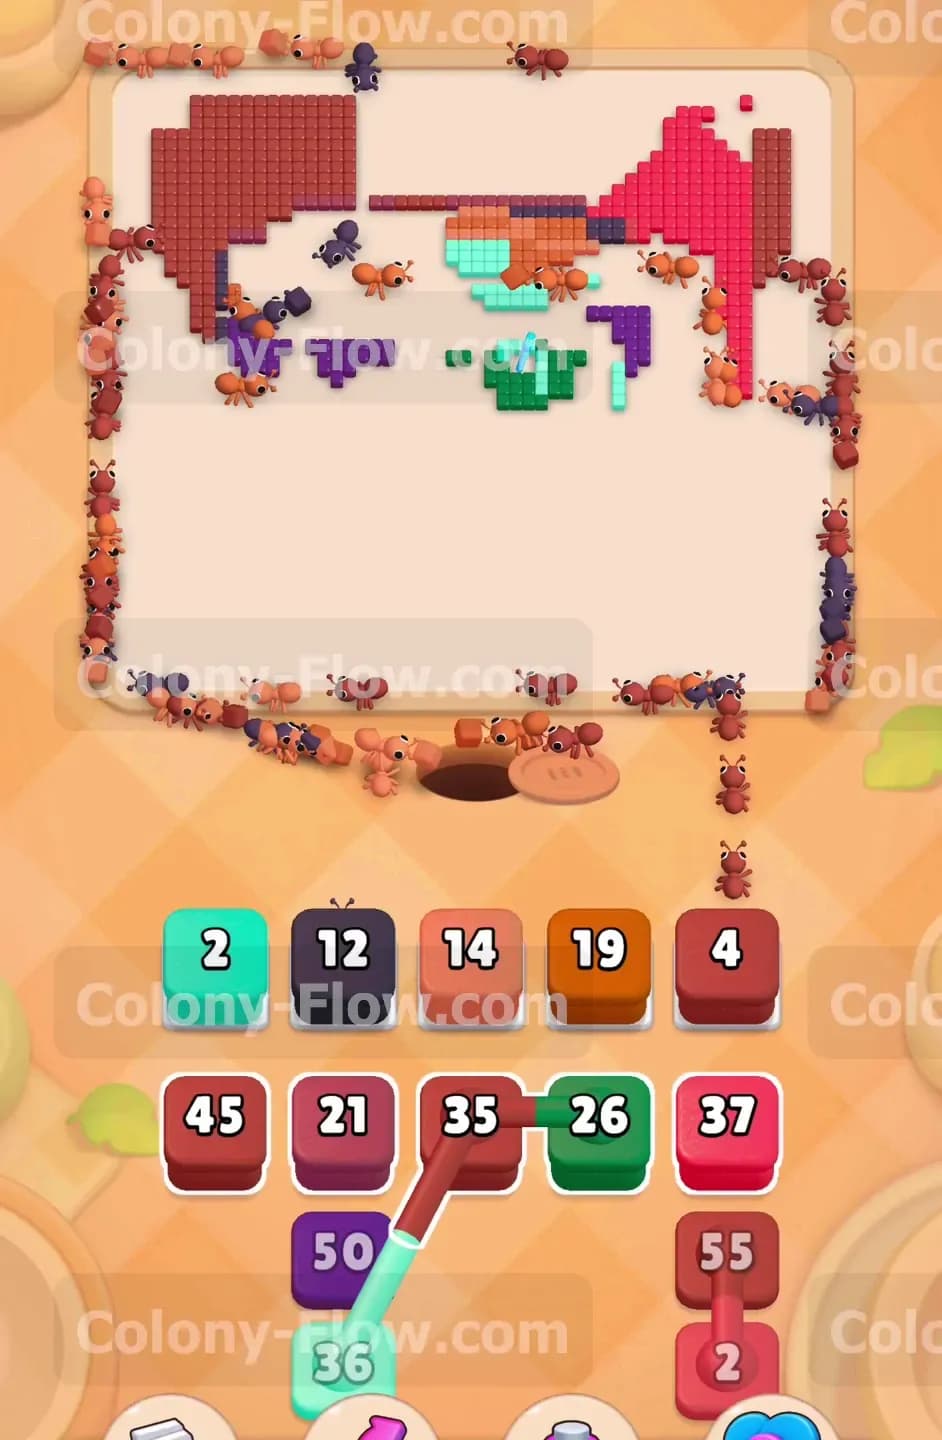
The very top section of the camera features thick layers of orange and brown tiles. You successfully opened the path to this area by clearing away the upper purple tiles in the previous steps. Pull your brown 35 block and your orange 14 block into the waiting slots. The ants will march straight up the middle of the board and branch out across the entire top of the camera. This specific section clears out quite fast because the orange and brown tiles are clustered tightly together. Just watch out for your remaining red background tiles. Do not let the ants get distracted by pulling the wrong colors. Keep your total focus on finishing the camera top so you have maximum flexibility for the final few moves of the level.
Step 7: Manage the massive red connected boxes
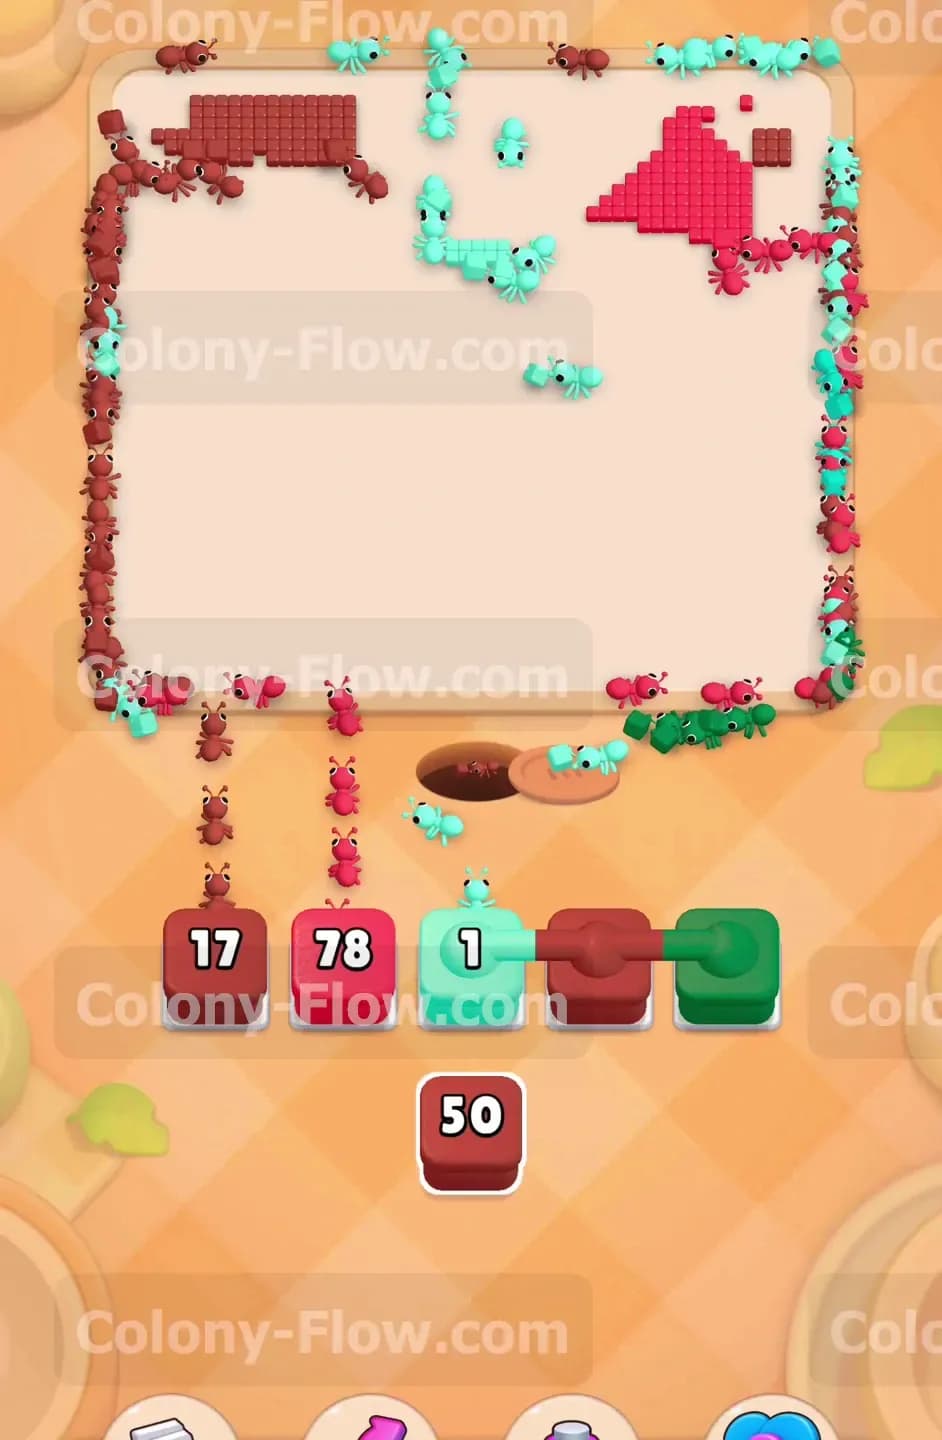
As you reach the final stages of your tray, you will face another challenging set of connected boxes. This time you have massive red blocks physically linked together by a line. You will see a red 35 block linked directly to a red 55 block. Pulling this pair will instantly fill two waiting slots and demand 90 accessible red tiles to clear. Thankfully you left the remaining red background tiles completely exposed around the entire outer border of the picture. Tap the linked red boxes now. The ants will swarm the entire perimeter of the screen. Because the whole outer edge is completely open, the ants have hundreds of valid paths to take. These incredibly large numbers will count down smoothly without ever jamming your waiting slots.
Step 8: Final cleanup of the remaining outer borders
The game board is now mostly empty space. You only have a few scattered red and purple tiles lingering in the very top corners of the screen. Your tray will only have a handful of small numbered blocks left to play. Tap them one at a time to be absolutely safe. Pull a red 4 block to clear out the top right corner. Pull a purple 2 block to finish off the last tiny remaining piece of the camera body. Since you only have a few actual tiles left on the board, these blocks will process almost instantly. The final few ants will grab the last pieces of food and vanish right down the nest hole. The picture is totally clear and you have beaten the level.
Final Thought
Level 740 truly tests your patience and your ability to read the board before committing to a move. The connected boxes will easily ruin your run if you tap them without verifying your exposed paths first. Take your time and always let the massive red blocks finish their countdowns before crowding your slots. Feel free to watch the video above this article if any step is hard to follow in text. Good luck with your puzzle solving.