Colony Flow Level 179 Walkthrough Solution & Guides | How to solve Colony Flow 179

Guide By Liam Stone
Updated on July 12, 2026
You can watch the full Level 179 walkthrough in the video above if you'd rather not read through every step.
Video doesn't match your screen?
Game updates frequently scramble layouts! Try our AI Screenshot Solver first to find your exact board instantly, or report broken guides to our team.
Colony Flow Level 179 presents a vibrant geometric mandala design that requires careful planning to dismantle. You face a beautiful but intimidating board filled with dense clusters of colorful food tiles. Your main challenge is breaking through the thick central cross while managing your tray space to avoid a traffic jam. The outer corners look tempting to attack early but the real puzzle lies in unlocking the hidden keys embedded deep within the design.
Colony Flow Level 179 Overview
What You Are Working With
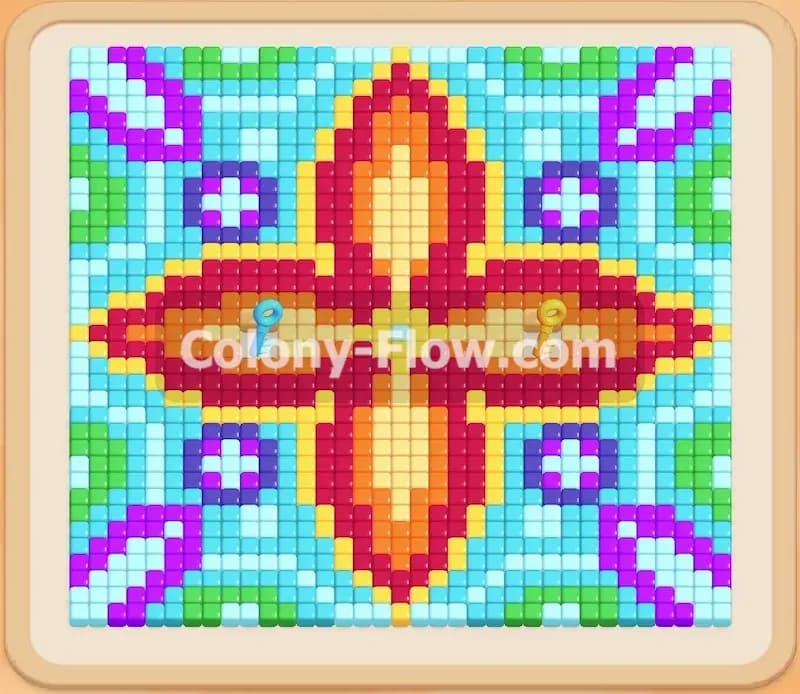
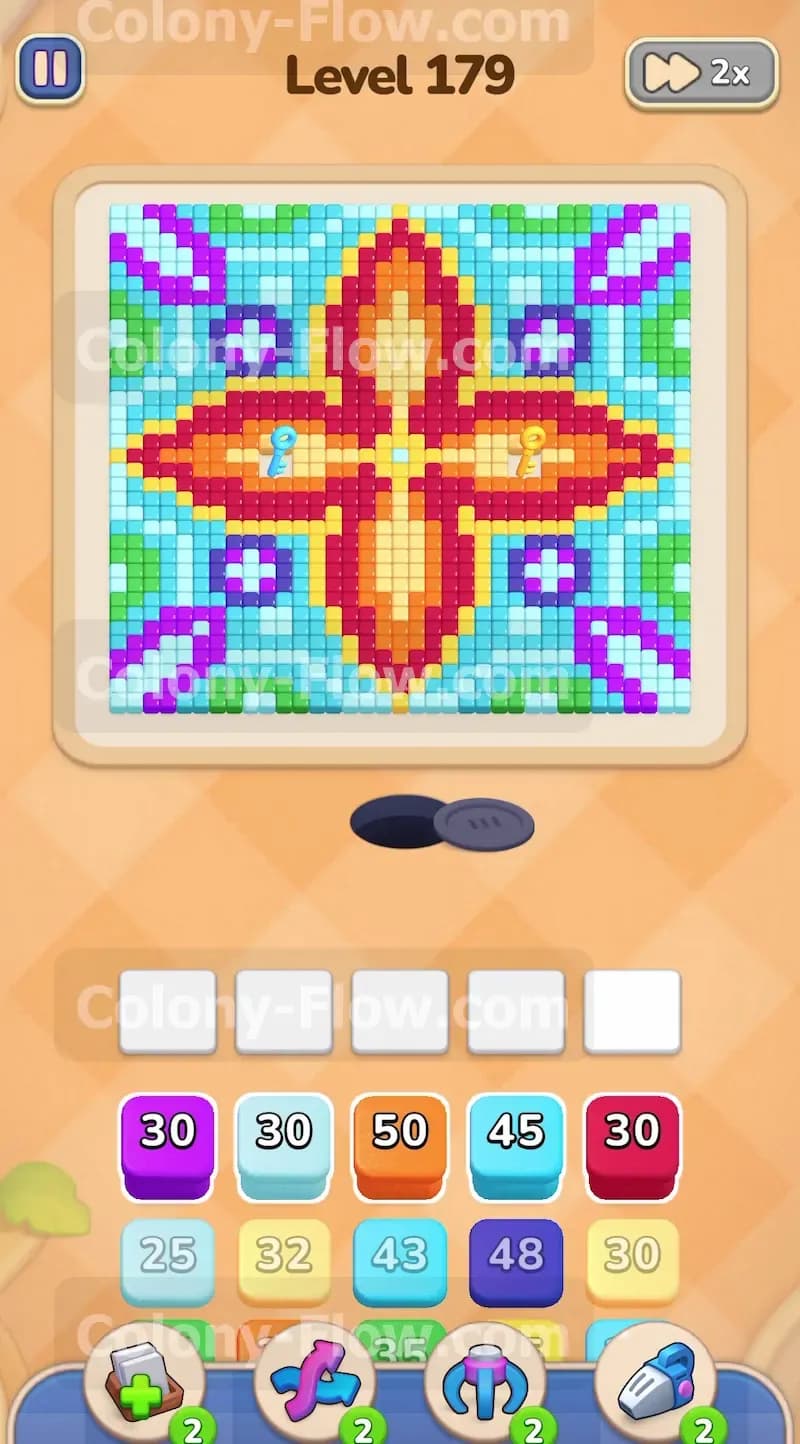
The board displays a stunning symmetrical pattern. A massive four pointed flower shape sits right in the center. This core shape consists of bright yellow tiles surrounded by thick layers of orange and red blocks. The four corners of the board feature intricate matching designs made of purple, green, light blue, dark blue, and cyan tiles. The colors pop brightly against the light background.
You also have a special mechanic to deal with on this board. You will notice colorful keys resting on top of specific food tiles near the middle section of the screen. These are part of the lock and key system. Down in your tray you have certain blocks trapped behind padlocks. You cannot use these locked blocks until you collect the corresponding keys from the board. To grab a key you must deploy the right color block to command your ants to eat the exact food tile underneath that key.
Your tray starts packed with high capacity blocks. You will see purple blocks carrying thirty ants and light blue blocks holding forty five ants. You even have massive orange blocks that hold fifty ants at a time. The sheer volume of ants required to clear these sections means you must create wide open paths early on.
What It Takes to Clear Level 179 Board
You must direct your ants to consume every single food tile on the screen to win. The main rule of the game dictates how you approach this goal. You have exactly five waiting slots at the bottom of the board above your tray. Every time you tap a colored block it moves up into one of these slots. The ants then stream out of their nest and use that block to eat matching food tiles.
If you fill all five waiting slots and none of those colors have an open path to matching food you will lose the level instantly. The slots will jam and the ants will stop moving. You clear Level 179 by carefully pacing your block deployments. You must always ensure at least one active path remains open for the ants to travel. Prioritizing the keys early opens up your locked tray blocks and gives you the flexibility needed to finish the top corners.
Colony Flow Level 179 Step by Step Solution
Step 1: Open the bottom edges to create your initial paths
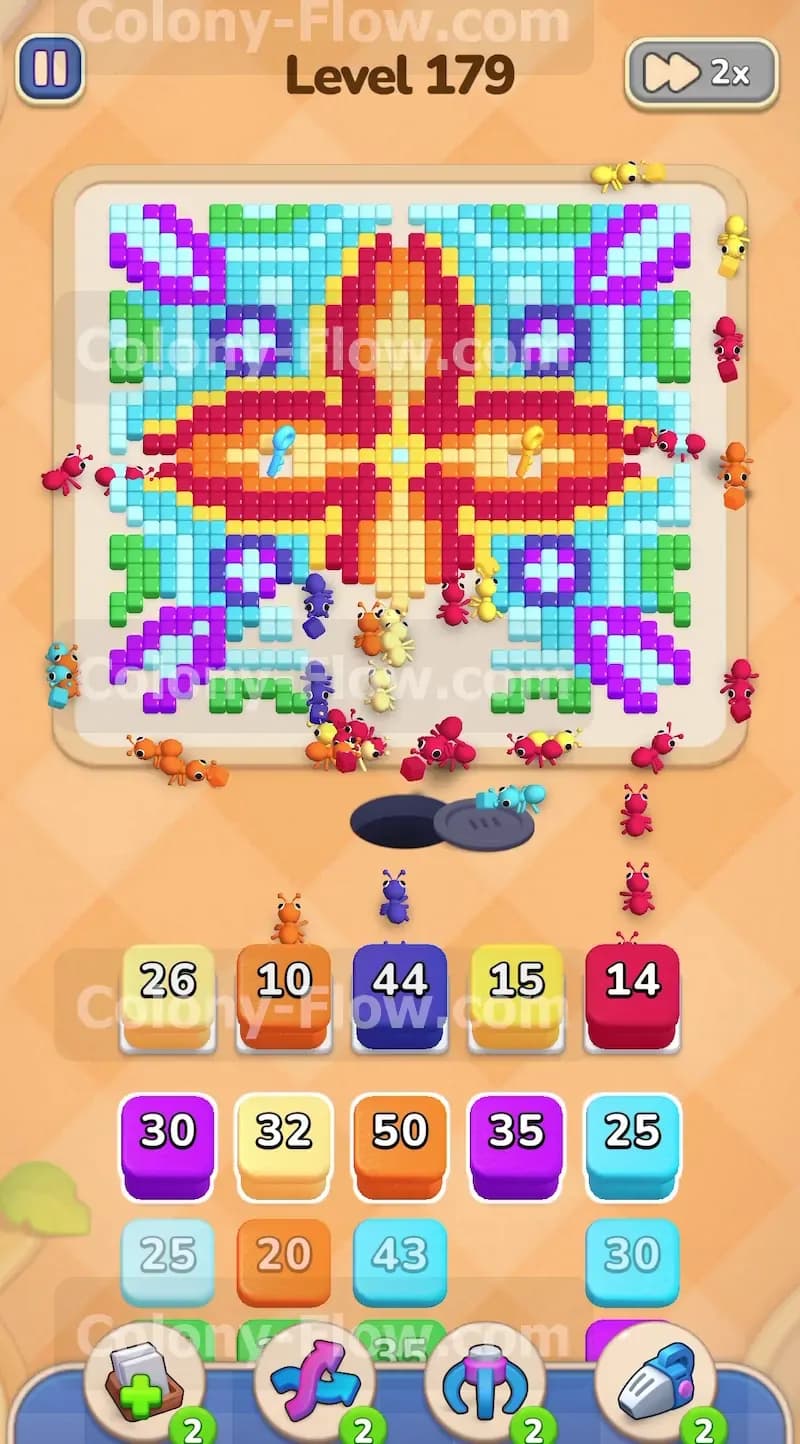
You start the level facing a solid wall of colors. Tap the purple block with thirty ants and the red block with thirty ants to get things moving. The ants stream out of the nest and immediately attack the bottom rim of the design. They chew through the lower purple corners and start chipping away at the bottom tip of the central red cross. You also want to bring up a light blue block to clear the cyan and blue tiles resting near the bottom edge. This initial wave of ants creates a crucial opening at the base of the board. You now have multiple entry points into the dense central flower shape. Keep a close eye on your five waiting slots during this opening phase. Let the ants finish their current blocks before you pull too many new ones up from the tray.
Step 2: Push into the red border of the central cross
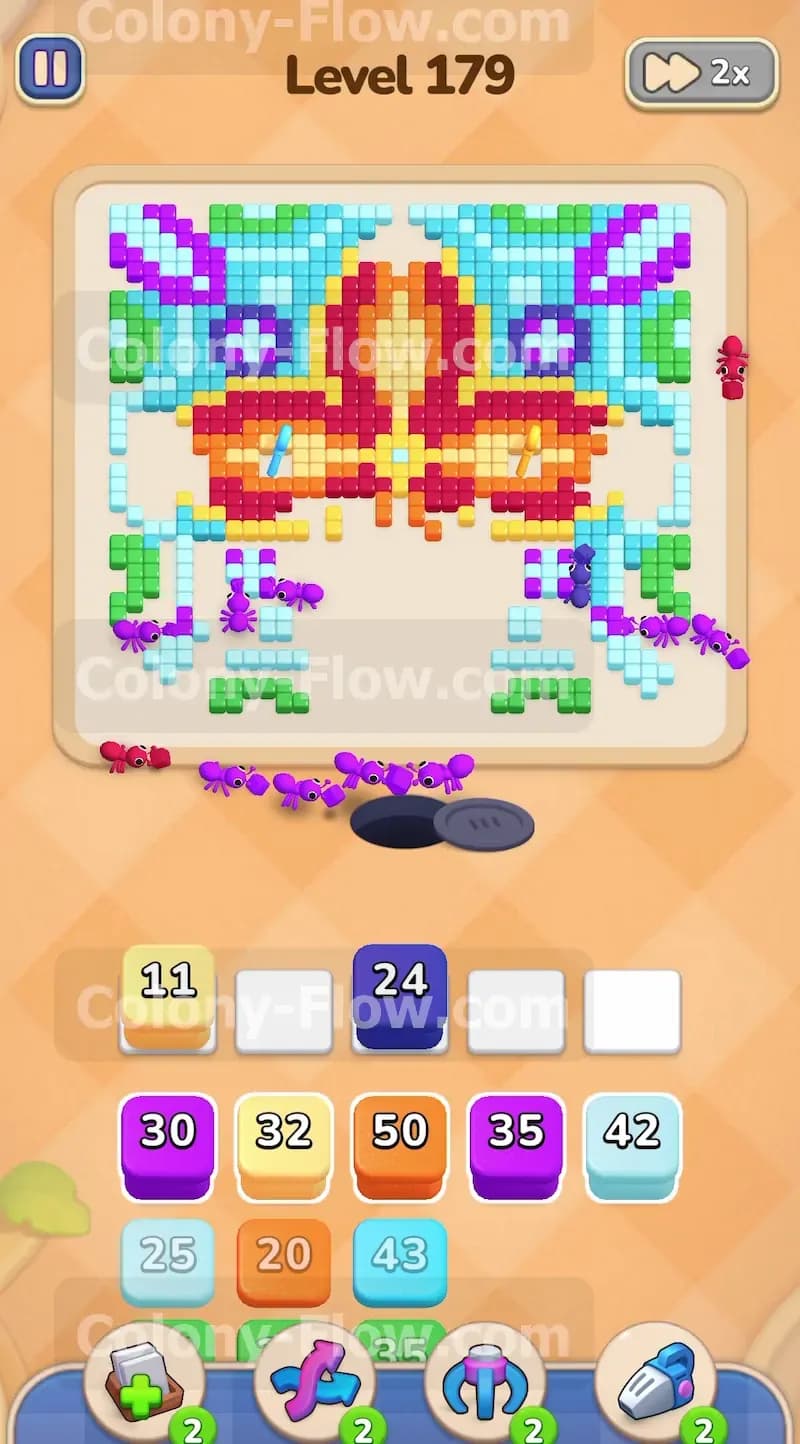
With the bottom edge cleared your ants now have direct access to the thick red border surrounding the center. Deploy another red block to command your colony to eat upward. The ants will march in a straight line and devour the red tiles forming the lower half of the flower. This move is vital because it exposes the massive orange and yellow core. You will see your ants splitting off to the left and right as they follow the red path. This branching movement is excellent for keeping your waiting slots empty. The ants process the blocks much faster when they have multiple paths to chew on simultaneously.
Step 3: Unleash the large orange blocks into the core
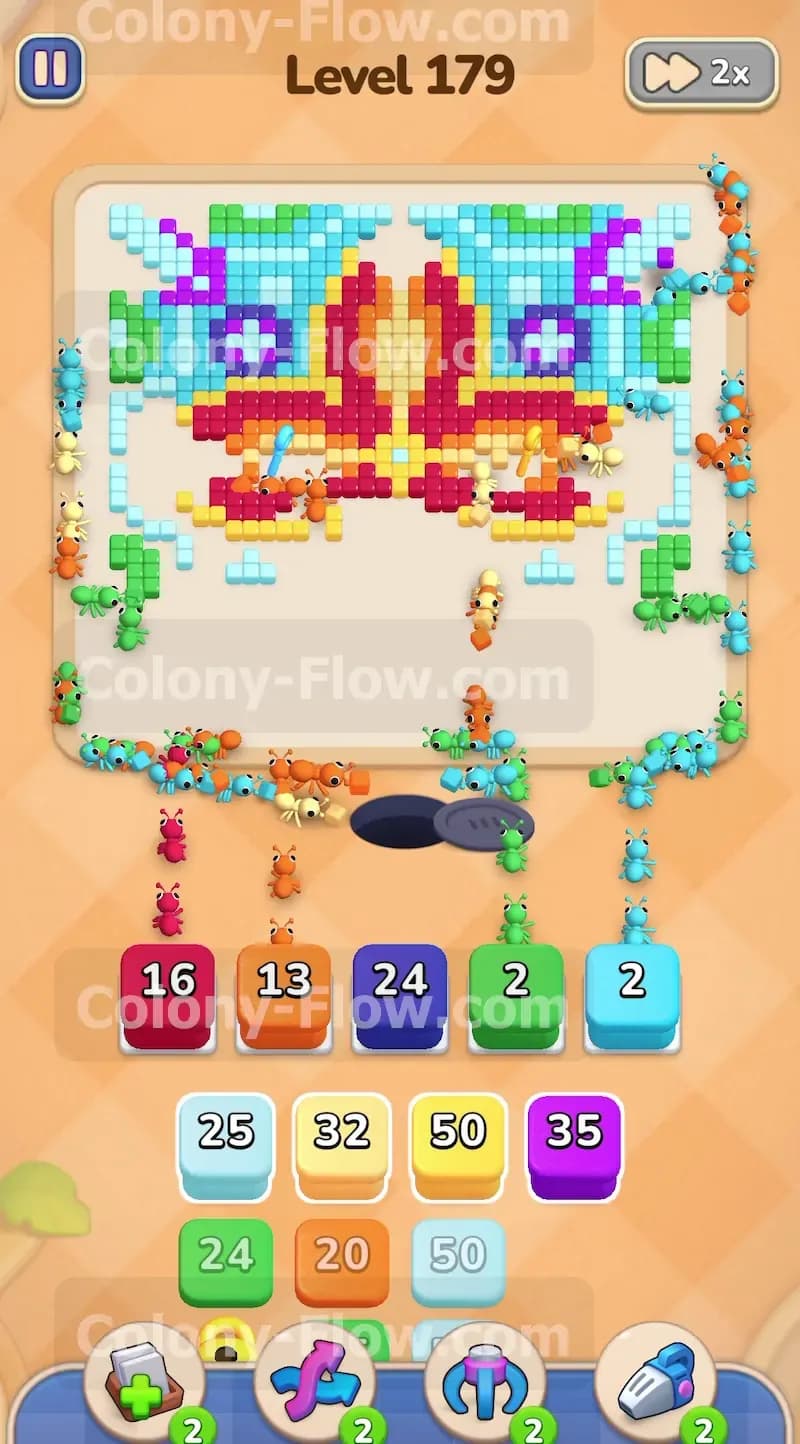
Now that the red border is broken you can attack the dense orange layer. Tap the orange block holding fifty ants. This is a massive deployment. The ants will swarm the lower half of the central orange section. Because the path is so wide they will eat through the tiles at a very rapid pace. Watch as the bright orange layer vanishes and reveals the bright yellow center underneath. You want to follow this up immediately with a yellow block. Tap the yellow block holding thirty two ants and watch the colony hollow out the very heart of the flower. This creates a massive empty space in the middle of the board and completely changes the layout of the remaining puzzle.
Step 4: Clear the lower side wings to widen the board
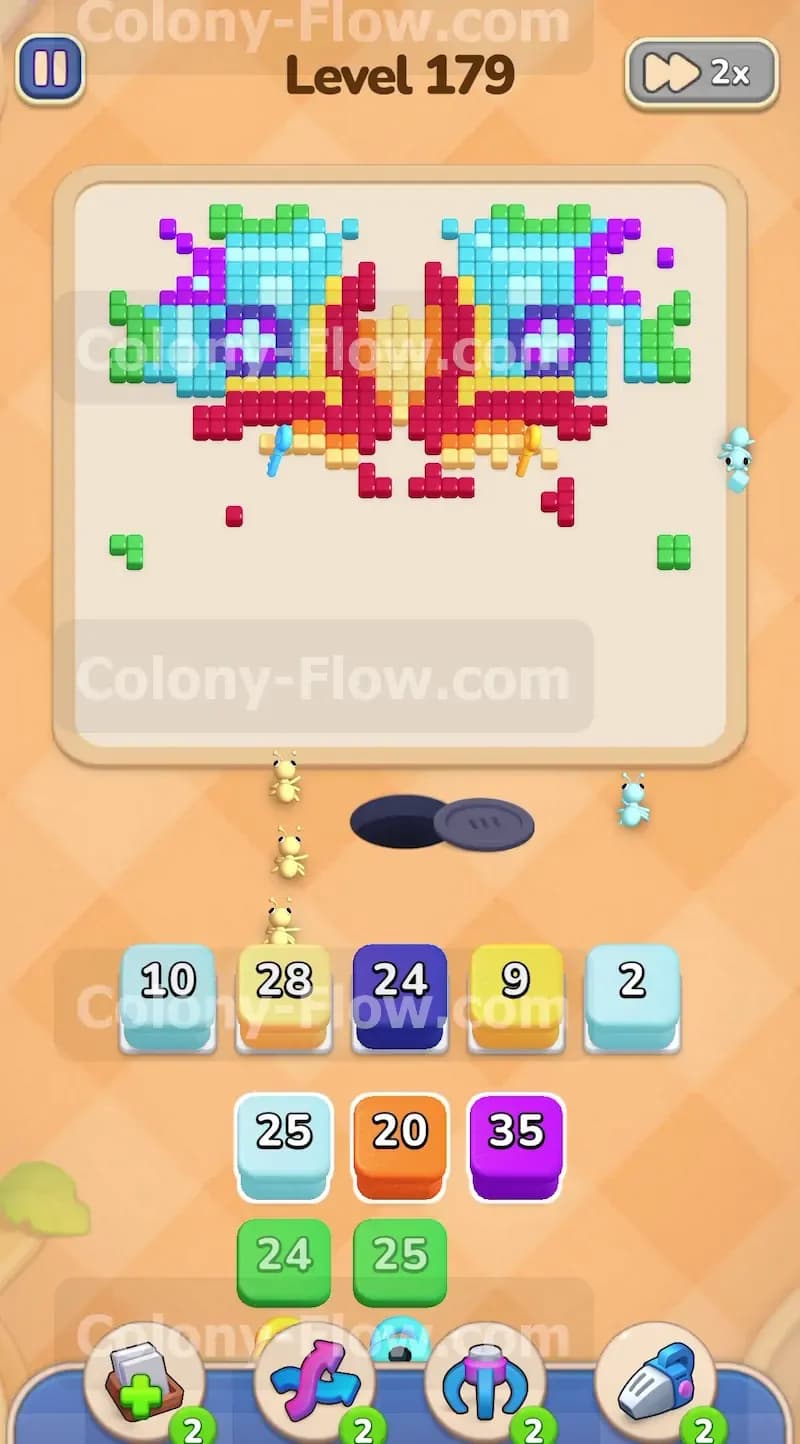
The center is now hollow but you still have thick clusters of tiles on the left and right sides. Look at the lower sections of these side wings. You will see green and purple tiles waiting to be eaten. Deploy a green block and a purple block from your tray. The ants will march up through the newly cleared central space and branch outward to the sides. This horizontal movement clears a huge chunk of the board. It also serves a strategic purpose. By clearing the inner edges of the side wings you create even more room for your ants to maneuver. You never want to force your colony to walk single file if you can avoid it. Wide open spaces mean your blocks deplete faster and your waiting slots stay clear.
Step 5: Target the specific tiles holding the hidden keys
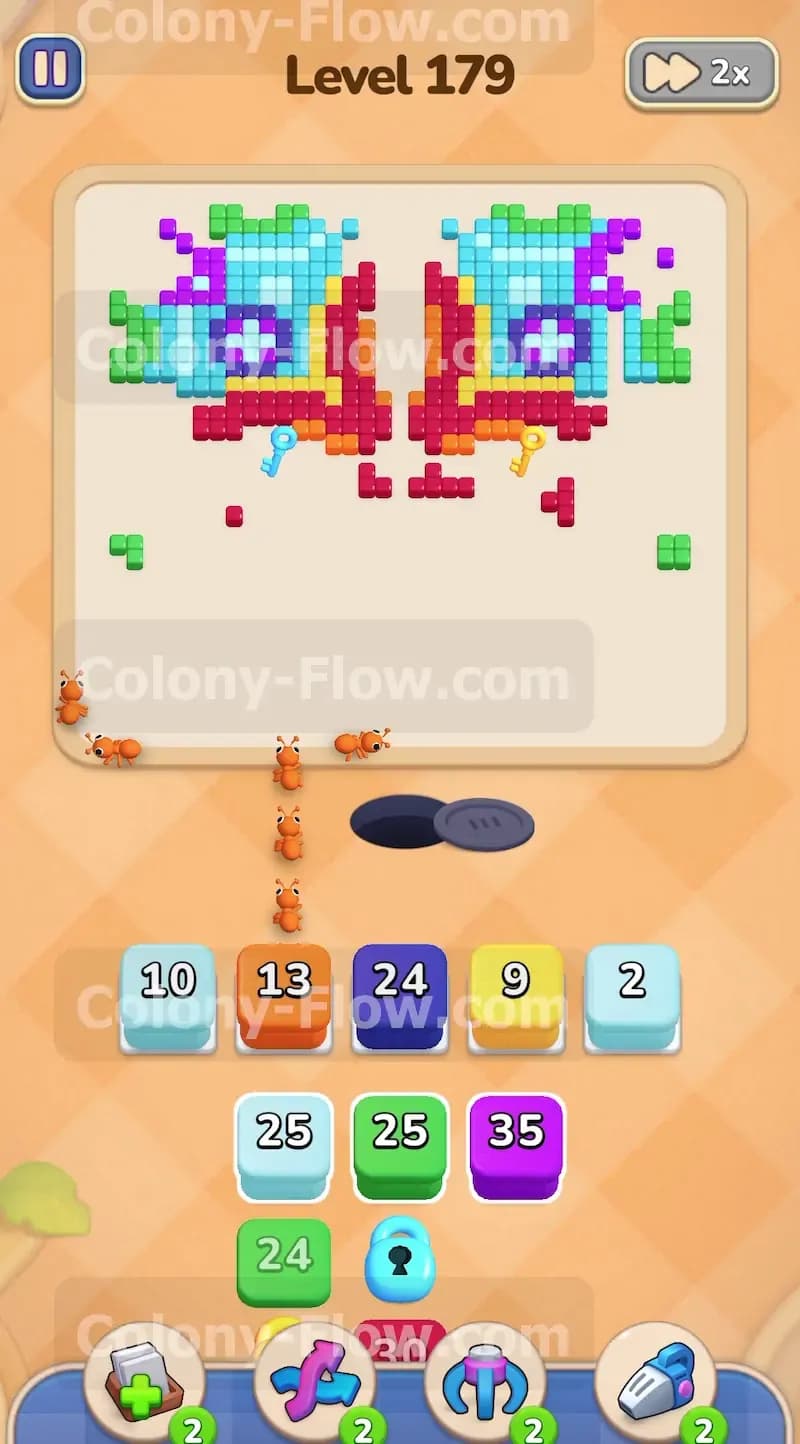
This is the most critical moment of the level. Look closely at the remaining structure near the middle of the screen. You will spot the keys resting on top of the food tiles. There is a key on the left side and another key on the right side. You must free these keys to unlock the trapped blocks down in your tray. Identify the exact color of the food tile sitting directly underneath each key. Deploy the matching colored blocks from your tray to send your ants after those specific tiles. Once the ants consume the food the keys will drop down and unlock your trapped tray blocks. Do not pull any other colors into your waiting slots until you secure these keys. A traffic jam here will end your game.
Step 6: Dismantle the upper half of the red and orange cross
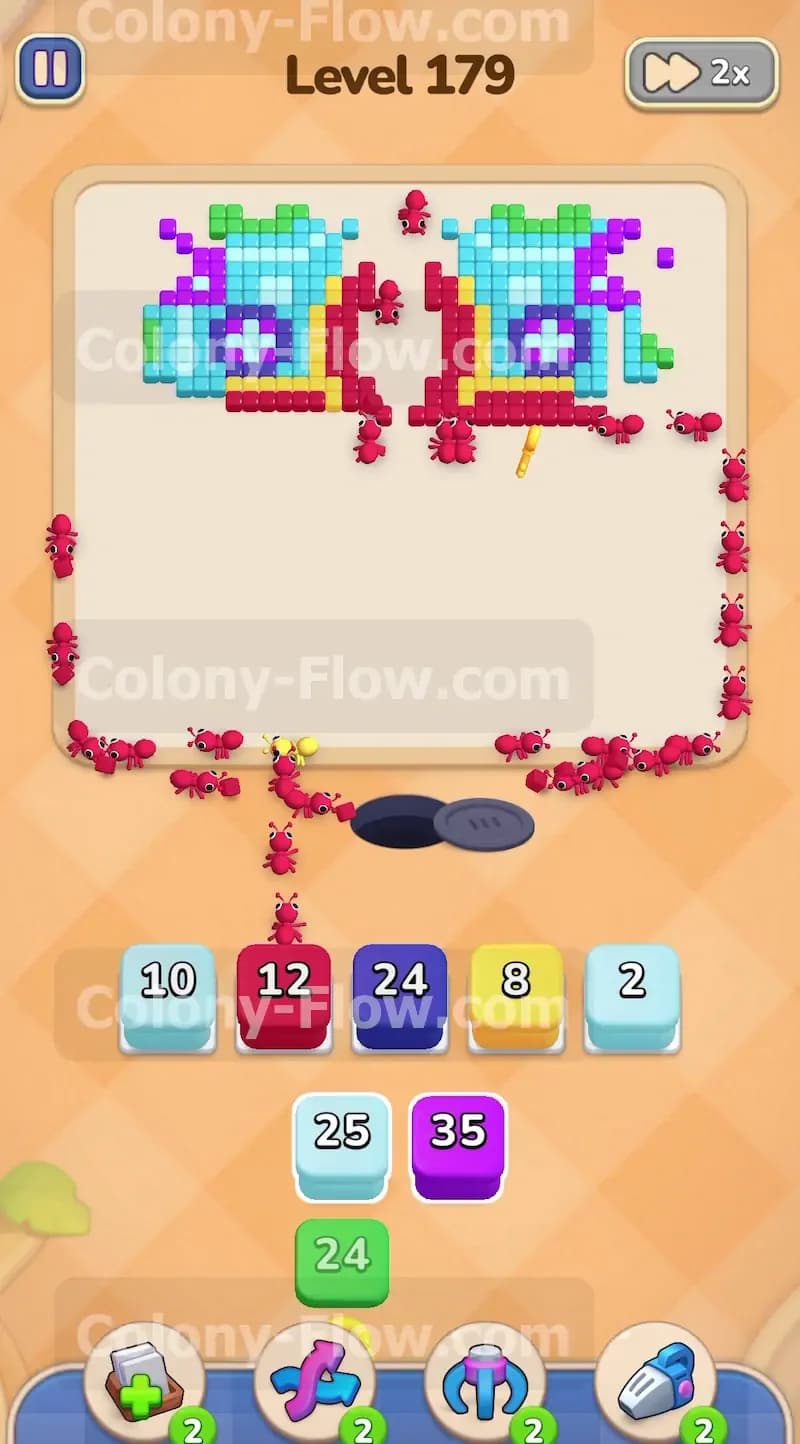
With the keys collected and your tray fully unlocked you can resume clearing the main structure. The top half of the central cross still remains. Tap your remaining red and orange blocks to send the colony upward. The ants will eat through the top vertical section of the flower. As they clear these tiles the single massive shape splits into two completely separate islands of tiles in the top left and top right corners. This split requires you to change your deployment strategy. You must now balance your pulls between the left and right sides to keep the ants moving smoothly toward both corners at the same time.
Step 7: Push into the top left and top right clusters
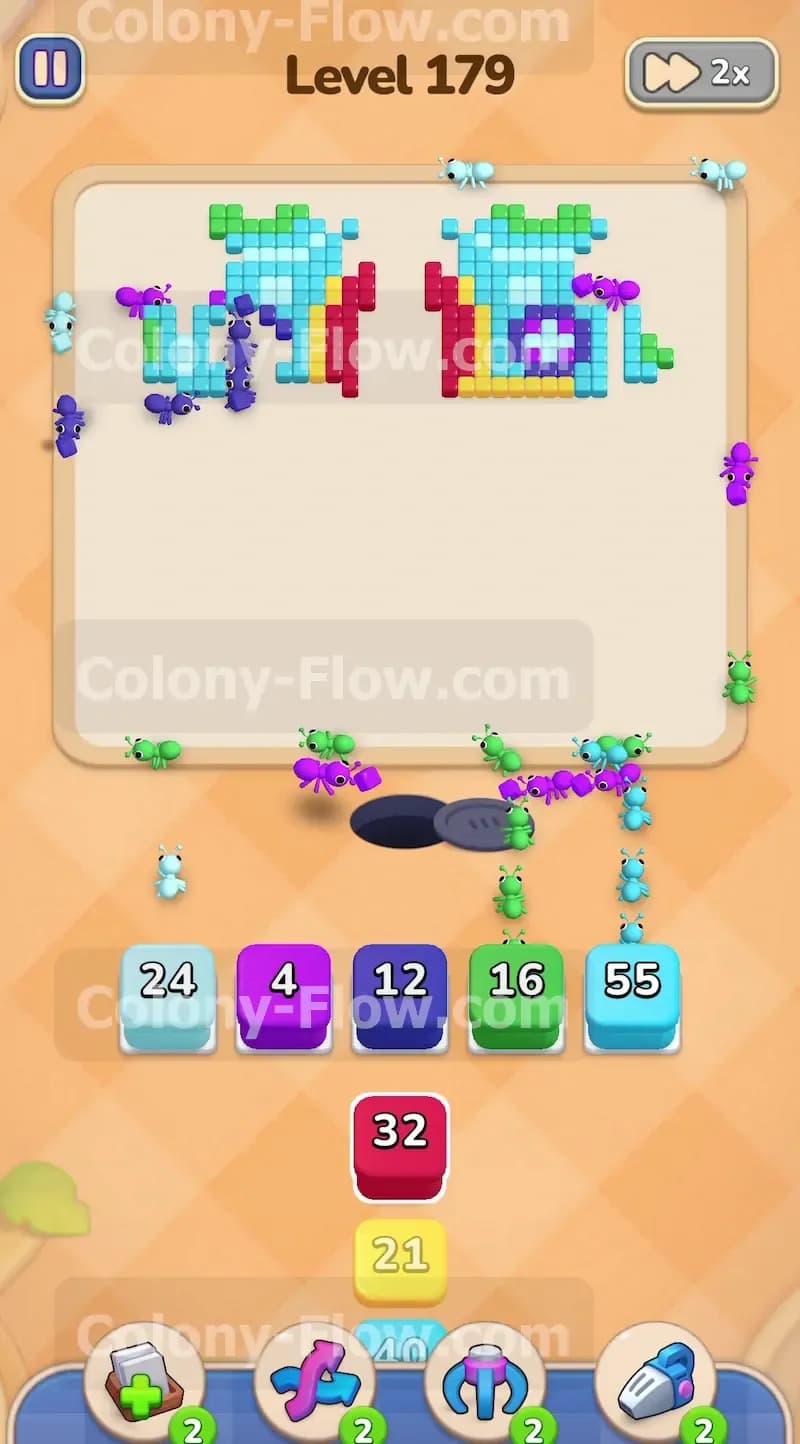
The remaining islands consist of dense light blue cyan and purple tiles. Deploy your light blue blocks and your dark blue blocks now. The ants will stream out of the nest and divide themselves between the two corners. You will see numbers like twenty four on your light blue blocks and twelve on your dark blue blocks. The paths are wide open so the ants will swarm the tiles rapidly. You must watch your tray carefully here. Only pull colors that are currently exposed on the outer edges of these corner clusters. If you pull a color that is buried deep inside the cluster the block will sit in your waiting slot and cause a jam.
Step 8: Clear the final top corner pieces
Only a few tiles remain at the very top of the board. You will likely have a massive cyan block holding fifty five ants ready to go. Tap this cyan block and watch your colony race up to the top edges. They will devour the final pieces of the intricate corner designs. You might need one last green block or purple block to clean up any stray tiles left behind. Make sure every single block you deploy has a direct and open path to its matching food. Watch the numbers on your blocks count down to zero. The final tiles will vanish from the screen and the board will be completely clear.
Final Thought
Beating this board requires patience and a sharp eye for prioritizing the lock and key mechanics. You always want to keep your ants moving freely so your five tray slots stay clear of any traffic jams. Mastering the flow of the colony through the central cross is the true secret to winning here. If you find any specific sequence tricky to visualize just watch the video above this article to see the exact moves in action.