Colony Flow Level 500 Walkthrough Solution & Guides | How to solve Colony Flow 500

Guide By Liam Stone
Updated on August 1, 2026
Skip ahead to the video above if you want to see Level 500 solved without reading the full article.
Video doesn't match your screen?
Game updates frequently scramble layouts! Try our AI Screenshot Solver first to find your exact board instantly, or report broken guides to our team.
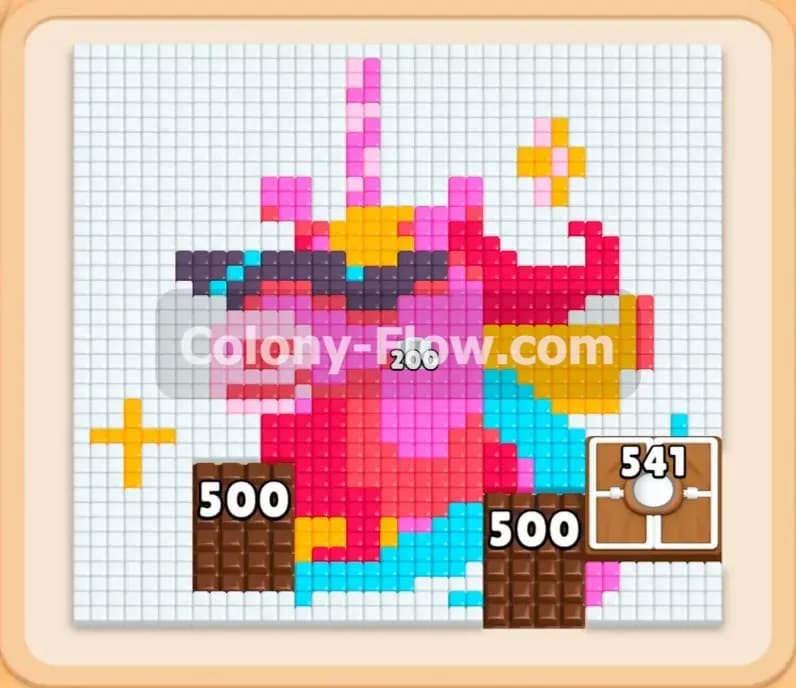
Colony Flow Level 500 brings a massive pixel art unicorn to your screen. You face a giant white grid surrounding a colorful center picture. This board tests your ability to manage connected boxes without jamming your tray. You will need to carefully strip away the white background to open paths to the bright tiles.
Colony Flow Level 500 Overview
What You Are Working With
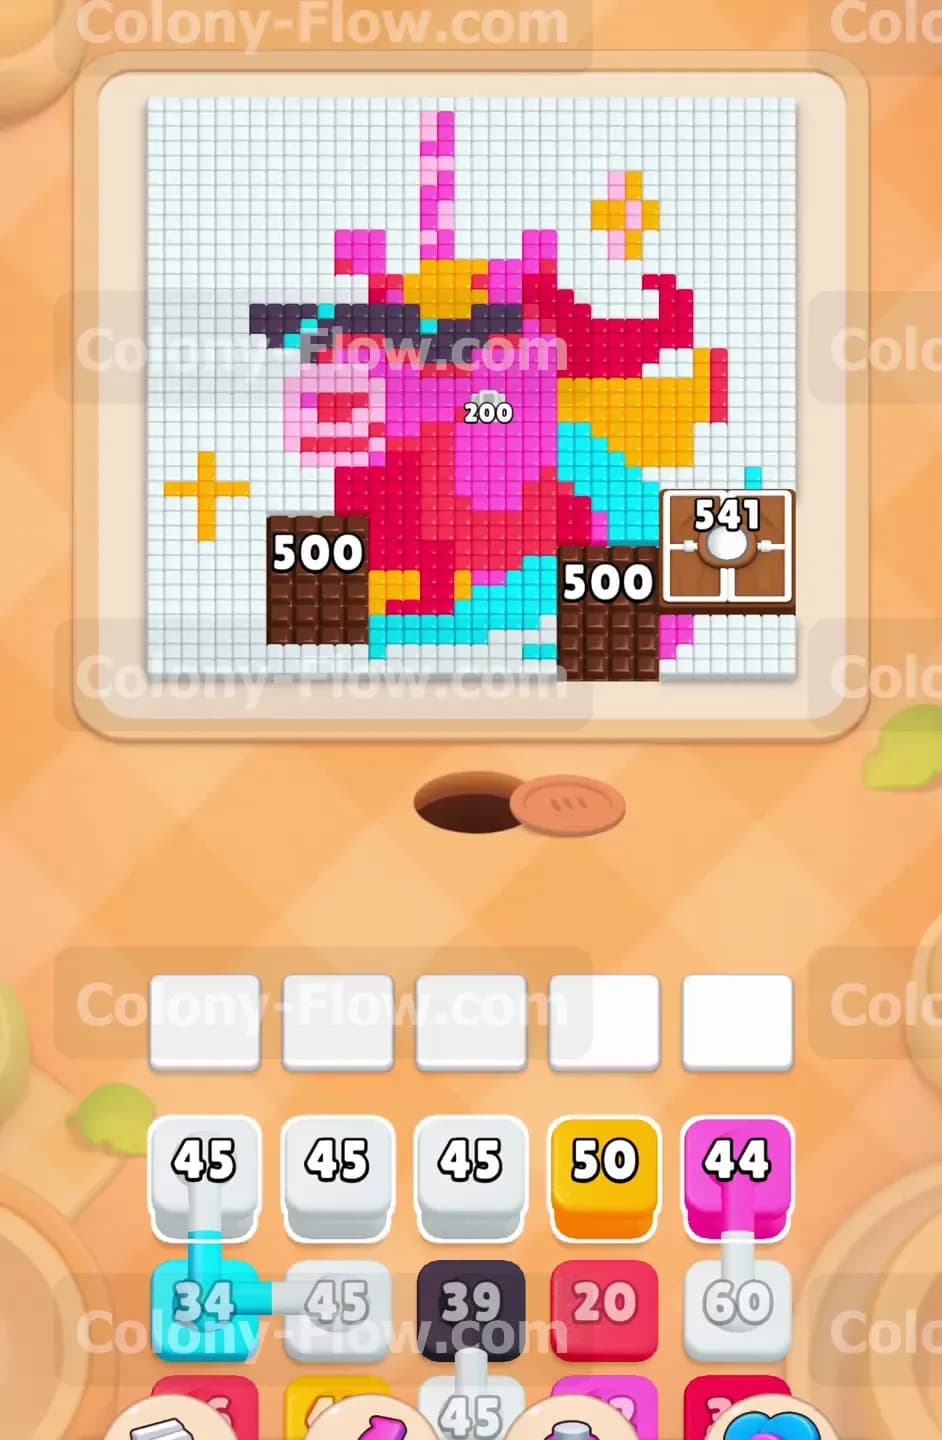
The center of the board features a bright unicorn made of pink, magenta, yellow, cyan, and dark blue food tiles. A massive white grid completely surrounds the unicorn on all sides. Dark brown chocolate covers the bottom corners of the board. The chocolate blocks access to the food tiles hidden underneath. Your tray contains a mix of single blocks and connected boxes. Connected boxes link two colors together with a solid line. You also have a hidden box waiting in the lower tray rows. The hidden box keeps its color a secret until you free up space in the top row. The numbers on your blocks are quite high. This means you will have long streams of ants working on the board at any given time.
What It Takes to Clear Level 500 Board
You must clear the outer white grid first. The white grid blocks all access to the inner unicorn tiles. The five waiting slots fill up fast when you pull connected boxes. You lose the level if all five slots fill up and no ants can move to the board. Your main goal is keeping at least one active color flowing at all times. You will break down the white grid, chip away at the chocolate, and slowly devour the unicorn from the outside in. Patience is critical when the board empties out and the ants have to walk incredibly long distances to reach their food.
Colony Flow Level 500 Step by Step Solution
Step 1: Clear the initial white background grid to open paths
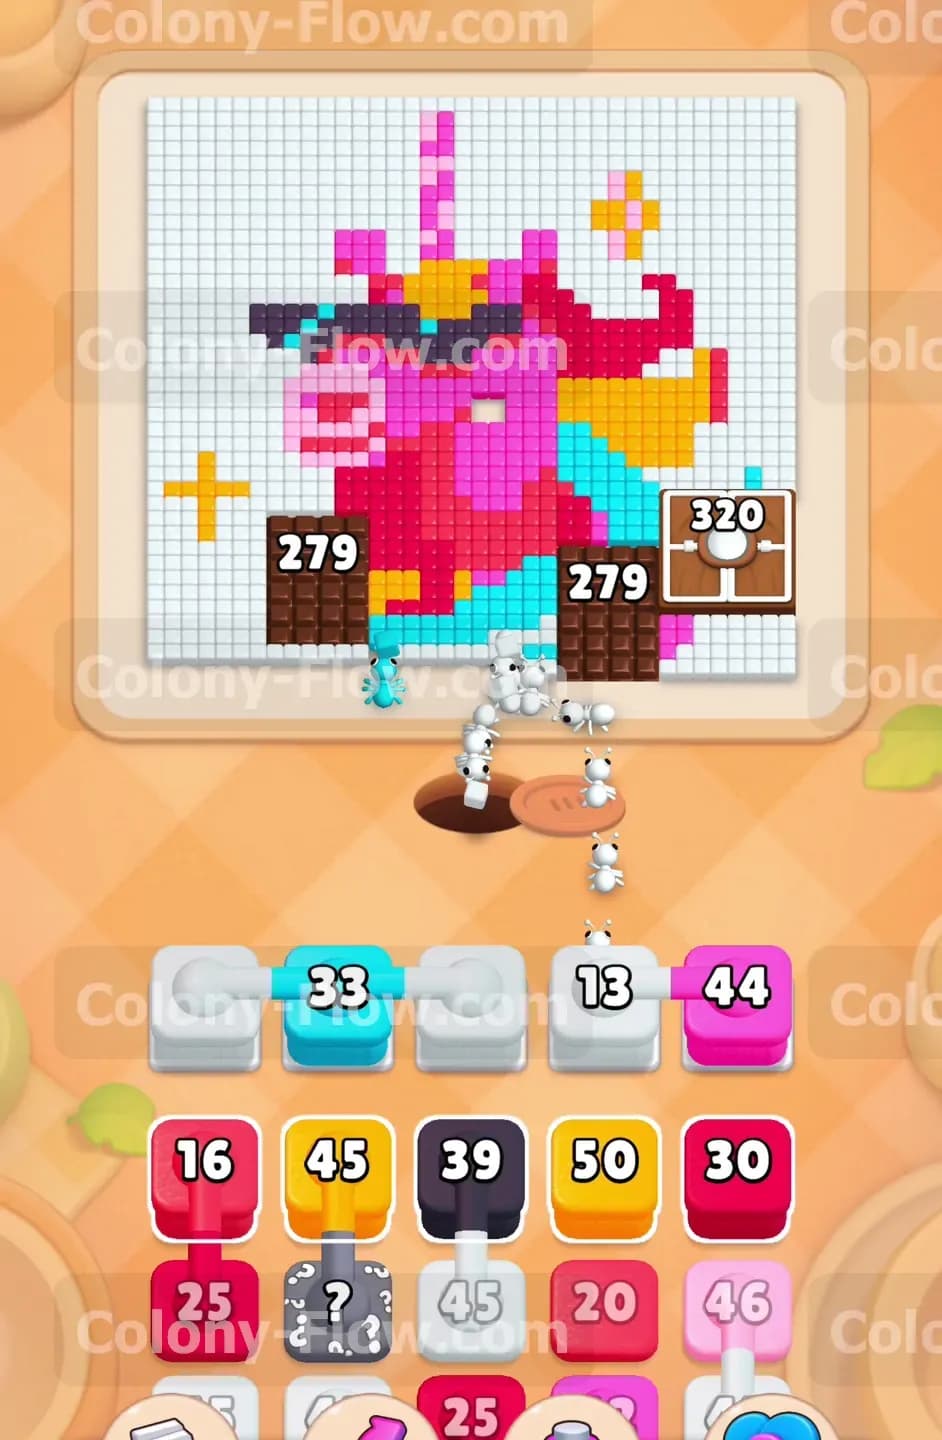
Start the level by tapping the white blocks in your top tray row. The first white block holds forty five ants. Pull it up into your waiting slot. The ants stream out of the nest hole at the bottom center and immediately attack the white grid directly above them. Eating these white tiles also damages the chocolate pieces sitting in the bottom corners. You want to clear as much white space as possible right away. This opens multiple paths to the colorful unicorn tiles. Keep tapping the subsequent white blocks in your tray. Each white block you play strips away another layer of the grid. The chocolate numbers decrease steadily as the adjacent white tiles vanish.
Step 2: Manage the first connected boxes carefully to avoid jams
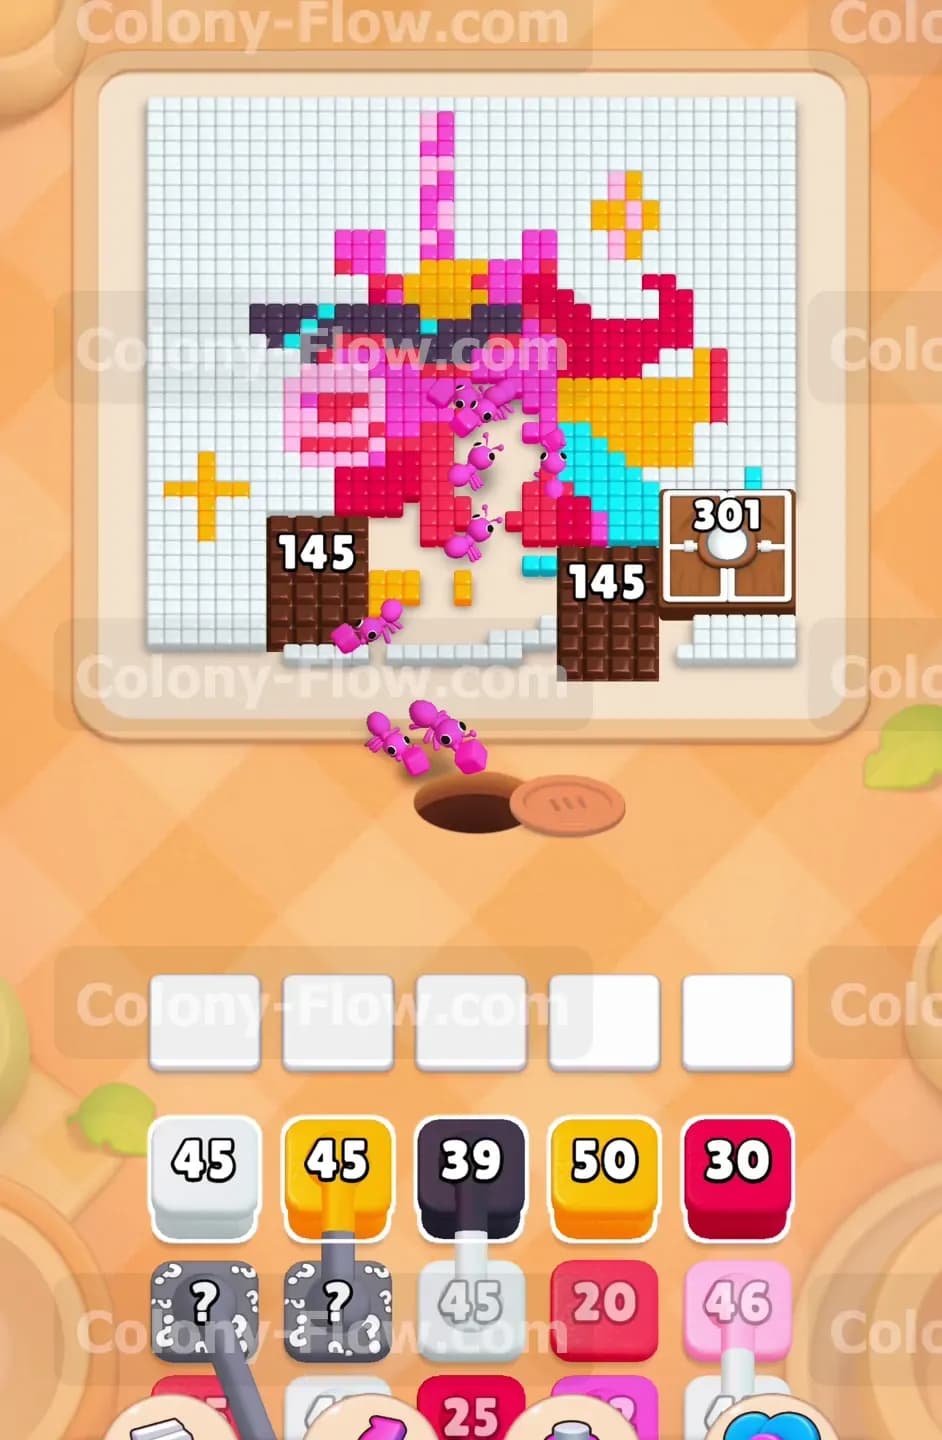
Your tray now exposes a cyan block connected to a white block. Pull this pair up into your empty waiting slots. Connected boxes take up two slots at once. The cyan block goes to work on the bottom of the unicorn mane. The attached white block waits helplessly in the second slot until the cyan block finishes its job. Once the cyan block empties and disappears, the white block activates and sends ants to the background grid. Never pull a connected box unless you know the very first color has an open path on the board. If the first color cannot reach its matching food tiles, both blocks sit in your slots forever. This dead ends your tray and causes a quick loss.
Step 3: Attack the unicorn mane and horn with bright colors
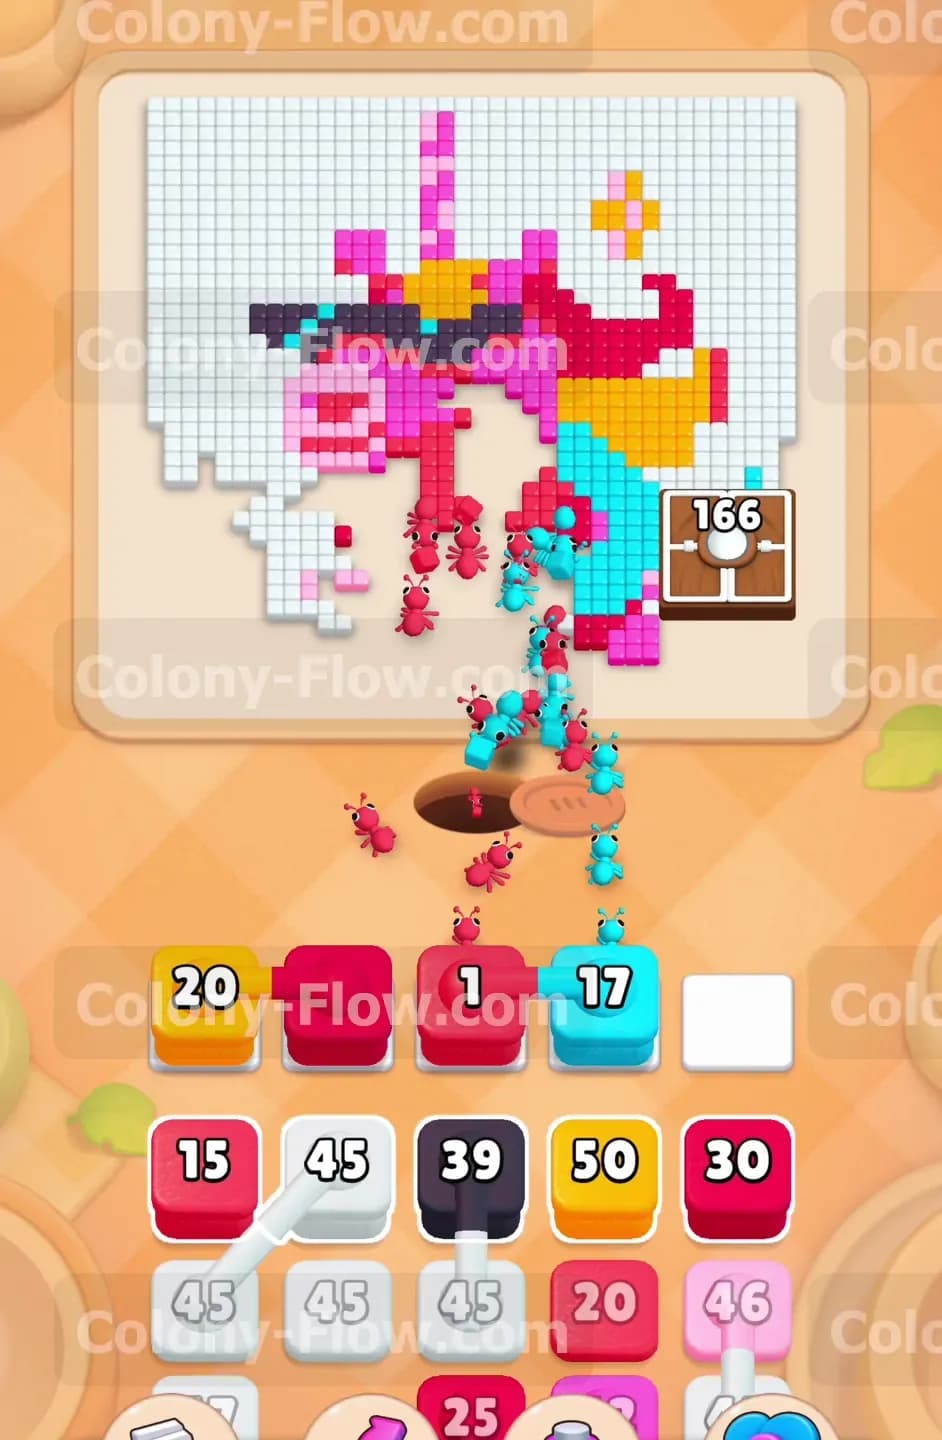
With the bottom paths now wide open, you can start clearing the magenta and cyan sections of the unicorn. Pull the large magenta block into a waiting slot to send ants straight up to the top horn and the right side of the mane. Pull the next cyan block to clear out the lower neck area. The white background is still heavily present on the left and right sides. You must constantly balance pulling colored blocks for the unicorn and white blocks for the remaining background. Always keep an eye on your five waiting slots. Try to leave at least two slots completely empty for emergencies. If you fill all five slots with colors that take a long time to travel, you risk stalling the entire board.
Step 4: Reveal the hidden box and clear the sunglasses
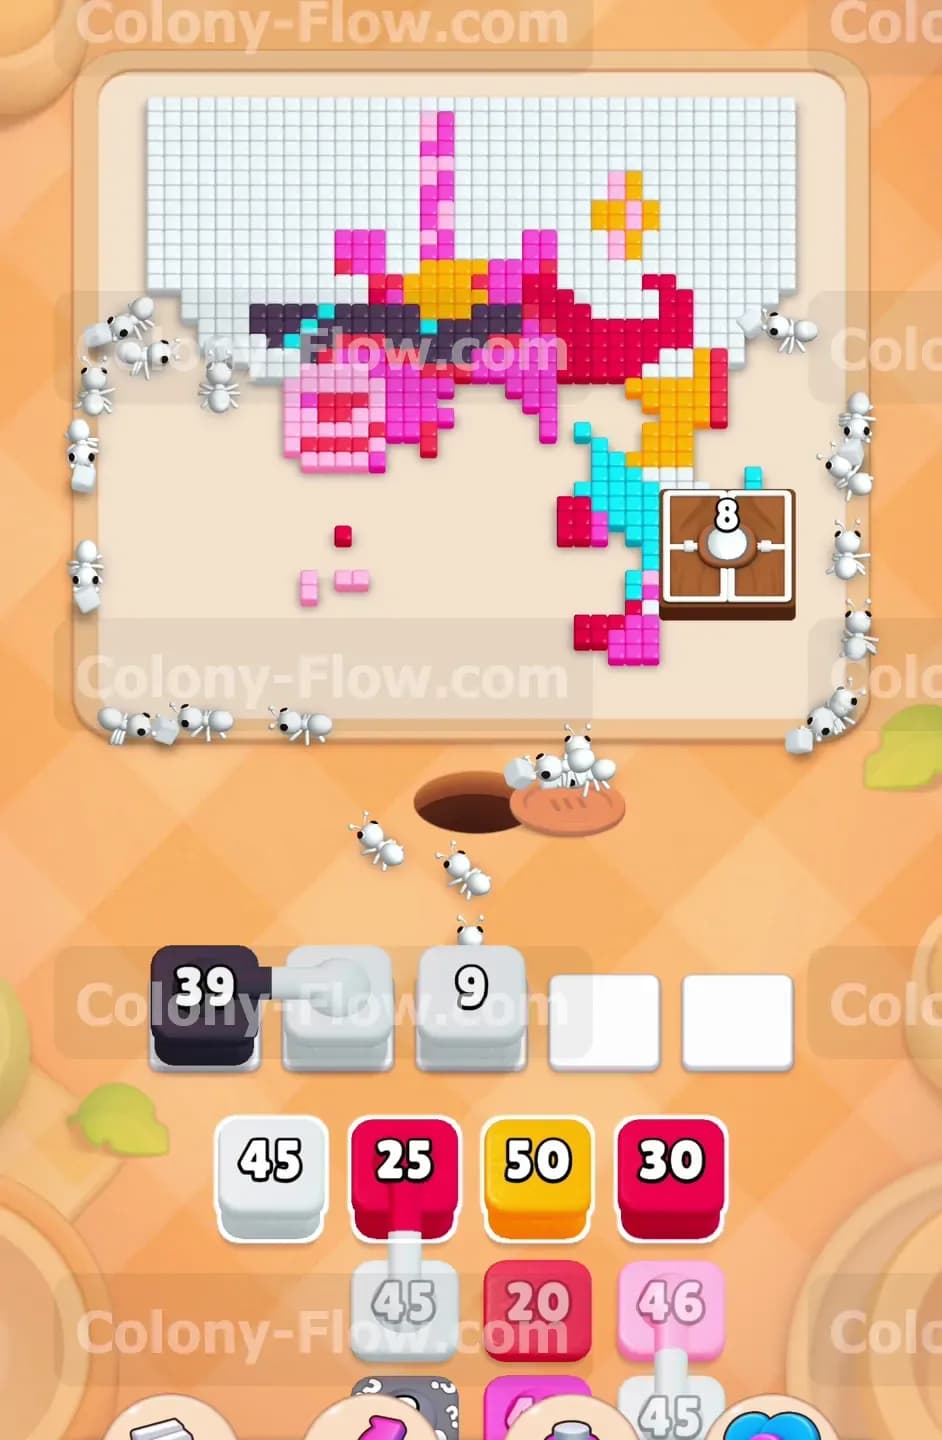
As you empty the top row of your tray, a hidden box moves up from the bottom and finally reveals its color. The hidden box turns into a dark blue block. Pull this dark blue block into your tray to clear the stylish sunglasses on the unicorn. The dark blue ants will march straight up the middle of the board and eat the dark blue tiles. At the exact same time, pull another white block to keep clearing the left side of the background grid. The left side of the board is now mostly empty space. This empty space creates a massive detour for any future ants heading to the top of the board.
Step 5: Break through the chocolate corners to unlock the bottom
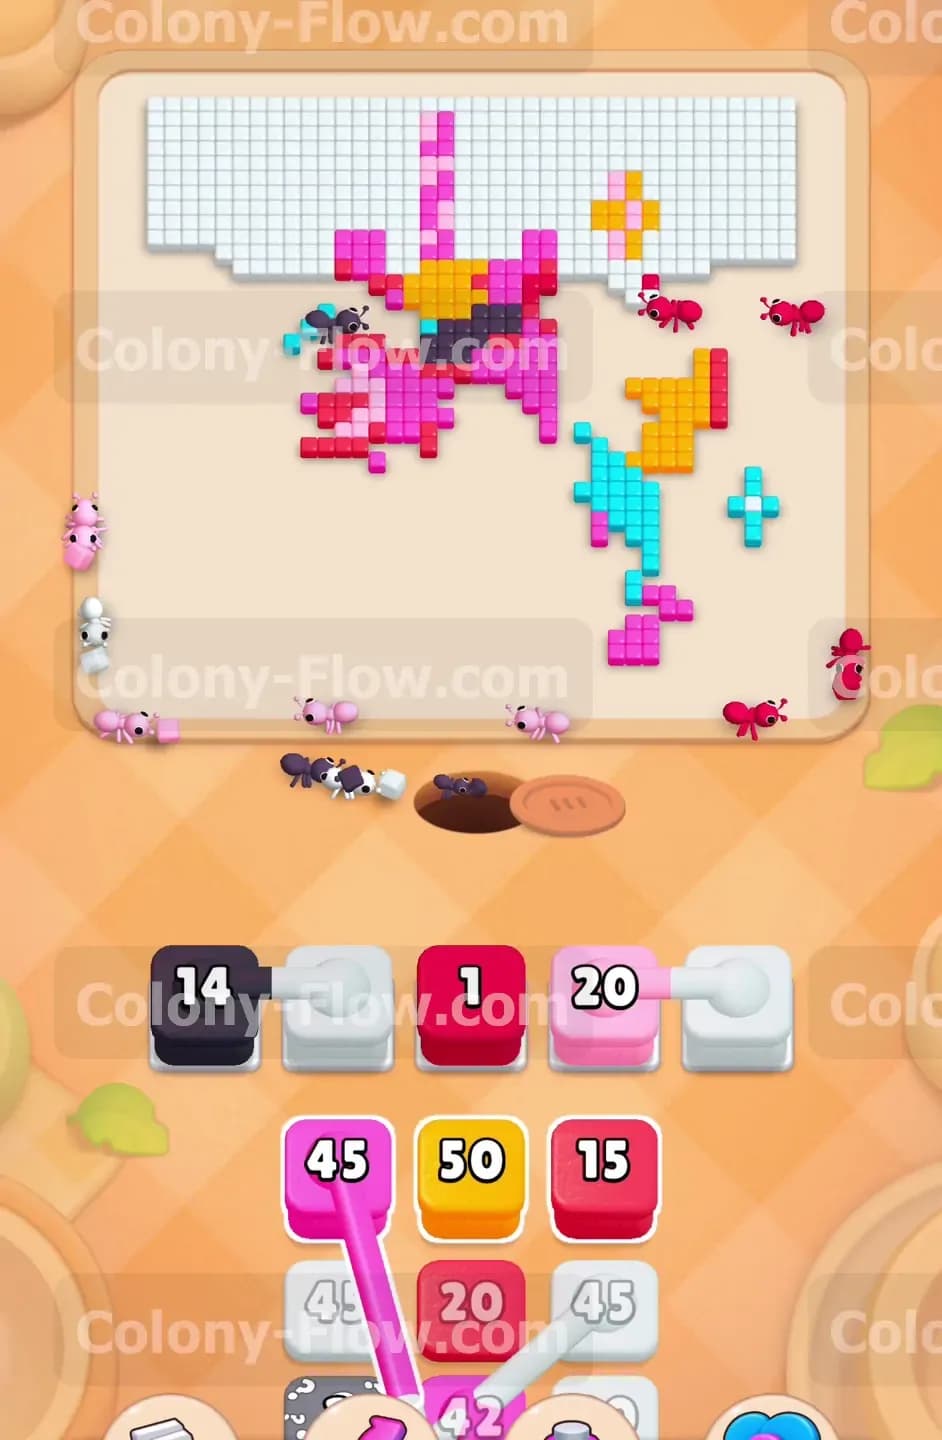
The constant eating around the bottom edges finally destroys the stubborn chocolate blocks. The chocolate shatters completely and reveals the hidden food tiles underneath. You now have full open access to the bottom pink and magenta sections of the main unicorn body. Pull a large pink block into your waiting slots. The ants will flood into the newly opened bottom area and clear a massive chunk of the unicorn body in one fast swarm. This single move drastically reduces the visual clutter on the lower half of the board. It also gives your ants a much wider lane to travel through when heading to the right side.
Step 6: Route ants around the completely cleared left side
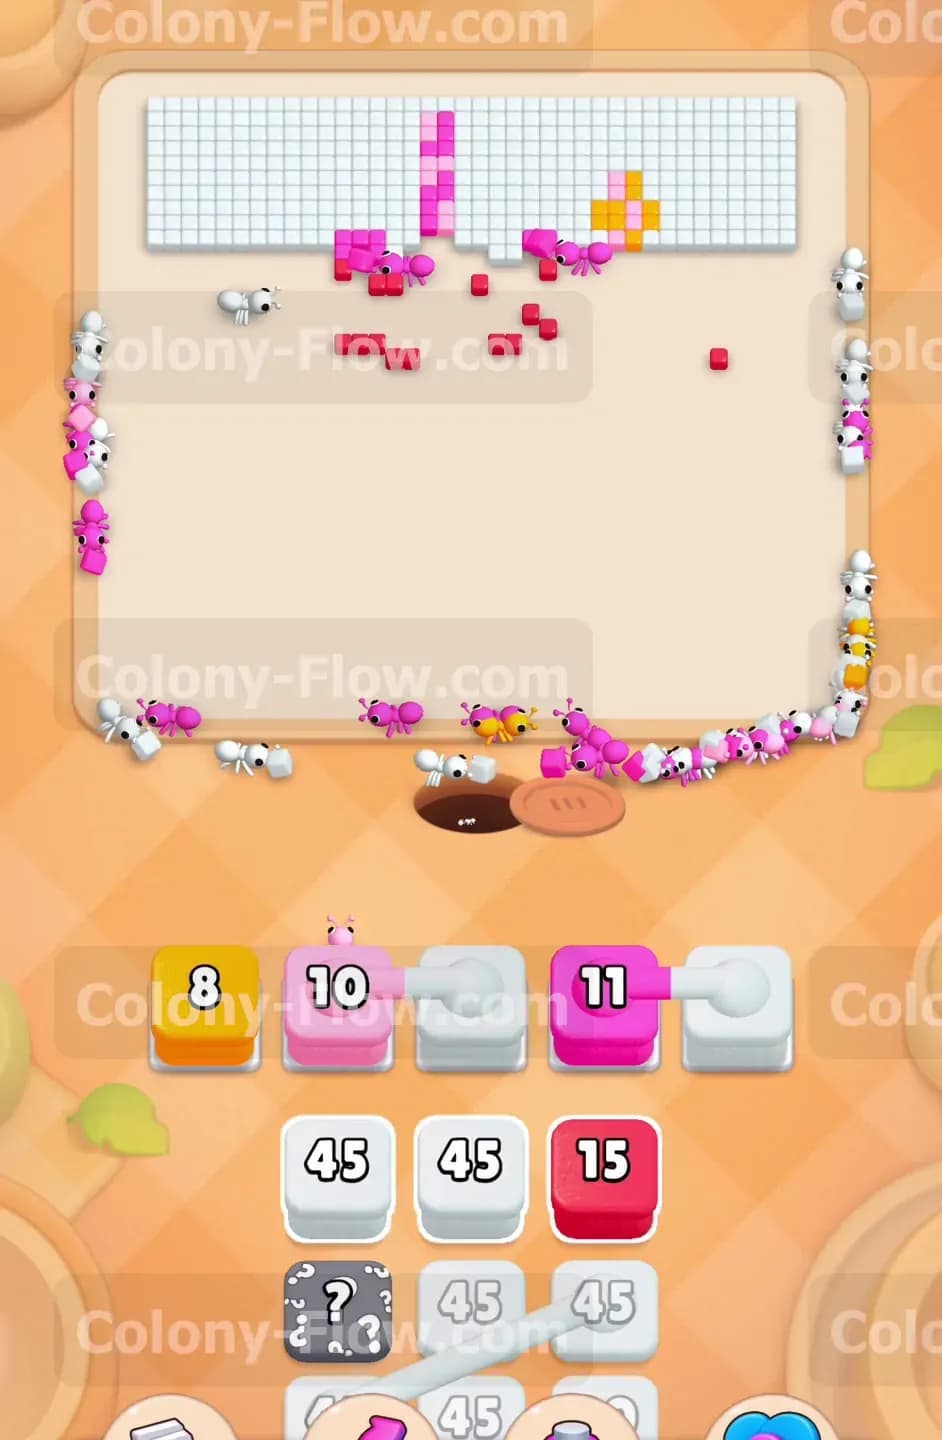
The entire left side of the white grid is completely gone. When you pull blocks for the top or right side of the board, the ants must take a very long journey. They stream out of the nest hole, march all the way to the far left edge, and wrap completely around the top corner to reach their targets. Pull a yellow block to clear the star shape floating on the right side. Watch the bright yellow ants form a long single file line along the outer edge. This long travel time means blocks stay active in your waiting slots much longer than before. Do not pull too many new blocks at once while the ants are traveling. Let them reach their destination and clear the slot before making another move.
Step 7: Clear the remaining unicorn body pieces
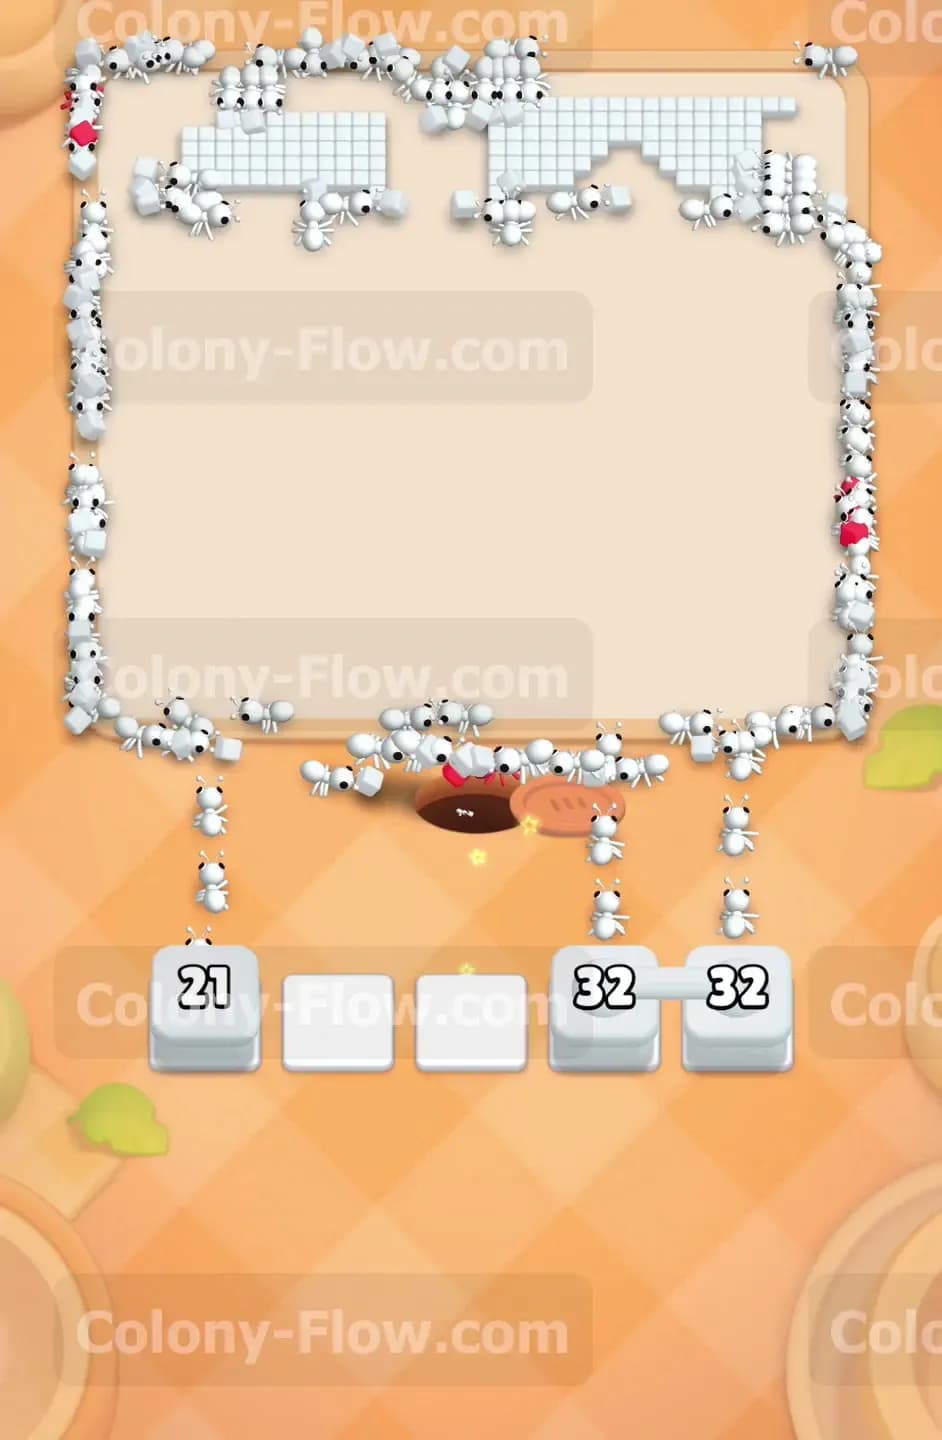
Only a few bright colors remain on the unicorn. The tray offers large pink and yellow blocks to finish the job. Pull the pink block to clear the face and snout area. Pull the yellow block to finish the final puzzle pieces of the mane on the right side. The ants will once again take the extremely long path around the outer edge of the board to reach these sections. Wait patiently for them to arrive and eat the tiles. Your waiting slots will be mostly full during this long travel time. Do not panic and absolutely do not pull any more blocks until a slot naturally opens up. Let the flow continue uninterrupted.
Step 8: Clean up the final top border to win the level
The unicorn is completely gone. The only things left on the board are a few stray white tiles scattered along the very top edge. Your tray has just enough white blocks left to finish the exact remaining count. Pull the final white connected boxes into your slots. The white ants will stream out and take the massive detour around the entire empty board. They will march all the way up the left side, across the very top, and down the right side to eat every last white tile in their path. The screen looks like a giant square of moving white ants. Once they finish eating the final tile, the board instantly clears and you win the level.
Final Thought
Level 500 requires extreme patience and careful slot management from start to finish. The connected boxes can easily trap you if you pull them at the wrong time. Always ensure the first color of a connected pair has a perfectly clear path to its target before you tap it. The long travel times near the end of the level will truly test your nerves. Just let the ants walk and keep your slots from jamming. If you struggle with the exact order of the connected boxes, watch the video above this article to see exactly how to time your final moves.