Colony Flow Level 368 Walkthrough Solution & Guides | How to solve Colony Flow 368

Guide By Liam Stone
Updated on July 18, 2026
You don't need to read the article to solve Level 368. The video above shows you everything.
Video doesn't match your screen?
Game updates frequently scramble layouts! Try our AI Screenshot Solver first to find your exact board instantly, or report broken guides to our team.
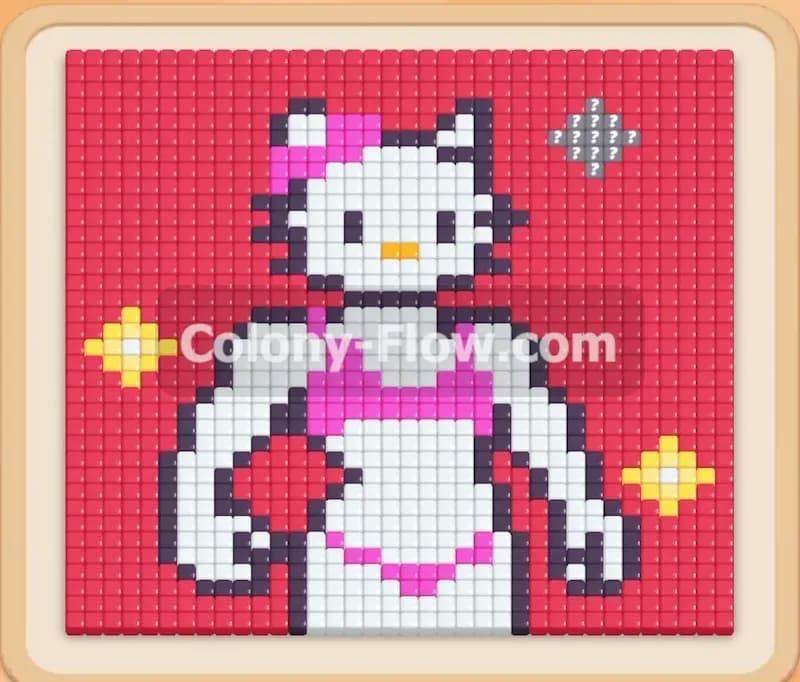
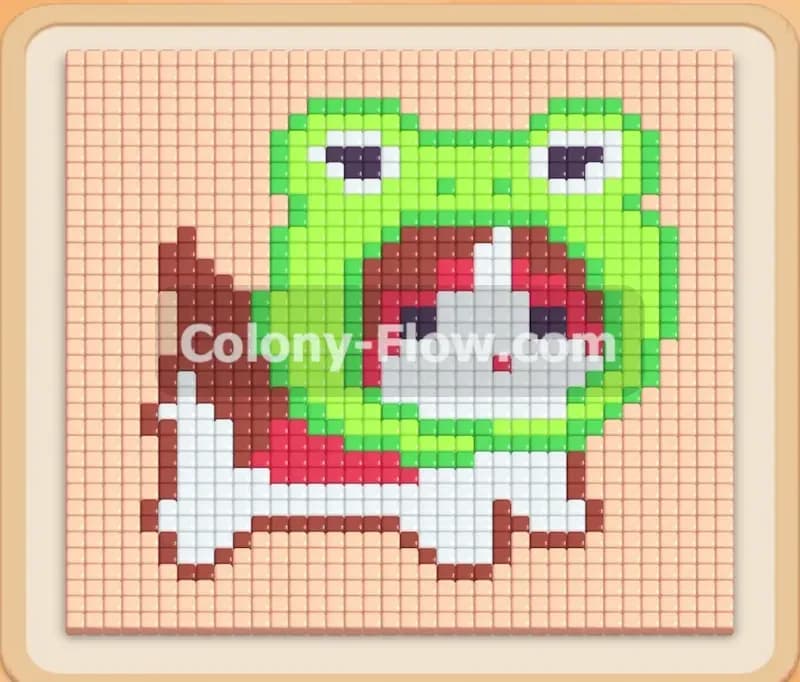
Welcome to my puzzle guide for Colony Flow Level 368. This level features a great pixel art picture of a white cat wearing a green frog hat and a red cape. The board gives you plenty of open space at the start, but you must sequence your blocks carefully to avoid filling your waiting slots. I play every level myself to verify the best way to clear the board without getting stuck. The key to this game is managing the traffic of your ants so they always have a valid target to eat. I will walk you through the exact order of moves I used to clear this board smoothly.
Colony Flow Level 368 Overview
What You Are Working With
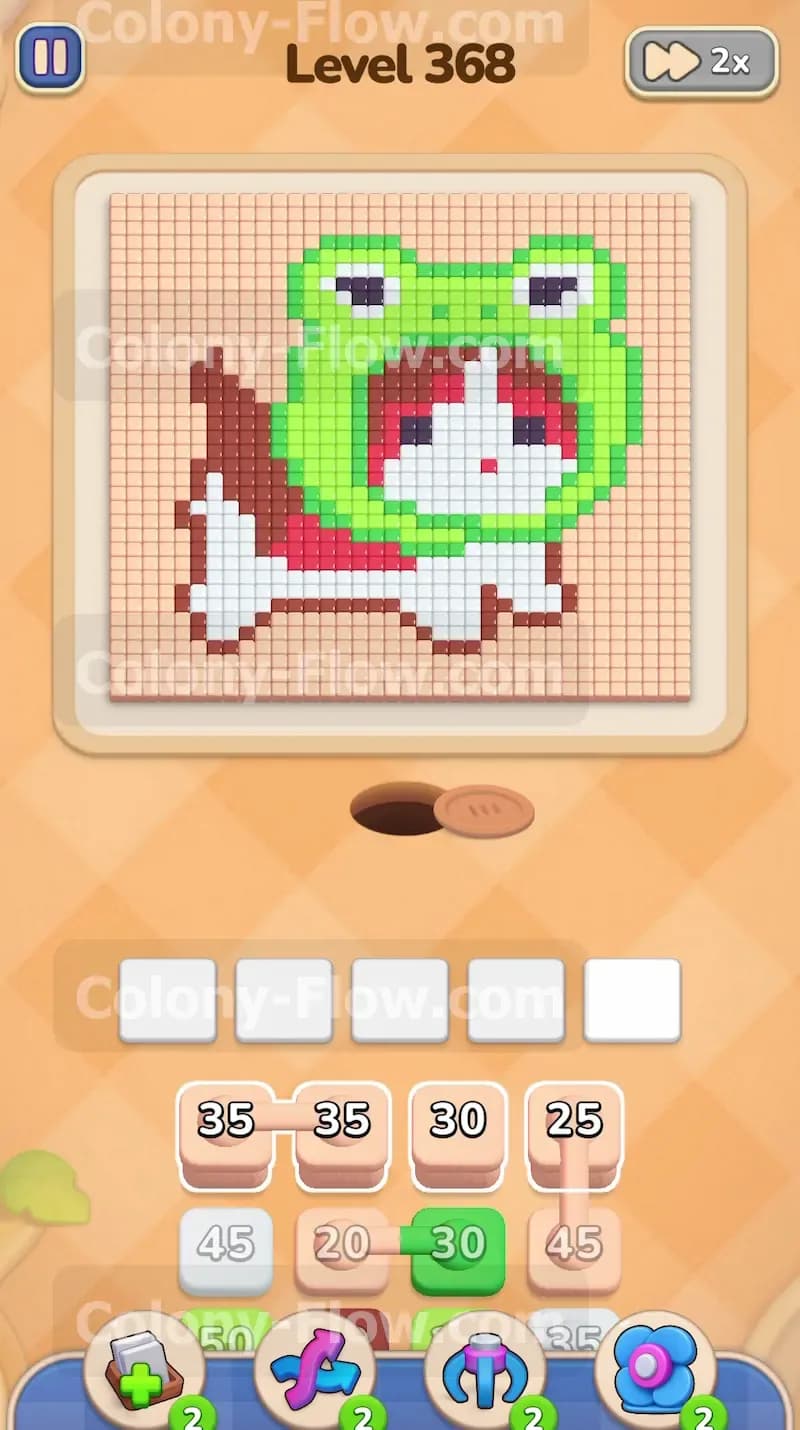
The main feature of this level is a large pixel art picture of a cat in a frog hat resting in the center of the board. The colors you need to clear include the white cat face and paws, the dark brown tail and outlines, the red cape, the green frog hat, and the black eyes. The board itself provides open paths from the nest hole at the bottom center to the lower edges of the picture. You pull colored blocks from a tray of four columns located at the bottom of the screen. Each block holds a specific number that dictates how many ants it will spawn. When you pull a block into one of the five waiting slots, the number counts down as the ants spawn and march toward the matching colored tiles. The level also features a hidden border of light pink and dark brown tiles that run around the extreme outer edge of the screen. This border is not obvious at first because it blends into the background, but it comes into play at the very end of the level. You will need to dig deep into the tray columns to find the right blocks to clear it.
What It Takes to Clear Level 368 Board
To win this level, you must clear every single colored tile on the board and let all the ants finish their routes back to the nest or off the screen. The main rule of the game is that you lose if you fill all five waiting slots and no ants can reach their target tiles. You must always maintain an open path. For this specific picture, that means you have to clear the bottom elements like the paws and the tail first. By stripping away the bottom layers, you open up avenues into the center of the cat face. Once the face is gone, the ants can easily reach the red inner hood, the black eyes, and the massive green frog hat. You have to balance pulling large numbered blocks that take time to empty with pulling smaller blocks that clear quickly. You win when the final ants sweep the outer border and consume the last green tiles at the very top of the hat.
Colony Flow Level 368 Step by Step Solution
Step 1: Clear the paws and the tail base to open the bottom paths.
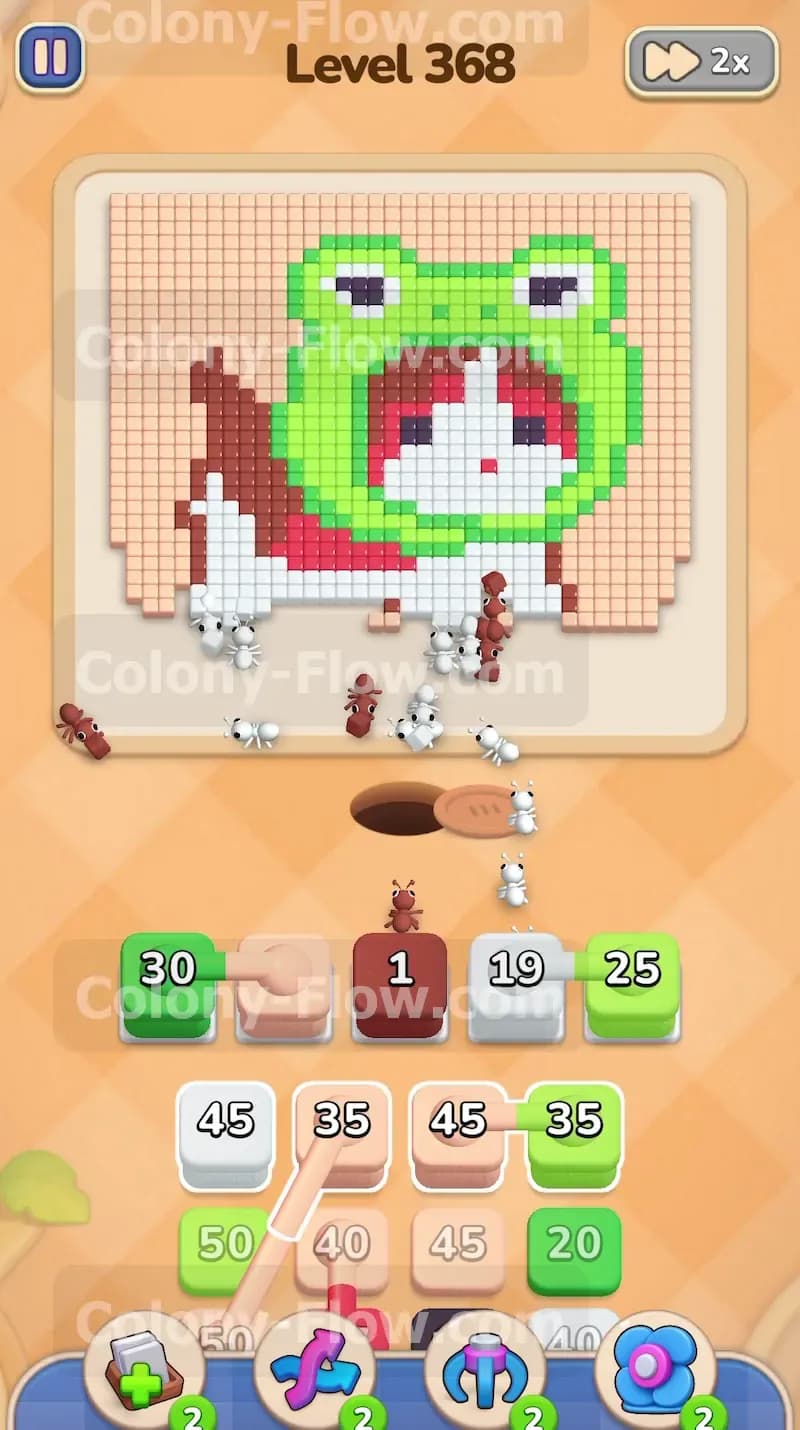
Start your moves by pulling the White block and the Dark Brown block from the top rows of the tray. The white block holds a large number of ants. When you place it in a waiting slot, the white ants will stream out of the nest hole and head straight up to clear the cat paws at the bottom of the picture. The dark brown block will send ants along a path to the left side to eat the base of the tail. You want to get these lower obstacles out of the way immediately because they block access to the rest of the picture. You can also pull the first Green block from the fourth column. These green ants will move into the waiting slots and prepare to deploy. As soon as the white ants finish clearing the paws, the green ants will rush in and start eating the bottom edges of the green frog hat. Keep a close eye on your five slots and make sure they do not fill up with blocks that have no clear path to their target color. By opening the bottom first, you prevent any early traffic jams.
Step 2: Hollow out the center face to expose the inner hood.
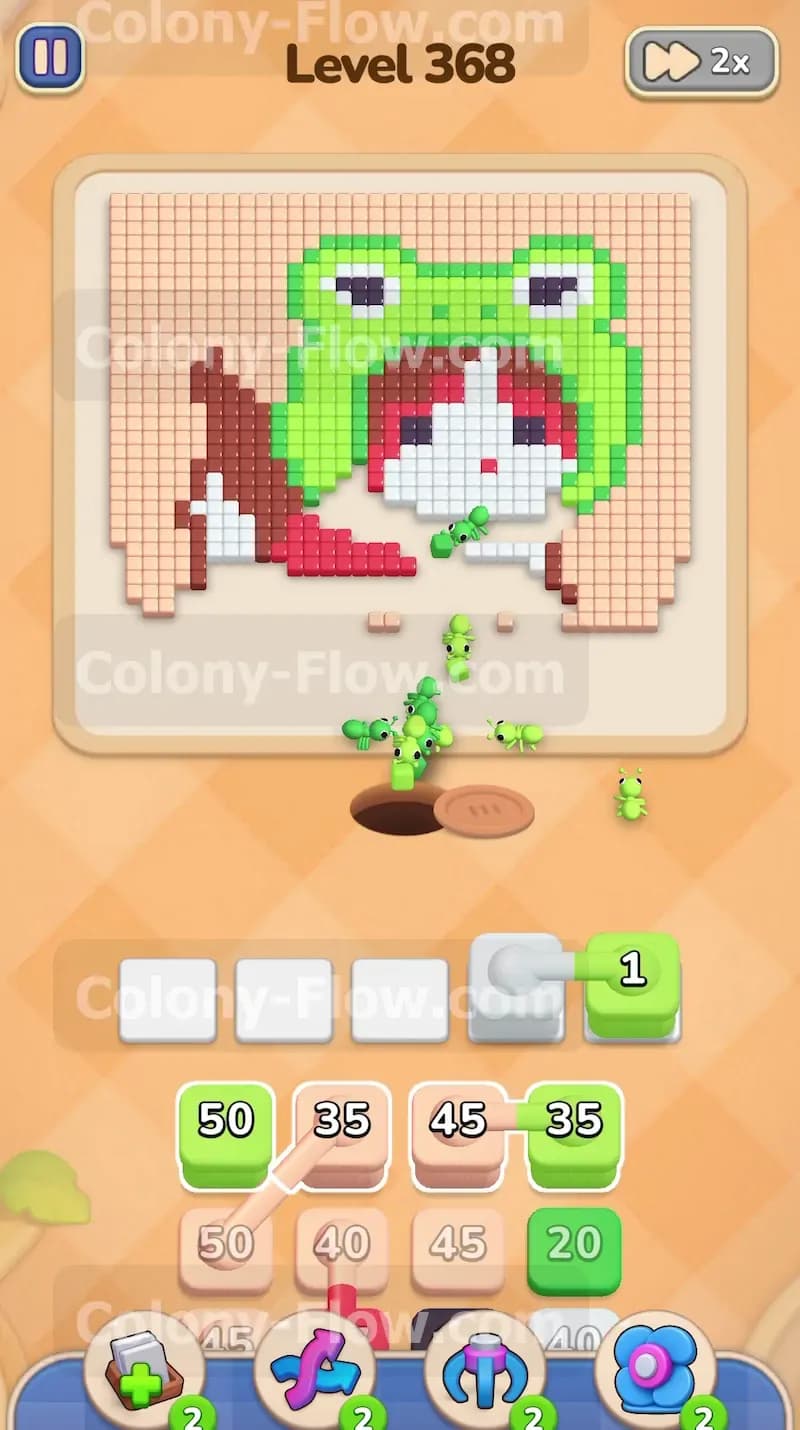
Once the bottom tiles are completely cleared out, you have direct access to the center of the picture. Look at the third column in your tray and pull the next White blocks you see. These white blocks will send a massive swarm of ants straight up the middle of the board to consume the entire white face of the cat. This is a crucial move because it hollows out the core of the picture. Removing the white face tiles exposes the red inner hood and the black eyes, making them reachable for the next wave of ants. This central opening guarantees that your future ants will never get blocked by outer layers. Follow up this move by pulling more Green blocks from the fourth column. These green ants will follow the paths you just opened and continue to chip away at the lower halves of the frog hat. Your waiting slots will cycle through smoothly because the paths to the hat are now wide open. The numbers on the green blocks will count down rapidly as the ants find immediate targets.
Step 3: Sweep the red cape and the dark hat outlines.
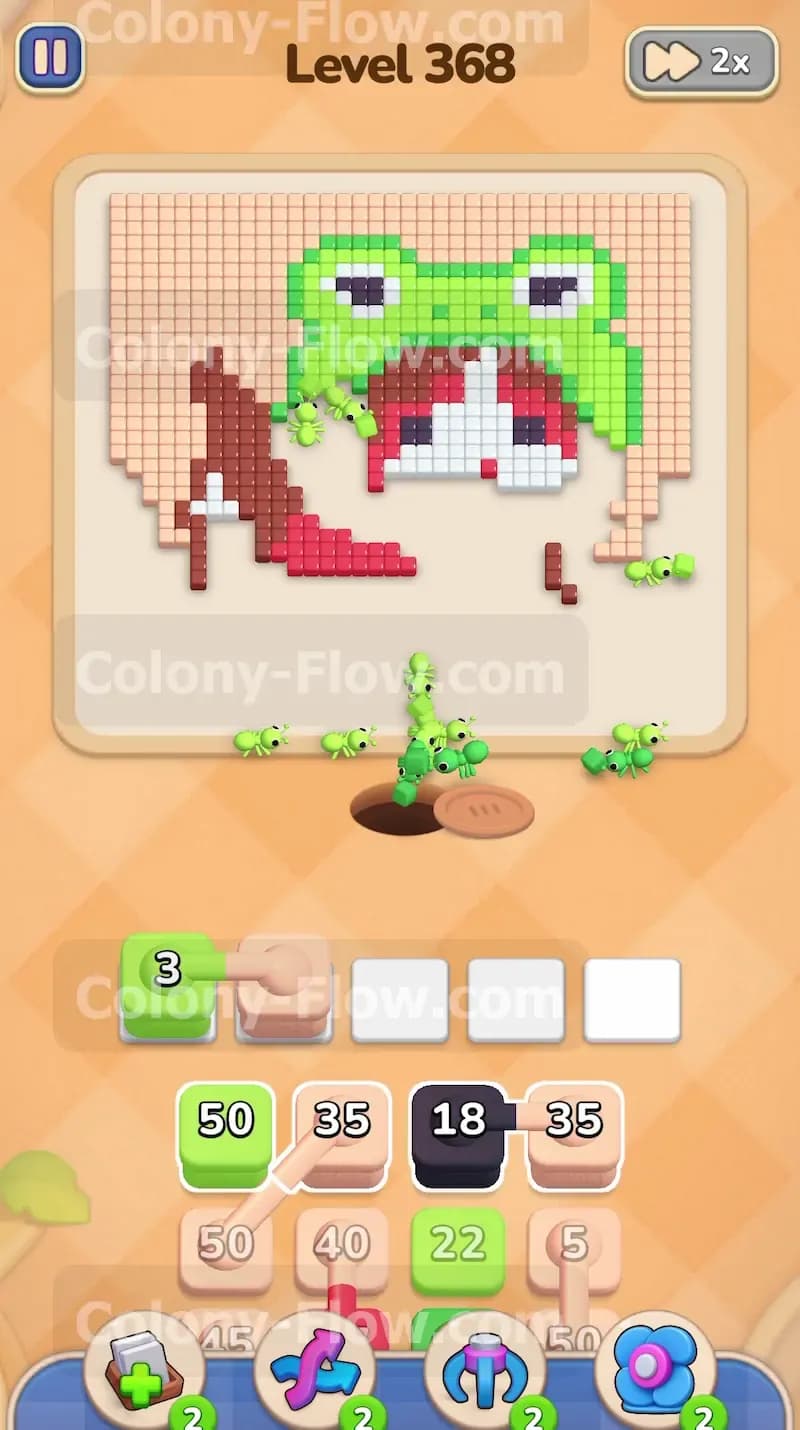
With the center face gone, you have plenty of room to send in large groups of ants to tackle the sides of the picture. Pull the large Green block from the first column to keep pressure on the frog hat. Then pull the Red blocks and the Dark Brown block from the second column. The red ants will flood the left side of the board and systematically clear out the red cape tiles. The dark brown ants will travel up the right side to clear the thick dark outline of the frog hat. Your waiting slots will temporarily fill up with five active blocks here. However, because you already opened multiple paths through the center and the sides, the ants have immediate access to their target tiles. The slots will not jam. The blocks will count down quickly as the ants pour out of the nest hole and spread across the board. You will see the left and right sides of the picture vanish rapidly during this step.
Step 4: Clear the eyes and the top half of the frog hat.
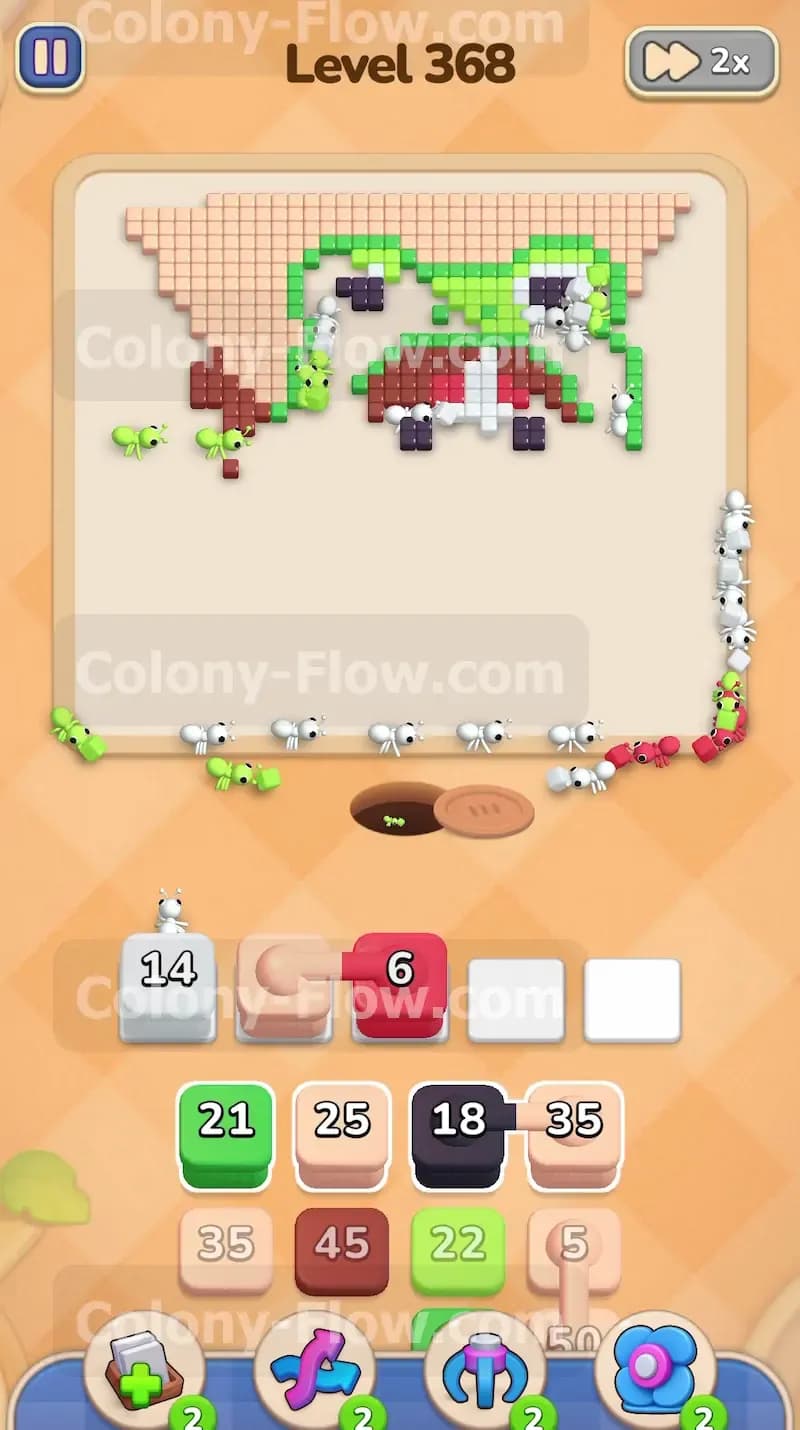
Now it is time to focus on the details inside the hood and the upper sections of the picture. Pull the Black block from the third column. The black ants will travel straight up the central path you made earlier and consume the two black eyes resting inside the hood. Next, pull the remaining Red blocks from your tray columns to finish off any lingering cape tiles on the left side. Pull the next Green block from the first column to chew through the top half of the frog hat. The green blocks in this level hold very large numbers, so the ants will take some time to march up the sides of the picture and eat away the top layer of the hat. Keep pulling any new Green blocks that appear at the top of your columns to ensure the hat is completely cleared out. The board is very open now, so you have zero risk of dead ending the paths. You can safely pull blocks as fast as you want during this phase.
Step 5: Finish the hidden outer border and the last hat tiles.
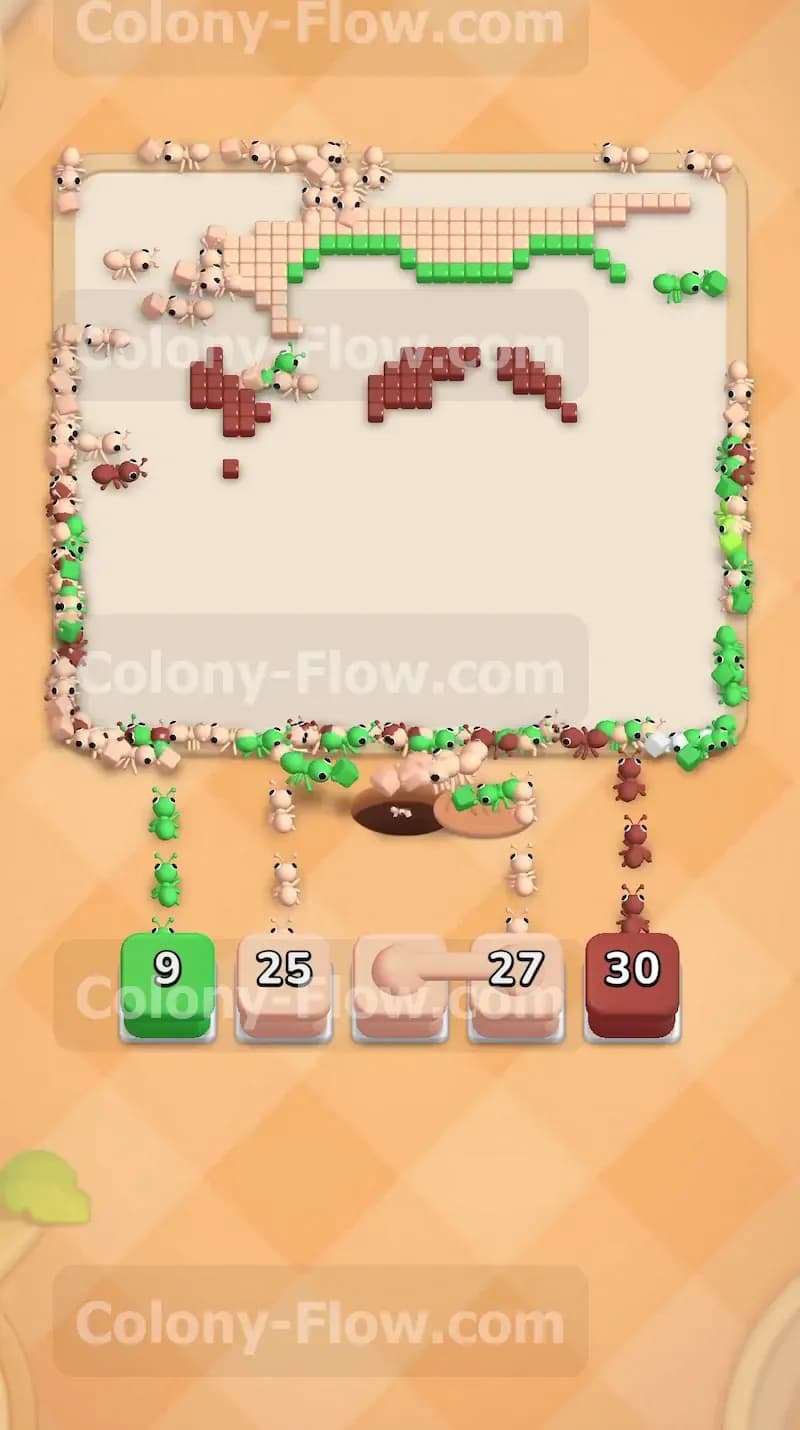
As you clear the main picture, you will notice a few ants moving along the very outer edges of the board. There is a border of tiles running along the entire perimeter of the screen that you need to clear to finish the level. Pull the light pink blocks and the final dark brown block from the bottom rows of the tray. The pink ants will split up and run laps around the entire edge of the screen, clearing the outer border tiles one by one. They have a long distance to travel, so let them make their full circuit around the board. At the same time, the last of your green ants will reach the very top of the frog hat and eat the final green tiles. Keep watching the numbers on your remaining blocks drop to zero. Once the pink border is gone and the top of the hat is clear, the ants will retreat and the level is complete.
Final Thought
This level looks very dense at the beginning, but it breaks apart easily once you clear the bottom paws and the center face. Always remember to work from the outside in and keep your paths open so your waiting slots never jam. Managing the flow of your ants is the entire secret to this game. Take your time to read the tray columns and plan your pulls so you always have a color ready for the next exposed layer. If you find any of these moves hard to follow in text, please watch the video above this article to see the exact timing and block pulls in action.