Colony Flow Level 760 Walkthrough Solution & Guides | How to solve Colony Flow 760

Guide By Liam Stone
Updated on August 8, 2026
Watch the video above for a faster look at how Level 760 gets solved.
Video doesn't match your screen?
Game updates frequently scramble layouts! Try our AI Screenshot Solver first to find your exact board instantly, or report broken guides to our team.
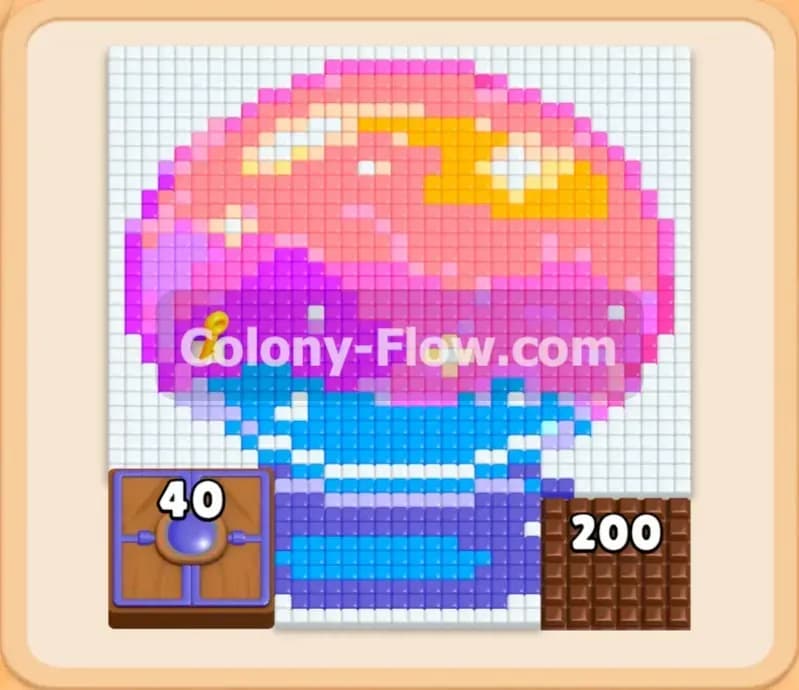
Colony Flow Level 760 throws you right into a colorful and dense puzzle that I really enjoyed solving. You start with a stunning pixel art picture of a glowing sunset contained inside a glass crystal ball. The colors are incredibly vibrant but the board is very dense with thick layers of pink orange purple and blue. I played through this one several times to find the absolute safest route because it is extremely easy to block your ants if you pull the wrong colors too early. You need a rock solid plan to manage your tray space and keep your ants moving from start to finish.
Colony Flow Level 760 Overview
What You Are Working With
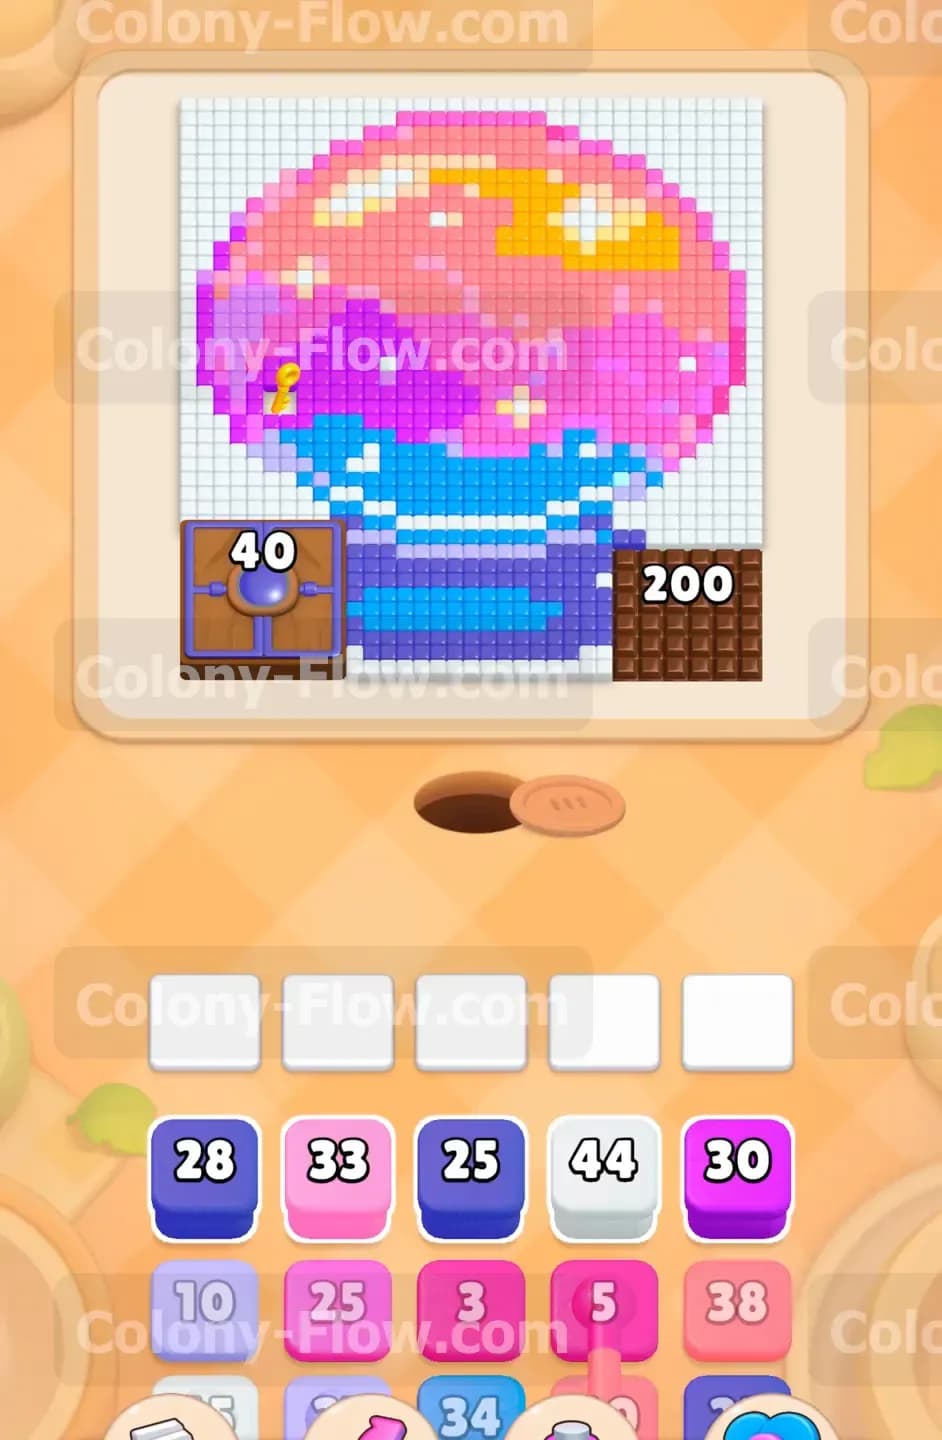
The pixel art picture completely dominates the top half of your screen. It represents a large crystal ball sitting heavily on a base. The top section of the glass dome is filled with a bright pink and orange sunset sky. Small yellow tiles act as glowing star highlights scattered across that sky. The middle section smoothly transitions into deep purple and magenta shadows. The bottom half of the crystal ball contains dark blue and light blue water tiles. Your tray at the bottom holds all the numbered blocks you need to feed the ants and clear the picture. You will encounter several pairs of connected boxes where two or more blocks are permanently joined together. When you pull one connected block the whole group drops into your waiting slots at the exact same time. The tray also features a lock and key mechanic that you have to work around. A crucial yellow block sits in the lower rows behind a heavy lock. You must uncover and collect the hidden key on the board to open that lock before you can reach the deeper tray rows.
What It Takes to Clear Level 760 Board
You win the level when your ants consume every single tile and the crystal ball picture completely disappears from your screen. The core challenge is entirely about managing your five empty waiting slots. Every block you pull from the tray occupies exactly one slot. If you pull a color that does not have an open path on the board the ants cannot reach or eat the matching tiles. The block will just sit in the waiting slot and take up permanent space. If you fill all five slots with unplayable blocks you dead end the board and lose the level immediately. You must carefully sequence your moves so that every block you pull has an immediate and open path to its matching color on the board. Always keep an eye on the numbers decreasing to ensure your paths stay clear.
Colony Flow Level 760 Step by Step Solution
Step 1: Clear the outer edges to create your initial open paths
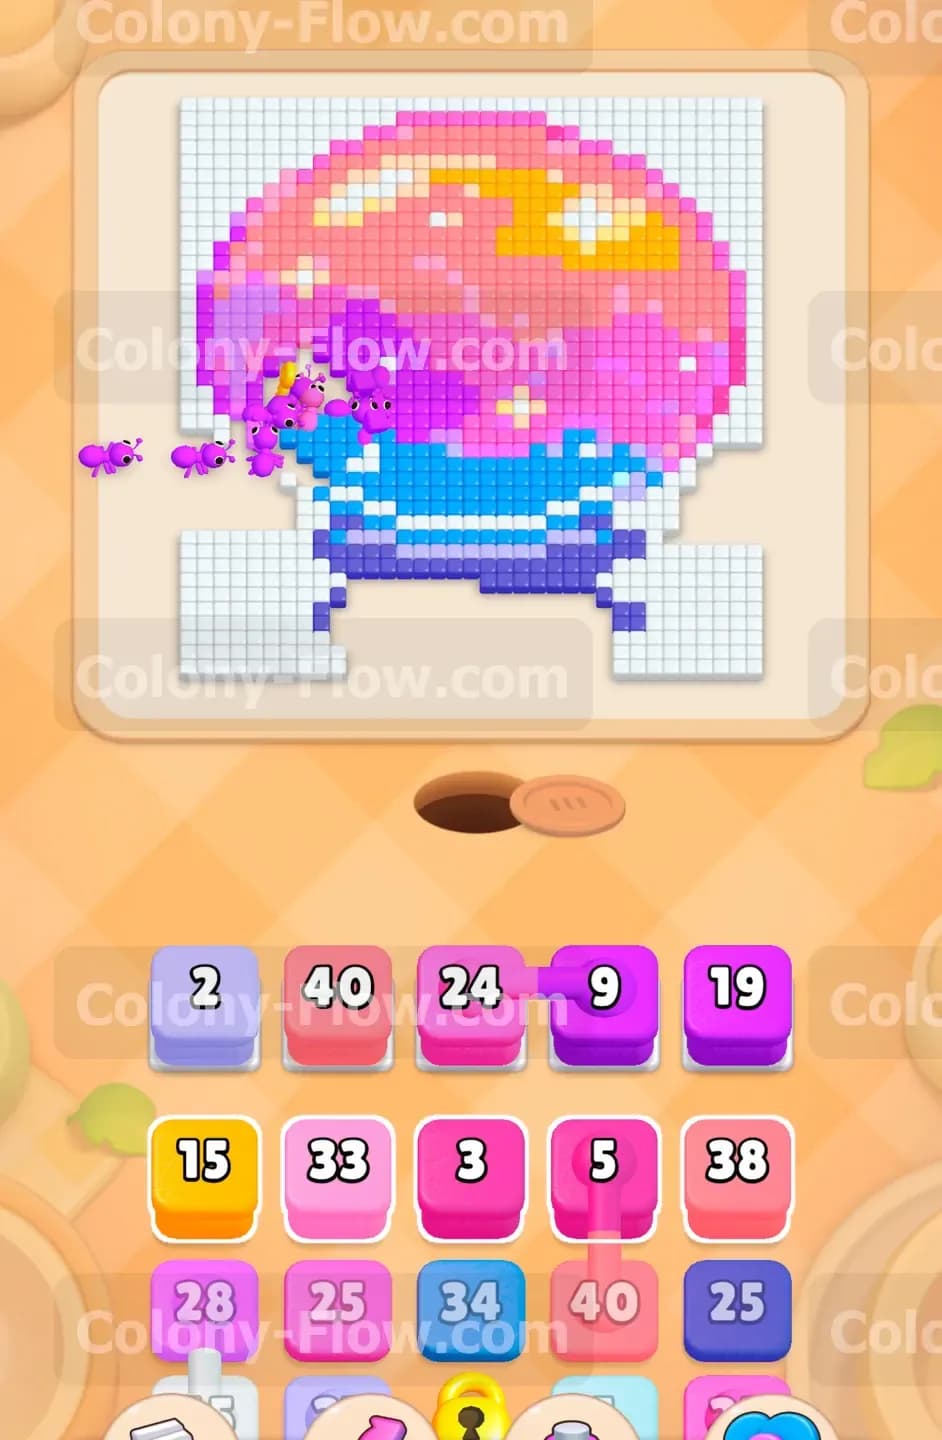
Start by focusing your attention on the highly accessible outer layers of the crystal ball picture. The outermost border contains light purple and pink tiles that are completely exposed to the nest hole right from the beginning. Look at your tray and locate the light purple block holding the number 2. Pull it directly into your first waiting slot. The ants immediately run out of the nest and consume the two matching outer tiles. Once that slot clears and the block vanishes pull the pink block carrying the number 40. A massive swarm of ants streams out and eats away a huge chunk of the pink sunset sky on the left side. Clearing this large pink section breaks the solid outer wall and opens up multiple new paths toward the deeper center of the picture. Getting this thick outer layer out of the way early gives your ants room to maneuver later.
Step 2: Pull the first pair of connected magenta boxes
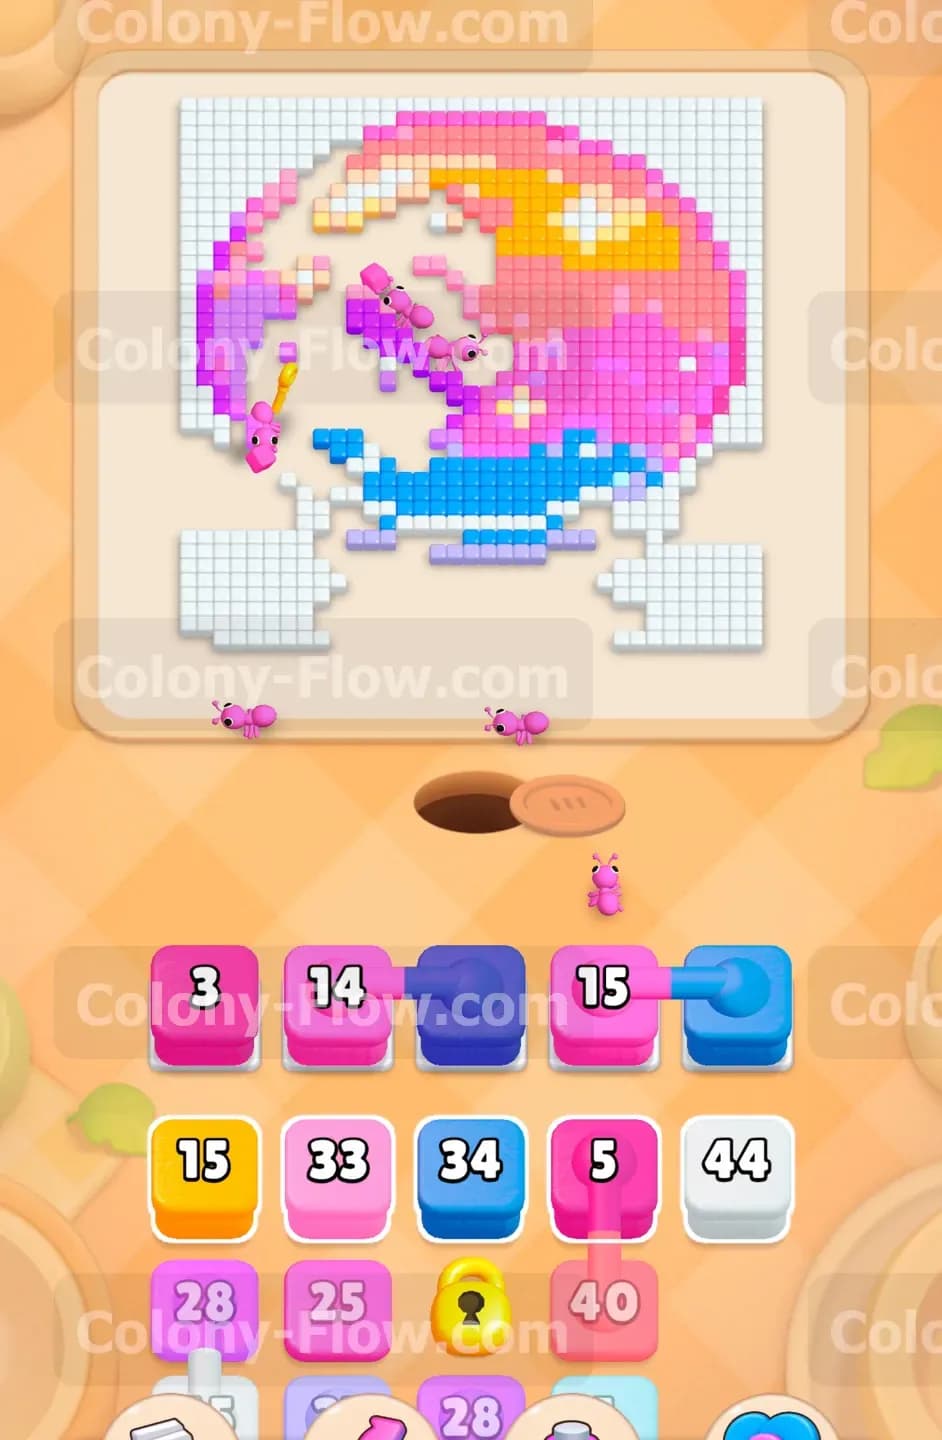
With the outer pink wall successfully broken you can now reach the deeper interior colors. Your tray holds a pair of connected boxes featuring a magenta 24 block linked permanently to a magenta 9 block. You must have at least two completely empty waiting slots to pull this pair safely. Tap either block and they will both drop into your active area. The ants rush out to clear the magenta shadows stretching across the middle band of the crystal ball. Watch the numbers on the blocks count down from 24 and 9 as the ants devour the tiles one by one. As these magenta blocks vanish they reveal the bright yellow star highlights that were hidden deep inside the sunset area. You must always wait for connected boxes to completely clear before pulling new colors to avoid crowding your waiting area.
Step 3: Access the yellow highlights and find the hidden key
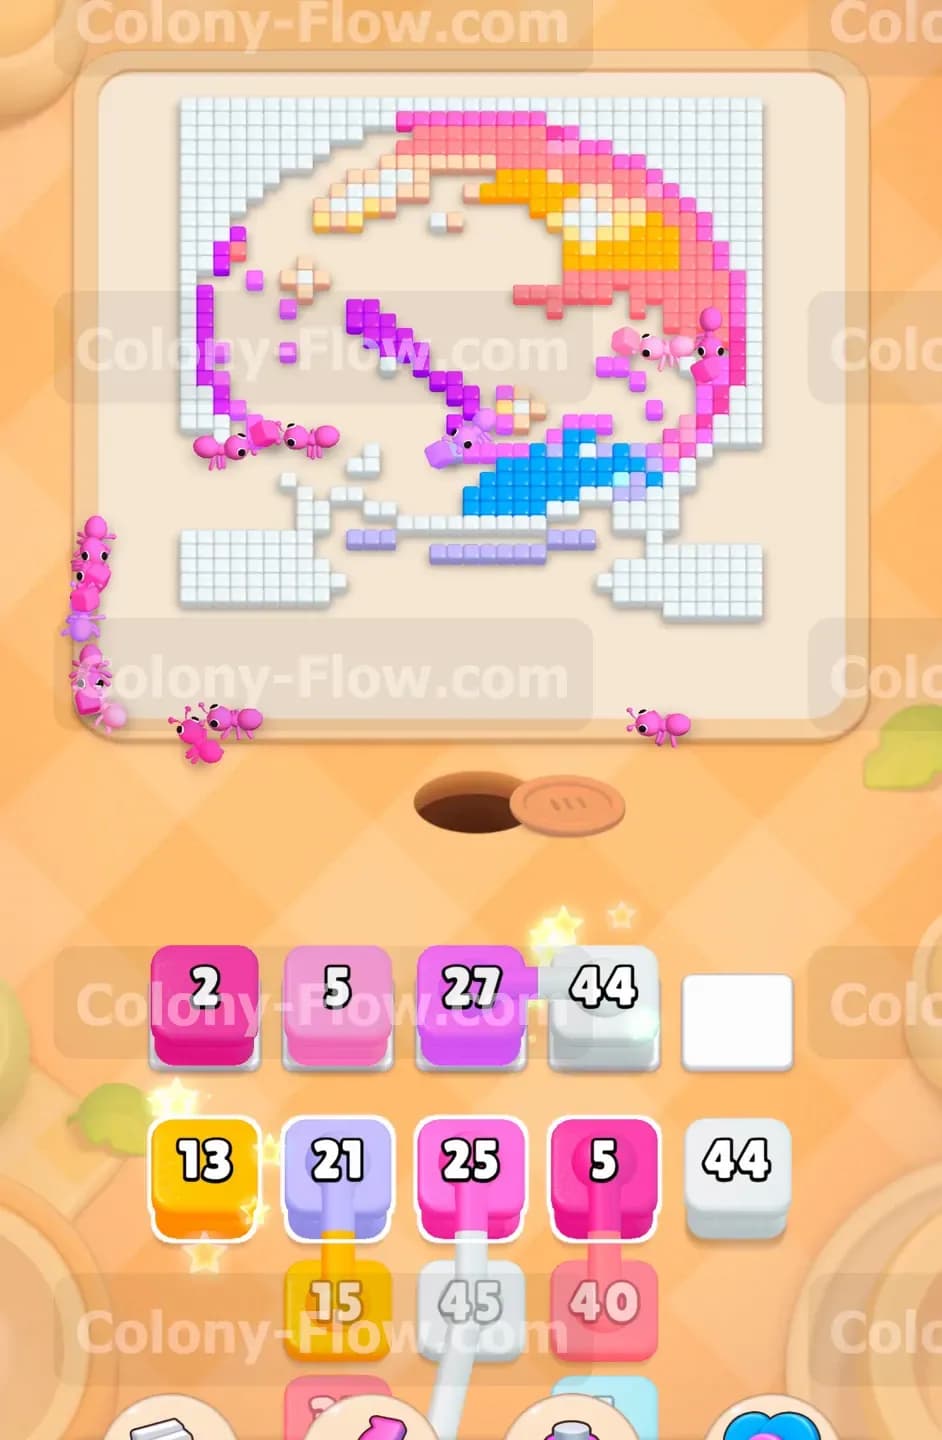
Now that the heavy magenta layer is gone the yellow star tiles are fully exposed and ready to be eaten. Locate the yellow 15 block currently sitting in your tray and drop it into an open slot. The ants instantly march up into the sky section and clear out the glowing stars. This specific move is absolutely critical because the yellow tiles are actively blocking access to a special tile that holds a key. You desperately need that key to unlock the restricted yellow block sitting in your lower tray rows. Once the ants finish eating the yellow 15 block they automatically collect the key from the board. You will see the physical lock pop open and vanish from your tray. This frees up vital blocks for your upcoming moves and directly prevents a future board jam.
Step 4: Devour the remaining pink sunset sky tiles
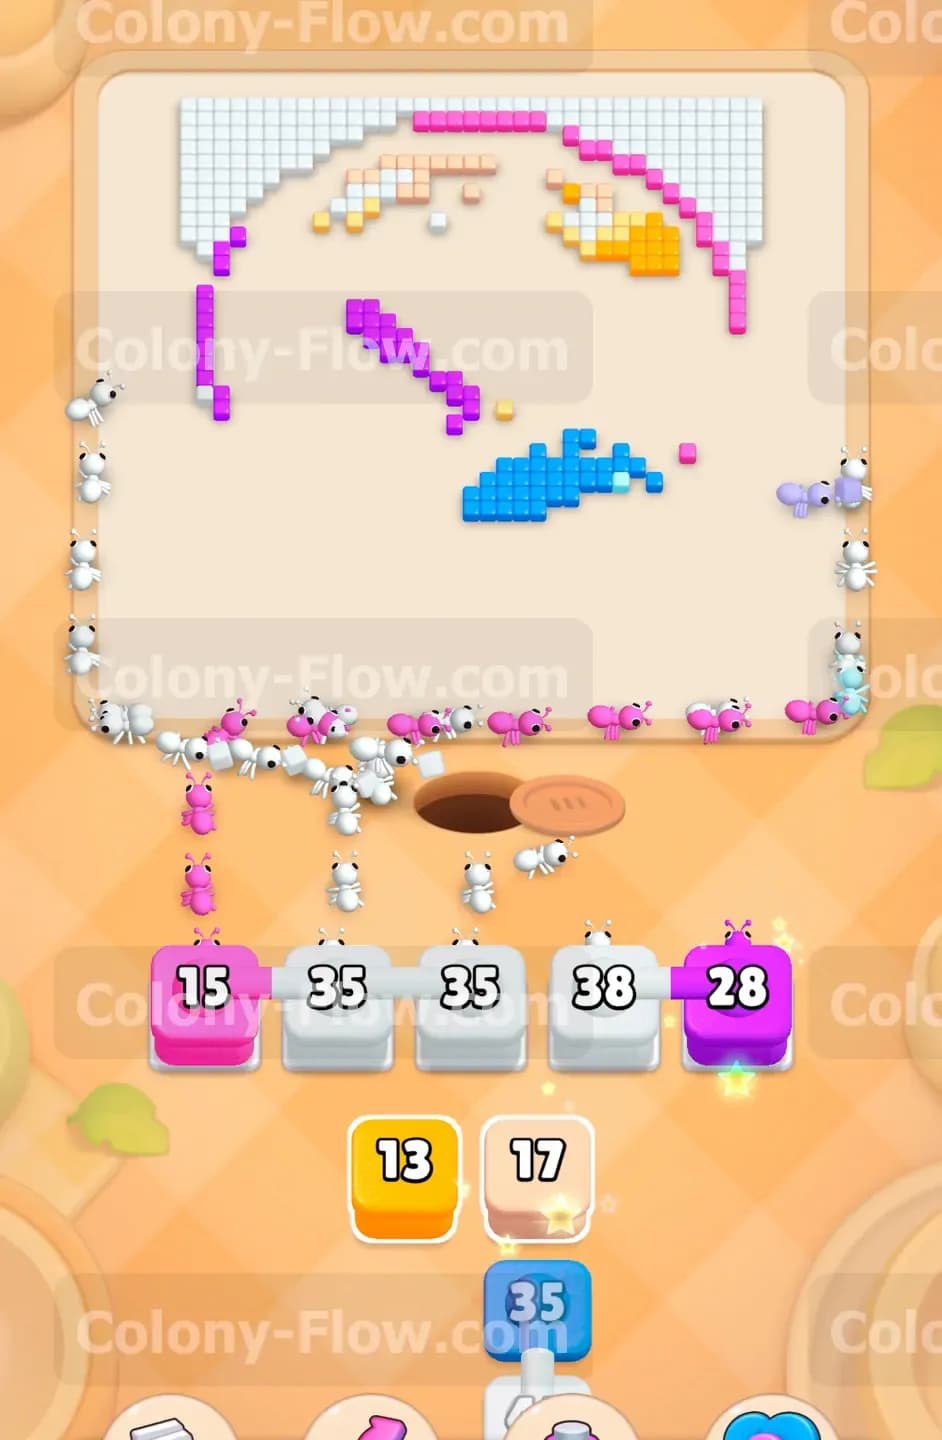
The upper half of the crystal ball still holds a very thick layer of pink tiles. Your tray gives you plenty of pink blocks to work with right now. You have a pink 33 a pink 3 and a pink 5 available to use. Pull the pink 33 block down into a waiting slot first. The ants flood the top curve of the crystal ball and eat away the thickest remaining part of the sunset sky. As soon as the 33 block finishes its countdown drop the pink 3 and the pink 5 directly into the active slots. The ants quickly hunt down the stray pink pixels scattered loosely near the upper edges. This sequence completely strips away the top half of the picture and ensures your travel paths remain totally open for the blue water tiles waiting below.
Step 5: Tackle the connected blue water blocks at the bottom
Shift your focus strictly to the bottom half of the crystal ball where the blue water rests. You will find another set of connected boxes waiting patiently in your tray. This pair links a dark blue 14 block to a light blue 15 block. Make absolutely sure you have two open slots ready and pull the connected pair down. The ants stream straight downward toward the flat base of the picture. They eat the dark blue shadows and the light blue ripples at the exact same time. Clearing the entire base of the crystal ball breaks the remaining picture into isolated floating islands of pixels. This physical separation makes your final cleanup much easier because the different colors are no longer touching or blocking each other from the ants.
Step 6: Handle the scattered light purple side fragments
Look closely at the remaining fragments floating on the far left and right sides of the board. You need to clear the scattered light purple tiles next to prepare for the end. Your tray holds another pair of connected boxes featuring a light purple 2 and a light purple 27. Pull them straight into your waiting slots. The ants have to travel a bit further to hunt down every single light purple tile left on the board. Because these fragments are spread far apart the ants take longer to travel from the nest hole to their final targets. You must be patient and simply wait for the numbers to hit zero before touching anything else. Filling your slots while the ants are traveling long distances is the absolute easiest way to accidentally dead end your board right before you win.
Step 7: Deploy the massive five block connected chain
You have now reached the final and most dangerous group of blocks sitting in the tray. You will see a massive chain of connected boxes linking five separate blocks together in one long line. This chain includes a pink 15 two white 35 blocks a white 38 and a magenta 28. You absolutely must have five totally empty waiting slots to pull this massive chain onto the board. Wait until your current ants finish their work completely and your active waiting area is totally blank. Once the slots are completely clear tap any block in the chain. All five blocks drop down at once and fill your entire waiting area perfectly. A huge swarm of ants instantly floods out of the nest hole to finish the puzzle.
Step 8: Watch the final swarm clear the board completely
Because you now have all five slots full you cannot make any more moves at all. You just need to sit back and watch the ants independently target their matching colors across the remaining scattered tiles. They eat the white reflections on the glass the last pink sunset clouds and the final magenta shadows without any help. The numbers on all five blocks steadily count down together as the ants aggressively clean up the board. Since you successfully cleared all the blocking tiles in the previous steps the paths are totally open and safe for every color in the chain. The blocks hit zero one by one until every single pixel vanishes from the screen. The last few ants return to the nest hole and you officially win the level.
Final Thought
Clearing this picture requires exact timing with your connected boxes and a clear focus on unlocking that key as early as possible. Always make sure you have enough empty slots before pulling a long connected chain down from the tray. You never want to leave a block trapped in your active area without a clear path to its matching food. If you find yourself getting stuck or dead ending the board during a difficult section watch the video above this article. The visual gameplay demonstration will show you exactly how to manage the tray space and keep your ants flowing without any frustrating interruptions.