Colony Flow Level 158 Walkthrough Solution & Guides | How to solve Colony Flow 158

Guide By Liam Stone
Updated on July 12, 2026
If you're short on time, the video above covers the entire Level 158 solution in a few minutes.
Video doesn't match your screen?
Game updates frequently scramble layouts! Try our AI Screenshot Solver first to find your exact board instantly, or report broken guides to our team.
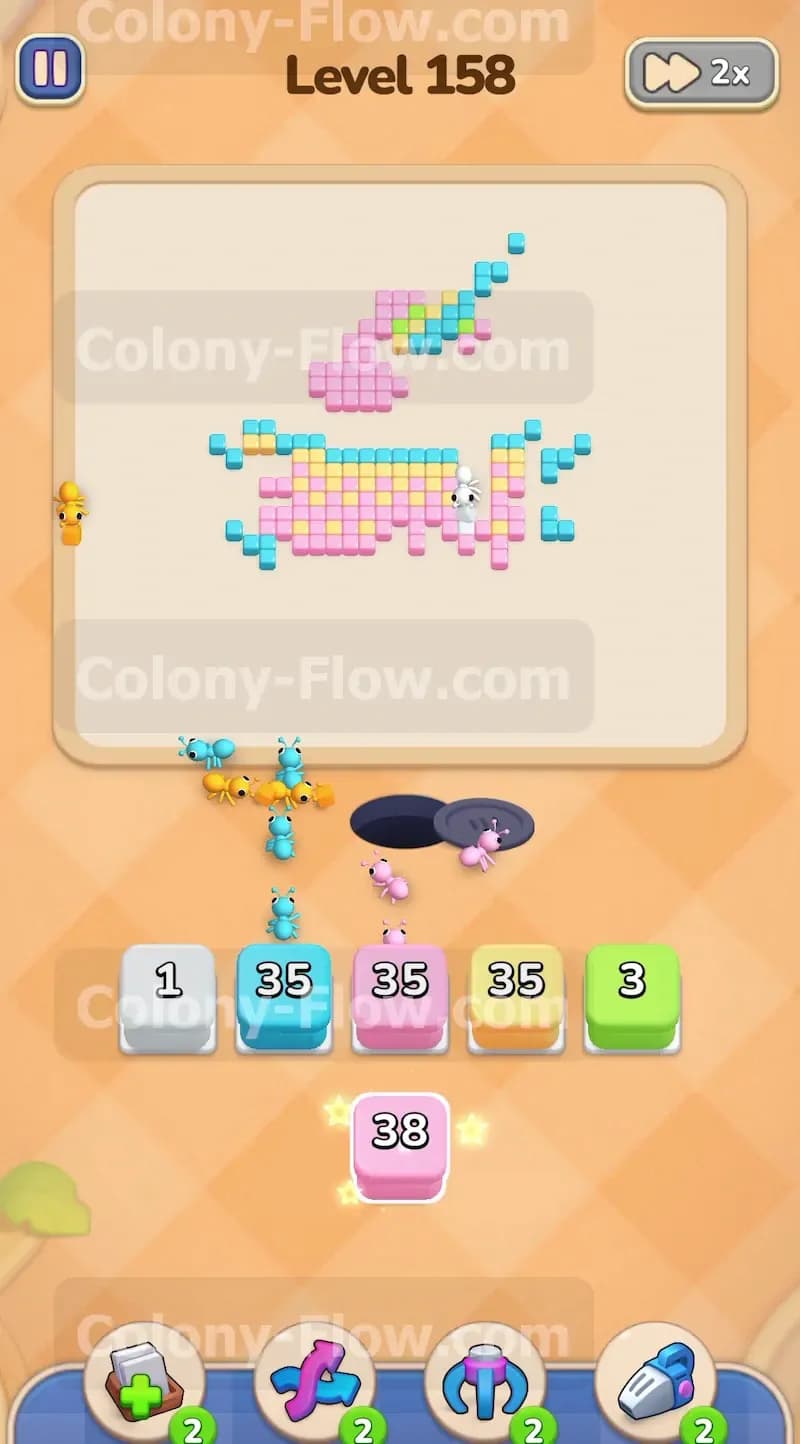
Welcome to Colony Flow Level 158. This level features a vibrant pixel art picture of a refreshing iced beverage complete with a straw and a bright lid. The board is packed tightly with a wide variety of colors. Managing your five waiting slots is a real test of patience and planning on this board. Let me walk you through exactly how I clear this level without getting stuck and losing the game.
Colony Flow Level 158 Overview
What You Are Working With
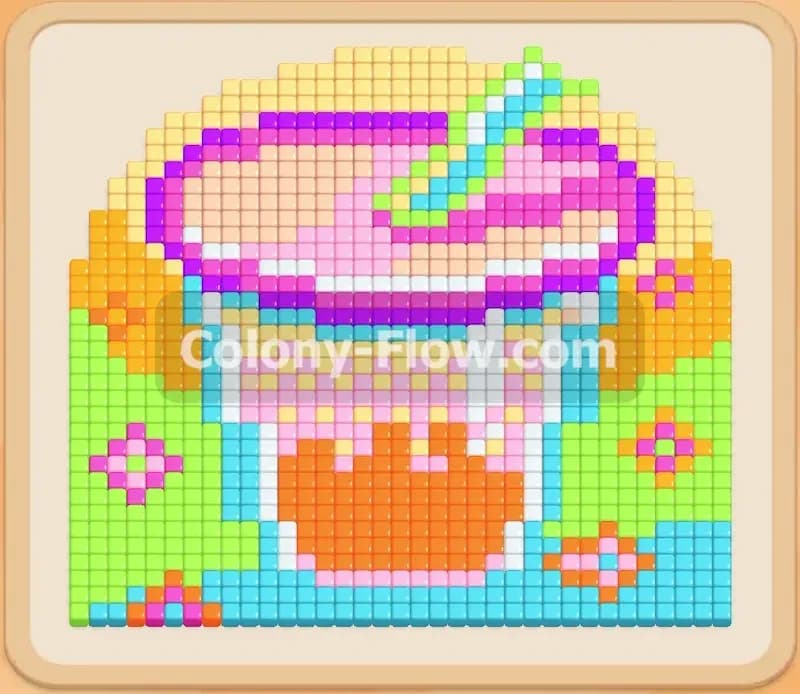
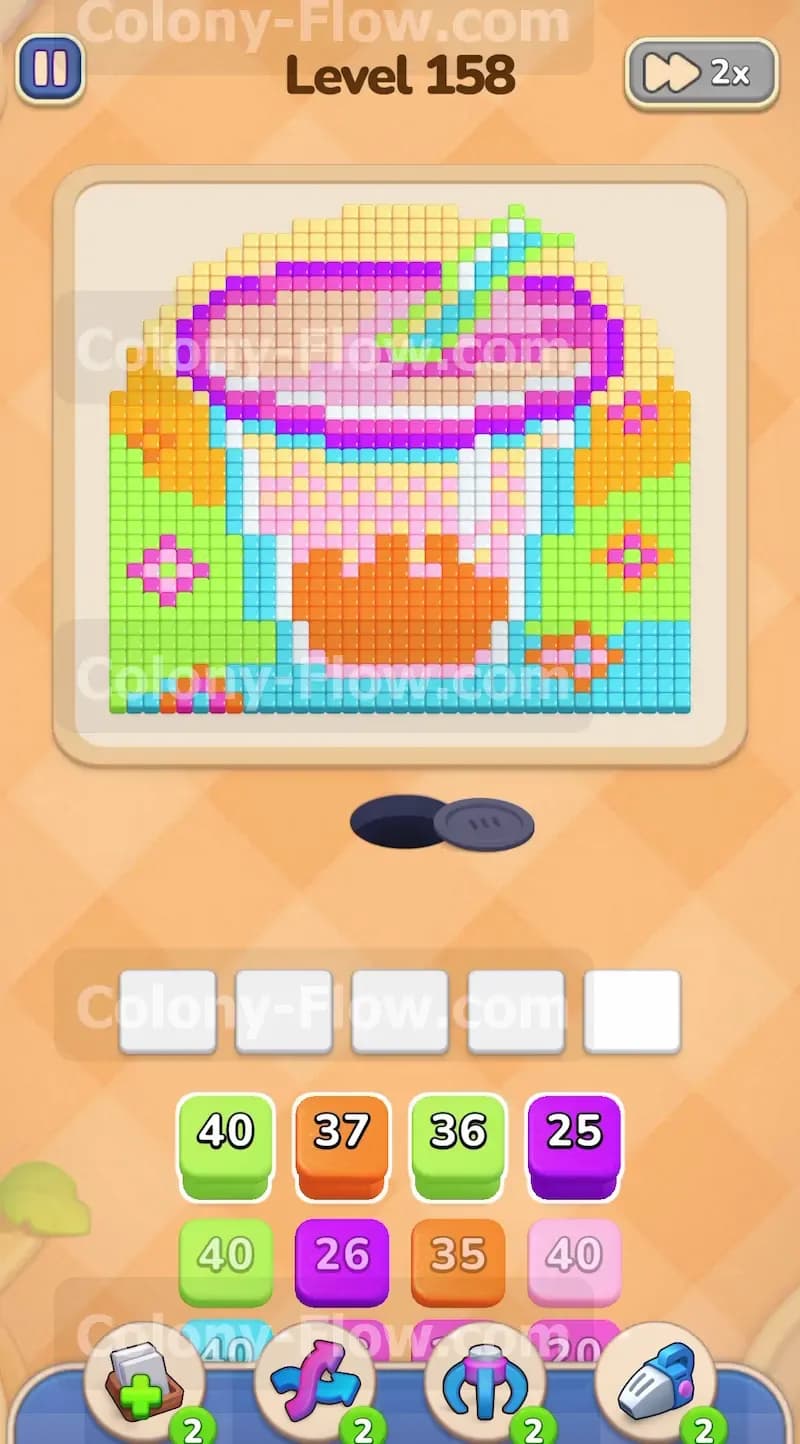
The pixel art picture dominates the center of the board. It depicts a large cup filled with a bright orange liquid. The cup itself has a thick light blue outline and a few white tiles that create a reflection highlight on the glass. The lid is a complex mix of bright pink and deep purple tiles. A bright green straw sticks out of the top of the lid. The background consists of green sections at the bottom corners and yellow sections wrapping around the sides and the top edge. The nest hole where your ants originate sits directly below the bottom center of the cup. The tray at the bottom of your screen is loaded with high number blocks for all these colors. There are no special tiles like hidden boxes or locked doors here. You face a solid wall of standard tiles.
What It Takes to Clear Level 158 Board
Clearing this level means dismantling the drink from the bottom up while carefully carving paths around the outer edges. You have to open specific routes for the ants to reach the top sections without clogging your five waiting slots. If you pull too many block colors before the ants can reach their matching tiles you will jam all five slots. When all five slots are full and no ants have an open path to their food you lose the level instantly. Success requires feeding the colors into the slots in an order that keeps the ants moving constantly. You beat the board when every single tile is eaten and the ants return home.
Colony Flow Level 158 Step by Step Solution
Step 1: You must open the bottom access route to start the level.
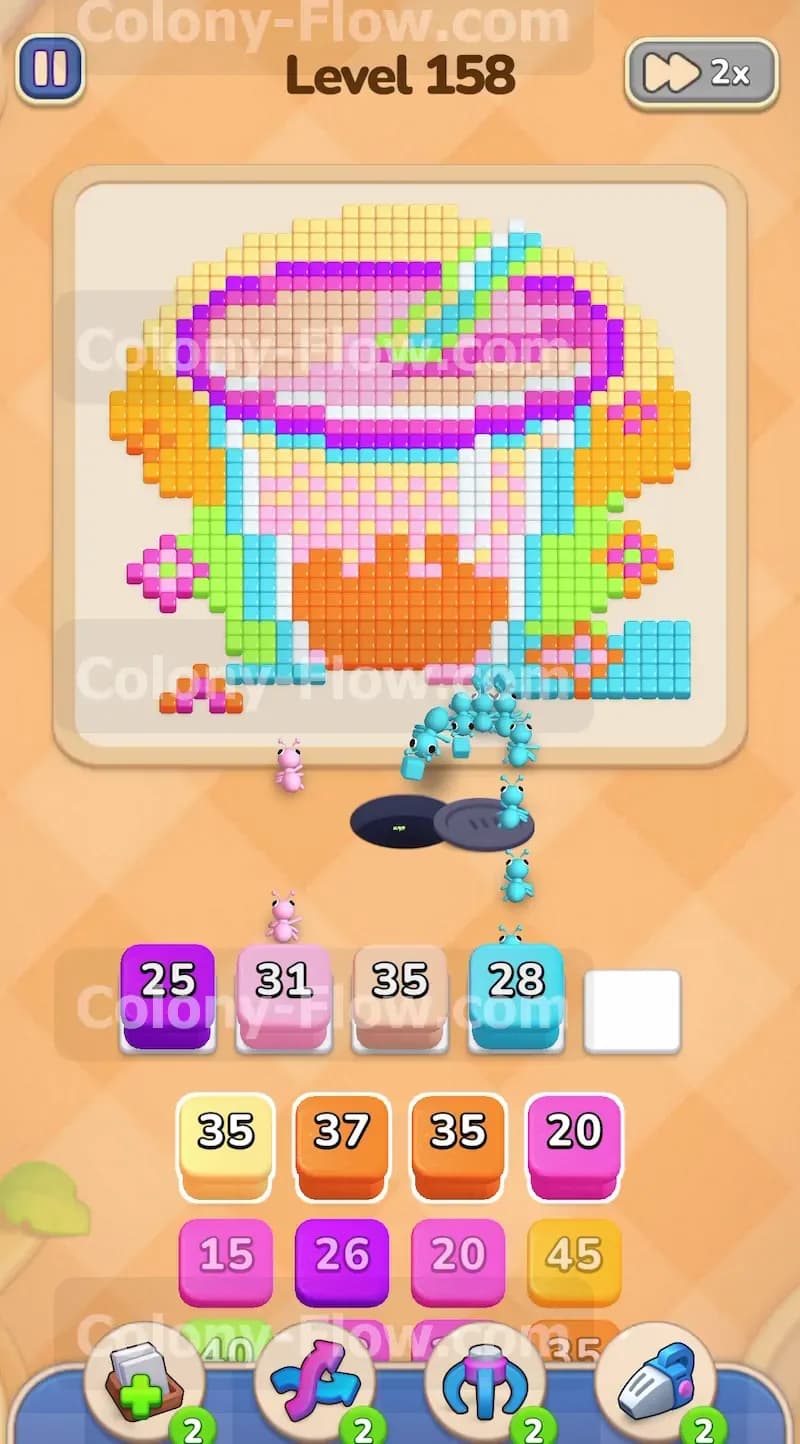
The nest hole sits right against the bottom edge of the picture. The very first tiles blocking your ants belong to the light blue cup outline. You must pull a light blue block from the tray into your waiting slots to get things moving. The light blue ants stream out of the nest and start eating away that first bottom edge. This action is the foundation of the entire level because it exposes the inner orange beverage tiles and the green background corners. Watch the numbers on your light blue block count down. Do not pull any other colors into your slots just yet. You want to make sure the ants have clear paths before filling your limited slot space.
Step 2: Clear the bottom green corners to create necessary side paths.
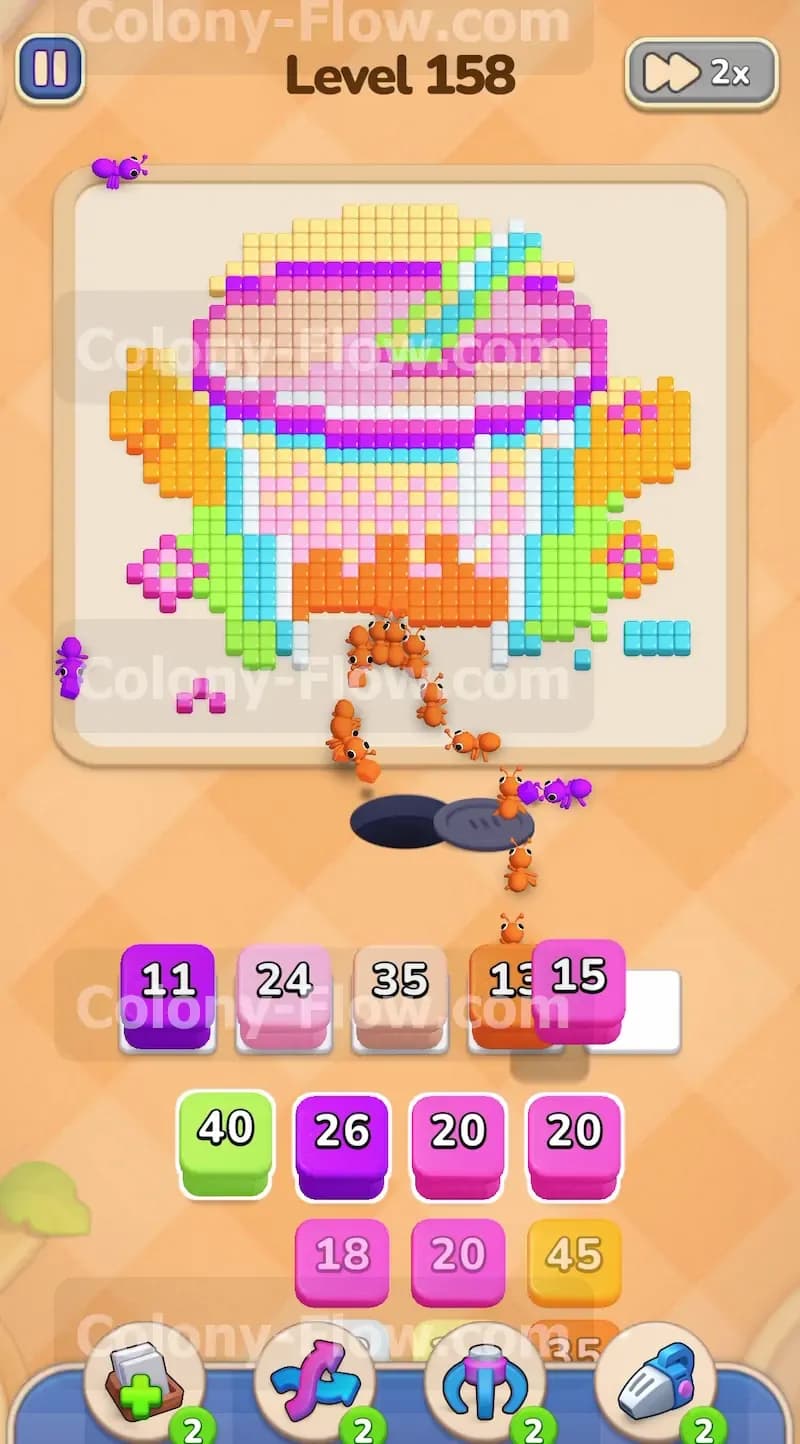
With the bottom edge successfully breached you now have direct access to the green tiles occupying the lower corners of the picture. Pull a green block from the tray and drop it into a waiting slot. The green ants emerge and split into two distinct streams heading left and right to clear these corners. Clearing these green sections early is a necessary move. It opens up the vertical paths along the outside edges of the cup. These outer paths are exactly what you need to send ants to the upper sections of the picture later in the game. Let the green ants do their work completely until the lower corners are entirely empty.
Step 3: Attack the central orange beverage tiles to make maneuvering space.
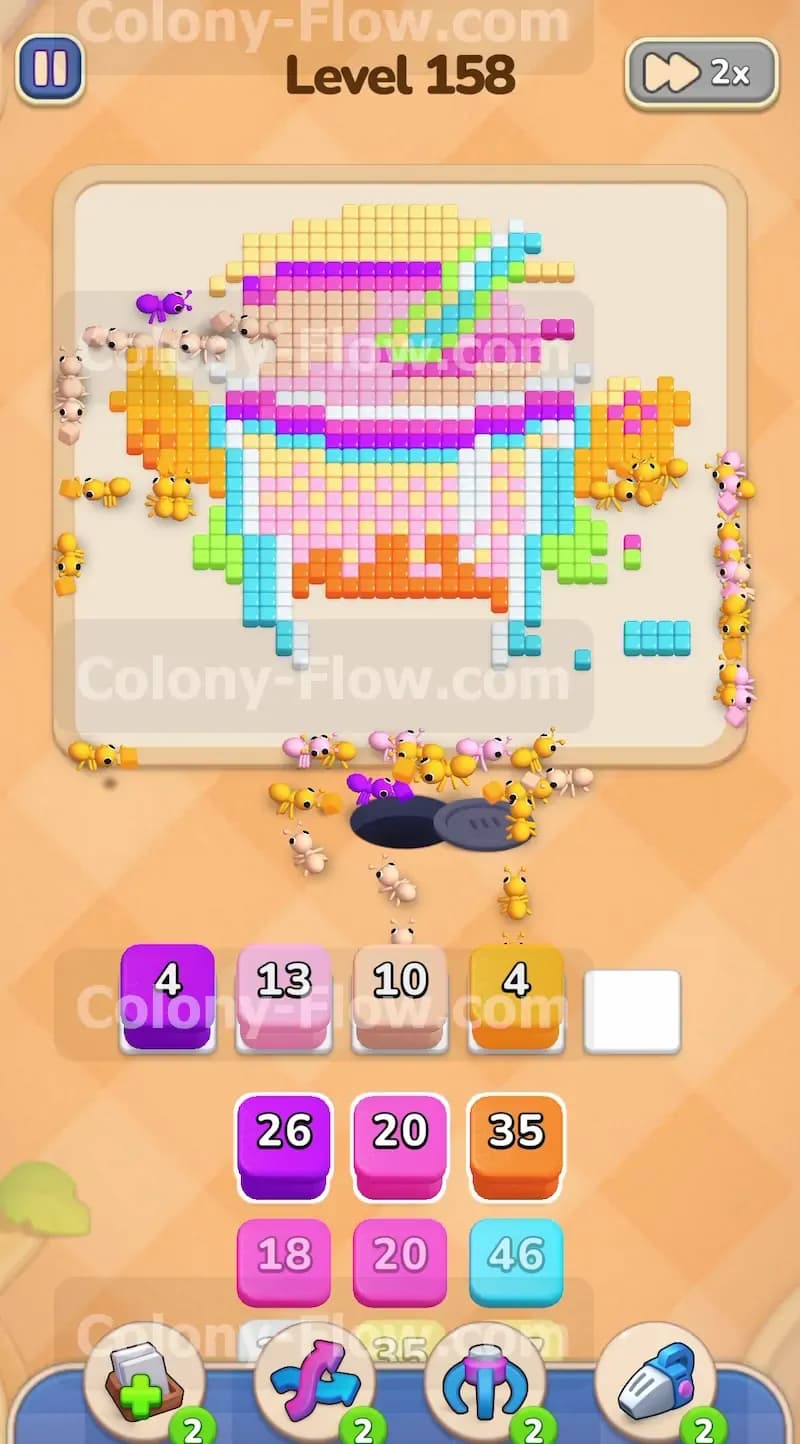
Now that you have created some breathing room on the sides it is time to hollow out the center area. The orange tiles make up the main body of the drink inside the cup. Pull an orange block into an empty waiting slot. A massive swarm of orange ants will march straight up from the nest hole into the center of the cup. They will spread out and consume a large chunk of the orange section. This creates a massive empty space right in the middle of the board. Having this central area clear gives your future ants much more maneuvering room. Keep a close eye on your slots during this phase. You should have an orange block, a green block, and perhaps a light blue block active. You still retain empty slots ready for the next phase.
Step 4: Begin clearing the purple lid outline using the outer lanes.
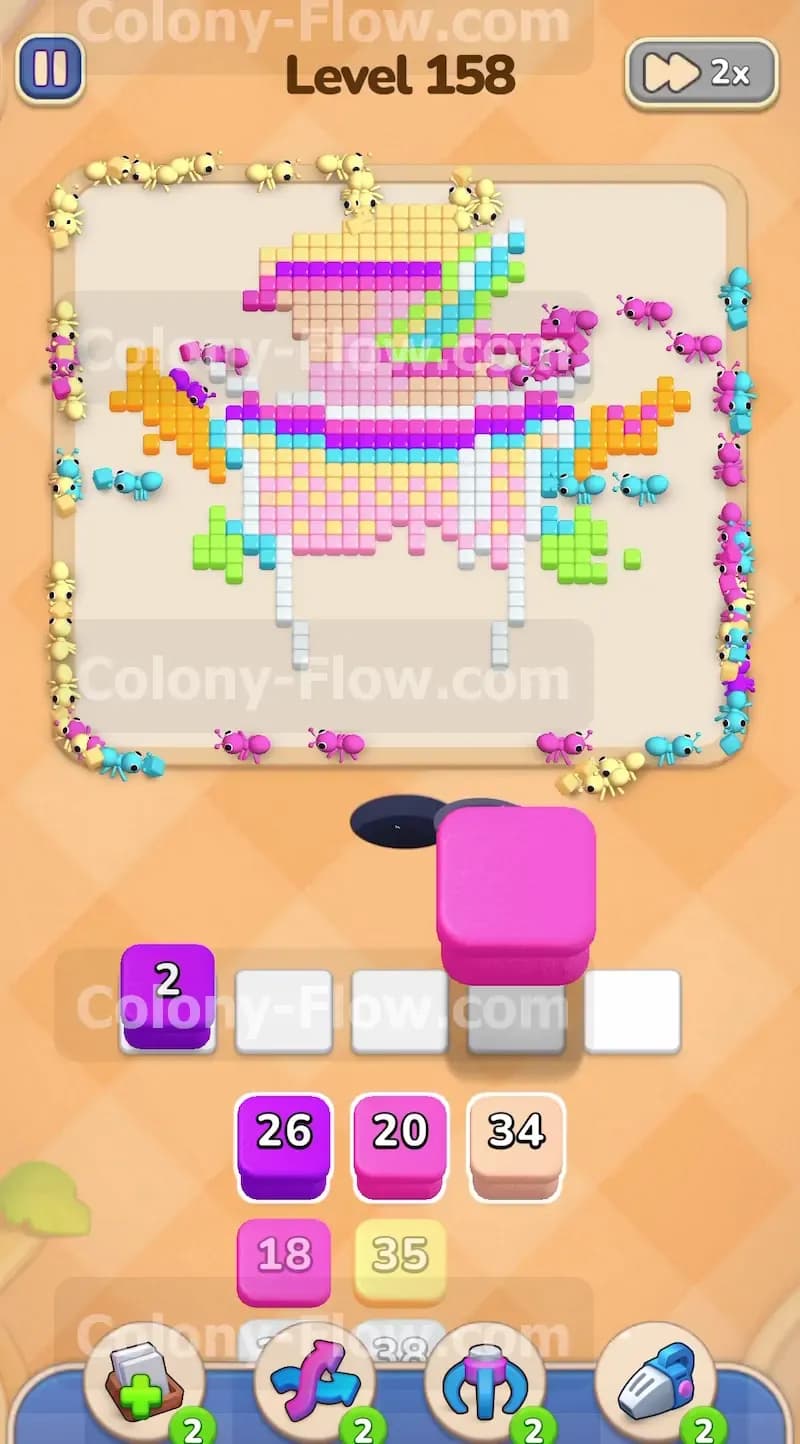
The outer paths you opened by clearing the green corners are now very useful. The purple tiles form the thick outline of the cup lid at the top of the drink. Since the side lanes are clear you can safely pull a purple block into a slot. The purple ants travel all the way up the empty side lanes and begin attacking the outer edges of the lid. This is a very slow process because the travel path is quite long. You must be patient and let the purple ants establish their long route. Do not rush to pull too many other colors while the purple ants are making their journey. You want to maintain a steady flow of movement without creating a traffic bottleneck near the nest hole.
Step 5: Send ants to work on the side yellow sections alongside the purple.
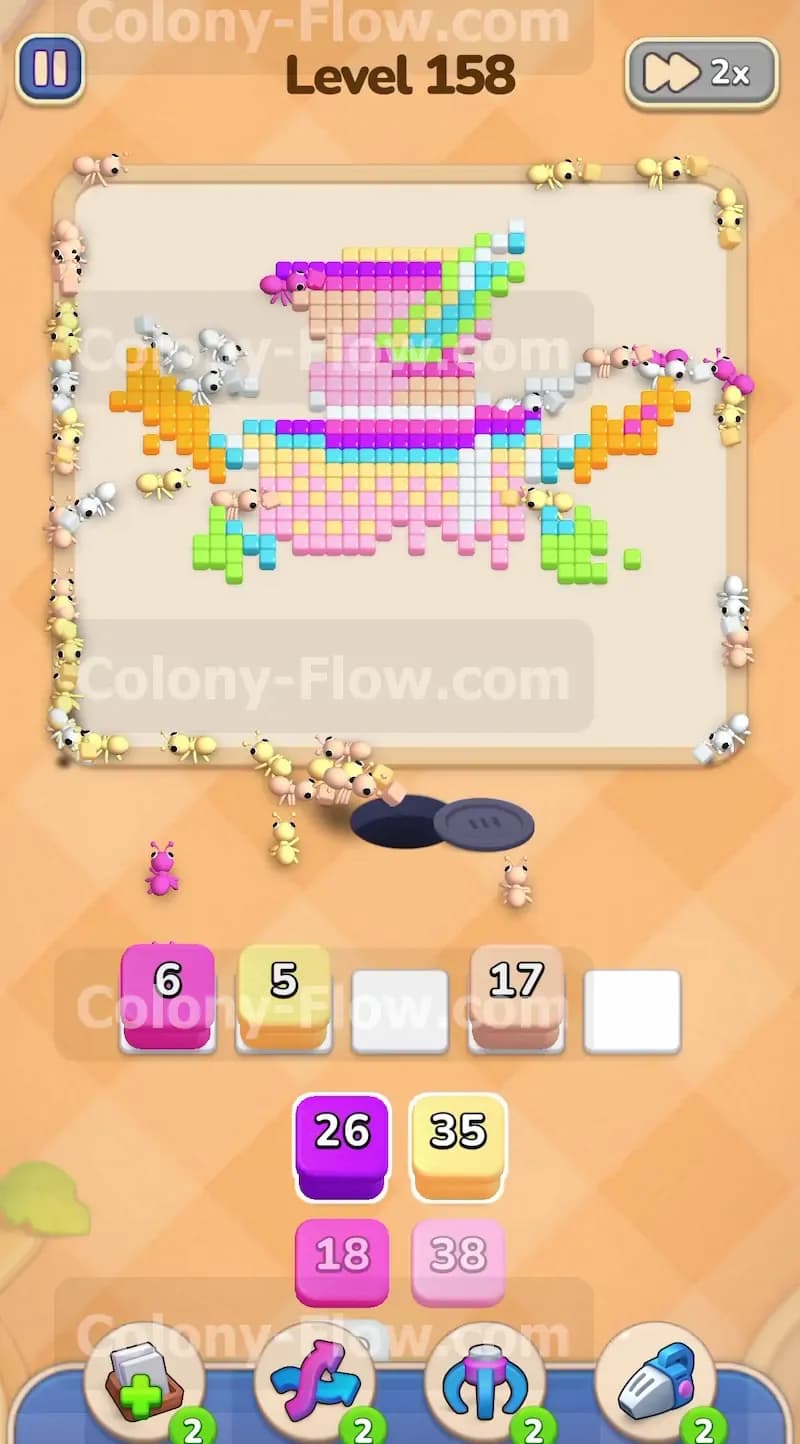
Right next to the purple lid outline you will notice sections of yellow tiles. These act as a bright background element on the sides of the cup. With the purple ants already actively working on the outer edge you can safely pull a yellow block into another slot. The yellow ants will follow similar side paths to reach their target yellow tiles. Having purple ants and yellow ants working the outer edges simultaneously is highly efficient. It strips away the outer layers of the top half of the picture very quickly. Just monitor your remaining waiting slots to ensure you do not max out your capacity and trigger a loss.
Step 6: Break into the bright pink lid interior through the center path.
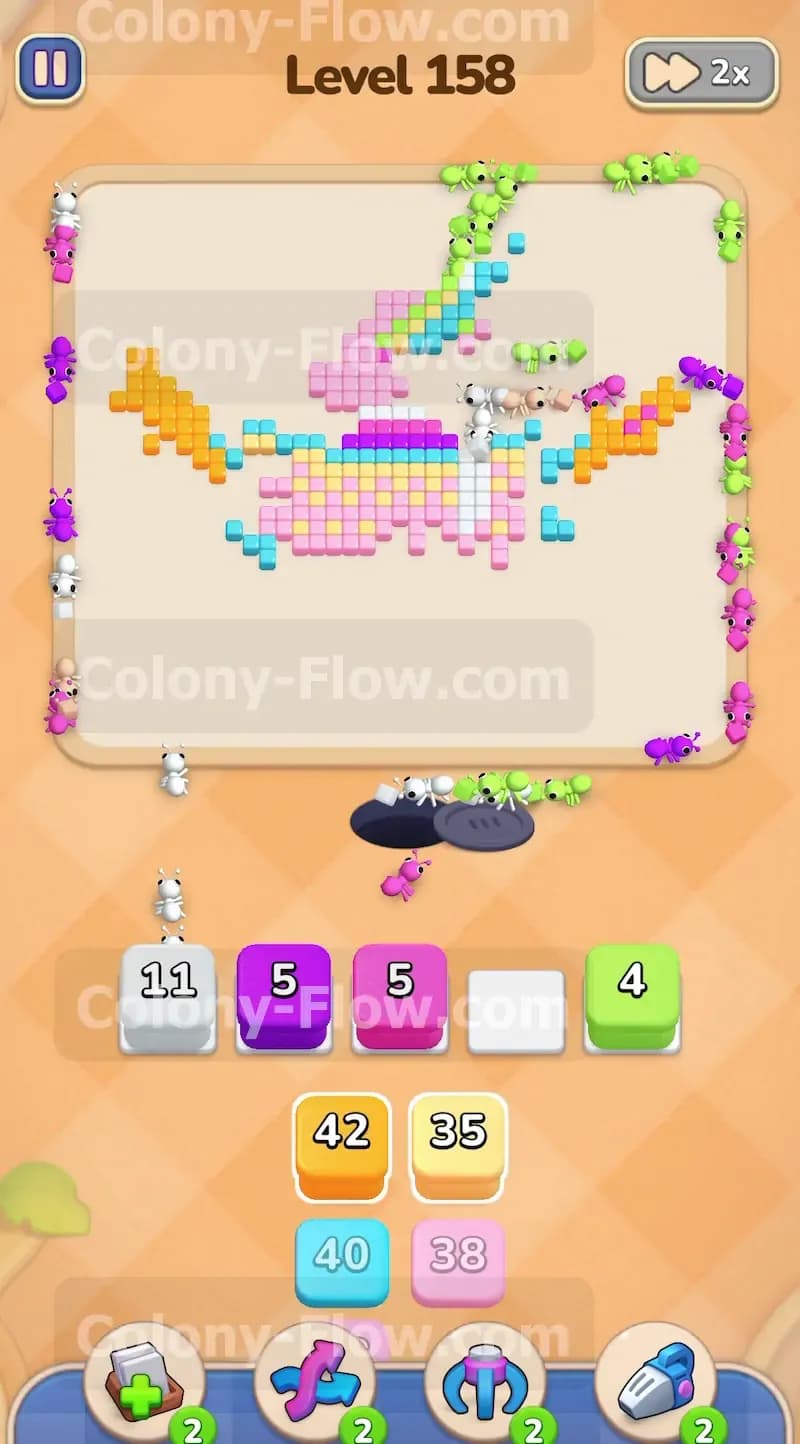
As the purple ants chew through the lid outline they expose the bright pink tiles inside the lid. Now is the perfect time to pull a pink block from the tray. The pink ants will rush straight up the center path you cleared during the orange phase and start dismantling the massive pink section. This is a very satisfying phase of the level. The pink section is quite large so you will likely need to pull multiple pink blocks over time to clear it entirely. Always wait for your active pink block to near zero before pulling another one. This disciplined approach keeps your slots manageable and prevents an accidental dead end situation.
Step 7: Clear the white cup highlights once they become fully exposed.
You will notice some stark white tiles forming a highlight reflection on the main body of the cup. These specific tiles become fully accessible once the surrounding orange and light blue tiles are mostly gone. Pull a white block into an open slot to send a dedicated group of white ants to handle these tiles. They represent a smaller section compared to the giant pink lid but they still occupy a valuable slot. Managing the white block alongside the highly active pink and purple blocks requires careful attention. Always ensure every single active color has a completely open path to its final destination.
Step 8: Consume the top yellow background tiles with long distance traveling ants.
The yellow ants you deployed earlier should have finished the lower side sections by now. The remaining yellow tiles form a large arc across the very top edge of the picture. Pull another yellow block from your tray. The ants now have to travel all the way up the side lanes and across the top boundary to reach these distant tiles. Because the travel distance is incredibly long this yellow block will sit in your slot for quite a while. This exact scenario is why we kept slots open in the early steps of the level. You absolutely need that buffer space for blocks that take a long time to process.
Step 9: Dismantle the green straw at the top of the cup.
The green straw sticks straight out of the top of the cup cutting through the pink lid and the top yellow background. With the upper area becoming heavily exposed you can now pull another green block. The green ants will navigate up the side lanes and begin eating the straw from the top down. At this point your board will have several different streams of ants moving in multiple directions. You will see green ants heading for the straw, pink ants finishing the lid, and yellow ants clearing the top background. It is a very busy screen but as long as you pull blocks only for currently accessible colors you remain completely safe from losing.
Step 10: Finish the remaining pink and light blue details to win the game.
As the level nears its final moments you will be left with a few scattered pink and light blue tiles near the center and the upper right side. Assess exactly which colors have open paths and pull the corresponding blocks into your last empty slots. Usually you just need one final pink block and one final light blue block to finish the job. The ants will quickly sweep in and consume these last remaining pieces of the picture. Keep a close watch on the countdown numbers on your blocks. Once the final tile disappears from the screen the board is completely clear. You have successfully navigated a very crowded picture without ever jamming your slots.
Final Thought
Level 158 really tests your ability to manage multiple long distance paths at the exact same time. Opening the bottom and the sides early is the absolute key strategy to keeping your slots completely free from dangerous bottlenecks. If you find the exact timing of these block pulls confusing you can always watch the video above this article. It shows the precise flow of the ants and demonstrates exactly how I keep the board moving smoothly from start to finish.