Colony Flow Level 204 Walkthrough Solution & Guides | How to solve Colony Flow 204

Guide By Liam Stone
Updated on July 13, 2026
The video above breaks down Level 204 visually, so skip the text below if you'd rather watch.
Video doesn't match your screen?
Game updates frequently scramble layouts! Try our AI Screenshot Solver first to find your exact board instantly, or report broken guides to our team.
Welcome to Colony Flow Level 204. Today we are taking down a massive pixel art red panda puzzle. This board is packed with high number blocks and features a tricky hidden food section right on the face of the animal. You must manage your tray slots perfectly so the ants always have an open path to chew and clear the level.
Colony Flow Level 204 Overview
What You Are Working With
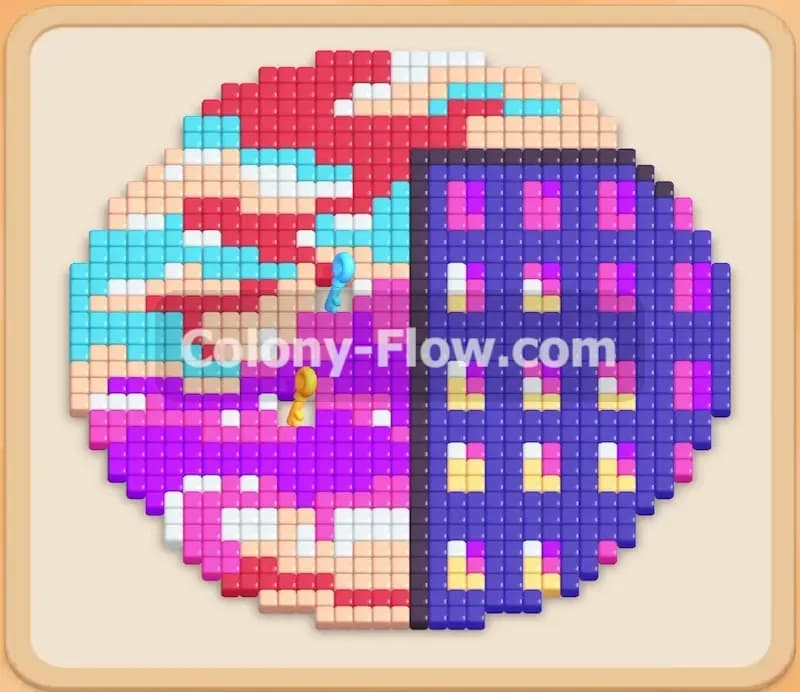
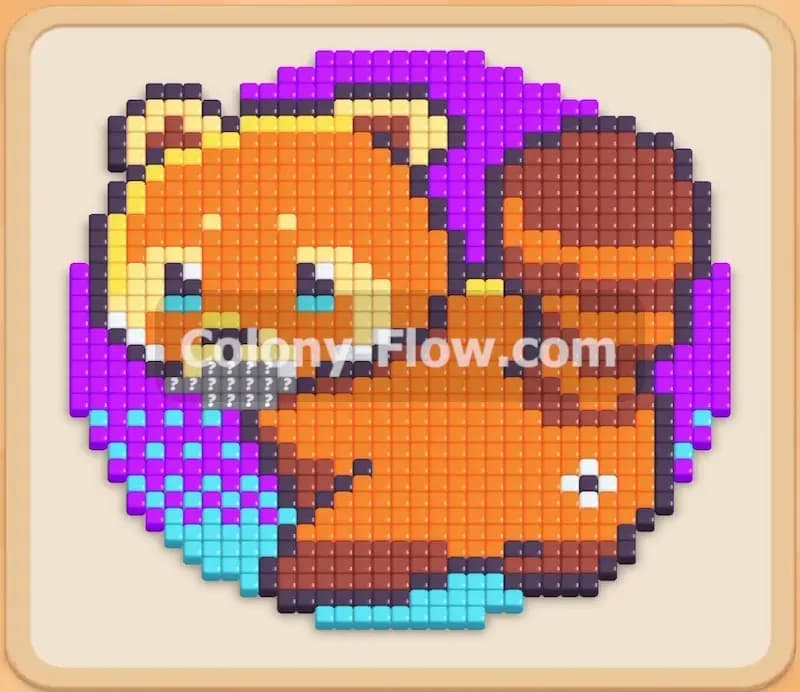
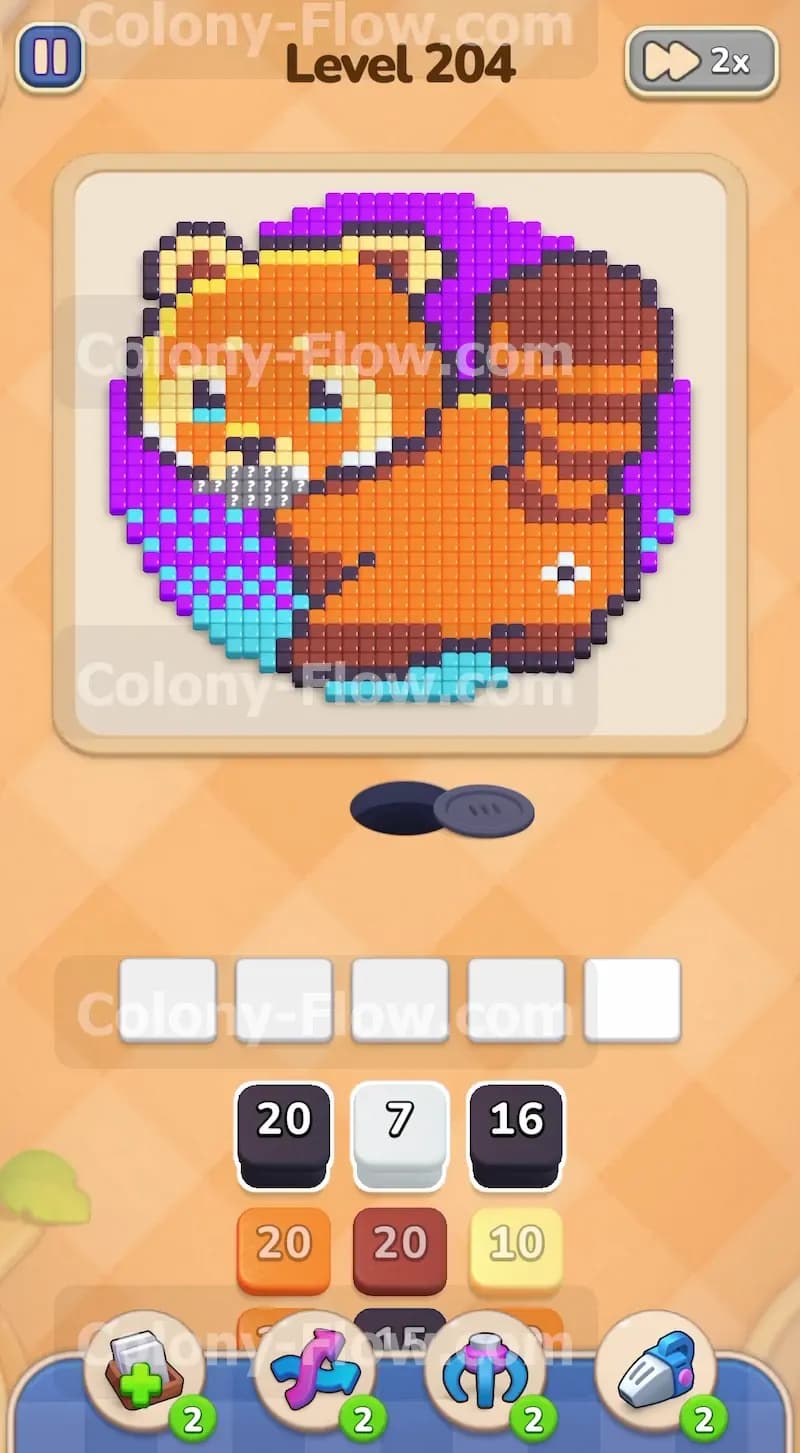
The board displays a beautiful pixel art red panda sitting in the center of the screen. The colors include large sections of orange for the main body and thick brown blocks for the bushy tail on the right side. You will also see black for the body outlines and facial features along with white and yellow inside the ears and the snout. The background contains a thick ring of purple on the top and light blue on the bottom left. The most important feature is the muzzle of the red panda. These specific tiles are wrapped tight as hidden food. They will not open until you clear the adjacent tiles. Your tray is loaded with high number blocks like black twenty and orange twenty.
What It Takes to Clear Level 204 Board
Clearing this board requires you to dismantle the red panda starting from the accessible outer edges and working your way inward toward the face. Your main goal is keeping the five waiting slots clear at all times. If you pull too many background colors before the inner paths open the ants will stall and you will fill your waiting area. You lose the level if all five waiting slots fill up and the ants have nowhere to go. You must unlock the hidden food early and balance the massive brown tail with the background sweeps. You win when every single tile is eaten and the ants finish their routes without jamming the tray.
Colony Flow Level 204 Step by Step Solution
Step 1: Pull the initial black and white blocks to open the center paths
You begin this level with a full board and a tray offering a black twenty block along with a white seven block and a black sixteen block. Pull the black twenty block into your first waiting slot. A large swarm of ants will stream out of the nest hole at the bottom of the screen. They head straight up the center paths to attack the black outlines around the ears and the eyes. Pulling the white seven block next sends a smaller group to clear the white sections of the ears. This aggressive opening move creates essential space in the middle of the board. You need these inner paths open so your future ants have room to maneuver around the head. The numbers on your black and white blocks will count down quickly as the ants consume the tiles. This rapid drain frees up your waiting slots for the next wave of colors.
Step 2: Activate the large orange blocks to clear the main body
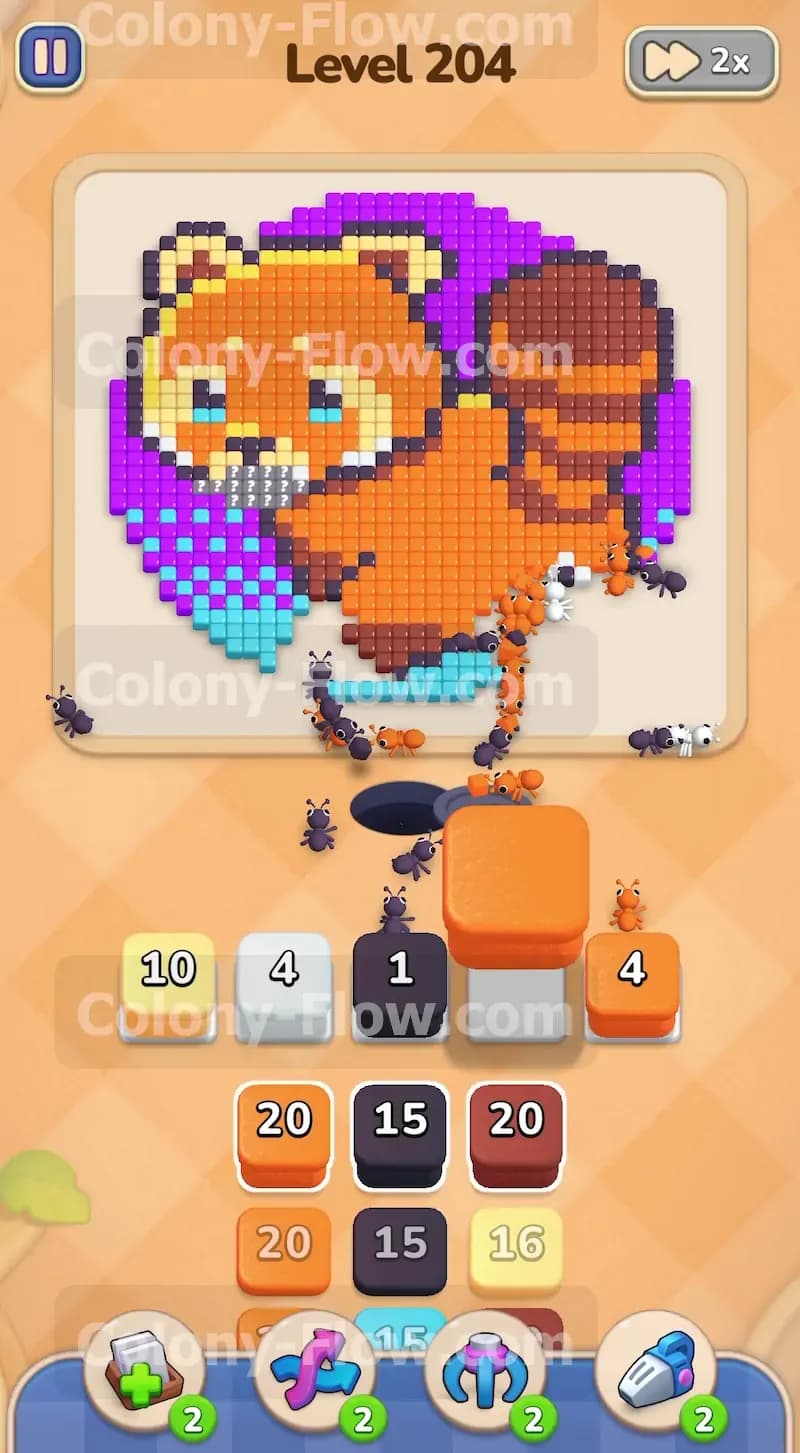
With the black outlines partially cleared you now have access to the main body of the red panda. Pull the orange twenty block from the second row of your tray. The orange ants will flood the board and spread across the chest and the head. The orange section is massive so this block will keep the ants busy for a long time. You want to keep feeding orange blocks into the waiting slots whenever space allows. This constant flow of orange ants breaks down the bulk of the puzzle and prevents any single color from dominating the board. Watching the orange blocks count down tells you that the paths are wide open and the ants are working efficiently. You must maintain this momentum to reach the hidden elements waiting underneath.
Step 3: Unlock the hidden food on the muzzle to free the face
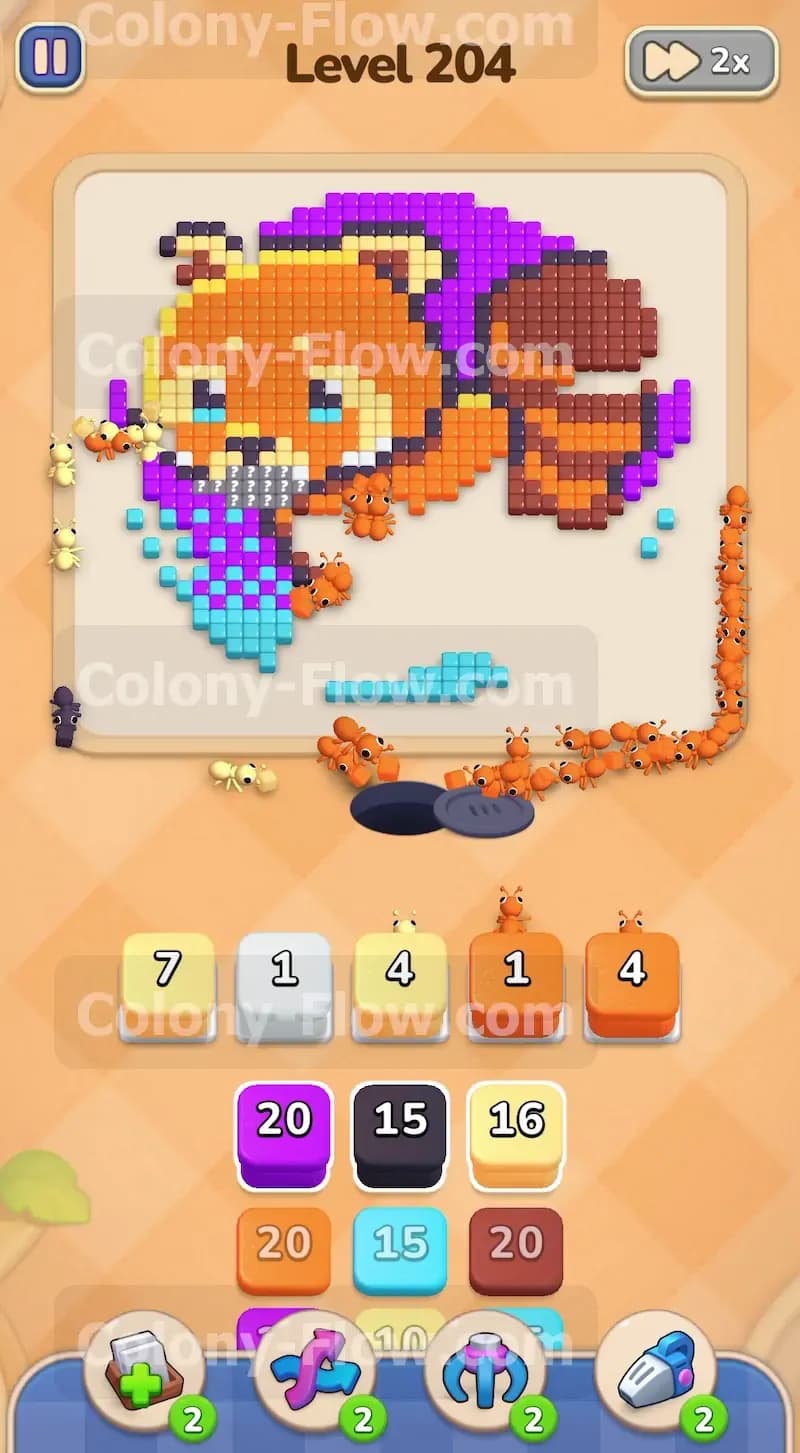
As the orange ants chew through the body they will eventually reach the face area. Notice the grey wrapped tiles sitting right on the muzzle. This is hidden food and it blocks all progress in that exact spot. You cannot send ants directly to these tiles until the grey wrap is completely gone. To unlock this hidden food you must clear the orange tiles directly adjacent to it. Keep your orange ants flowing until they eat the border right next to the wrap. Once they do the grey cover vanishes instantly. This action unlocks the snout and exposes the fresh tiles underneath for your ants to eat. This is a critical move because failing to unlock the muzzle early will trap your white and yellow blocks in the waiting slots later on.
Step 4: Deploy the purple blocks to sweep the top background
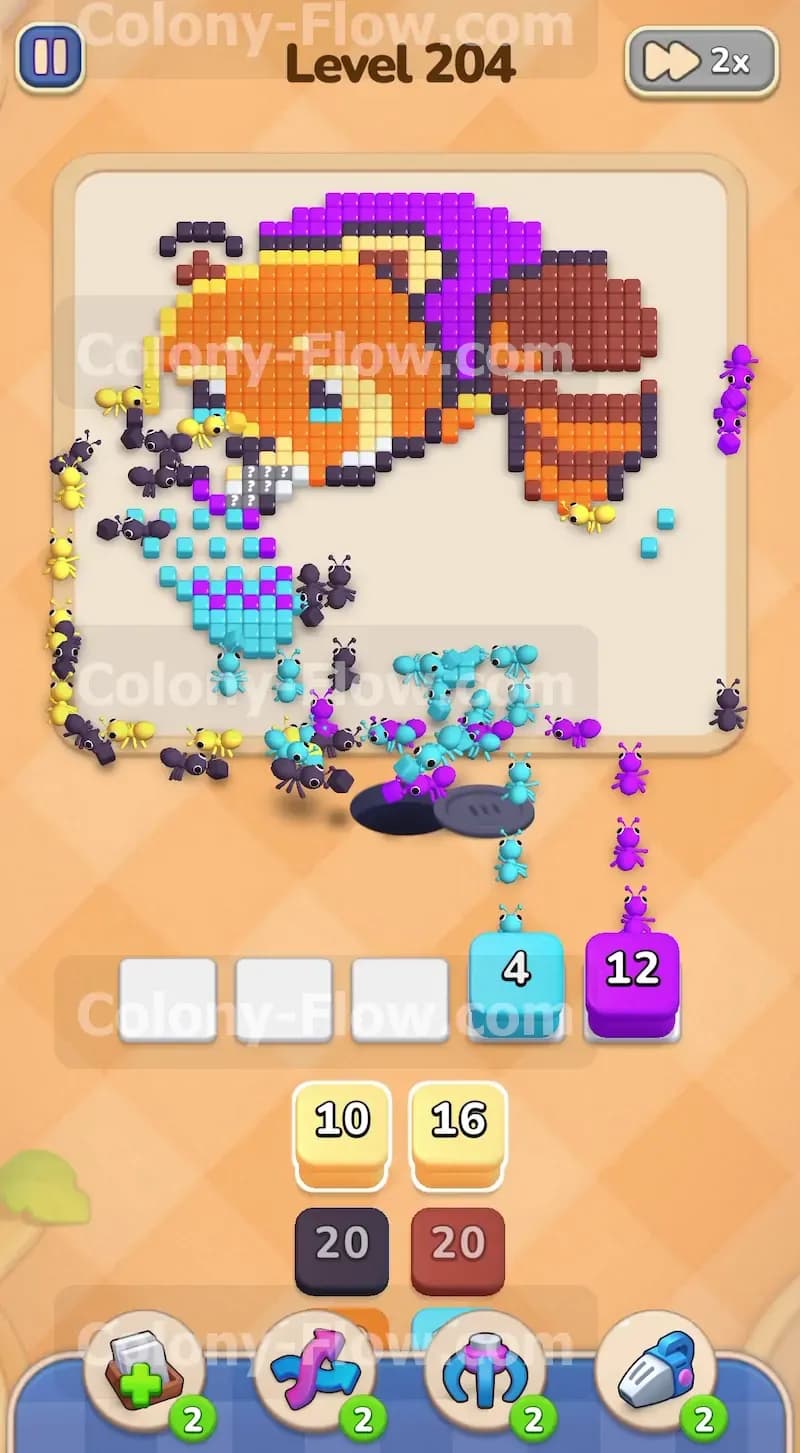
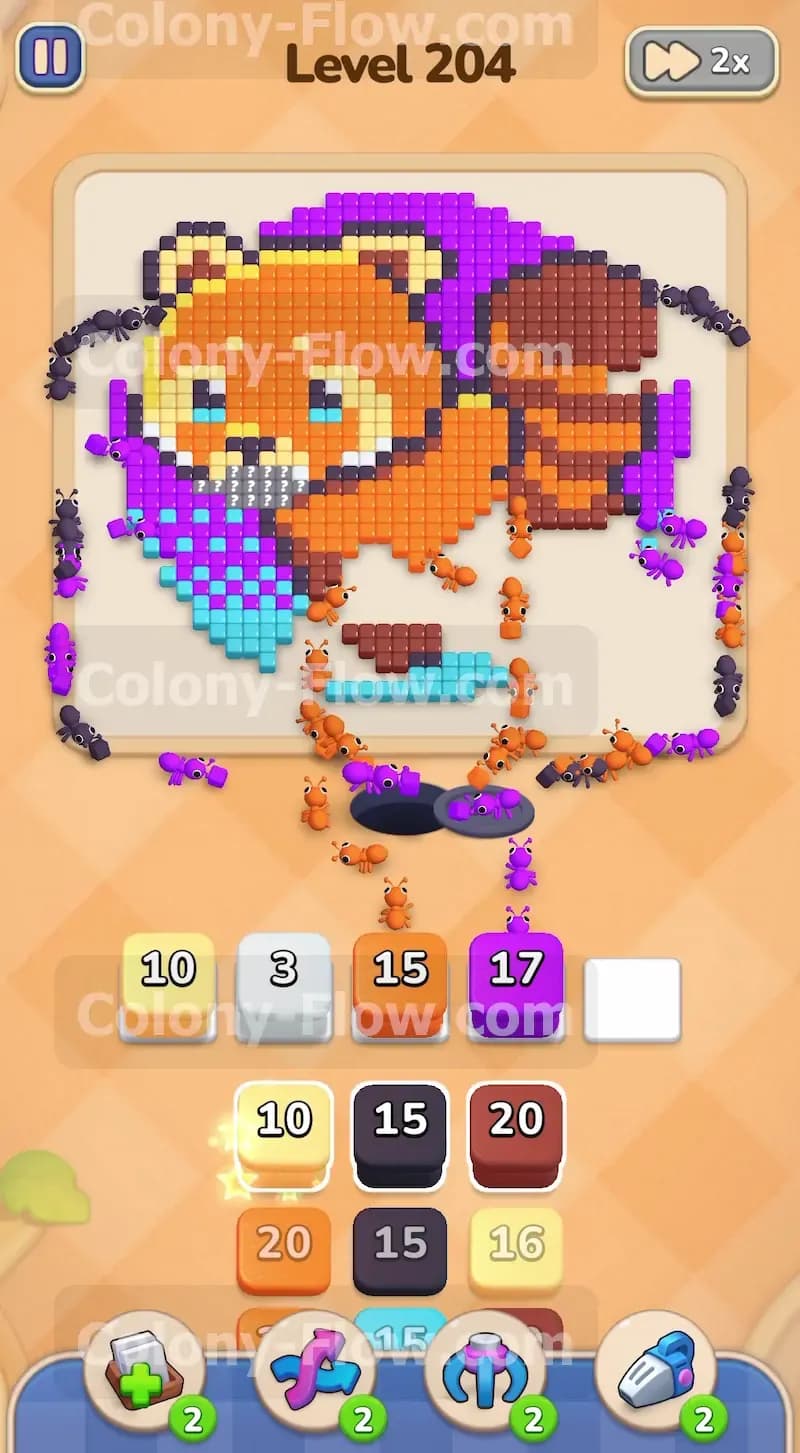
Now that the center of the board is moving smoothly you must address the outer background. Pull the purple seventeen block into an open slot in your waiting area. The purple ants will run all the way around the far left and right edges to reach the thick purple ring at the top of the picture. Sending ants to the extreme outer edges is a great way to relieve pressure on the busy center paths. The purple tiles form a large connected shape so the ants will spread out evenly and consume multiple tiles at once. You must ensure you always keep at least one slot open while the purple ants do their work. If you pull too many purple blocks at once the long travel time to the top of the board will cause a temporary jam in your tray.
Step 5: Clear the light blue corner on the bottom left
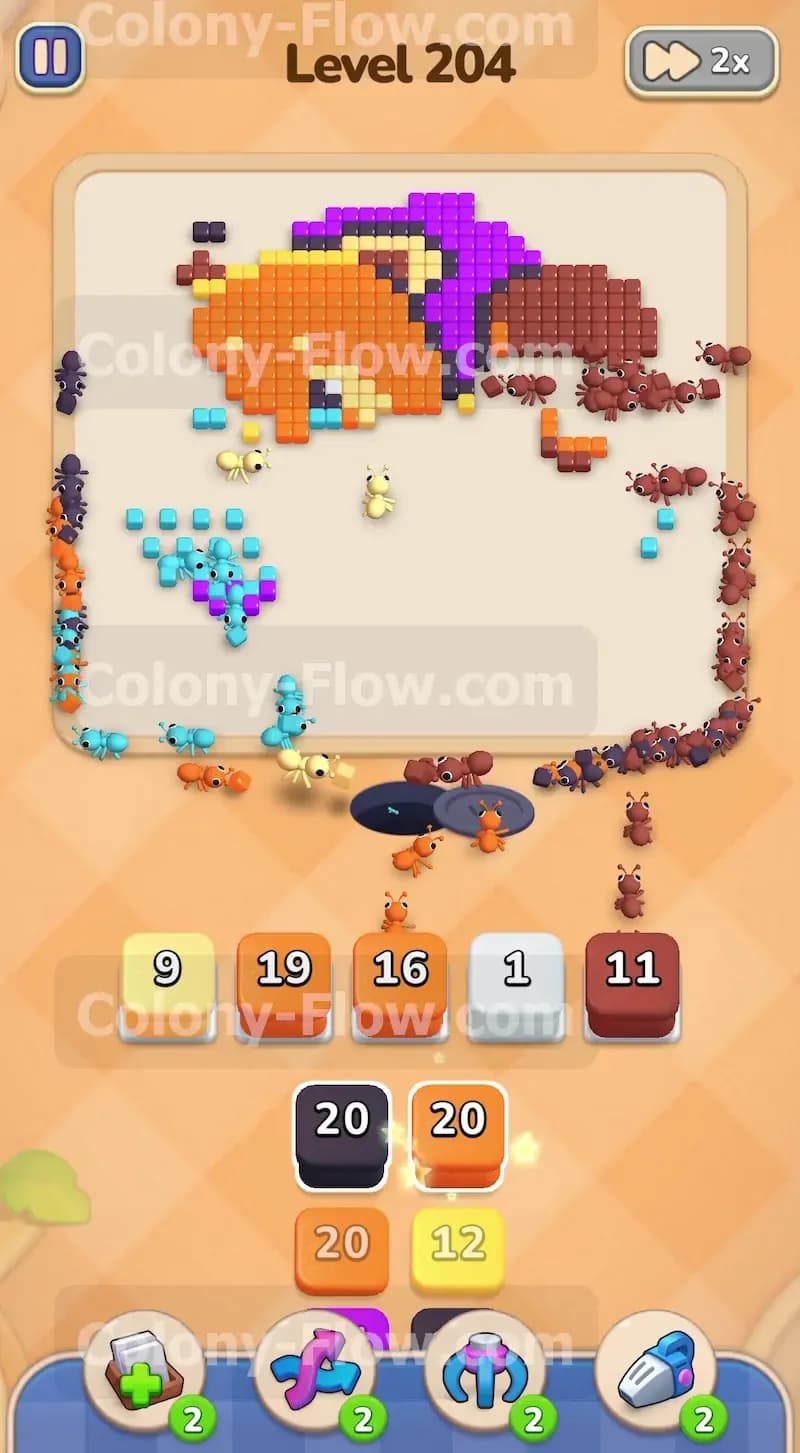
While the purple ants handle the top edge you can tackle the other background color. Pull the light blue fifteen block from your tray. These ants will head straight for the bottom left corner of the board. Since this section is very close to the nest hole the travel time is incredibly short. The ants will eat the light blue tiles rapidly and drain the block number in mere seconds. This fast clearance is exactly what you need to cycle fresh blocks into your tray and keep your options open. By balancing the long distance purple paths with the short distance light blue paths you maintain a perfect flow of ants. Your waiting slots remain active and the risk of hitting a dead end drops to zero.
Step 6: Attack the massive brown tail on the right side
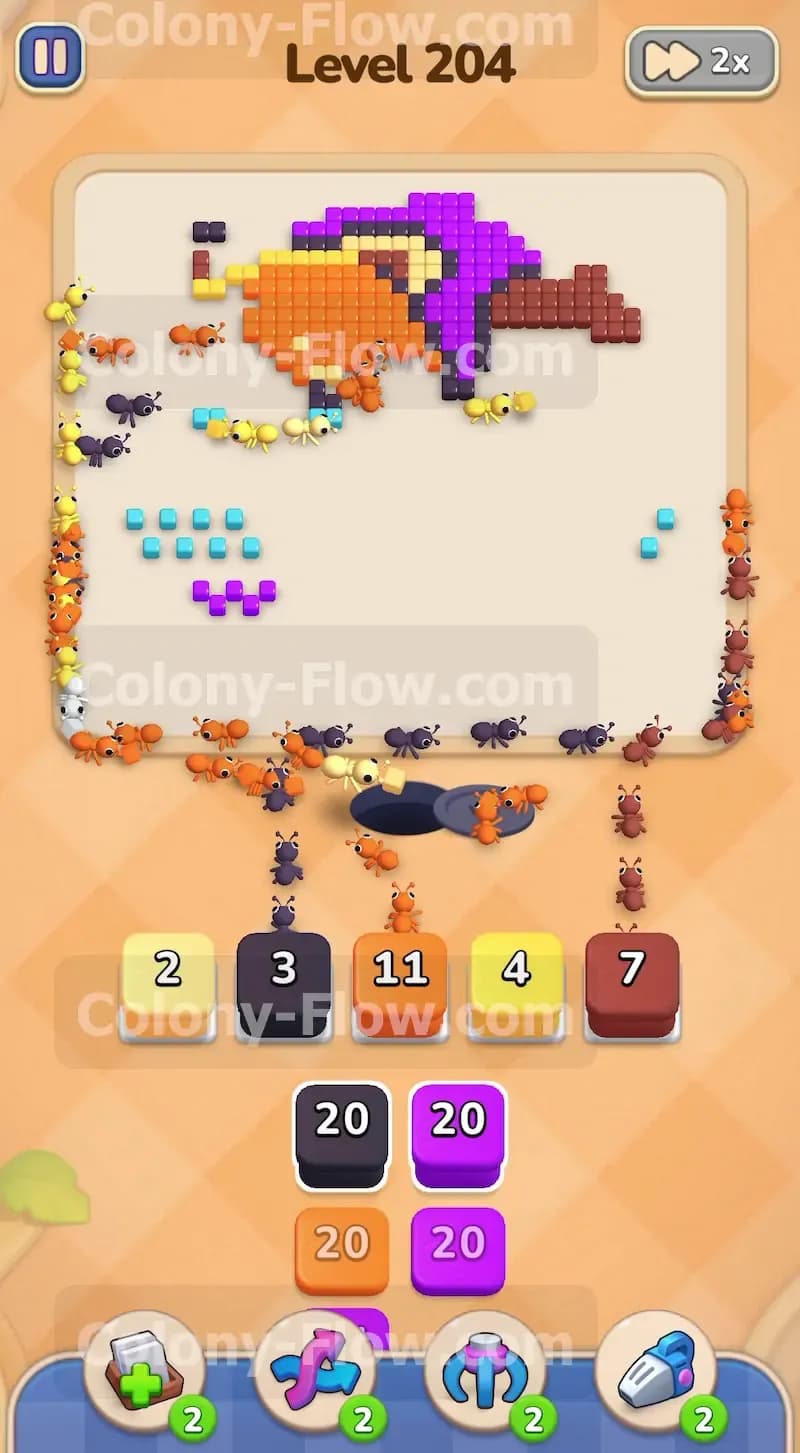
The right side of the red panda consists of a huge bushy tail made entirely of brown tiles. This area requires a massive amount of ants to clear out completely. Pull the brown twenty block into your waiting area. The brown ants will march up the right side and begin wrapping around the thick tail. Because the tail is so dense the ants will eat from the outside edge and slowly work their way inward. You must support this effort by pulling additional brown blocks as they appear in the tray. The brown section is the largest remaining obstacle on the board at this stage. Dedicating multiple waiting slots to the brown blocks ensures the tail shrinks fast enough to keep your overall progress steady.
Step 7: Finish the yellow and white facial details
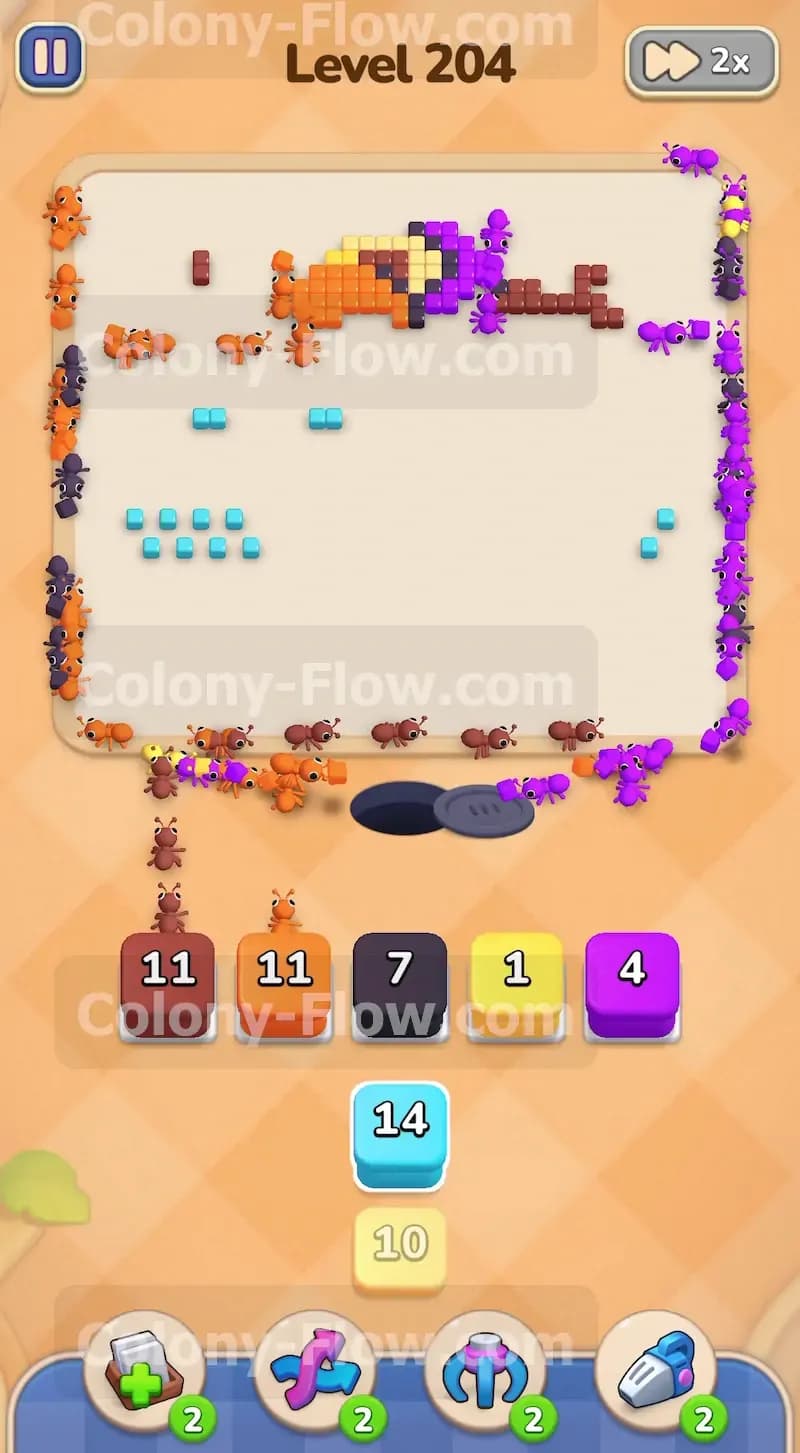
With the body and the tail shrinking rapidly you can direct your attention back to the face. The hidden food is already unlocked so the paths across the snout are completely clear. Pull the yellow ten block and the remaining white blocks from your tray. The ants will flood into the newly opened snout and the inner ear sections. These remaining facial details are small but they can easily cause a jam if you ignore them for too long. The ants will make quick work of the yellow and white tiles. Clearing these smaller color groups entirely removes those colors from the puzzle. This simplifies your remaining tray choices and guarantees that your final moves are perfectly safe.
Step 8: Mop up the final scattered blocks to complete the level
You are now in the final phase of the board. Only small clusters of orange brown and black tiles remain scattered across the screen. Look at your tray and pull the final matching blocks into your waiting slots. You will pull an orange eleven block a brown eleven block and a black seven block. The ants will split up and target these final isolated pieces. Since the board is mostly empty the ants have completely unrestricted movement. They will easily reach every corner and consume the last pieces of the red panda. The final blocks count down to zero and the ants return to the nest. You successfully clear the board without ever filling all five waiting slots.
Final Thought
Completing this puzzle requires patience and excellent path management. By unlocking the hidden food early and balancing the massive brown tail you keep the ants moving perfectly. If you find any step hard to follow in text I highly encourage you to watch the video above this article. Seeing the exact timing of the orange and brown block pulls will help you master the flow and beat the board with ease.