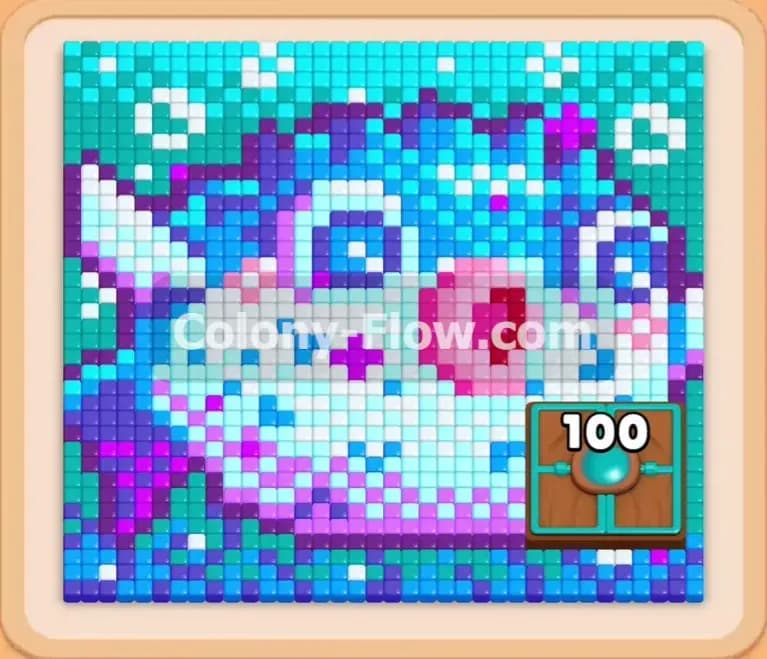
Colony Flow Level 1104 Walkthrough Solution & Guides | How to solve Colony Flow 1104

Guide By Liam Stone
Updated on August 12, 2026
If you're short on time, the video above covers the entire Level 1104 solution in a few minutes.
Video doesn't match your screen?
Game updates frequently scramble layouts! Try our AI Screenshot Solver first to find your exact board instantly, or report broken guides to our team.
Welcome back to another puzzle guide. Today we are tackling Colony Flow Level 1104 and it brings a massive challenge right to the center of the board. You face a giant cat portrait that blocks your primary paths. I played through this one multiple times to find the absolute safest route. Stick with my method to keep your waiting slots open and feed your colony exactly what they need without causing a traffic jam.
Colony Flow Level 1104 Overview
What You Are Working With
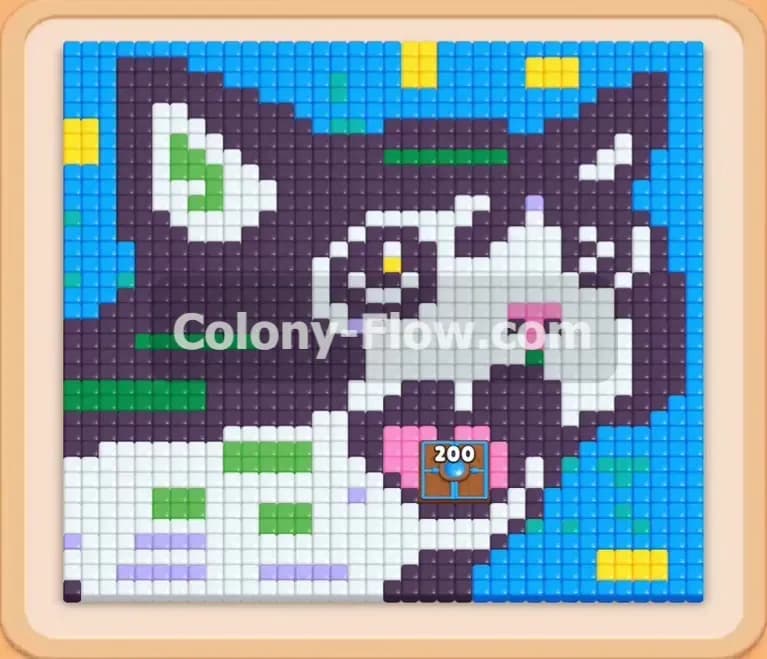
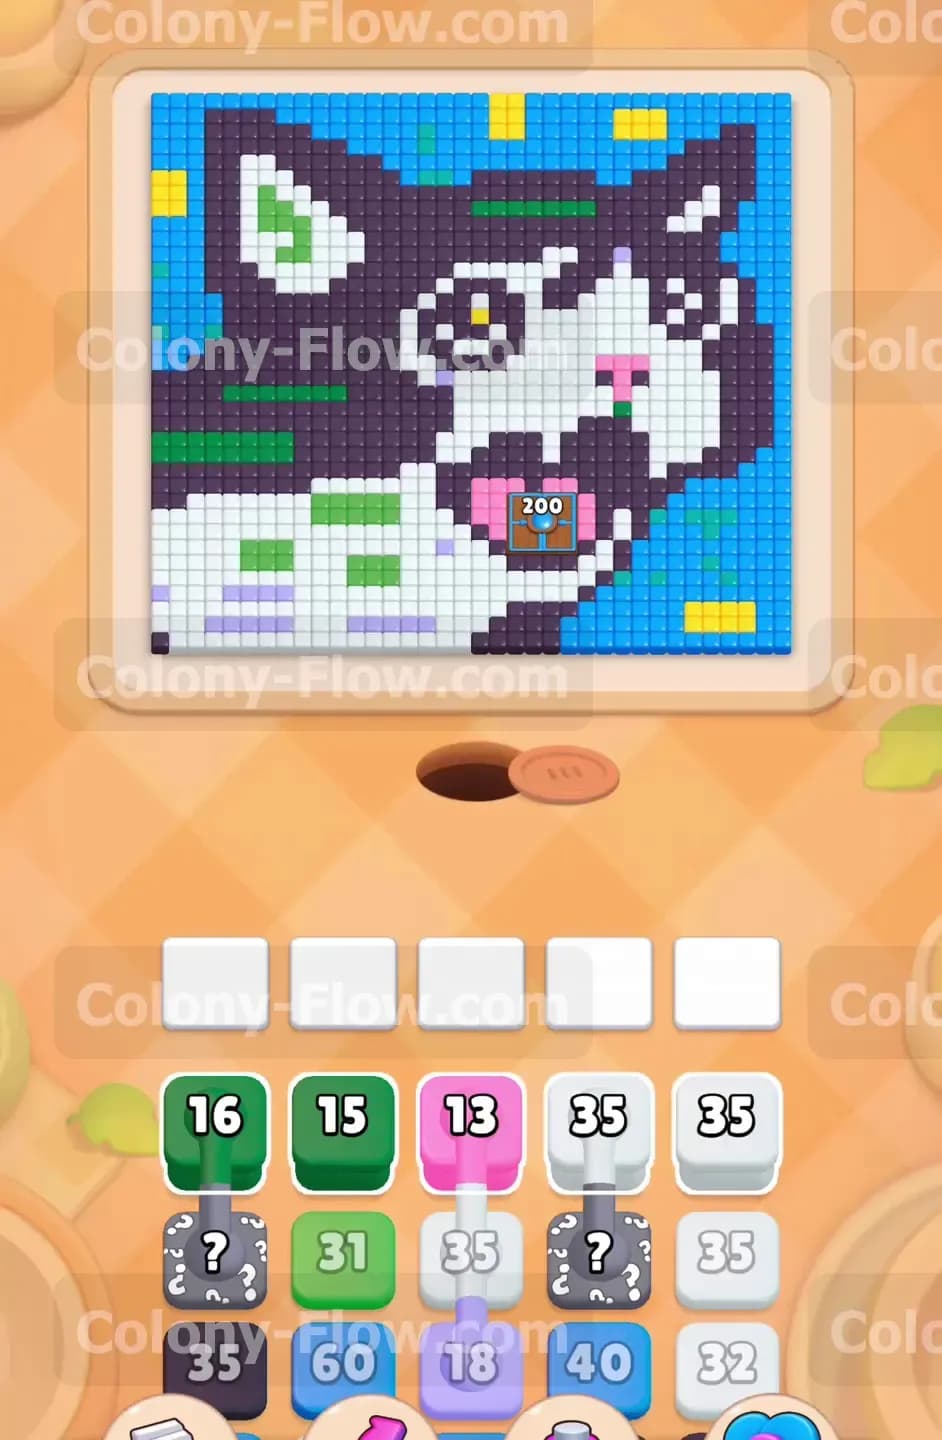
You have a large pixel art cat face made of white, black, green, and pink tiles. The cat sits against a bright blue and yellow background. Right inside the mouth of the cat sits a Hungry Door with a massive 300 requirement. Down in your tray you will find standard colored numbered blocks along with several Hidden Boxes displaying question marks. You will also see pairs of Connected Boxes that link white blocks together. The board starts very crowded with the cat picture taking up most of the screen.
What It Takes to Clear Level 1104 Board
To beat this board you must completely devour the cat picture and the surrounding background tiles. The main obstacle is managing the 300 point Hungry Door located in the mouth area. You have to clear a path to the mouth early so ants can continuously hit the door while you work on the rest of the puzzle. You win when the door opens, the final blocks clear from your tray, and the ants wipe the screen clean without dead ending. If you pull blocks that cannot reach their matching colors your five waiting slots will fill up and you will lose the level.
Colony Flow Level 1104 Step by Step Solution
Step 1: Open the bottom and left edges using your starting pink and white blocks
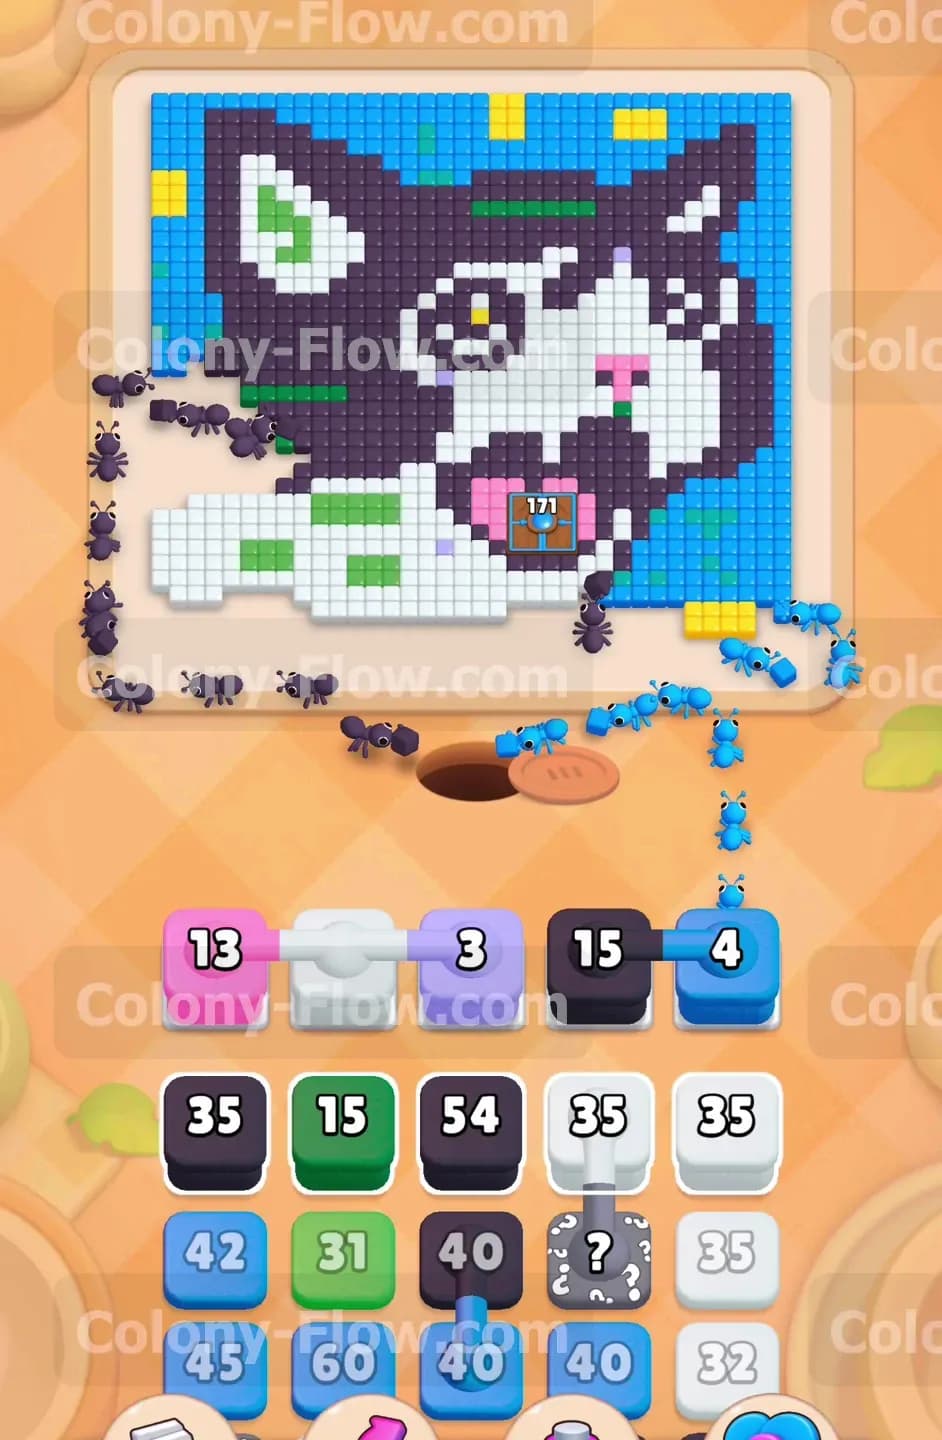
You need to establish your initial paths around the chin of the cat before you do anything else. Pull the pink block with the number thirteen into your waiting slot. This immediately sends your ants to eat the pink nose and some scattered pink tiles near the bottom left area. Follow this up right away by pulling the first set of Connected Boxes from your tray. These white blocks are physically linked together. When you pull one into the waiting area it brings its partner along taking up multiple slots. The ants will swarm the white tiles forming the lower jaw and neck of the cat. This early move prevents your waiting slots from jamming because the lower white tiles offer a massive open surface area for the ants to attack.
Step 2: Attack the black outline to reach the Hungry Door
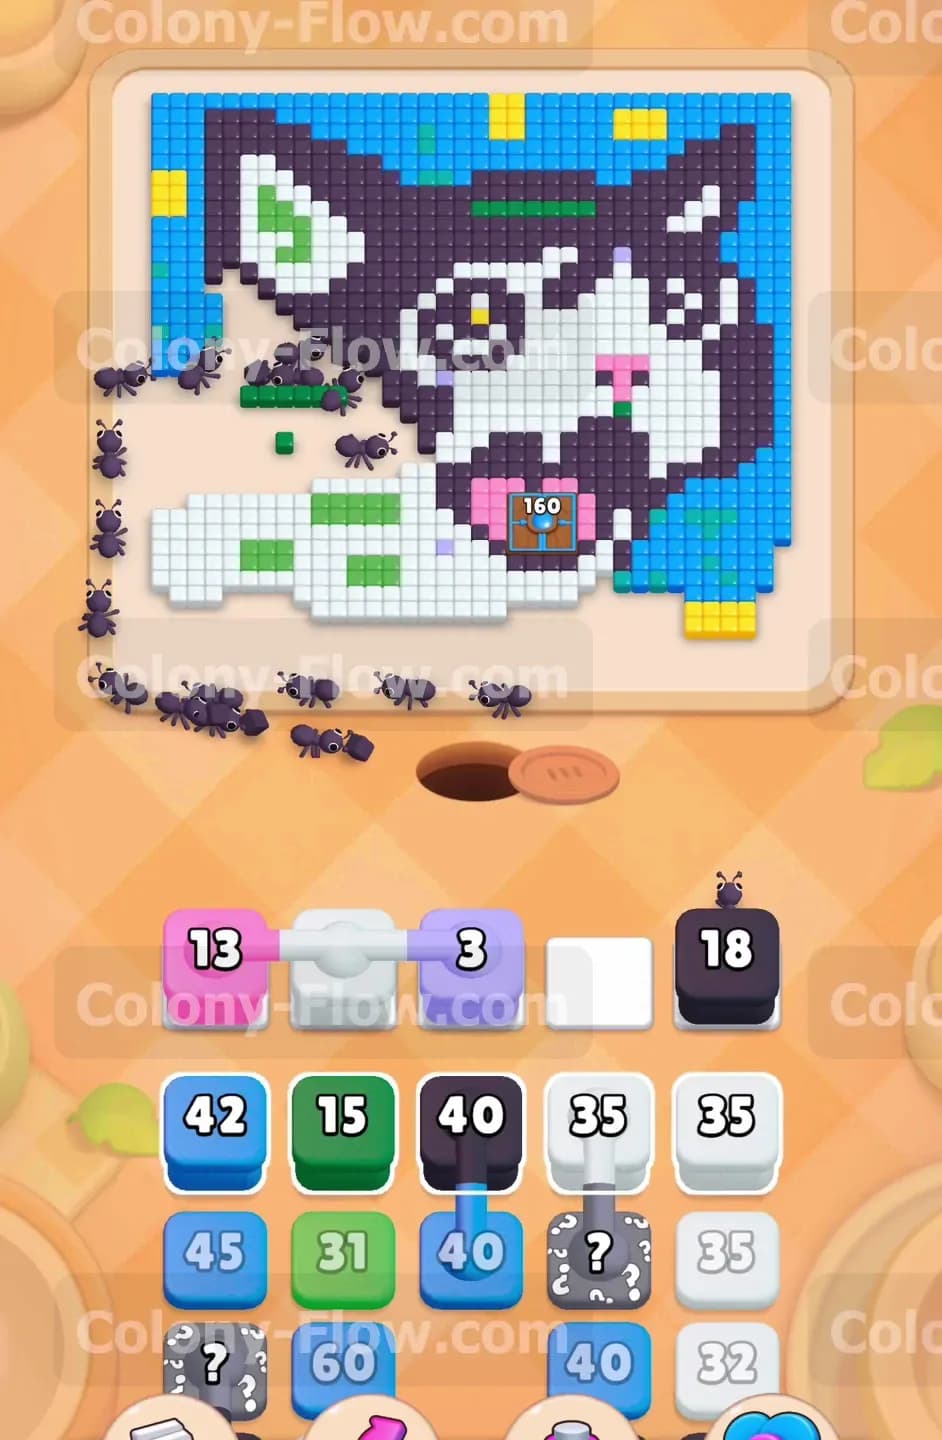
With the white tiles thinning out along the bottom you must turn your attention to the dark edges of the cat. Pull the black block holding the number fifteen from your tray. The ants will march up the left side of the screen and begin eating the black border surrounding the face. This creates a direct route toward the center of the board where the Hungry Door waits. You want your ants to have a straight shot at the mouth. As the black tiles disappear the ants gain access to the door and begin chipping away at that massive 300 point requirement. Watch the door number closely. You will see it drop quickly down to one hundred and seventy one as the colony floods the center.
Step 3: Clear the blue background to widen the top paths
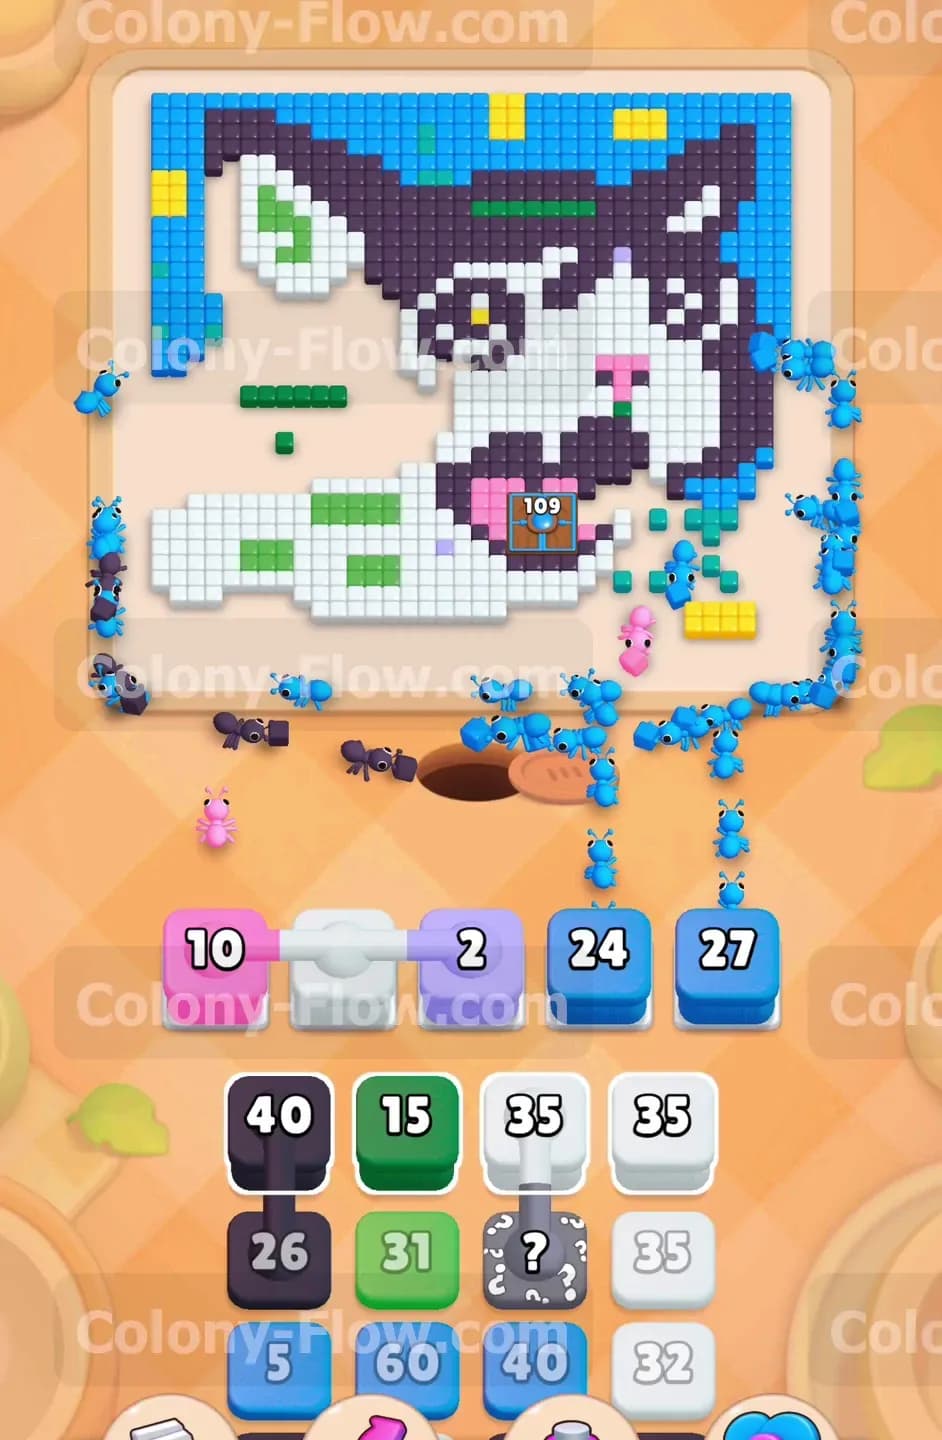
The blue sky behind the cat takes up a huge amount of space and blocks the top corners of the screen. Pull the blue block with the number four into your tray to get the ants started on the edges. Once that finishes pull the larger blue blocks carrying numbers like forty two and forty five. The colony will flood the upper section of the board and consume the blue background tiles. This step provides an excellent safety valve for your paths. The blue tiles stretch all the way across the top edge. Sending ants up there ensures they always have an open target. Your waiting slots remain perfectly safe from jamming while the blue background melts away.
Step 4: Manage the Hidden Boxes and continue feeding the center door
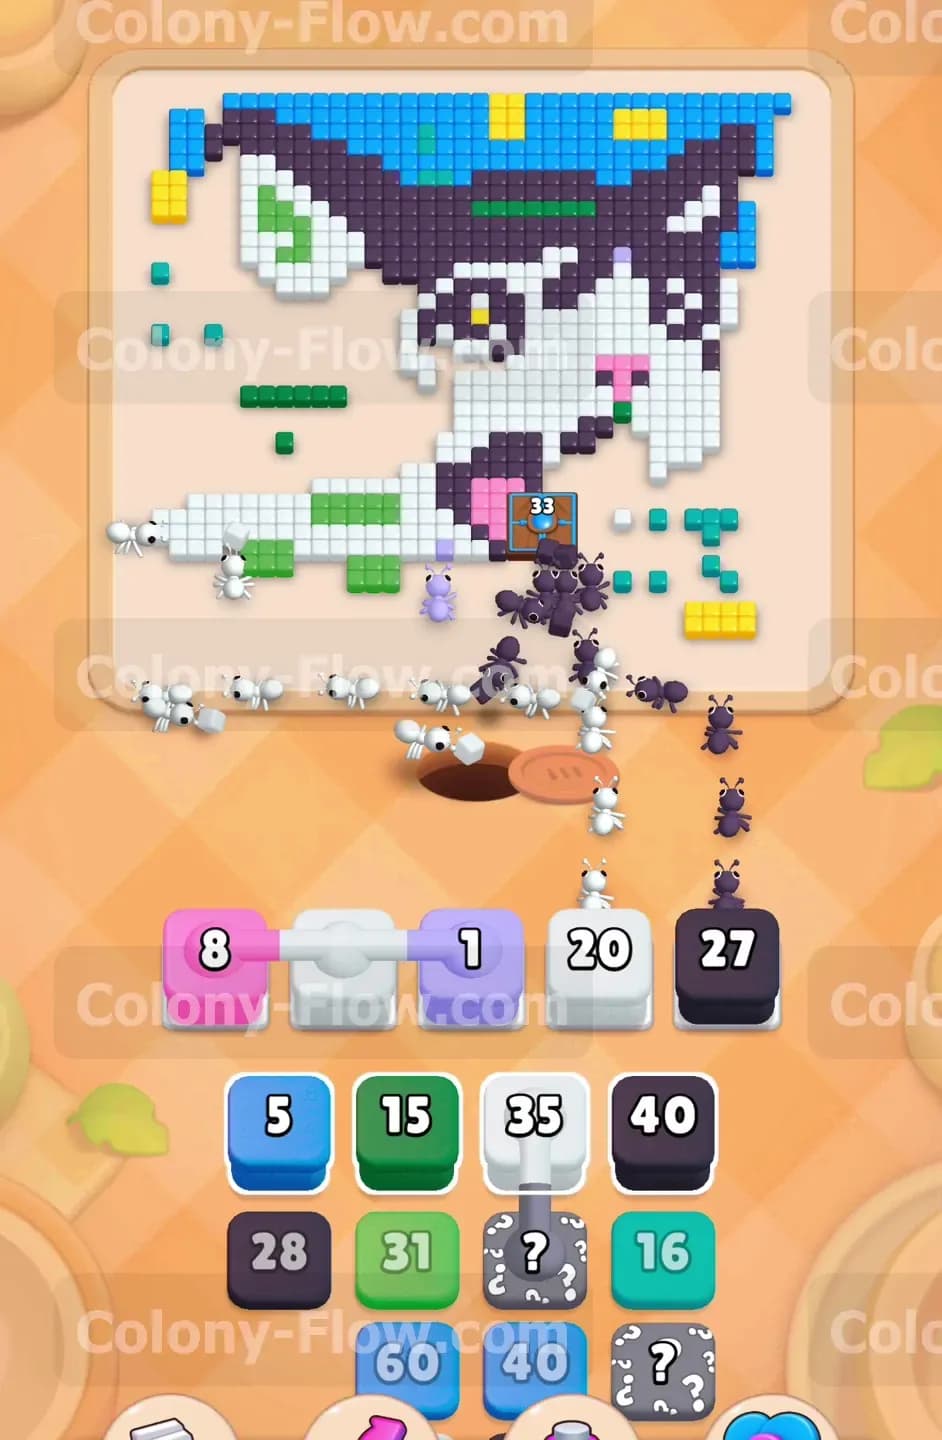
As you clear the top rows of your tray the Hidden Boxes come into play. These blocks display a question mark until you pull them forward or clear the blocks in front of them. Pull the newly revealed black and white blocks to keep the pressure on the cat face. Send a black block with eighteen down the center path. The ants will eat the remaining black tiles near the cheeks and continue striking the Hungry Door. The door requirement will drop past one hundred and sixty. You must alternate between black and white blocks here so the ants never run out of open targets. If you pull too many of one color the ants will stall and your five slots will fill up resulting in a quick loss.
Step 5: Peel away the inner white face tiles to isolate the details
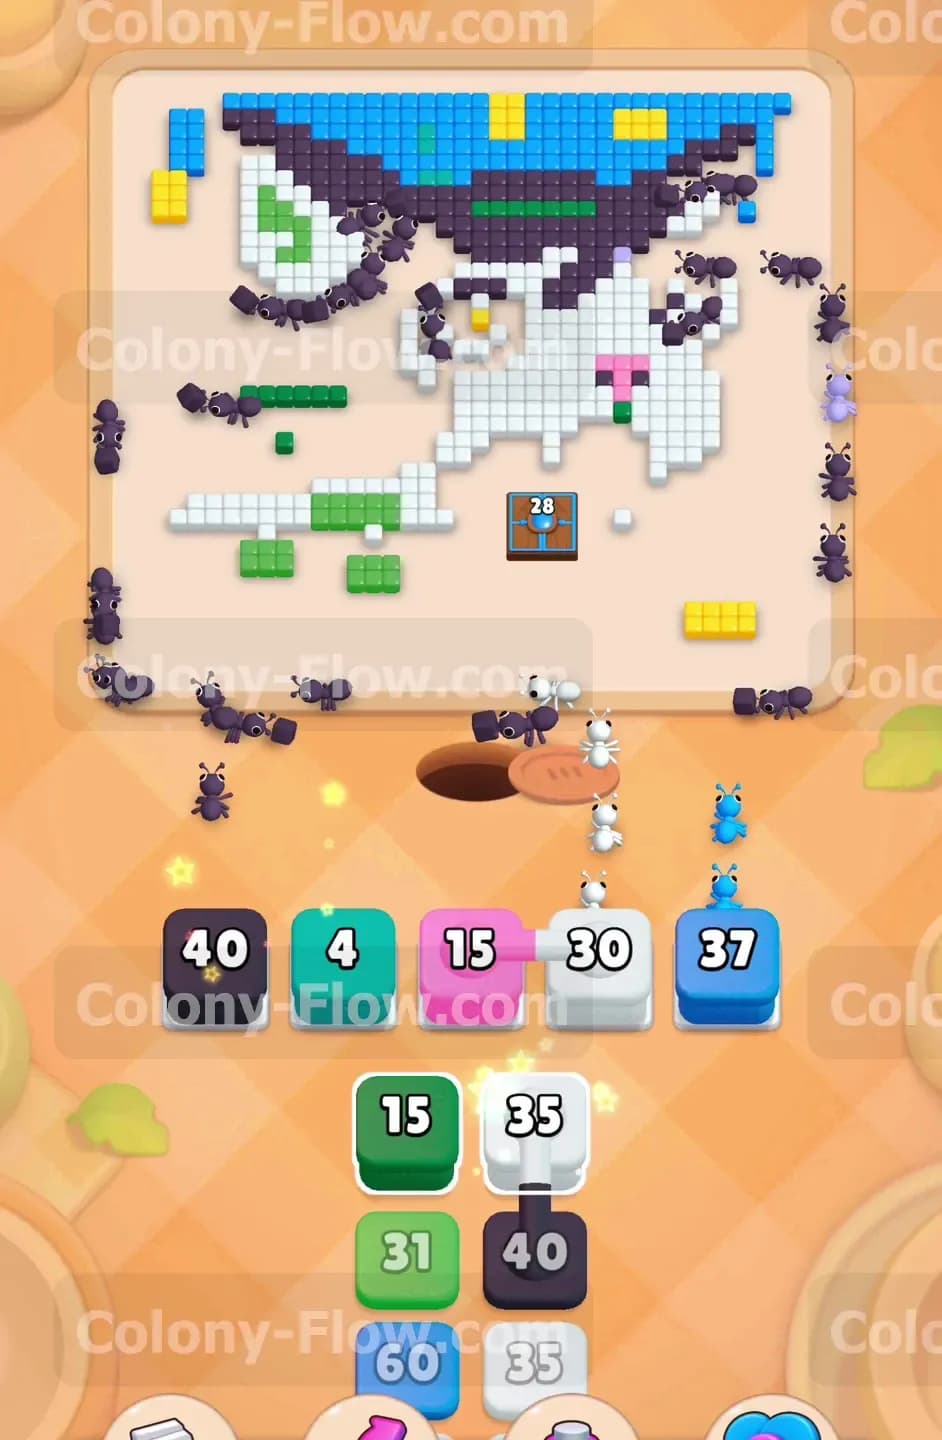
The vast majority of the cat face consists of standard white tiles. Pull the next set of white Connected Boxes into your active slots. Because these blocks are joined they will count down together as the ants feed on the board. The colony will hollow out the center of the face right around the eyes and nose. This massive wave of ants will also spill over into the mouth area. You will see the Hungry Door requirement plummet down past one hundred and nine. Keeping a steady flow of white blocks ensures your paths remain wide open. Do not touch the green or yellow blocks yet because those specific colored tiles are still largely trapped behind the remaining white face tiles.
Step 6: Expose the green eyes and yellow stars
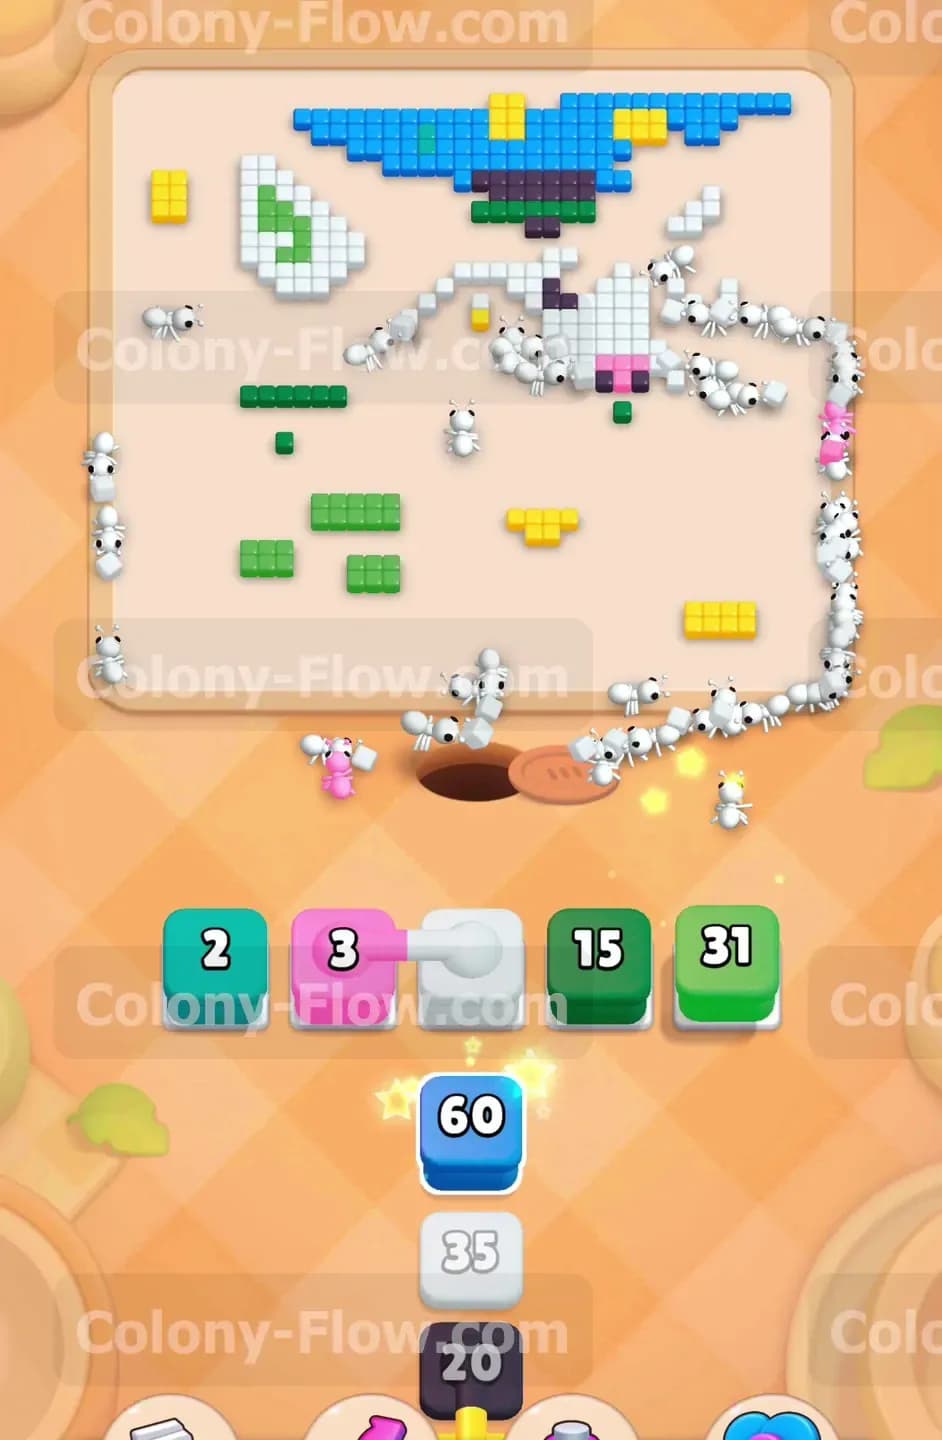
Now that the white face is mostly gone you have clear access to the smaller distinct details. Pull the pink block with eight to finish off the remaining pink nose pixels. Then pull the yellow block with forty to clear the scattered yellow star tiles located in the upper background. The ants will split up and handle these separate areas easily. Next you should pull the green blocks to consume the bright green eyes of the cat. Start with a smaller green block like four or fifteen. The eyes are isolated in the center so they take a little longer for the ants to reach. By clearing the surrounding white and black tiles first you guaranteed the ants would not get stuck navigating a narrow maze.
Step 7: Break open the Hungry Door to claim your reward
The door in the mouth is finally ready to break open after taking constant damage. Send in your remaining black and white blocks to push the door requirement from thirty three all the way down to two and then to zero. When the door finally opens it reveals its hidden prize. A massive blue block holding the number sixty drops directly into your tray. This blue block was trapped inside the Hungry Door the entire game. You absolutely need this block to finish the level. The board will look very empty now with just a few scattered tiles remaining. You successfully navigated the most dangerous part of the puzzle by prioritizing the door early and never letting your ants hit a dead end.
Step 8: Deploy the final blue block and clean the entire board
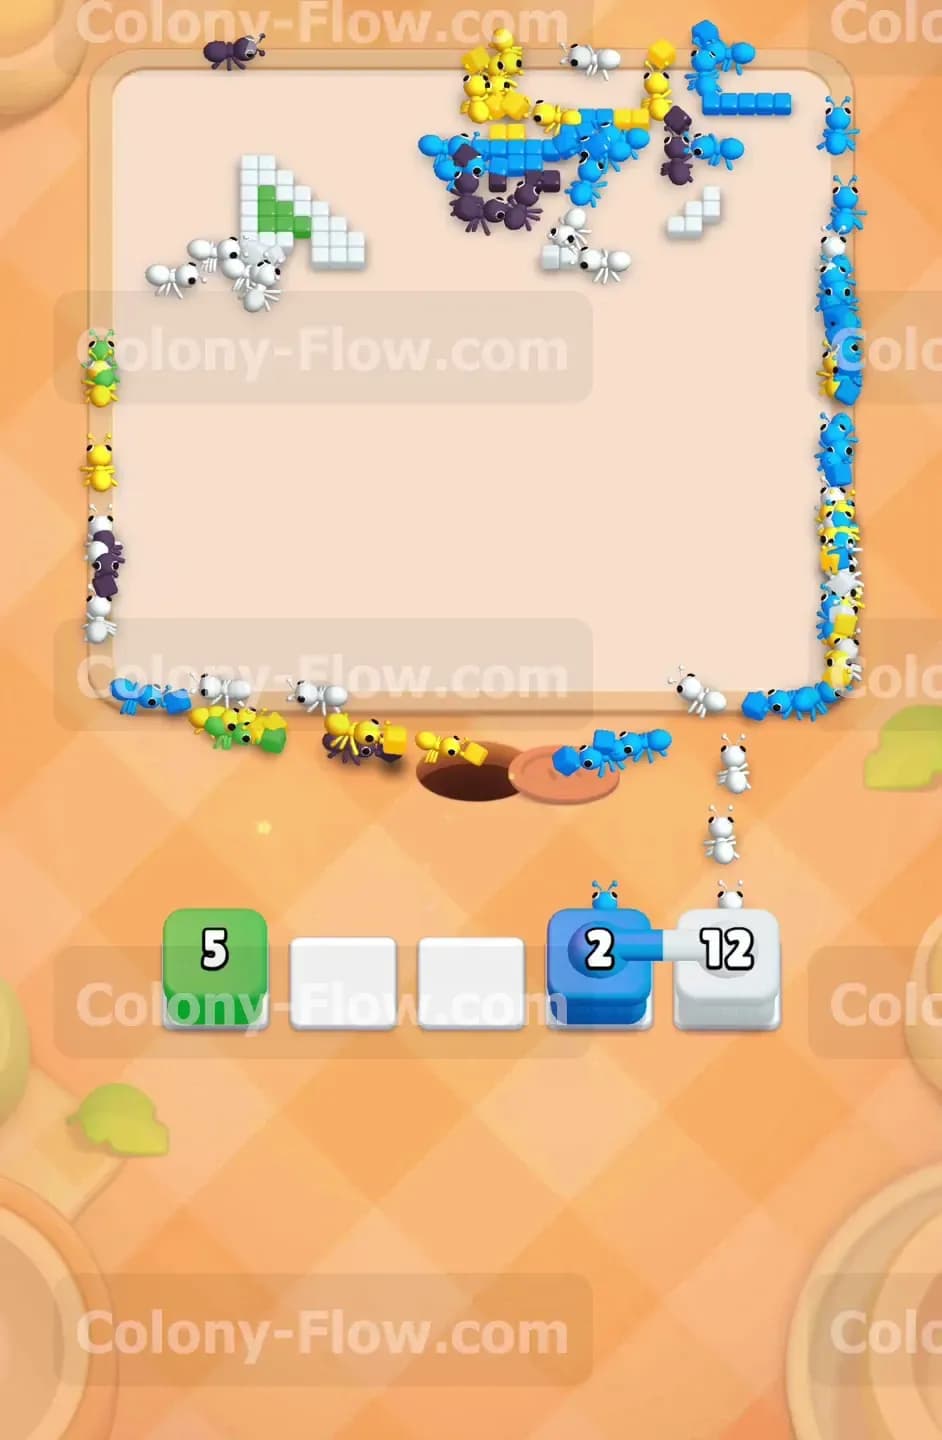
Pull the newly unlocked blue block with sixty into your waiting slots. The ants will rush out to eat the remaining blue background tiles near the top right corner. Pull your final green and white blocks to clear the last few stray pixels clinging to the edges. You will have a green block with five and a white block with twelve left in your tray. Let the ants handle these final targets. Because you kept the board wide open from the very beginning your waiting slots are completely clear. The ants will consume the last white tile and march off the screen giving you the victory screen.
Final Thought
This level demands excellent crowd control and a steady focus on that central door. You have to balance clearing the outer edges with feeding the center so your tray never locks up. If you find yourself struggling to track the exact order of the Connected Boxes or the Hidden Boxes please watch the video above this article. Seeing the ants move in real time makes it much easier to copy my exact pathing and secure the win.