Colony Flow Level 53 Walkthrough Solution & Guides | How to solve Colony Flow 53

Guide By Liam Stone
Updated on July 10, 2026
The video above has the full walkthrough for Level 53, so use it if you'd rather skip the article.
Video doesn't match your screen?
Game updates frequently scramble layouts! Try our AI Screenshot Solver first to find your exact board instantly, or report broken guides to our team.
Welcome back to another puzzle guide. Colony Flow Level 53 presents a massive pixel art penguin that requires careful color management and strategic planning to clear. You will face locked items in your tray and need to grab keys off the board to progress through the stack. The challenge ramps up when you have to balance different special tiles without causing a massive traffic jam in your available slots. I played through this one myself and broke down the exact moves to help you win without filling your waiting slots.
Colony Flow Level 53 Overview
What You Are Working With
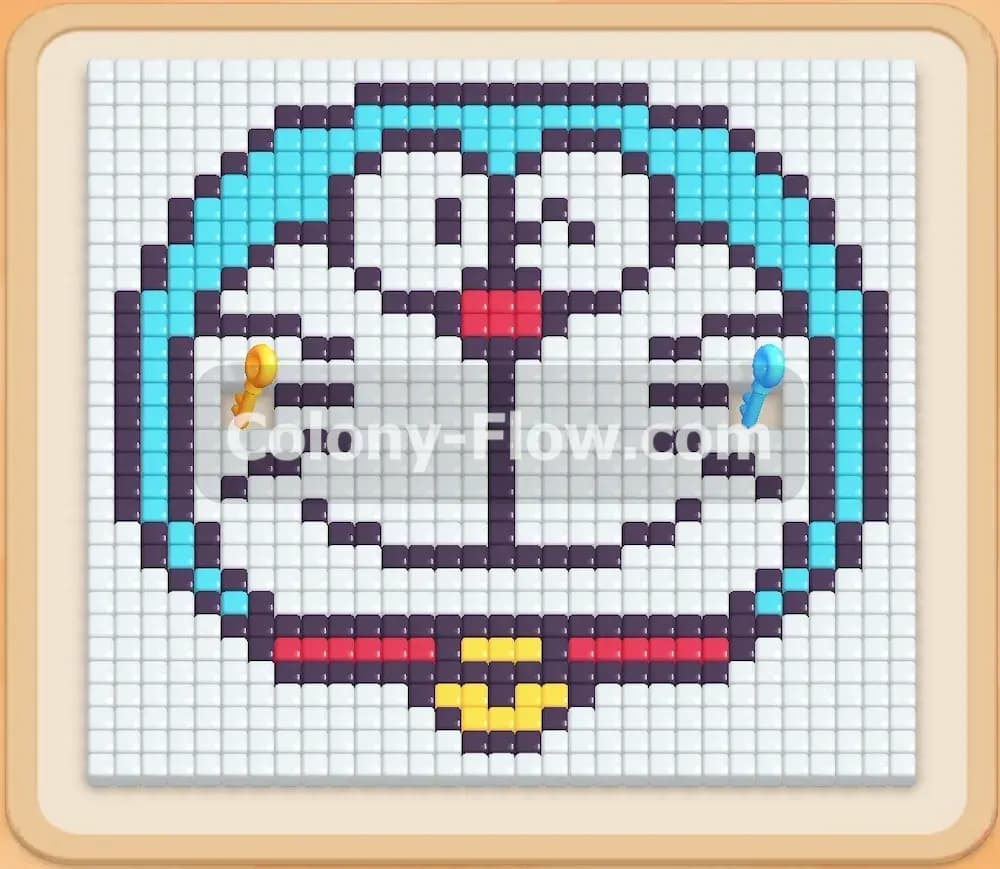
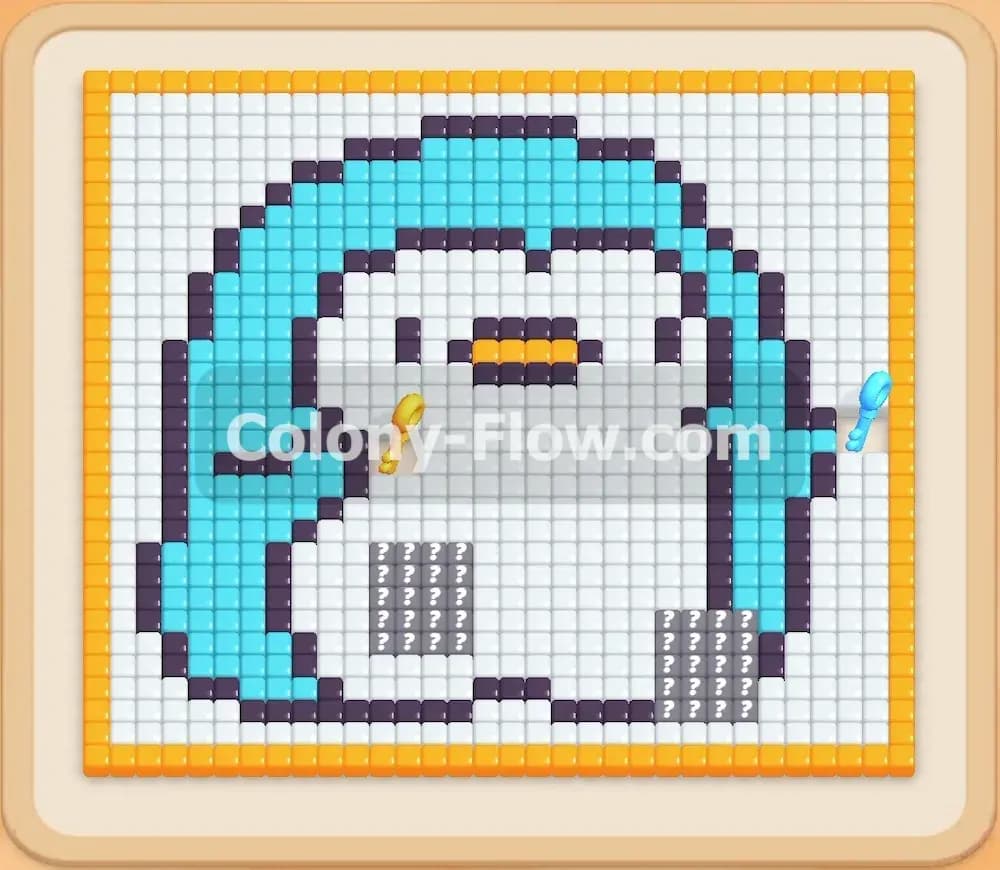
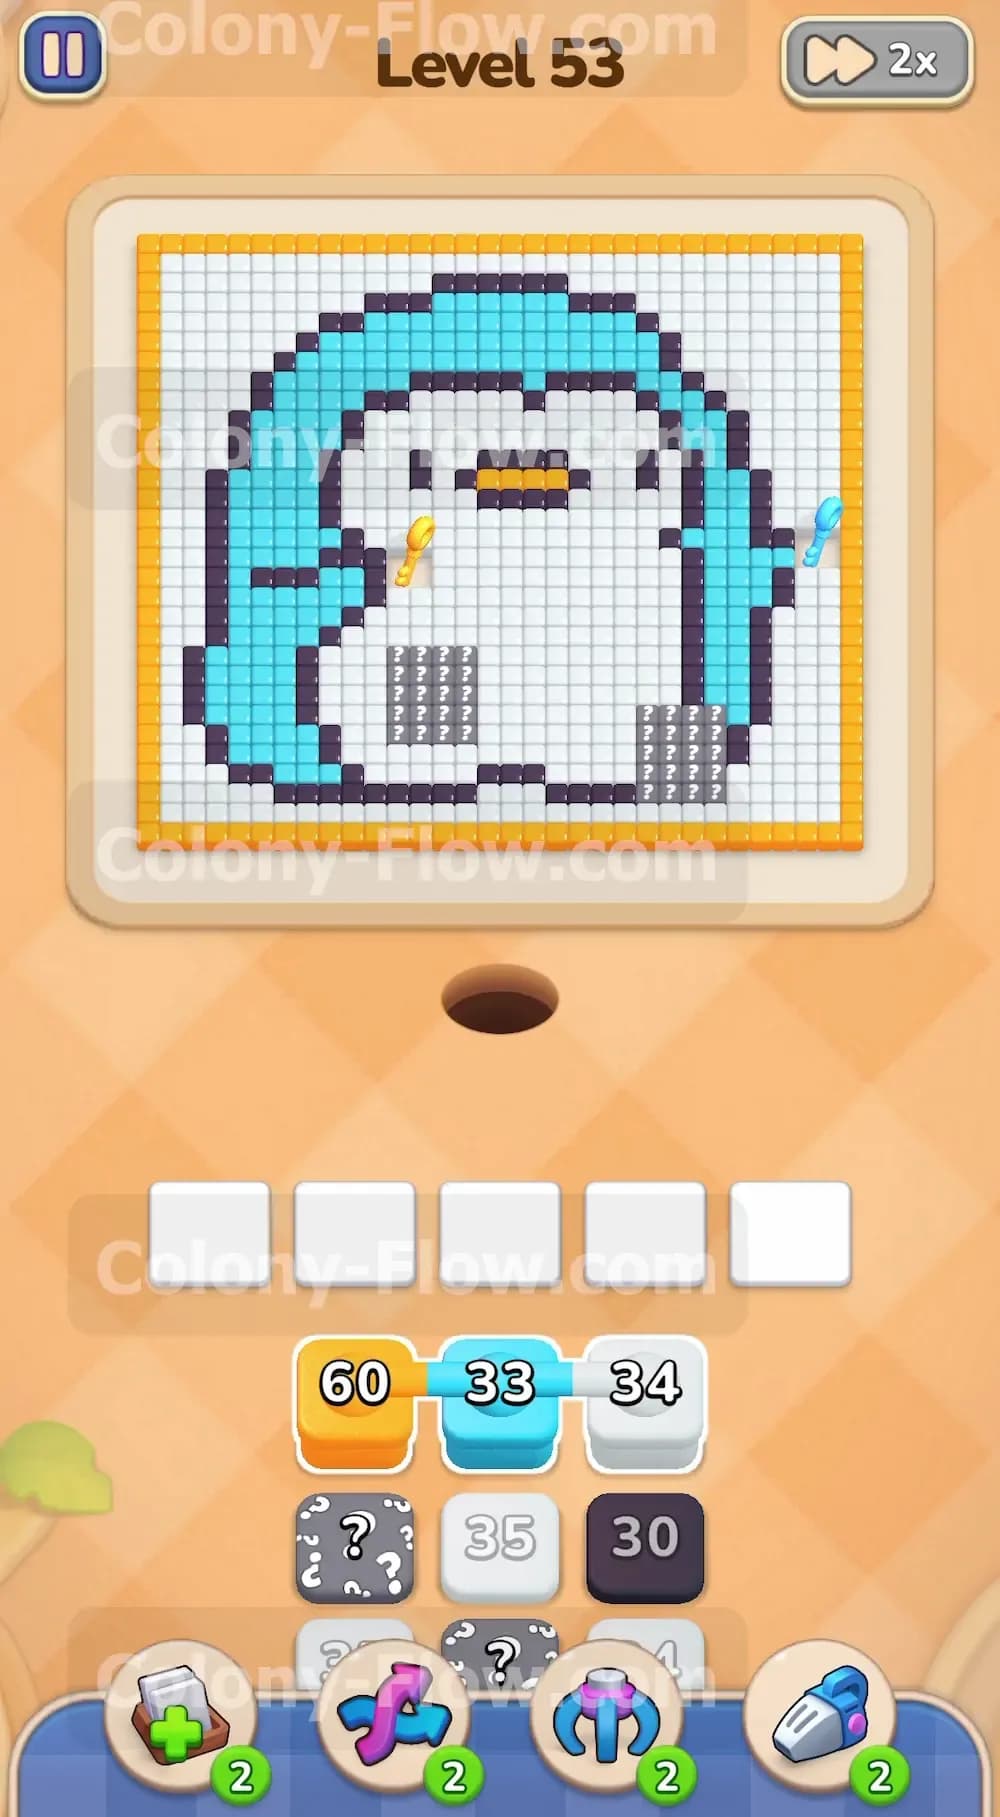
The picture at the top of your screen is a large adorable penguin. The bird features a thick light blue outer outline that surrounds the entire shape. Inside that blue border sits a dark black inner outline that defines the body and the wings. The belly and face are completely filled with pure white tiles. You will also see bright orange tiles making up the beak in the middle of the face and the flat feet at the very bottom. Two special key items sit on the board waiting for your ants to collect them. A bright yellow key rests on the left side of the penguin just outside the black border. A blue key sits on the right side in a similar position.
Your tray at the bottom holds a deep and complex stack of blocks. You have standard numbered blocks in orange, light blue, white, and black. You also face several special mechanics down here. Connected boxes link two colors together with a graphical chain so they move as a single unit into your waiting slots. Hidden boxes display a large question mark and conceal their true color until you clear the path for them to move up to the front row. You will also see locked boxes covered by yellow and blue lock symbols. These remain completely stuck in the tray until your ants collect the matching colored keys from the picture above.
What It Takes to Clear Level 53 Board
Winning this level means clearing every single colored pixel from the penguin image so the board is completely empty. Your colony of ants lives in the dark nest hole in the middle of the screen just below the picture. When you tap a block in your tray it moves up to one of your five active waiting slots. The ants rush out of the nest hole and carry those numbers up to the matching colored tiles on the board. The number on the block counts down until it hits zero and the block disappears.
The absolute main danger here is managing those five waiting slots. If you pull up blocks that the ants cannot reach on the board because other colors block the path the blocks just sit in the slots. Filling all five slots with unusable blocks causes a complete dead end. You lose the level instantly when this happens. You must always maintain an open clear path for your ants to reach the target colors. This means you have to chip away at the bottom edge of the penguin first and slowly work your way up the sides. Reaching the yellow key and the blue key early is a top priority because those locked tray blocks block your access to the hidden boxes underneath them.
Colony Flow Level 53 Step by Step Solution
Step 1: Start with the bottom edge using the first orange and light blue blocks
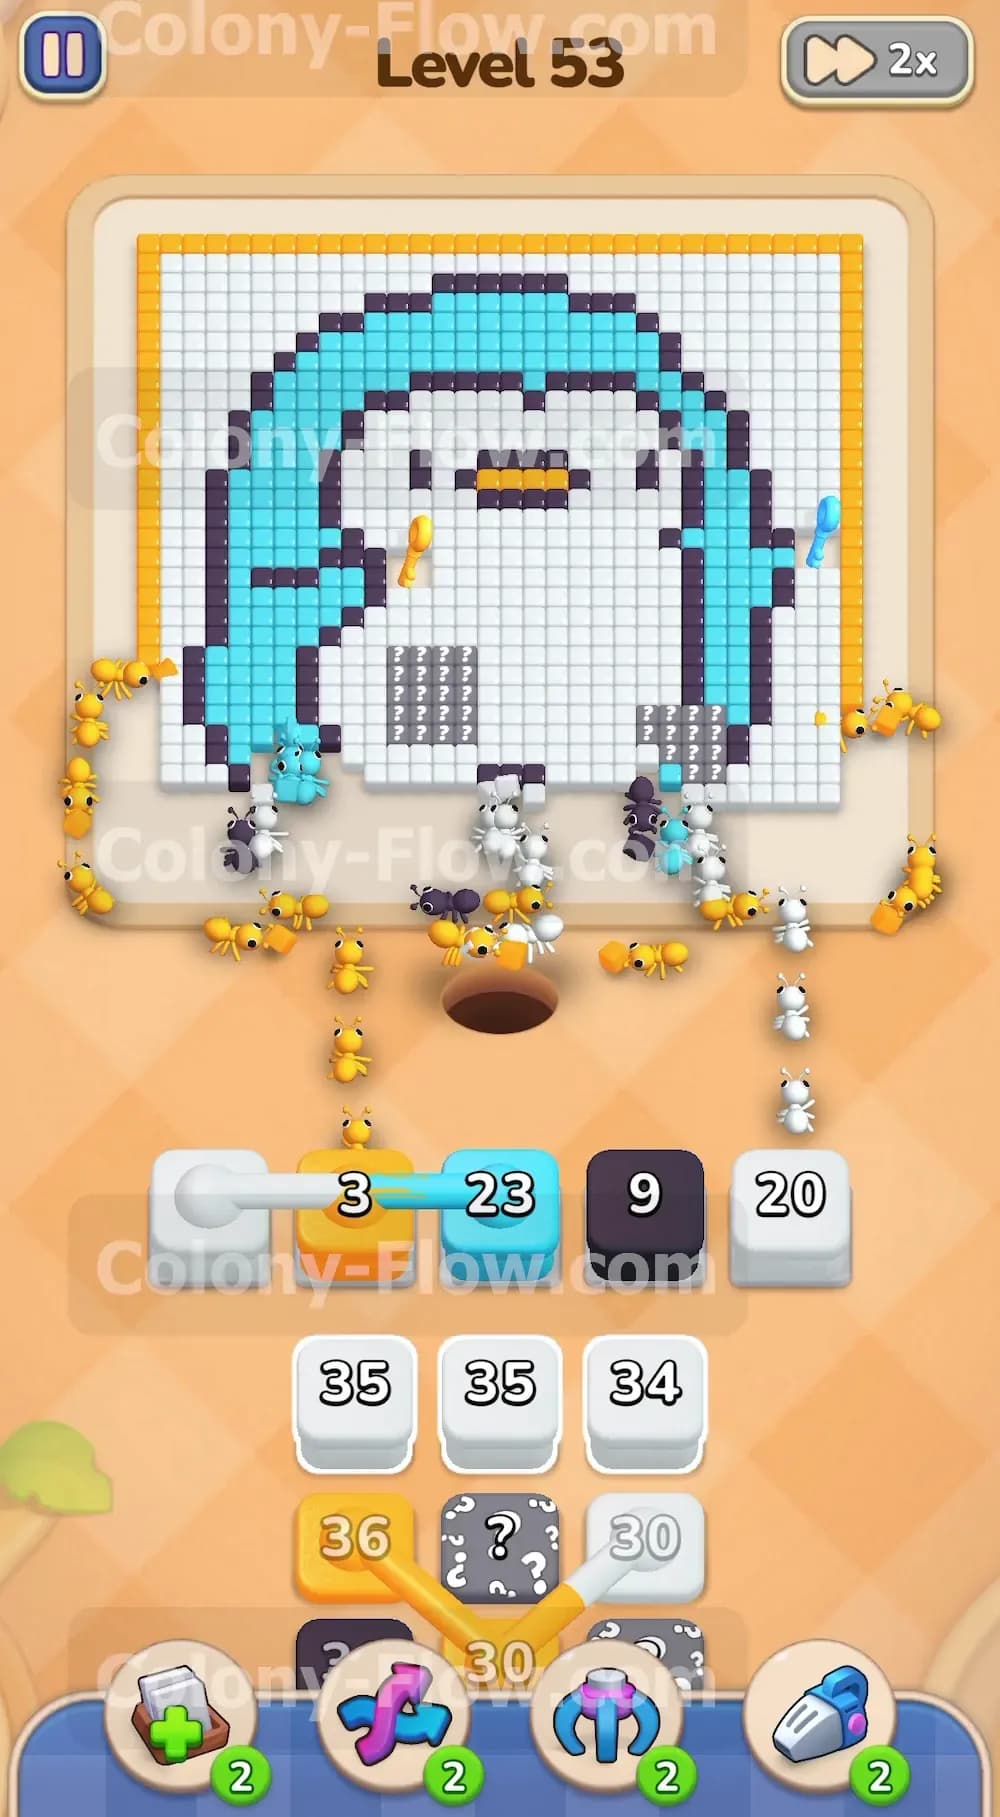
Your initial board shows the solid bottom edge of the penguin completely blocking access to the inner white belly tiles. The very first row of your tray gives you a huge orange 60 block, a light blue 33 block, and a white 34 block. Tap the orange block first. The ants stream out of the nest to clear the feet at the bottom center. Next tap the light blue block to let the ants start eating the outer blue outline on the bottom left and bottom right corners. Do not pull the white block yet because the white belly tiles are still mostly trapped behind the black outline and the remaining blue edges. Keeping that white block safely down in the tray saves a precious waiting slot and keeps your options open.
Step 2: Use connected boxes to break into the lower white belly
Once the orange feet vanish completely your ants can finally reach the lower white tiles of the penguin belly. A connected set of boxes sits in your tray right now. This set features a white 3 block and a light blue 23 block linked firmly together. Tap this connected pair to bring them up to your slots. The ants quickly consume the tiny white 3 block on the lower belly area. This action instantly frees the attached light blue block which then sends ants to further chew away the bottom left outer border. You can also bring up the black 9 block to start clearing the dark inner outline on the lower right side. The board opens up significantly here as the bottom boundary disappears.
Step 3: Clear the left side to collect the yellow key
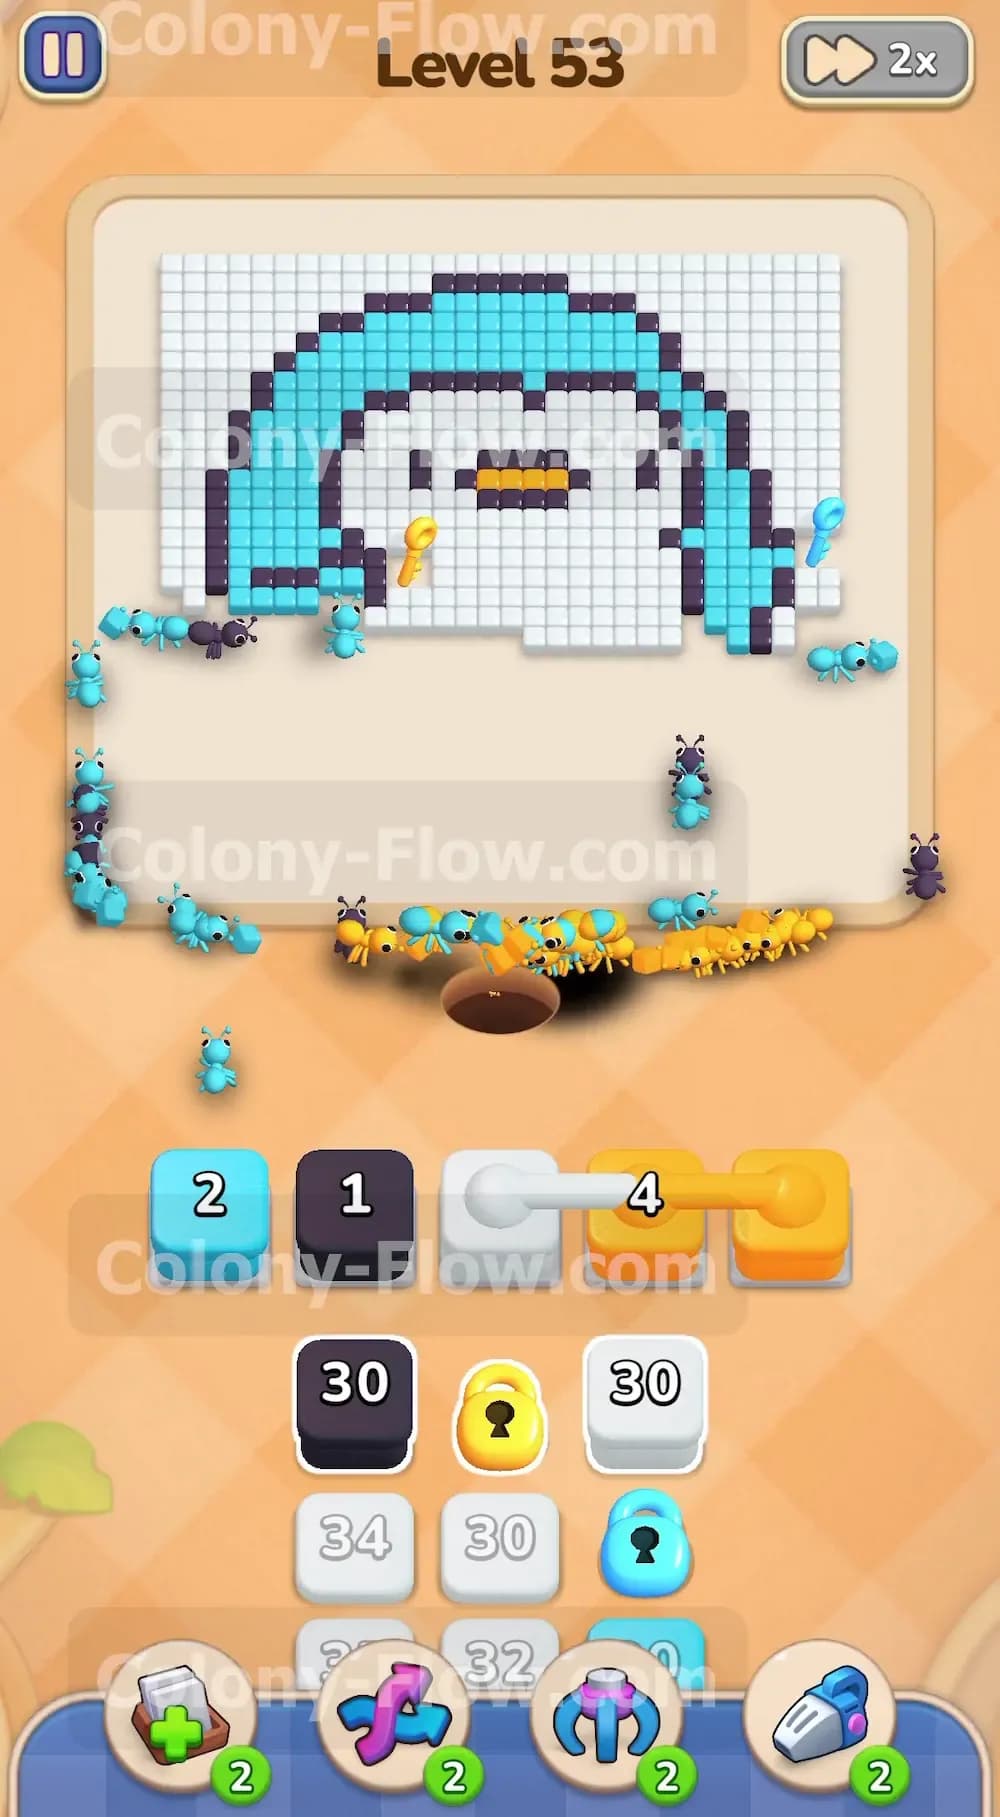
You need to focus your attention on the left side of the penguin where the yellow key waits patiently. Tap a white 35 block from your tray to clear a massive chunk of the left belly area. The ants march straight up the left interior and eat away the white pixels holding the yellow key. Once the ants consume the tiles directly touching the key the key flies off the board and down to your tray. This action immediately breaks the yellow lock symbol off a white 30 block in your lower tray stack. You now have full access to more white blocks to continue clearing the massive belly. Always prioritize moves that get you closer to keys so you never get stuck.
Step 4: Deploy the large connected orange blocks for the central beak
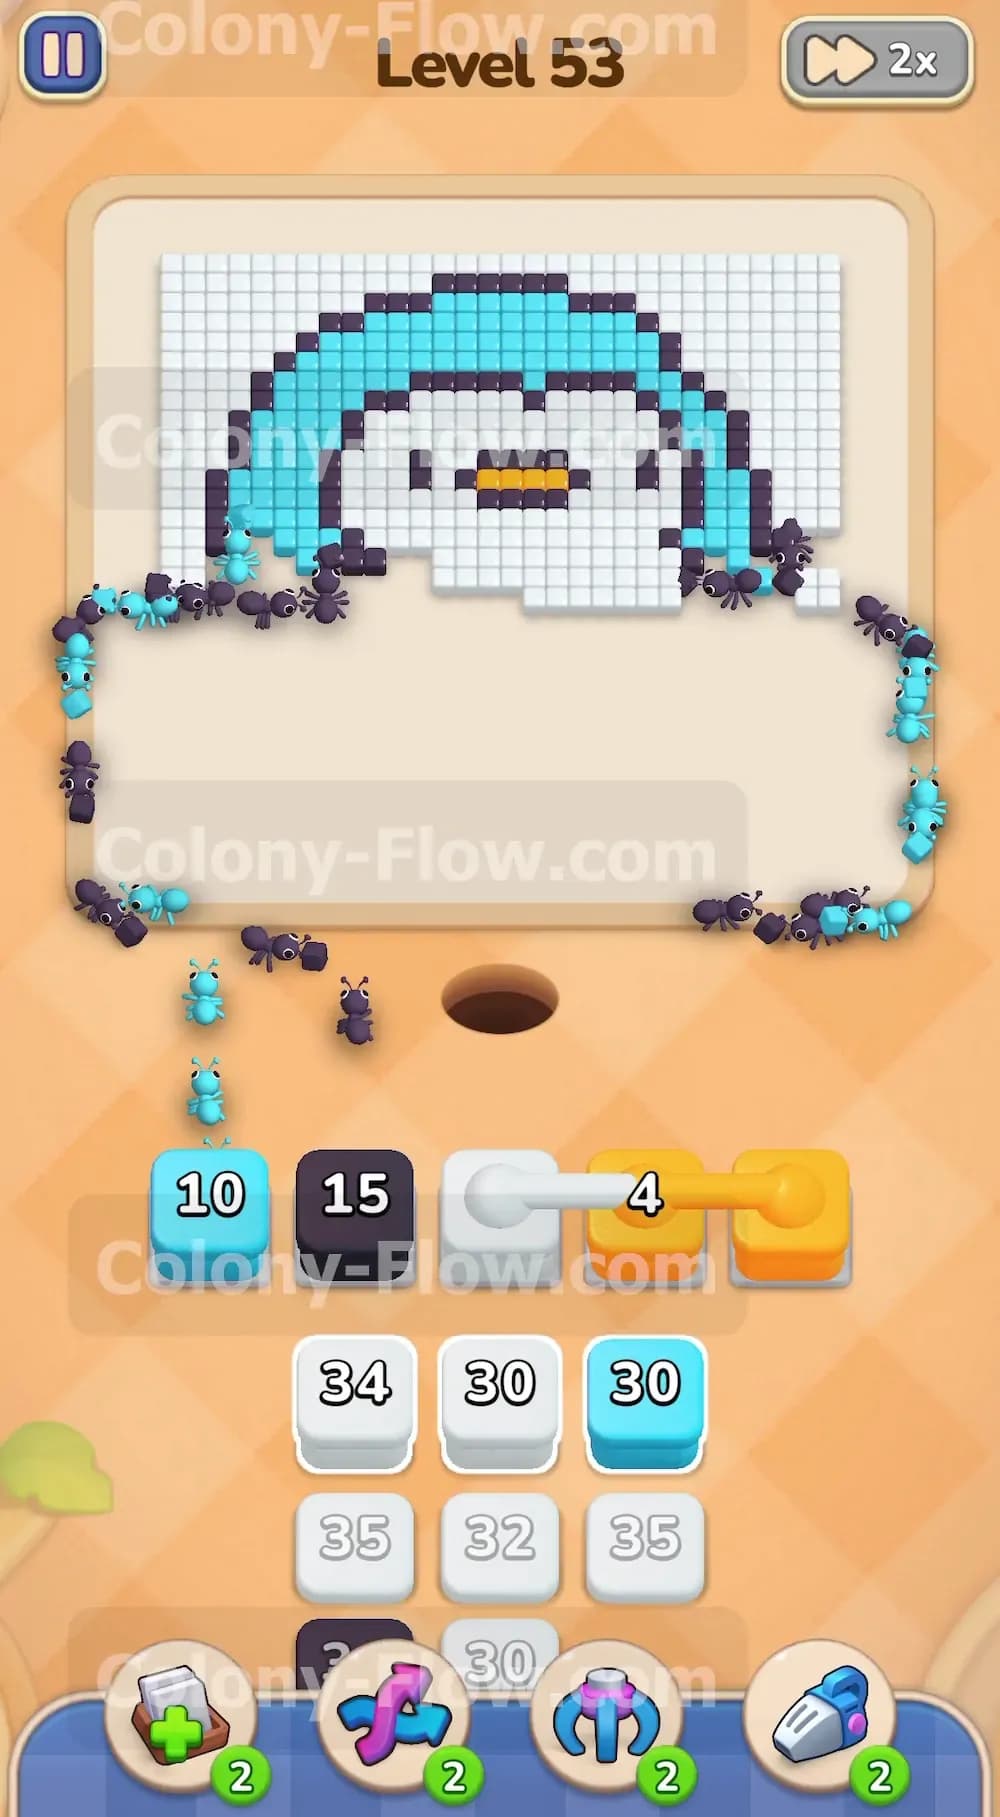
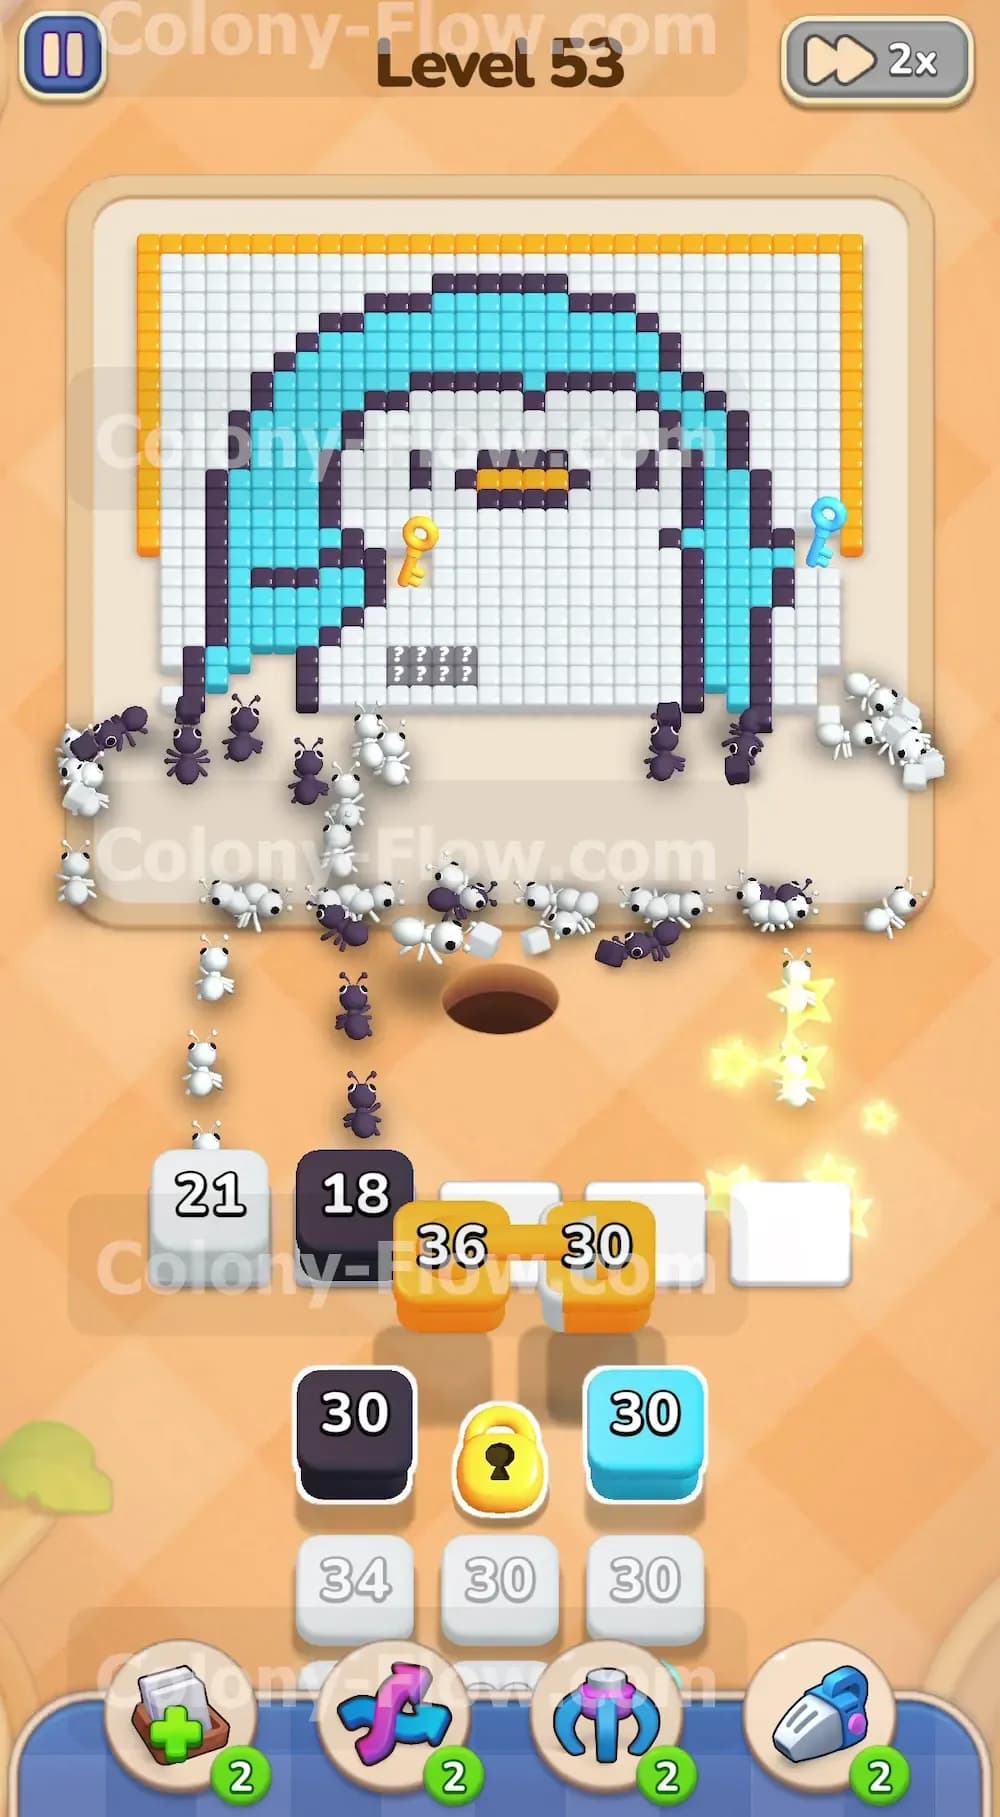
With the belly partially cleared the orange beak in the exact center of the face becomes fully exposed. Your tray holds another pair of connected boxes featuring a huge orange 36 block and an orange 30 block. Tap this connected pair. The ants swarm the center of the board and completely devour the orange beak tiles. Clearing the beak effectively splits the remaining white face tiles into an upper section and a lower section making them easier to manage. You also need to keep clearing the thick black outline. Bring up the black 18 block to let your colony chew through the dark border on the left side. Your waiting slots remain perfectly clear because the ants have direct open paths to all these fresh colors.
Step 5: Push up the right side and securely grab the blue key
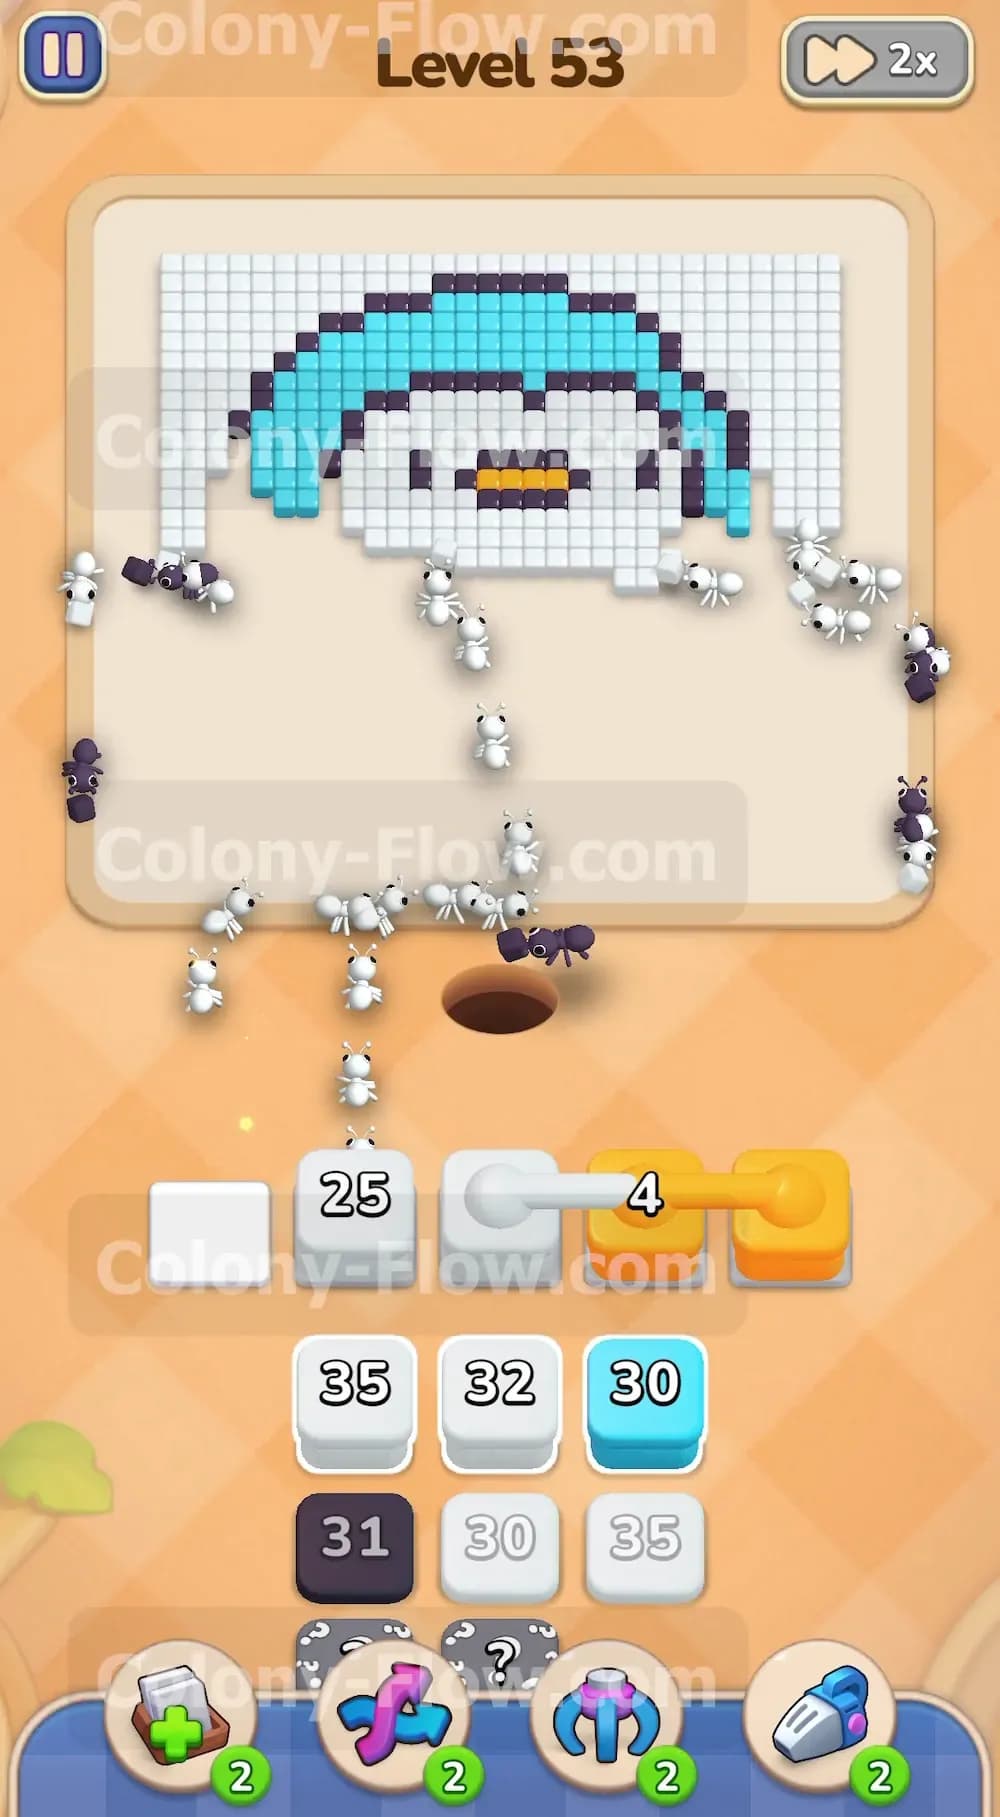
Now you must turn your entire colony toward the right side of the picture to get the blue key. The right side contains a tall mix of light blue outer tiles and black inner tiles. Tap the light blue 30 block and the black 30 block from your tray. The ants form long continuous lines up the right edge of the picture. They consume the dark border and the light blue exterior until they reach the blue key. Just like before the key drops down to your tray and shatters the blue lock symbol. This frees a trapped light blue block deep in your stack. Freeing this block is exactly what you need to finish the outer border of the bird without running out of moves.
Step 6: Reveal the hidden boxes to handle the upper head section
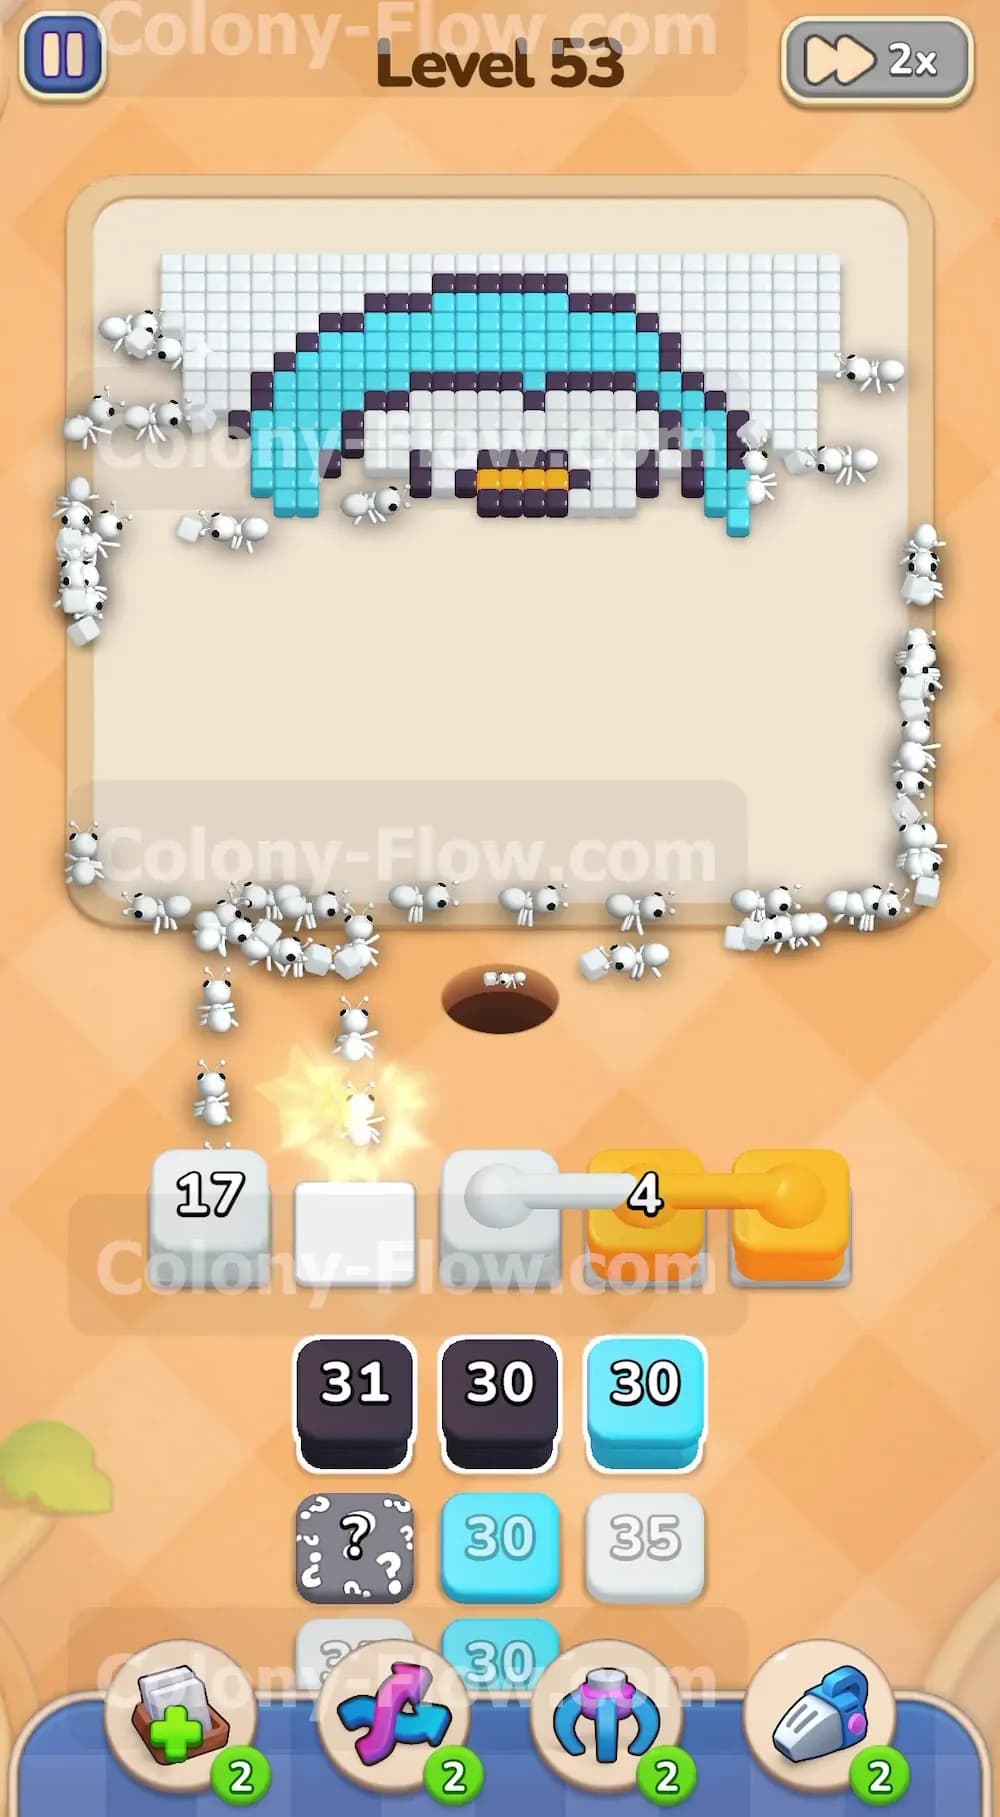
You will notice several gray boxes in your tray marked with white question marks. These are your hidden boxes for this puzzle. They only reveal their true color when they move to the front active row of the tray stack. Pull the recently unlocked white blocks and light blue blocks into your active slots to clear the physical space above the hidden boxes. Once the hidden boxes move up they automatically flip to reveal white and black colors. Tap them immediately so your ants can carry those specific numbers to the top of the penguin head. The ants quickly devour the remaining white face tiles and start eating into the top black outline. Your slots stay completely clear because the upper head is completely exposed now.
Step 7: Finish the top border with the final light blue blocks
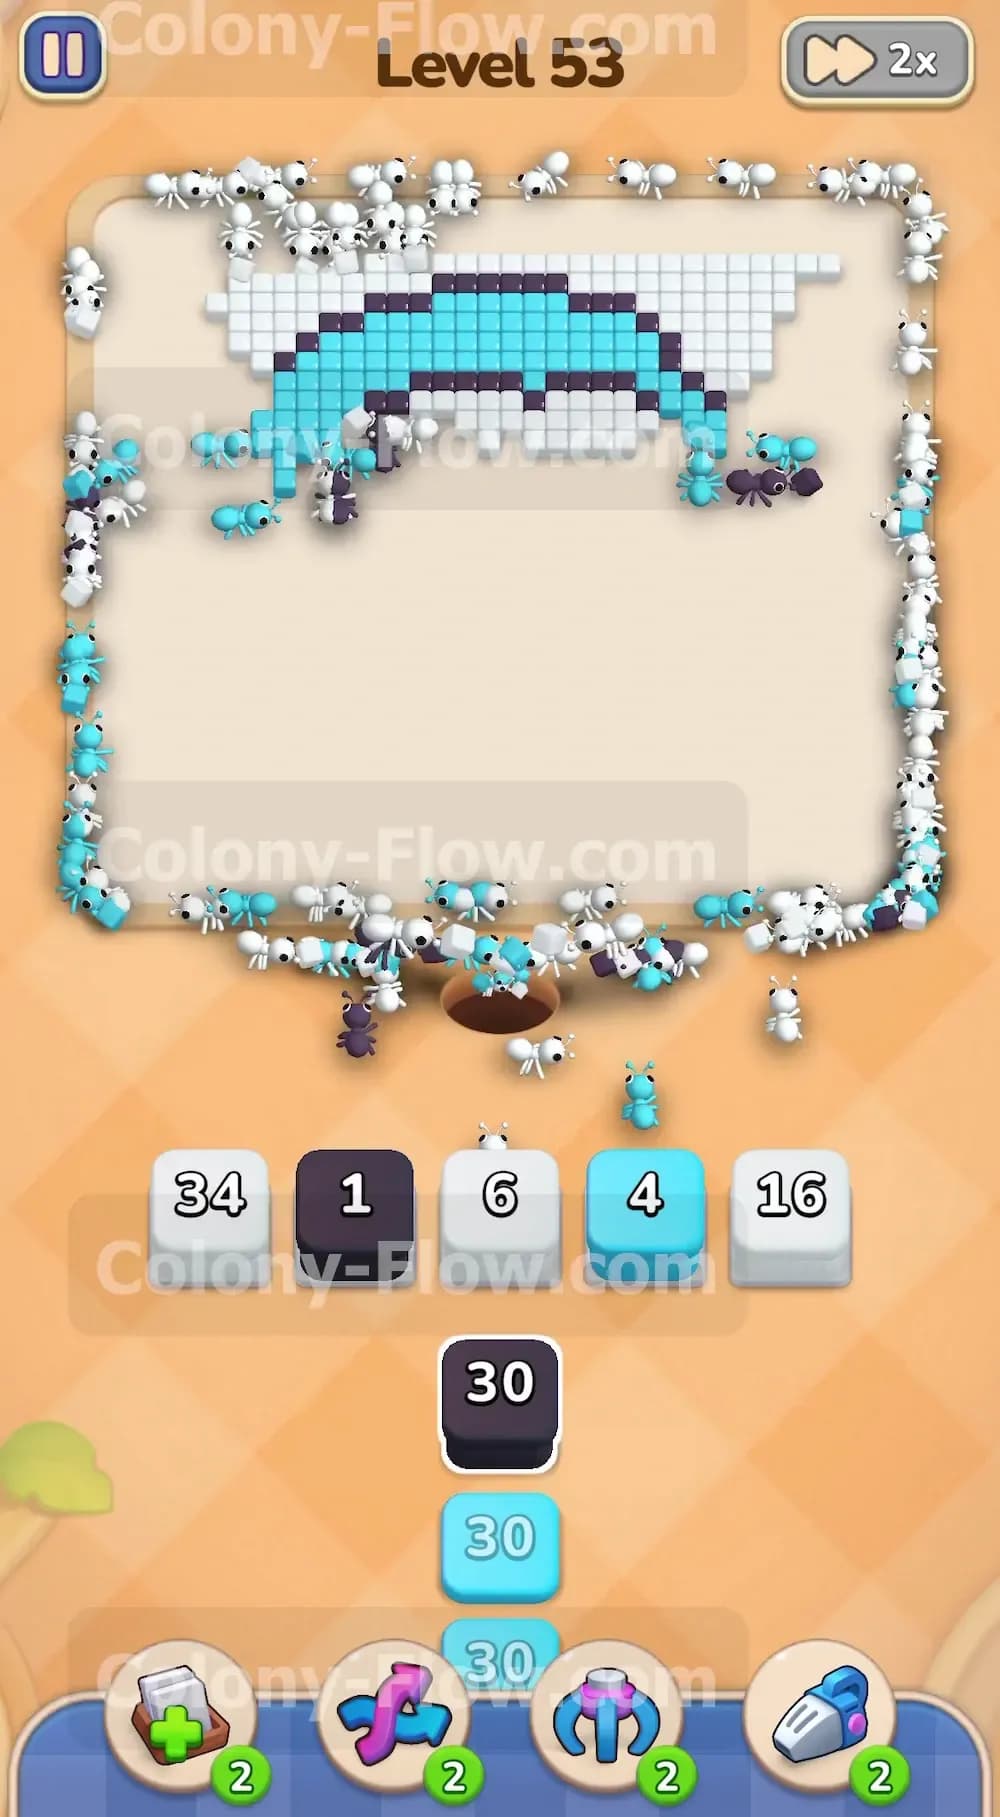
Only the top curved edge of the penguin head remains on the board at this stage. The very bottom of your tray stack holds the exact blocks you need to finish the job. Tap the remaining white 34 block to clean up the last few stray pixels of the face. Then bring up the final black blocks to totally erase the top inner border. The only thing left on your screen is a thin arch of light blue tiles. Tap the remaining light blue blocks in your tray. The ants rush to the very top of the screen and eat the final blue pixels. The picture completely vanishes and the level ends in a satisfying victory.
Final Thought
This puzzle absolutely requires you to balance clearing the outer borders with carving a direct path to the two colored keys. You will never jam your waiting slots if you follow this exact sequence and unlock the tray items as early as possible. Take your time and always let the ants clear the paths before you pull new colors from the stack. Please watch the video above this article if you need a visual guide for any specific step or if you get lost along the way.