Colony Flow Level 123 Walkthrough Solution & Guides | How to solve Colony Flow 123

Guide By Liam Stone
Updated on July 11, 2026
The video above breaks down Level 123 visually, so skip the text below if you'd rather watch.
Video doesn't match your screen?
Game updates frequently scramble layouts! Try our AI Screenshot Solver first to find your exact board instantly, or report broken guides to our team.
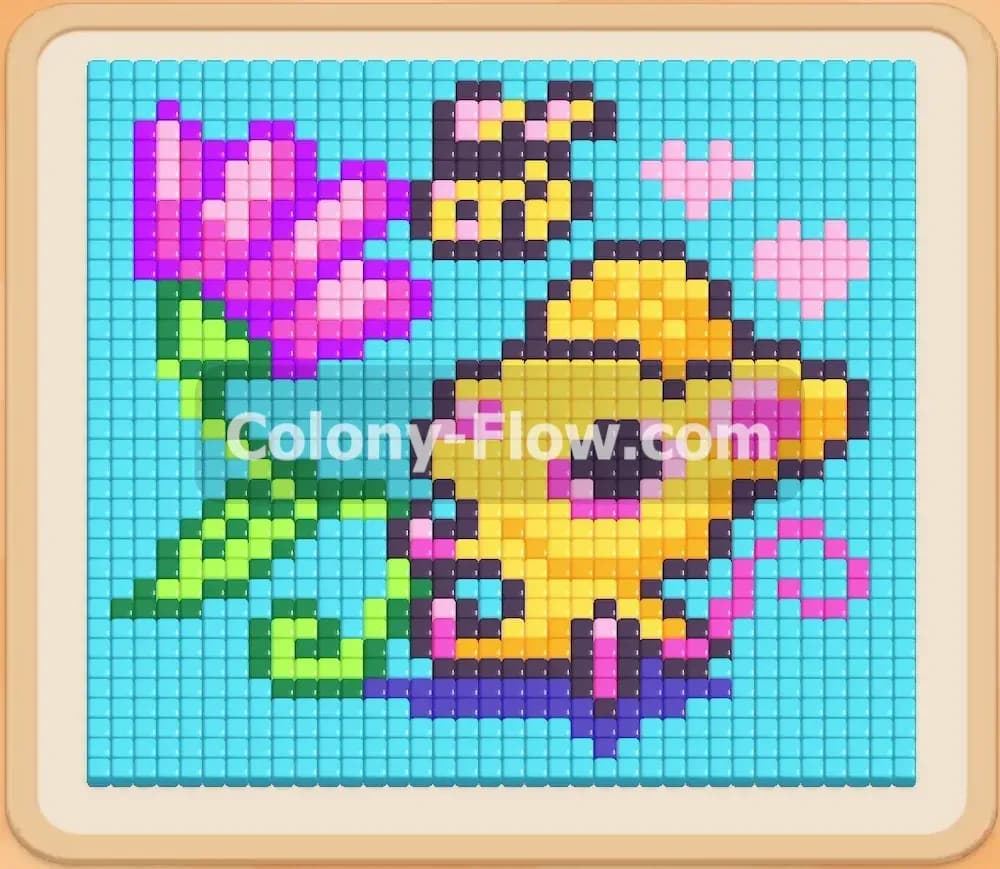
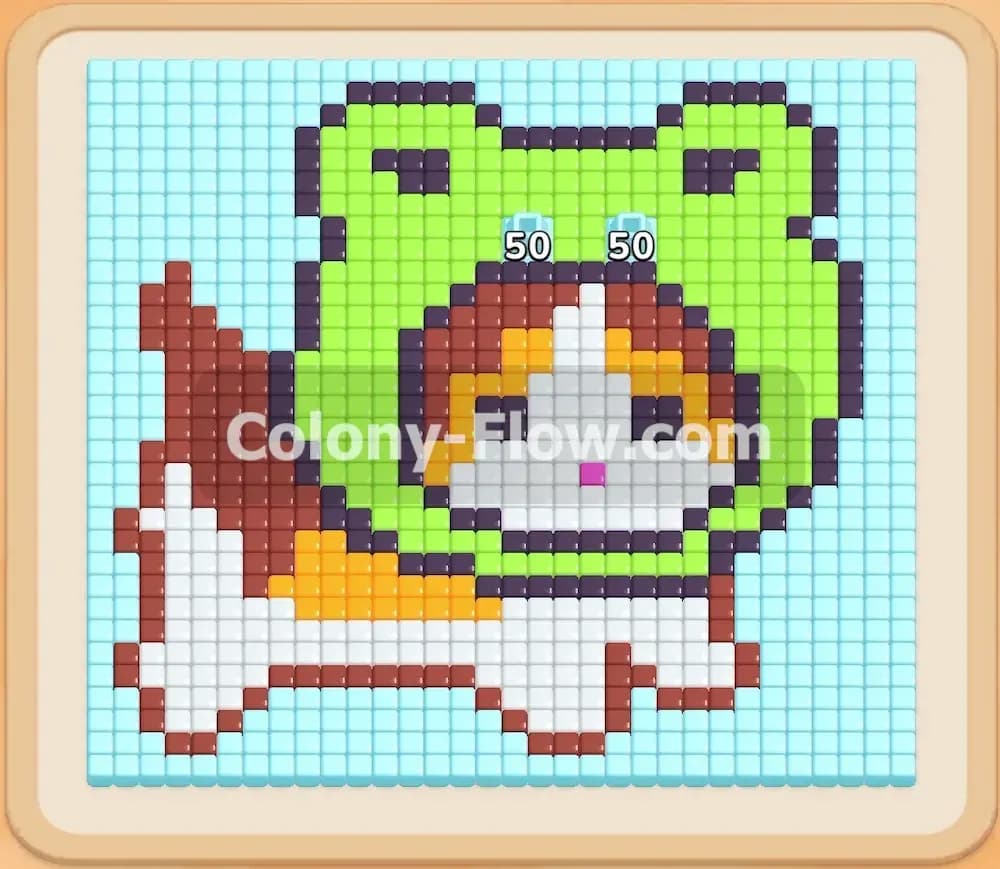
Welcome to Colony Flow Level 123. This puzzle presents a wonderful pixel art picture of a cute cat wearing a green frog hat. You will need to carefully manage your tray space because several color blocks are linked together as Connected Boxes. I play through every single puzzle myself so I can teach you exactly how to clear the board without getting stuck.
Colony Flow Level 123 Overview
What You Are Working With
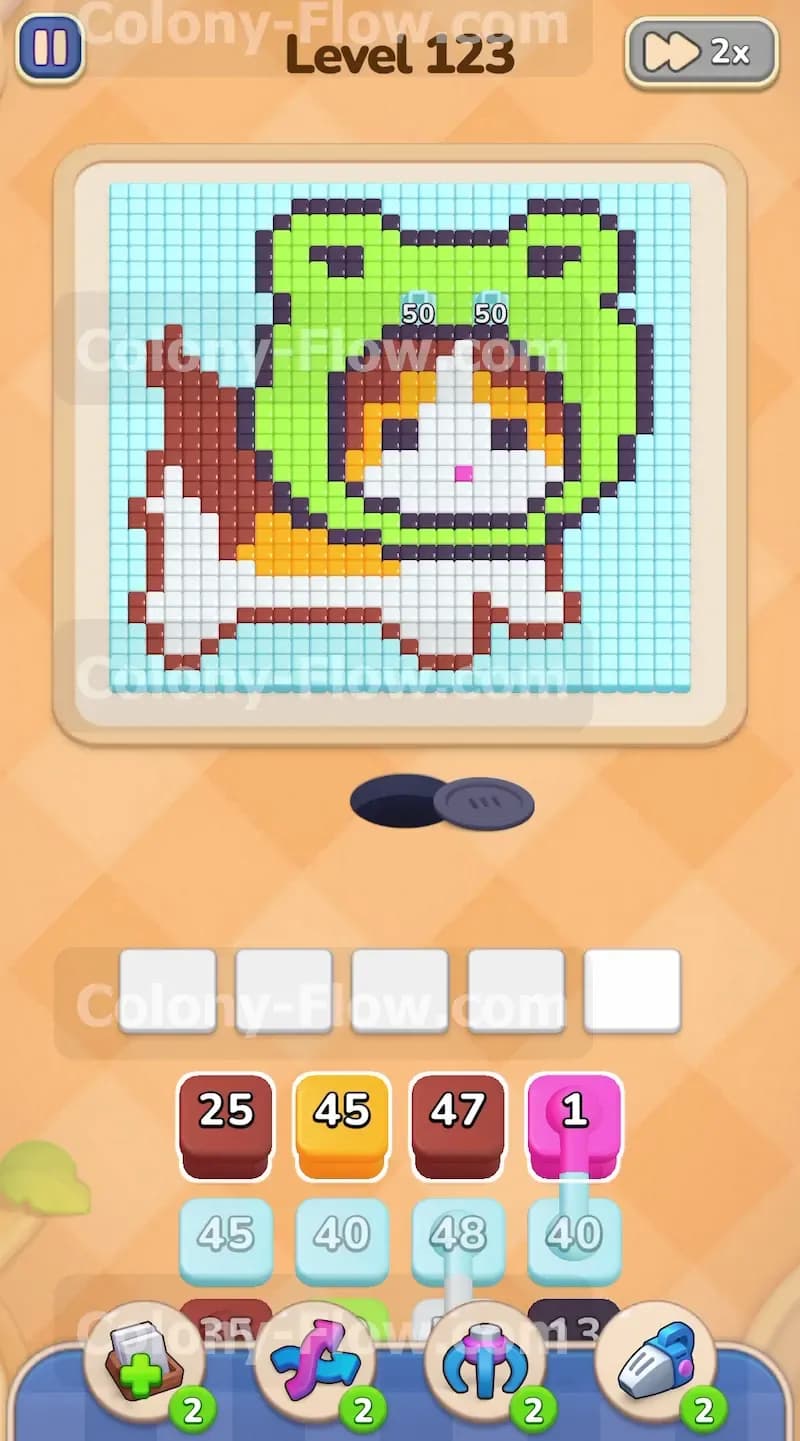
The board displays a bright and colorful scene waiting to be cleared. At the center of the screen is a white and orange cat with a large brown tail. The cat wears a vibrant green frog hat resting directly on its head. A thick black outline surrounds the character and separates it from the light blue background tiles filling the rest of the grid. The dark nest hole sits directly below the picture area serving as the spawn point for your entire colony. Down at the bottom of your screen is the tray holding all your numbered blocks. These blocks come in light blue, brown, orange, white, green, black, and pink. Some of these blocks operate as Connected Boxes. Thick pipes physically link two blocks together in the tray. When you pull one linked block the other travels with it into your waiting slots. You must plan around these linked pairs to keep your waiting area clear.
What It Takes to Clear Level 123 Board
Your goal is to clear the entire picture by feeding the colored tiles to your ant colony. You tap blocks in the tray to move them up to the five waiting slots. When you tap a block it leaves the tray and occupies one of your limited slots. The ants stream out of their nest hole and march along open paths toward the matching colors on the board. Each time an ant grabs a tile the number on your waiting block drops by one. The main challenge is keeping your waiting slots from filling up completely. If all five slots become full and no ants can reach matching tiles on the board you dead end the level and lose. You must clear the colors from the outside moving inward to ensure clear paths always remain open for your colony.
Colony Flow Level 123 Step by Step Solution
Step 1: Open the board by clearing the light blue background
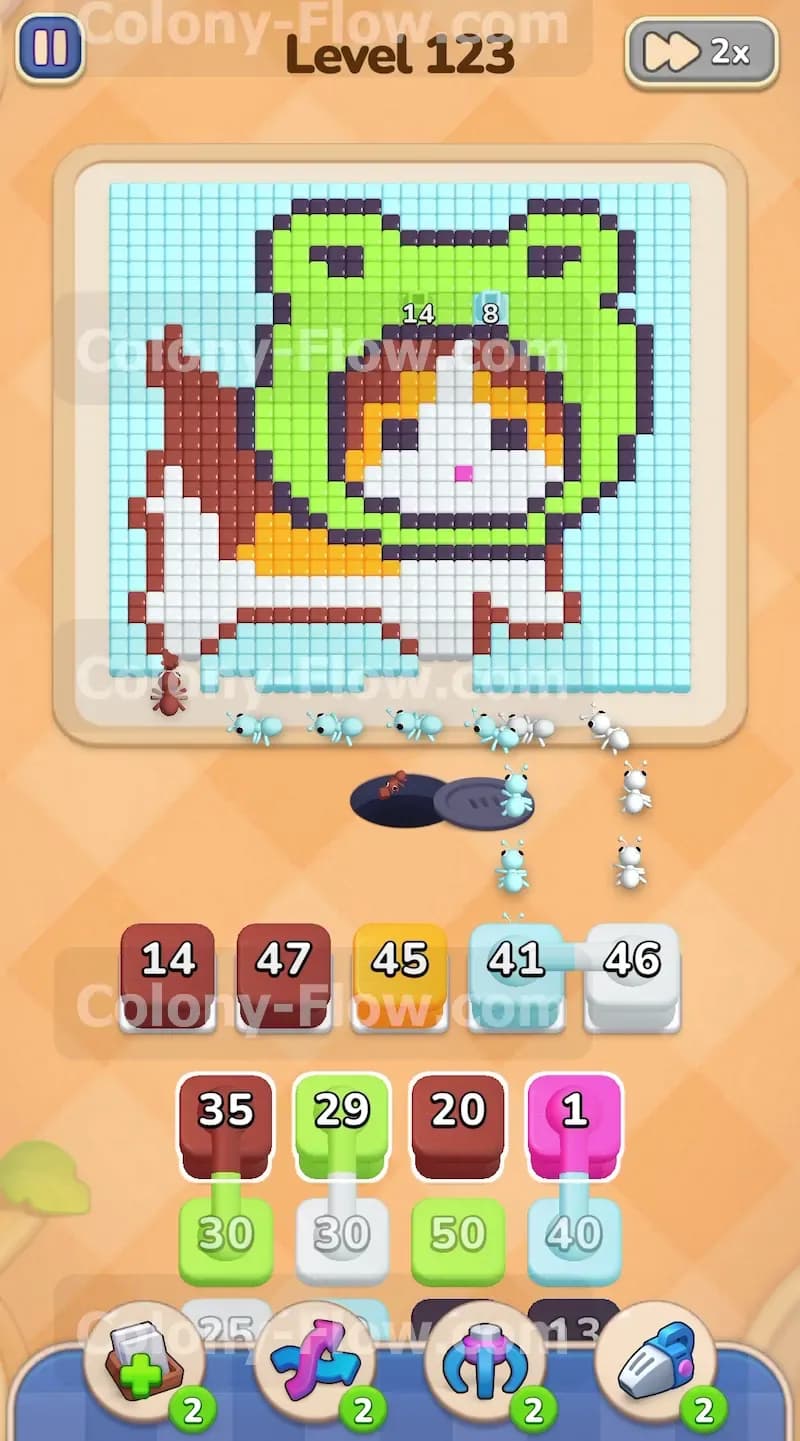
You need to start with the outside edges to create working space for the ants. The light blue tiles act as a thick wall protecting the inner picture. Tap the light blue blocks in your tray to bring them into your open waiting slots. The ants will immediately rush out of the nest hole and start eating away the large sections of light blue background surrounding the cat. This action is highly effective because it exposes the outer edges of the brown tail and the green frog hat. Do not pull any other colors just yet. You want the light blue blocks to fully deplete and vanish from your waiting slots. Keeping your slots empty early on gives you total control over the flow of the board. The ants clear the bottom areas first and then snake their way up the sides of the picture.
Step 2: Target the brown tail and orange patches
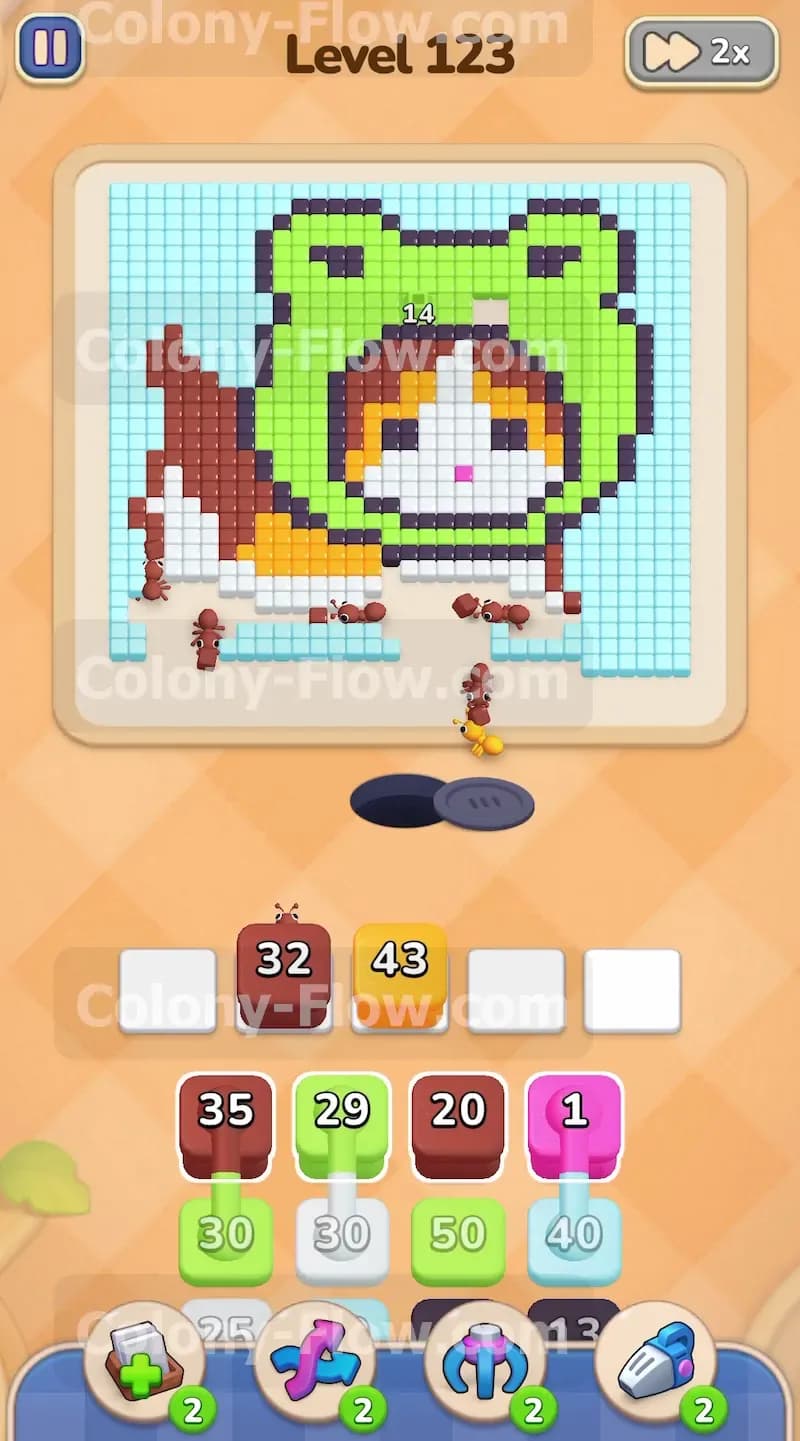
With the background shrinking you now have clear open paths to the brown and orange sections on the left side of the board. Pull a brown block and an orange block up from your tray into the waiting slots. The ants will branch off from their main path and start dismantling the brown tail and the orange spots on the back of the cat. Watch the numbers on these blocks count down as the ants carry the colored food pieces back to the nest hole. You will see the ants walking in neat lines carrying tiny colored blocks back to their home. You might notice some black outline tiles blocking deeper access to the center of the picture. Pull a black block into an open slot to let the ants chew through that outline. This keeps the board moving inward and prevents your current blocks from stalling out and clogging the waiting area.
Step 3: Handle the first set of linked connected boxes
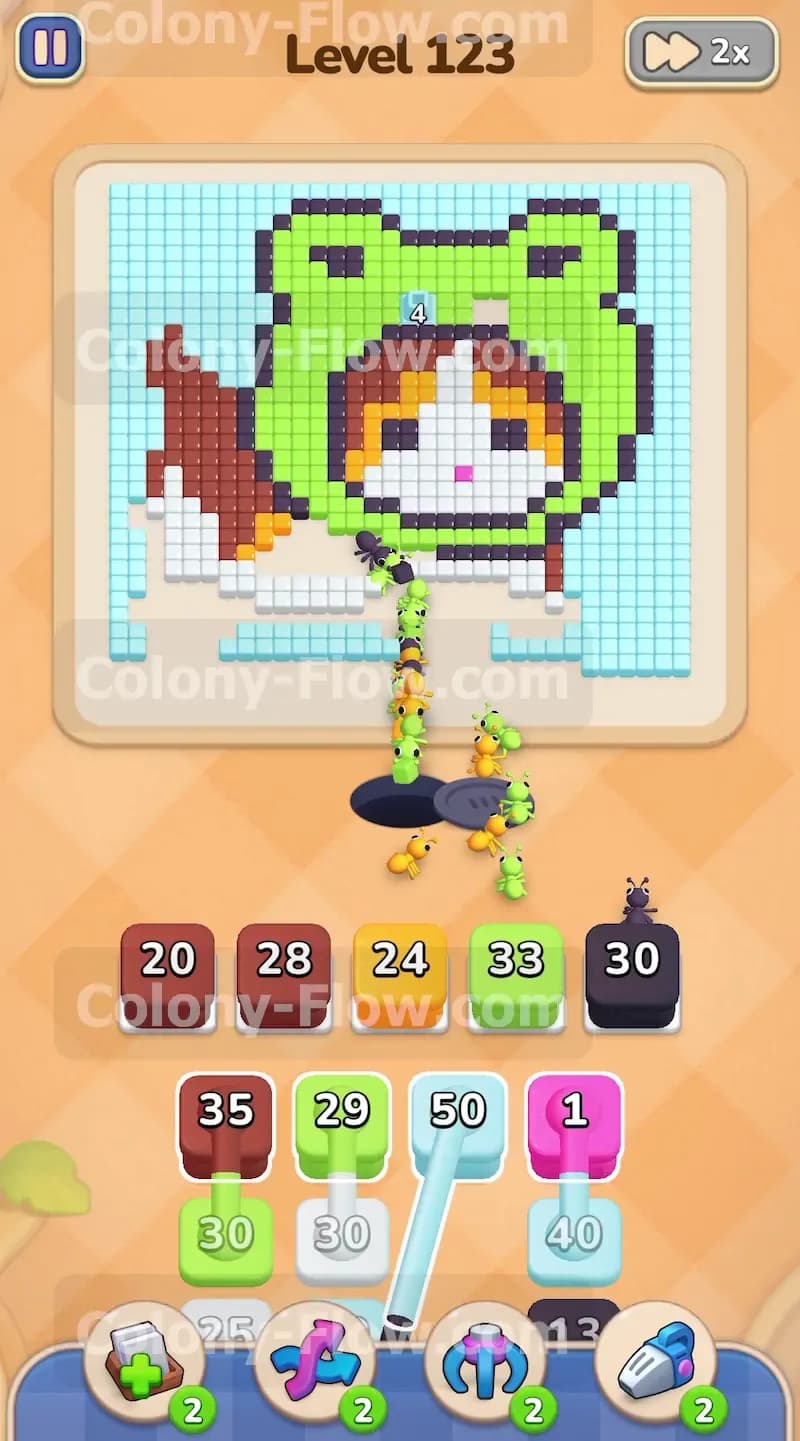
Your tray contains Connected Boxes that link a green block to a white block together with a thick pipe. Pulling this pair takes up two of your five waiting slots the exact moment you tap them. Managing Connected Boxes improperly is the fastest way to lose the game. Before you bring them up you must verify that both green and white tiles are exposed and reachable on the board. The ants have cleared enough of the outer background layer to reach the green frog hat and the white face of the cat. Tap the connected pair to bring them up to the waiting area. The ant colony will split into two massive streams. One group climbs up to the top area to devour the green hat while the other moves directly into the center to eat the white face tiles. This dual action drops the numbers rapidly and frees up those two slots without risking a fatal jam.
Step 4: Chew through the heavy black outlines
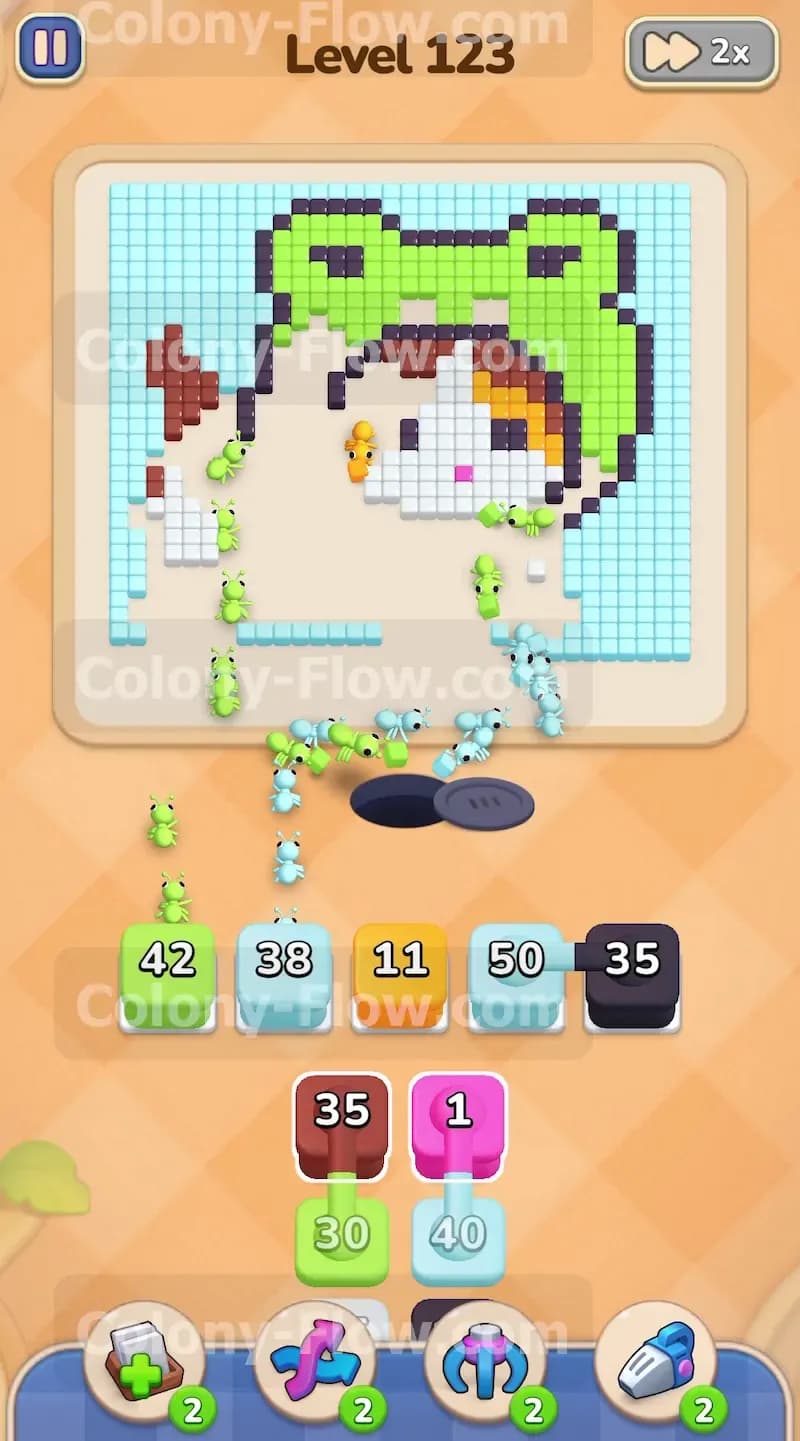
The black outline tiles wrap completely around the cat body and the frog hat. The black outline acts as a skeleton holding the shape of the cat together. As the ants clear the green and white areas you will expose more of this dark border. Pull the black numbered blocks from your tray to send a steady stream of ants along the entire perimeter. They will follow the lines and break down the borders separating the different colored sections. You must clear these outlines to reach the inner orange spots and the pink nose. Keep checking your waiting slots as the numbers drop. If the black blocks take too long to count down you should bring up another light blue block to clear the remaining background tiles on the right side of the board. Providing two different colors for the ants ensures a constant workflow and stops any single block from freezing your progress.
Step 5: Manage the remaining connected boxes and green tiles
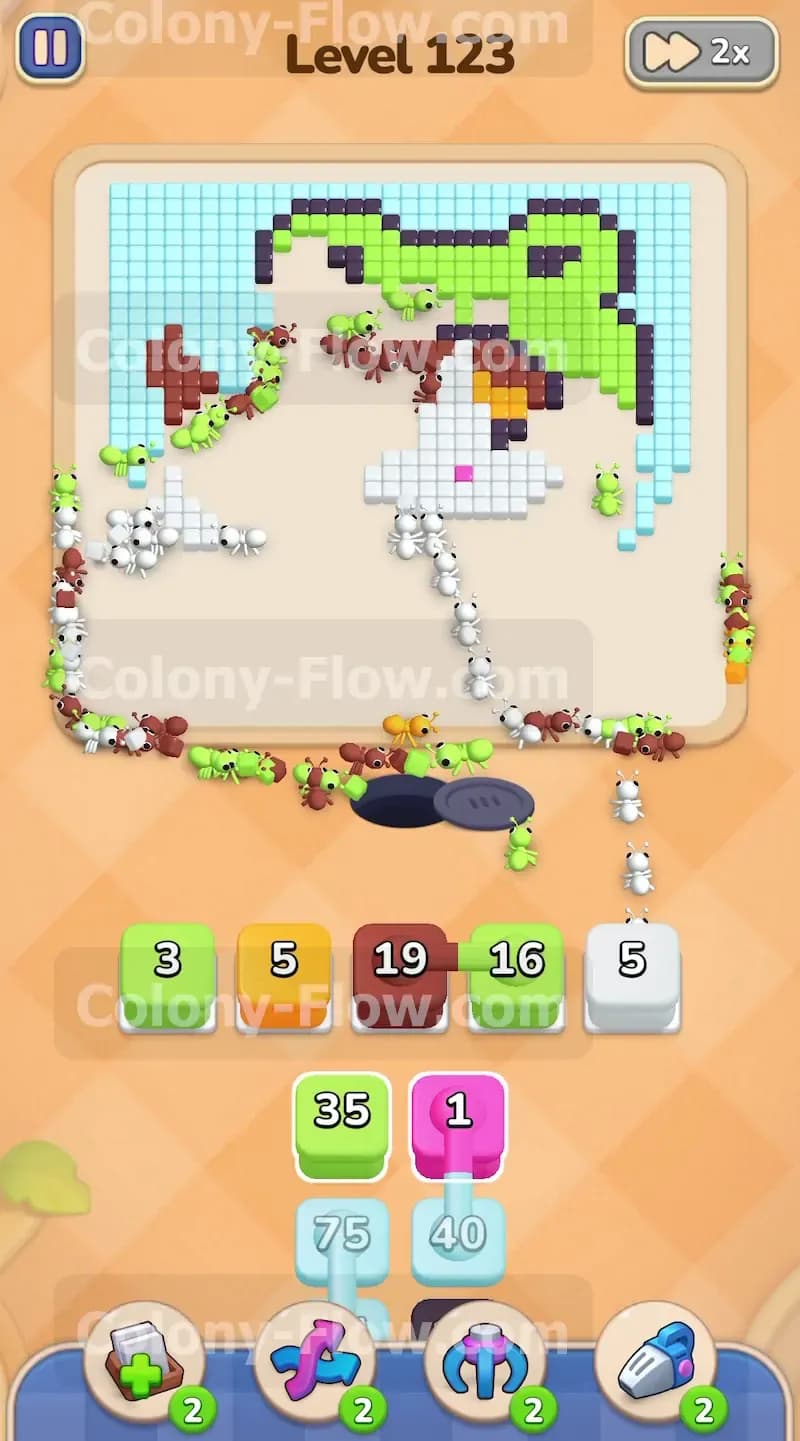
Another set of Connected Boxes waits in your tray linking another green block to a light blue block. By now the top half of the frog hat is mostly gone but the side flaps remain intact. Pull this linked pair to send ants swarming over the rest of the green tiles and the final background pieces. The wide open layout of the board means the ants can take short direct paths from the nest hole straight to the food. This makes the numbers on your blocks drop very fast. Every time a block hits zero it vanishes and gives you back a valuable slot. Keep your fingers ready to pull up the next required colors the second a slot opens. You want to maintain a constant marching stream of ants so the board never stops shrinking. Leaving the board idle gives you less room to maneuver later on.
Step 6: Finish the cat face and clear the final colors
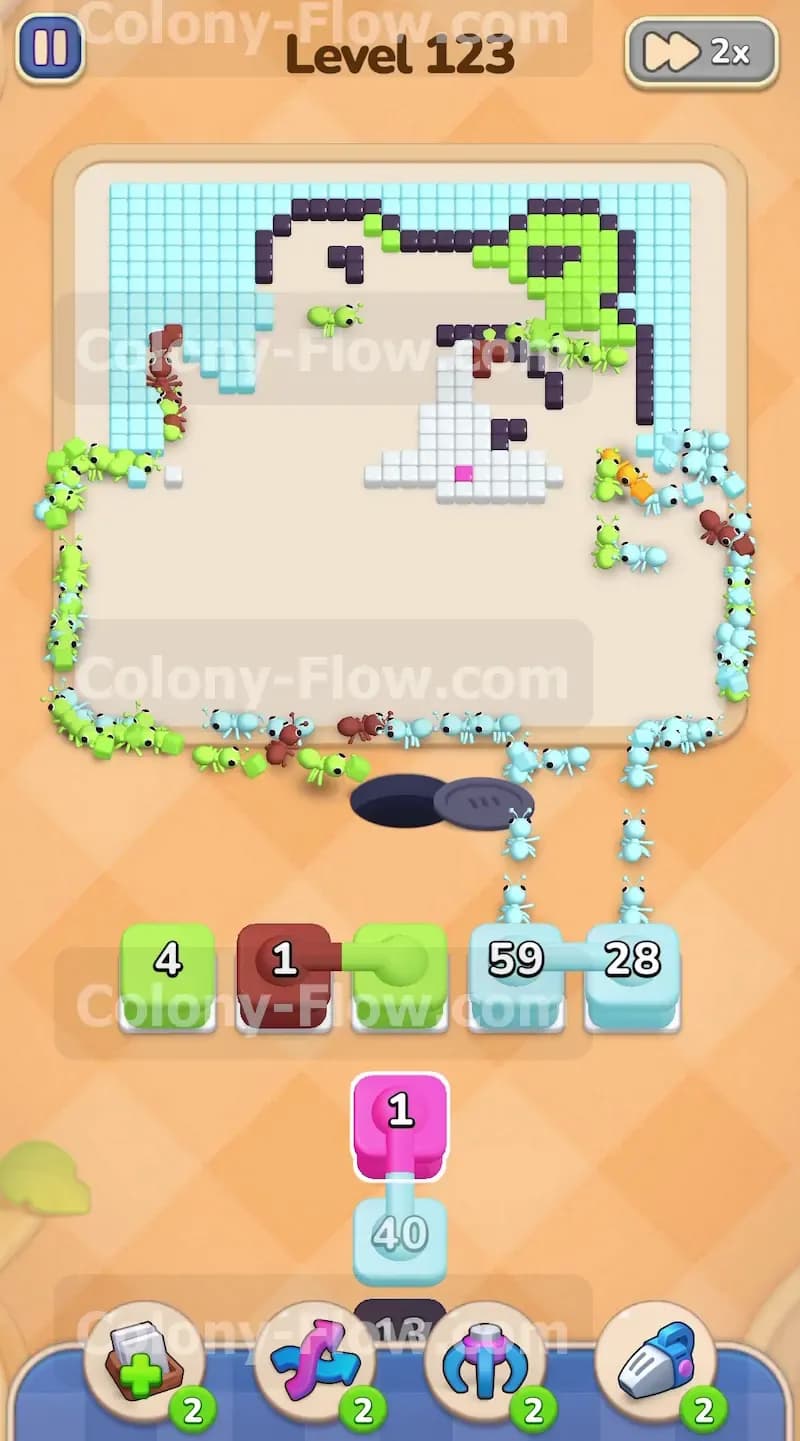
Only a few scattered orange spots white face tiles and the single pink nose remain on the screen. The board is totally wide open so the ants can march anywhere they need to go without getting blocked. Pull the final white and orange blocks from the tray into your waiting slots. The ants will swiftly clean up the last pieces of the cat face leaving only the center tile. Finally pull the pink block up to target the nose. A single ant will march up and grab that final pink tile. Once the nose disappears and the last block vanishes from your slots the entire picture is clear. The nest hole swallows the last returning ants and you successfully beat the puzzle.
Final Thought
This puzzle requires you to balance the linked boxes perfectly to avoid filling your tray and causing a dead end. Managing your available waiting slots is the entire key to victory here. If you find any of these moves difficult to picture in your head I highly encourage you to watch the video above this article.