Colony Flow Level 346 Walkthrough Solution & Guides | How to solve Colony Flow 346

Guide By Liam Stone
Updated on July 18, 2026
Watch the video above for a faster look at how Level 346 gets solved.
Video doesn't match your screen?
Game updates frequently scramble layouts! Try our AI Screenshot Solver first to find your exact board instantly, or report broken guides to our team.
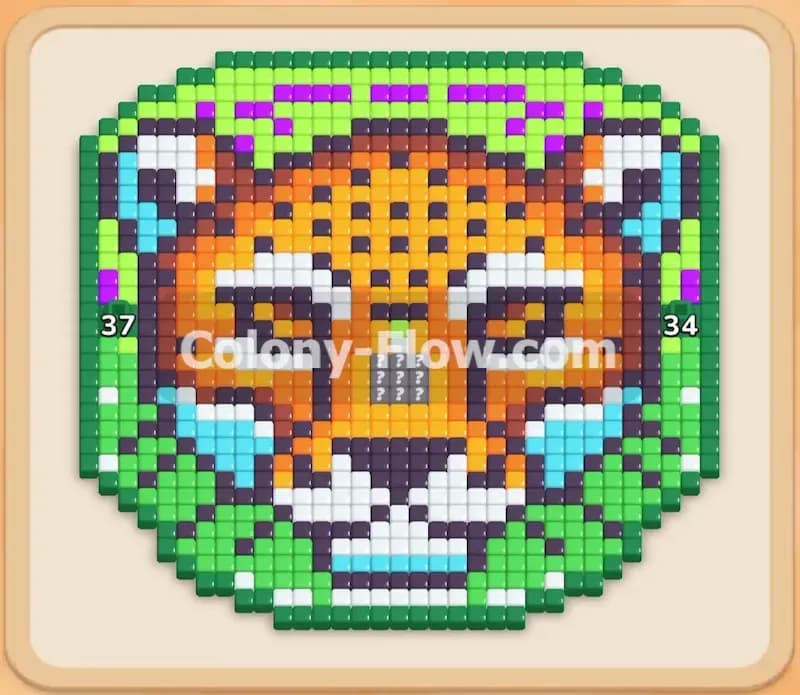
Colony Flow Level 346 presents you with a massive puzzle featuring a masked hero constructed from colored tiles. You face immense numbers right from the start and need absolute control over your tray to survive. I played through this entire board and mapped out exactly how to dismantle it. Following this exact sequence keeps your colony moving and prevents the dreaded tray jam.
Colony Flow Level 346 Overview
What You Are Working With
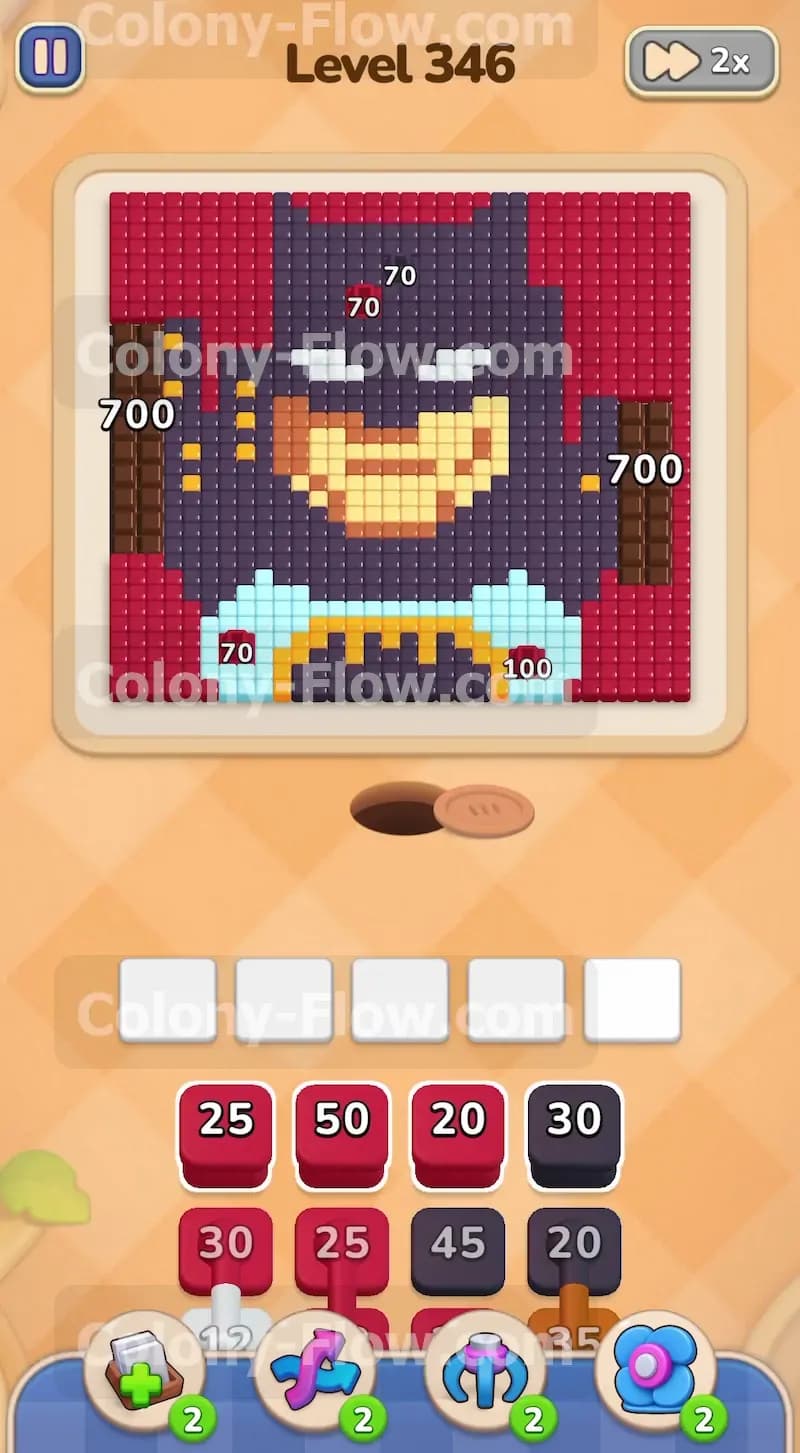
The board displays a large character portrait made of solid blocks of color. Huge red background blocks sit on the far left and far right sides with counts hitting seven hundred. Black tiles form a thick suit and cowl that cover the entire upper and central area. Yellow tiles make up a face and a chest logo trapped inside the black sections. Light blue tiles create a barrier across the bottom edge just above the ant nest. Brown structural pillars flank the lower sides of the portrait. White tiles form two small eyes near the top. The tray gives you numbered blocks matching every color on the board. You must tap these blocks to feed them to your ant colony.
What It Takes to Clear Level 346 Board
You win the level when every single tile disappears and your ants run freely across an empty screen. You lose if you fill all five waiting slots in your tray with blocks your ants cannot reach. The puzzle forces you to peel the portrait away layer by layer from the outside in. Opening paths and keeping your ants busy is the only way to succeed.
Colony Flow Level 346 Step by Step Solution
Step 1: Start chipping away at the huge outer red background.
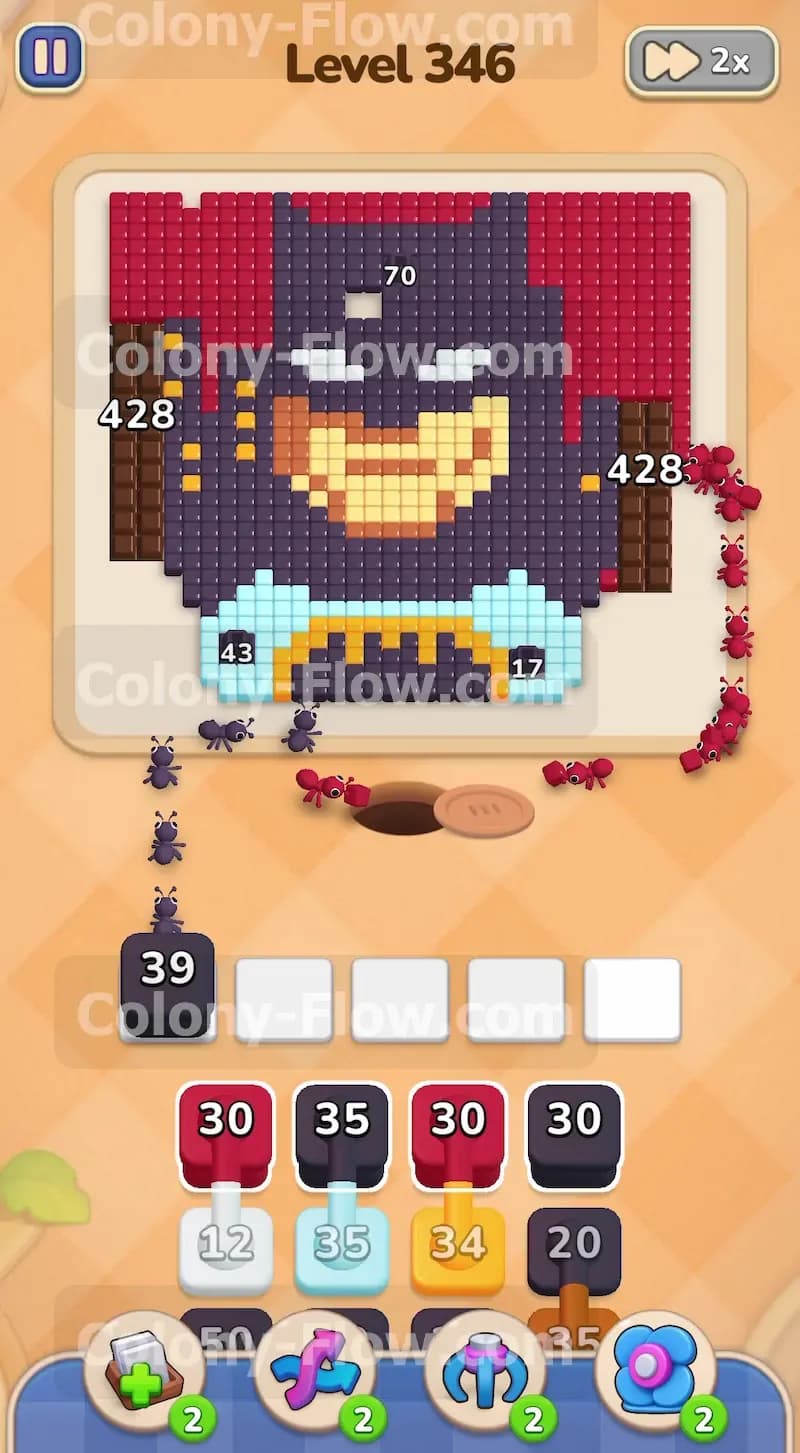
The very first thing you notice is the enormous seven hundred count on the red background tiles hugging the left and right edges. You must reduce this number immediately to create maneuvering room for your colony. Tap a twenty five red block from the tray to drop it into your first waiting slot. The ants stream out of the nest hole and head straight for the outer edges. They climb up the sides to eat the red tiles and begin lowering that massive seven hundred count. Do not let the size of the number intimidate you. Just let the first red block drain completely. Keep a close watch on the red block in your waiting slot and prepare to tap a fifty red block to keep the momentum going once the first one clears.
Step 2: Break through the bottom light blue barrier.
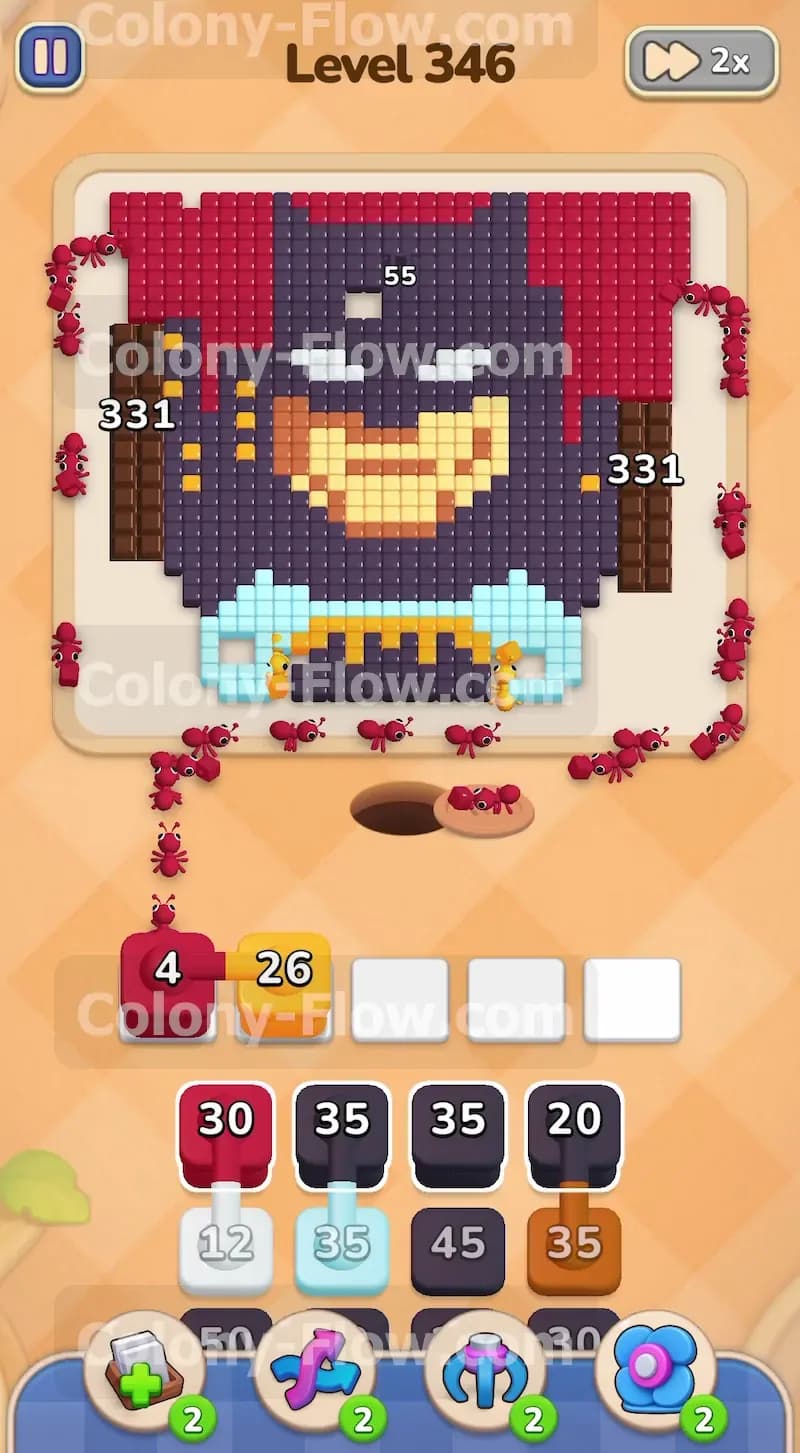
While your ants handle the outer red edges you need to open a shorter path directly up the middle. Tap a thirty five light blue block to target the lower section of the portrait. The colony splits its attention perfectly. One group continues up the sides for the red tiles while a new swarm attacks the light blue barrier just above the nest hole. This light blue section blocks all access to the yellow chest logo and the lower black suit. Clearing it out early saves your ants a huge amount of walking distance later. Wait for the light blue block in your tray to fully drain before you introduce a third color to the mix.
Step 3: Launch a sustained assault on the black suit and cowl.
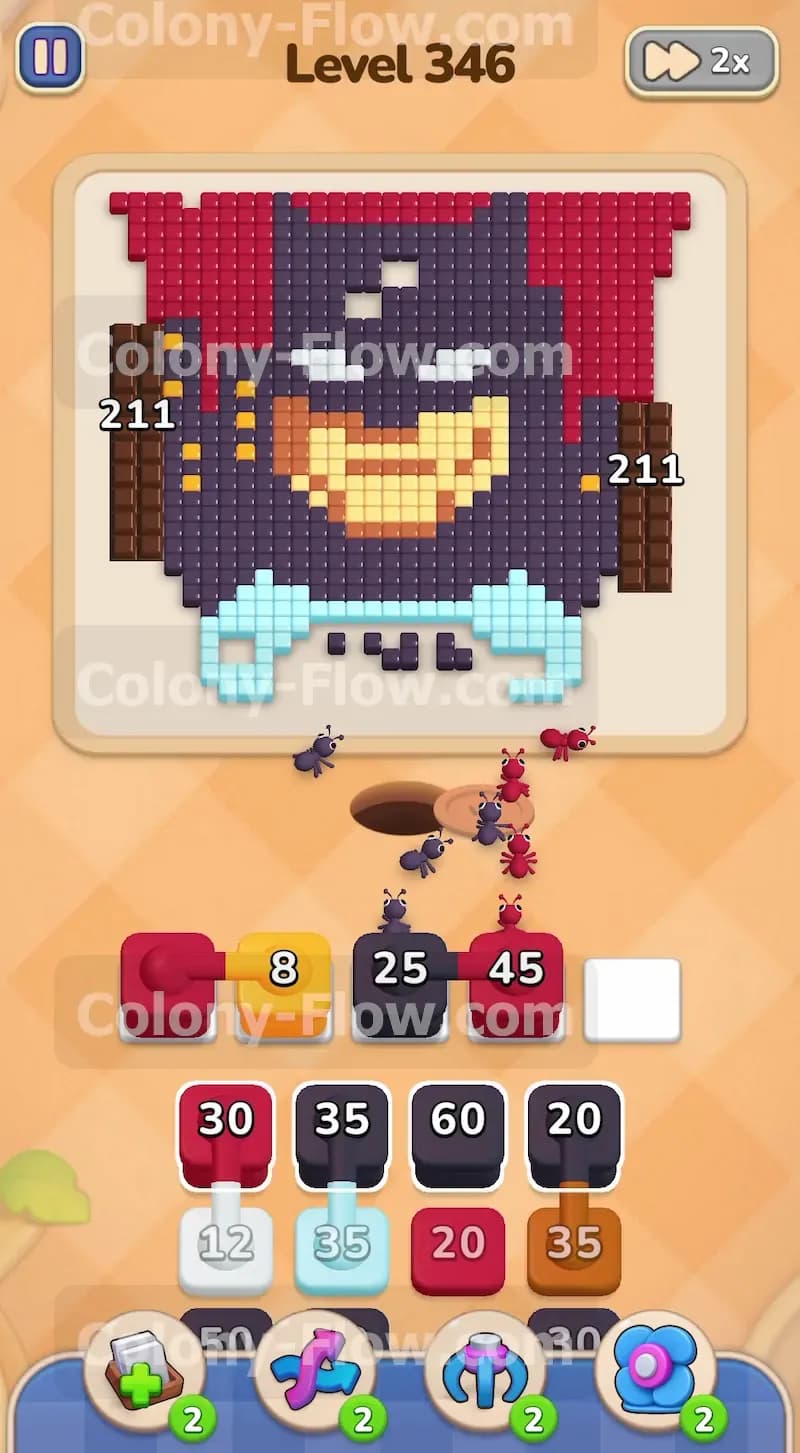
With the bottom path completely clear your ants gain direct access to the black tiles. Tap a thirty black block from your tray and drop it into a waiting slot. The ants march straight up the middle and begin devouring the black suit. The black section covers the largest central area of the board and requires constant attention. You must keep at least one black block active in your tray for a long time. Watch the ants carve out the center of the hero figure as they gradually work their way up toward the face and the top of the cowl. Make sure you do not overload your tray during this long process. If you have two red blocks and two black blocks running simultaneously you only have one slot left for emergencies. Always leave that fifth slot empty.
Step 4: Balance red and black blocks to prevent tray jams.
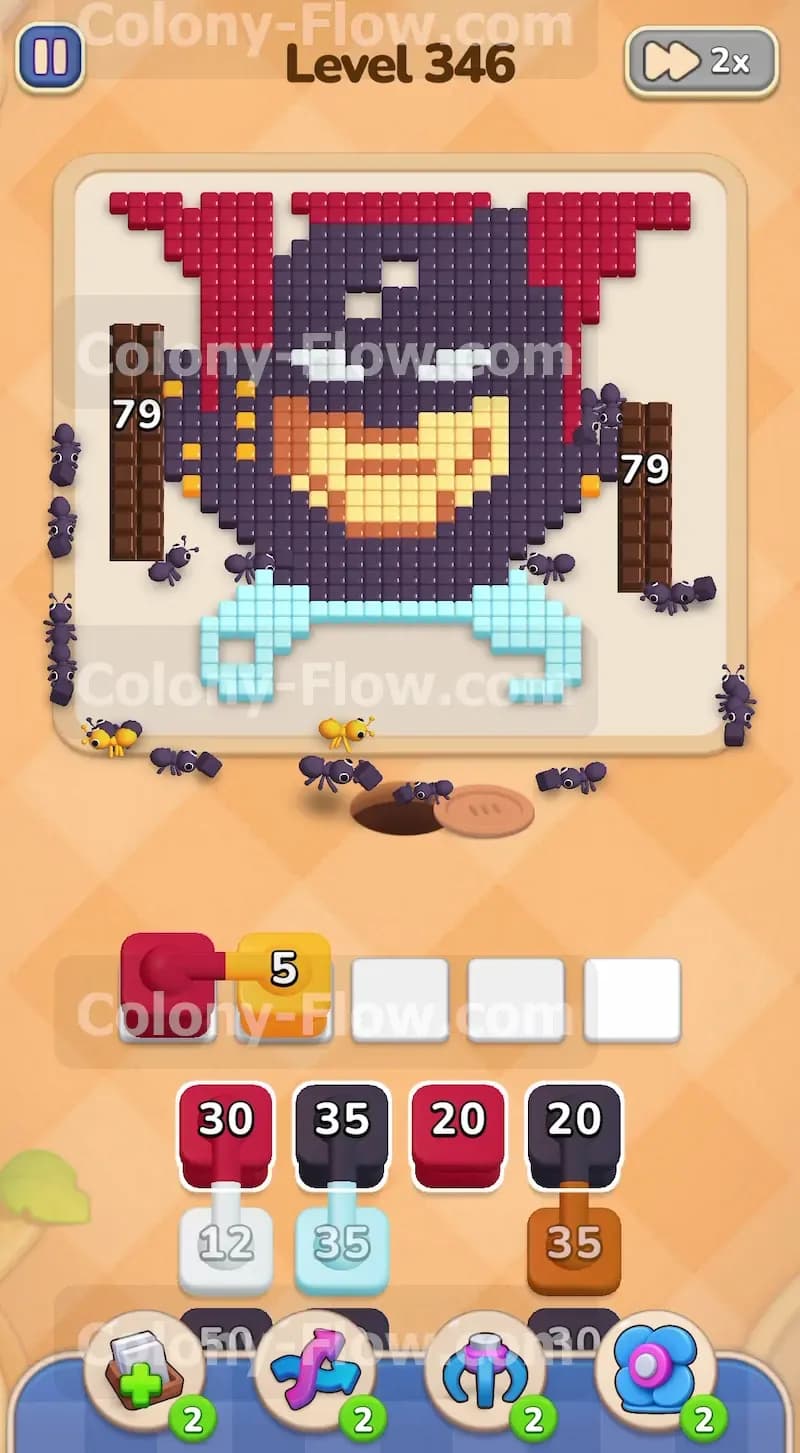
The game will tempt you to tap multiple colors rapidly as new blocks appear in your tray. You must resist this urge completely. The red background and the black suit take minutes to clear down to manageable levels. If you pull a yellow block or a brown block right now the ants will ignore it because they cannot reach those colors yet. The yellow face remains totally surrounded by thick black tiles. A blocked color sits in your tray forever and permanently takes up a precious slot. Stick exclusively to red and black blocks. Monitor the remaining counts on the board closely. The red edges will eventually drop into the four hundred range and then the three hundred range. The black suit will thin out enough to reveal the yellow face underneath. Only when the ants expose the yellow tiles should you prepare your next color move.
Step 5: Target the yellow face and chest logo.
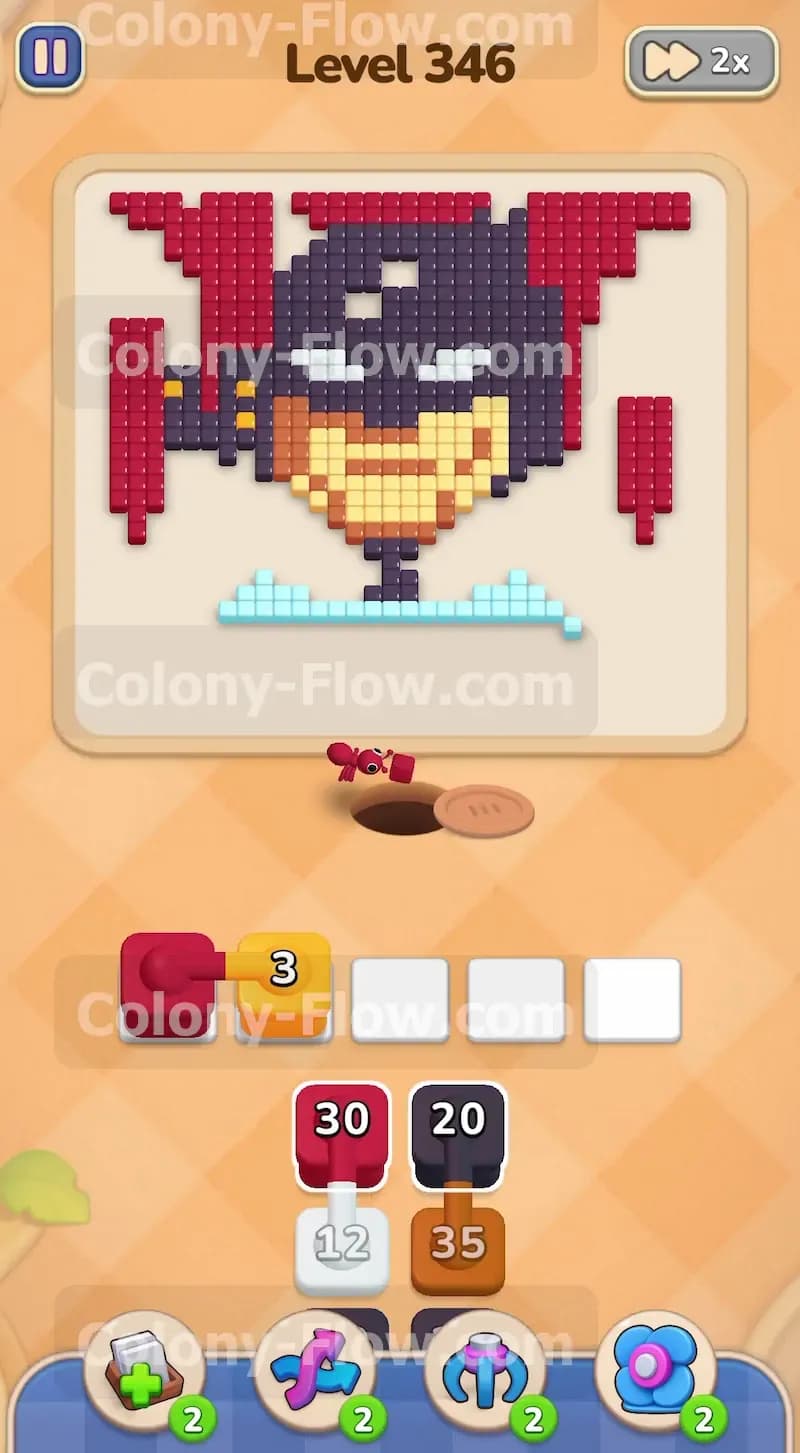
The black tiles finally recede enough to fully expose the yellow face and the yellow logo on the chest. Now you can safely tap a twenty six yellow block from the tray. Drop it into a waiting slot and watch the ants rush into the very center of the board. The yellow tray blocks hold smaller numbers that drain extremely quickly. This fast drain rate frees up your waiting slots and gives you breathing room to plan your next taps. Keep feeding yellow blocks to the ants until the entire face and chest logo disappear from the board. The central area opens up beautifully once the yellow section is completely gone.
Step 6: Clear the brown side pillars.
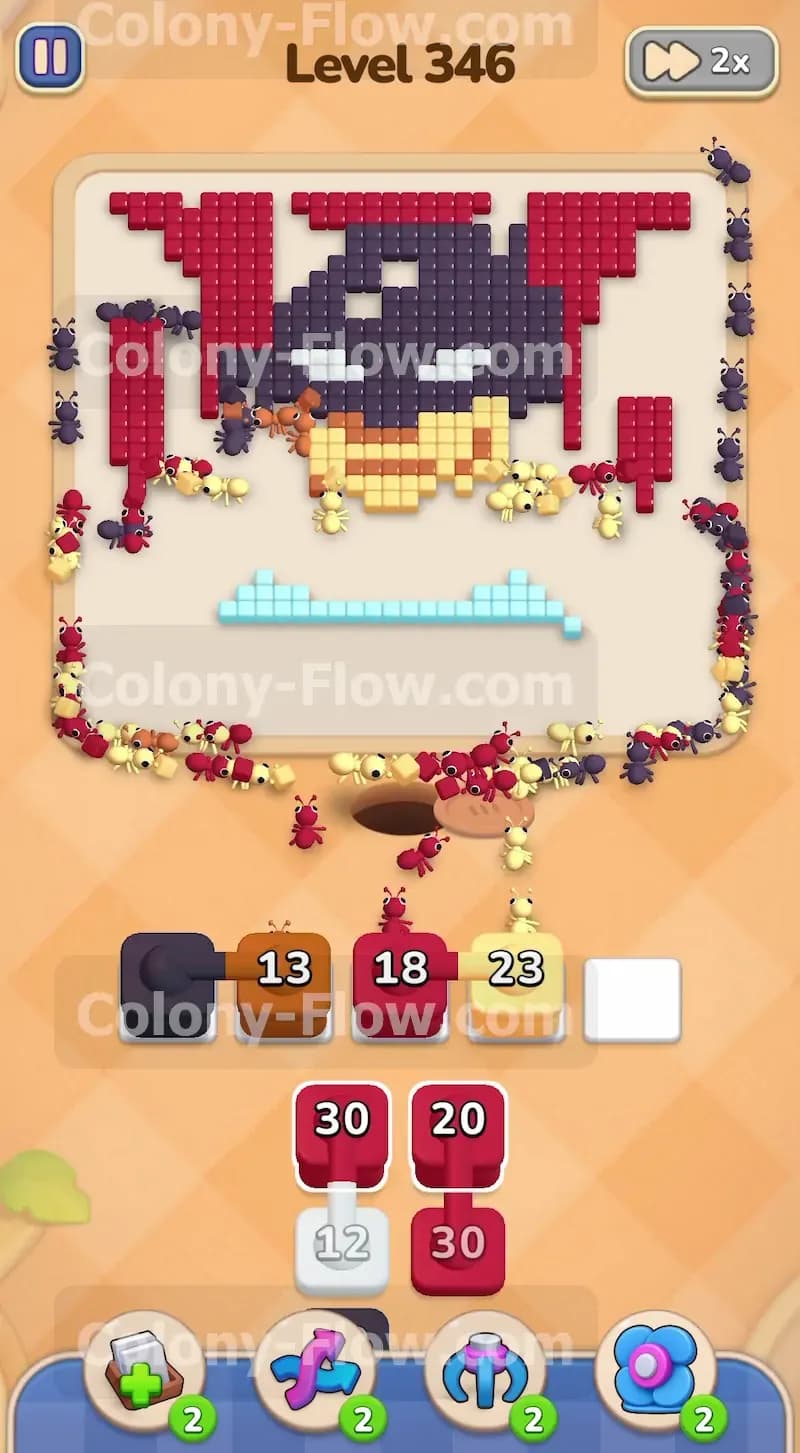
You will see brown vertical sections acting like thick structural pillars on the lower left and right sides of the portrait. Your ants can reach them easily now that the red background and black cowl are mostly out of the way. Tap a twenty brown block from your tray. Drop it in and watch the ants branch out to the sides. They climb over the remnants of the red edges to eat the brown tiles. The brown blocks clear out fast and require very little waiting. Keep your focus on balancing the remaining colors on the board. You might still have a few red or black tiles hanging around the upper corners. Mix in a small red or black block to keep the ants chewing on all fronts.
Step 7: Clear the white eyes and upper black details.
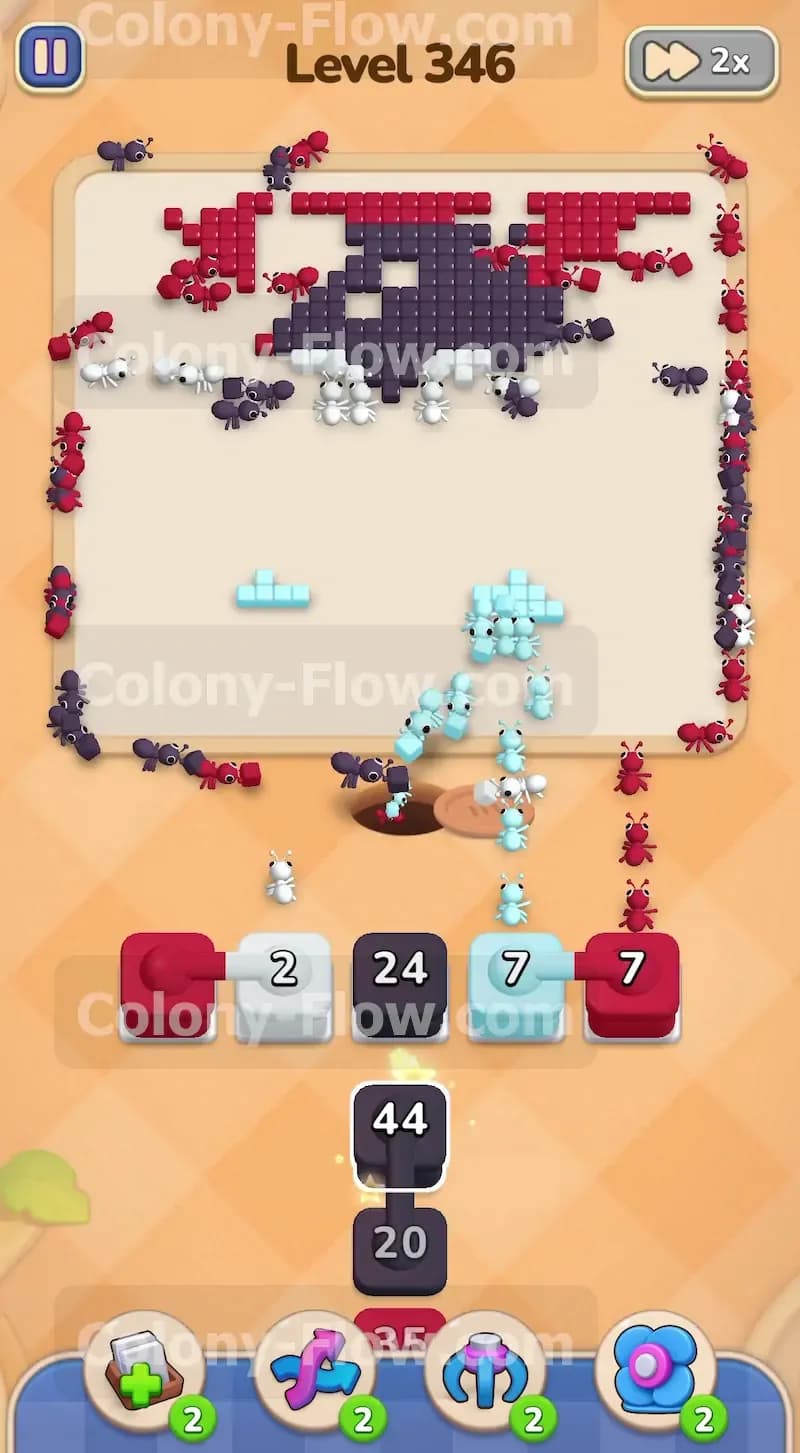
The mask features two small white eyes near the top center of the board. These become accessible very late in the level after the face clears. Tap a twelve white block from the tray. The white blocks carry very small numbers and clear almost instantly. The ants sprint to the top center of the board and consume the white eye tiles in seconds. The rapid clear speed immediately opens that tray slot back up for you. While the ants finish the white eyes you should drop another black block to clean up the very top of the cowl. The board looks quite messy at this stage with scattered patches of color instead of a solid picture. Stay calm and just keep matching the colors of the remaining patches.
Step 8: Clean up the final scattered pieces.
The final phase demands strict attention to your tray capacity. You only have a few scattered light blue red and black tiles left on the board. The tray offers small numbered blocks to match these stragglers. Do not dump them all into the waiting slots at once. Tap one light blue block and wait for the ants to cross the empty board to reach it. Tap one red block and let it drain completely. If you fill all five slots right at the very end you risk a game over just steps away from victory. A stray ant often takes a few extra seconds to cross the large empty space to reach a final tile. Patience guarantees your win here. Watch the last few ants carry away the final tiny pieces of the portrait to finish the stage.
Final Thought
Strict tray management turns this massive numbering challenge into a steady victory. Keep your waiting slots clear and never pull a color your ants cannot touch. Watch the video above this article if you struggle to visualize exactly when to introduce the black and yellow blocks during your playthrough.