Colony Flow Level 568 Walkthrough Solution & Guides | How to solve Colony Flow 568

Guide By Liam Stone
Updated on August 1, 2026
Not in the mood to read? The video above solves Level 568 for you from beginning to end.
Video doesn't match your screen?
Game updates frequently scramble layouts! Try our AI Screenshot Solver first to find your exact board instantly, or report broken guides to our team.
Welcome to Colony Flow Level 568 where we tackle a beautiful mountain landscape. I am Liam Stone and I play every level myself to bring you a completely accurate guide. We need to feed our ants the right colored blocks without jamming our tray. Let me walk you through exactly how I clear this board step by step.
Colony Flow Level 568 Overview
What You Are Working With
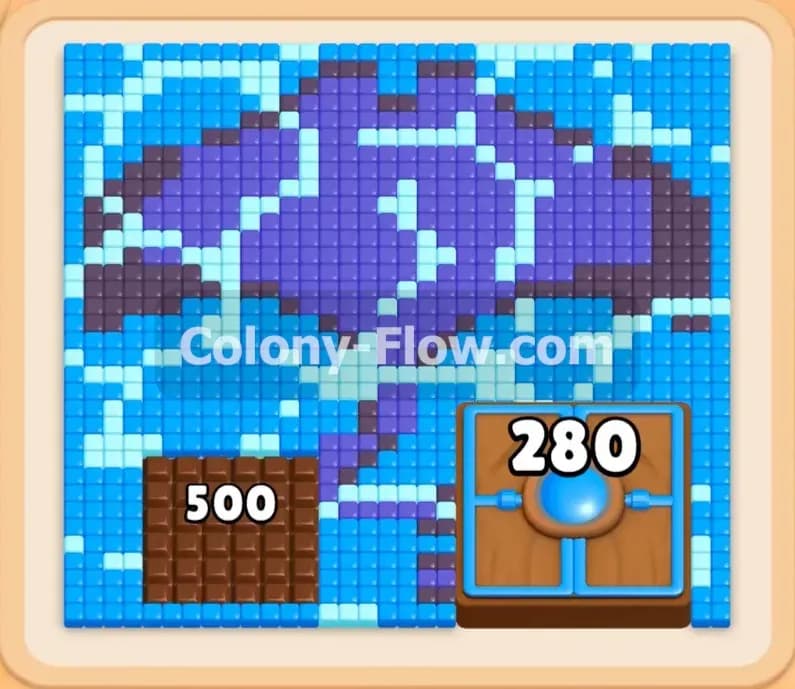
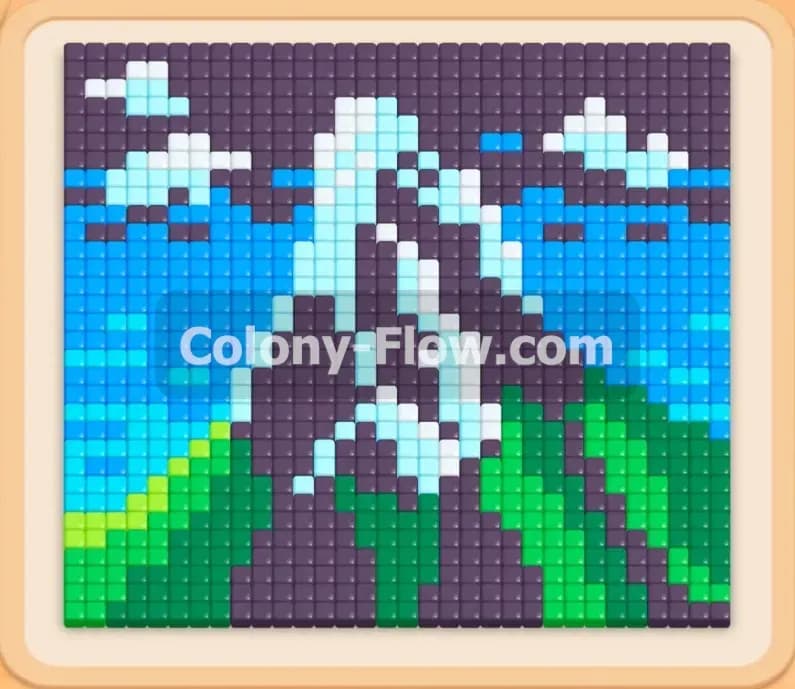
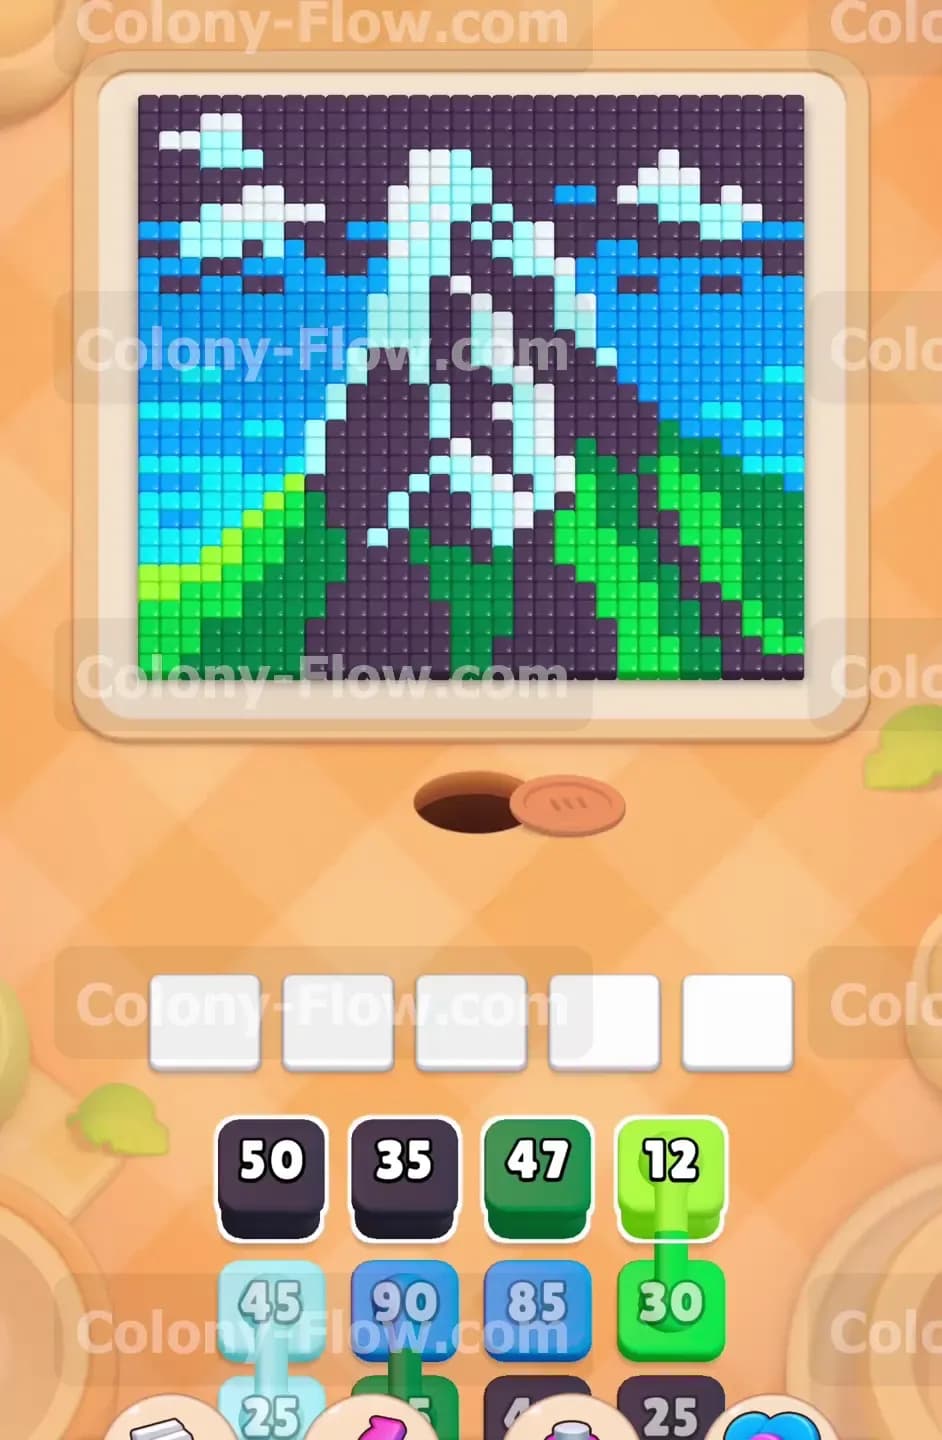
The board displays a gorgeous mountain peak surrounded by clouds and sky. You have a solid dark purple border wrapping around the entire picture. Inside the border you will see a white snow cap on the mountain. Below the snow cap sit dark green and light green sections making up the land. The sky features light blue and medium blue pixels. The tray at the bottom holds numbered blocks in all these matching colors. You also face the connected boxes mechanic on this level. Connected boxes are linked together by a line in the reserve tray. When you pull one you pull them all. They take up multiple waiting slots at once. You must have a clear path for every color in the connected group or you risk jamming your slots.
What It Takes to Clear Level 568 Board
You win when every pixel of the mountain picture is gone and the ants return to their nest. The main challenge is managing your five waiting slots. You must always keep at least one color actively feeding ants. If you fill all five slots with colors that have no open path to the picture you fail the level. You need to systematically break the dark purple border first to let your ants flow inside. Then you carve out the greens and blues while carefully juggling the connected boxes.
Colony Flow Level 568 Step Step Solution
Step 1: Break the outer dark purple border to let the ants inside
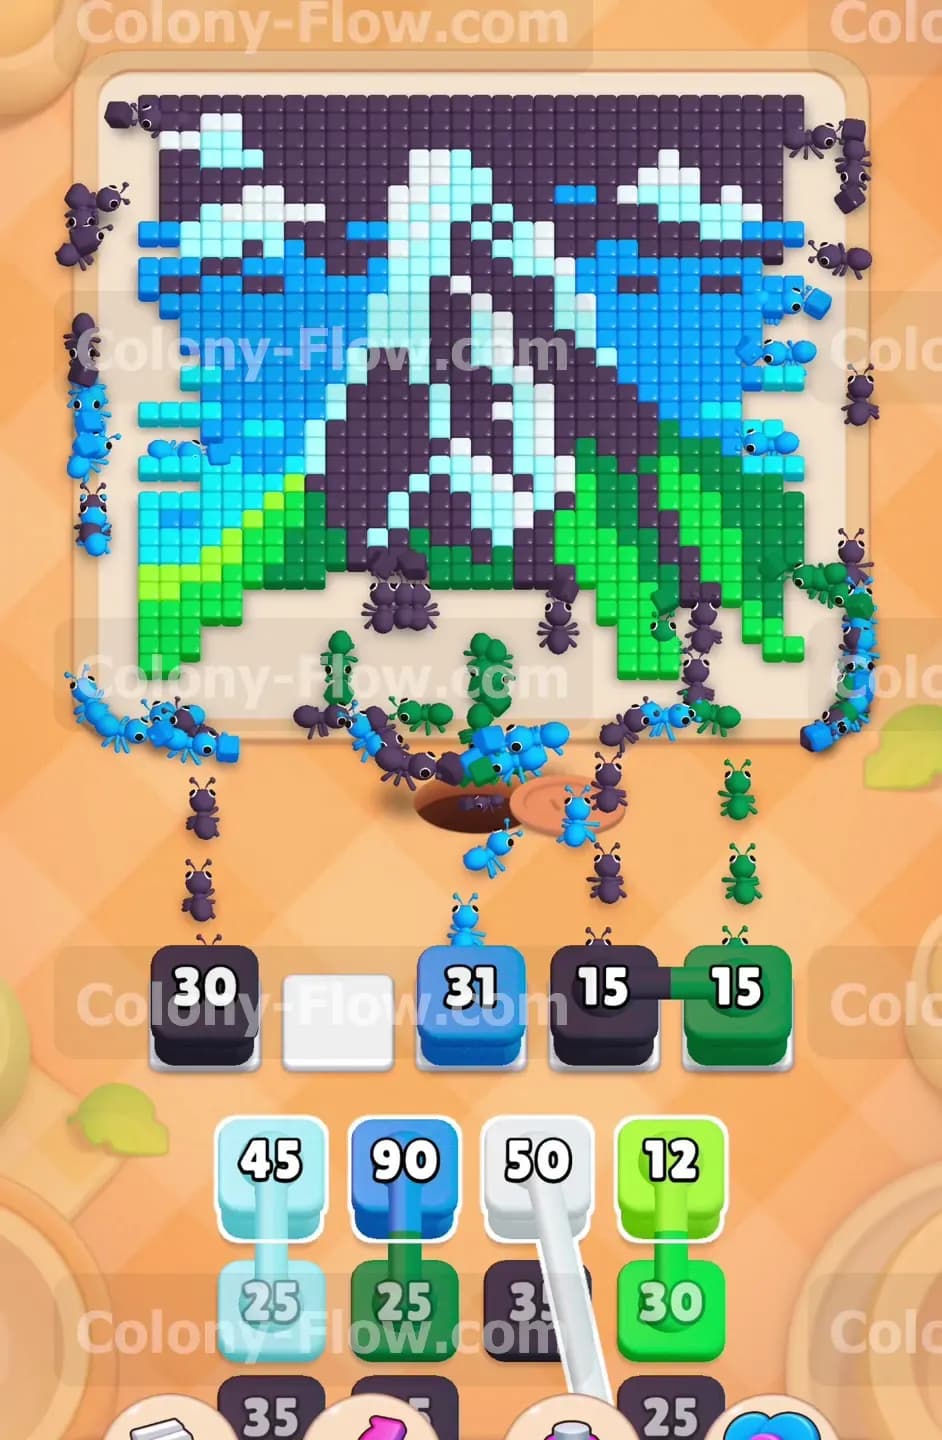
Start by pulling the dark purple blocks from your reserve tray. The mountain picture is completely surrounded by a solid dark purple frame. This frame blocks your ants from reaching the inside colors. Pull the dark purple fifty block and the dark purple thirty five block. The ants will stream out of the nest and begin eating the bottom edge of the frame. This action creates a wide opening at the base of the board. You want this opening to be as large as possible early on. Do not pull any inner colors yet. If you pull a blue or white block right now it will sit in your waiting slot and do nothing. Wait for the ants to finish the bottom dark purple row. Once the bottom border disappears your ants can march upward into the green mountain base and the medium blue water areas. Keep an eye on your slot count. You still have three empty slots to work with.
Step 2: Clear the lower green mountain flanks
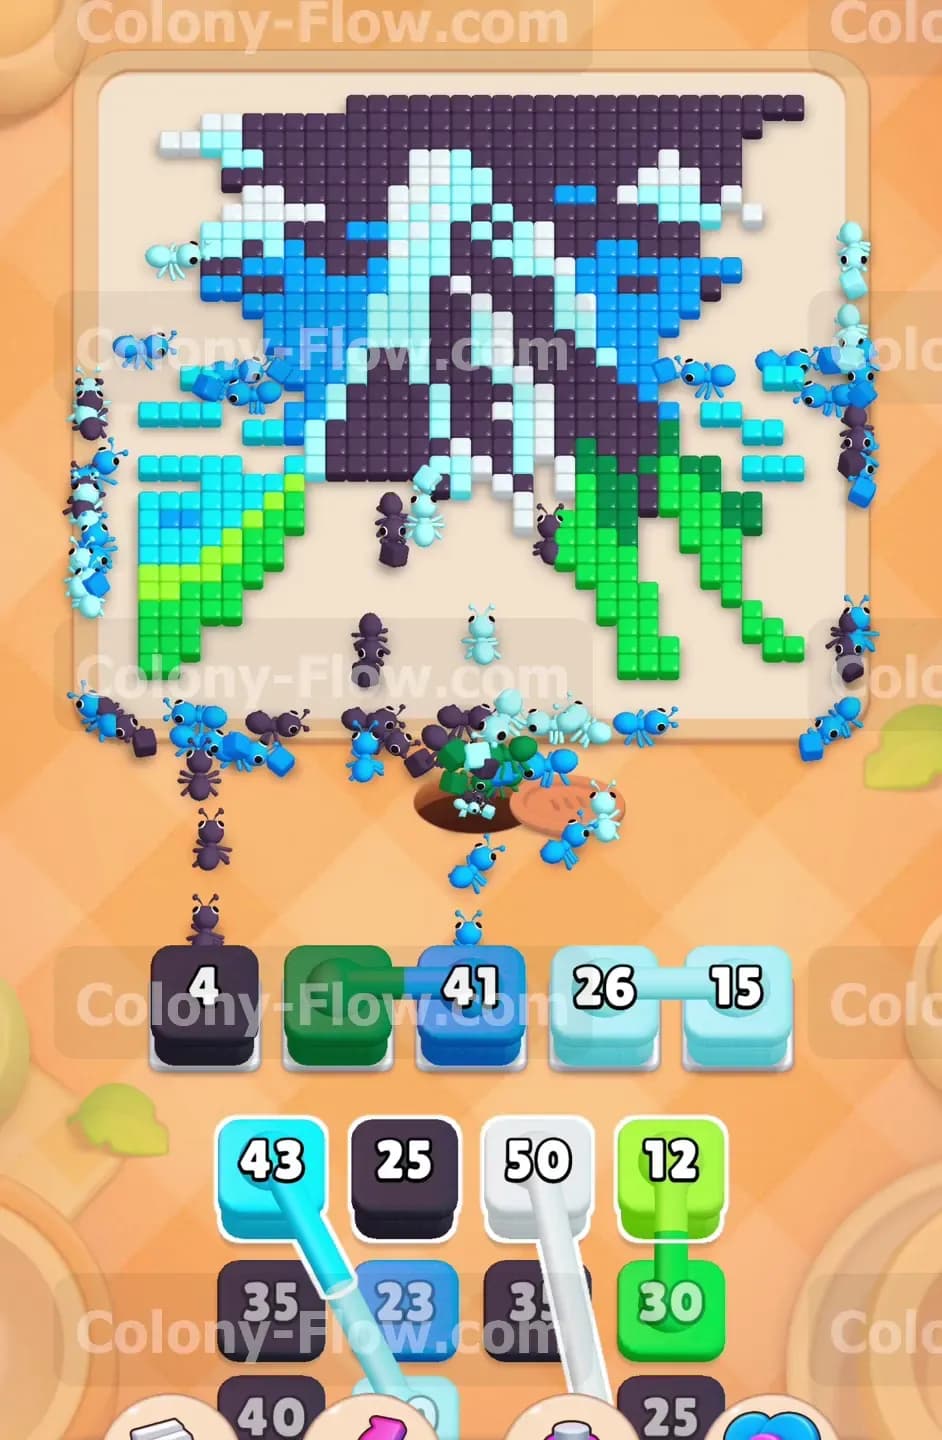
With the bottom border out of the way you can target the base of the mountain. Pull the dark green forty seven block and the light green twelve block. The ants will flow through the gap you just created and attack the green pixels on the lower left and right sides. The light green twelve block will count down quickly and vanish from your tray. This frees up a slot immediately. Pulling these greens early is a very safe move because they sit right at the bottom edge. They have a direct open path. As the dark green block counts down you will see the sides of the mountain start to erode. This erosion exposes the medium blue pixels situated just above the green sections. Always watch how the picture changes shape as the pixels vanish. You are constantly trying to reveal new colors so your next pulls have a valid path.
Step 3: Pull the medium blue blocks to open the lower sky
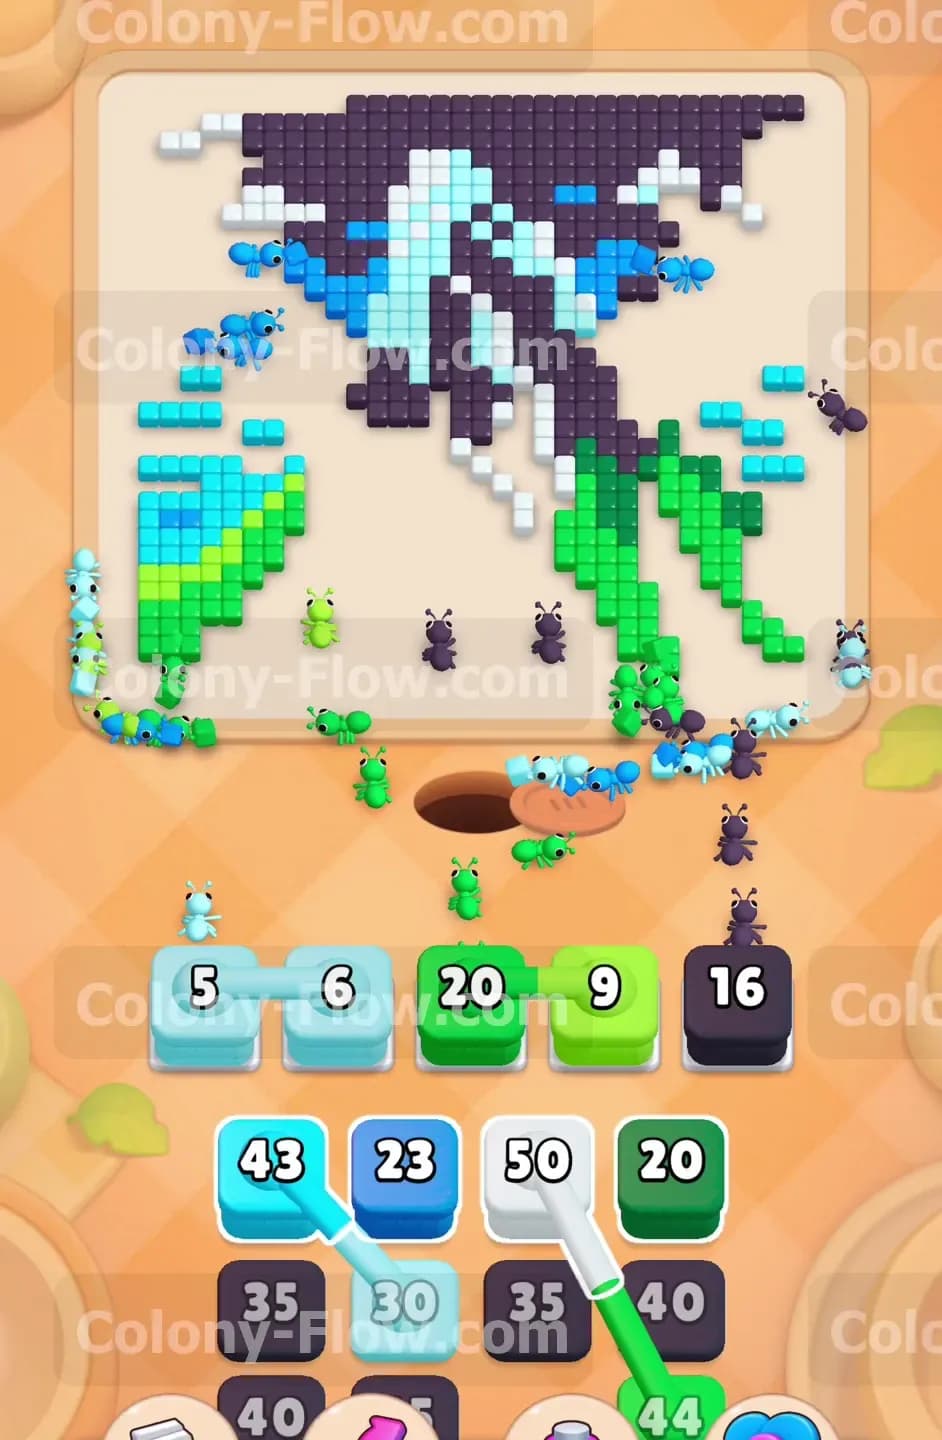
Now that the green base is partially cleared you have a clear shot at the medium blue sections. Pull the medium blue ninety block and the medium blue eighty five block into your waiting slots. These are massive numbers. They will take a long time to count down. This is why having five slots is so forgiving if you manage them well. The ants will bypass the remaining green pixels and swarm the medium blue areas on both sides of the mountain. Because these blue numbers are so high you must make sure you do not clog your remaining slots with unusable colors. Let the ants work on the blue pixels for a while. You will notice the blue sections wrap around the middle of the picture. Clearing them gives you access to the light blue sky and the white snow peak.
Step 4: Manage your first connected boxes safely
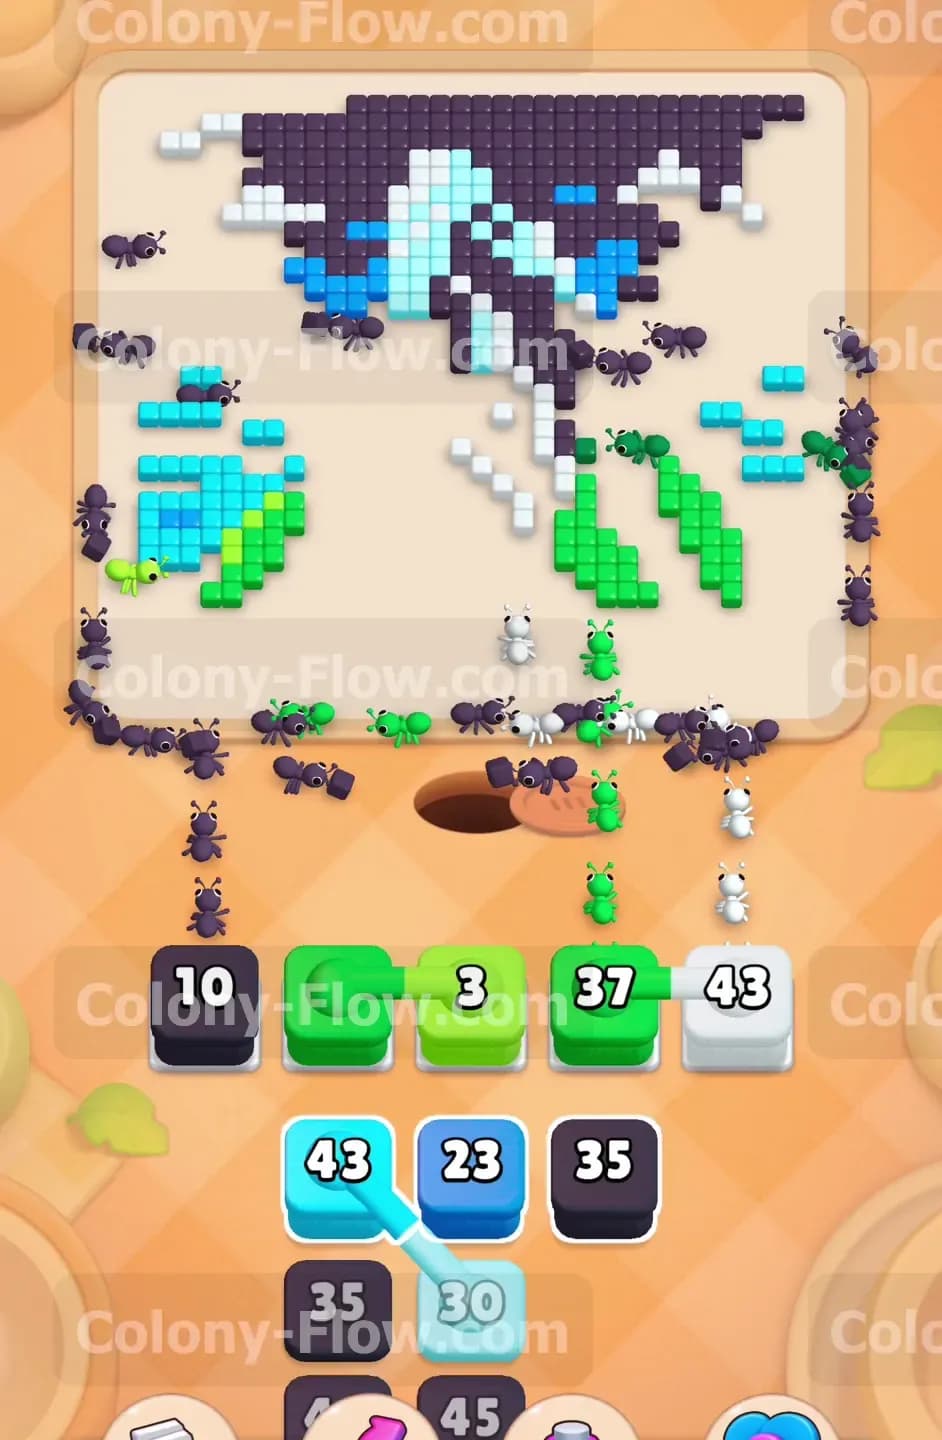
You will soon encounter your first set of connected boxes in the reserve tray. You will see a white block connected to a light blue block by a thick line. You cannot pull one without the other. Before you drag them up to your waiting slots you must verify that both white and light blue pixels are exposed on the board. Look at the edges of the picture where your ants are currently eating. If the medium blue blocks from the previous step have opened a path to the white snow cap and the light blue sky then you are safe to proceed. Pull the connected group. The white fifty block and the light blue twenty five block will snap into your slots together. The ants will immediately split up. One group will head for the white snow on the mountain peak while another group targets the light blue sky on the left. This dual action is incredibly satisfying to watch and keeps your board moving smoothly.
Step 5: Chip away at the remaining green sections
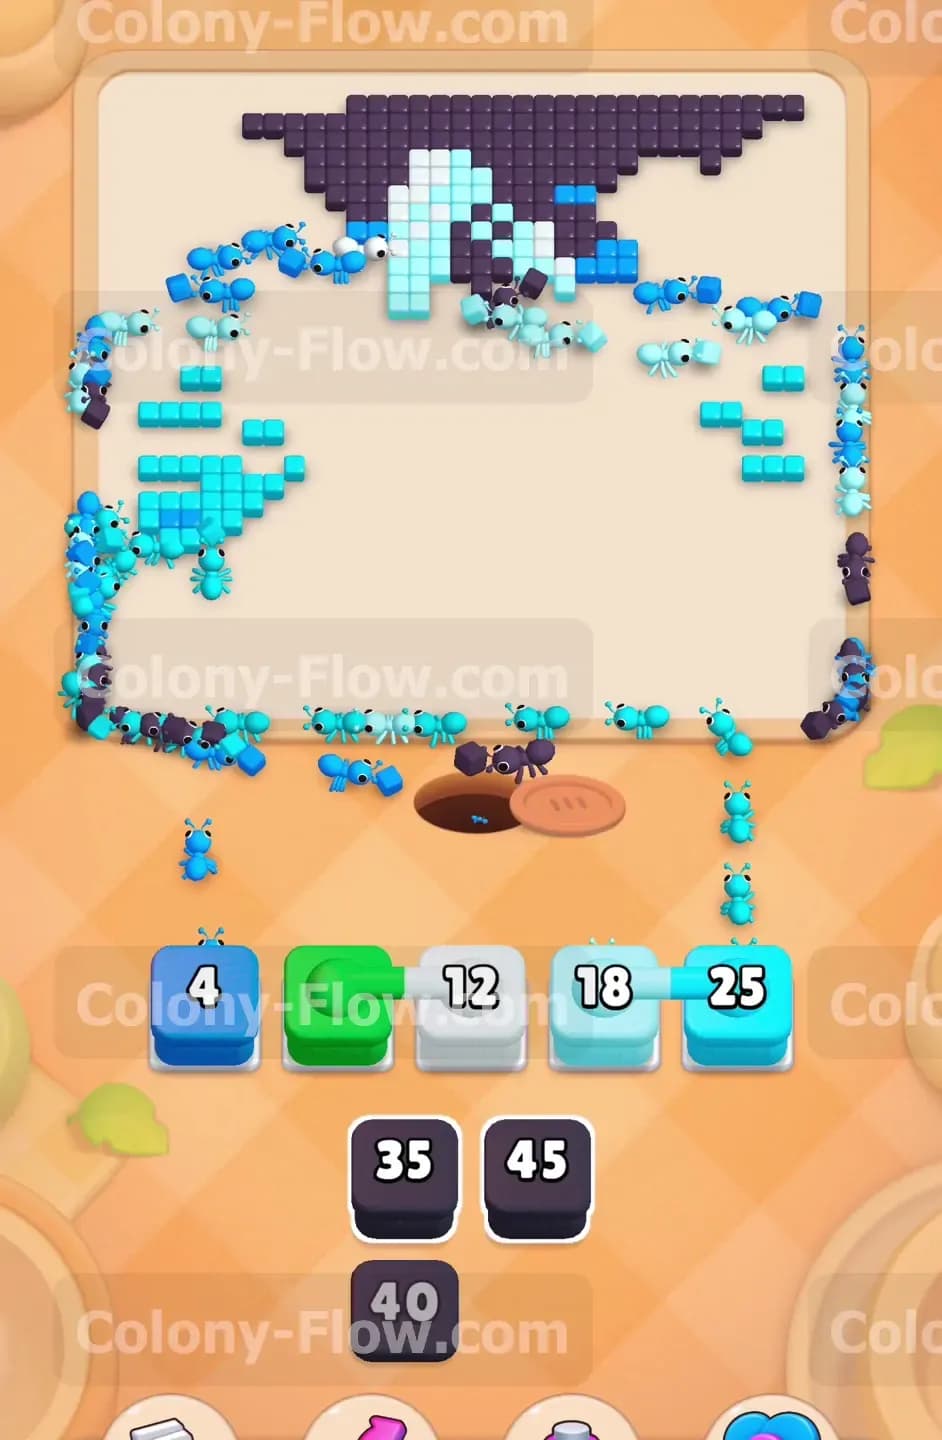
While your ants are busy with the white and light blue pixels you will have empty slots available. Use them to finish off the green parts of the mountain. Pull the next dark green and light green blocks from your reserve. You might find a dark green twenty five block and a light green thirty block waiting for you. Pull them up. The ants will find their way around the working groups and finish clearing the lower flanks. Removing the rest of the green is crucial because it opens up the extreme left and right edges of the dark purple border. You need those edges exposed for the final stages of the level. Whenever a block finishes counting down and disappears it feels like a small victory. It means you have successfully managed your space and kept the flow alive.
Step 6: Handle the complex connected boxes in the middle game
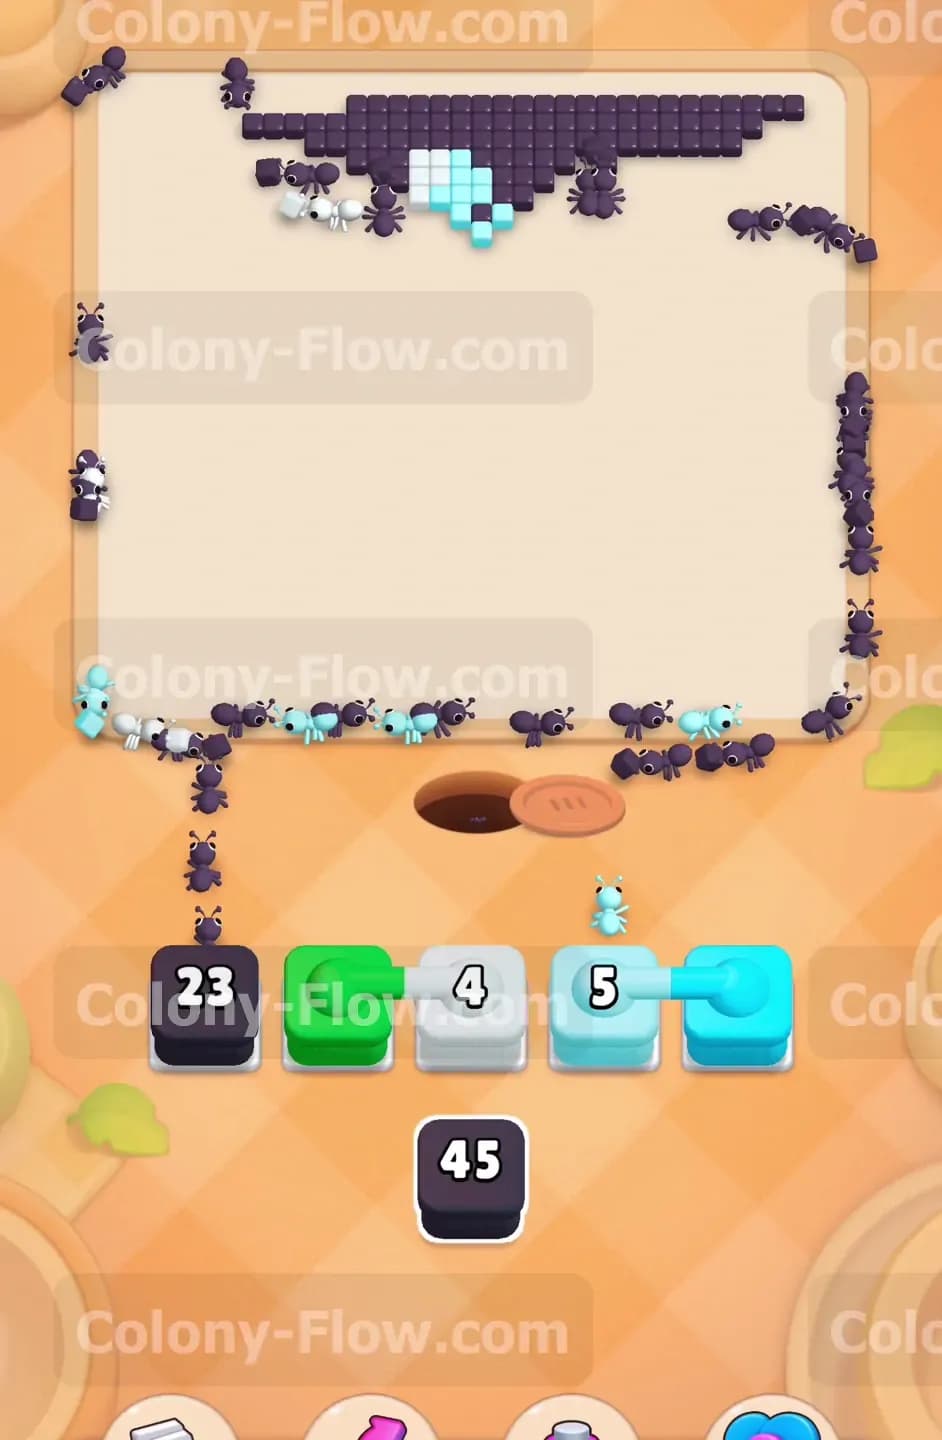
As you push past the halfway point the reserve tray gets more complicated. You will see more connected boxes. One notable pair is a light blue forty three block linked to a dark purple thirty five block. This is a tricky combination. You must ensure you have dark purple pixels exposed somewhere on the board. Thankfully you exposed the side edges of the dark purple border in the previous step. Pull this connected pair. The light blue block will send ants to finish the sky while the dark purple block will send ants to chew on the sides of the frame. This move is a perfect example of keeping multiple paths active. If you had pulled this pair too early the dark purple block would have jammed a slot because the bottom border was already gone and the side borders were blocked by green. Timing your pulls based on what is currently exposed is the entire secret to winning.
Step 7: Clear the white snow peak entirely
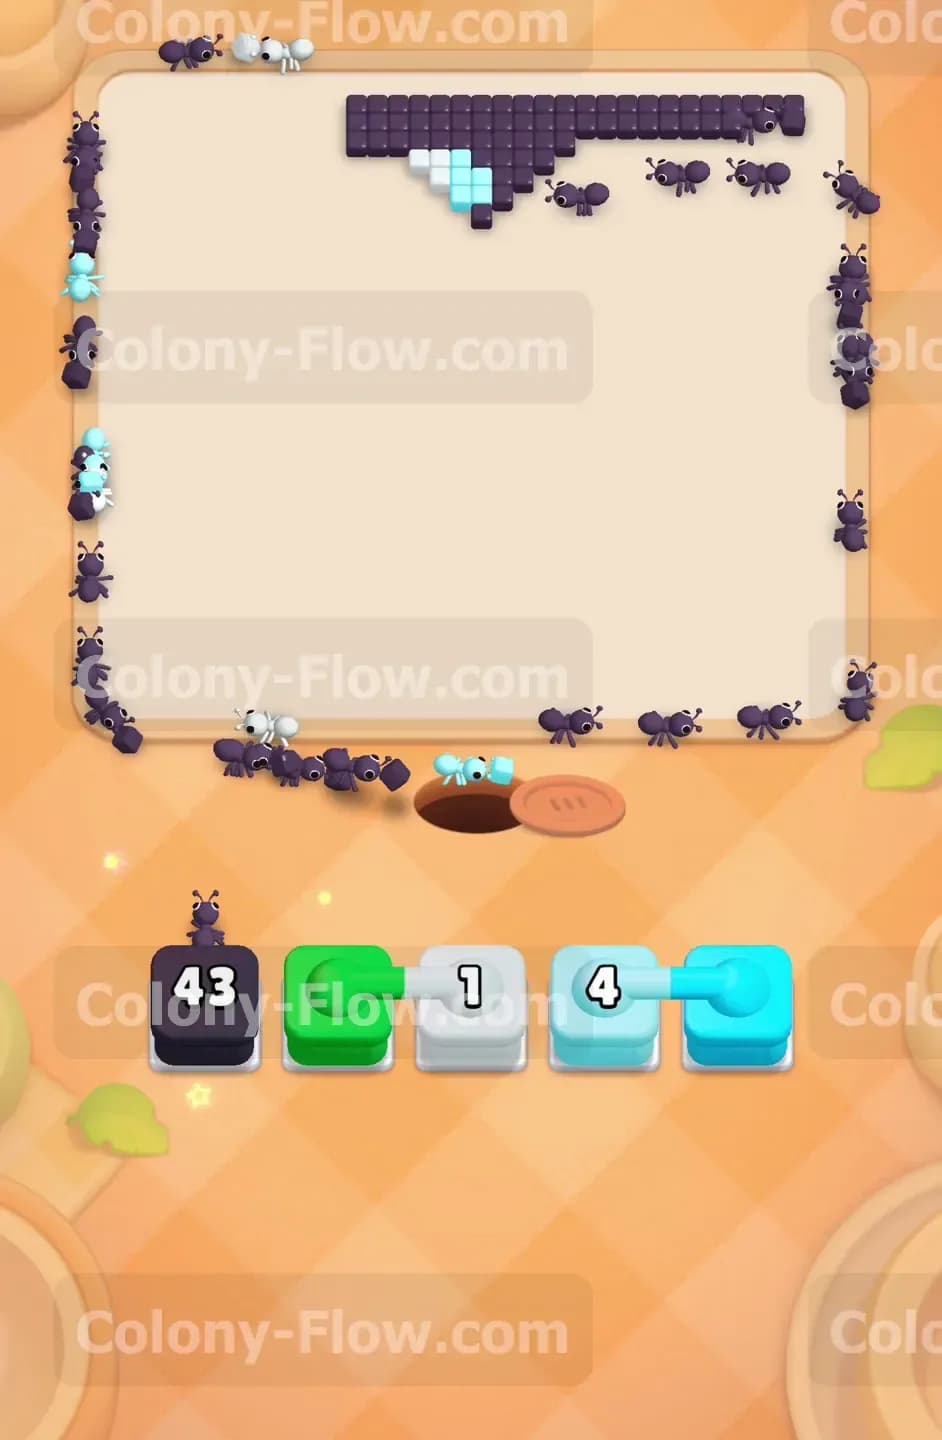
With the sides clearing out you can focus on the center of the picture. The white snow peak needs to go. You will likely pull a white forty three block or a white fifty block depending on your exact tray order. Bring it up into an empty slot. The ants will march straight up the middle of the board. They will devour the white pixels forming the mountain cap. As the white vanishes the dark purple pixels at the very top of the mountain become exposed. This is exactly what you want. You are funneling the ants higher and higher. You are creating a clear channel from the nest hole all the way to the top edge of the board. Never rush to pull blocks if you do not have an open path. Patience will save you from a frustrating loss.
Step 8: Sweep up the final light blue sky pixels
The board is looking very sparse now. Only scattered light blue pixels and the top dark purple border remain. Your reserve tray will offer a few more light blue blocks. You might see a light blue eighteen block and a light blue twenty five block. Pull them into your waiting slots. The ants will travel up the sides and clean out the last bits of the sky. Watch the counter on these blocks drop. When they hit zero your board will contain nothing but dark purple. You have successfully isolated the final color. This is the safest position to be in. You have plenty of empty slots and only one color left to manage.
Step 9: Eliminate the top dark purple border to win
The grand finale is here. The entire top section of the board is a thick band of dark purple. Your reserve tray contains a series of dark purple blocks. You might see a forty five block followed by a forty block. Pull them up one by one. The ants will flood the top edge and rapidly consume the remaining pixels. Because the entire top is dark purple there is absolutely no risk of a dead end. Every single ant that leaves the nest has a valid target. Just sit back and watch the numbers count down. The last dark purple block will hit zero and vanish. The final pixels will disappear from the screen. The remaining ants will scurry back into the nest hole. The board is perfectly clean and you have beaten the level.
Final Thought
This level is a fantastic test of how well you can manage connected boxes and open paths. I hope this walkthrough helps you master the mountain landscape without clogging your waiting slots. Be patient with your pulls and always look for the exposed colors before you commit to a connected pair. If any of these movements seem hard to visualize in text I highly encourage you to watch the video above this article.