Colony Flow Level 373 Walkthrough Solution & Guides | How to solve Colony Flow 373

Guide By Liam Stone
Updated on July 18, 2026
The video above has you covered on Level 373, so skip the text if you'd rather watch it play out.
Video doesn't match your screen?
Game updates frequently scramble layouts! Try our AI Screenshot Solver first to find your exact board instantly, or report broken guides to our team.
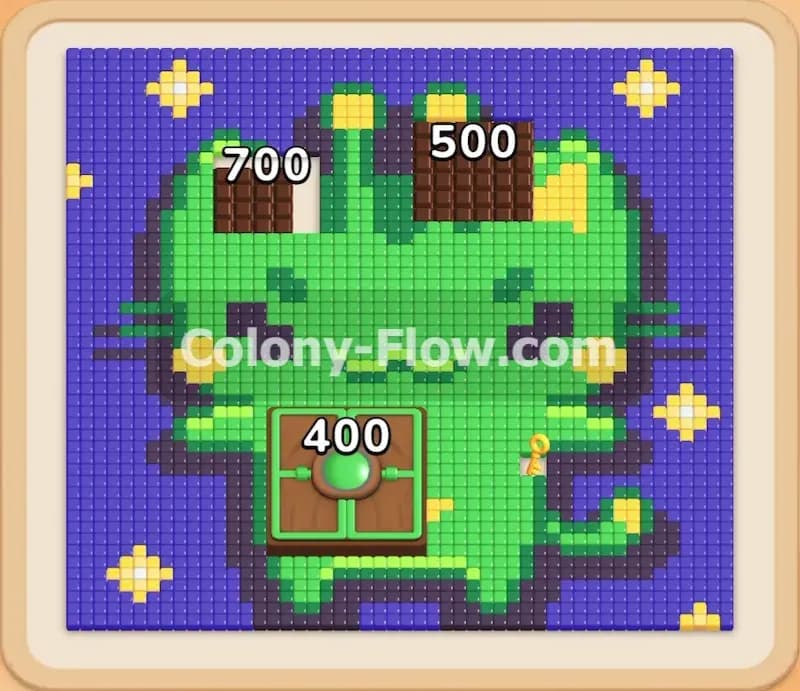
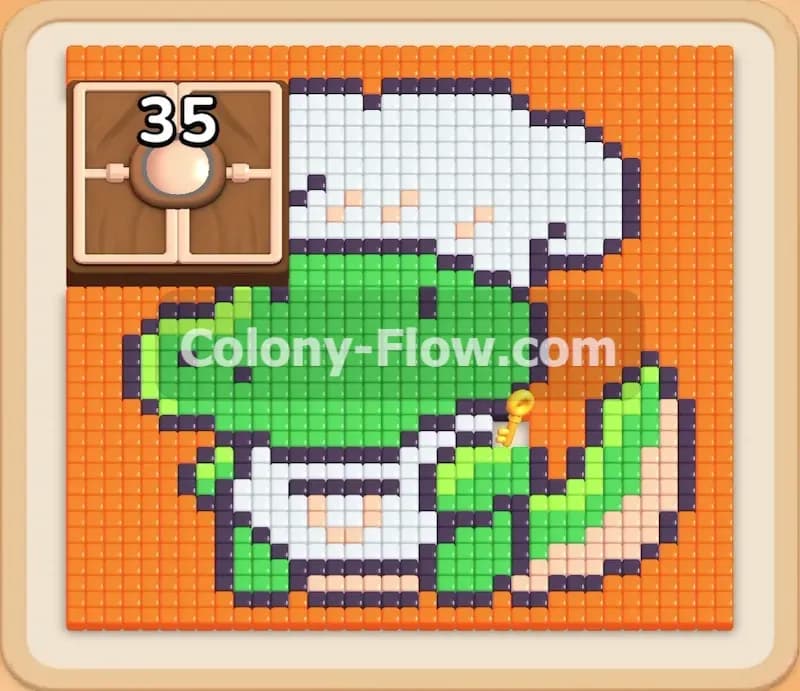
Welcome to Colony Flow Level 373. This puzzle features a giant green frog face with a massive red smile and a bright yellow collar. You will need to carefully manage connected boxes in your tray to avoid filling your waiting slots and ruining your run. Let me walk you through exactly how to clear this board and finish the picture without getting stuck.
Colony Flow Level 373 Overview
What You Are Working With
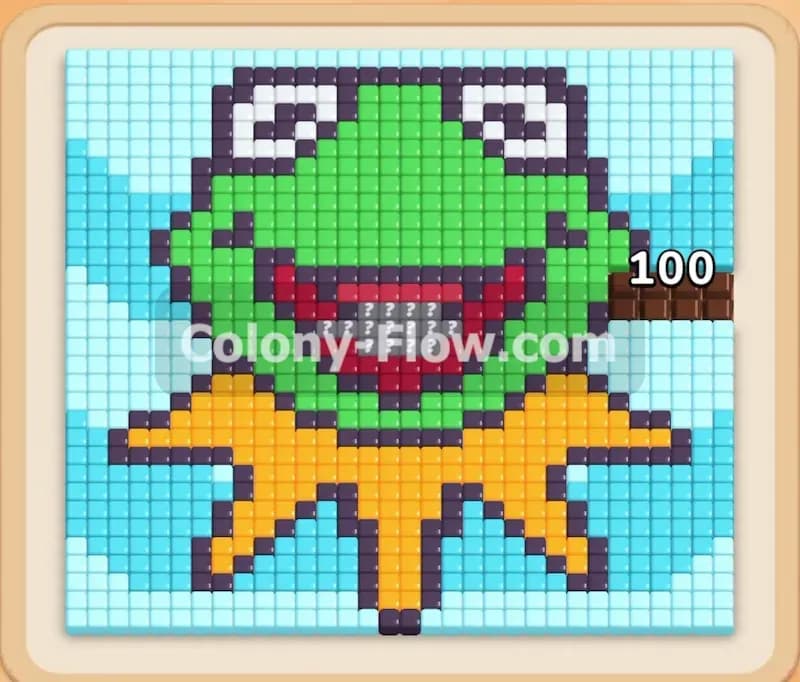
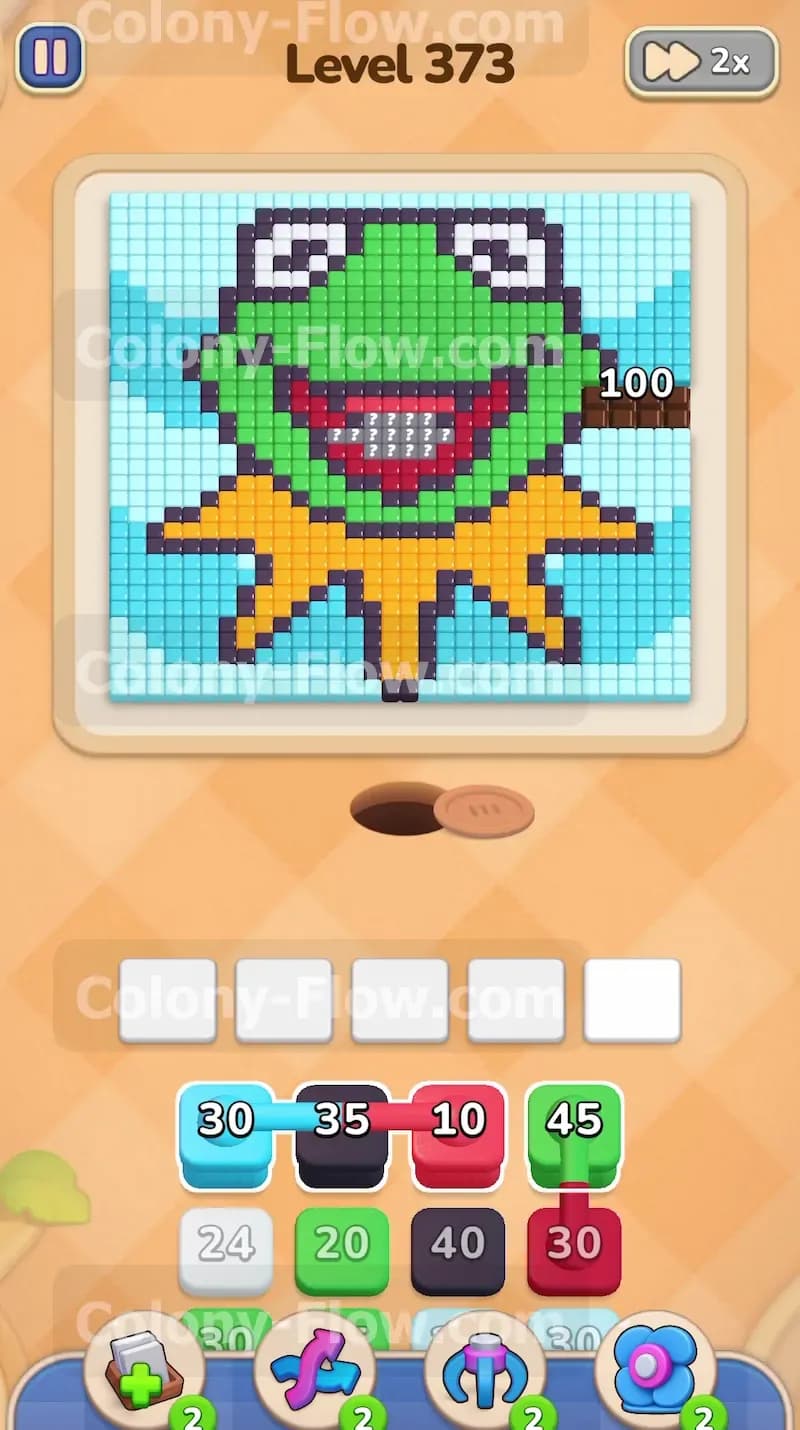
The pixel art picture at the top of your screen is a colorful frog character. You will immediately see a large green head with big white eyes and dark black pupils. Below the eyes sits a wide red mouth hiding a bright pink tongue. A spiky yellow collar wraps around the bottom of the neck. Large chunks of light blue tiles fill the empty background space on the left and right sides of the frog. Down in your tray at the bottom of the screen you have individual colored blocks and several connected boxes. Connected boxes link two colors together with a solid line. When you tap one side of a connected box both blocks jump up to your waiting slots at the same time. This is the main obstacle you must handle on this board.
What It Takes to Clear Level 373 Board
You win the level when every single colored tile is eaten by your ants and the picture is completely gone. You feed the ants by pulling numbered blocks from the tray that perfectly match the tile colors on the board. The numbers printed on the blocks count down as the little ants stream out of the nest hole to eat. You have exactly five waiting slots located just above the tray. You lose the level entirely if all five slots fill up and no ants can reach the board to eat anything. You must always keep at least one open path on the picture so your blocks can continuously deploy ants and empty out your slot space. Every move you make must focus on preventing a dead end.
Colony Flow Level 373 Step by Step Solution
Step 1: Pull the black blocks to breach the outer boundary.
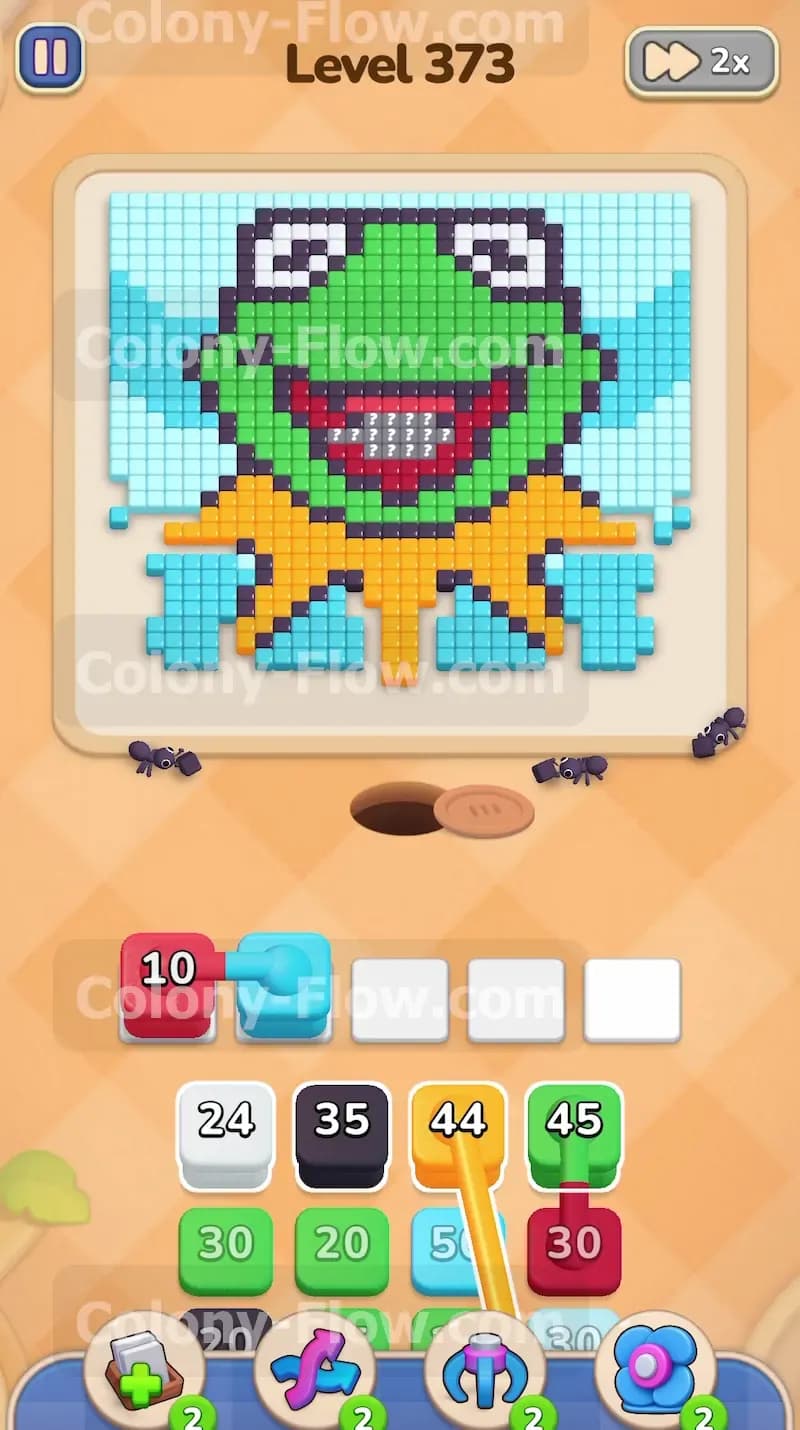
You need to break through the outer shell of the picture to get your ants inside the main structure. Start by pulling a black block from your tray to target the bottom outline. The black ants will stream out of the central nest hole and march straight up to the very bottom edge of the picture. They will begin eating away the black outline that forms the lower boundary of the yellow collar. Since black is the only color exposed to the open board right now playing any other color will just clog your waiting slots. If you fill all five slots with colors that cannot move you will instantly fail. Make sure you only pull black blocks or a connected box that includes a black half. The number on the black block will steadily drop as every single ant finds a piece of the outline to consume.
Step 2: Feed the yellow ants to clear the spiky collar.
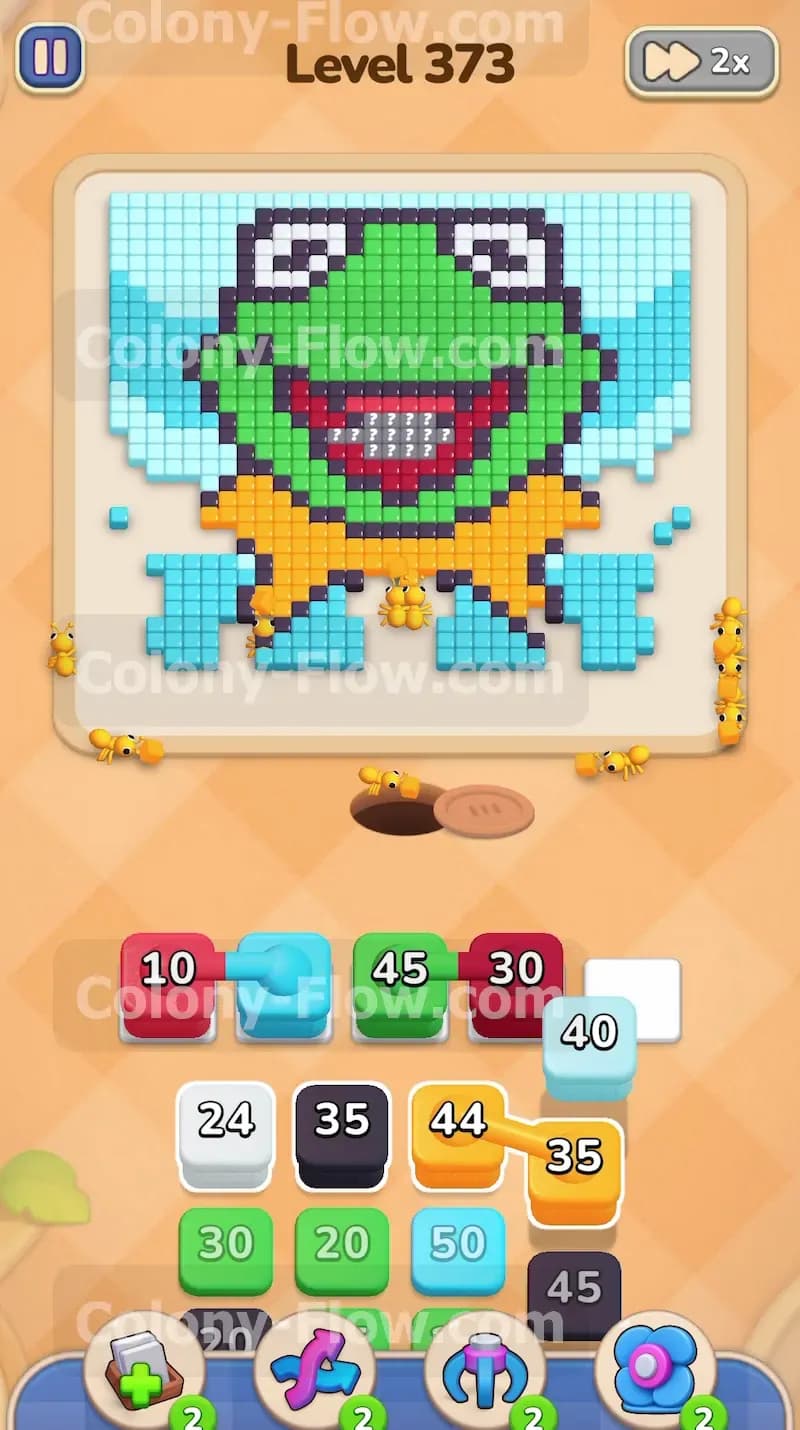
Once the black ants eat completely through the bottom outline the yellow tiles become available to your ants. Now you can safely pull your yellow blocks from the tray. The yellow ants will rush out and start clearing the large zigzag collar located just below the frog face. Clearing this collar is a massive advantage because it opens up multiple new paths all at once. The left and right edges of the collar touch the light blue background tiles while the top edge touches both the green face and the bottom of the red mouth. This single move gives you plenty of options to play three different colors safely.
Step 3: Manage your connected boxes using the light blue background.
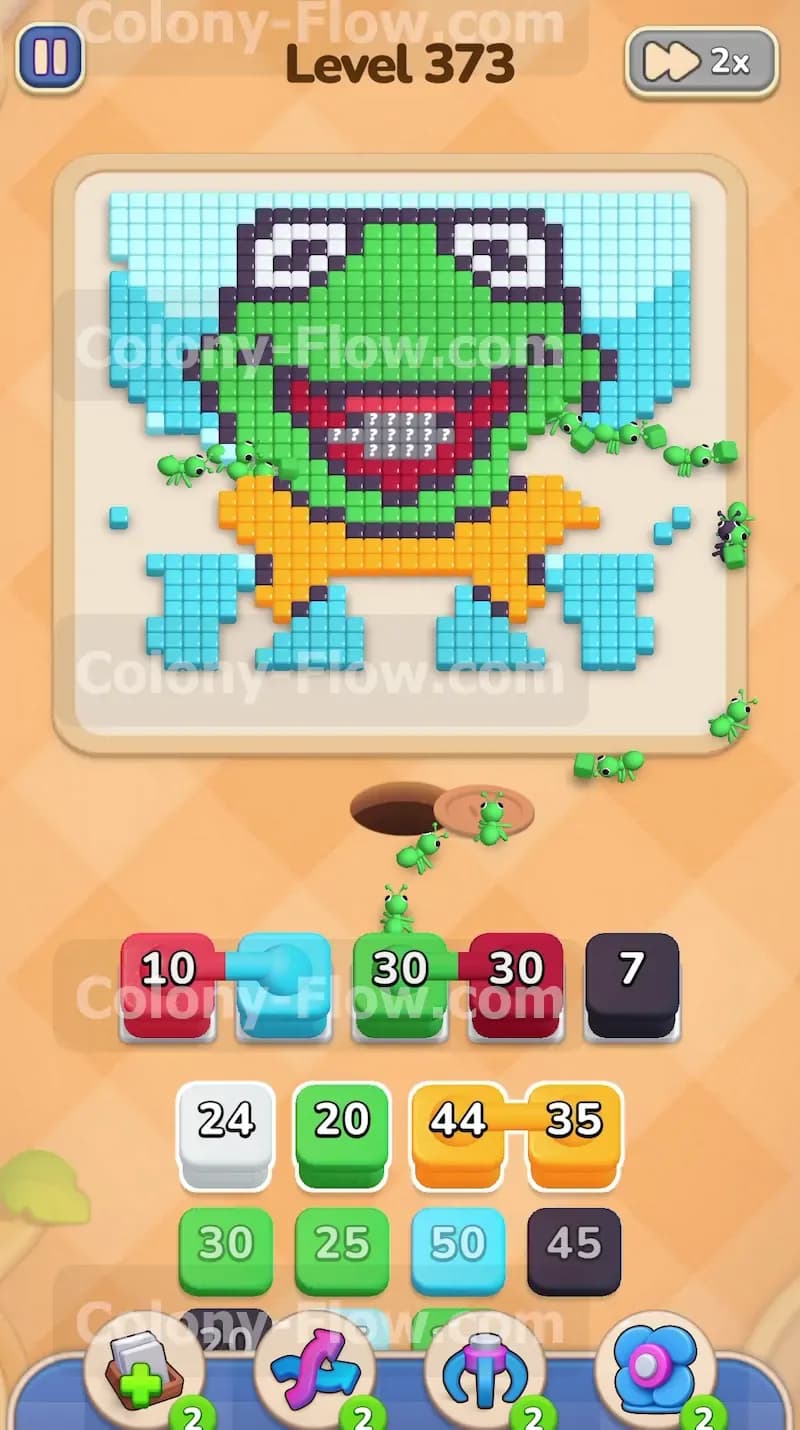
With the yellow collar completely gone you finally have access to the light blue background sections. Look down at your tray and find the connected boxes that pair light blue with another color like red or green. Pull these connected boxes up into your waiting slots now. The light blue ants will immediately start eating the outer background chunks. The other half of the connected box will sit in your waiting slot for just a moment. Because the yellow collar previously opened the path to the red mouth and the green face that second block will also start deploying ants right away. This clever strategy keeps your waiting slots perfectly clear and keeps the blocks flowing.
Step 4: Clear the wide red mouth to expose the hidden tongue.
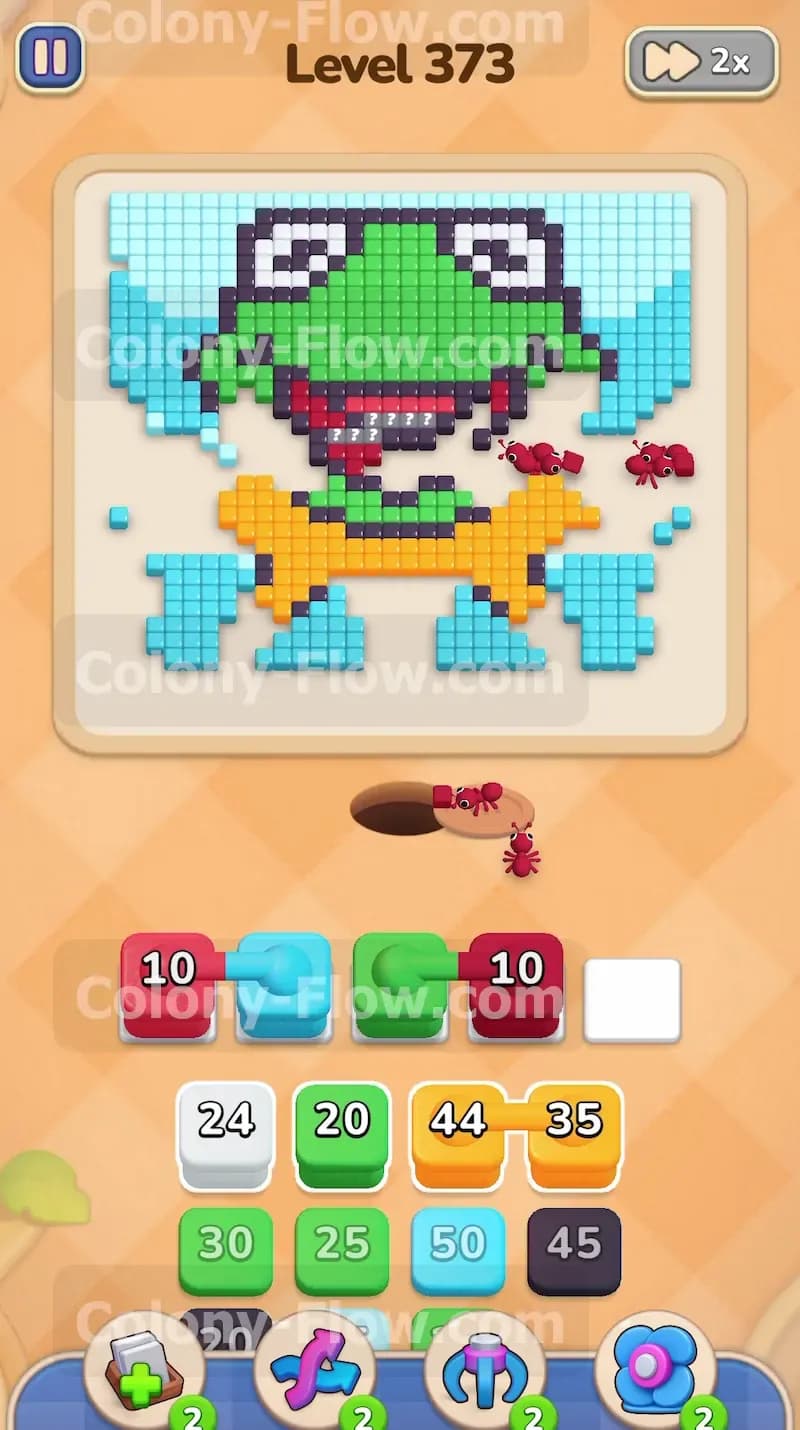
The bright red tiles of the mouth are fully exposed now and ready to be cleared. Pull your red blocks into the open waiting slots. The red ants will climb directly up through the gap left by the yellow collar and eat away the giant smile. Watch the numbers on your red blocks count down to zero as the tiles vanish from the board one by one. Clearing the red tiles will slowly reveal the pink tongue tiles hiding inside the mouth. It also opens a fresh path to the upper black outline of the mouth. You now have plenty of breathing room to pull even more connected boxes from the tray without any fear of dead ending the board. Having these wide open spaces is exactly what you need to manage the heavy block flow in the later stages.
Step 5: Send in the green ants to devour the lower jaw.
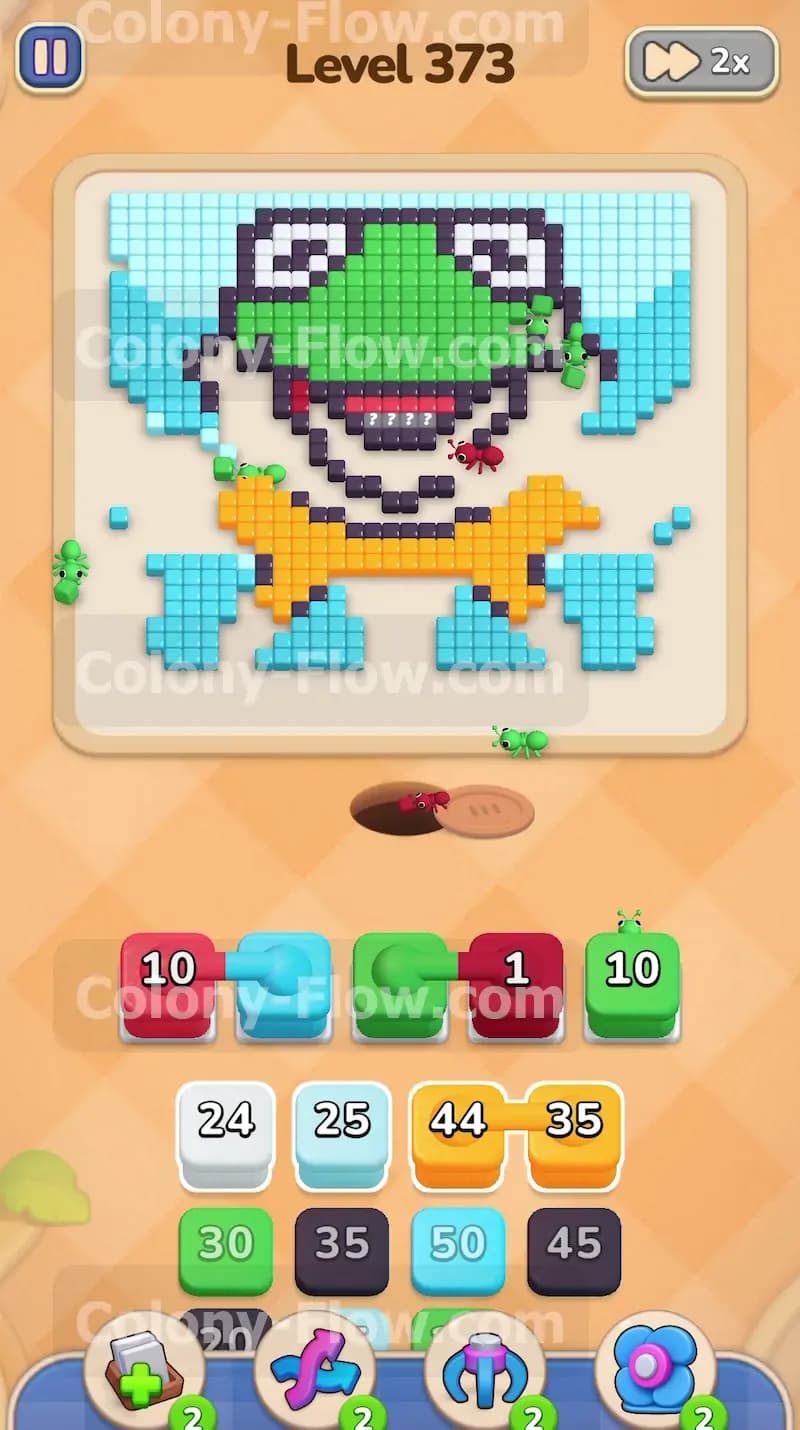
The green tiles make up the absolute largest section of this entire puzzle. Now that the mouth and collar are out of the way you have a massive open border on the bottom of the green face. Start feeding your green blocks from the tray up into the slots. The green ants will swarm the lower half of the face and slowly work their way up the cheeks. Keep pulling green blocks whenever they appear in your tray. If a green block is connected to a black block you should pull it immediately. The green ants will eat the face while the black ants clean up the internal outlines around the mouth.
Step 6: Push the green ants toward the upper head and eyes.
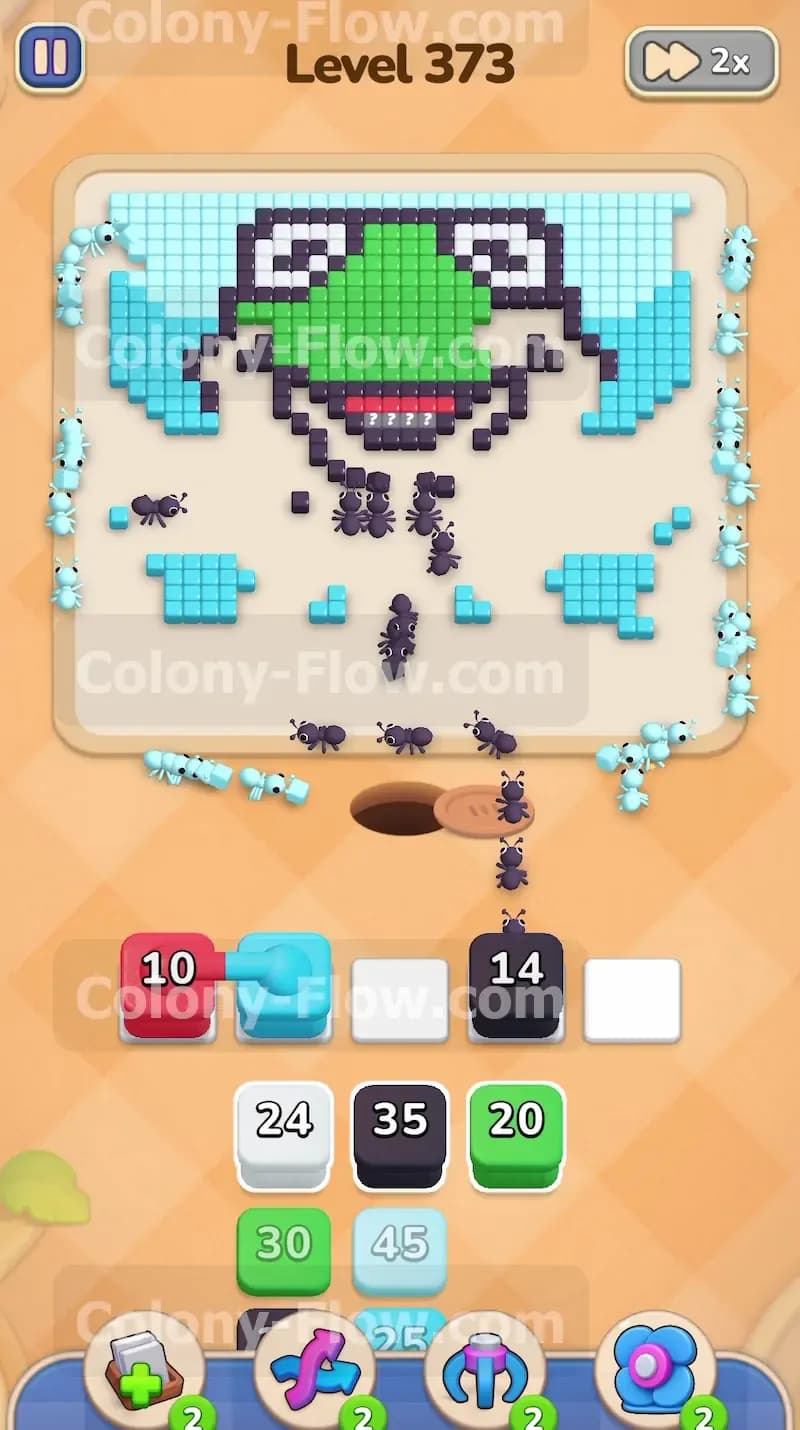
You need to keep the momentum going by feeding more green blocks to clear the top half of the head. As the lower face disappears the green ants will march higher and higher up the screen. They will eventually surround the big white eyes at the very top of the picture. You must wait until the green ants have completely cleared a clean path to the white tiles before you even think about pulling any white blocks. If you pull a white block too early it will sit entirely stuck in your waiting slot and threaten to end your game. Be patient and let the green ants finish their job first.
Step 7: Clear the white eyes and black pupils.
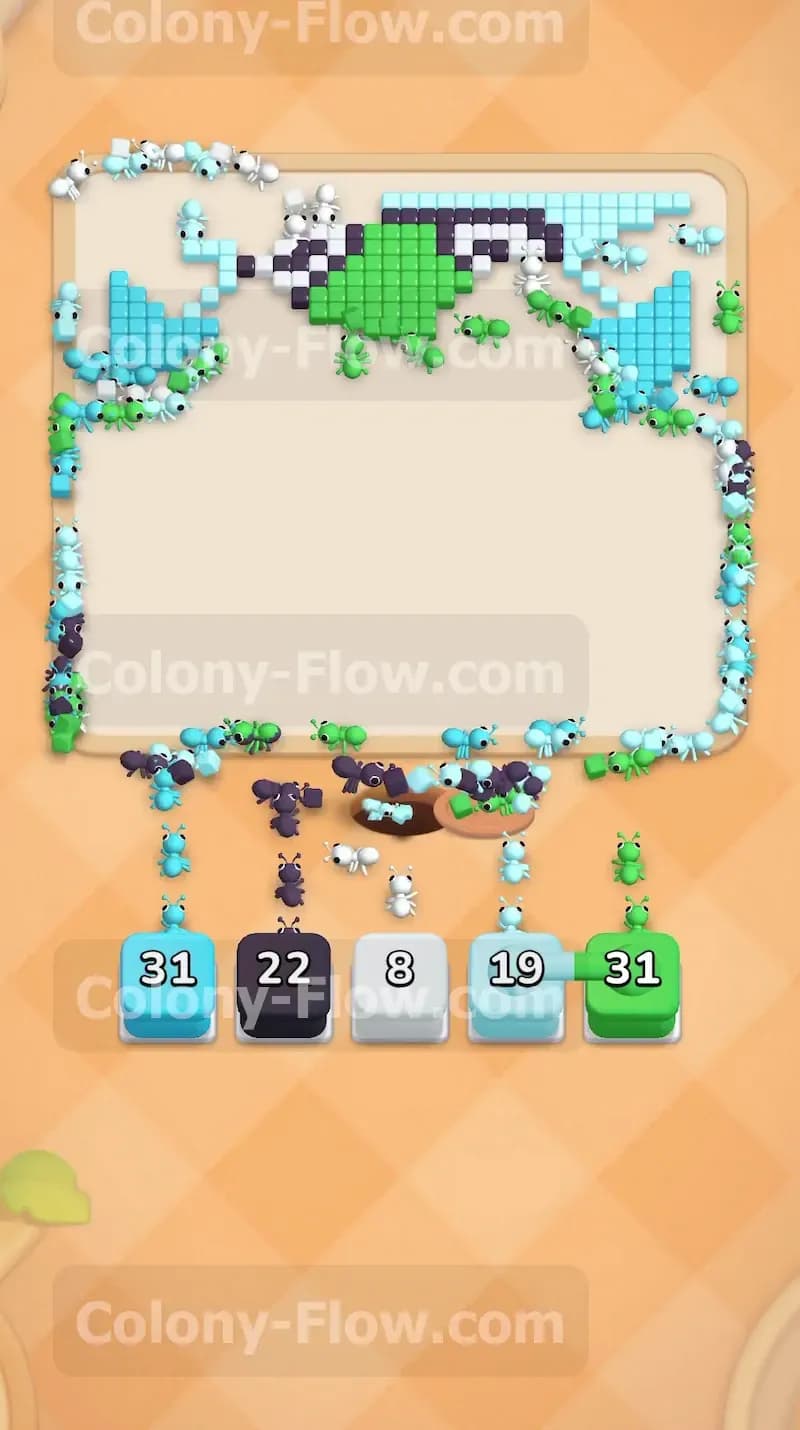
Once the green ants clear the area around the eyes you can finally bring up the white blocks. The white ants will run up the board and eat the outer white parts of the eyes. This action directly exposes the dark black pupils sitting in the center. Pull a black block into your waiting slots to let the black ants finish off the pupils and the very top black outline of the head. Your board will start looking very empty at this stage and your victory is incredibly close.
Step 8: Clean up the remaining chunks to finish the board.
You will likely have a few scattered light blue and green tiles left on the far edges of the screen. Look closely at the remaining blocks in your tray and pull the exact colors you need to match those final pieces. By this point your waiting slots should be entirely empty and completely safe from jamming. The final few ants will run up the board and eat the last remaining colored pixels of the picture. The board will fully clear and you will easily win the level.
Final Thought
That is exactly how you beat this stage without jamming your waiting slots. Planning your connected boxes around the large green and light blue sections makes a huge difference in keeping the board flowing. If you have any trouble visualizing the order of these moves I highly encourage you to watch the video above this article to see the exact block sequence in action.