Colony Flow Level 217 Walkthrough Solution & Guides | How to solve Colony Flow 217

Guide By Liam Stone
Updated on July 13, 2026
Reading not your style? The video above shows exactly how to beat Level 217.
Video doesn't match your screen?
Game updates frequently scramble layouts! Try our AI Screenshot Solver first to find your exact board instantly, or report broken guides to our team.
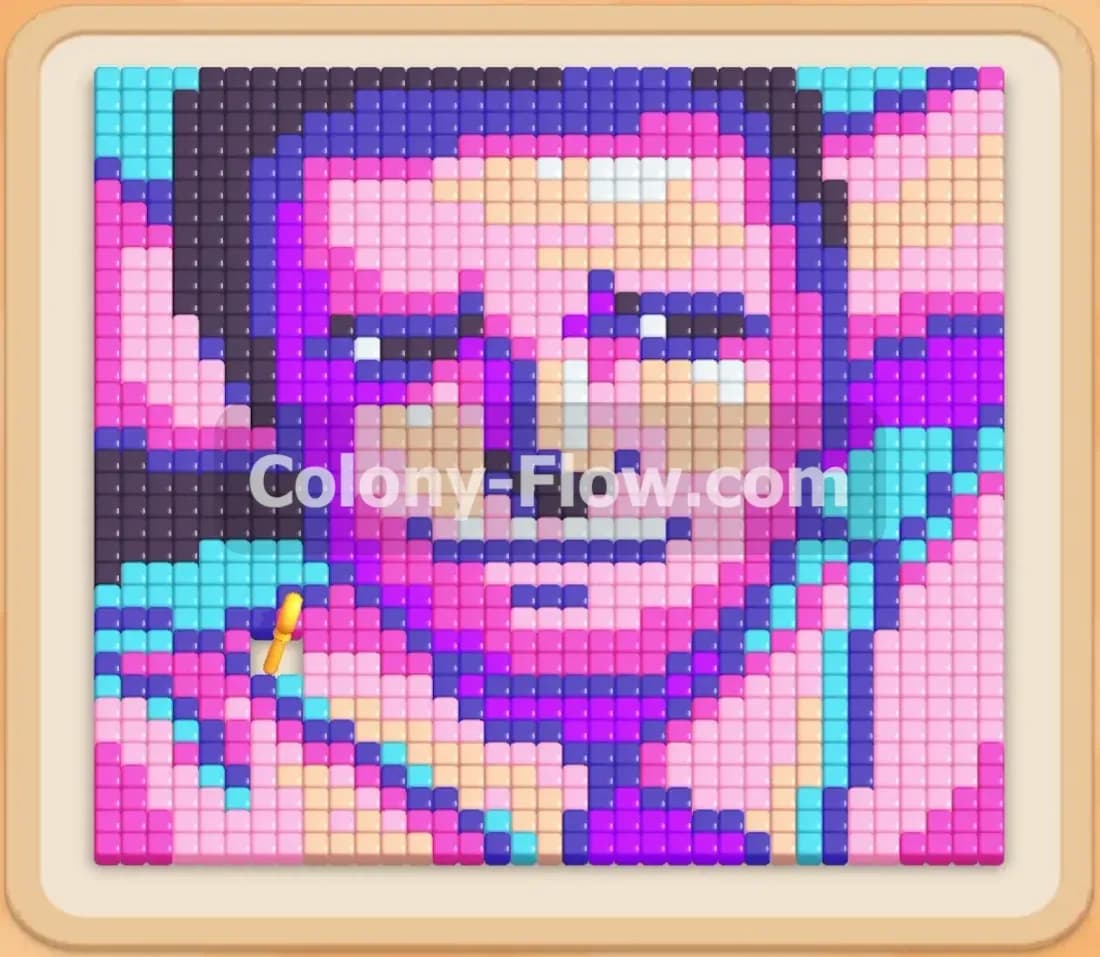
Colony Flow Level 217 presents a detailed pixel art portrait that demands careful block management. You face large areas of background colors that completely mask the inner details of the face and shirt. I found that tackling the outer borders first gives your ants the room they need to maneuver freely. You will need to balance your waiting slots perfectly to avoid a fatal jam as you dig into the darker shading.
Colony Flow Level 217 Overview
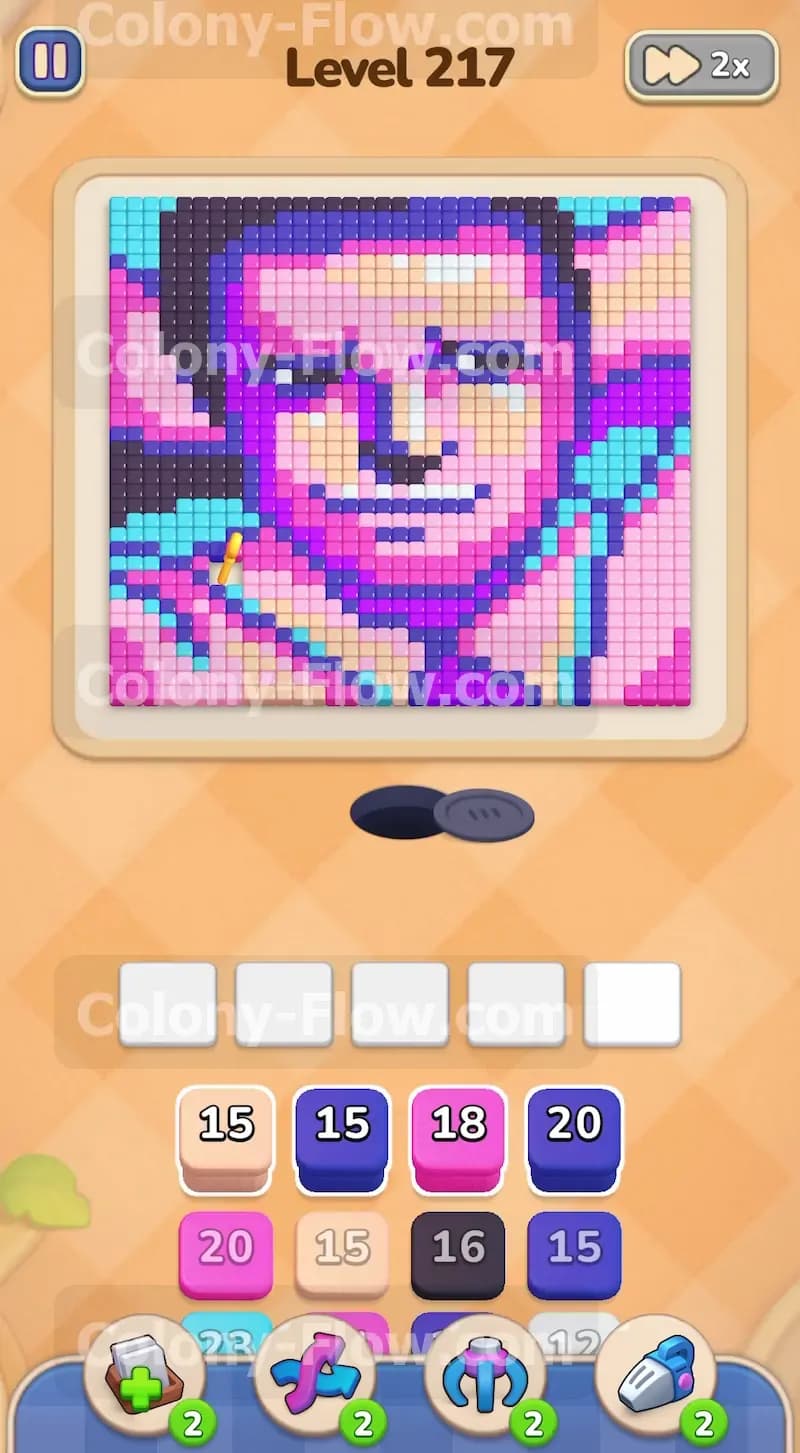
What You Are Working With
The board features a highly detailed pixel art portrait. The outer edge is composed entirely of light pink background tiles. The heavy outlines and the hair are made of dark blue and black tiles. The face itself uses magenta for the deep shading and standard pink for the lighter skin tones. The bottom of the portrait features a bright cyan shirt. The tray holds a massive stack of numbered blocks including light pink 15, dark blue 20, magenta 18, and cyan 25. You must process all these large blocks through your five waiting slots. The ants emerge from a single black hole at the bottom center of the screen. They must travel up the board and find open paths to their target colors.
What It Takes to Clear Level 217 Board
To clear this board you must dismantle the portrait from the outside in. The large areas of light pink background block access to the inner facial details. You win by carefully peeling away the background to expose the dark blue hair and the magenta shading. Your biggest obstacle is the five slot waiting row limit. If you pull blocks for colors that are trapped inside the face those blocks will sit in your tray and do nothing. Filling all five slots with blocked colors will instantly end your game. You must guarantee that every block you pull matches a color that the ants can physically reach. Opening up the cyan shirt at the bottom early provides a huge surface area for the ants to feed on. This strategy prevents jams and keeps your blocks counting down steadily.
Colony Flow Level 217 Step by Step Solution
Step 1: Clear the outer background using light pink and dark blue blocks
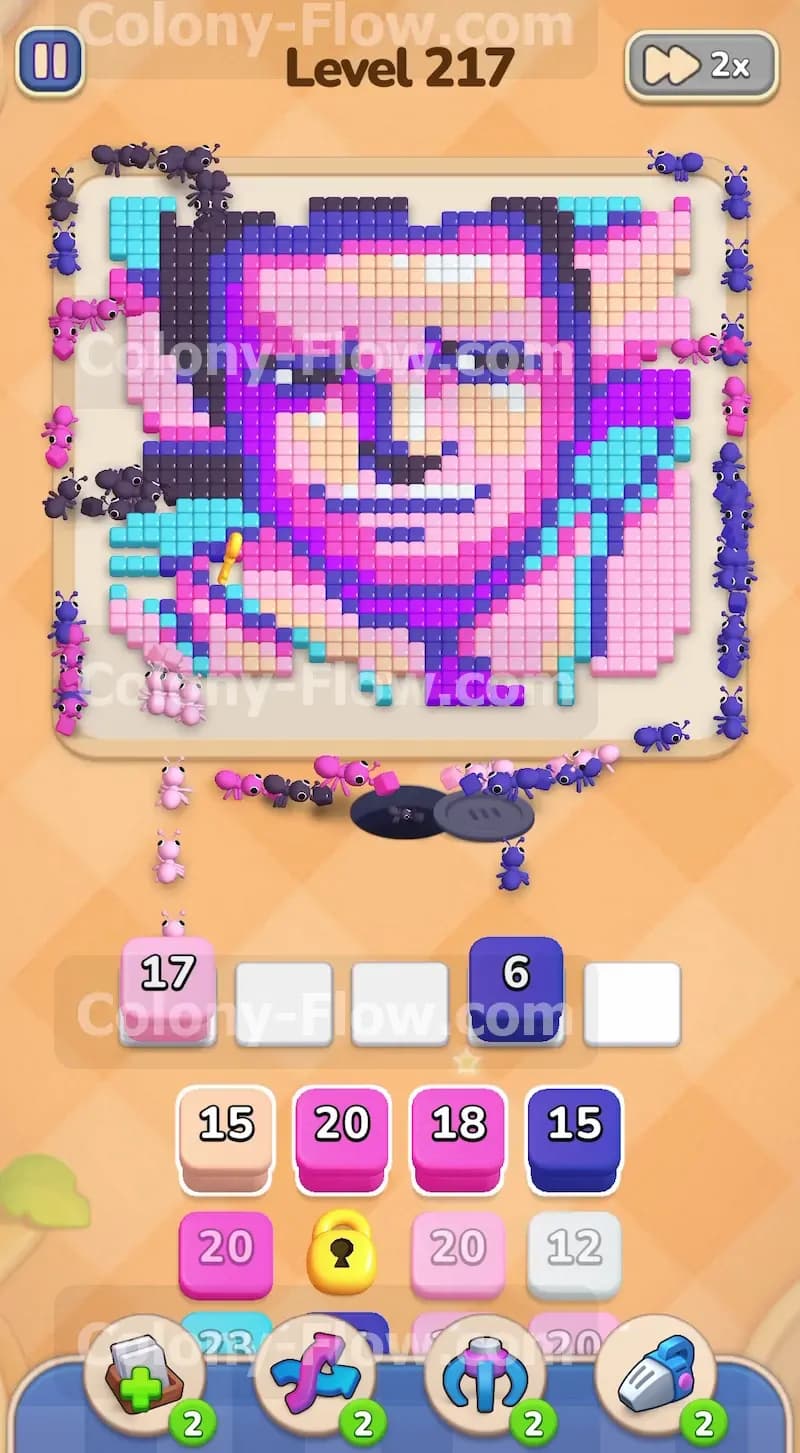
Begin your puzzle by targeting the large areas of light pink background tiles framing the portrait. Pull the light pink 15 block from the bottom tray into your waiting slots. Your colony of ants will stream out of the nest hole and march up the sides of the board to consume those outer tiles. The light pink 15 block will count down to zero as the background completely clears away. Once the ants create a dent in the background you expose the outer edges of the dark blue hair. Pull the dark blue 20 block into your tray next. The number on the dark blue block will decrease steadily as the ants split their attention between the remaining background and the hair outline. This dual attack peels away the thick outer borders and creates wide open paths into the center of the picture. Keeping these outer paths wide open prevents your ants from bottlenecking at the nest hole and ensures your slots never jam.
Step 2: Introduce magenta blocks to break down the facial shading
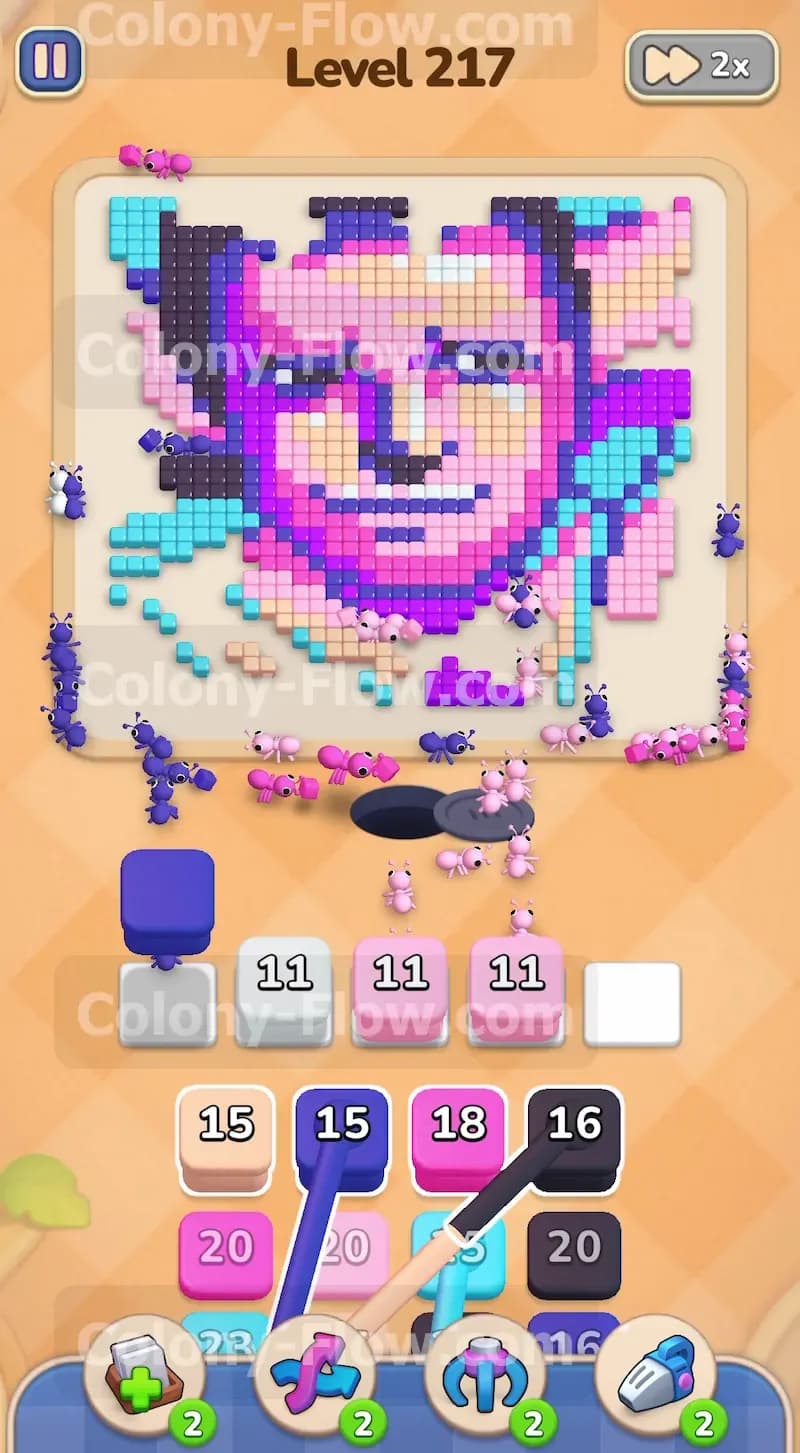
With the thick borders gone your ants can reach the magenta tiles that form the shadows on the cheeks and forehead. Pull the magenta 18 block into your active waiting row. The ants will push inward along the newly opened paths from the cleared sides and start breaking down the facial structure. The magenta 18 block will steadily drop in number as the ants consume the cheek shading. You will notice the tray provides several large blocks in a row. Pull another light pink 15 block and a blue 15 block to keep the momentum going. Their numbers will change rapidly as the ants chew through the mixed color layers. Match your tray pulls to the colors currently exposed on the board. You keep a path open by letting the ants flow naturally into the freshly cleared background spaces. The ants will efficiently clear the magenta shading while simultaneously finishing off the last chunks of the light pink background.
Step 3: Bring in white and black blocks to clear the eyes and deep shadows
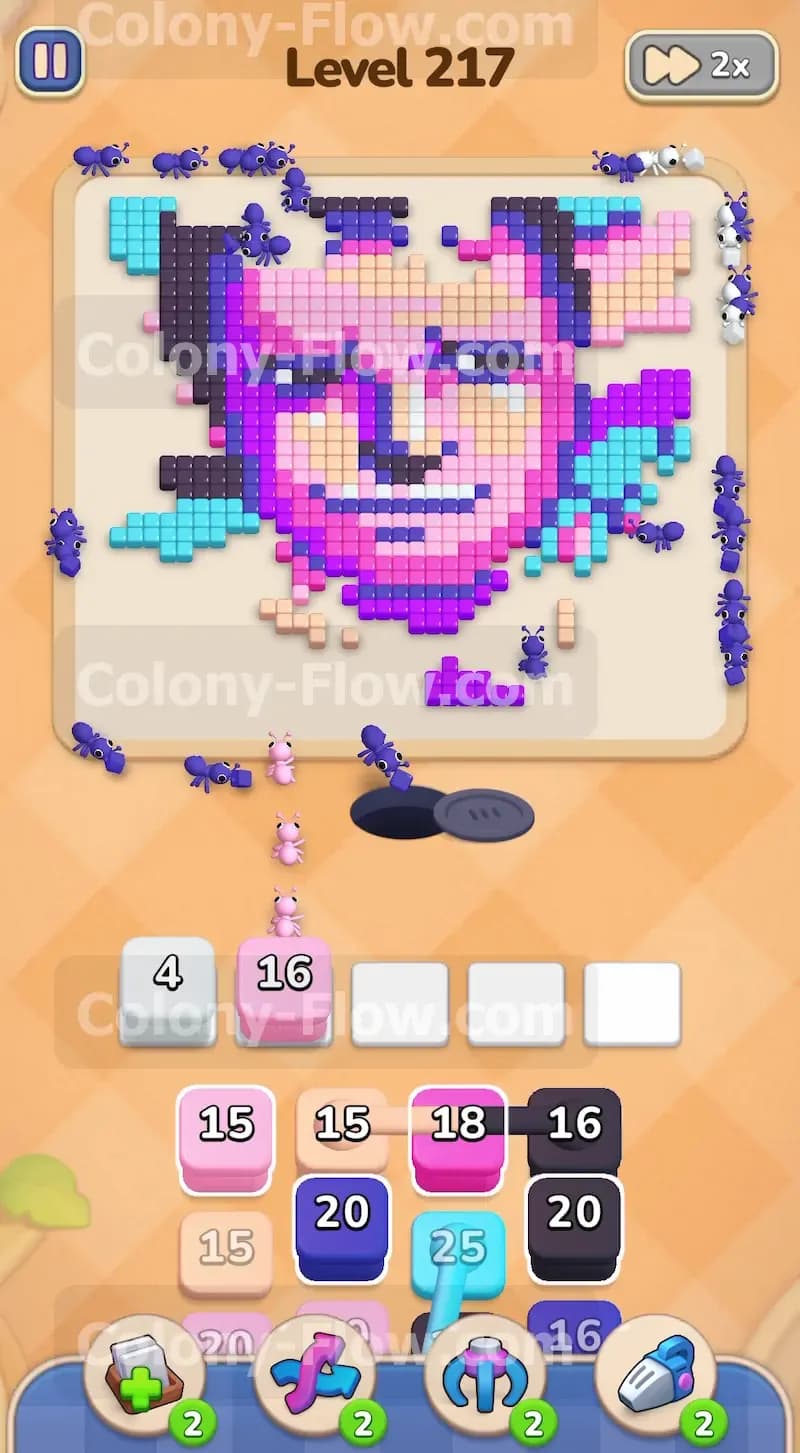
Clearing the magenta shading exposes the fine details of the face. You now have access to the white tiles making up the eyes and the black tiles forming the deepest shadows in the hair. Pull the white 4 block into your tray. The white 4 block quickly drops to zero and clears its slot because the target area is small. Follow up by pulling the black 16 block to handle the dense shadow areas. The number on the black block will tick down as your ants rush straight into the center of the portrait. You keep a path open by only pulling these detail blocks after the outer magenta layer is completely gone. If you pull the black block too early it will sit in your waiting row and waste a valuable slot. Timing your pulls to match the newly exposed inner tiles keeps your colony flowing smoothly and prevents any dead ends.
Step 4: Manage your full waiting slots by activating the large cyan block
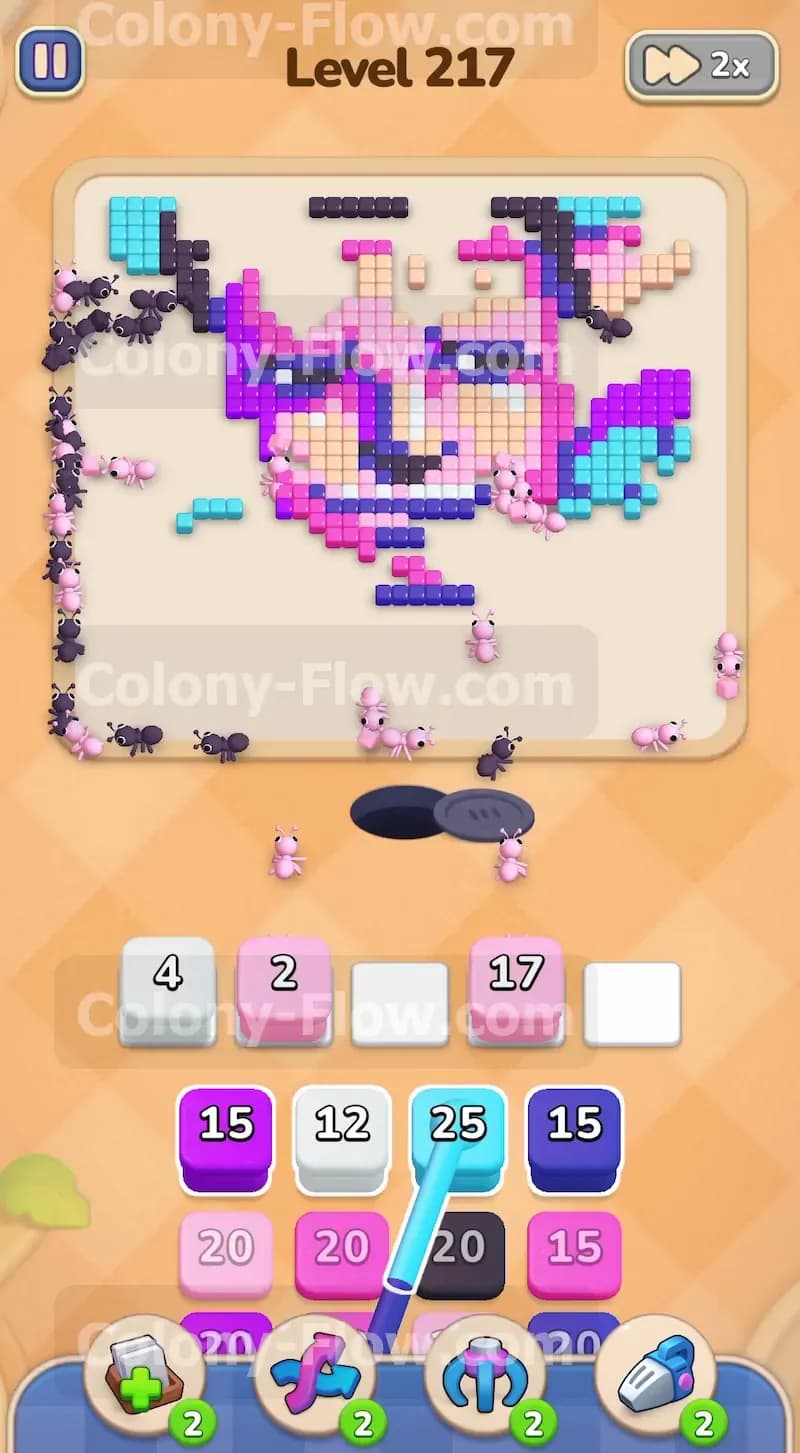
The middle phase of this puzzle gets crowded. Your waiting slots will fill up entirely with a mix of white, blue, cyan, light pink, and magenta blocks. Having five full slots is risky but you can manage it by ensuring the ants have massive active targets. The lower section of the portrait consists of a large cyan shirt. Pull the cyan 25 block into your tray to activate this massive area. The cyan 25 block will slowly tick down into the single digits as the ants swarm the bottom of the board and devour the shirt. Because the shirt covers such a large area the ants will not run out of food tiles. You keep a path open by targeting this massive shirt area at the bottom so the ants always have a reachable destination. This continuous feeding relieves the pressure on your waiting slots and guarantees you will not fail the level from a slot jam.
Step 5: Focus on the remaining magenta and cyan areas to break the core picture
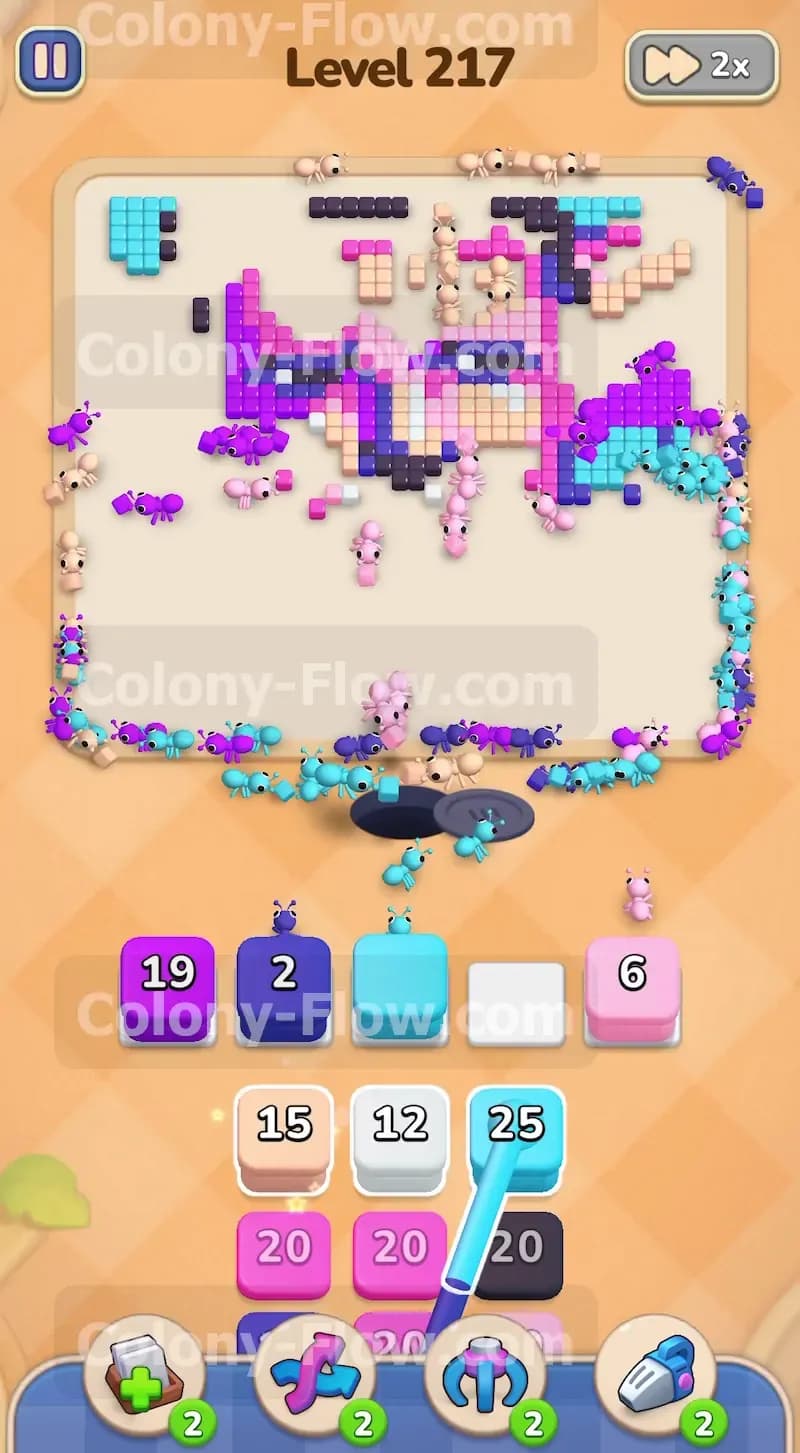
The main structure of the face is almost completely destroyed by this point. You only have scattered clusters of magenta and white tiles left in the center. Pull the magenta 15 block and the white 12 block from the tray. Your magenta 15 block and white 12 block will count down simultaneously as the ants swarm these remaining facial features and break them apart. Meanwhile the cyan block in your tray continues to drain as the ants finish eating the large shirt area. You keep a path open by rotating your blocks as soon as a slot empties. When a block hits zero you should immediately pull the next color that matches an exposed group of tiles. The portrait loses its core shape completely during this phase. This constant rotation keeps your colony working at maximum efficiency and ensures the board never dead ends.
Step 6: Sweep up the final scattered fragments to complete the board
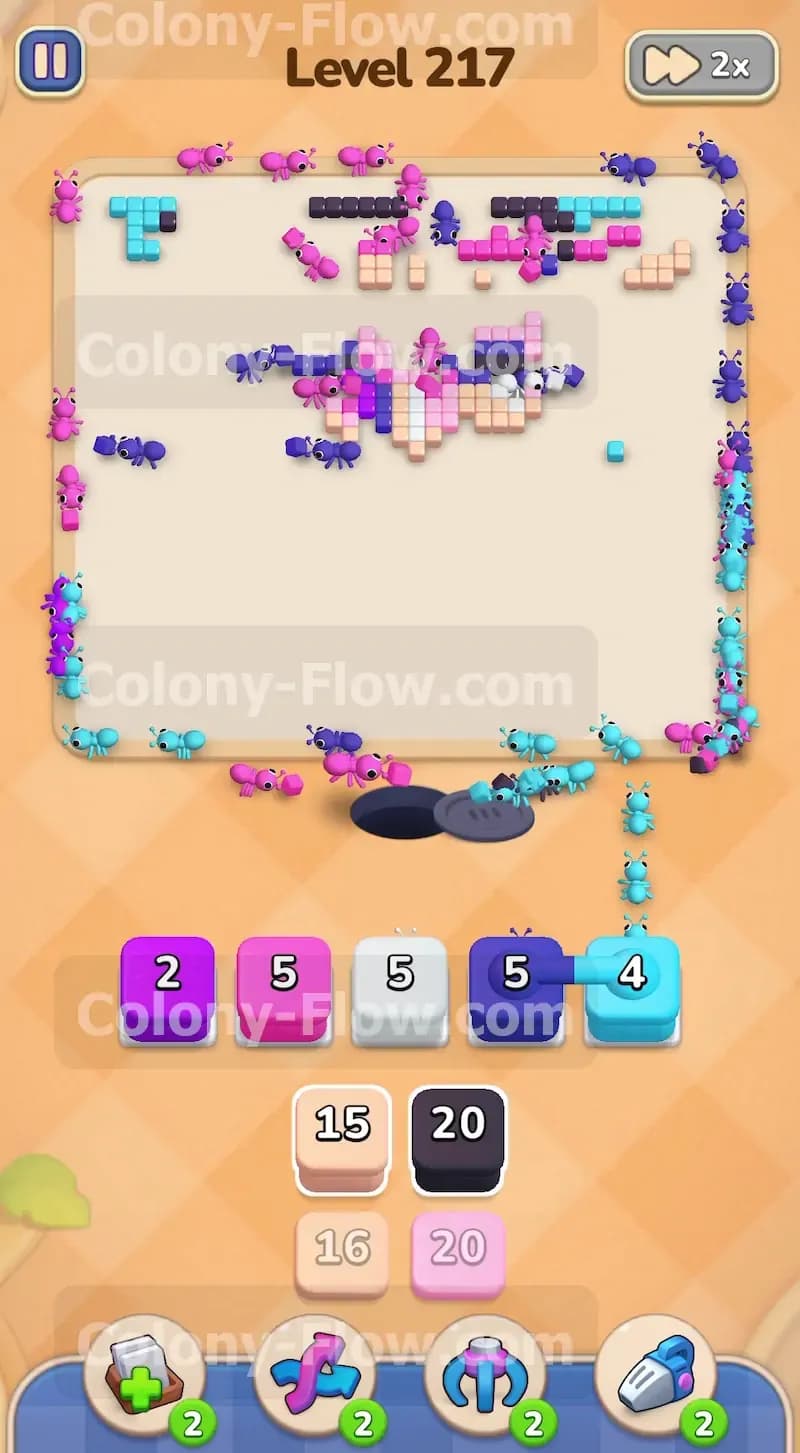
The board is mostly empty now with just a few small fragments of tiles lingering at the top and the right edge. Your waiting slots will fill up one last time with small numbered blocks like a magenta 2 and a blue 5. Pull these final blocks into your tray. The magenta 2 block and blue 5 block will rapidly hit zero as the remaining ants scatter across the board to sweep up these tiny clusters. They will easily consume the last pieces of the blue hair and the magenta skin tone. You keep a path open simply by feeding the final scattered fragments to the ants without overloading the tray. Once the numbers on these final blocks change to zero the picture is completely cleared. The ants will return to their nest and you will win the level.
Final Thought
This portrait requires patience and careful attention to your waiting slots. Peeling the colors away layer by layer guarantees your ants always have an open path to follow. Please watch the video above this article if any step is hard to follow in text.