Colony Flow Level 101 Walkthrough Solution & Guides | How to solve Colony Flow 101

Guide By Liam Stone
Updated on July 11, 2026
The video above has the full Level 101 walkthrough, so skip the reading if you just want to watch.
Video doesn't match your screen?
Game updates frequently scramble layouts! Try our AI Screenshot Solver first to find your exact board instantly, or report broken guides to our team.
Welcome to Colony Flow Level 101. You will be clearing a massive pixel art giraffe today and this puzzle requires careful management of your limited space. The picture is large and dense so you need to guide your ants methodically to strip away the background without clogging your tray. Let me walk you through the exact moves to clear this board smoothly.
Colony Flow Level 101 Overview
What You Are Working With
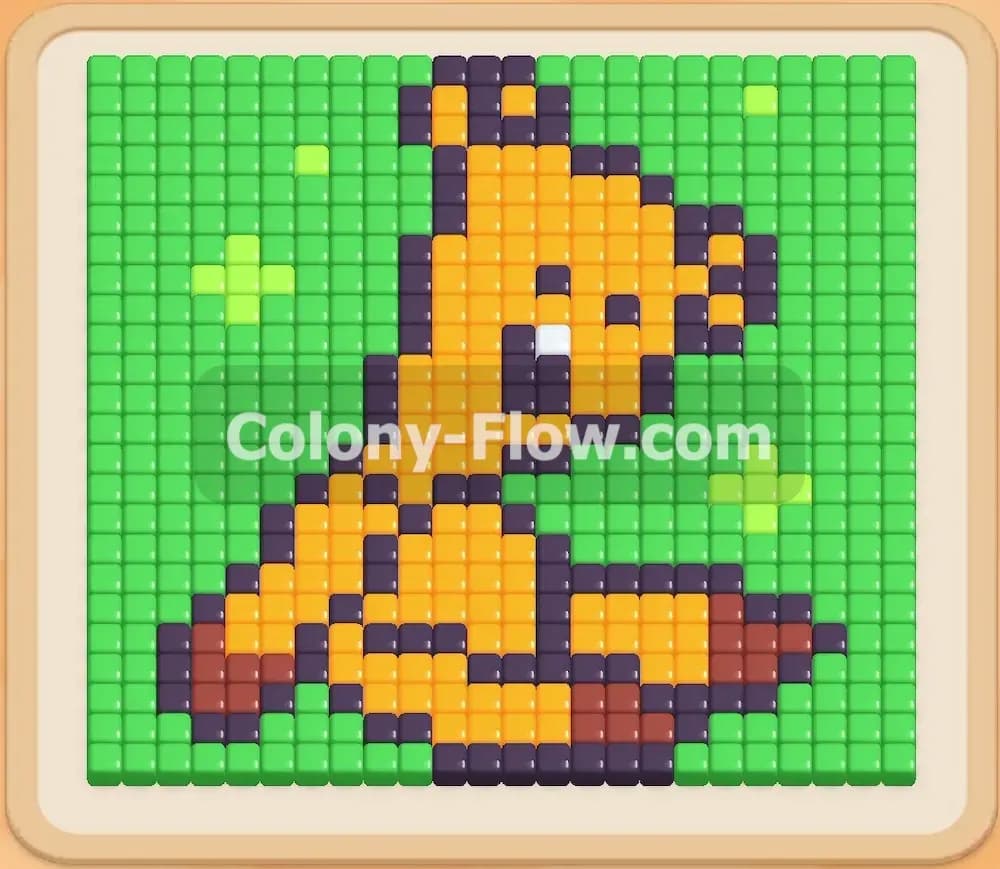
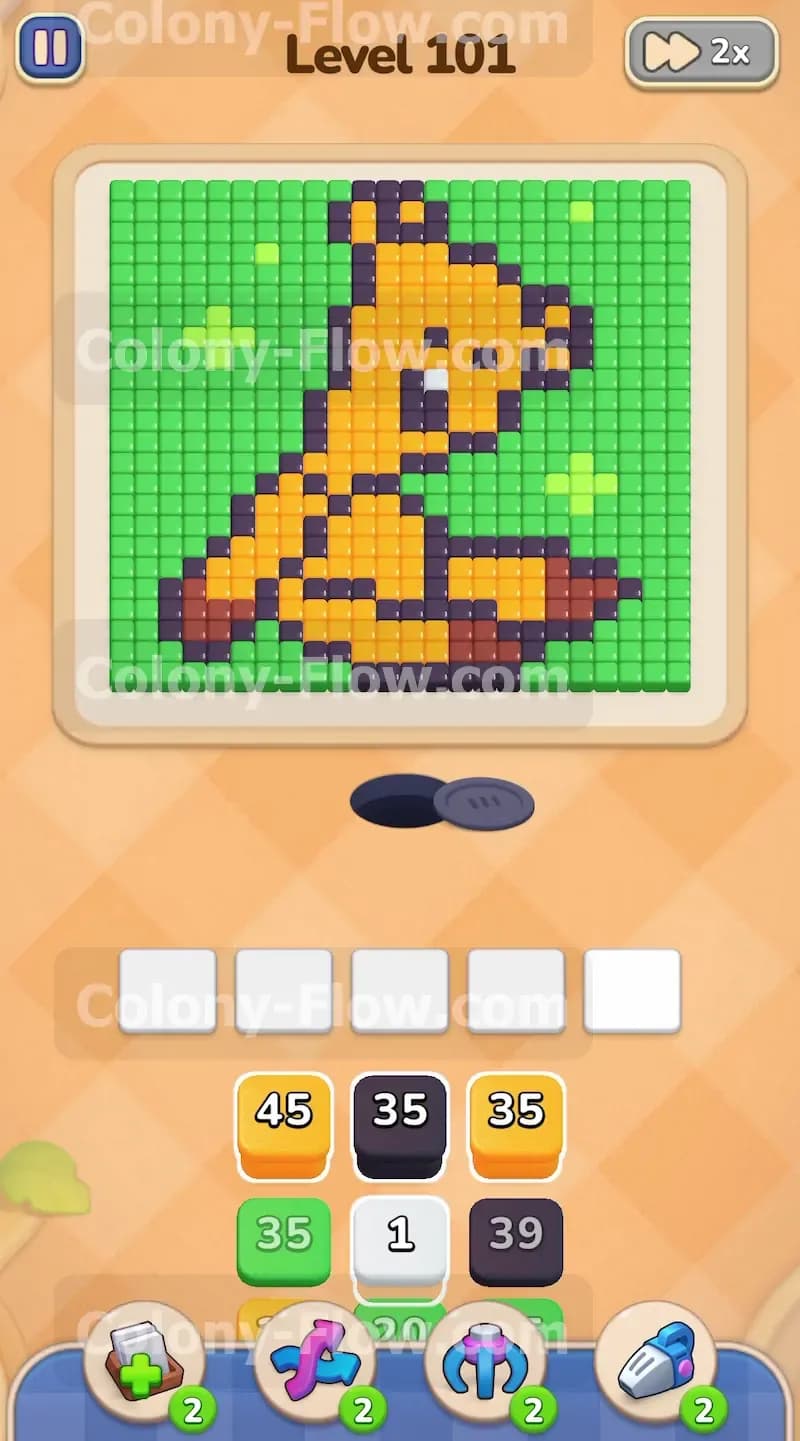
The picture on this board features a yellow giraffe sitting on a bright solid green background. The giraffe body consists of bright yellow tiles with dark orange spots scattered across the back and legs. A very dark brown or black outline wraps around the entire animal to define its shape. High up on the head sits a single white tile representing the eye. Looking at your tray at the bottom of the screen you will see large numbers on the available blocks. You have a yellow block with forty five moves and dark blocks with thirty five moves. You have big green blocks to handle the massive grass area behind the giraffe. You also have orange blocks for the spots. Right in the middle of the tray sits a small white block with a number one on it.
What It Takes to Clear Level 101 Board
Clearing this board means eating every single tile from the bottom straight to the top edges. The ants pour out of the black nest hole at the bottom center of the screen. They always look for the closest open tiles that match the colors in your active waiting slots. Your biggest threat here is creating a dead end for your ants. You have exactly five waiting slots at the bottom of your screen. If you fill all five slots with colors the ants cannot currently reach the board jams completely and you lose the level. The white eye tile is trapped near the very top of the giraffe head. Because that white tile is surrounded by yellow and dark tiles the ants cannot touch it until the very end of the game. If you pull the white block early it will occupy one of your precious slots for most of the run. You must manage your remaining four slots perfectly to maintain a constant active flow of ants.
Colony Flow Level 101 Step by Step Solution
Step 1: Open the bottom edge of the board.
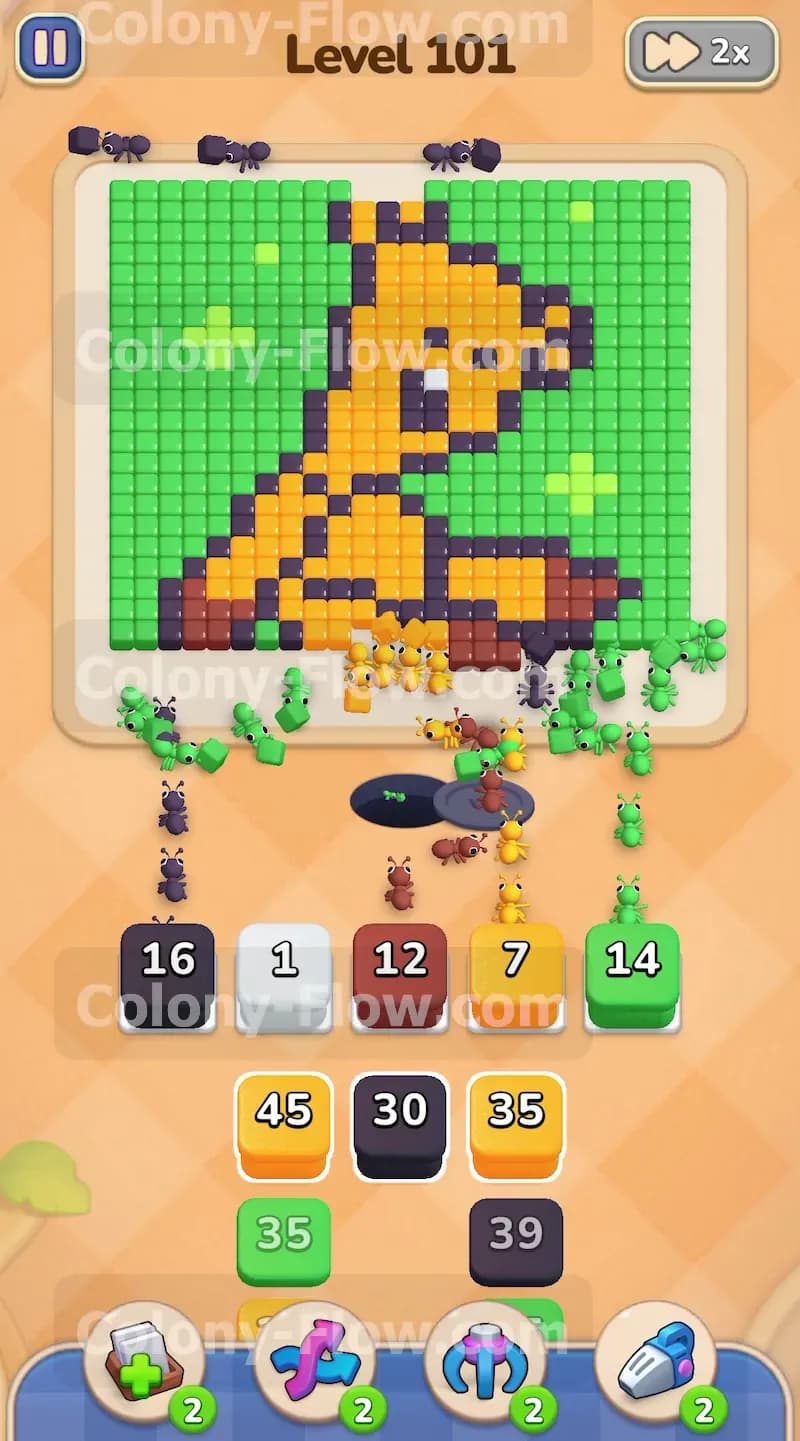
You want to start by attacking the lowest layer of the picture where the ants first emerge from their nest. Tap the dark block and a large green block from your tray to send them into your waiting slots. The ants will immediately swarm out of the nest and split in different directions. Some will head straight up to chew on the dark outline of the hooves while others will branch out to the left and right to eat the bottom border of the green background. Watch the numbers on your blocks drop quickly. A dark block starting at thirty five will rapidly count down as the ants clear the heavy outline at the base of the giraffe. Always let these initial blocks do their work before you flood the slots with more colors.
Step 2: Bring out the white block and manage the trap.
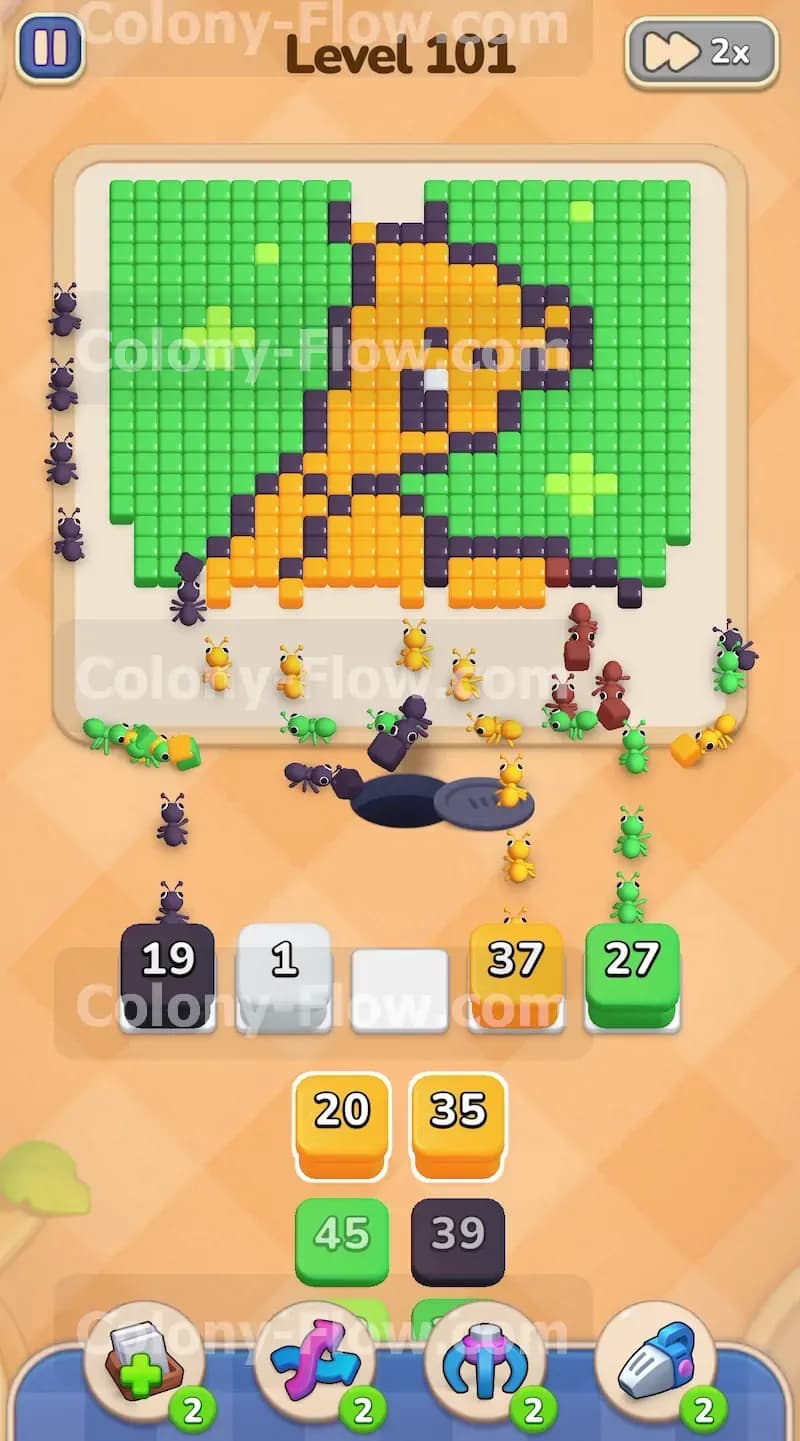
You will see the white block with the number one sitting in your tray very early on. Go ahead and tap it to move it into your active waiting slots. The ants will ignore it completely because the single white eye tile is located high up on the head and surrounded by blocking tiles. This white block will now sit stubbornly in your slot for a long time. You have essentially reduced your working capacity to four slots. From this moment forward you must be extremely observant. Never tap four new blocks at the same time unless you are absolutely sure the ants have an open path to every single one of those colors.
Step 3: Clear the lower legs and lower spots.
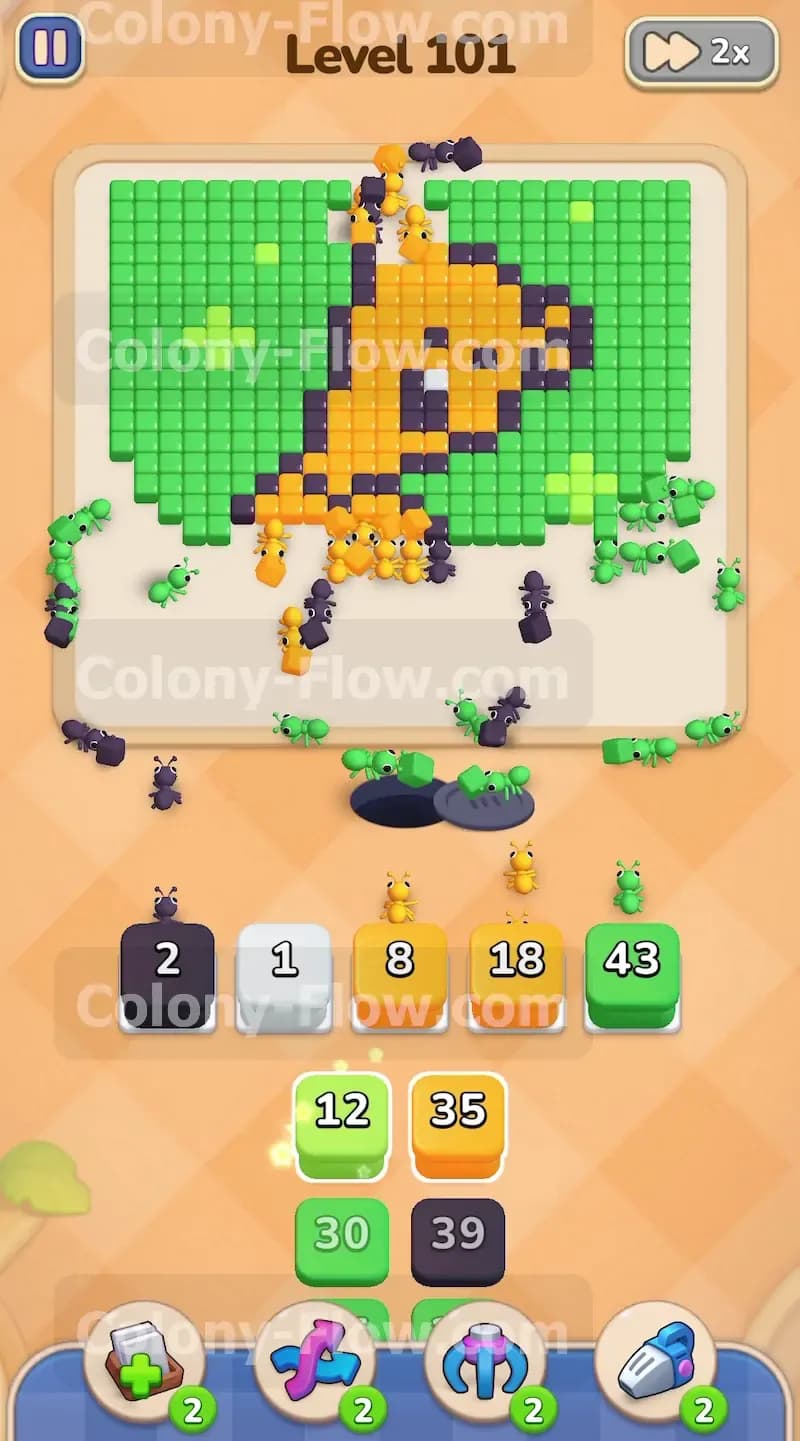
Once the ants break through the initial dark outline at the bottom they will expose the yellow body and the orange spots on the lower back. Tap a large yellow block and an orange block to get the ants moving into the interior of the giraffe. The ants will eagerly march up into the legs and belly eating away the yellow tiles. The orange spots are embedded directly inside the yellow body so the ants will naturally alternate between yellow and orange as the paths open up. You will notice the picture clearing nicely from the bottom up. Keep an eye on the dark outline wrapping around the sides. You will need to bring down another dark block soon so the ants can continue eating the outer edges of the animal.
Step 4: Push hard up the left side of the green background.
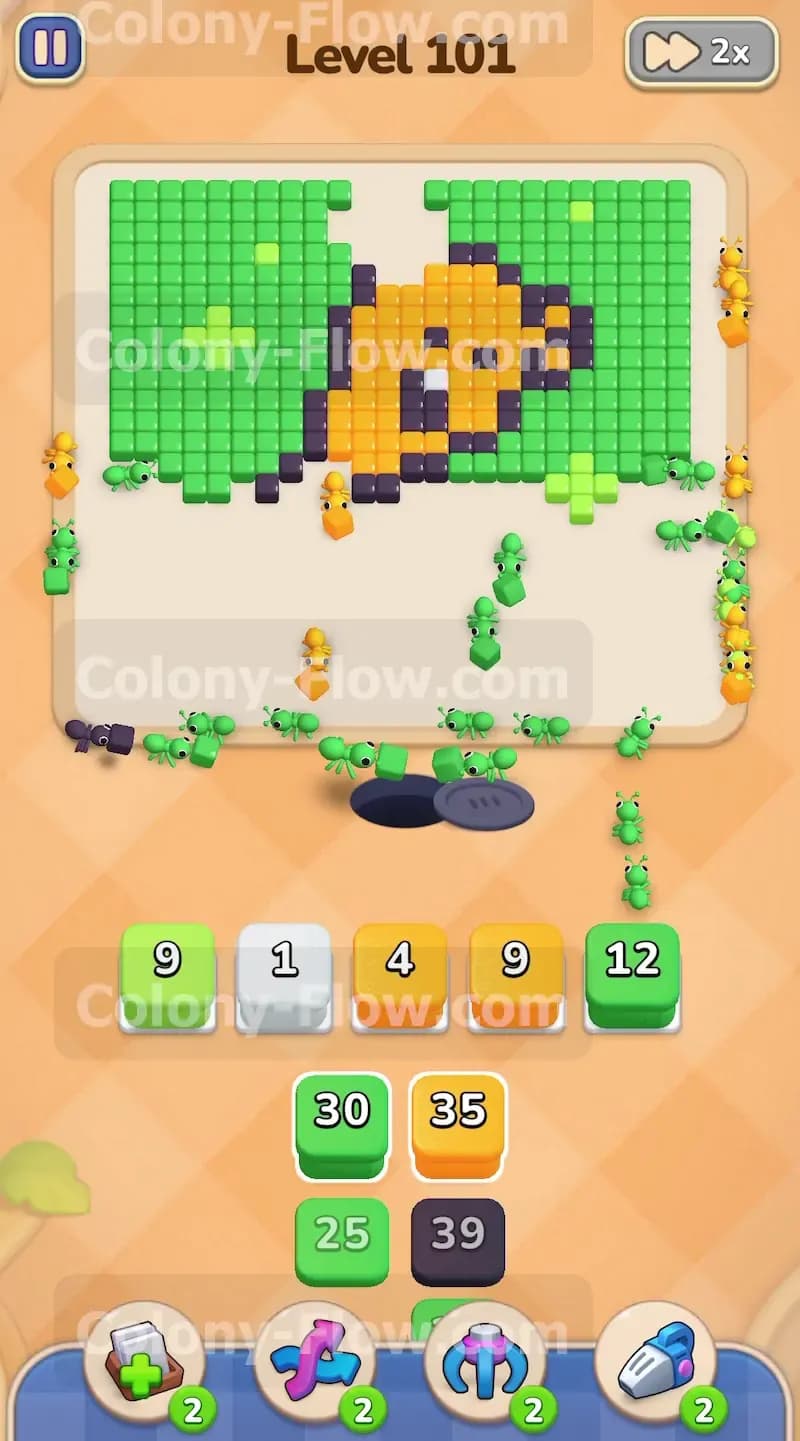
The green background takes up a massive portion of the picture especially on the left side of the screen. As the ants clear the bottom left corner they will reveal a straight path up the side of the background. Tap your largest green block from the tray. You might see a green block with thirty five or even forty five moves. Send it to the slots and watch the ants form a long highway up the left wall. They will chew through a huge chunk of the green tiles in one continuous wave. This takes a lot of pressure off the board and gives your ants plenty of room to maneuver around the left side of the giraffe neck.
Step 5: Attack the neck and continue the dark outline.
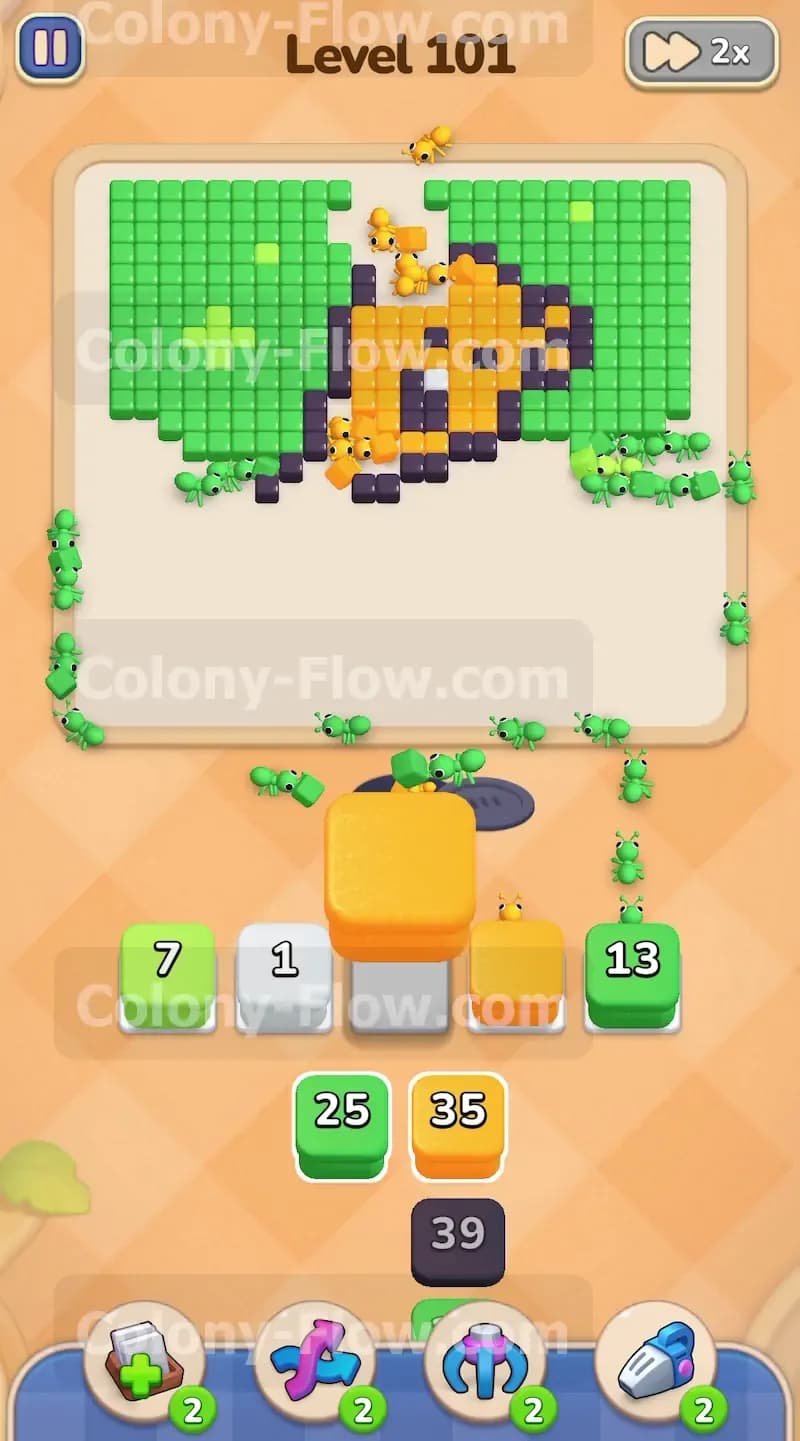
With the lower half of the giraffe gone the ants will begin moving diagonally up the yellow neck. Pull another yellow block from your tray to feed this upward march. You also need to pull an orange block to clear the spots located on the upper back and the base of the neck. The dark outline continues to wrap around the entire neck and head. You must ensure you keep a dark block active in your slots. If the dark outline remains intact it acts like a wall and prevents the ants from reaching the green tiles tucked behind the head. Let the ants gnaw away the neck while maintaining a steady flow of green blocks to clear the remaining background on the right side.
Step 6: Unlock the face and free the trapped slot.
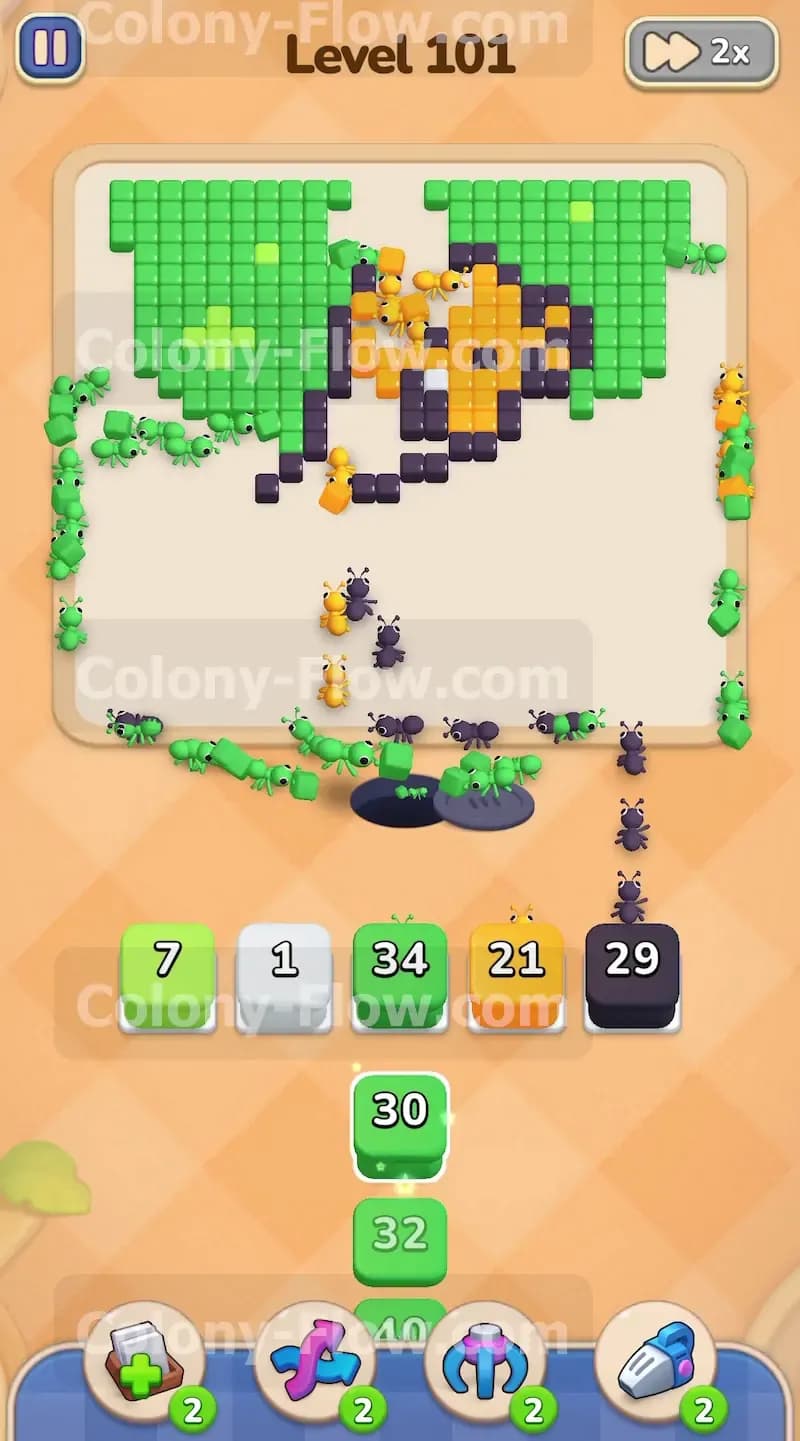
Your ants are finally reaching the top right section of the board where the head is located. They will eat away the yellow tiles forming the cheeks and snout. Suddenly the single white tile representing the eye is exposed to the open air. The moment this happens an ant will sprint up the board and consume the white tile. Down in your tray the white block that has been sitting there all game will finally drop to zero and vanish. This is a massive relief because you instantly get your fifth waiting slot back. You now have full capacity to handle the final tricky sections of the board without worrying about a jam.
Step 7: Finish the ears and top of the head.
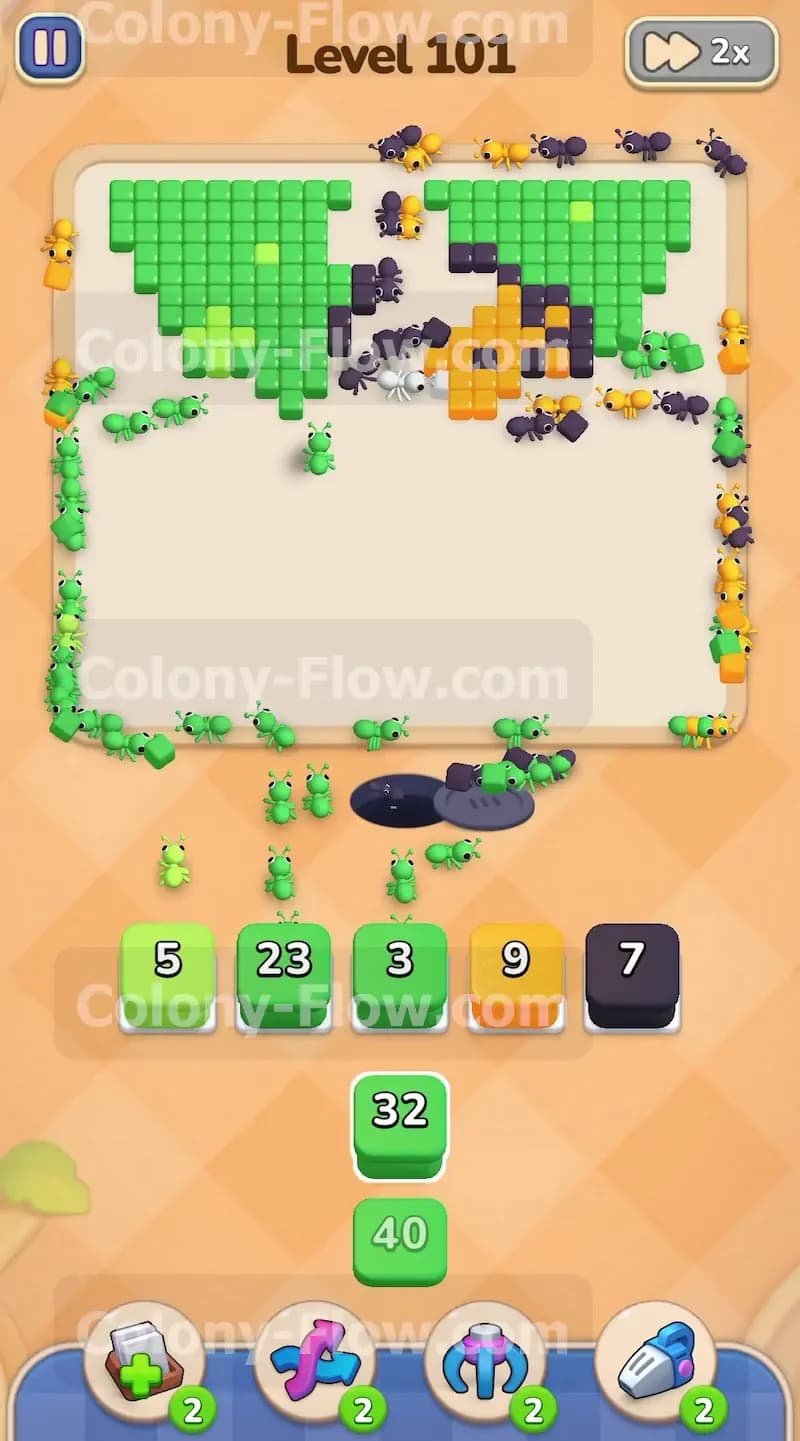
The giraffe head has a few small details left at the very top. There are tiny ears and little horns that require a specific sequence to clear. You need yellow blocks for the top of the head and a dark block to finish the final pieces of the outline wrapping around the ears. Pull these colors carefully. Do not just blindly tap everything left in your tray. Look at the remaining tiles and pull the dark block to let the ants break the outer barrier first. Once the outline falls the ants will easily clean up the last few yellow and orange tiles on the face.
Step 8: Clear the final top corners of the background.
The only tiles left on the board are chunks of green background hiding in the top left and top right corners. By now you should have a few green blocks remaining in your tray with large enough numbers to finish the job. Tap them into your open slots. Your entire colony will rush up the left and right edges of the screen converging on those final green squares. Since you have your full five slots available you can safely bring down all remaining green blocks at once. The ants will devour the final corners and the board will be completely clear.
Final Thought
Level 101 teaches you the value of patience and slot management. Leaving that white block in your tray for the majority of the game is stressful but operating with four slots forces you to read the board carefully and only pull the colors you truly need. If you find yourself getting jammed near the neck or you struggle to balance the green background tiles with the dark outline please watch the video above this article. Seeing the exact timing of when to pull the yellow and dark blocks will help you master the flow of the ants.