Colony Flow Level 288 Walkthrough Solution & Guides | How to solve Colony Flow 288

Guide By Liam Stone
Updated on July 16, 2026
The Level 288 solution is right there in the video above, so read on only if you want the extra detail.
Video doesn't match your screen?
Game updates frequently scramble layouts! Try our AI Screenshot Solver first to find your exact board instantly, or report broken guides to our team.
Welcome back to another puzzle guide for your favorite ant colony manager. Colony Flow Level 288 drops you into a massive pixel art challenge featuring a giant monster head surrounded by hundreds of green background tiles. You will need to manage your limited tray space perfectly while carving through this dense block of food. We will break down the exact order of operations to keep your insect swarm moving efficiently and safely. Read on for the best strategy to solve this board and keep your waiting slots from locking up.
Colony Flow Level 288 Overview
What You Are Working With
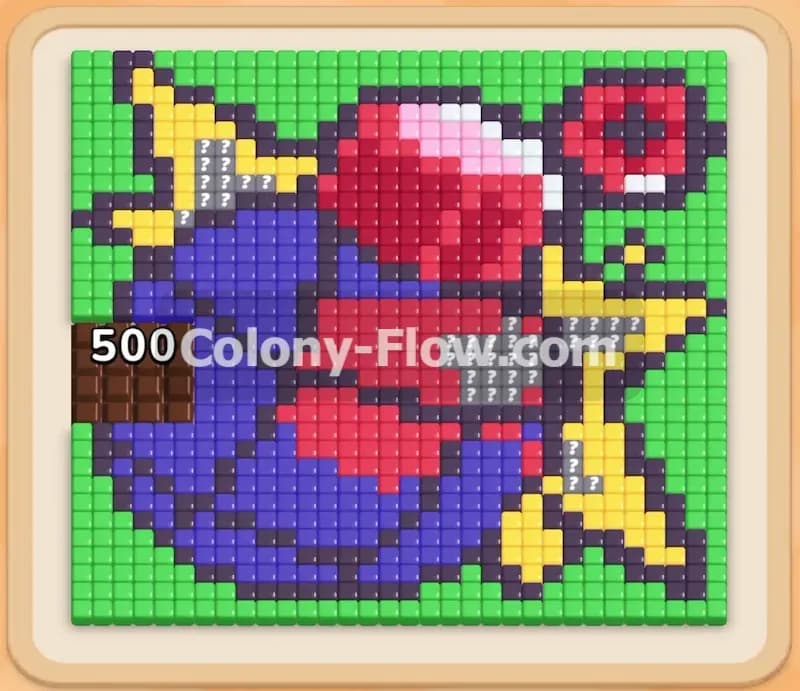
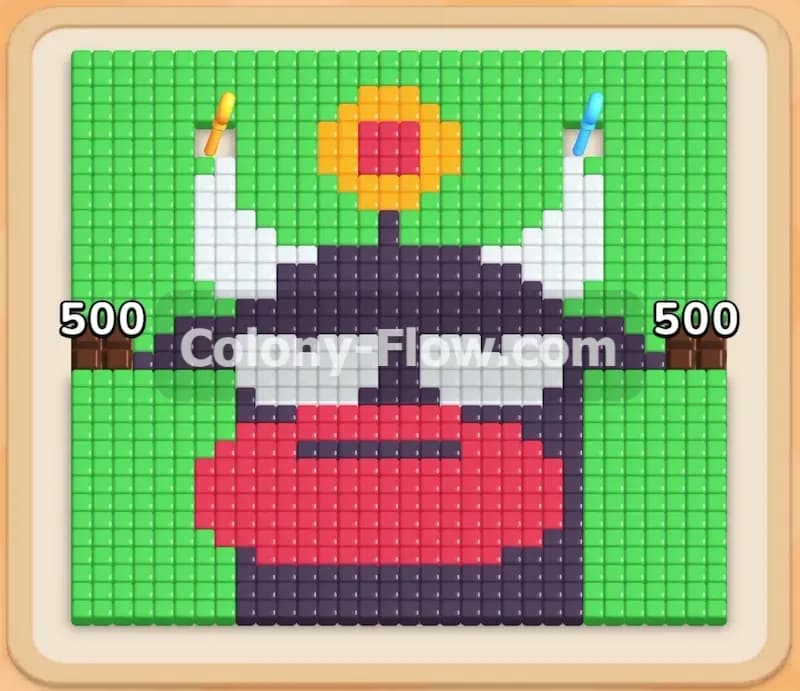
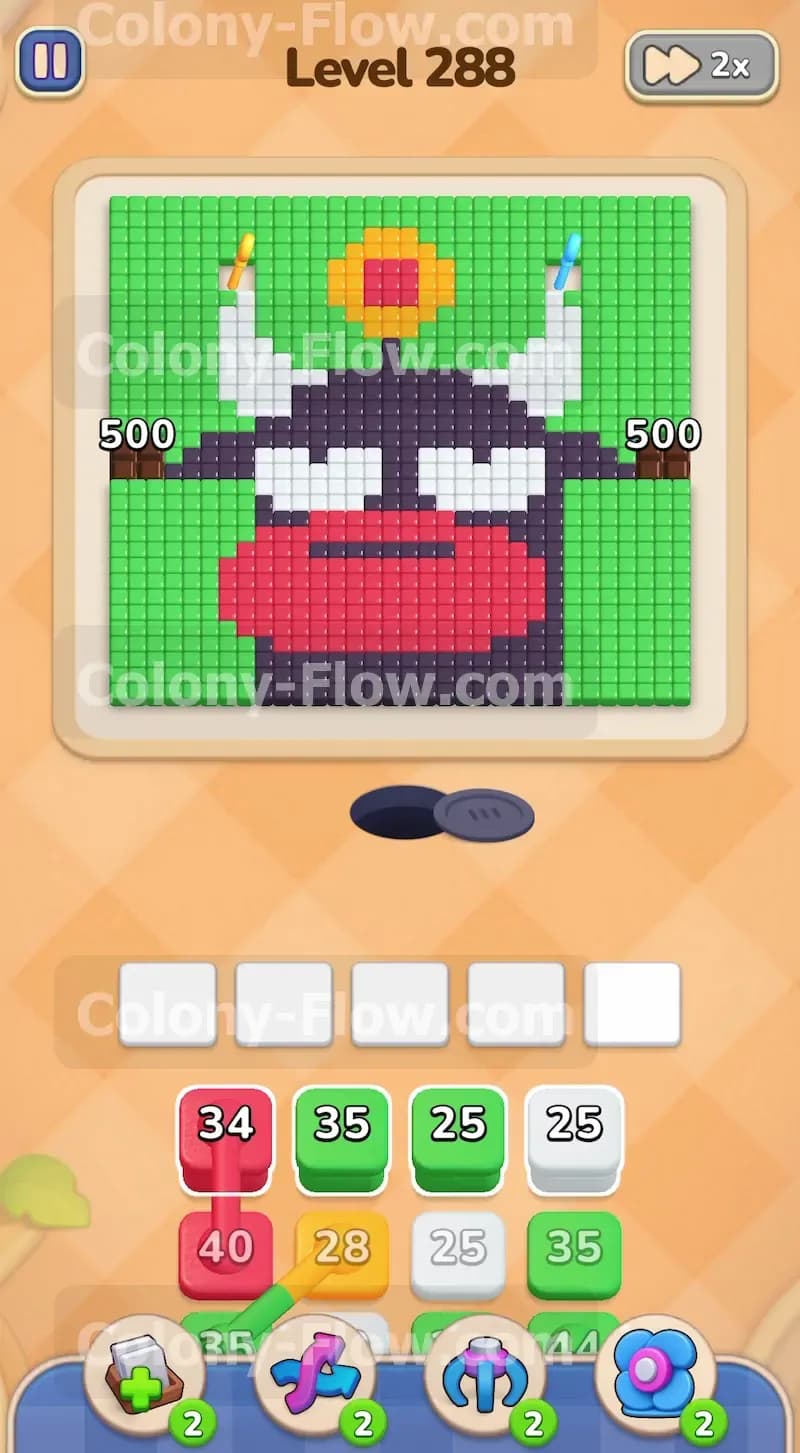
The pixel art picture in this level resembles a large monster or bull head. It features a wide red snout at the bottom, a solid black face, and two large white horns protruding from the sides. A decorative emblem made of yellow and red tiles sits squarely on the forehead of the creature. A massive green background surrounds the entire figure. You will notice two wooden signs resting on the green tiles on the left and right sides. These signs display the number 500 to indicate the massive quantity of green food tiles present on the board. You will also spot a yellow key and a blue key resting directly on top of the green background tiles near the upper corners of the board. Down in your tray at the bottom of the screen, you have stacks of numbered blocks in red, green, white, orange, and black. Some blocks located in the lower layers of your tray have colored locks attached to them. You will also encounter connected boxes later in the level. These are groups of blocks linked together by a chain that force you to pull them as a single unit.
What It Takes to Clear Level 288 Board
To win this level, you must direct your ant colony to eat every single colored tile on the pixel art board. You accomplish this by pulling numbered blocks from your tray into your five waiting slots. The numbers on the blocks count down as the ants consume the matching colored tiles. Your primary obstacle is tray management. The core rule of the game dictates that if you fill all five waiting slots with blocks that have no open physical path to their matching tiles, the ants stop moving and you lose the level instantly. You must constantly ensure at least one active color has an open path so the slots keep clearing out and making room for new blocks. Collecting the keys on the board to unlock the restricted tray blocks is also a mandatory priority for completing this puzzle.
Colony Flow Level 288 Step by Step Solution
Step 1: Start eating the giant red snout and the massive green background.
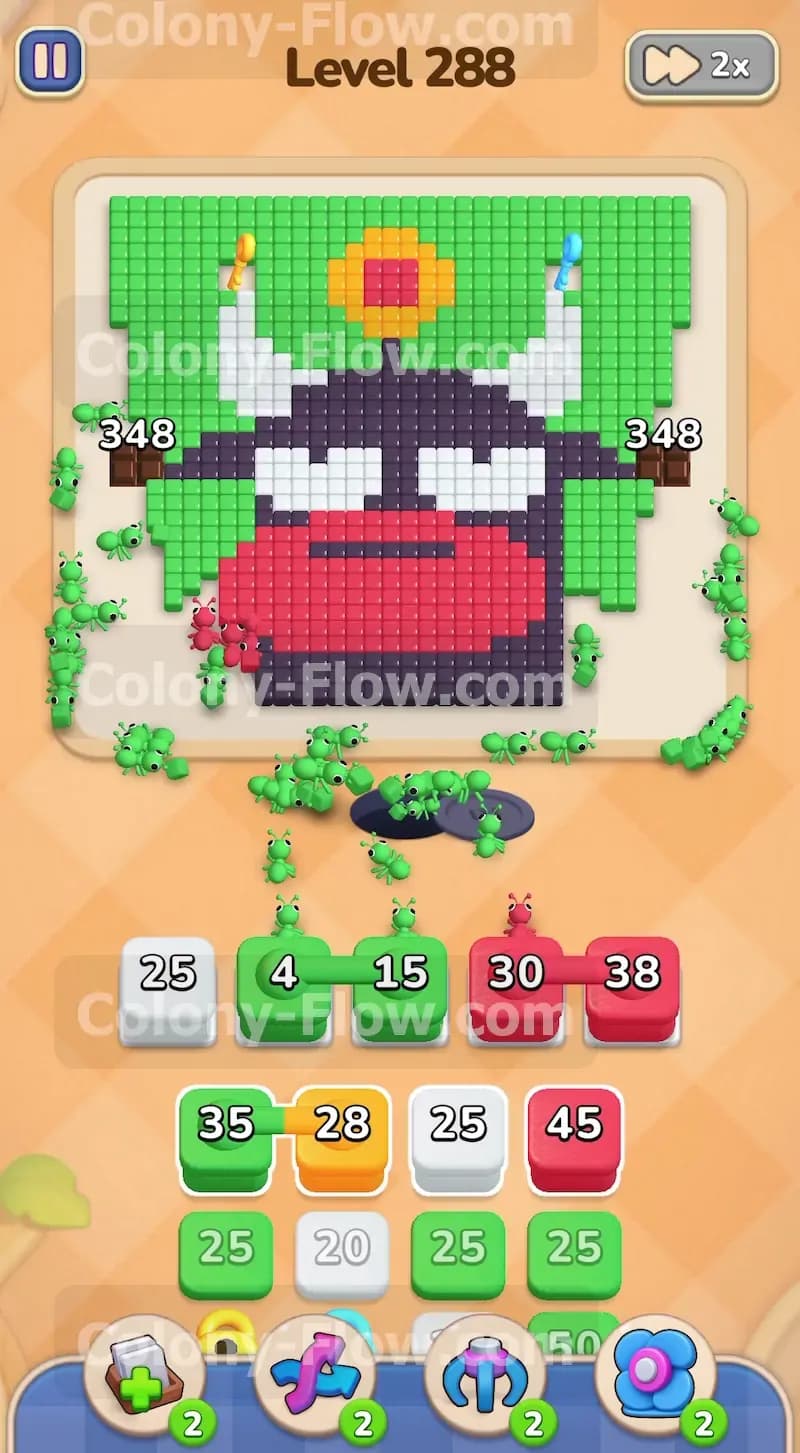
The bottom of the board features a huge red snout that completely blocks access to the black face. The outer edges consist entirely of green background tiles. Your very first moves must target these highly accessible outer areas. Pull the top red blocks and green blocks from your tray into your waiting slots. You will see large numbers on these starting blocks like a red 34 and a green 35 along with a green 25. The red ants will stream directly upward out of the nest hole and begin devouring the snout. The green ants will flood around the outside edges of the board and begin chewing away at the massive quantity of background tiles. The wooden signs on the board will dynamically update their numbers to reflect the ants eating the green area. Keep pulling red and green blocks to maintain a steady flow of hungry ants. Do not pull white or orange blocks yet because those colored tiles are completely trapped behind the red and green barriers. The ants need open physical paths to reach their target tiles. By focusing exclusively on the absolute bottom and outer edges first, you guarantee that your insects never get stuck behind other colors. Watch the numbers on the waiting blocks decrease rapidly as the swarm goes to work. This steady drain keeps your five waiting slots cycling smoothly and protects you from a game over.
Step 2: Maintain constant pressure on the lower sections to free up the board.
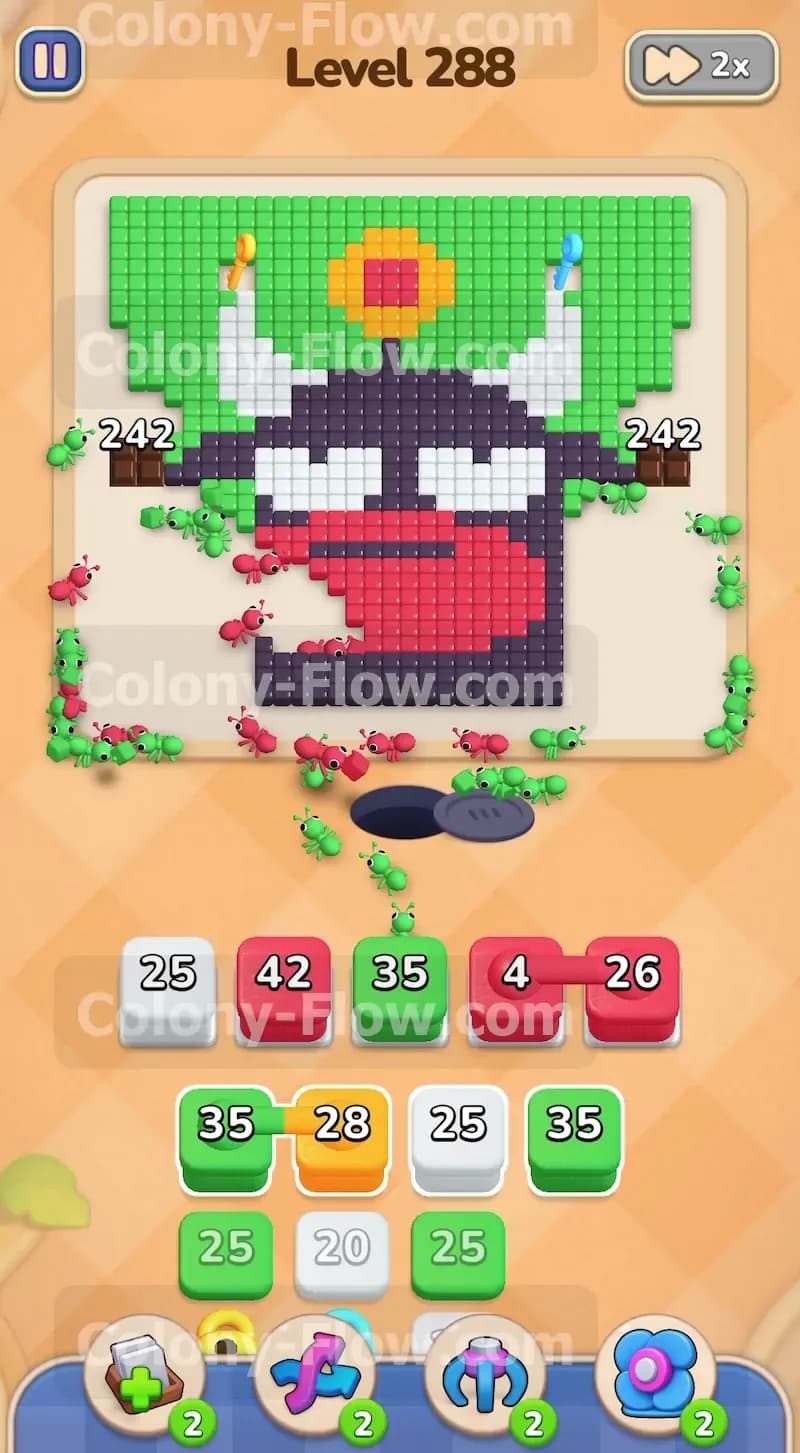
You need to clear away the bulk of the red snout to expose the inner layers of the monster face. Pull the next available red blocks like the 40 and 38 into your tray slots. Keep bringing up green blocks like the 15 and 25 to continue shrinking that massive outer background. The wooden signs on the green tiles will continue counting down as the ants devour the area. You will see the total count drop from 500 down into the 300s and eventually the 200s. Managing your five slots is critical during this phase of the game. You will be tempted to bring up a white block just to get it out of the way of the tray stacks. Do not do that under any circumstances. If you bring up colors that have no open paths, they will just sit dead in your waiting slots and take up valuable space. You must keep your active slots filled entirely with colors that the ants can actively eat right this second. The red snout is exceptionally huge and can easily absorb multiple red blocks at once. Let the red ants completely hollow out the entire bottom section before you try to advance to the next colors.
Step 3: Introduce white blocks to attack the monster horns.
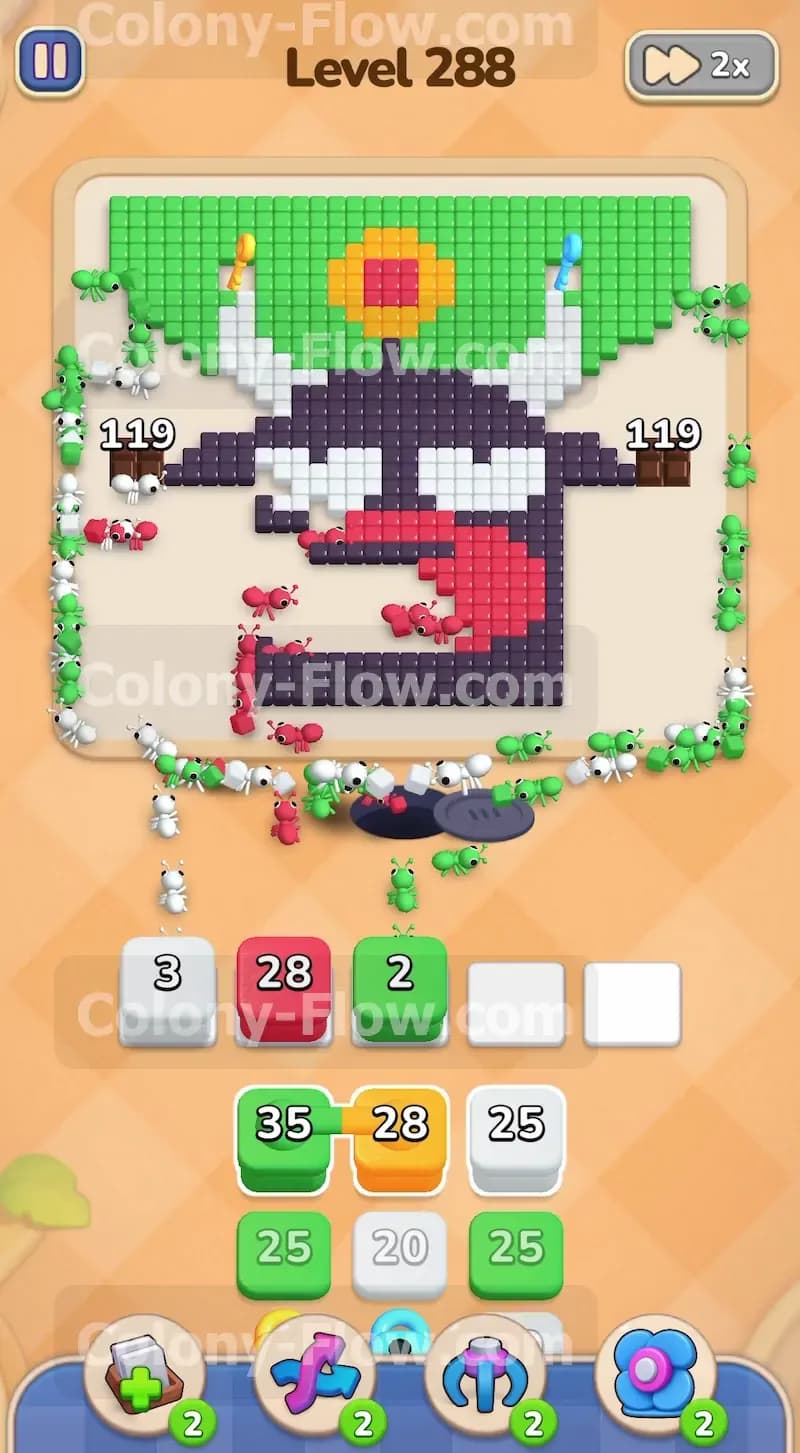
As the green ants eat away the background on the sides of the board, the white horns of the monster will finally become exposed. Once you clearly see a physical path from the nest hole leading all the way to the white tiles, you can safely pull your first white block into the tray. You have a white 25 block ready to go in your stack. Pull it up and watch the white ants march around the newly cleared red area to start chewing on the horns. You should continue feeding red blocks to finish off the remaining pieces of the bottom snout. The board will start looking much cleaner at the bottom near the nest hole. Your tray will begin revealing new block colors like orange further down the stacks. Ignore the orange blocks for now because the central emblem on the forehead is still completely surrounded by black tiles and the remaining green background. Stick to white blocks, red blocks, and green blocks to keep your slot rotation completely safe from jams.
Step 4: Collect the colored keys hidden on the green background tiles.
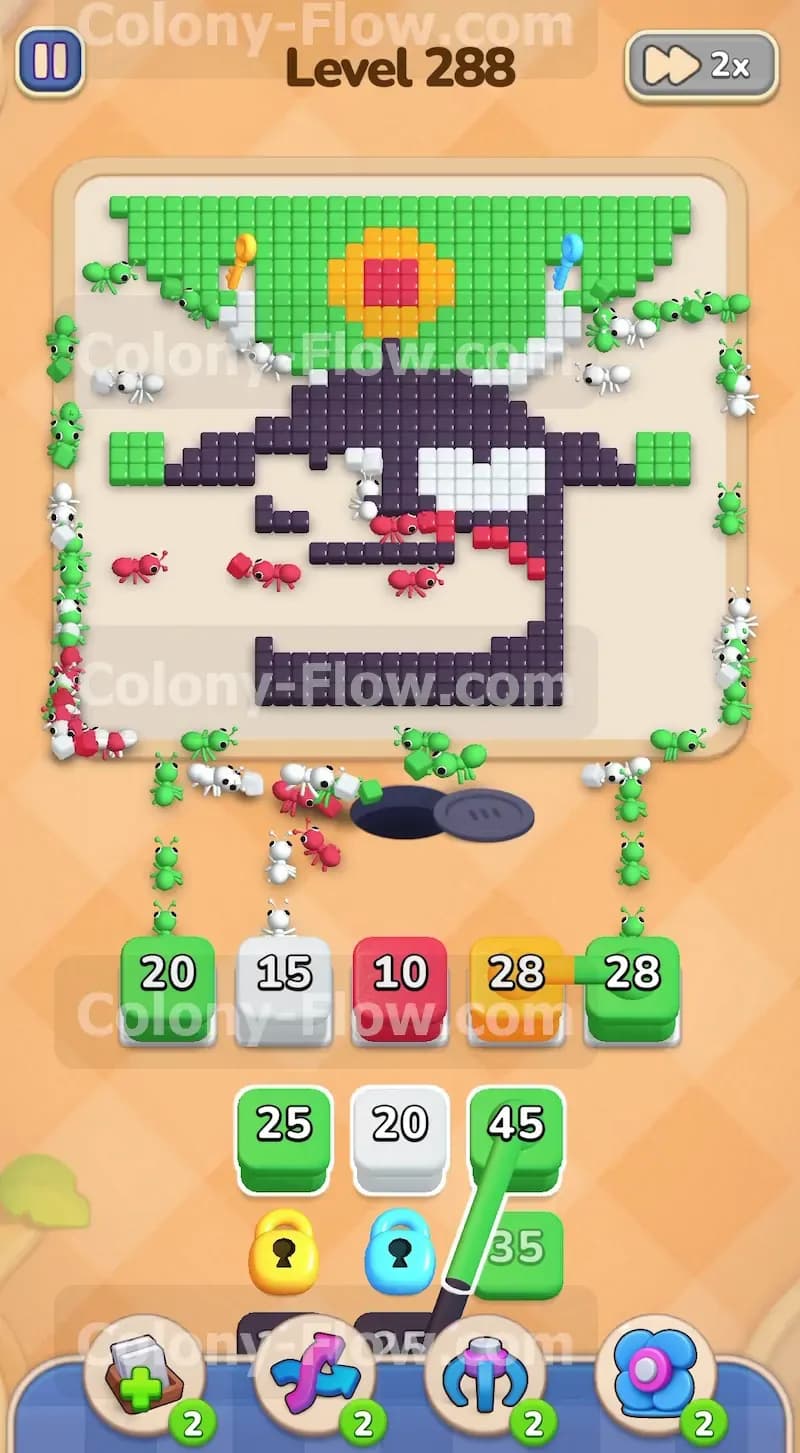
Your green ants have been working hard on the outer edges this whole time. As they reach the upper left and upper right areas of the board, they will finally approach the colored keys resting directly on the green tiles. There is a yellow key on the left side and a blue key on the right side. You must keep pulling green blocks like the 35 and 45 to push the ants all the way up to these keys. When the ants eat the specific green tiles holding the keys, the keys will fly down to your tray. This action unlocks the yellow and blue locked blocks sitting in your lower tray layers. Unlocking these blocks is a mandatory action for finishing the level. If you neglect the green background, those locked blocks will permanently trap the rest of your tray and cause you to run out of playable moves. Make sure your green ants are always active on the board until both the yellow and blue keys are safely collected.
Step 5: Transition to the black face and manage connected boxes in the tray.
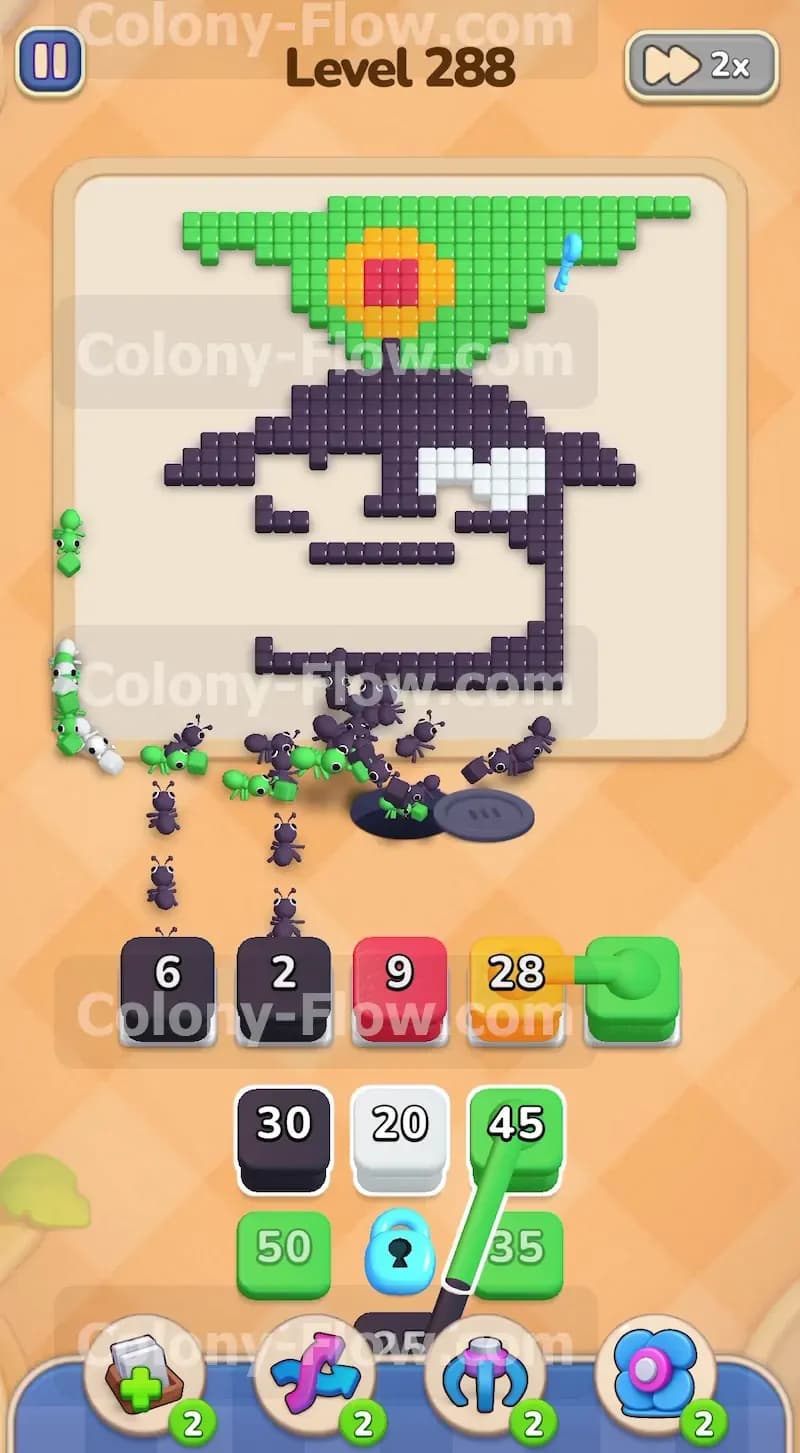
With the red snout completely gone and the white horns mostly cleared out, the massive black body of the monster is totally vulnerable to attack. You can now start pulling black blocks into your empty tray slots. You will find several smaller black blocks like a 6 and a 2 along with larger ones like a 30. At this exact moment, you will also notice connected boxes appearing in your tray. These are two or more blocks linked together by a chain. You must pull connected boxes as a single group. This means you need multiple empty slots in your waiting area to accommodate them all at once. Never pull a connected box group if you only have one empty slot available because the game will block the move and you will waste time trying to clear space. Wait until your black and green ants finish their current blocks to open up room, then pull the connected green blocks up to the waiting area. The black ants will aggressively carve into the center of the face and expose the final sections of the puzzle.
Step 6: Attack the central emblem with orange and red blocks.
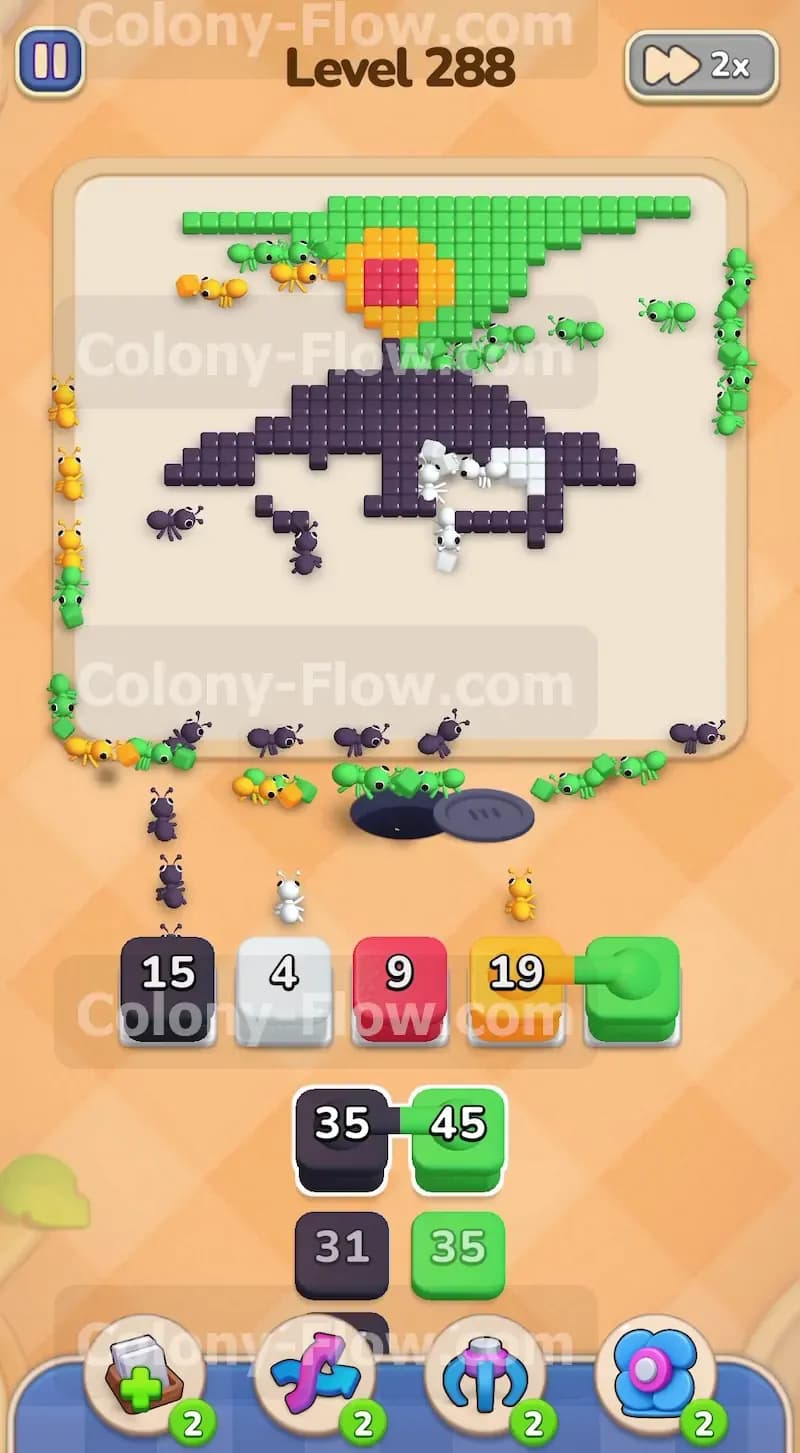
The black tiles will eventually recede enough to expose the yellow and red jewel design sitting right on the monster forehead. This is the perfect time to pull your orange blocks into the tray. You have an orange 28 block and an orange 19 block waiting for you. Pull them up alongside a red 9 block. The ants will swarm the center of the board and eat the entire emblem structure. You must continue to balance these pulls with more black blocks. The black structure is still quite large and requires massive numbers like a 35 and a 31 to fully clear out. Keep a close eye on the remaining green background at the very top of the board as well. By splitting your tray between black blocks, orange blocks, and green blocks, you ensure that multiple streams of ants are working simultaneously. This prevents any single color from bottlenecking your tray and keeps the board clearing at a very rapid pace.
Step 7: Clean up the final scattered tiles to finish the board.
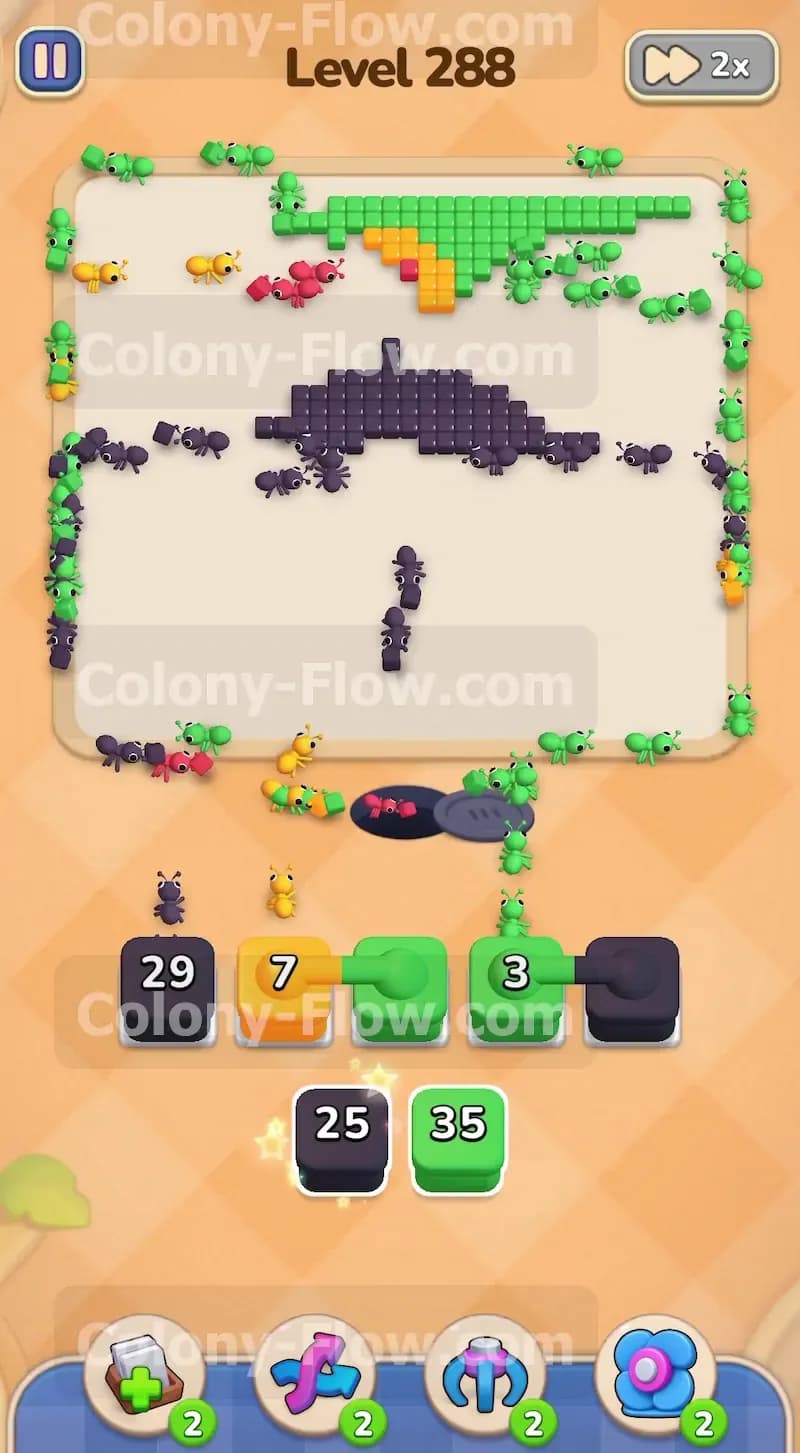
You are now in the final stretch of the puzzle. Only a few scattered black tiles, a tiny bit of orange, and the top row of the green background remain on the screen. Look at your tray to see your final blocks. You have a black 29 block, an orange 7 block, and a few connected blocks left to pull. Bring them into your waiting slots very carefully. Confirm that every single color has a clear physical path to its matching tiles on the board before you commit to the pull. The ants will make quick work of these isolated pieces. The last few black ants will eat the top edge of the monster head while the green ants finish off the very top row of the background. Once the final tile disappears and the ants return to the nest, the level is officially complete.
Final Thought
Colony Flow Level 288 tests your ability to balance a massive outer perimeter with a dense central structure. As long as you prioritize the green background to secure those keys early, your tray will stay unlocked and flexible. You must respect the connected boxes and always keep enough empty slots to handle them safely. Take your time and plan your block pulls based entirely on open paths and you will crush this puzzle. Check out the gameplay video above this article if any step is hard to follow in text.