Colony Flow Level 290 Walkthrough Solution & Guides | How to solve Colony Flow 290

Guide By Liam Stone
Updated on August 1, 2026
You can jump straight to the video above and watch the full Level 290 solution instead of reading on.
Video doesn't match your screen?
Game updates frequently scramble layouts! Try our AI Screenshot Solver first to find your exact board instantly, or report broken guides to our team.
Welcome to my complete guide for Colony Flow Level 290. This board looks incredibly intimidating right from the start because three massive blockers cover almost the entire hidden picture. You have to manage your waiting slots perfectly to chew through these huge numbers without jamming your tray. I played this level several times to find the safest route and will show you exactly how to clear the board.
Colony Flow Level 290 Overview
What You Are Working With
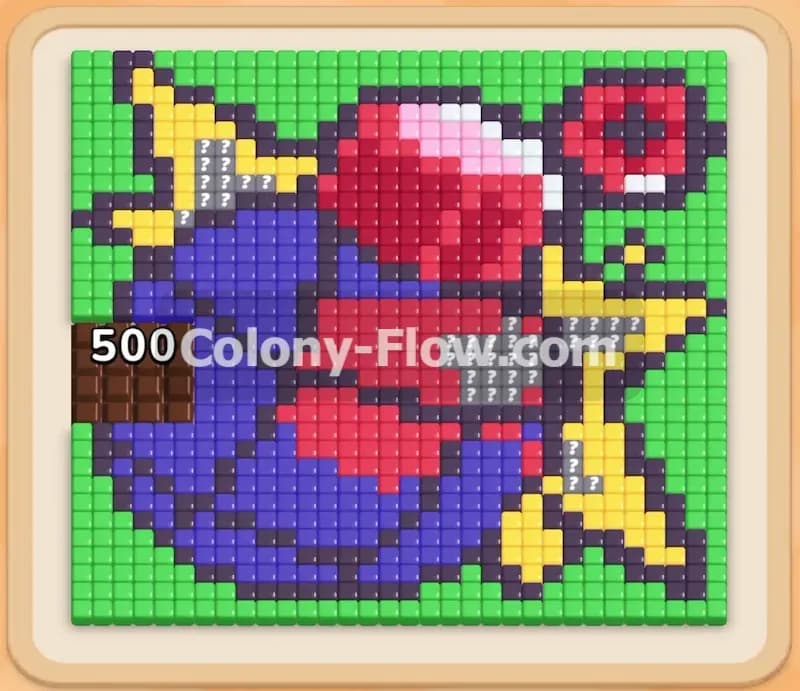
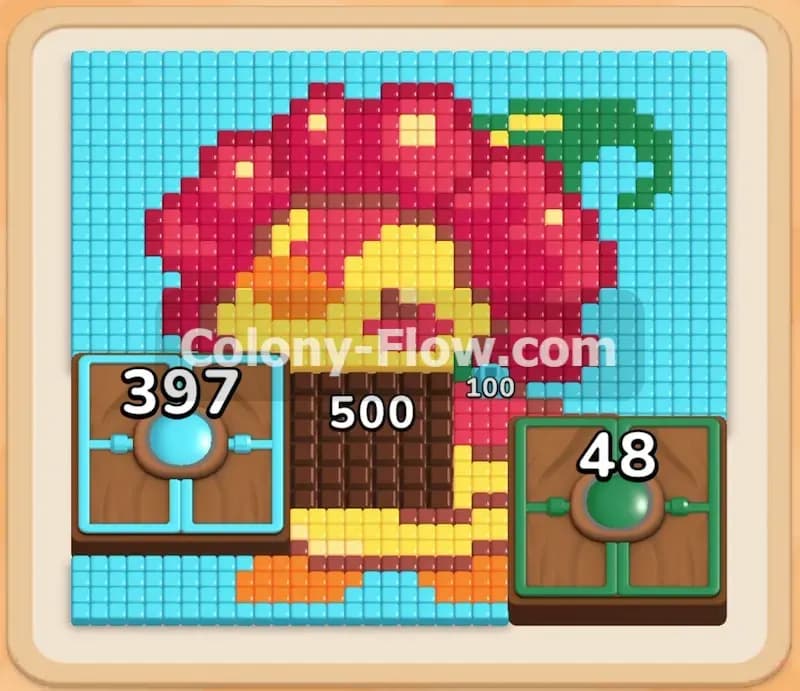
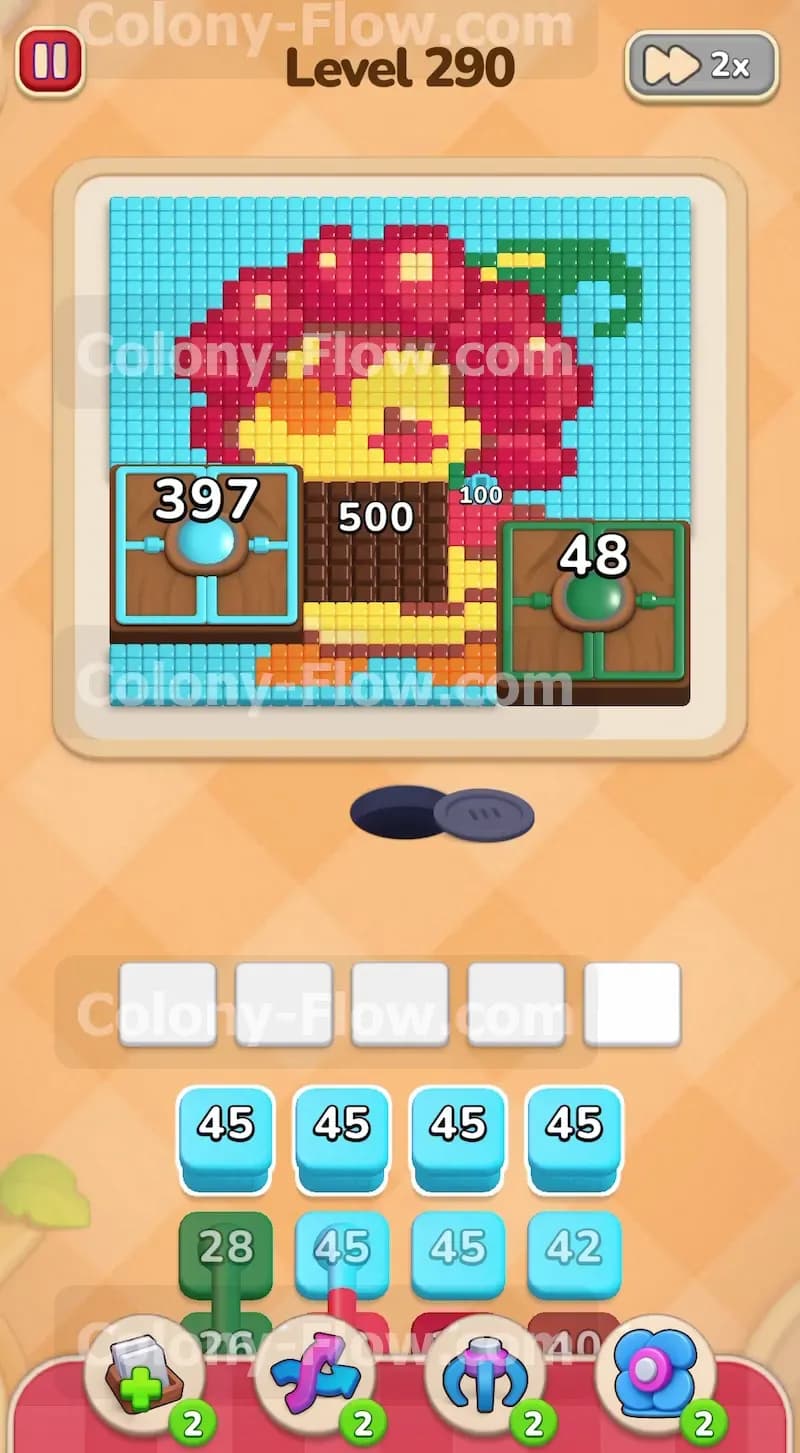
When you load into the level you see a large square grid mostly covered by three special obstacles. On the left side a massive blue Hungry Door blocks the picture and demands a whopping 397 ants to open. In the dead center a heavy Chocolate cover blankets the middle of the board. This chocolate takes 500 hits to completely melt away. Over on the right side a green Hungry Door sits waiting for 48 ants. A border of light blue background tiles surrounds these blockers. The ant nest hole sits at the bottom center of the board. All ants spawn from this single point. They must find an unobstructed path to their matching colors. If a path is blocked by another color the ants cannot reach their target. Down in your block tray you start with a heavy supply of light blue and green blocks. You have exactly five waiting slots above the tray. These slots hold your active blocks while the ants spawn and run. Your main threat in this level is pulling the wrong color block too early. If you fill all five slots with colors that have no open path they will sit there forever. If you run out of empty slots you lose the level instantly.
What It Takes to Clear Level 290 Board
To beat this level you must dismantle the blockers first and then consume the hidden picture. You need to send light blue ants to the left door and brown ants to the chocolate cover. Once you break through these heavy defenses the game reveals the pixel art picture underneath. The image is a yellow bird character wearing a large red and pink flower hat with green leaves. You win the level when every single blocker is gone and your ants eat the very last colored tile on the board. You must constantly balance feeding the blockers and eating the exposed tiles to keep your tray moving.
Colony Flow Level 290 Step by Step Solution
Step 1: Feed the blue Hungry Door and clear the light blue border
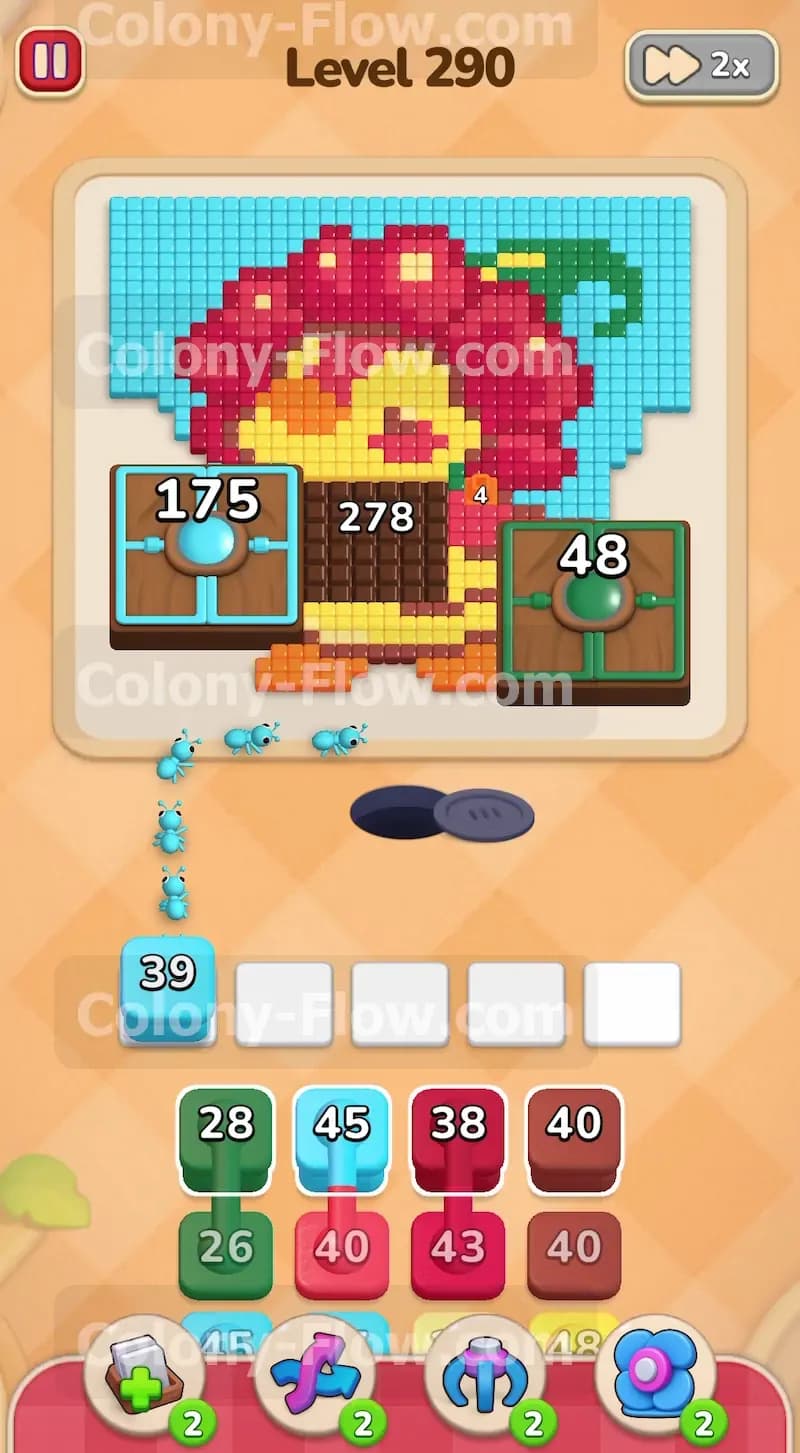
Your very first priority is bringing down that massive 397 requirement on the blue Hungry Door. Look at your starting tray and tap the light blue blocks. Most of these early blocks carry values like 45 and 42. The light blue ants will pour out of the nest hole and split their attention. Some will march directly into the blue Hungry Door to satisfy its condition. Others will walk to the edges and eat the exposed light blue background tiles wrapping around the board. Keep pulling every light blue block you can find in the early rows. You want to drop the door requirement as fast as possible to open up board space. This creates a steady flow of ants and keeps your waiting slots completely empty. Never pull a color that cannot move. Stick exclusively to the light blue blocks until new options scroll into your tray from the bottom.
Step 2: Attack the heavy chocolate cover with brown blocks
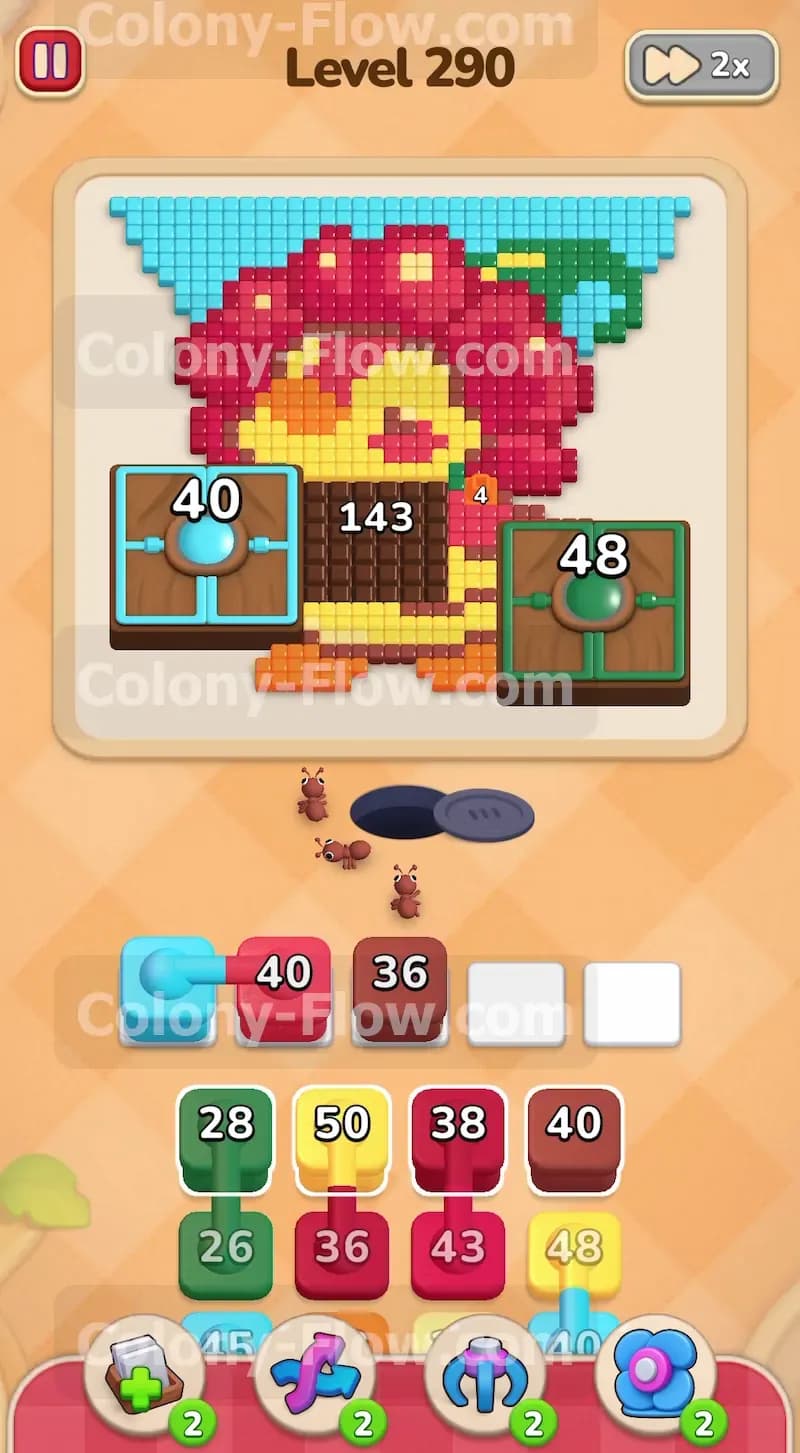
As you clear the initial light blue blocks your tray will slide up and reveal brown blocks. The central chocolate cover requires 500 hits to break. This is a massive number that will take a long time to chip away. Start tapping the brown blocks as soon as they appear. The brown ants will march straight up the middle of the board and dive into the chocolate. You should now alternate between pulling light blue blocks and brown blocks. This dual attack strategy is the safest way to play. You are simultaneously weakening the blue Hungry Door on the left and melting the chocolate in the middle. By splitting your moves this way you ensure your tray never stagnates and your five slots remain safe.
Step 3: Break the blue Hungry Door completely to expose the hat
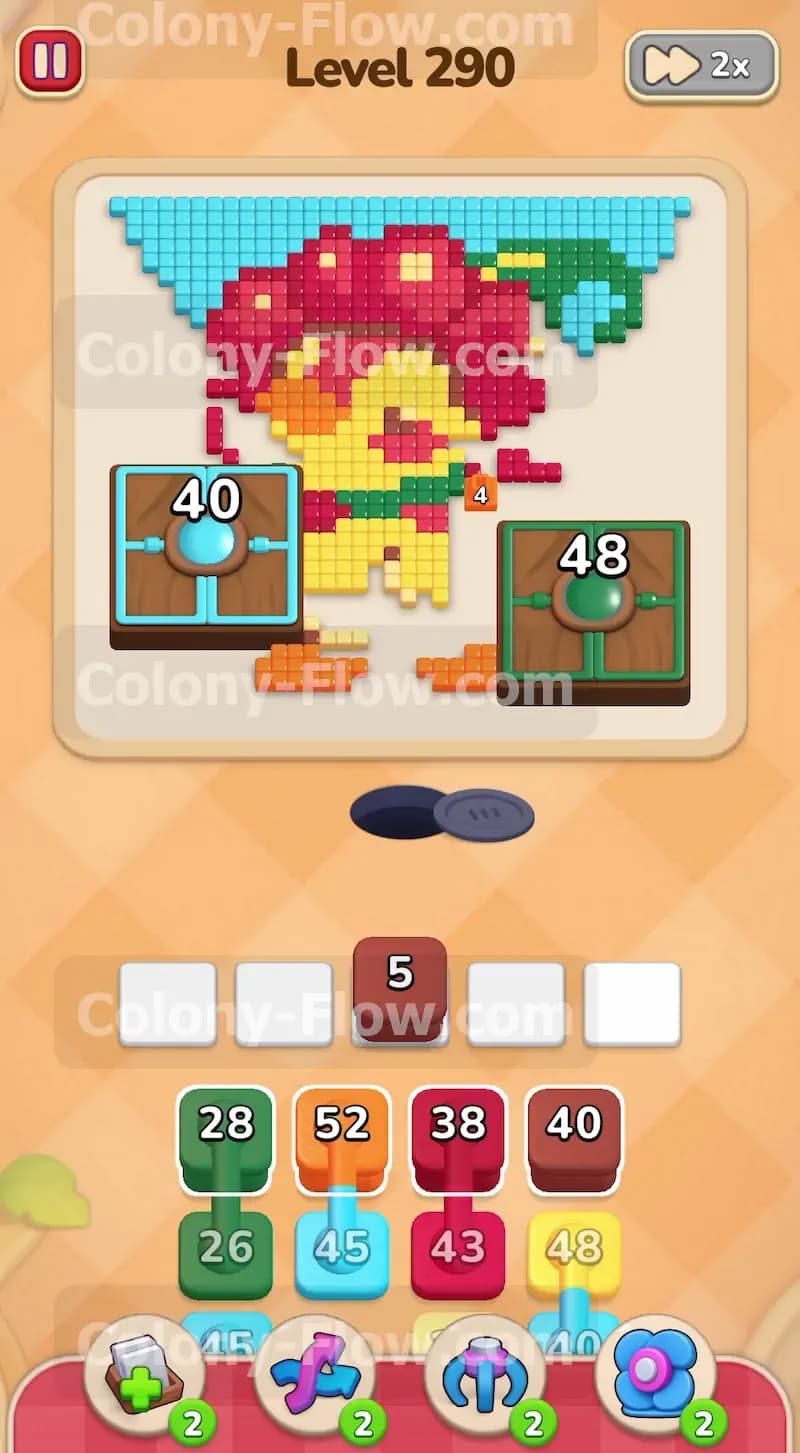
Keep feeding the light blue ants into the left side until the blue Hungry Door counter hits zero. Once you satisfy the requirement the door flaps will open and the entire structure will vanish from the board. This is your first major breakthrough. The disappearance of the door exposes the left side of the hidden picture. You will now see the bright red and pink flower petals of the hat along with a section of the yellow face. Revealing these tiles gives you brand new targets. Your tray has likely been filling up with dark red and pink blocks. Now you finally have a valid place to send them.
Step 4: Deploy red and pink ants to the newly exposed flower petals
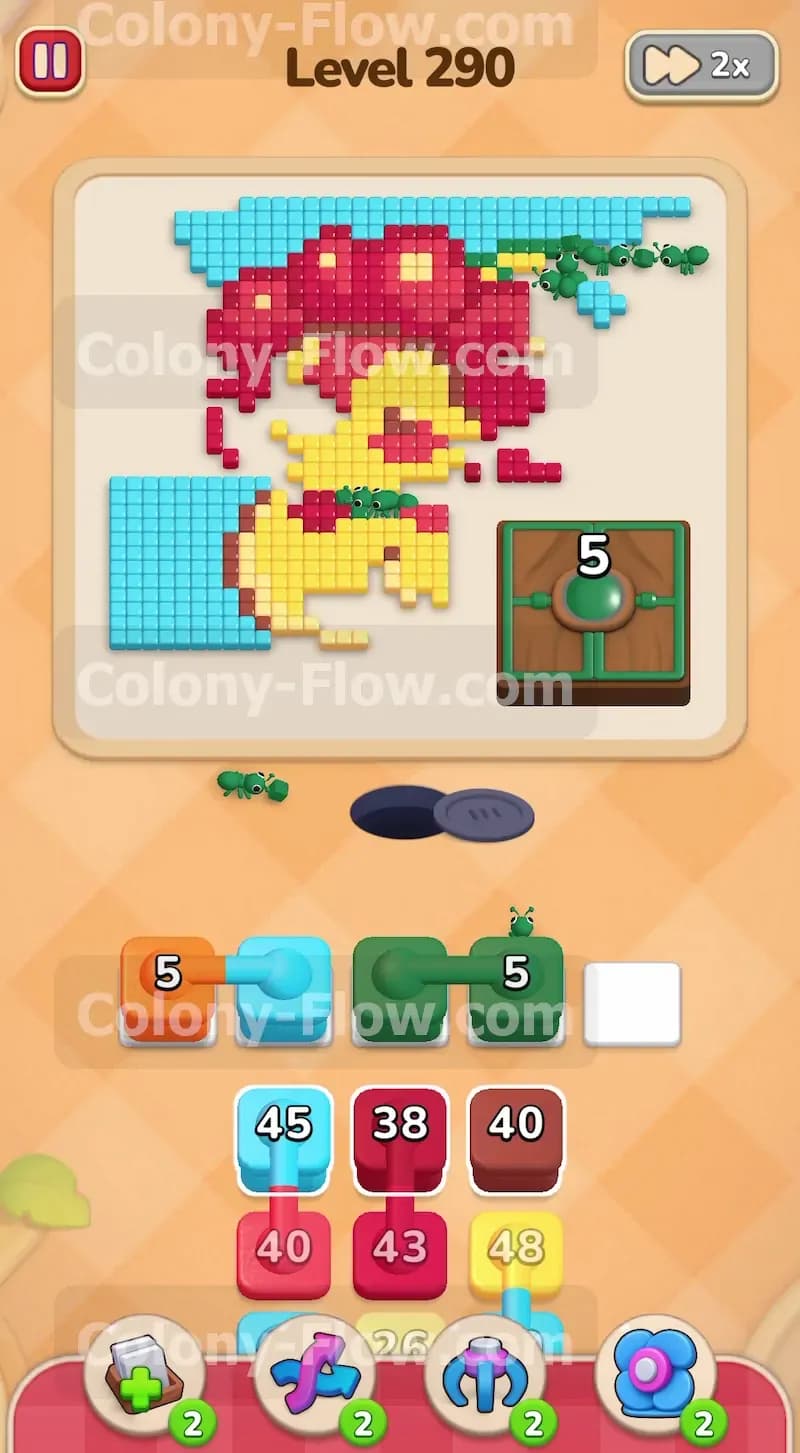
With the left side of the picture open you can start attacking the hat. Tap the dark red blocks and the pink blocks from your tray. These blocks usually hold around 40 or 43 ants. The ants will stream toward the red and pink flower tiles and start chewing away the picture. While you do this you absolutely must remember the chocolate cover in the middle. The chocolate started at 500 and still requires a lot of brown ants to finish. You have to juggle three different tasks right now. Send red and pink ants to the hat. Send brown ants to the chocolate. Send light blue ants to the remaining background border. Managing these multiple colors prevents any single block type from piling up and ruining your run. Keep your eyes on the board and only pull blocks that match an exposed color. If you pull a yellow block right now it will sit in your slot and choke your tray because the yellow tiles are still trapped under the chocolate.
Step 5: Melt the final layers of chocolate to open the center board
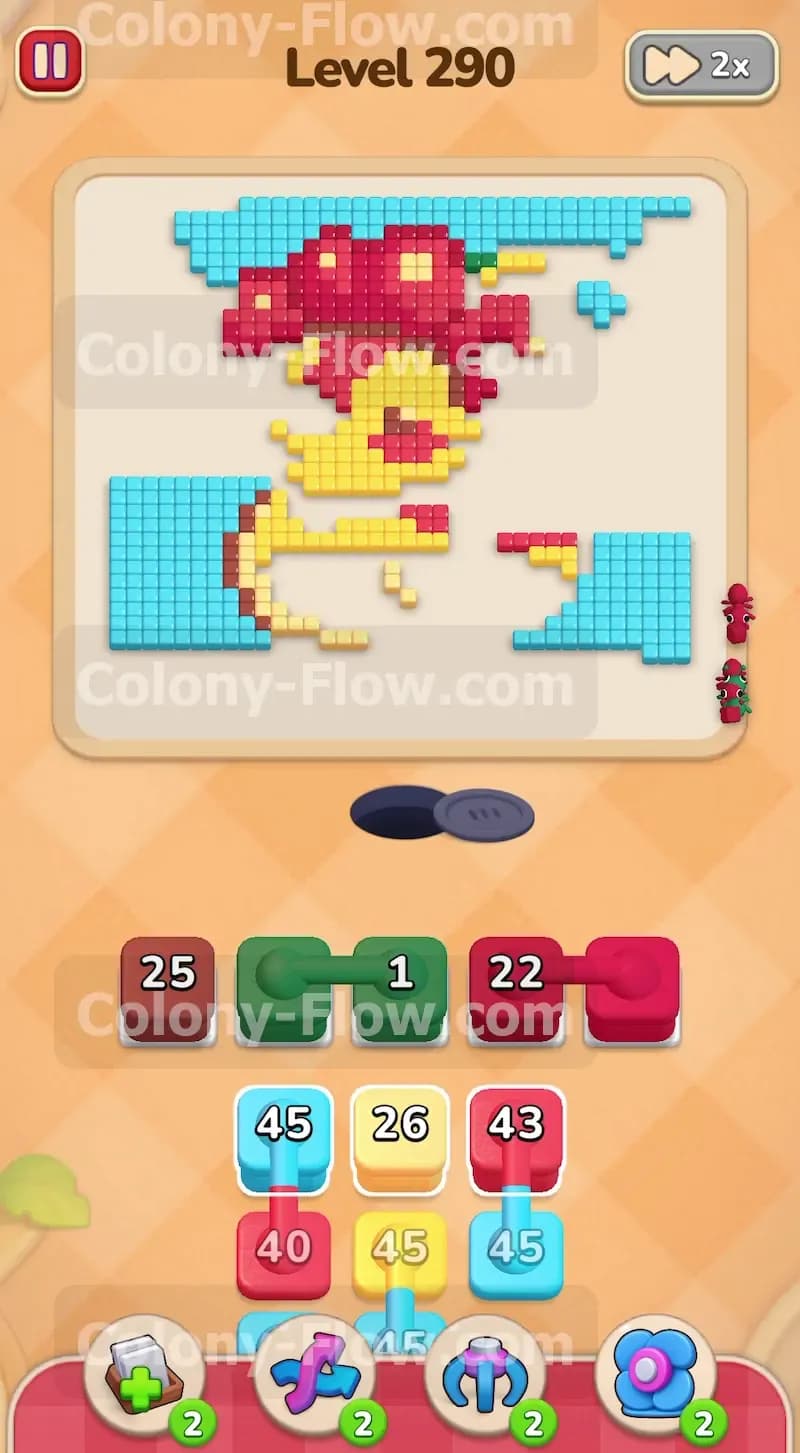
Your sustained attack on the chocolate cover will eventually bring its counter down to the single digits. Tap the last few brown blocks to deliver the final hits. When the chocolate finally breaks apart it clears the entire center of the board. This massive newly opened space reveals the rest of the yellow face and the middle sections of the red hat. You now have full access to the core of the picture. This is a huge relief for your tray management. You can now safely pull the yellow blocks that have been stubbornly sitting at the bottom of your screen. Send the yellow ants straight into the center to start eating the face.
Step 6: Unlock the green Hungry Door on the right side
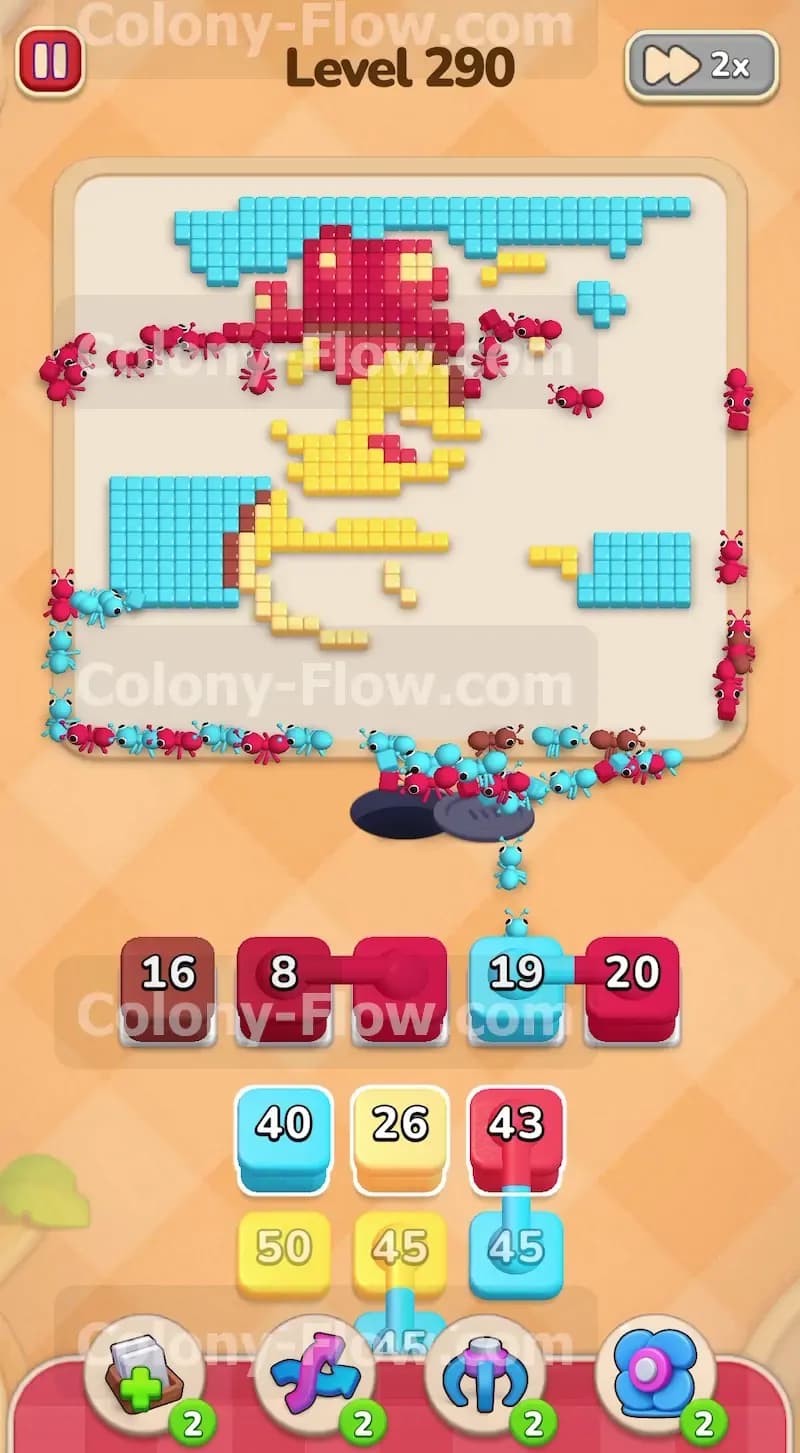
You still have one special tile left to deal with. The green Hungry Door on the right side of the board has been sitting there quietly waiting for 48 ants. Now is the perfect time to open it. Tap the green blocks from your tray. The green ants will march to the right side and feed the door. They will also chew on the green leaf tiles located near the top right corner of the hat. The requirement of 48 is very small compared to the others so this door will break quickly. Once the green ants satisfy the condition the door disappears entirely. The right side of the hidden picture is now fully exposed and you are free of all blockers.
Step 7: Clear the remaining red hat and green leaf tiles
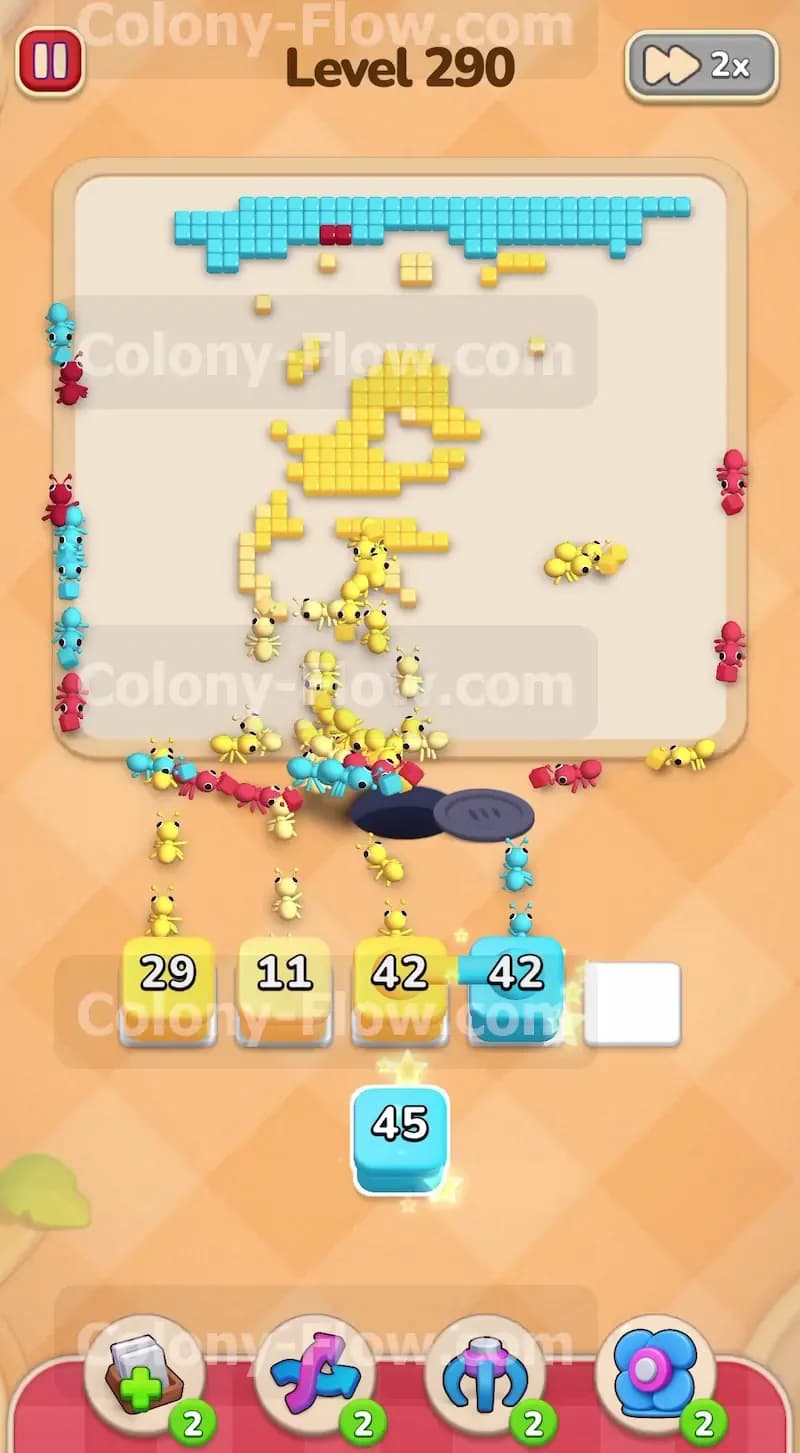
The entire pixel art picture is completely uncovered. The rest of the level is a pure cleanup phase. You just need to clear out the remaining colored tiles piece by piece. Start with the top half of the board. Pull the dark red and pink blocks to finish eating the flower hat. These colors are mostly clustered at the very top. Pull any remaining green blocks to clear the last few leaves on the right edge. Because the whole board is open you have very little risk of jamming your slots. The ants have clear paths to every single tile. Just match the blocks in your tray to the colors you see on the screen. Keep a steady rhythm and watch the top half of the picture disappear. Do not rush and pull too many blocks at once. Let the slots clear themselves before tapping more.
Step 8: Sweep the yellow face and final light blue background
Only the bottom half of the character and a few border tiles remain. Your tray will be packed with yellow blocks and light blue blocks. Tap the yellow blocks to send a swarm of yellow ants to eat the face and body of the bird. You will notice the numbers on the blocks perfectly match the remaining tiles. Once the yellow tiles are gone you will be left with just the light blue background frame sitting on the edges. Pull the very last light blue blocks from your tray. The ants will run up and consume the final border pieces. When the last tile vanishes the board will be perfectly clean and you will win the level and move on to the next challenge.
Final Thought
Level 290 tests your patience and your ability to manage massive numbers. As long as you focus on the big blockers first and never pull a color without an open target you will succeed. If any of these steps feel hard to follow in text I highly encourage you to watch the video above this article. Seeing the sequence in motion can really help clarify the timing of the moves.