Colony Flow Level 18 Walkthrough Solution & Guides | How to solve Colony Flow 18

Guide By Liam Stone
Updated on July 10, 2026
You can watch the Level 18 solution unfold in the video above instead of scrolling through the article.
Video doesn't match your screen?
Game updates frequently scramble layouts! Try our AI Screenshot Solver first to find your exact board instantly, or report broken guides to our team.
Welcome back to another puzzle guide. Today we are looking at Colony Flow Level 18 and walking through the exact moves you need to win. This stage gives you a delicious looking pixel art hamburger to dismantle tile by tile. The board requires careful tray management because you have some tricky connected boxes that easily jam your five waiting slots if you pull them at the wrong time. You need to read the board carefully and only activate colors that have open paths. I played through this level multiple times to find the perfect order of moves and I am ready to share my exact winning strategy with you.
Colony Flow Level 18 Overview
What You Are Working With
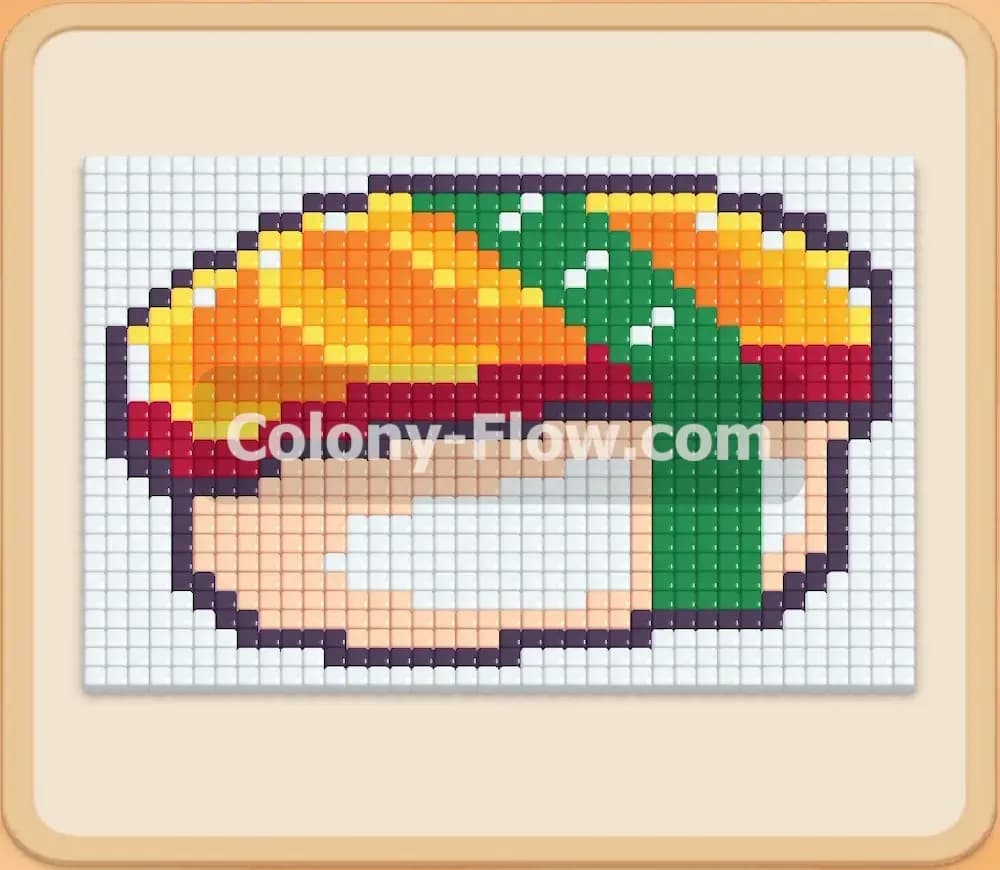
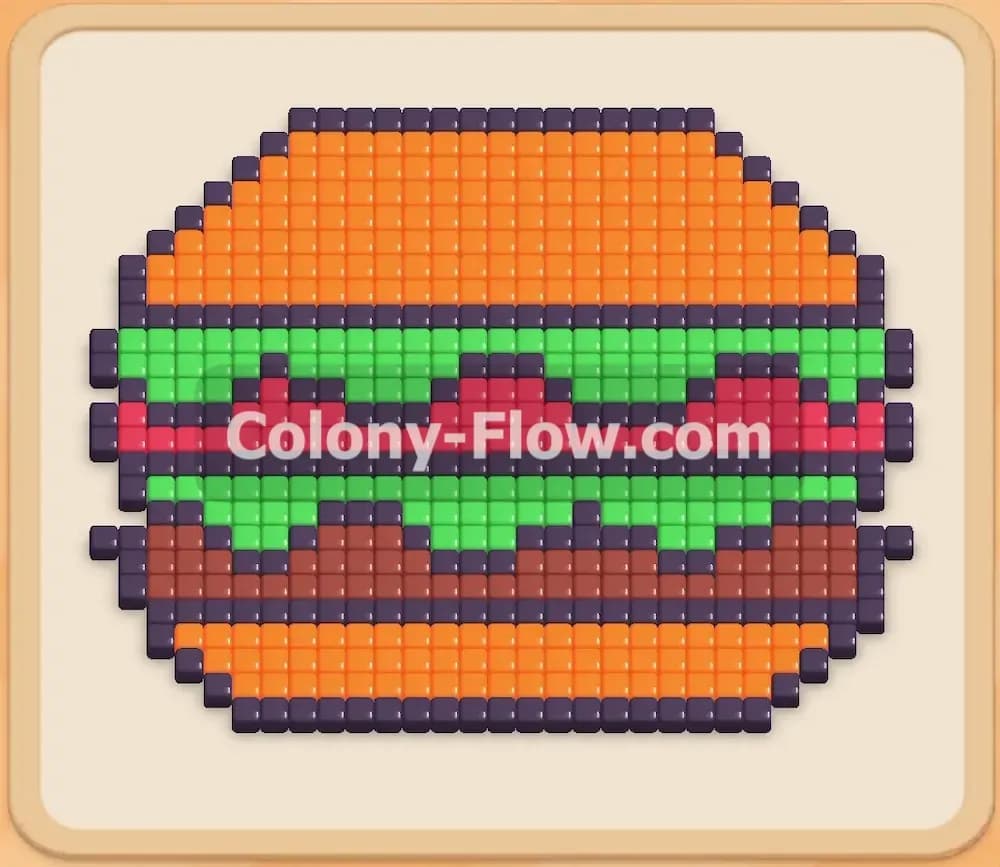
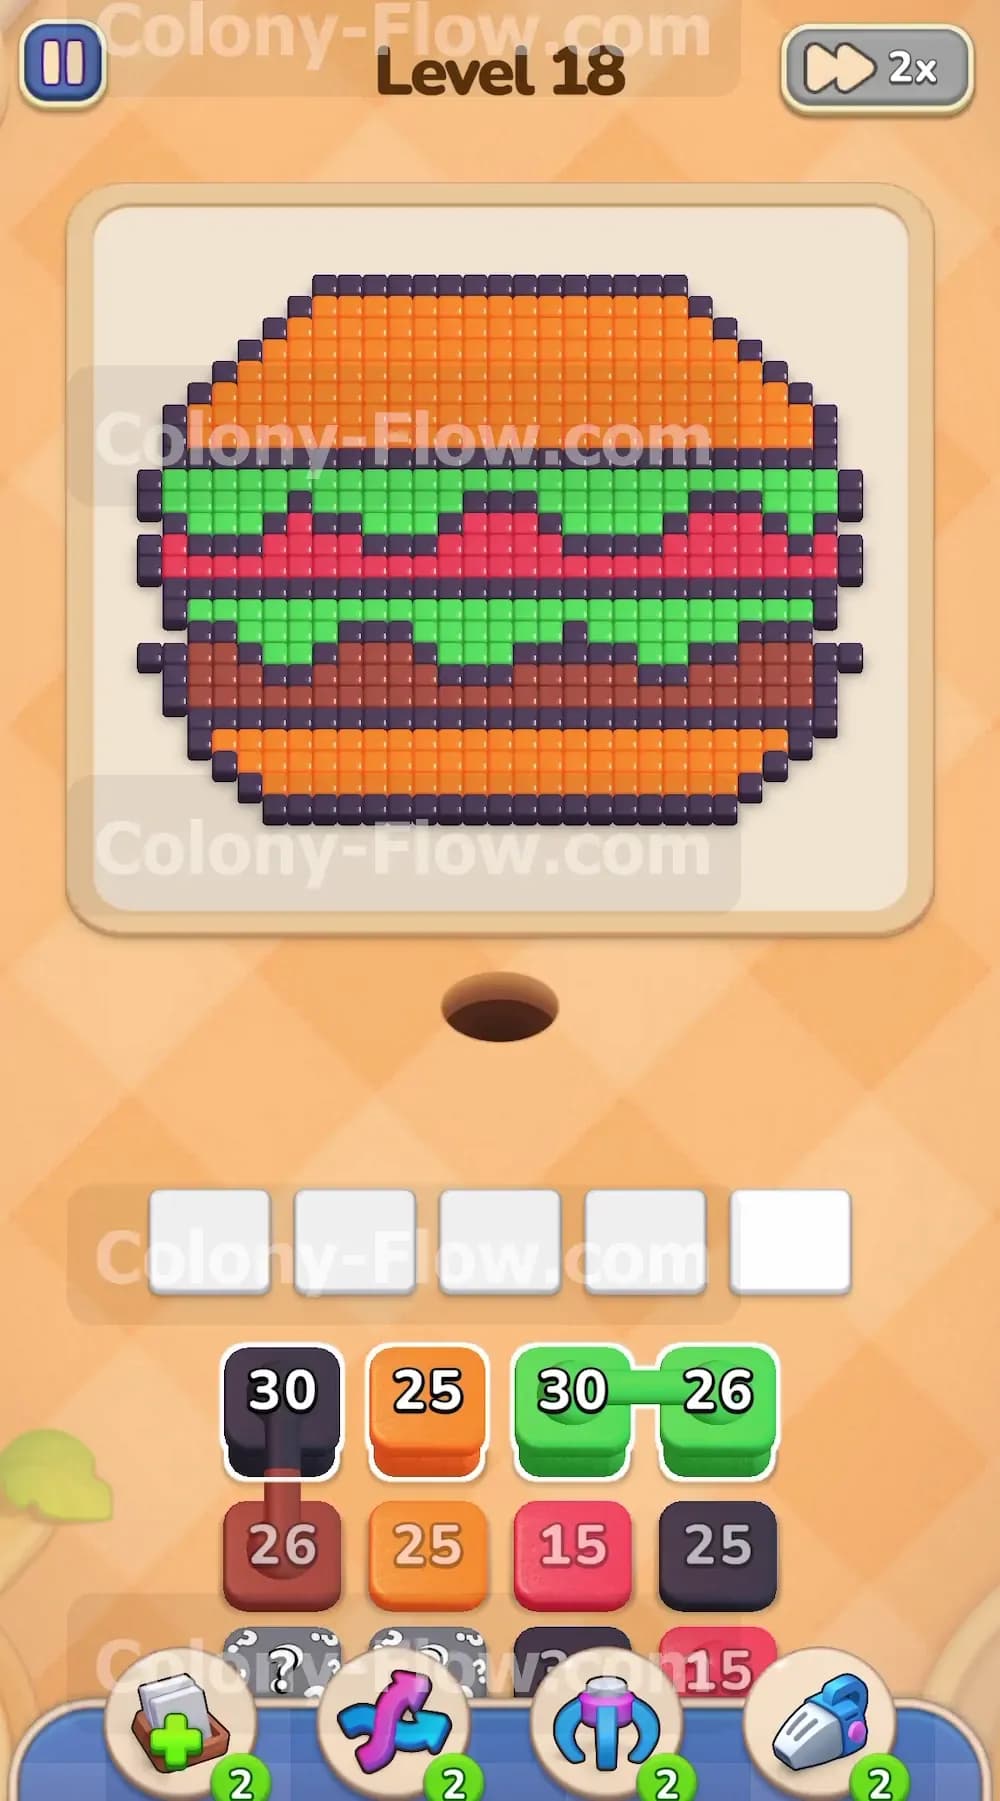
The main picture is a large hamburger sitting in the center of the screen. The pixel art uses distinct horizontal layers to represent the different food items. You have a thick orange top bun that dominates the upper half of the board and a thinner orange bottom bun resting at the base. A solid black line outlines the entire burger and separates some of the middle sections to give the picture depth and structure. Inside the burger you will find a bright green lettuce layer that extends slightly past the bun edges. Below the lettuce sits a vibrant red tomato layer and a dark brown meat layer right above the bottom bun.
Your tray at the bottom of the screen is packed with numbered blocks in these matching colors. Many blocks hold high numbers like 30 or 25 which means they will occupy your waiting slots for a long time. You also have connected boxes linking two different colors together in a single pull. A hidden box sits in the lower rows waiting to reveal its true color once it has room to move.
Level 18 Objective
Your goal is to completely clear the hamburger from the board by matching your colored ants to every single food tile. You win the game when the final orange bun tile disappears and the last few ants finish their routes off the screen. You must do this without filling all five waiting slots with blocks that lack open paths. If you fill the slots and the ants cannot reach their matching colors the level dead ends and you fail immediately.
Colony Flow Level 18 Step by Step Solution
Step 1: start by clearing the bottom black outline and bottom orange bun
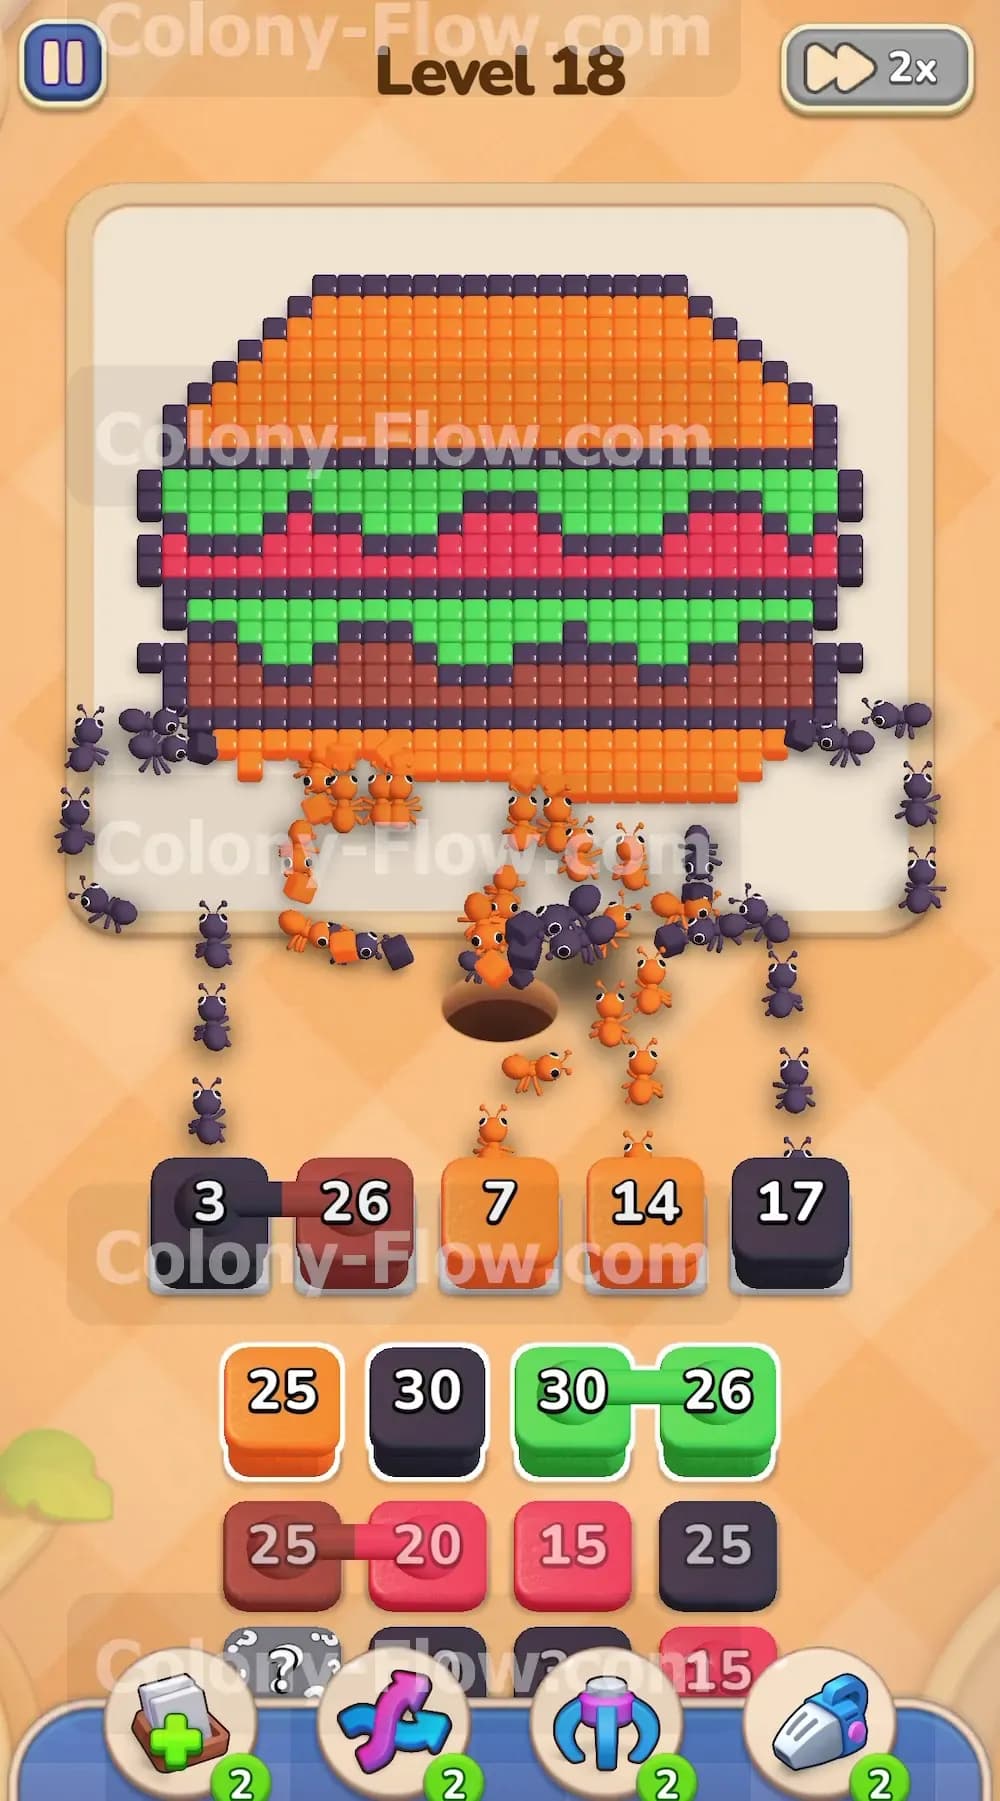
Begin by targeting the lowest layers of the hamburger to open up the bottom of the board. Pull the first connected pair from the tray into your waiting slots. This specific pair links a black 30 block and an orange 25 block. Next pull the second connected pair which holds a brown 26 block and an orange 25 block. Finish this opening sequence by pulling a single black 25 block from the tray. A steady stream of black ants will emerge from the nest hole and march straight up to eat the bottom edge of the black outline. At the same time orange ants will flood the board to consume the bottom orange bun. Because these tiles sit at the very bottom of the picture the ants have immediate and direct open paths. The numbers on your blocks drop rapidly and free up space in your waiting slots so you avoid an early jam.
Step 2: let the brown ants eat the newly exposed meat layer
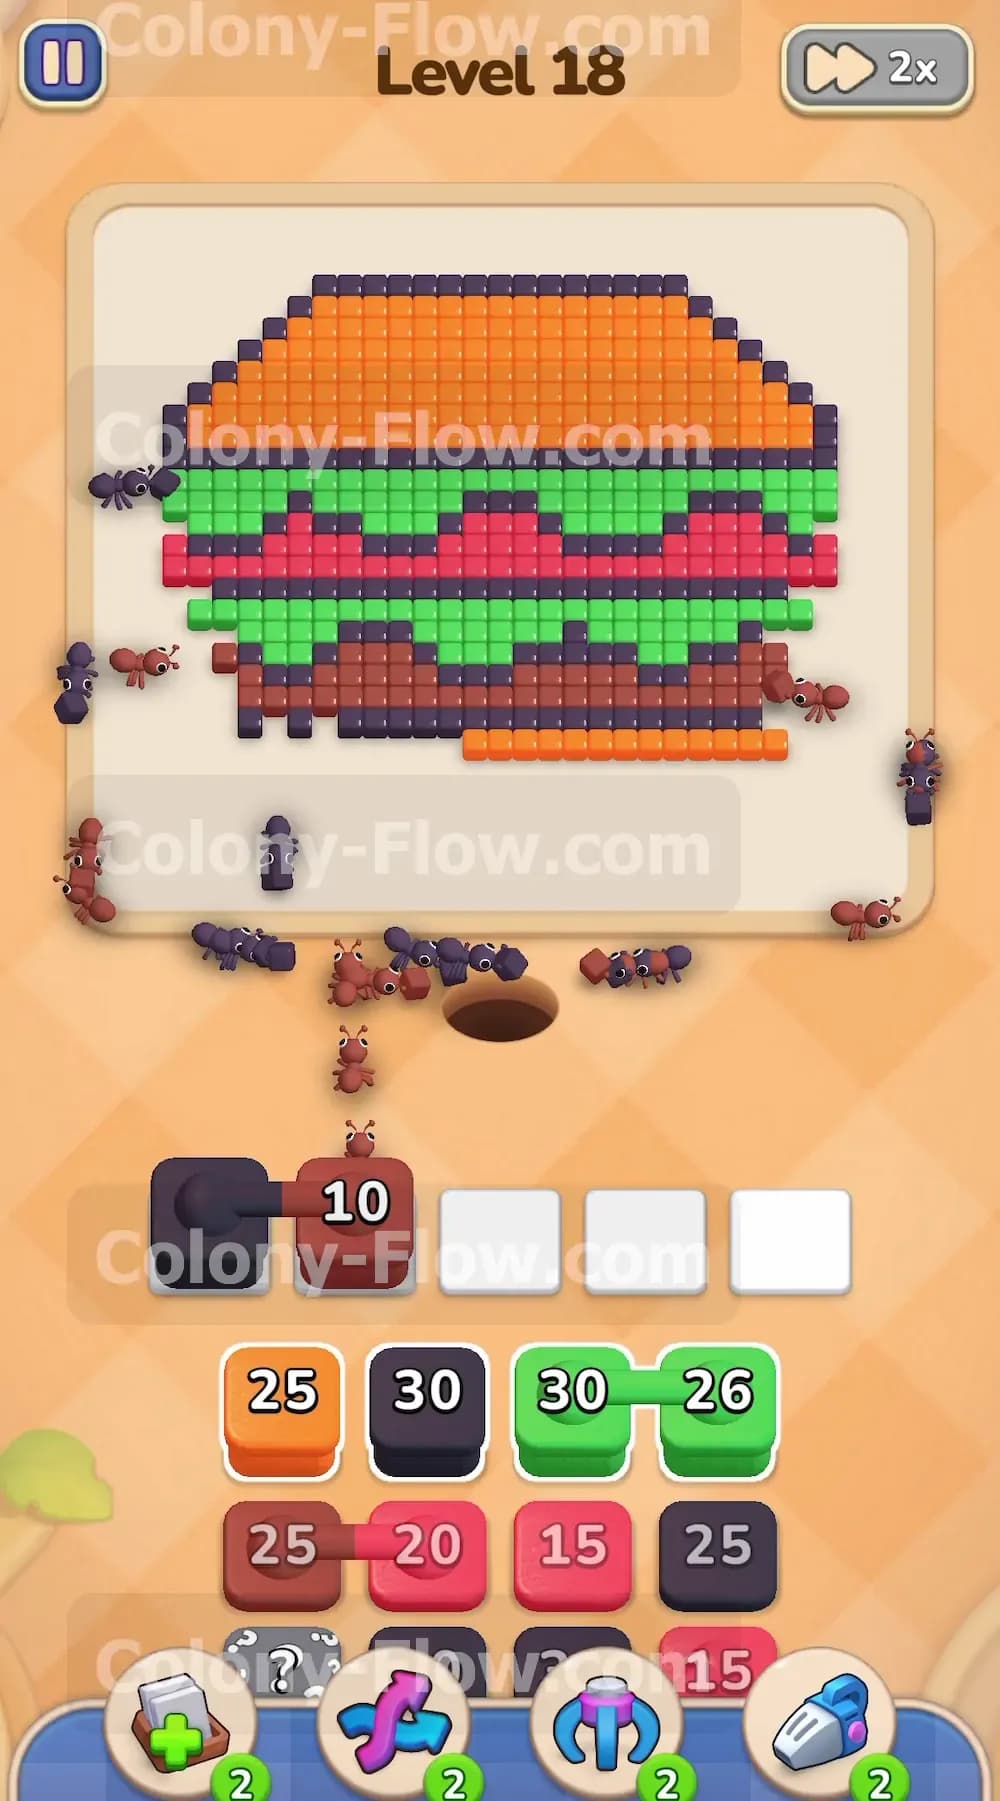
With the bottom bun completely gone the brown meat layer becomes fully exposed to the nest. The brown 26 block you pulled as part of the connected pair in the first step now activates perfectly. You do not need to pull any new blocks for this action to happen. Brown ants rush out of the hole and systematically clear the brown tiles horizontally across the middle of the board. They eat from the outer edges inward until the entire meat layer vanishes. Meanwhile the black ants from your first step continue working their way up the left and right sides of the burger to eat the side outlines. The black ants create a clean path up the exterior of the picture. Leaving your slots alone right now is the best move to keep a path open for the next wave of colors. You want those brown blocks to hit zero and vanish completely before you introduce too many new elements.
Step 3: attack the green lettuce layer and shrink the side outlines
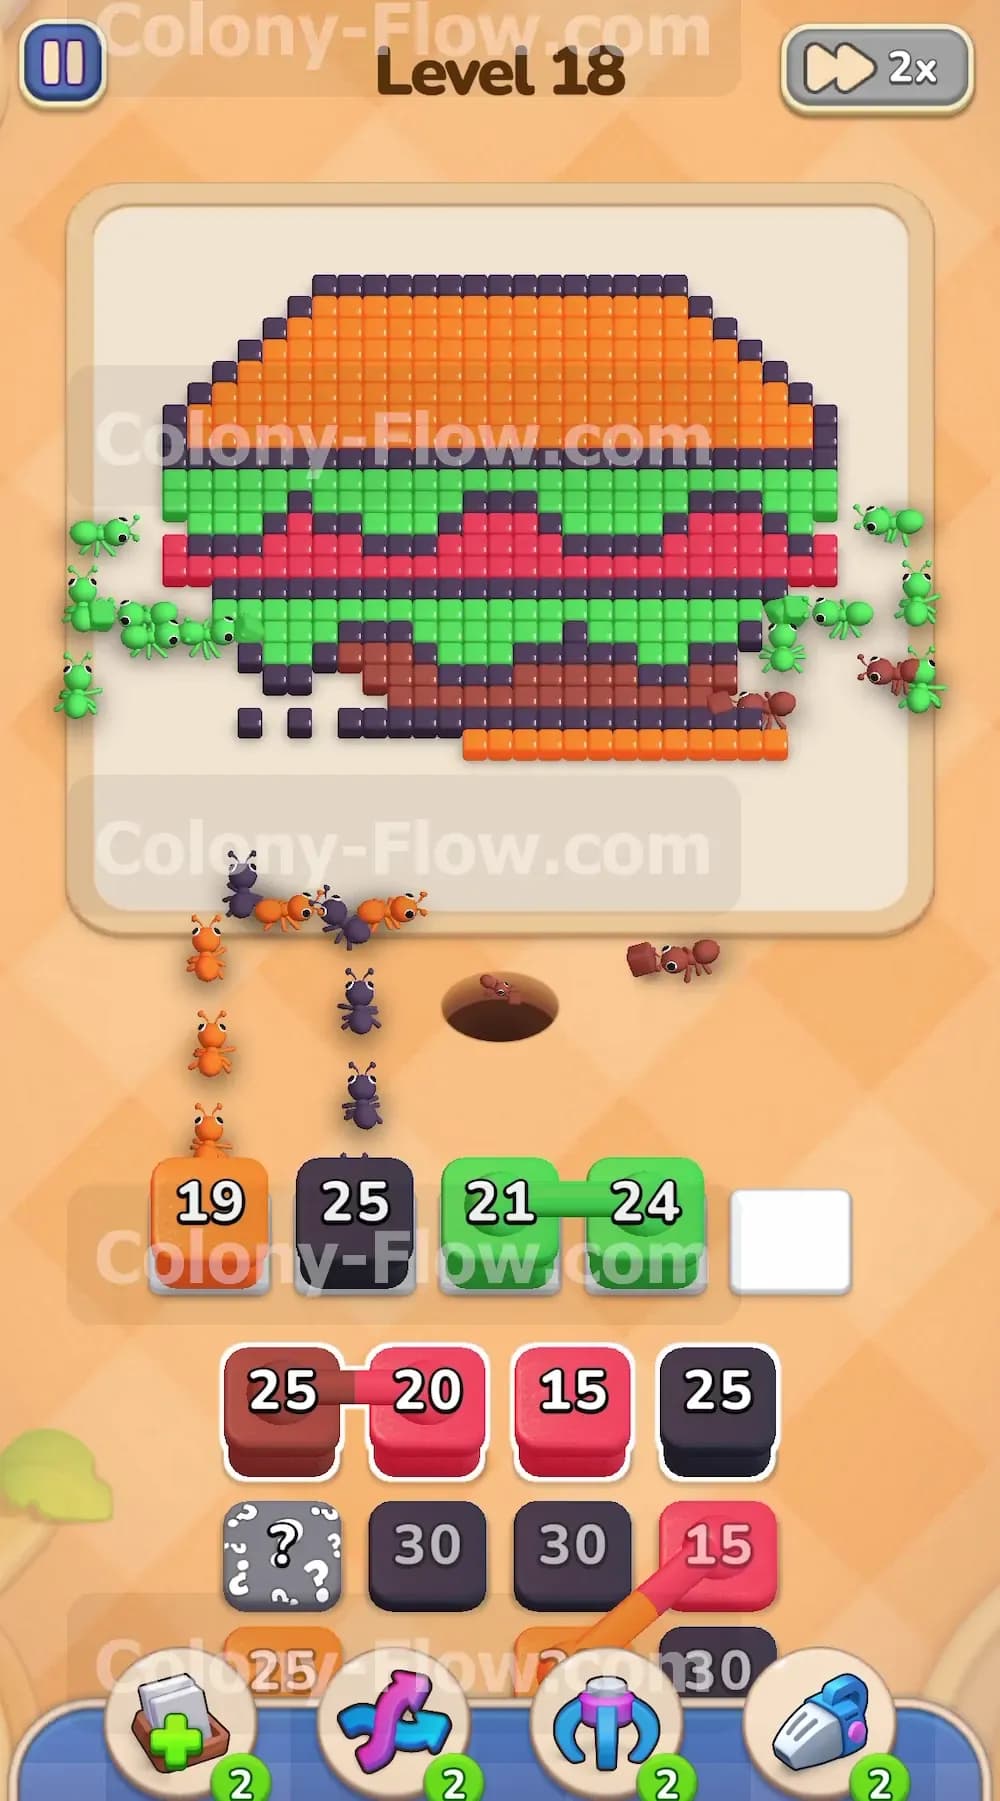
The brown meat is gone and you need to keep pushing upward into the green lettuce layer. You must carefully control the flow of ants to avoid a dead end. Pull a single orange 25 block and a black 25 block into the slots to keep the pressure on the outer layers of the picture. Follow this by pulling two green blocks from the tray. Specifically you want the green 30 block and the green 26 block. The green ants march rapidly up the sides of the board and attack the green lettuce tiles that stick out from the edges of the burger. The black ants maintain their steady progress on the black borders moving higher up the sides. Your waiting slots stay fluid and safe because both the green ants and black ants have immediate access to their target colors on the outer edges of the picture.
Step 4: bring in the red blocks to clear the tomato layer
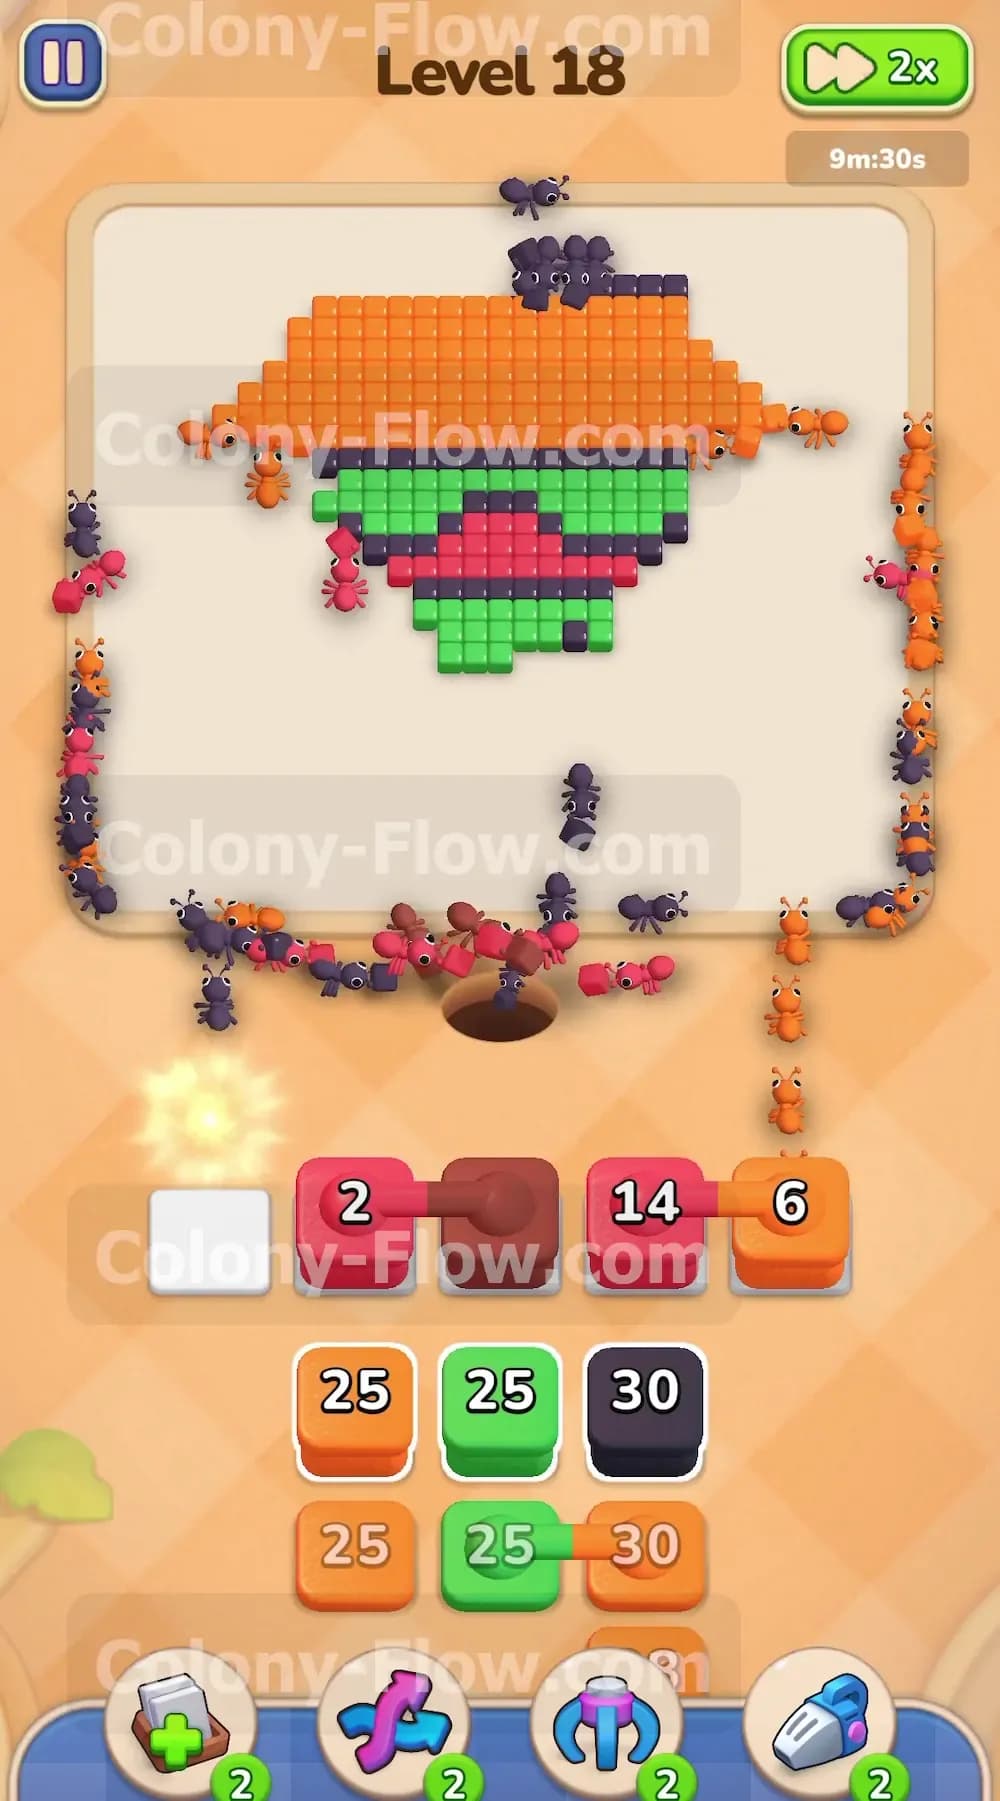
As the green lettuce layer shrinks back toward the center the red tomato tiles become completely accessible. Now is the time to unleash the red ants to clear the middle section. Pull a red 25 block and a red 20 block from the tray. You also need to pull a red 15 block to flood the board with a massive wave of red ants. Pulling these blocks fills your waiting slots quickly so you must ensure the red path is completely open before you make these moves. Because the green lettuce is mostly out of the way the red ants stream straight to the red tiles and begin eating right away. The numbers on your red blocks count down without jamming the tray and the entire middle section of the burger collapses.
Step 5: reveal the hidden box and tackle the top bun outline
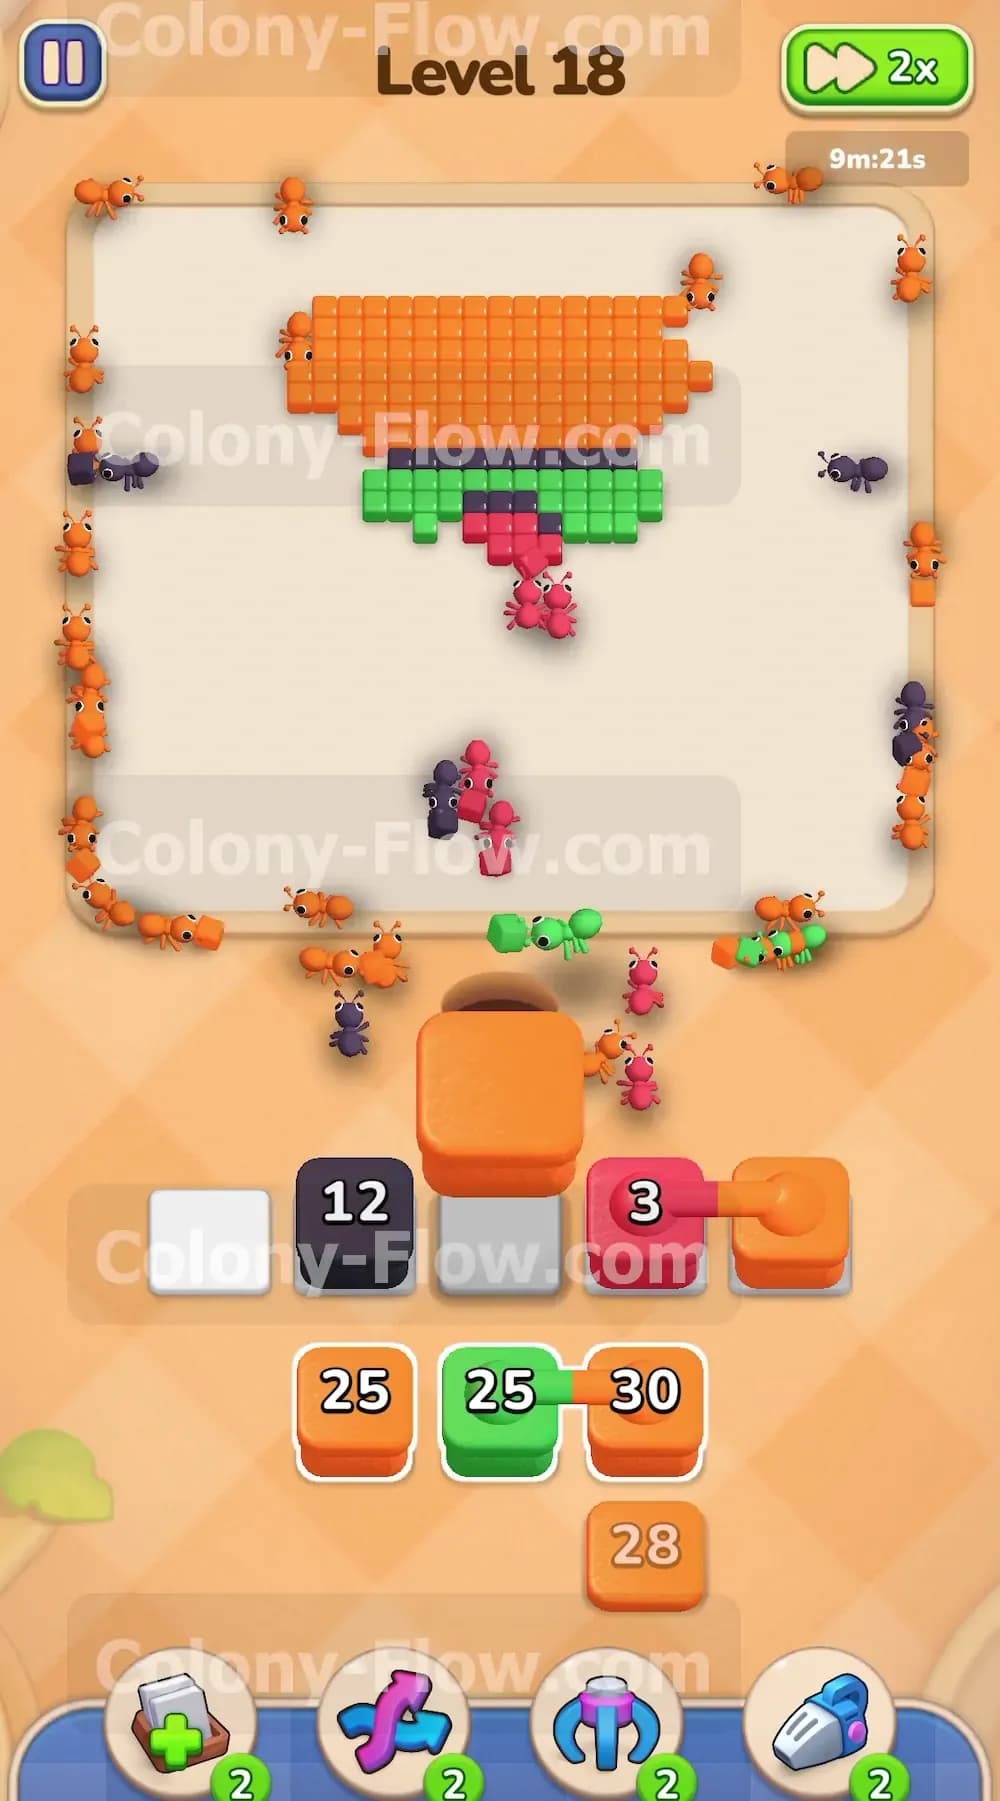
The bottom half of the burger is entirely gone and you are left with the massive top orange bun enclosed in its black outline. Look at the lower section of your tray to find the hidden box marked with a question mark. Pulling this box reveals another connected pair containing a red block and an orange block. Pull this connected pair into your slots now. You also need to pull the final black 30 block from the tray. The black ants rush to the top corners of the picture to finish off the very last black outline tiles. The red ants finish the remaining tomato tiles and the orange ants begin their assault on the lower edge of the top bun.
Step 6: flood the board with orange ants to finish the top bun
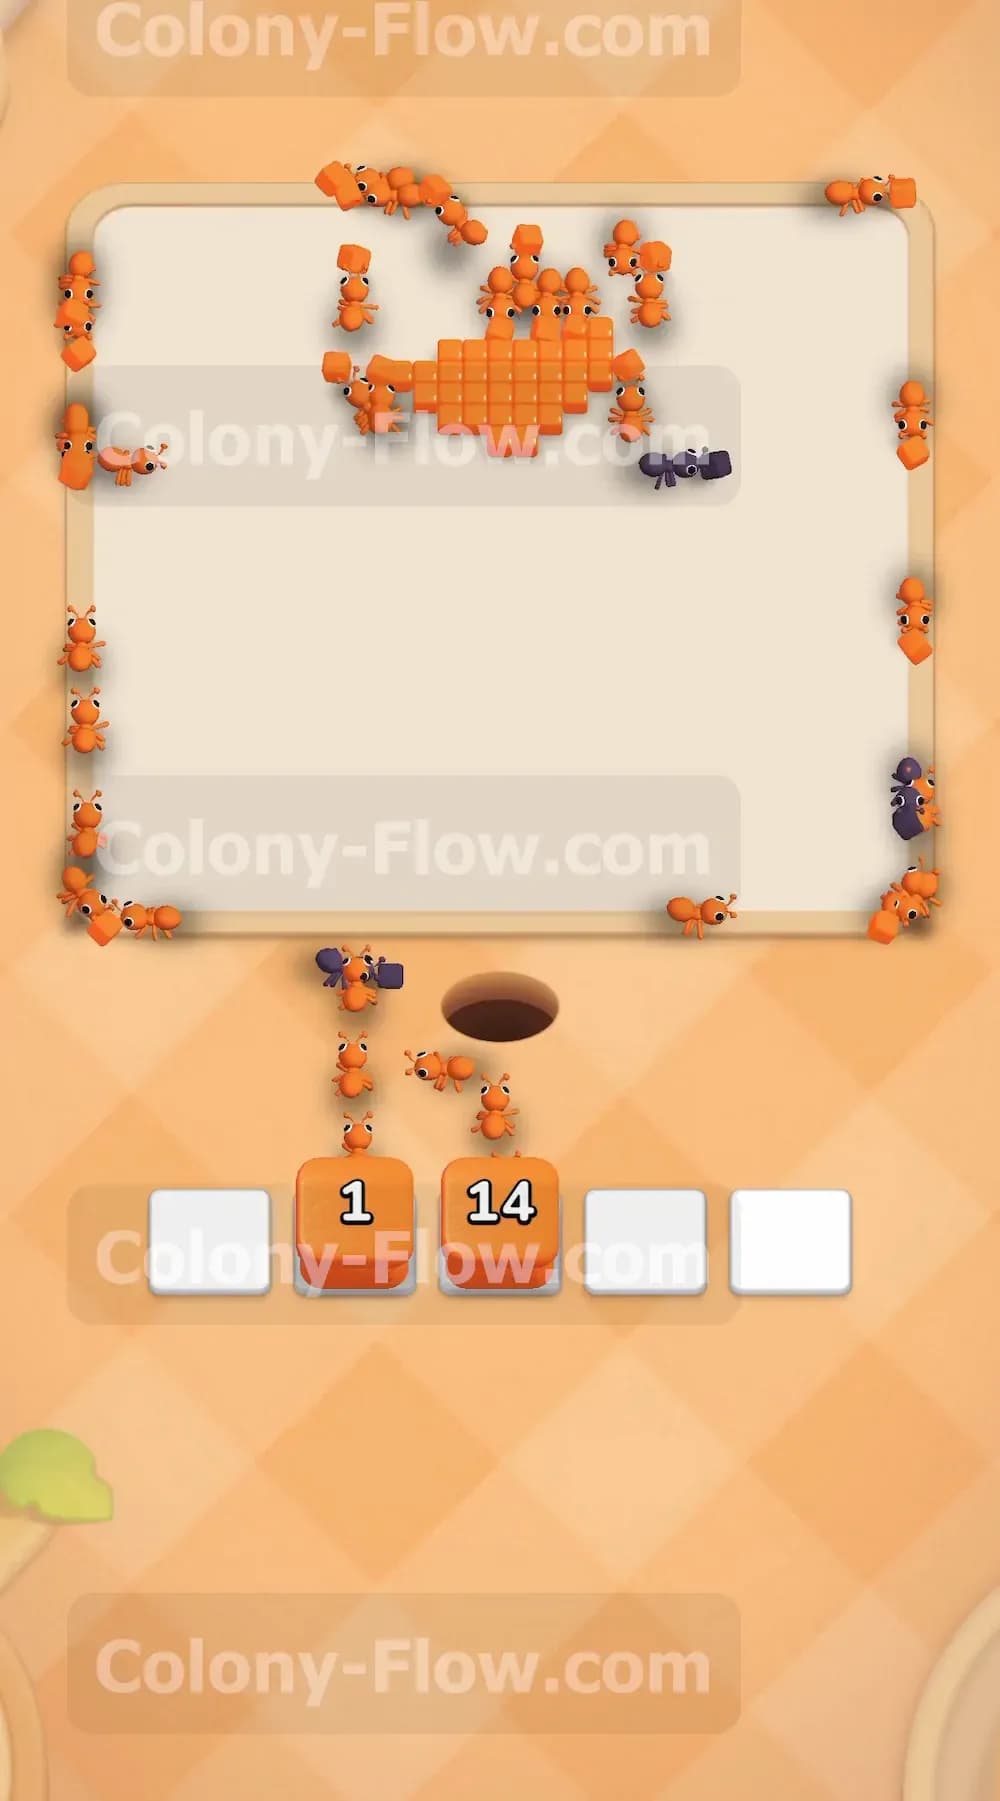
Only the solid block of orange tiles making up the top bun remains on the board. The black outline is completely gone so nothing blocks your final push. Pull the remaining orange blocks from the tray into your waiting slots. You will see blocks like an orange 25 and an orange 30 available for this final sequence. A massive swarm of orange ants streams out of the nest hole. They wrap around the large empty space where the bottom of the burger used to be and devour the final orange tiles. The waiting slots empty out one by one as the last few orange tiles disappear. The picture clears completely and you win the level.
Overall Strategy to Clear Level 18 Board
- Prioritize bottom layers first. The burger design forces you to eat from the bottom up. Pulling bottom colors like the brown meat or bottom orange bun early ensures your ants have immediate access and your slots never jam.
- Manage connected boxes carefully. This board features multiple connected pairs linking different colors together. Never pull a connected pair unless both colors have an open path to their matching tiles on the picture.
- Keep black outline ants active. The black outline wraps around the entire burger. Keeping a black block in your waiting slots at all times ensures black ants constantly eat away the outer border and open up new paths to the inner layers.
- Wait for the green lettuce to clear before pulling red blocks. The green lettuce blocks access to the red tomato layer. If you pull red blocks too early the red ants will sit in your tray permanently and ruin your run.
- Plan for the hidden box in the late stages. The hidden box on this board reveals a connected red and orange block. Wait until the outer outlines are mostly gone and the top bun is fully exposed before you pull this hidden box into your slots.
Final Thought
Hopefully this guide helps you clear the hamburger picture with ease. Remember to watch the video above this article if any step is hard to follow in text. You have all the knowledge you need to beat this level and move on to the next puzzle.