Colony Flow Level 362 Walkthrough Solution & Guides | How to solve Colony Flow 362

Guide By Liam Stone
Updated on July 18, 2026
The article below explains Level 362 in detail, but the video above gets you there faster.
Video doesn't match your screen?
Game updates frequently scramble layouts! Try our AI Screenshot Solver first to find your exact board instantly, or report broken guides to our team.
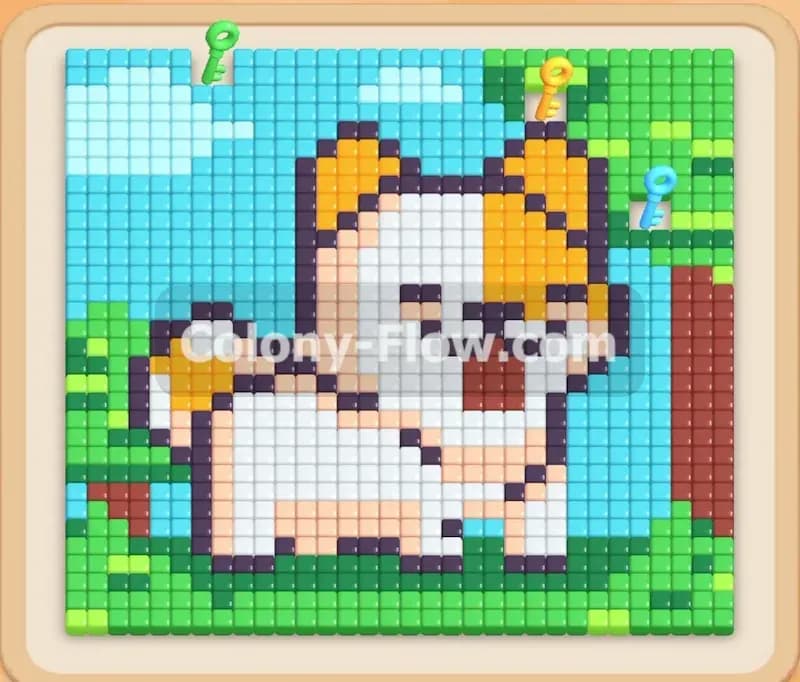
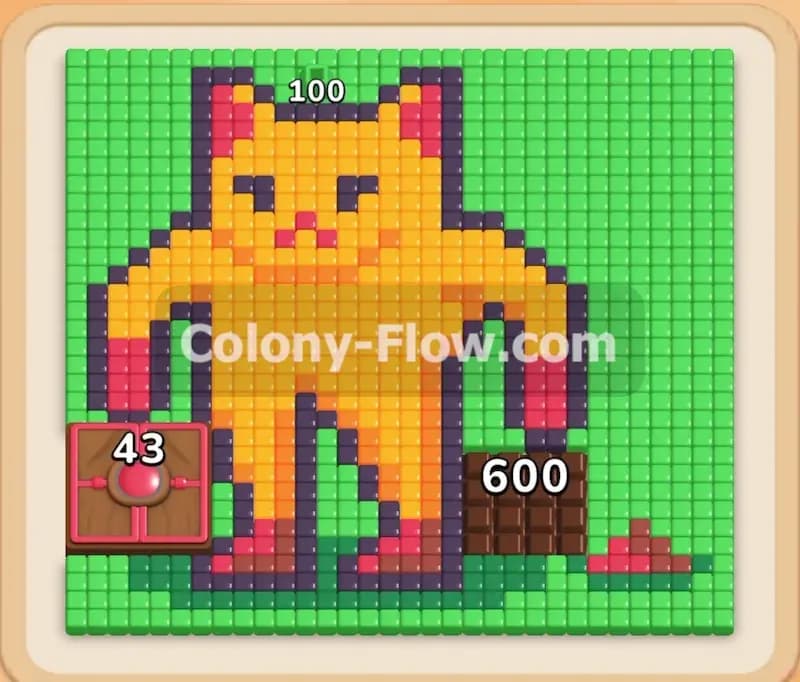
Colony Flow Level 362 drops you into a highly demanding puzzle featuring a massive pixel art cat. You will face some of the largest single food blocks seen so far and you must feed them constantly to survive. The tray mechanics also introduce linked blocks that demand perfect spatial awareness. I will guide you through the safest path to clear the board without ever jamming your waiting slots. You will learn exactly how to balance the heavy feeding requirements with the delicate tray management needed to win.
Colony Flow Level 362 Overview
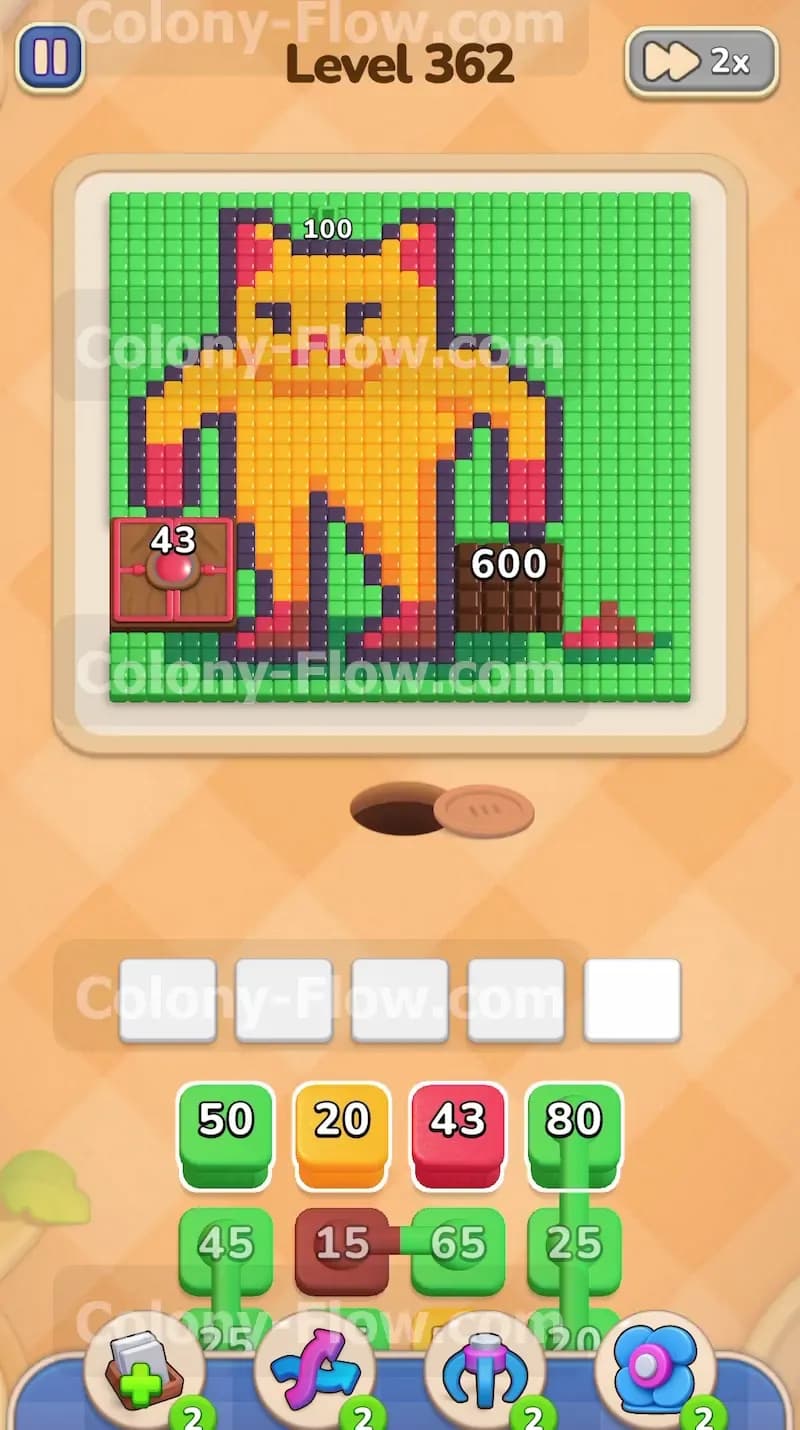
What You Are Working With
The pixel art displays a large yellow cat with a bright orange belly and dark purple outlines sitting on a solid green background. You will immediately notice three unusually large food blocks built directly into the picture structure. A large Green 100 block sits directly above the top of the cat head. A Red 43 block rests heavily on the left leg of the cat. A truly massive Black 600 block dominates the entire right leg. Your tray at the bottom of the screen holds standard single blocks and Connected Boxes. Connected Boxes feature a thick solid line linking two or more blocks together in the tray. When you tap one block in a connected group, the entire linked group moves up into your waiting slots together. You cannot break these links so you must always plan for multiple blocks entering your slots at once.
What It Takes to Clear Level 362 Board
You win this level when every single pixel art tile completely disappears and your ants return safely to the nest hole. You must feed that giant Black 600 block repeatedly from the very beginning to the very end of the puzzle. The primary danger in this level comes directly from the Connected Boxes in your tray. Since a connected group pulls multiple blocks at exactly the same time, you must strictly ensure you have enough empty waiting slots before you tap them. If you pull a connected pair into a tray with only one empty slot left, the second block will jam the line and freeze your progress. If all five slots fill up and no ants can reach their matching open colors on the board, the entire puzzle dead ends and you instantly fail the level. You must prioritize keeping paths open to prevent this catastrophic slot jam.
Colony Flow Level 362 Step by Step Solution
Step 1: Clear the top background and the large green block to open paths.
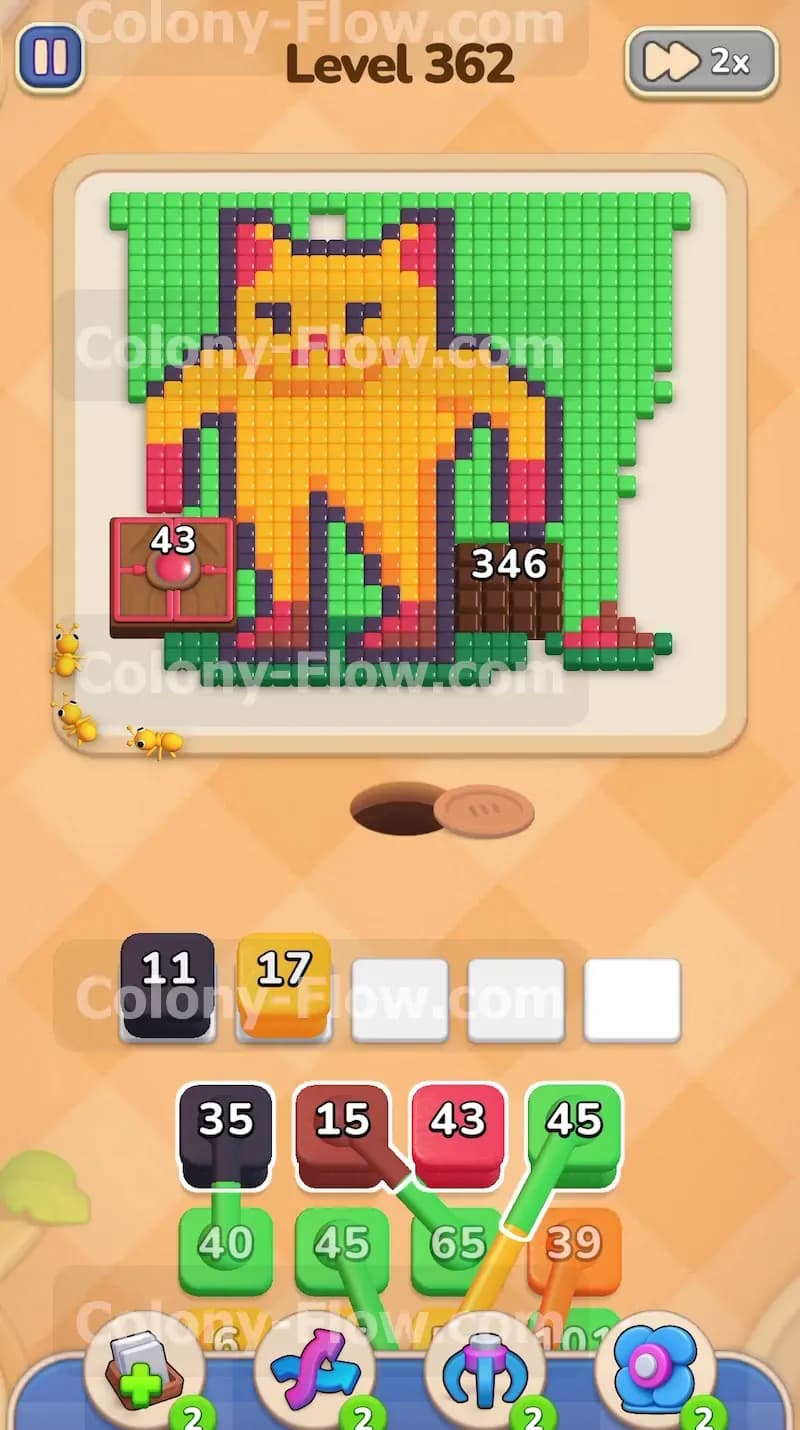
The absolute best way to start this level is to attack the green background immediately. Pull your high numbered green blocks from the top row of the tray into your waiting slots. The green ants will rapidly stream out of the nest hole and march straight up the sides of the board to eat the green background tiles. This aggressive opening move also completely devours the large Green 100 block positioned at the very top of the cat head. Clearing this thick outer green layer creates incredibly wide open paths around the outside edges of the cat figure. These open exterior paths are absolutely required for moving other colors later in the level. You want to clear the perimeter early so your future ants never get stuck behind a solid wall of green tiles. Getting the green out of the way first guarantees your ants have room to maneuver.
Step 2: Begin chipping away at the massive black block on the right leg.
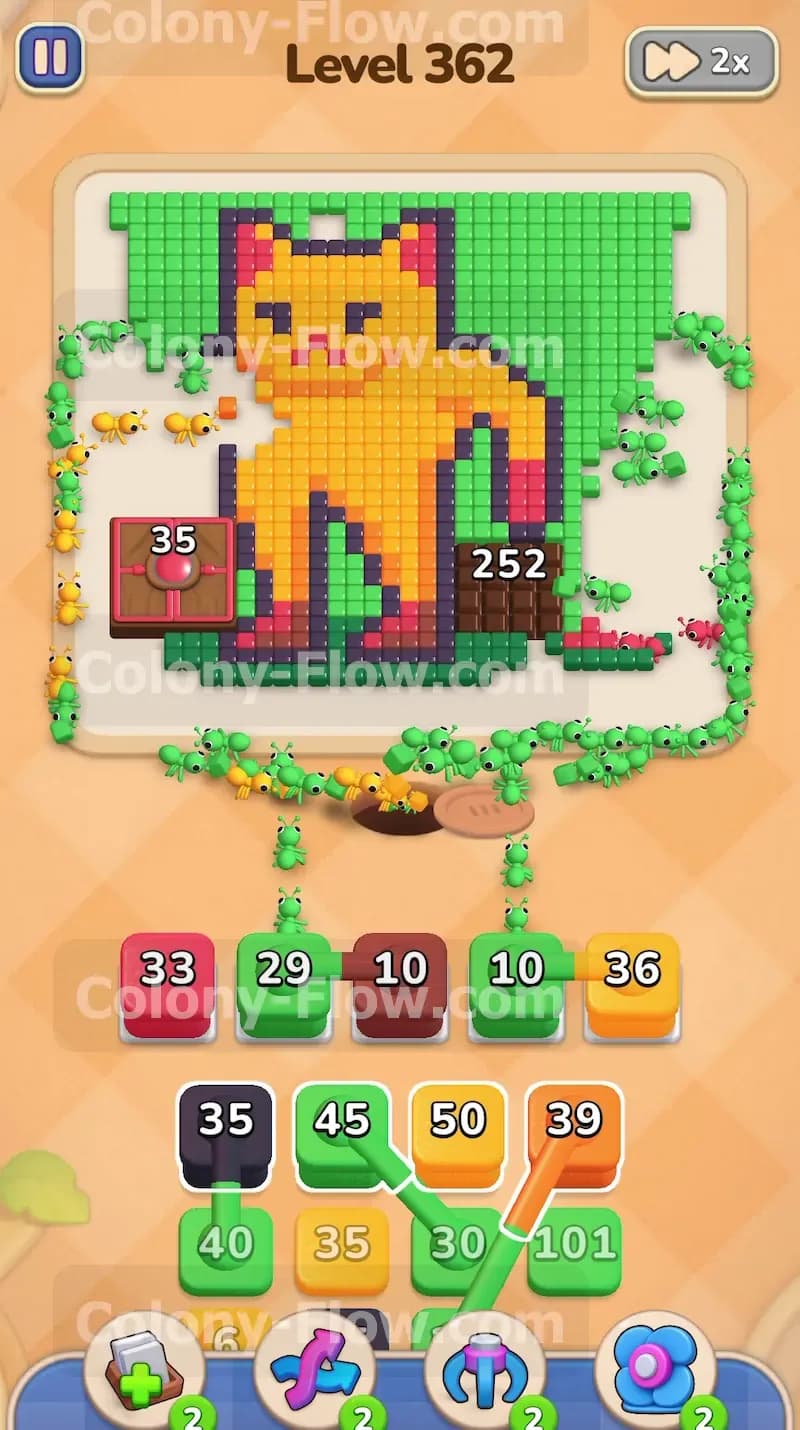
Now you must begin the long process of chipping away at the massive black block on the bottom right leg. Pull a black block into your waiting slots to initiate this heavy feeding phase. The black ants will travel down the newly opened right side path and begin reducing that huge six hundred number tile by tile. You must keep a steady relentless stream of black ants working on this block throughout the entire duration of the level. While the black ants handle the bulk of the work on the right side, pull an orange block into a separate empty slot. The orange ants will move up the middle to start clearing the bright orange belly of the cat. Balancing your attacks between the outer black block and the inner orange body keeps multiple distinct paths open at all times. This prevents traffic jams near the nest hole.
Step 3: Manage your first wave of connected boxes carefully to avoid jams.
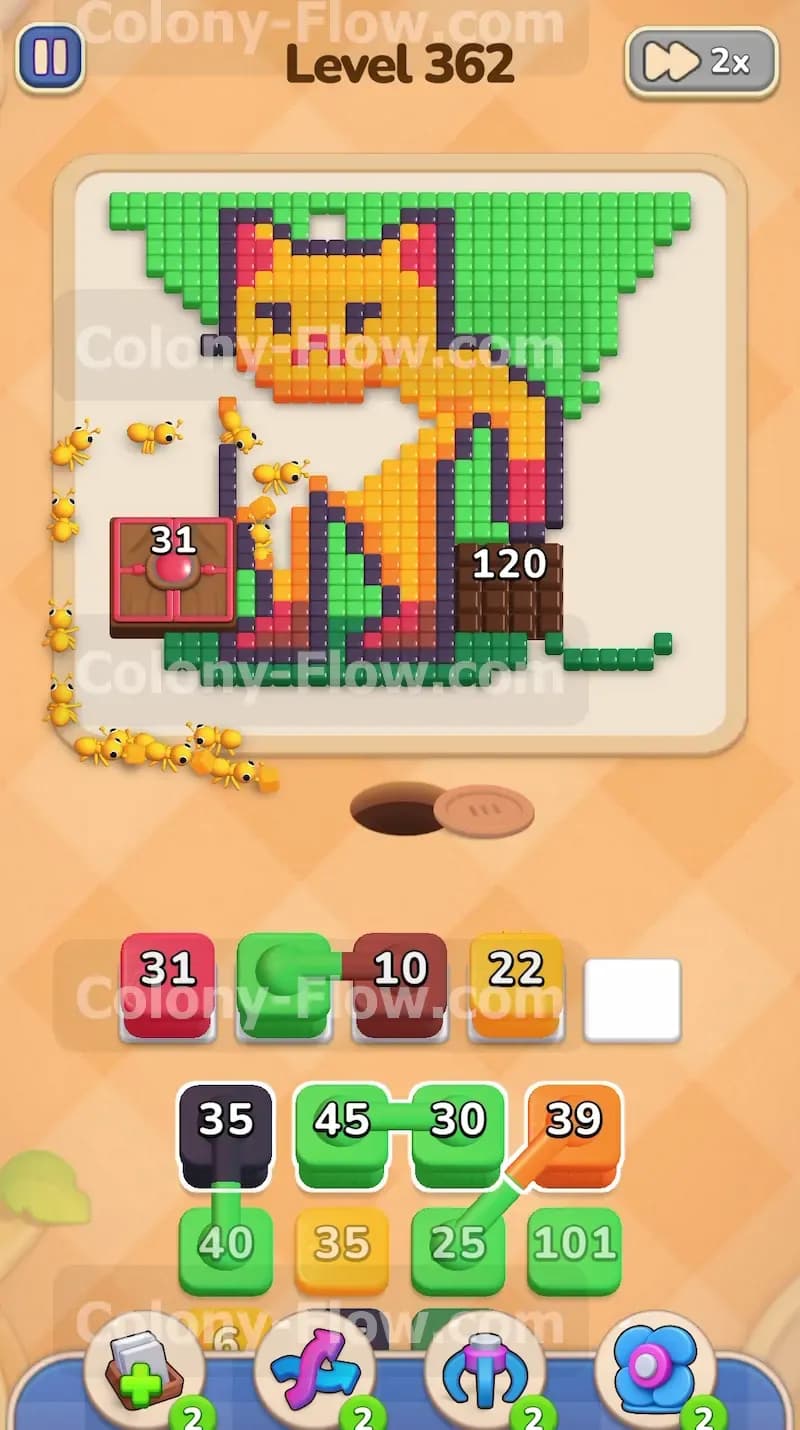
Your tray now presents several Connected Boxes linked by thick structural lines. You must actively look for pairs that match the open accessible colors currently available on the board. Find a connected pair containing red and green blocks and pull it up into your waiting slots. You must always visually verify that you have at least two completely empty slots before pulling any connected pair. The green ants will surge out to continue eating the remaining top and bottom background tiles. Meanwhile, the red ants will attack the large Red 43 block located on the left leg of the cat. This dual action clears away a significant portion of the lower board while keeping your slot traffic moving smoothly. Handling these pairs correctly is the real secret to beating the level.
Step 4: Push deep into the yellow and orange body of the pixel art cat.
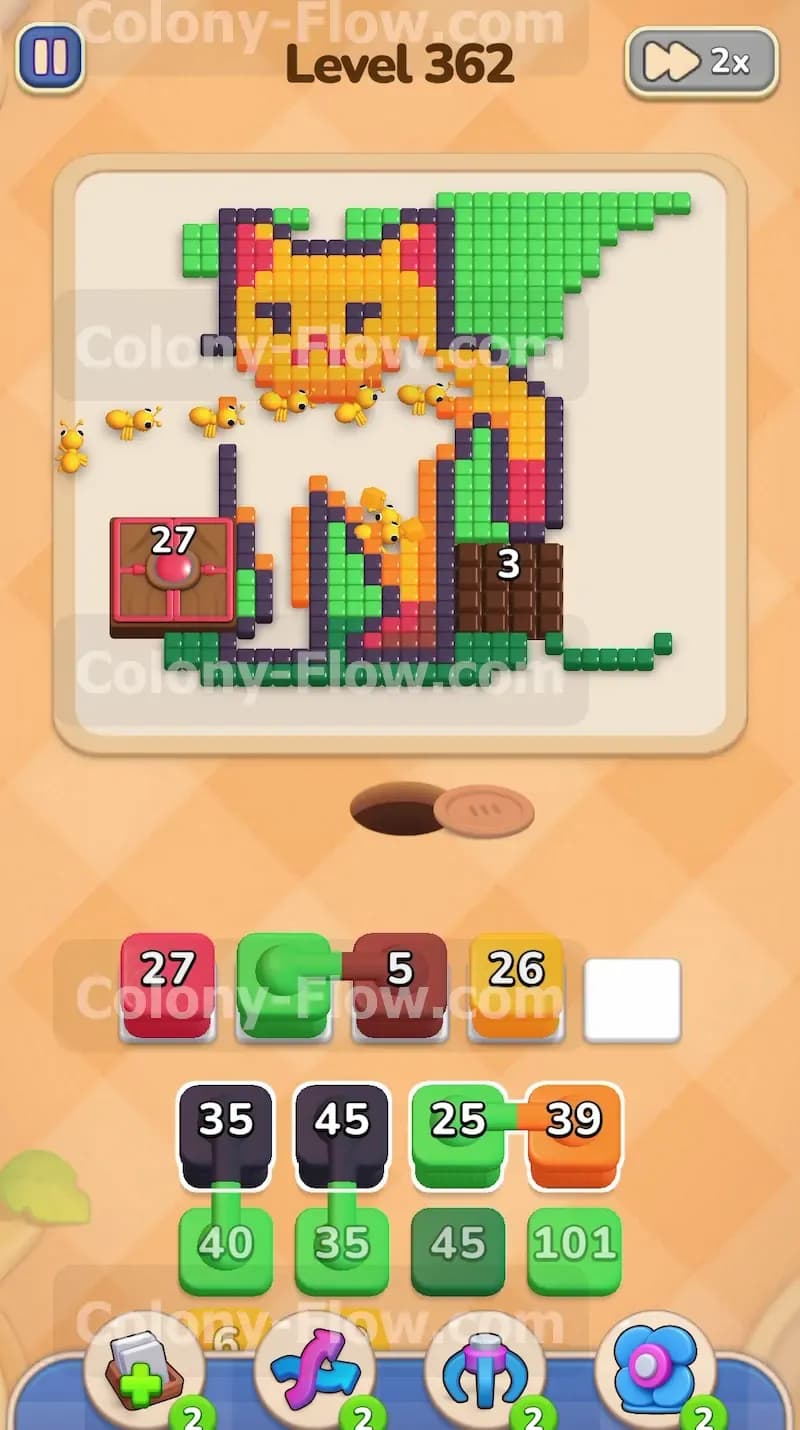
With the outer edges steadily receding into nothing, you can safely send your ants directly into the center of the cat figure. Pull the newly available yellow and orange blocks from your tray. The colorful ants will swarm the main yellow body and the intricate facial features of the pixel art cat. This heavy wave of ants clears out a massive amount of the center picture and exposes the inner purple outline tiles for future moves. You must keep a very close eye on your slot count during this intense clearing phase. Never tap another connected pair if you only have a single slot open. You should always wait for a current active block to finish its countdown and disappear before pulling another thick linked pair from the bottom tray.
Step 5: Reduce the giant black block down to single digits with constant pressure.
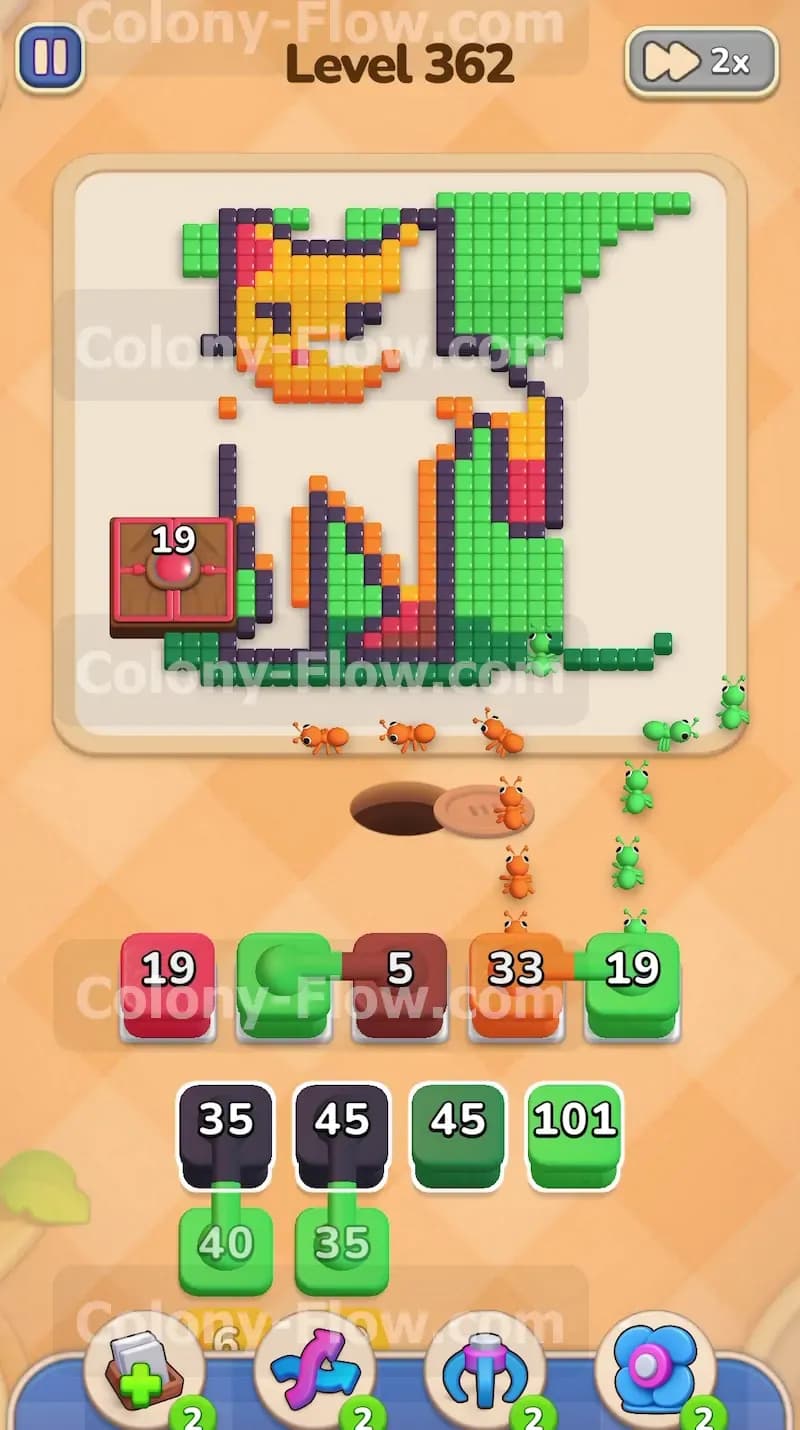
Continue pulling black blocks into your slots whenever they magically appear in your tray. Your dedicated black ants will keep swarming the bottom right corner without any pause. You will watch that intimidating huge six hundred number drop down into the two hundreds and eventually whittle down to single digits. During this continuous black ant assault, pull a brown and orange connected pair into the tray. The brown ants will neatly clear the nose of the cat while the orange ants finish off the remaining stray body tiles. The entire right side of the board will start looking very bare and empty. This massive clearing opens up huge open lanes for your final waves of ants to travel without any physical delay.
Step 6: Eliminate the huge black and red blocks completely from the lower legs.
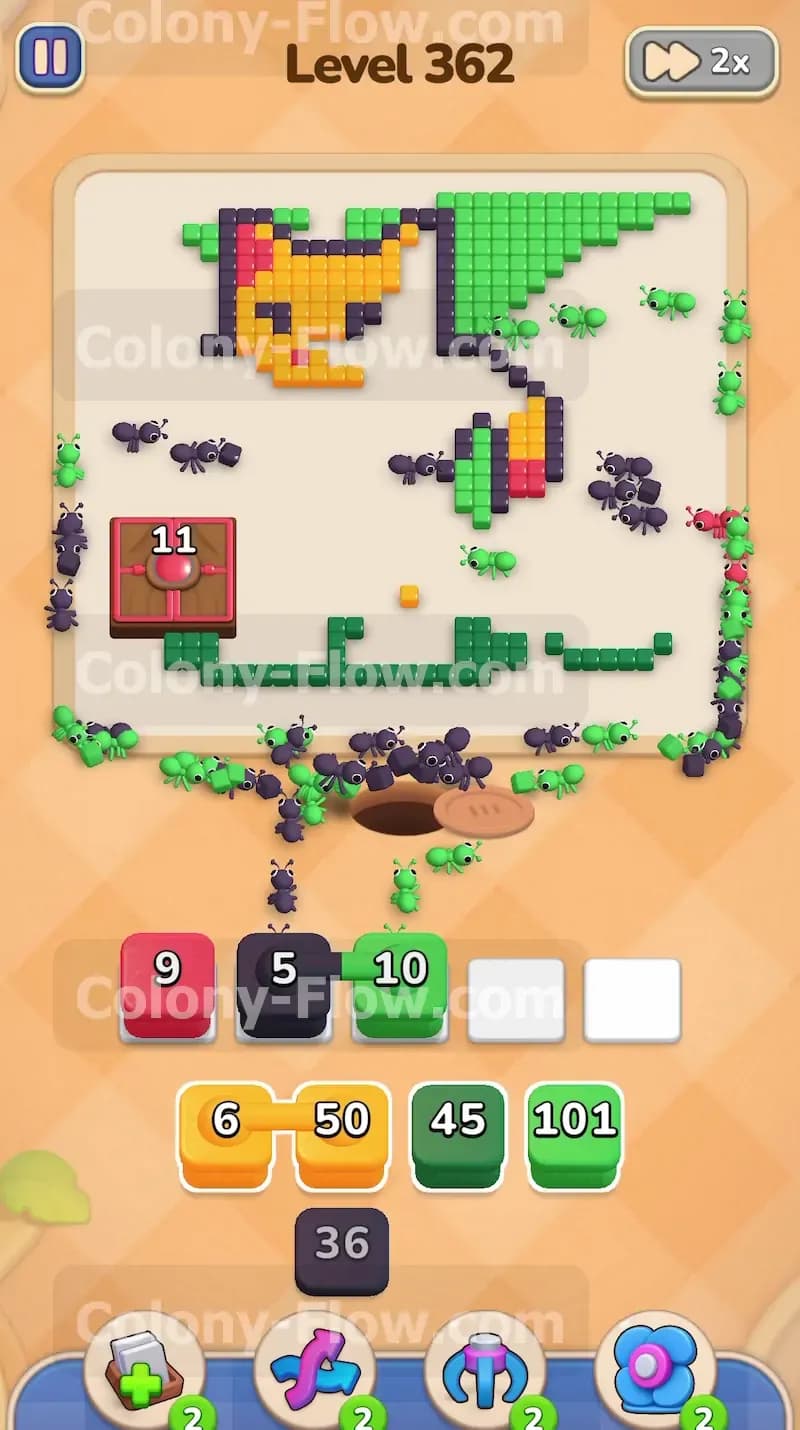
Pull the exact final black block needed to finish off the bottom right corner. The massive Black 600 block will finally disappear completely from the puzzle board. At the exact same time, pull a red connected pair to finish off the Red 43 block sitting on the left leg. Your ants will aggressively dismantle both of these massive stubborn obstacles simultaneously. The right leg and the right background are now totally clear of all colored tiles. Only a few scattered green background tiles and the remaining disjointed pieces of the left leg sit on the board. You have successfully navigated the most dangerous and crowded parts of the puzzle by carefully managing your connected tray pulls. The hardest work is now behind you.
Step 7: Clean up the final purple outlines and stray green corners to win.
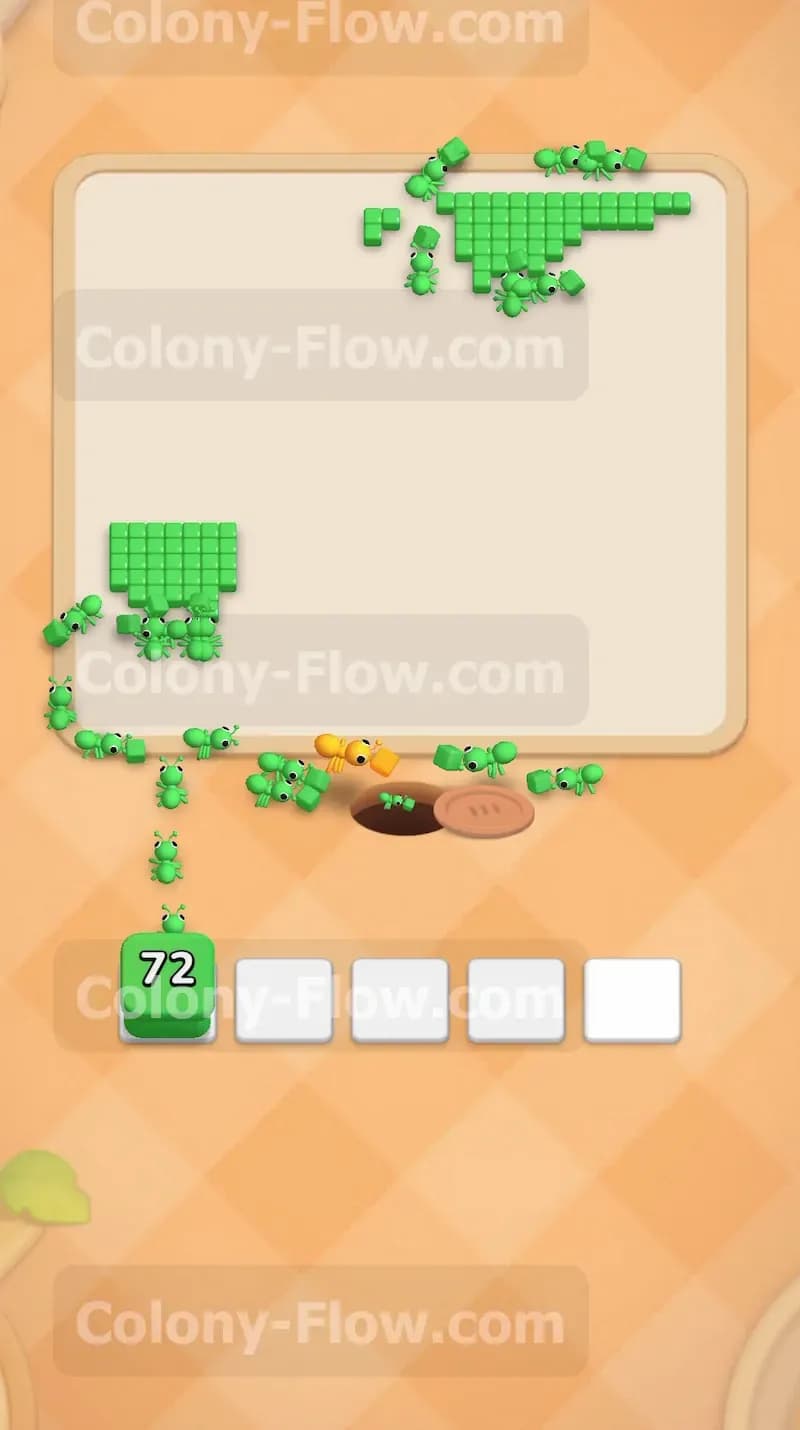
Your tray will now offer much smaller numbered blocks to handle the final loose pieces of the picture. Pull a black and red connected pair to clear the last tiny bits of the purple and red outline on the left side of the cat. Pull your remaining isolated green blocks to send your final green ants to the extreme top right and bottom left corners. These last dedicated ants will quickly sweep up the final few green background tiles hidden in the edges. Keep your eyes squarely on the board to ensure every single colored pixel disappears. The final ants will finish eating the very last tile and march straight back down the nest hole. The picture clears completely and you secure your victory.
Final Thought
This puzzle absolutely requires deep patience and excellent spatial tray management to conquer. The massive food blocks look incredibly intimidating at first glance but they fall quickly if you keep a steady relentless stream of ants moving toward them. Maintaining open pathways guarantees your waiting slots never lock up and ruin your run. Watch the video above this article if you need a clear visual guide for managing the tricky connected blocks in your tray.