Colony Flow Level 844 Walkthrough Solution & Guides | How to solve Colony Flow 844

Guide By Liam Stone
Updated on August 8, 2026
The video above walks through Level 844 in full, so feel free to skip the written steps below.
Video doesn't match your screen?
Game updates frequently scramble layouts! Try our AI Screenshot Solver first to find your exact board instantly, or report broken guides to our team.
Welcome to Colony Flow Level 844. This level features a vibrant underwater scene with a large pixel art fish surrounded by colorful tiles. The challenge ramps up rapidly as you encounter linked blocks that eat up your available waiting slots. I played through this entire level and will show you exactly how to clear it without jamming your tray.
Colony Flow Level 844 Overview
What You Are Working With
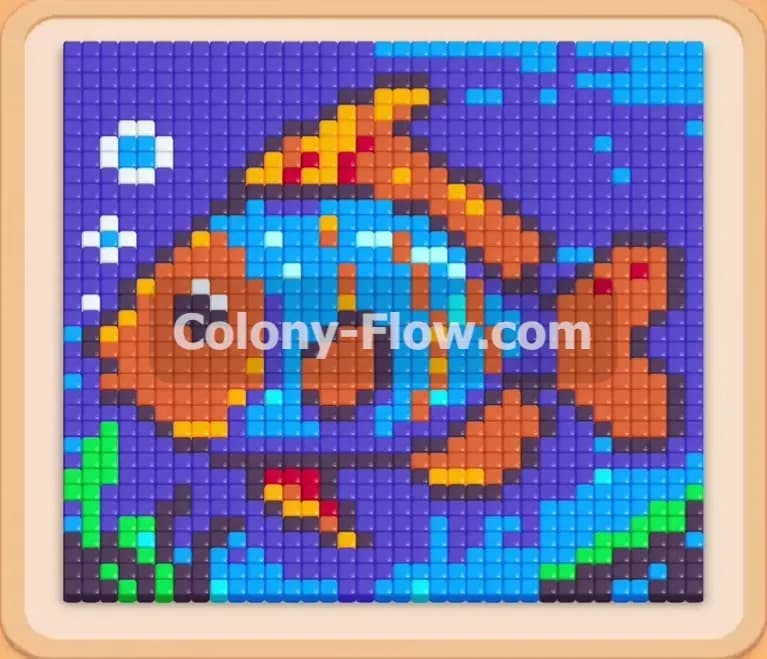
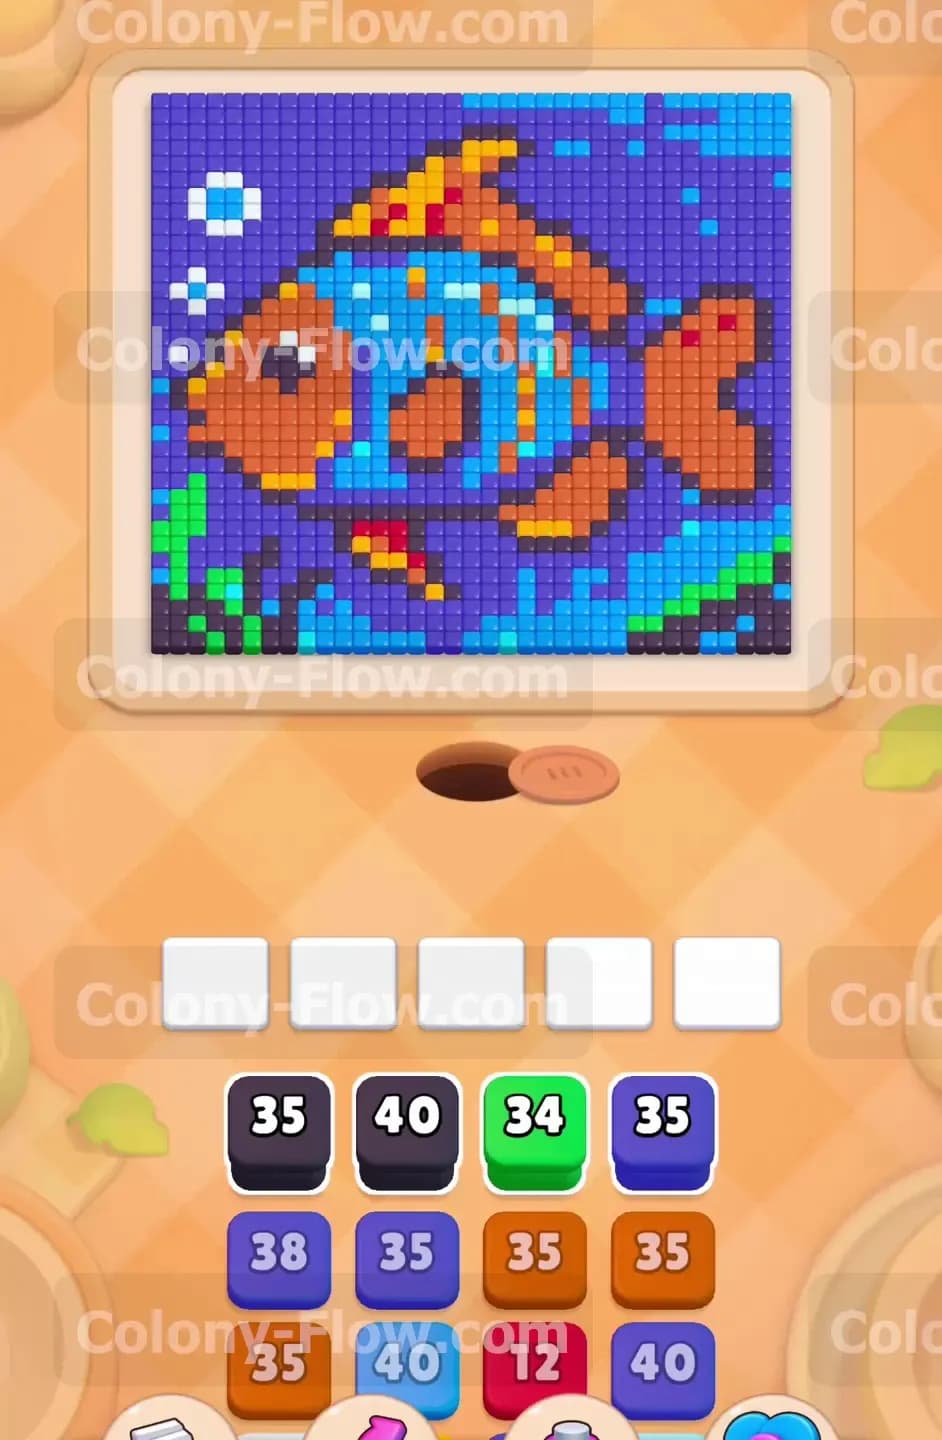
The picture displays a colorful fish surrounded by deep water. You see green seaweed at the bottom corners. The fish itself consists of orange scales, yellow fins, and a red fin detail. A black outline surrounds the entire fish shape. Light blue bubbles float on the left side. The water around the fish uses a mix of dark blue and light blue tiles. The tray at the bottom provides blocks in green, black, dark blue, light blue, orange, red, yellow, and white. This level introduces Connected Boxes. These are two or more blocks linked together by a visible line. When you pull one connected block the entire linked group moves to your waiting slots at the exact same time. You have five waiting slots available to manage all of these colors.
What It Takes to Clear Level 844 Board
Winning this level requires you to clear every single pixel art tile from the board. The ants must reach the tiles and carry the food back to the nest hole. You lose the game if you fill all five waiting slots with blocks that have no open paths. Because Connected Boxes take up multiple slots at once you must plan your moves carefully. You must ensure open paths exist for every color in a linked group before you pull it into your tray. The board is fully cleared when the entire fish and all water tiles disappear and the last ants return home.
Colony Flow Level 844 Step by Step Solution
Step 1: Clear the bottom seaweed and open the lower water tiles.
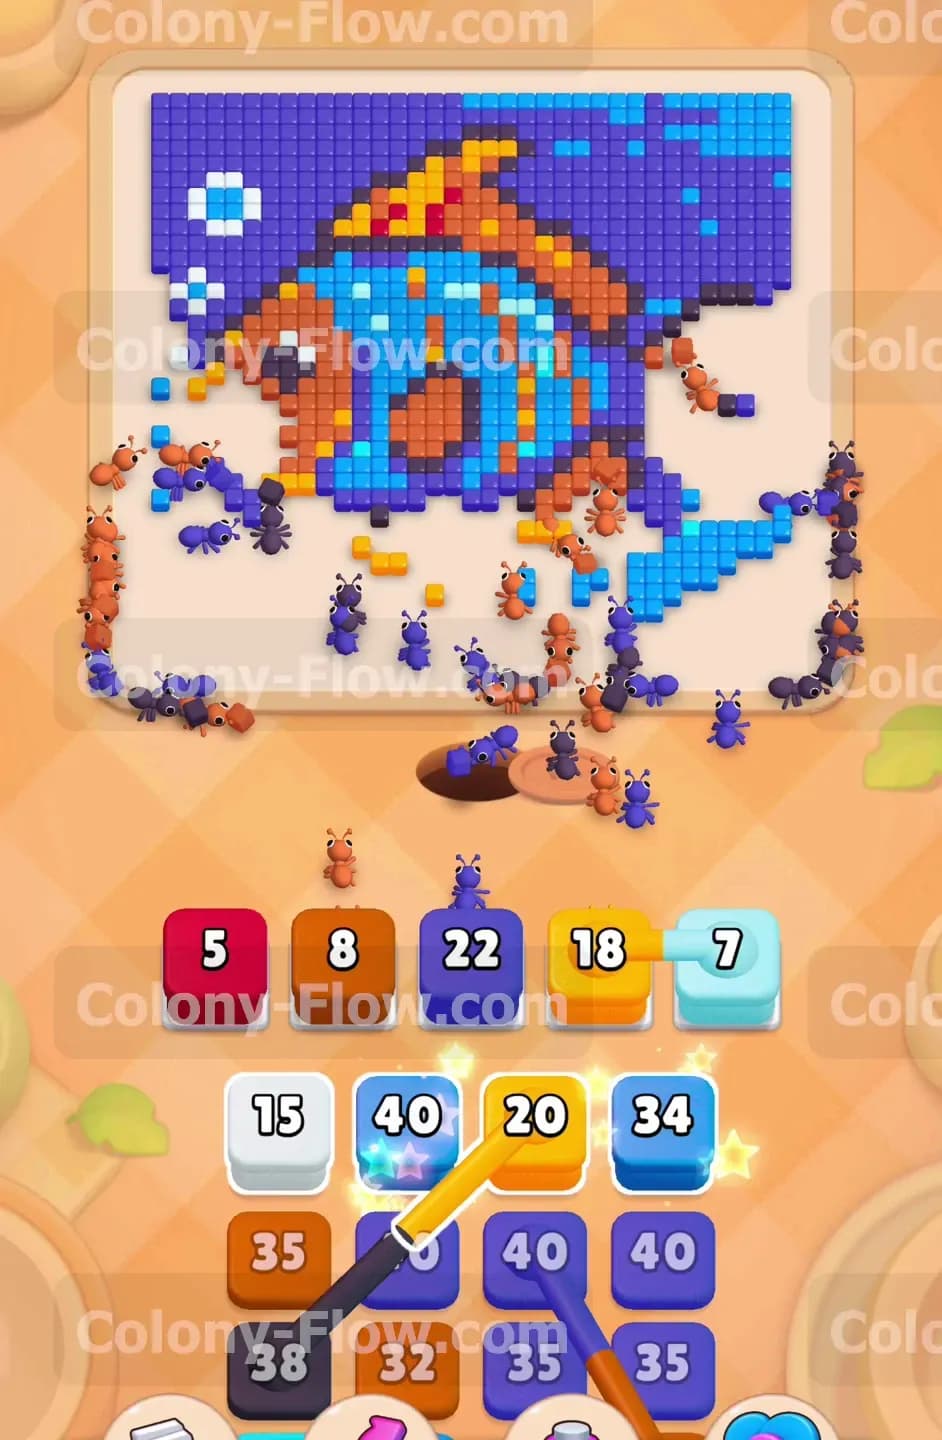
You begin by focusing on the bottom edge of the picture. The green seaweed sits at the lowest points on the left and right corners of the board. These tiles block access to the rest of the board and trap the water behind them. You pull the green block from the tray into your first waiting slot. The ants pour out of the nest and immediately target the green seaweed. They break down the tiles and return to the hole with the food. The green block number drops steadily until it vanishes entirely. This simple action opens up the bottom corners completely. The starting tray gives you access to several colors but your priority is always to create space first. The ants need straight open lines to reach the higher sections of the fish without getting blocked. By pulling the green block first you clear the immediate blockages. You watch the ants chew through the green tiles on both sides of the board. Now you have a clear wide open path to the dark blue water. You pull the dark blue block. The ants rush upward and begin consuming the dark blue tiles under the fish. The bottom edge of the board becomes completely empty. This early strategy prevents any early dead ends. You always want to work from the bottom toward the top to maintain continuous flow.
Step 2: Tackle the light blue bubbles and start the black outline.
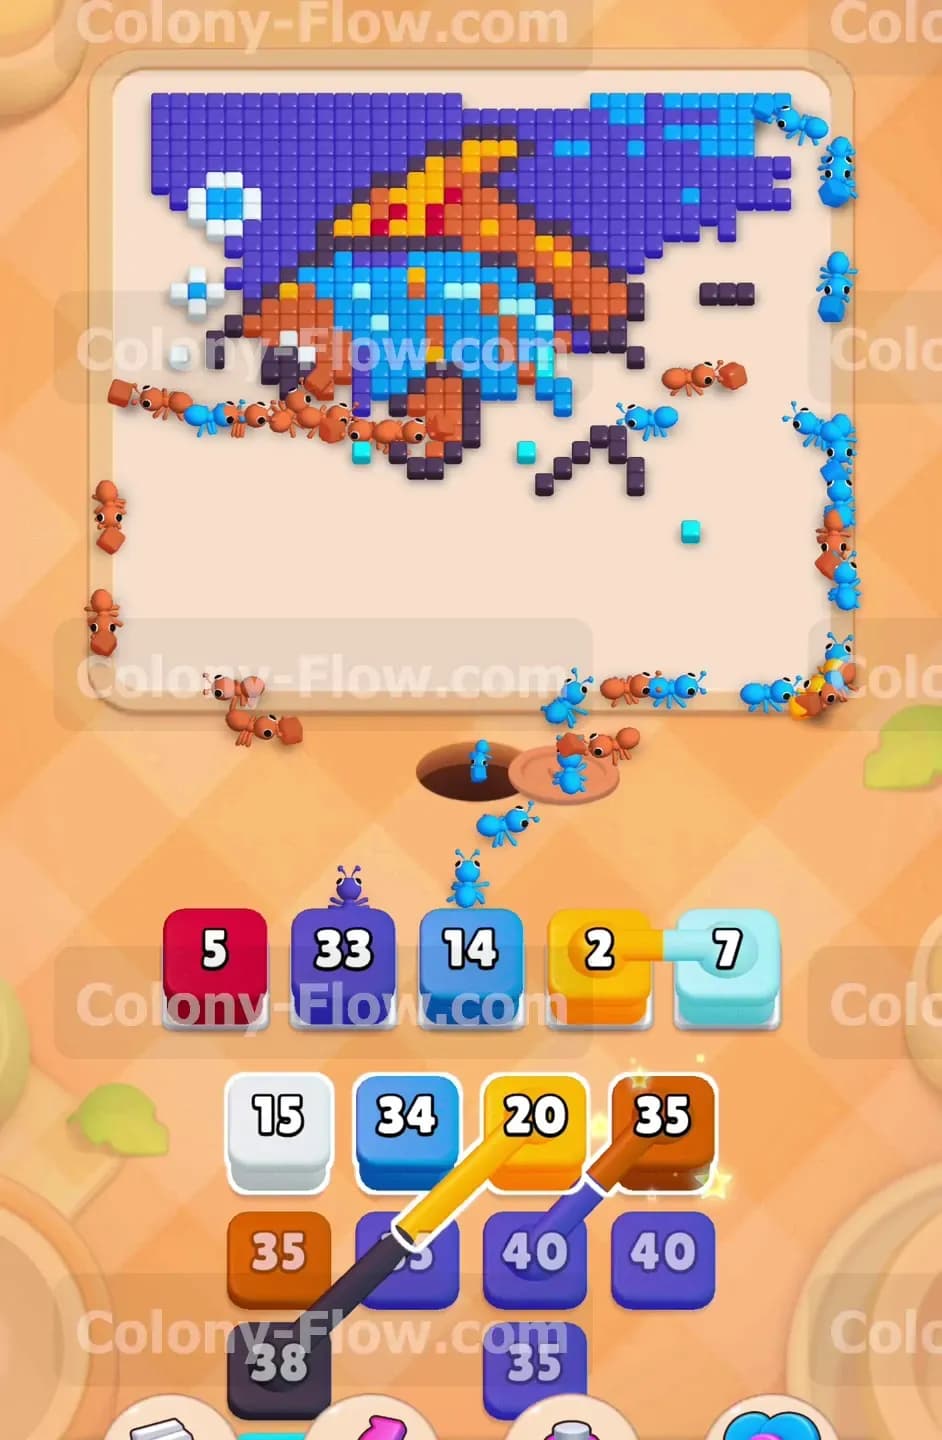
Now that the bottom is open you can address the fine details on the left side and the thick fish border. You see light blue bubbles floating near the top left corner. You also see scattered light blue water tiles mixed around the fish. You pull a light blue block into a waiting slot. The ants navigate through the empty bottom space and reach the light blue tiles easily. At the same time you need to start breaking down the black outline. The outline wraps all the way around the entire fish body. You pull a black block from the tray. The ants begin tracing the lower half of the black border. They eat away the black tiles and expose the bright orange scales underneath. Your waiting slots now hold light blue and black blocks at the same time. Both blocks have plenty of active paths. The ants work simultaneously on the bubbles and the outline. The board opens up significantly as these two colors disappear. You ensure that neither block gets stuck waiting for a path. The entire bottom section of the fish is completely exposed now. You are ready to move into the main body colors.
Step 3: Clear the orange scales and the red fin.
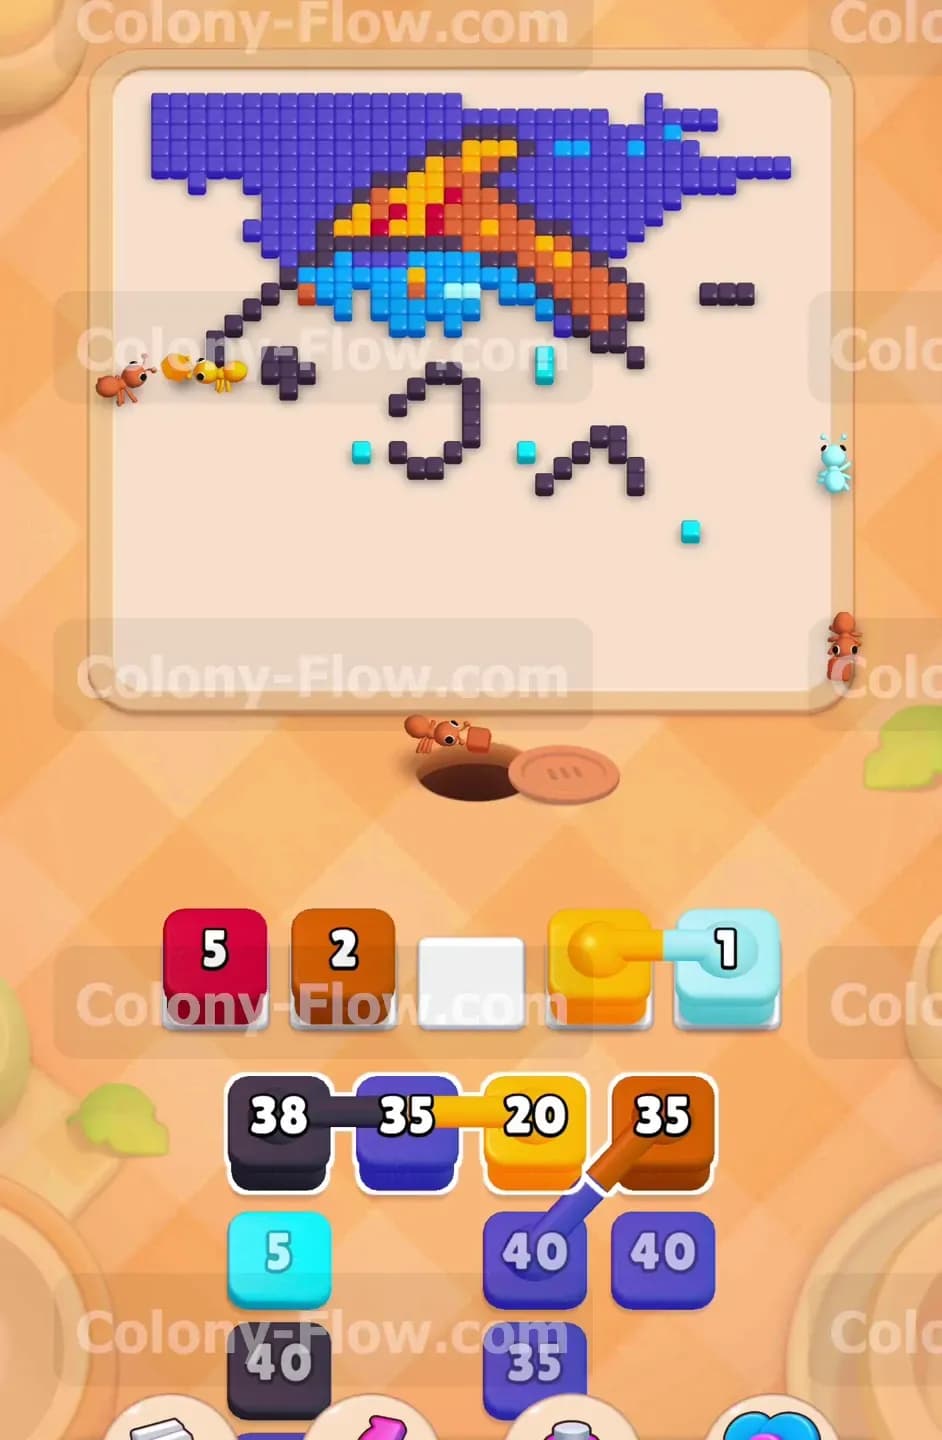
With the bottom outline gone the inner body of the fish is completely accessible to your colony. The main body uses a huge number of orange tiles. You pull an orange block from the tray. A massive wave of ants heads straight for the center of the board. They start chewing through the thick layer of orange scales. The fish also features a specific red fin detail near the back edge. You pull the red block into your tray. The ants split their attention between the orange scales and the red fin. The numbers on both the orange and red blocks count down rapidly. The solid center of the fish begins to vanish right before your eyes. You keep watching your available paths to make sure the ants never stop moving. The ants have no trouble reaching these central tiles because you cleared the border first. Your waiting slots remain completely safe from jamming. The board transitions from a solid picture to a hollow shell. You make sure the ants have continuous access to the orange and red tiles until both blocks disappear from your slots.
Step 4: Pull the two block Connected Boxes to clear the yellow fins.
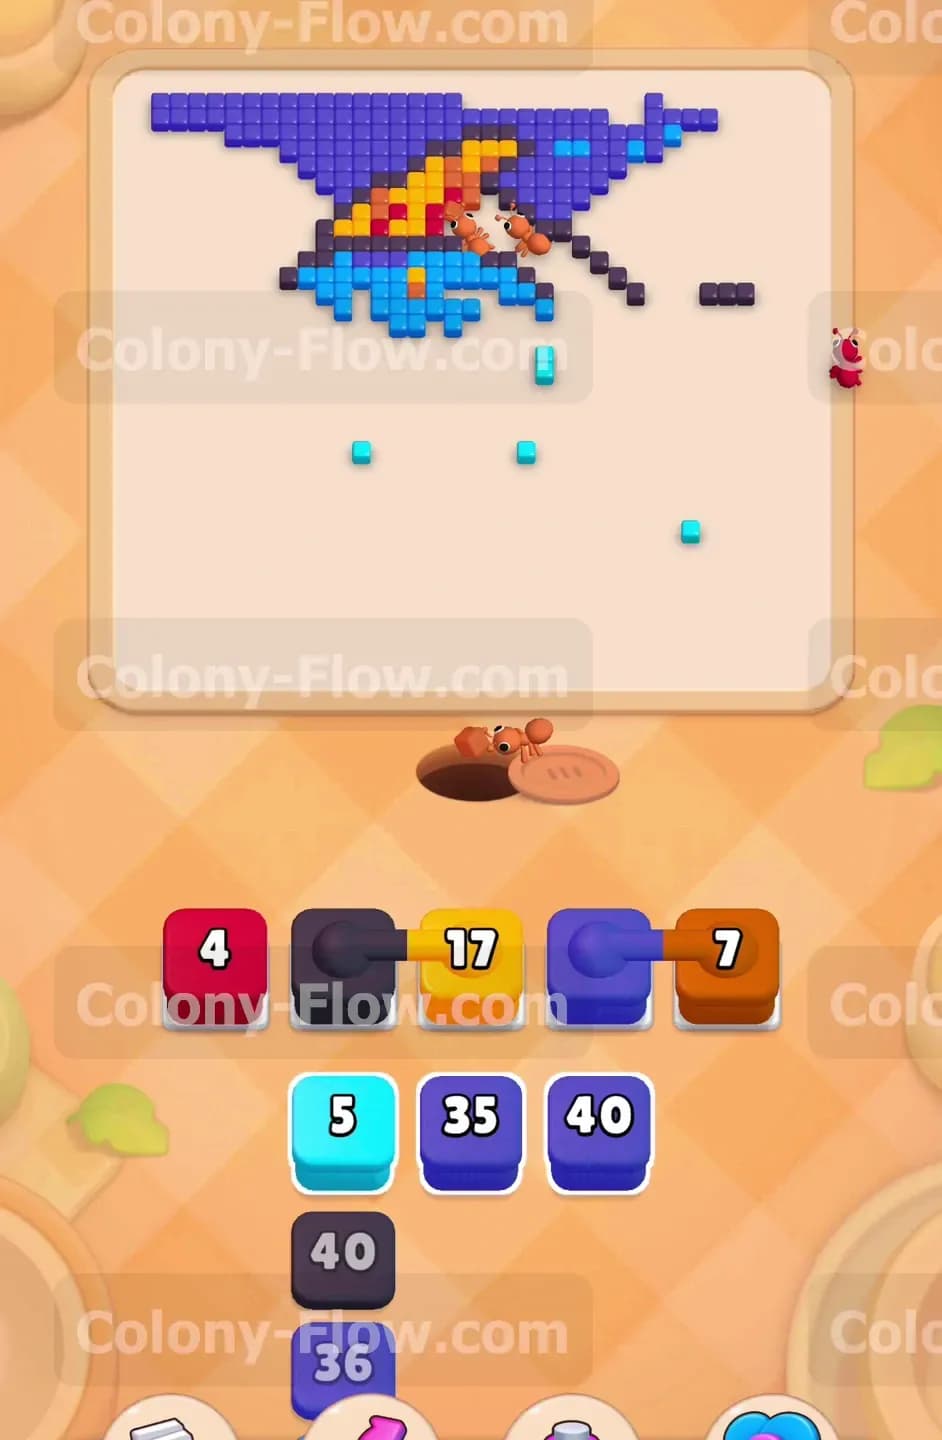
This is where the mechanics get tricky and require your full attention. You look at the tray and see a yellow block and a light blue block joined by a solid line. These are Connected Boxes. You cannot pull them separately. When you tap the yellow block both the yellow and light blue blocks jump into your waiting slots. They instantly consume two of your five available spaces. Before you make this move you verify the board state. The yellow fins on the top and bottom of the fish are open. The remaining light blue stripes on the fish body are also exposed. You pull the connected pair. The ants surge forward and hit both colors at once. One group of ants tackles the yellow fins while the other group finishes the light blue stripes. The linked blocks count down together in your tray. You watch as they both reach zero and disappear. This successful move clears the entire middle section of the board without jamming your slots. You handle the connected blocks perfectly by verifying your paths beforehand.
Step 5: Survive the four block Connected Boxes chain.
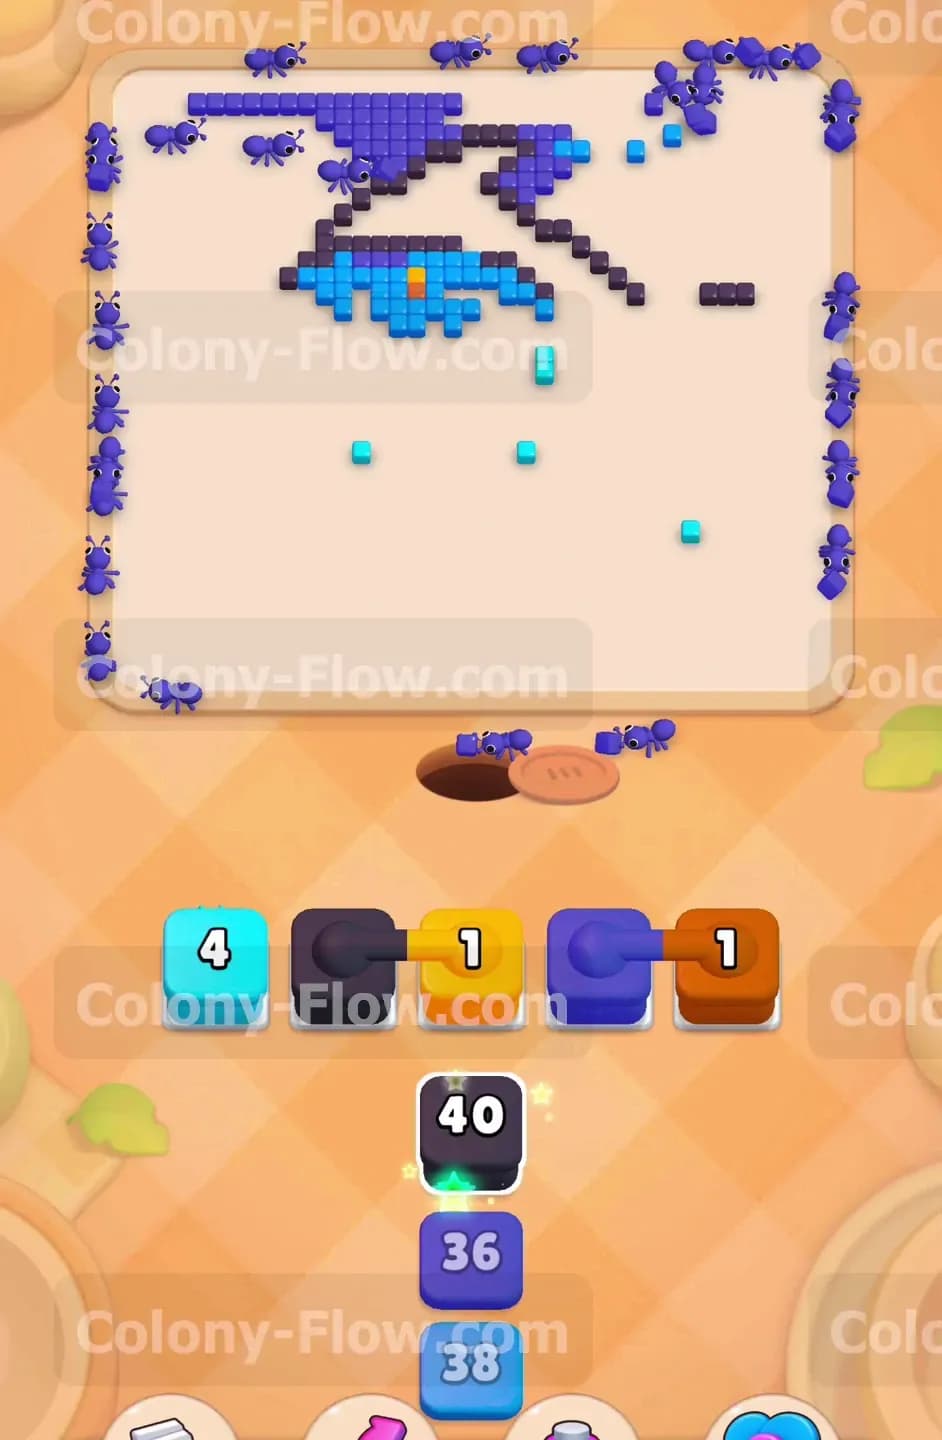
The tray now presents the most dangerous obstacle in the entire level. You see a massive chain of four Connected Boxes. A black block links to a dark blue block. The dark blue block links to a yellow block. The yellow block links to an orange block. Pulling this massive chain will instantly fill four of your waiting slots. You will only have one single empty slot left for any other moves. If any of these four colors lack an open path you will lose the level immediately. You carefully inspect every single remaining tile. The top half of the black outline is open. The dark blue water at the very top of the board is exposed. The upper yellow fin is ready to be eaten. A few orange scales still sit near the top edge. All four colors have clear and direct paths. You pull the massive four block chain into your tray. The waiting slots fill up almost completely. The ants swarm the top section of the board in a huge rush. They attack the black outline, the dark blue water, the yellow fin, and the orange scales all at the exact same time. The numbers on all four blocks drop steadily as the ants work. You watch nervously as the massive chain reduces to single digits. Eventually all four blocks hit zero and vanish. You just cleared the absolute hardest part of the level.
Step 6: Clean up the final water tiles and finish the level.
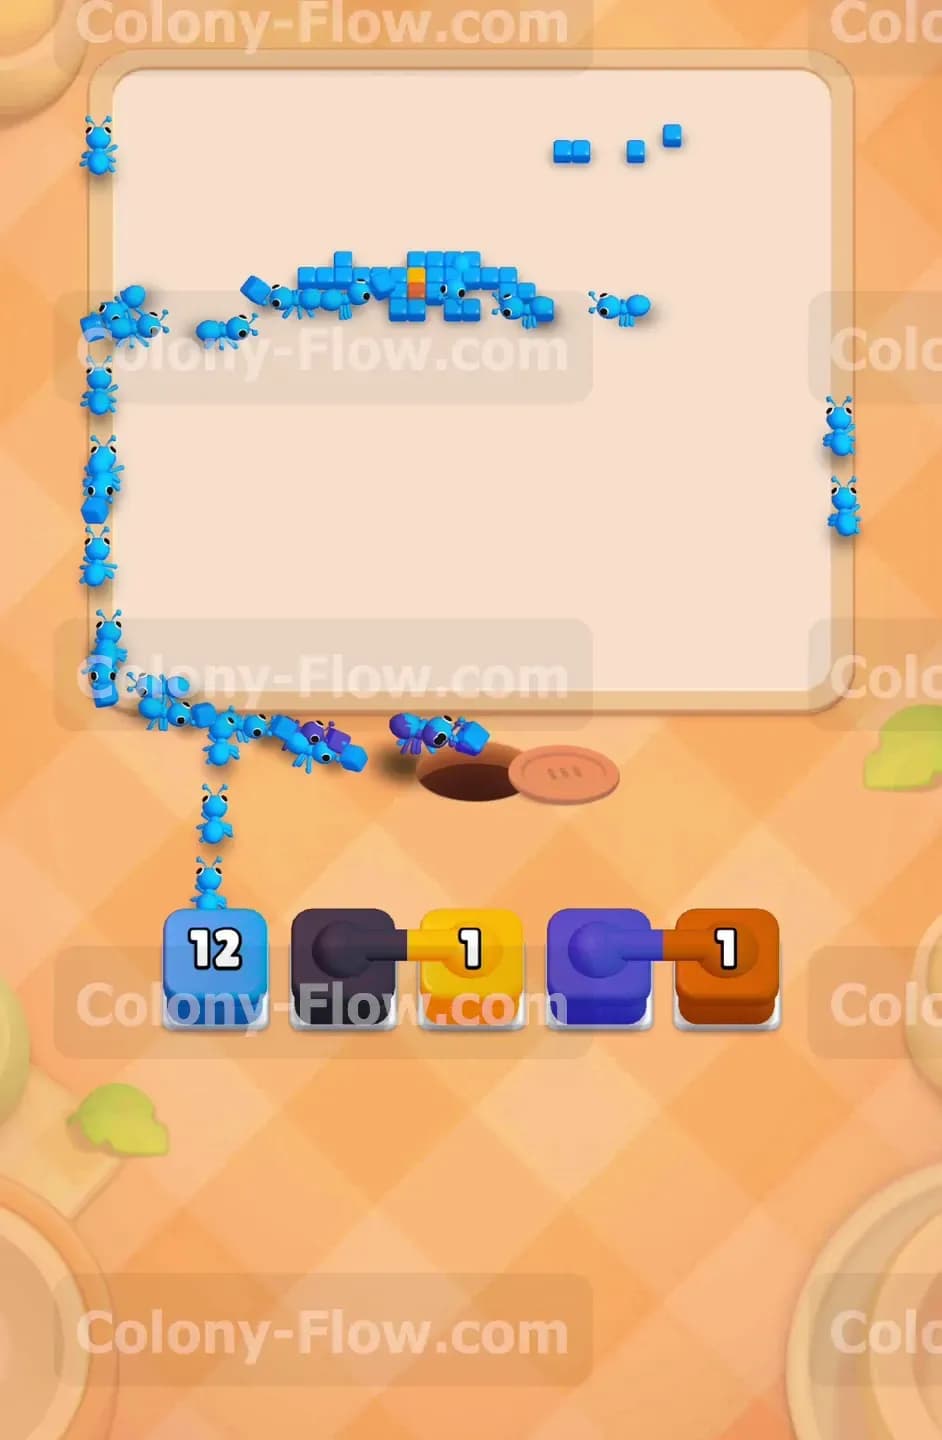
The board is almost entirely clear now. Only a small narrow strip of dark blue water remains at the very top along with a handful of stray light blue tiles. You pull a final light blue block to clear the scattered light blue pieces. The ants make very quick work of them. Then you pull the remaining dark blue blocks from the tray. The ants travel all the way to the top edge of the empty board. They consume the very last row of dark blue water. You also pull a white block to clear the tiny white dot of the fish eye. The final blocks count down to zero one by one. The last few ants carry their food back to the hole and disappear. The board becomes completely blank and clean. You successfully navigated the dangerous Connected Boxes and maintained perfect flow from start to finish.
Final Thought
This level tests your ability to plan ahead and manage multiple colors at once. The massive chains of linked blocks require patience and careful path checking. If you feel stuck on any particular move you can watch the video above this article. Seeing the ants clear the paths in real time will help you master the board.