Colony Flow Level 327 Walkthrough Solution & Guides | How to solve Colony Flow 327

Guide By Liam Stone
Updated on July 17, 2026
For a quicker option, watch the video above. It covers the same Level 327 steps you'll find written out below.
Video doesn't match your screen?
Game updates frequently scramble layouts! Try our AI Screenshot Solver first to find your exact board instantly, or report broken guides to our team.
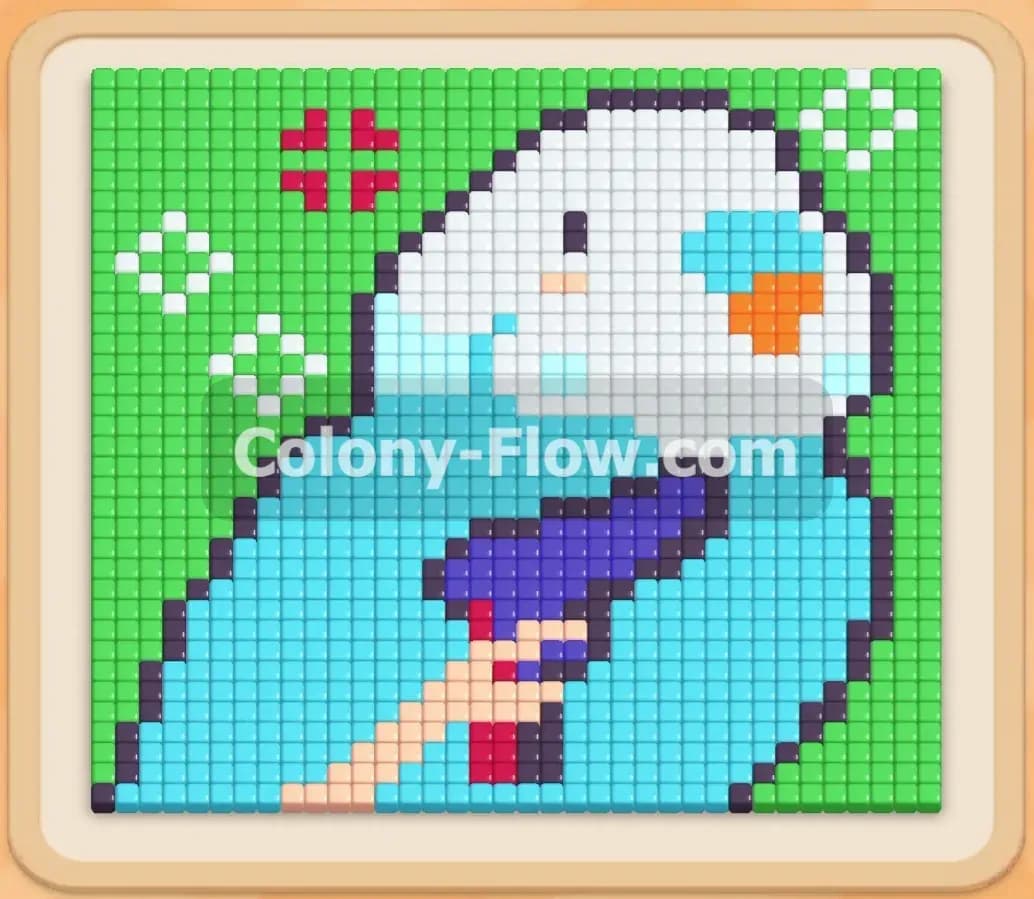
Welcome to Colony Flow Level 327. This level presents a colorful pixel art picture of a blue bird holding a dark object set against a bright green background. You face a busy board where every single move matters. You will manage connected boxes and a hidden box while keeping your waiting slots completely clear. The key to winning is patience and strict tray management. I play every level myself to find the exact sequence that works best. I will walk you through the precise moves to solve this board and secure your win.
Colony Flow Level 327 Overview
What You Are Working With
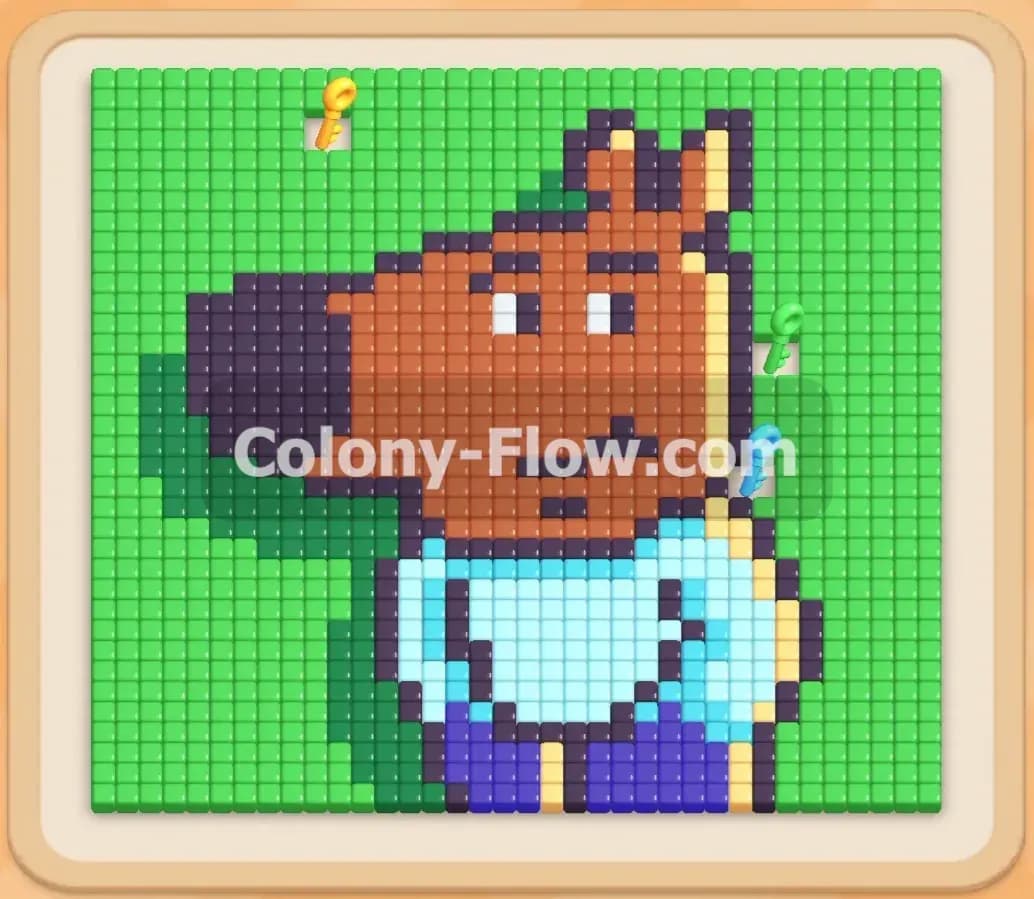
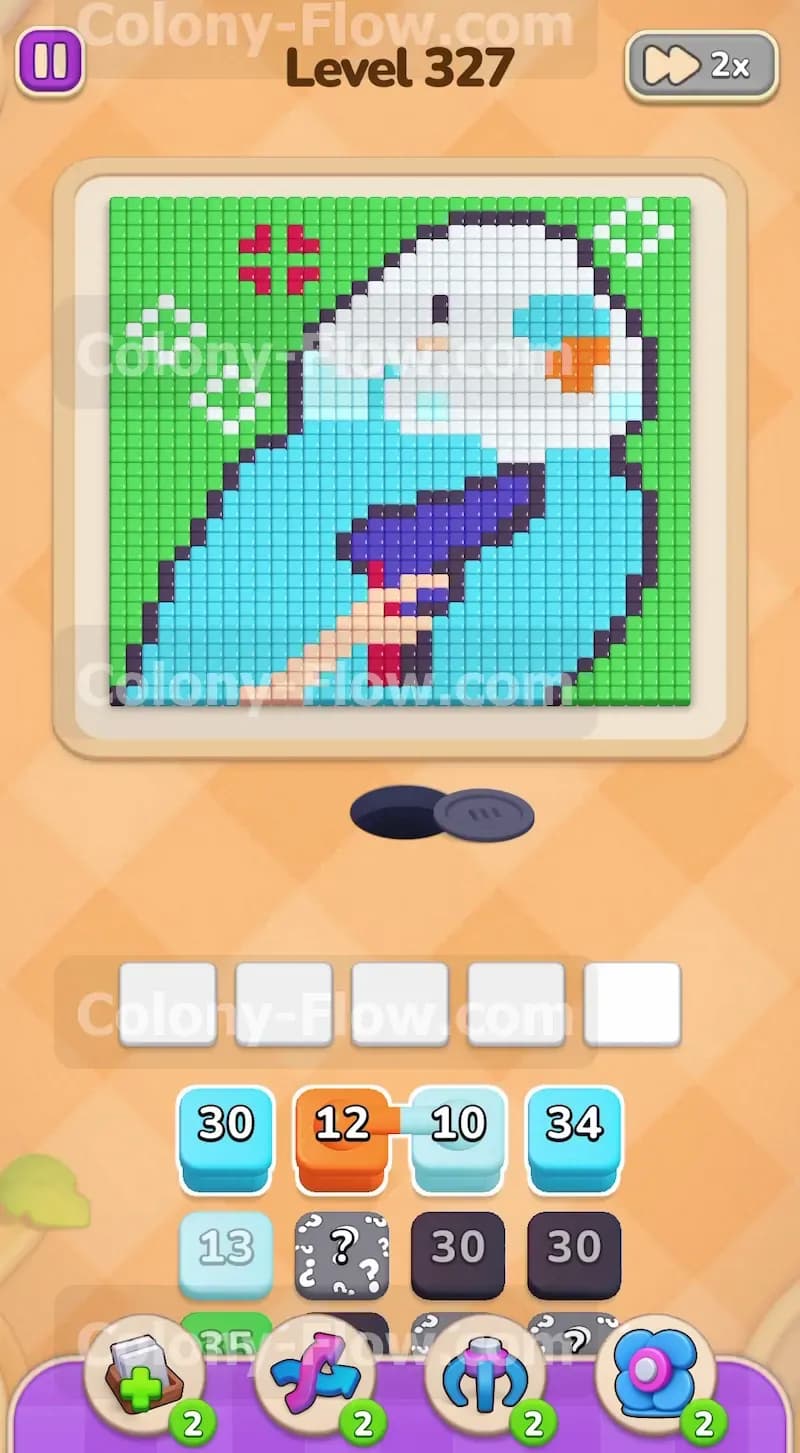
The picture at the top of the screen displays a large light blue bird. The background consists of a massive green section on the left side and top edge. The bird features a white head and a solid light blue body. It also holds a dark grey shape with tiny red accents near the bottom center.
Your tray contains a variety of numbered colored blocks. You see light blue blocks for the main bird body. You see huge green blocks dedicated to the background. You also have dark grey blocks for the object the bird holds.
This level introduces a few special tiles you must manage carefully. You will encounter connected boxes in your top tray row. Connected boxes are linked together and move as one solid group into your waiting slots. You also face a hidden box. A hidden box displays a question mark and hides its true color until a valid path opens for its ants. You cannot plan for the hidden box until the board opens up.
What It Takes to Clear Level 327 Board
Clearing this level requires you to remove every single colored tile from the board. You achieve this by matching the colored blocks in your tray to the exposed tiles on the picture. When you pull a block into a waiting slot the ants stream out of the nest and travel along open paths to eat their matching color.
The core challenge is the lose condition. You lose the level instantly if you fill all five waiting slots and no ants can find a path to the board. The waiting slots jam if you pull colors that are blocked behind other tiles. Every move you make must keep at least one active path open. You must clear the outside edges first to carve a route into the center. Never dead end your board.
Colony Flow Level 327 Step by Step Solution
Step 1: Open the bottom path with dark grey ants
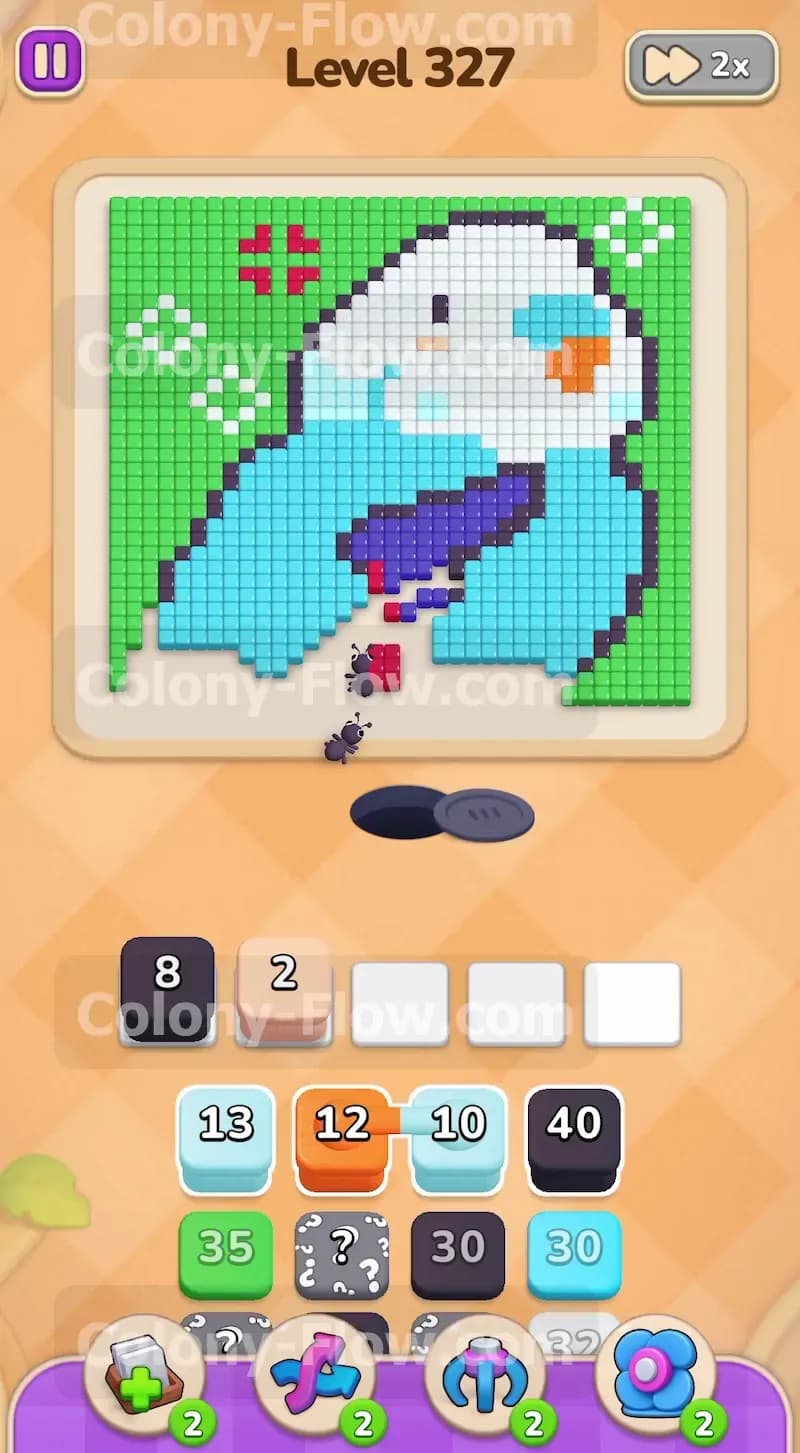
Start your game by focusing on the bottom center of the pixel art picture. The most accessible color is the dark grey section right above the nest hole. Look at your tray and locate a dark grey block. Pull this dark grey block down into your first waiting slot. The dark grey ants stream out of the nest hole immediately. They march straight up to the bottom center of the board and begin eating the dark grey tiles. This action creates your very first major opening on the board. You always want to clear the lowest hanging tiles first because this prevents early slot jams. The dark grey ants clear a vital path that gives you access to the surrounding colors. Your waiting slots remain mostly empty and perfectly safe.
Step 2: Clear the left background with green ants
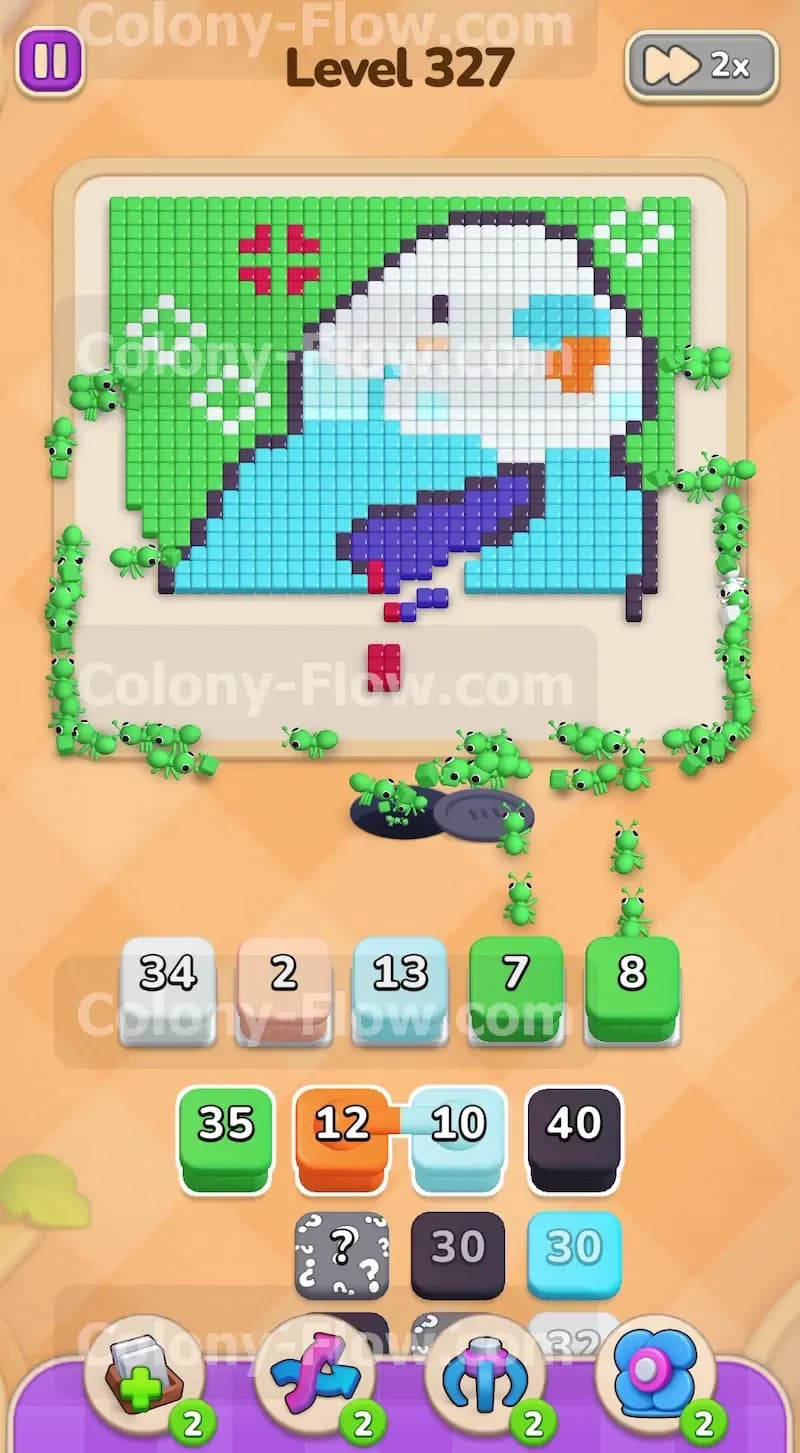
The left side of the board consists of a massive green background. You need to clear this vast area to expose the left side of the blue bird. Look at your tray and locate a large green block with a high number. Pull this green block into your next open waiting slot. A massive colony of green ants exits the nest and travels up the left side of the screen. They consume a huge chunk of the green background tiles. Watching them sweep across the left side opens up the board beautifully. More importantly this clears a wide open path to the light blue tiles that make up the main bird body. Your board is now completely open on the left side and ready for the next color.
Step 3: Manage the connected boxes carefully
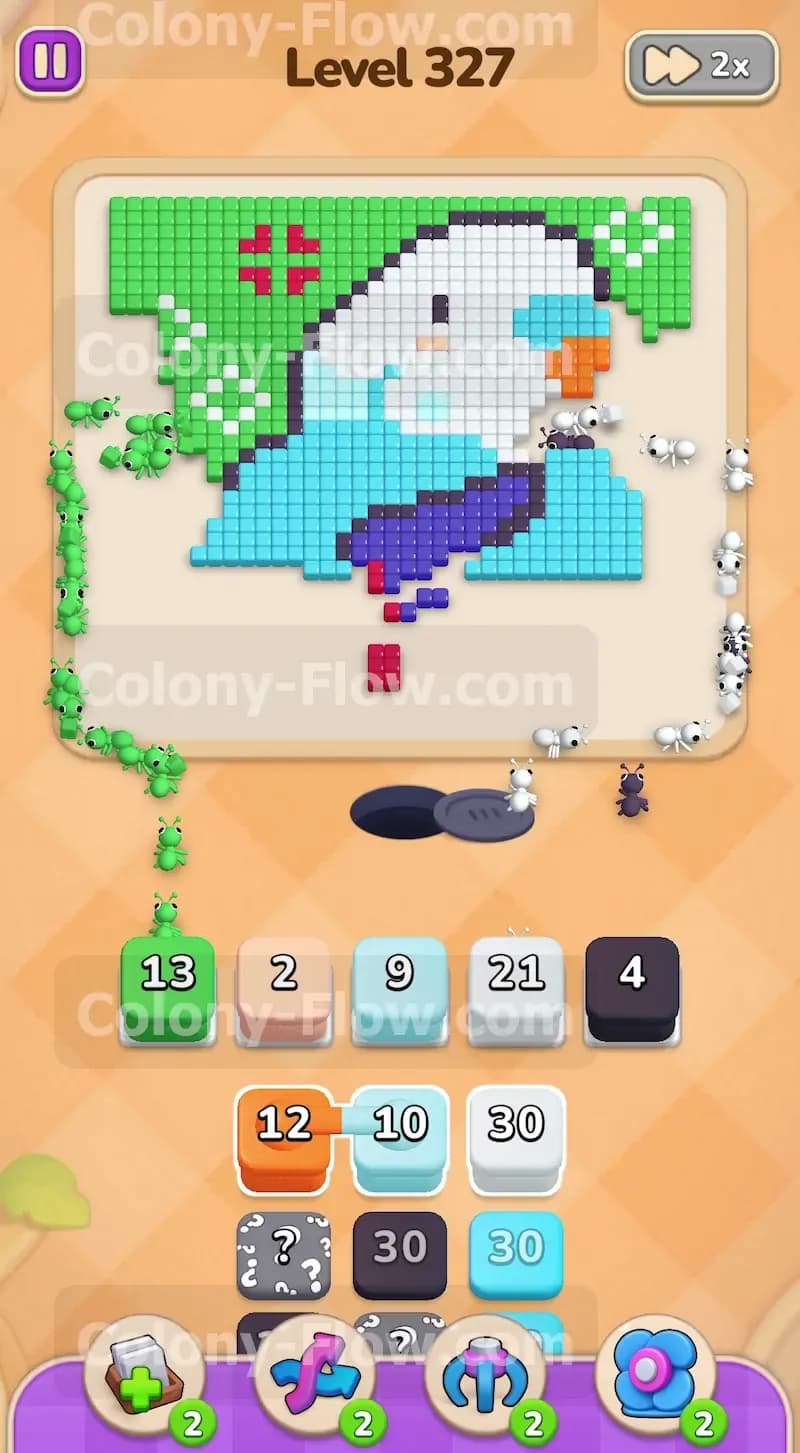
Now you must deal with the connected boxes sitting in your tray. You have an orange block linked to two light blue blocks. Pulling one means pulling all three into your waiting slots simultaneously. This action takes up three of your five slots instantly. You must make absolutely sure the light blue ants have an open path before you make this move. You just opened the left side of the board. The light blue tiles on the bird are now completely exposed. Pull the connected boxes down into the slots. The light blue ants immediately run out and start clearing the bird body. The orange block sits safely in its slot and waits until the orange tiles are finally exposed.
Step 4: Bring out the white ants for the bird head
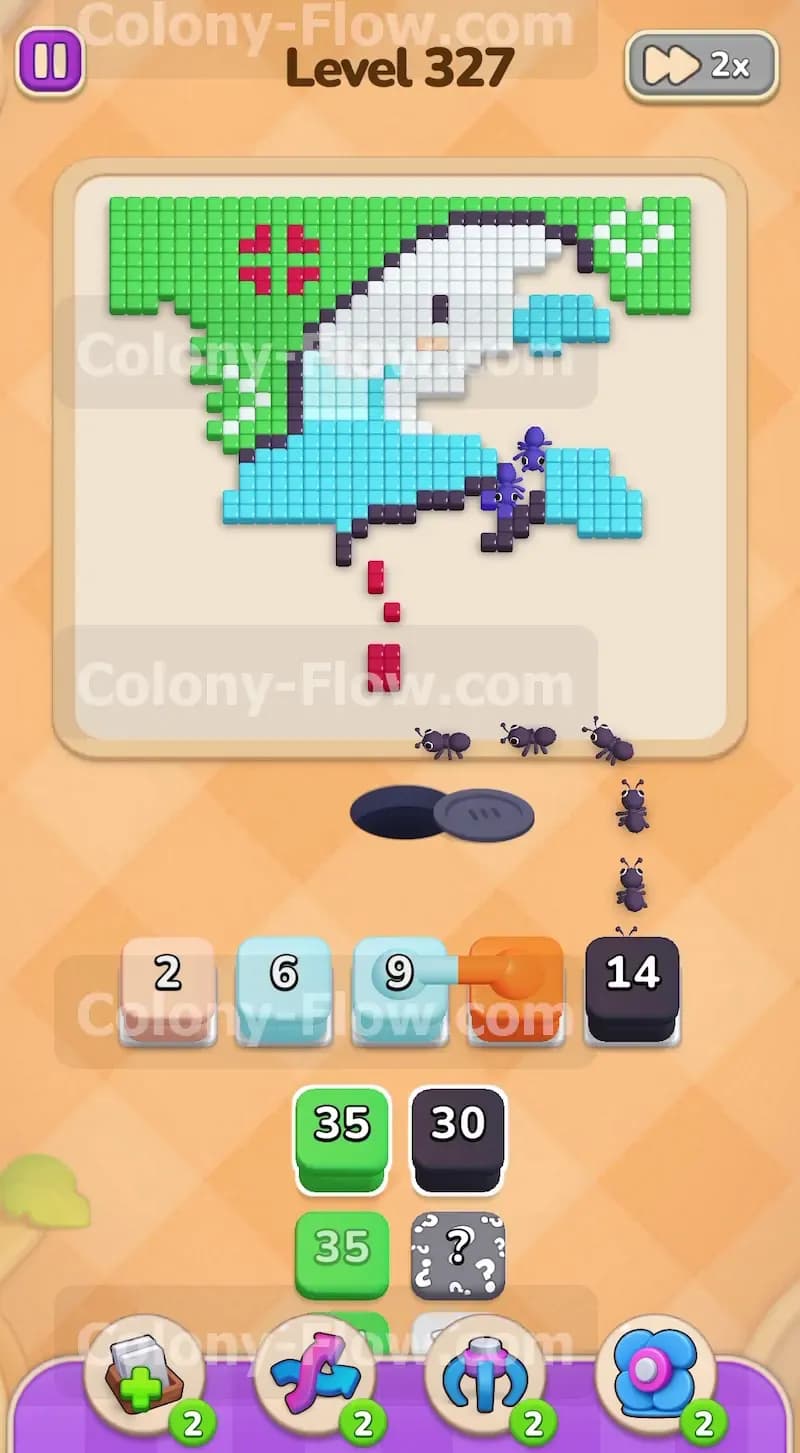
The top right section of the picture features the solid white head of the bird. You need to expose this white area by clearing the tiles below it or beside it. Look for a clear path to the white tiles. Locate a white block in your tray. Pull the white block into an open waiting slot. The white ants travel up the newly opened paths and start clearing the bird head. Clearing these white tiles opens up the remaining green background at the very top. Keep a close eye on your slots here because the orange block from the connected boxes is still waiting. You only have one or two empty slots left so you must make every subsequent move count.
Step 5: Send more dark grey ants to the lower right
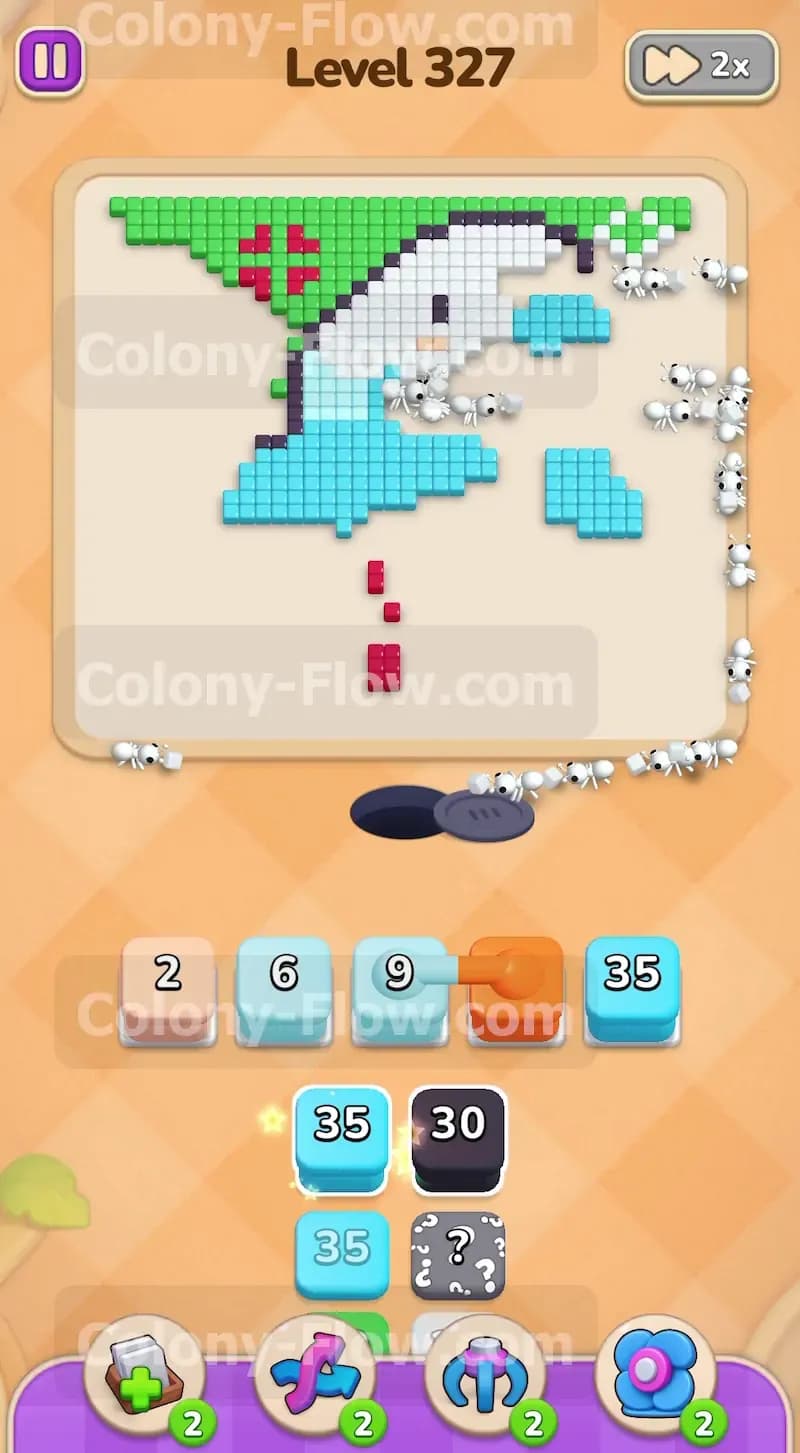
The dark grey object extends over to the right side of the bird. You need to finish clearing this dark grey shape to open the lower right corner of the picture. Look at your tray and find the next dark grey block. Pull it down into a free waiting slot. The dark grey ants march out and attack the remaining dark grey tiles on the right side. This clears a major blockage at the bottom right area of the board. As these dark grey tiles vanish they expose even more of the light blue bird body. This constant progression of opening one color to reach another is the absolute secret to winning the game.
Step 6: Deploy light blue ants to the lower bird body
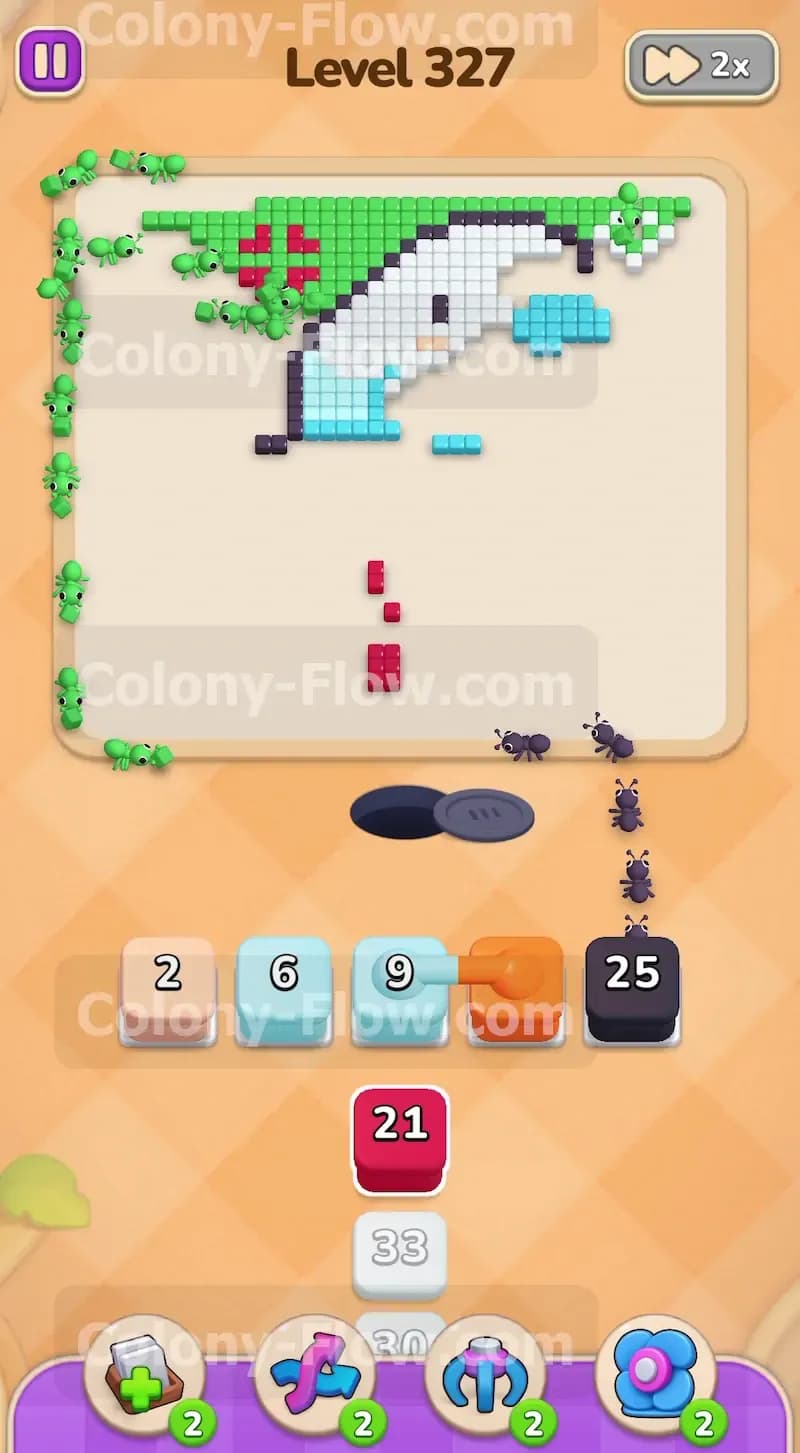
With the dark grey section entirely gone the lower right part of the light blue bird body is fully exposed. Check your tray for another light blue block. Pull it into the waiting area. The light blue ants follow the new path on the right side and consume the lower blue tiles. The bird shape shrinks rapidly from both sides of the board. Your waiting slots cycle properly because the light blue ants find immediate paths to their colors. You successfully avoid a slot jam while reducing the tile count. The board gets much cleaner and easier to read.
Step 7: Clear the top green border
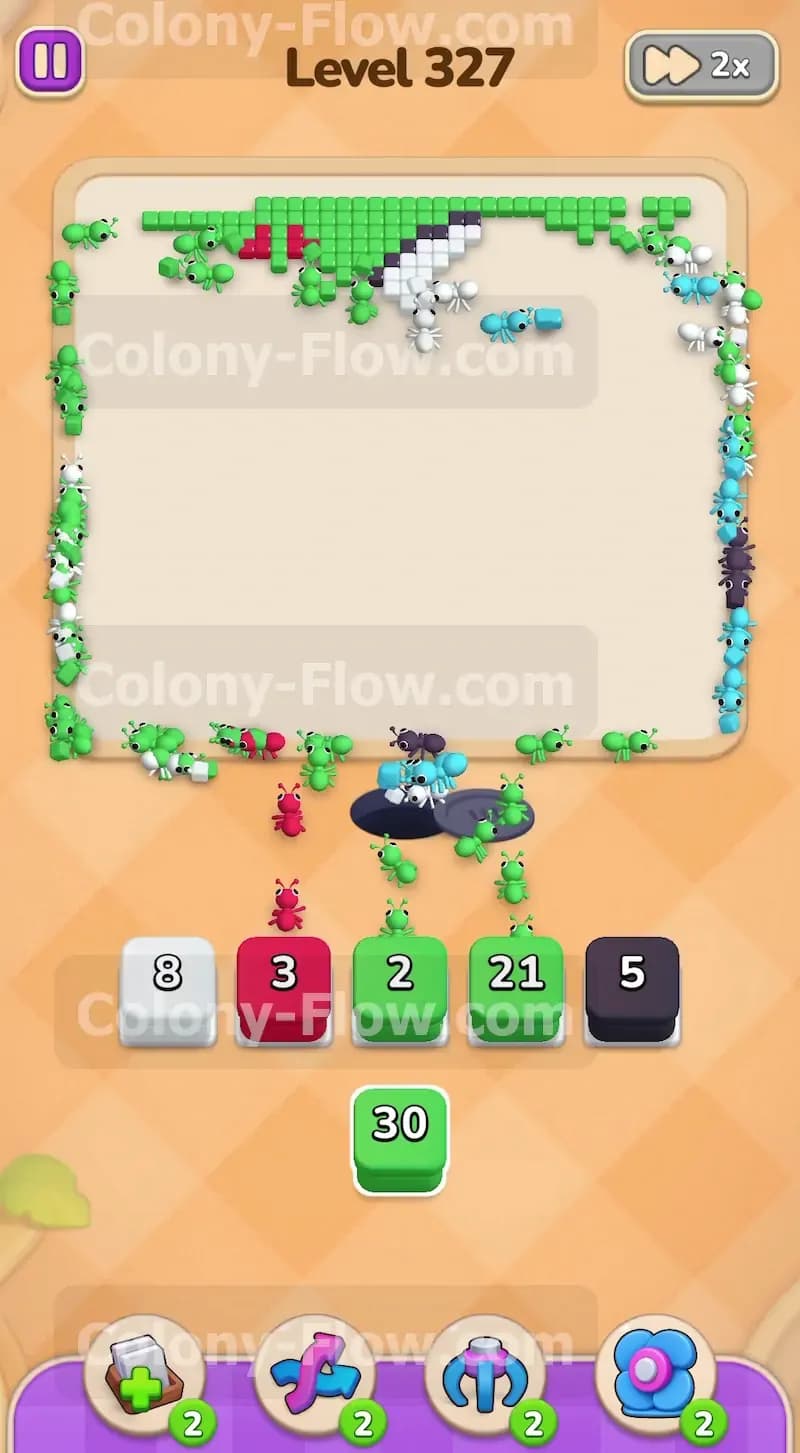
The white bird head is mostly gone by this point in the level. This exposes the green background tiles along the top right edge of the picture. Find the next green block in your tray and pull it down into a slot. The green ants stream out and travel all the way to the top right corner. They eat away the green tiles above the bird. This action clears out the final background sections. Your board is now mostly empty space with just a few scattered colors remaining in the center and right edge. The finish line is completely in sight.
Step 8: Handle the red details around the object
There are small red details near the center of the board where the dark grey object used to be. These red tiles are now completely exposed and ready to be cleared. You see a red block in your lower tray. Pull this red block down into a waiting slot. The red ants run straight up and clear the small red accents. These tiny details easily cause a slot jam if you pull their blocks too early in the game. By waiting until they are fully exposed you ensure the red ants move immediately. Your slots stay clear and you maintain total control of the board.
Step 9: Reveal the hidden box color
You still have a hidden box waiting in your tray. The hidden box shows a question mark and gives you no clues until its color has a valid path. The board is mostly clear now. The hidden box finally reveals its true color. Pull the revealed block into your waiting area. The ants run out and clear another chunk of the remaining picture. Dealing with hidden boxes at the very end of the level is much safer because the board is wide open. The ants reach almost anywhere without getting blocked by other colors.
Step 10: Final cleanup of scattered tiles
Only a few scattered white and green tiles remain on the right edge of the board. Look at the last remaining blocks in your tray. You see small numbered blocks matching these exact remaining colors. Pull them into your waiting slots one by one. Send the green ants to finish the green edge. Send the white ants to finish the very last white pixels on the board. Once the final tile is eaten the ants finish their work and you win the level. You kept your slots open and successfully managed the connected boxes from start to finish.
Final Thought
That is how you beat this board and keep your waiting slots totally clear. Managing the connected boxes and holding back on the small detail colors is the secret to winning here. Feel free to watch the video above this article if any step is hard to follow in text.