Colony Flow Level 599 Walkthrough Solution & Guides | How to solve Colony Flow 599

Guide By Liam Stone
Updated on August 1, 2026
Rather watch than read? The video above walks through Level 599 step by step.
Video doesn't match your screen?
Game updates frequently scramble layouts! Try our AI Screenshot Solver first to find your exact board instantly, or report broken guides to our team.
Welcome back. Colony Flow Level 599 brings a detailed koala picture that requires careful block management. You have a lot of colors to juggle and several keys to collect before you can access all your tray blocks. I played through this one a few times to find the safest route that keeps your waiting slots completely clear.
Colony Flow Level 599 Overview
What You Are Working With
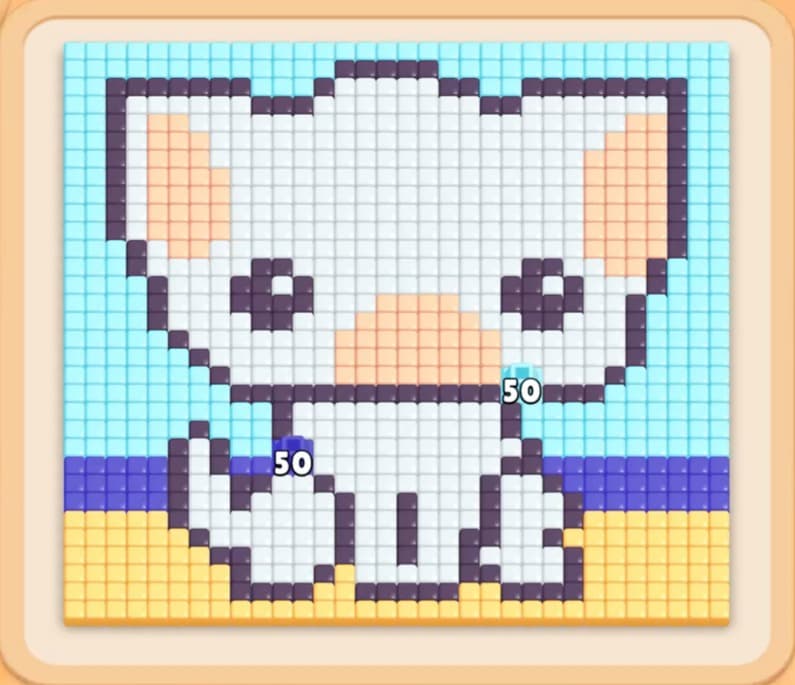
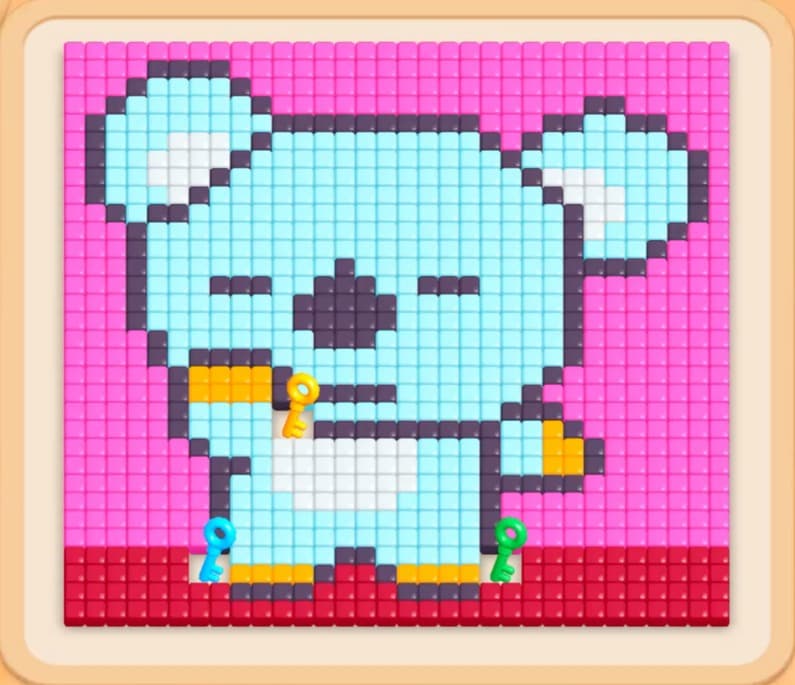
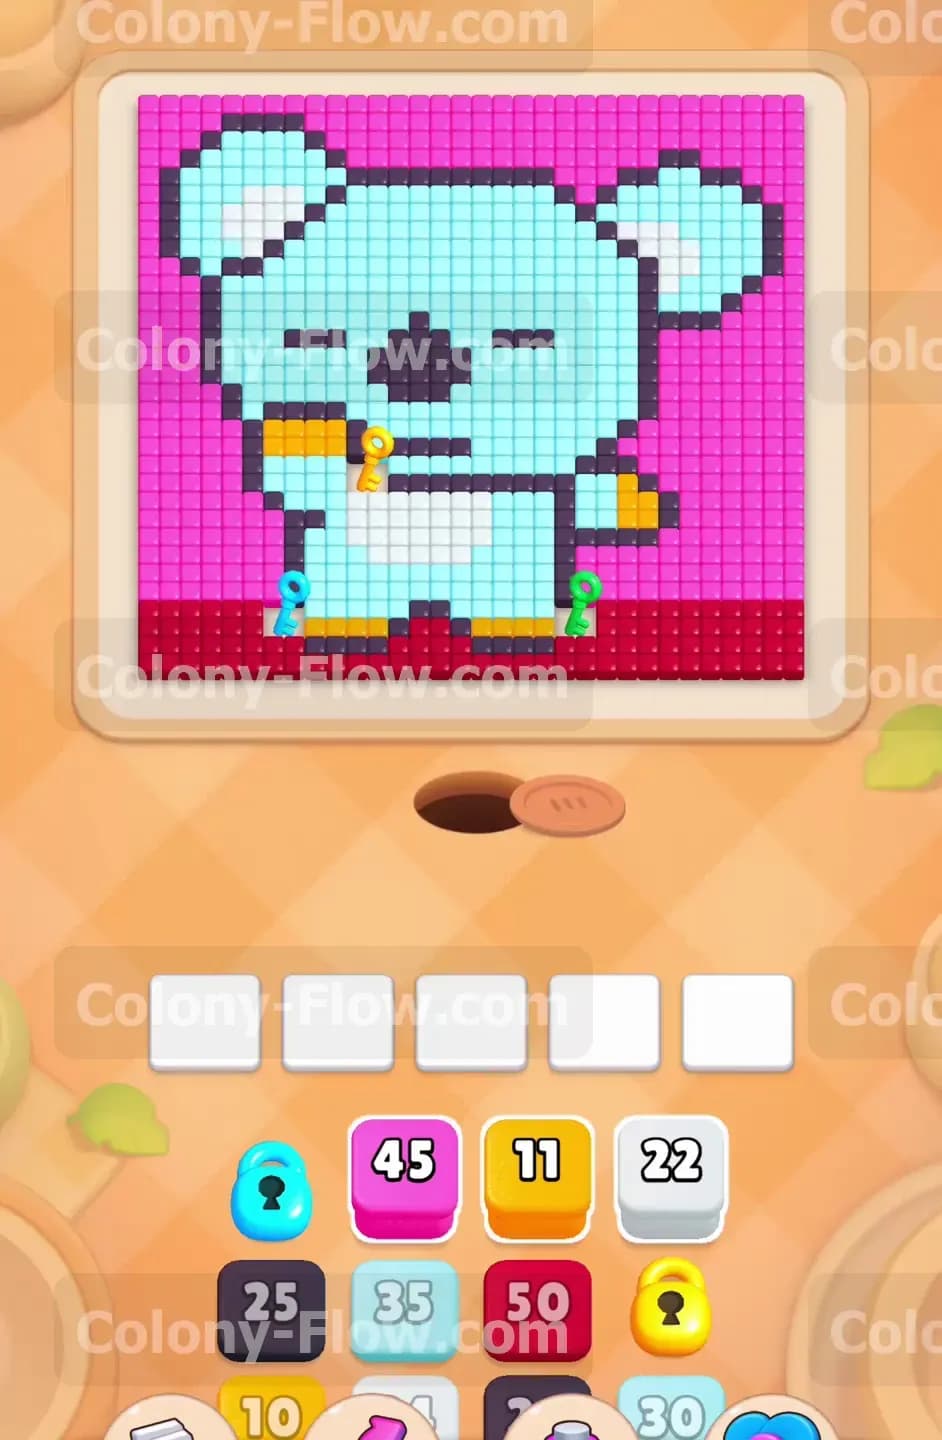
The board features a large koala design taking up most of the screen. The koala has a light blue head and a bright white body. It sits against a highly visible pink background. A thick red border forms the ground at the very bottom of the picture. You will also notice a yellow hand holding something near the middle of the body and black tiles that make up the eyes and nose.
Special tiles play a massive role in how you approach this board. You will see three distinct keys resting directly on the picture tiles. A blue key sits on the white leg on the lower left side. A green key rests on the right leg. A yellow key is located right on the yellow hand. You must collect these keys by clearing the tiles underneath them. Collecting these keys unlocks the matching locks on the numbered blocks resting in your lower tray. If you ignore the keys you will run out of playable blocks and jam your waiting slots entirely.
What It Takes to Clear Level 599 Board
Clearing this level requires a steady methodical approach from the bottom up. You start by opening the red ground layer to give your ants access to the main picture. Then you slowly peel away the white belly and the lower pink background. You must prioritize the specific tiles that hold the keys. Every time you collect a key you free up essential blocks in your lower tray. Your main goal is to balance pulling background colors and koala body colors. Keep your ants moving constantly so the five waiting slots never fill up completely. If all five slots fill with blocks that have no open path the level ends and you lose.
Colony Flow Level 599 Step by Step Solution
Step 1: Open the bottom access points by clearing the red base block
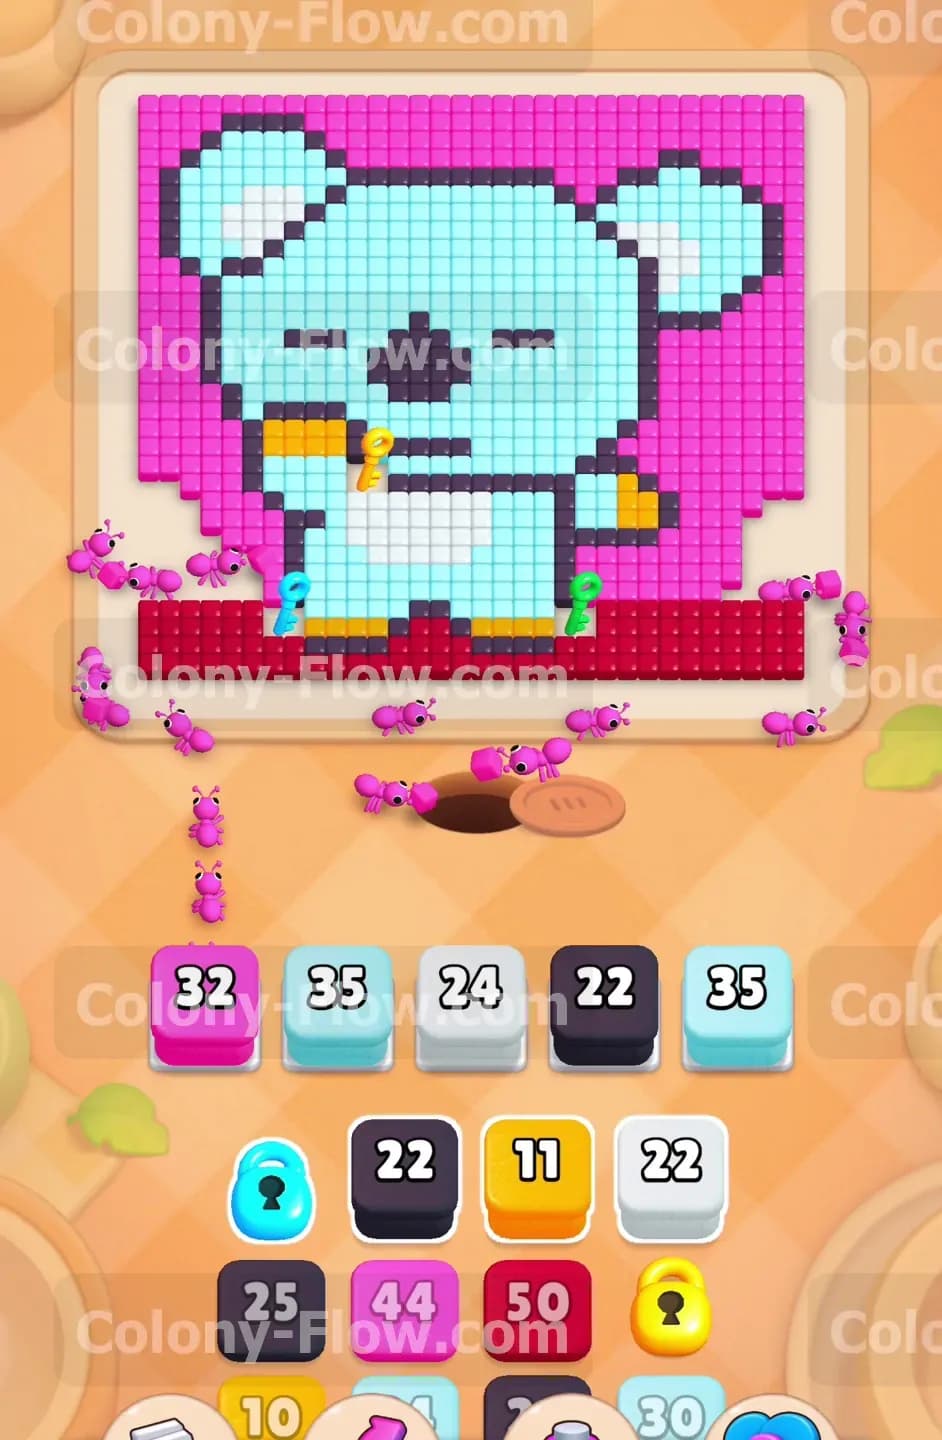
You start the level with very limited access to the picture. The ants can only reach the very bottom edge of the board. Pull the red block from your tray to send your ants to work on the red ground layer. This action eats away the barrier standing between your nest hole and the koala figure. The red numbers will count down as the ants consume those tiles. Clearing this bottom strip exposes the white belly of the koala and the lowest edges of the pink background. You must do this first to create new paths and avoid an early slot jam.
Step 2: Start clearing the pink background edges to create room
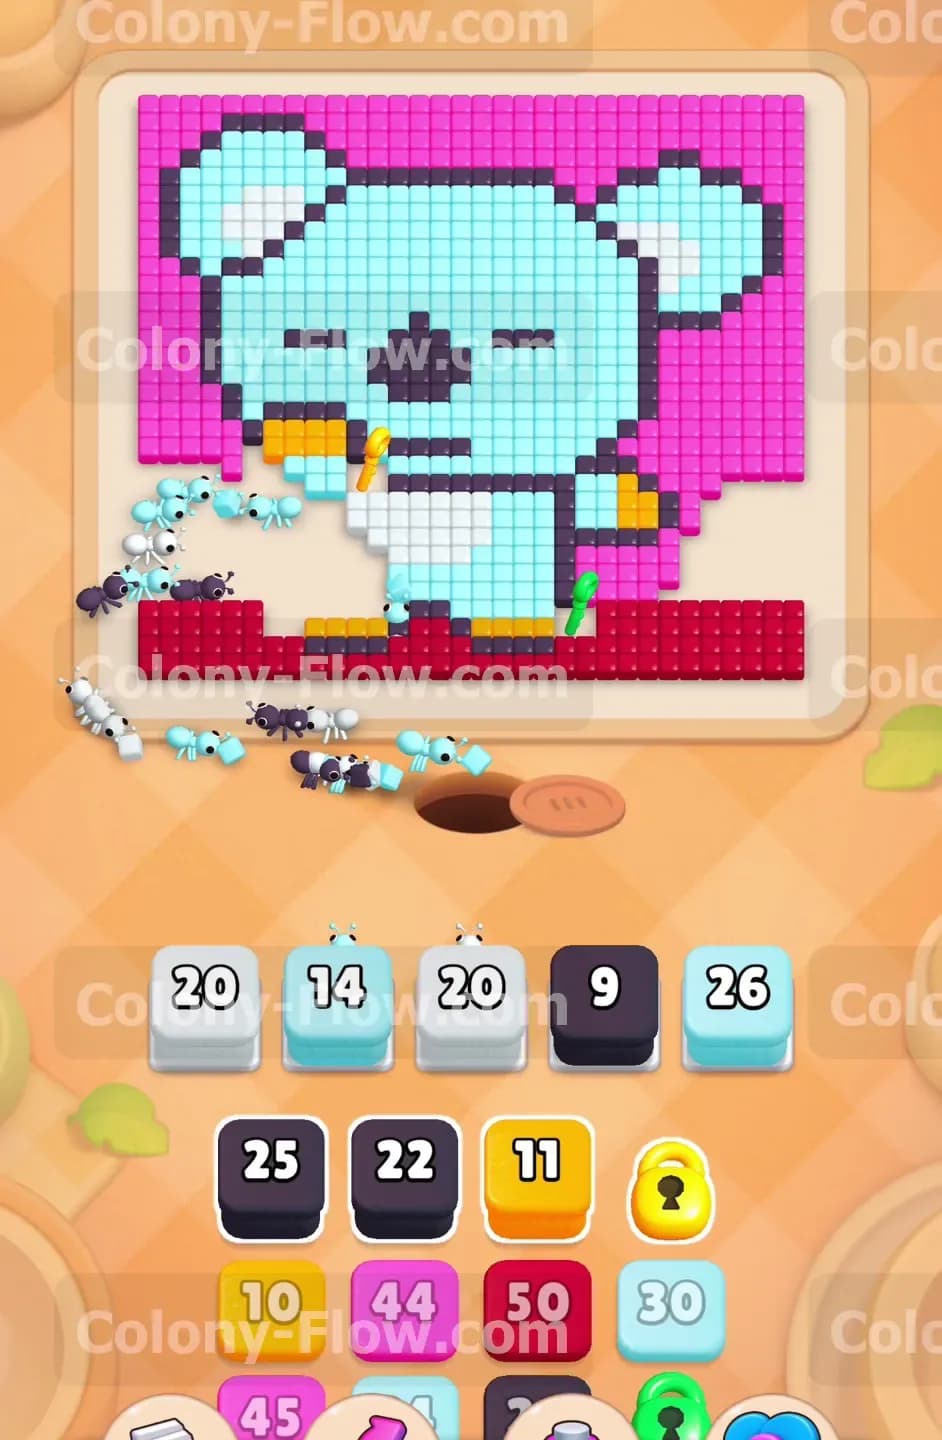
With the red ground partially gone you now have access to the pink background on the left and right sides. Pull a pink block into your waiting slots. The ants will march up the sides and start eating the pink tiles. The pink blocks usually carry very high numbers because the background covers so much space. Watching a pink block with a high number drop into your slots can feel risky but as long as the pink tiles are directly touching the open space the ants will clear it steadily. Pulling the pink block early ensures you do not waste time later trying to clear the massive background all at once.
Step 3: Attack the white belly to reach the first key
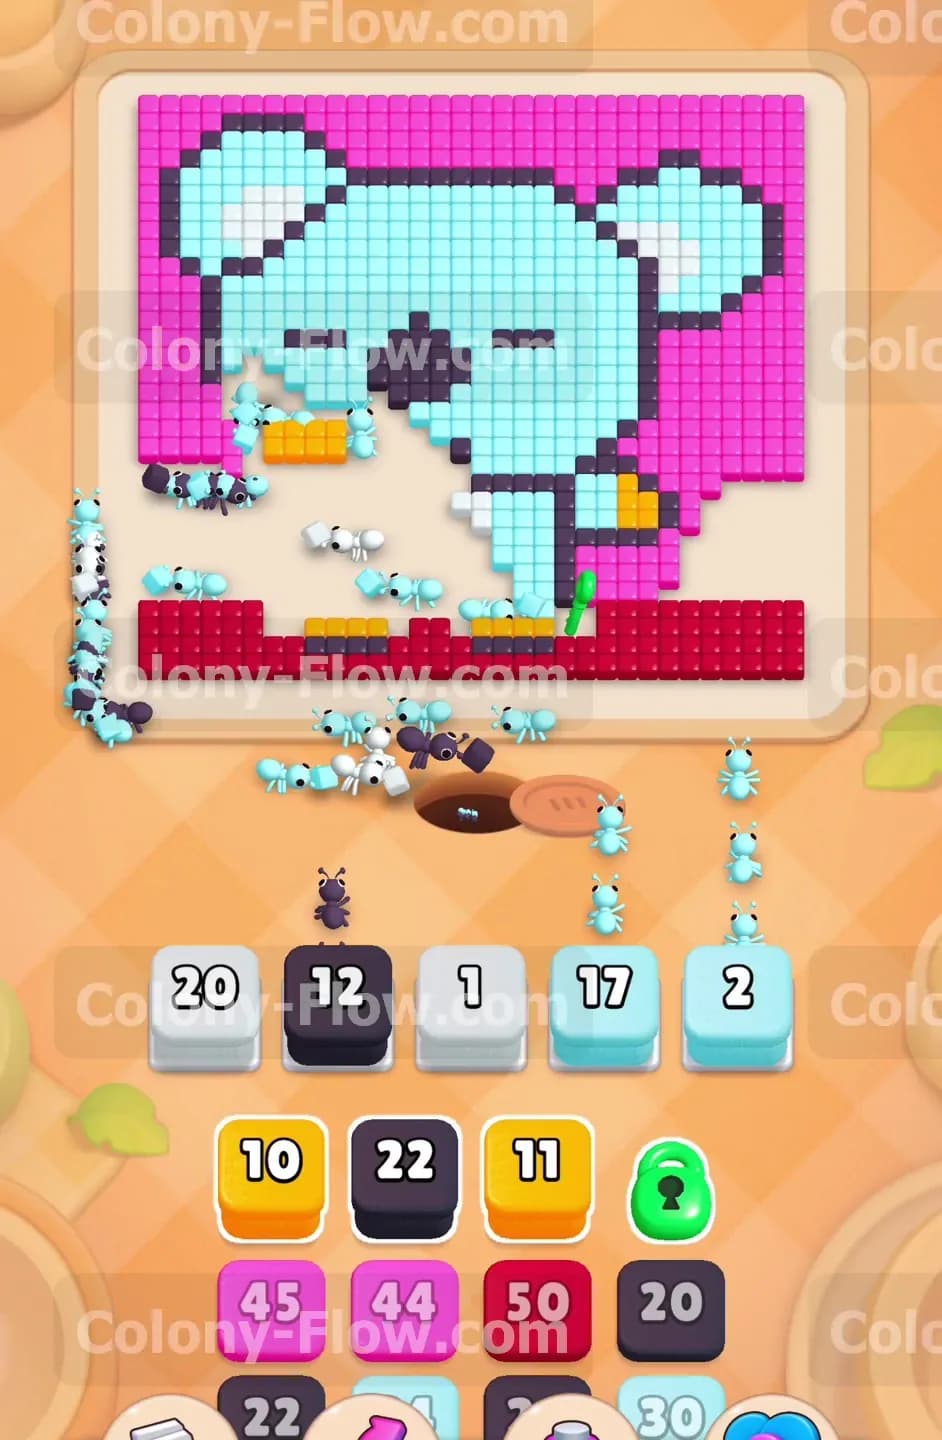
The white body is the gateway to the upper half of the board. You cannot reach the eyes or the massive light blue head without chewing through this white belly section first. Pull a white block to send ants straight up the middle into the koala. The ants will eat the white tiles on the lower left leg first. This specific spot holds the blue key. As the white tiles disappear the blue key is automatically collected. Collecting keys is the only way to remove the colored lock icons from the blocks sitting in your tray. Getting this first key early gives you more block options to pull when the board gets crowded.
Step 4: Send ants to the black facial features
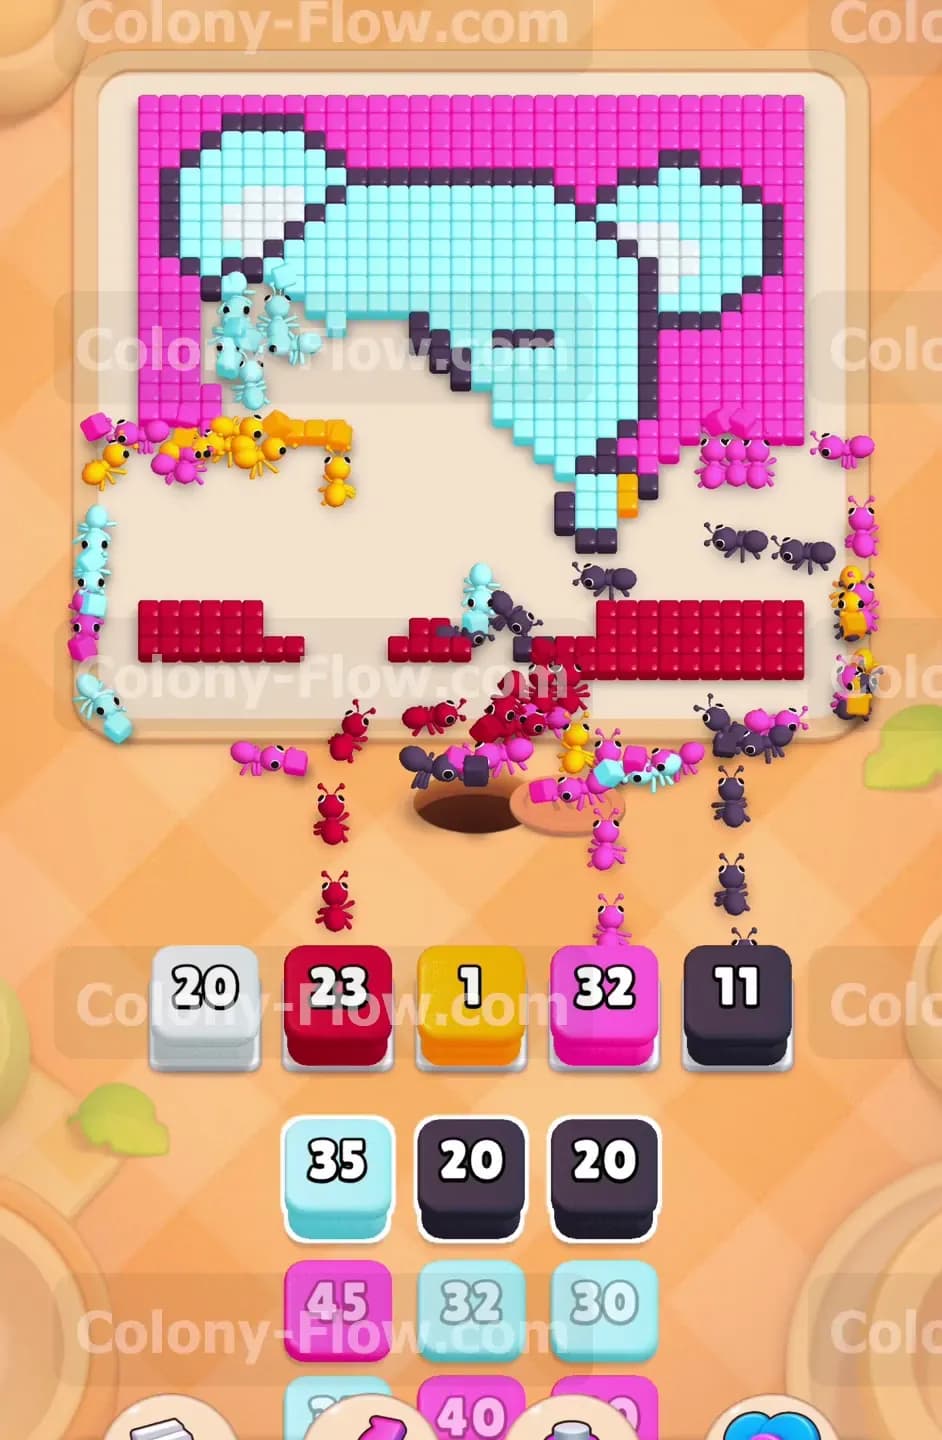
As the white belly shrinks you gain access to the black nose and the dark black eyes. Pull a black block into your waiting slots. The ants will follow the cleared paths through the white body and attack the black tiles. The black tiles are isolated in small clusters making up the face. Because these clusters are small you must be very careful not to pull too many black blocks at once. Always wait until you clearly see the black tiles exposed before you commit to pulling that block. Keeping one black block active guarantees that any stray ants reaching the center of the face have a job to do.
Step 5: Clear the yellow hand to collect the second key
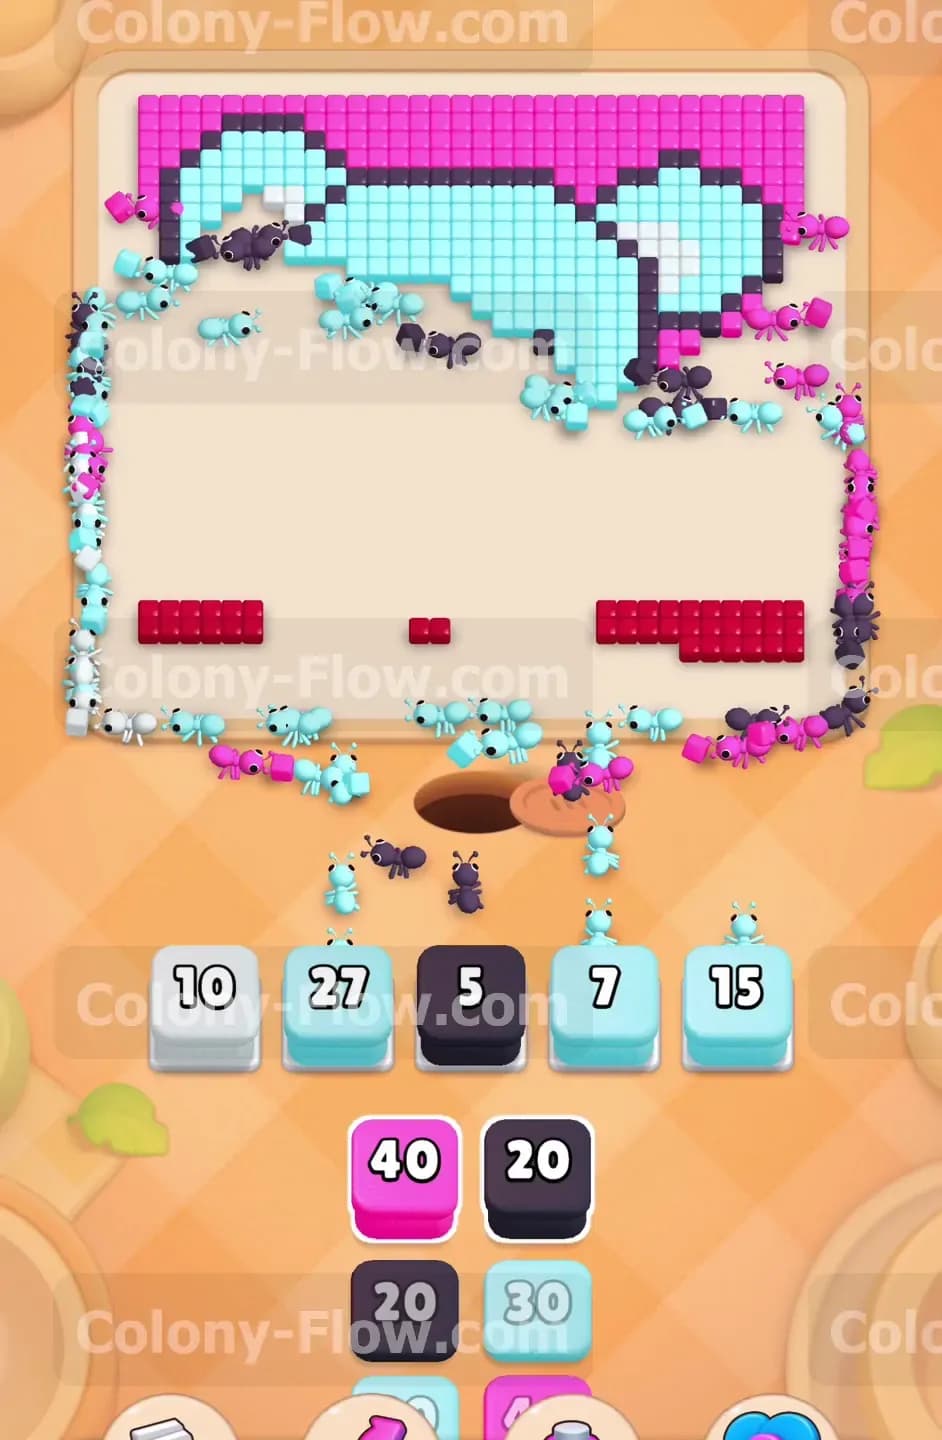
Your ants now have a clear path to the middle of the koala where the yellow hand rests. Pull the yellow block from your tray. The ants will swarm the small cluster of yellow tiles. Sitting right on top of this hand is the yellow key. The ants will chip away at the number on your yellow block as they eat the hand. Once they consume the tile holding the yellow key the key flies down and frees up another locked color. Unlocking these blocks keeps your options open so you never face a situation where you have no playable colors left.
Step 6: Finish the lower white body to grab the final green key
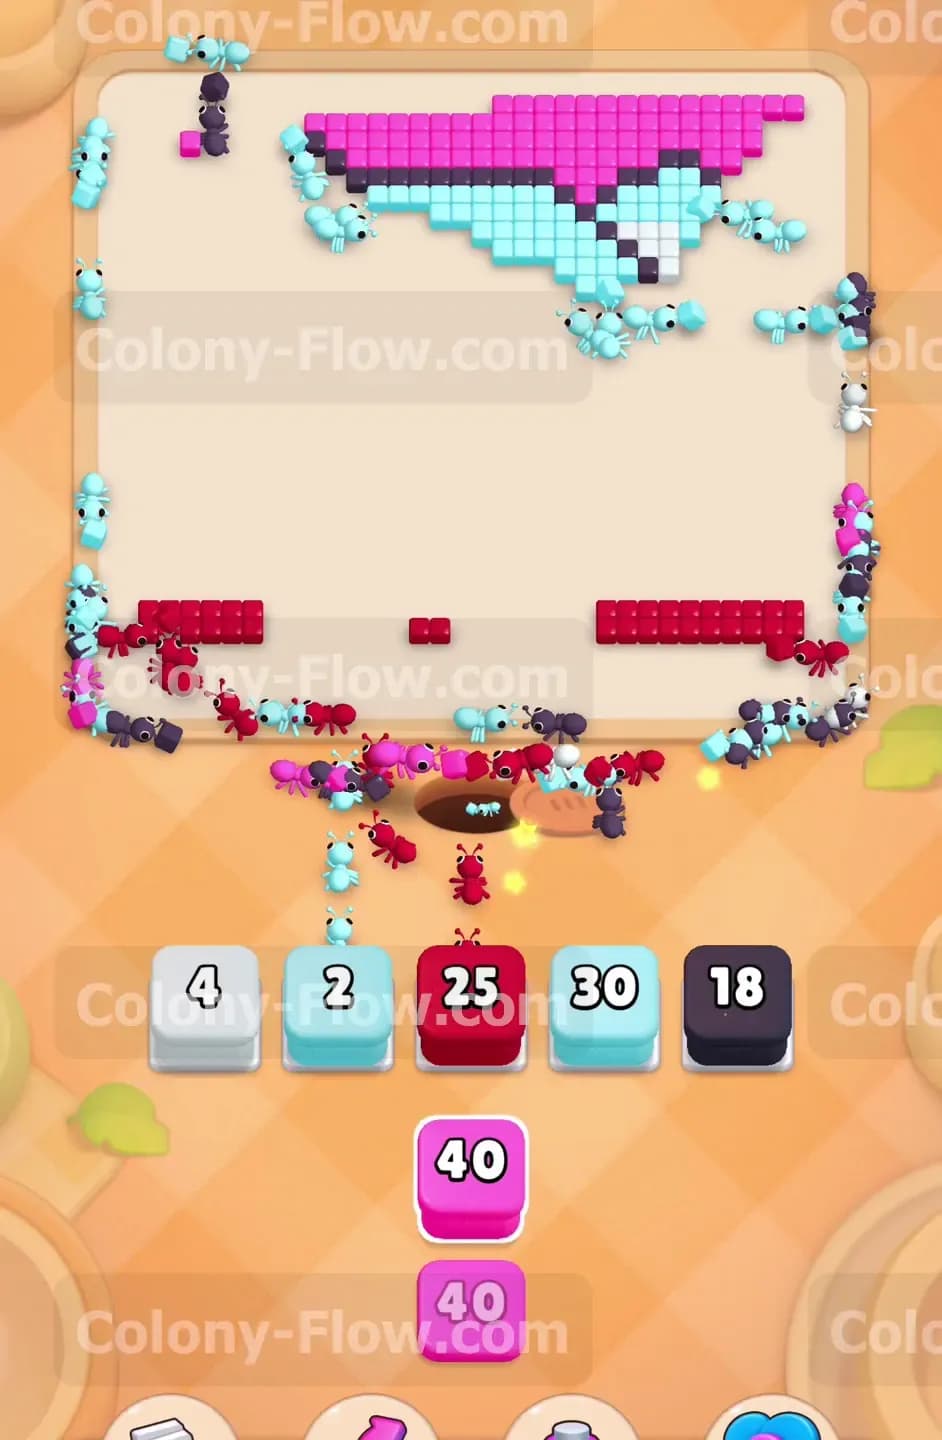
You still have one key left on the bottom right side. Sometimes it is easy to get distracted by the upper head and forget about this lower corner. Pull another white block to guide your ants to the remaining white leg. They will eat the last few white tiles and secure the green key. This entirely clears all locks from your tray. You now have total freedom to pull any block you need to conquer the upper half of the picture. Watch your five waiting slots and make sure you only pull colors that currently touch an open path.
Step 7: Break down the large light blue head
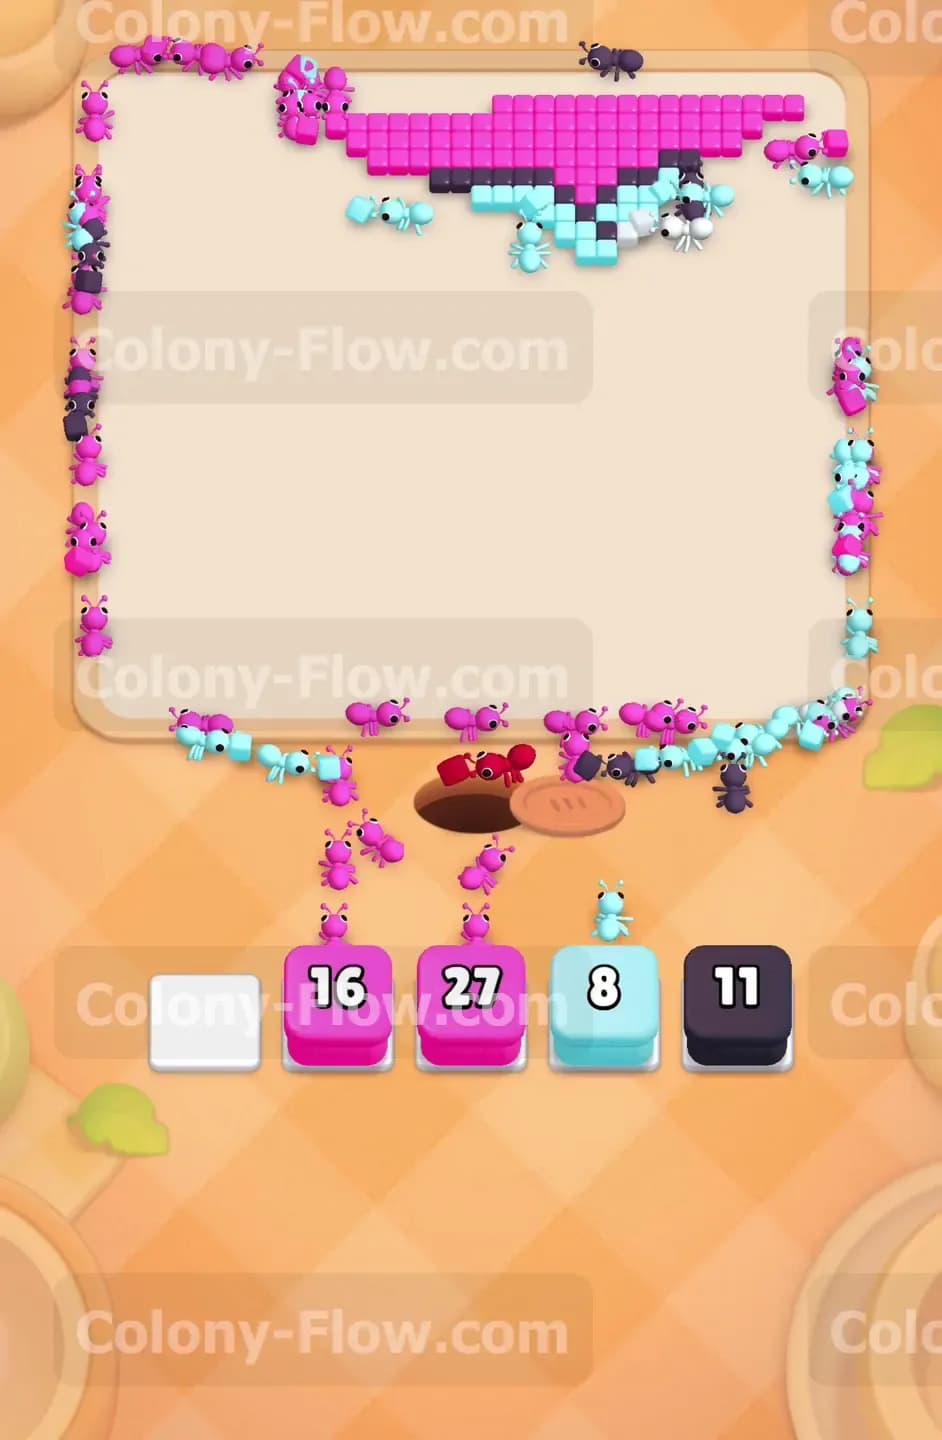
The light blue head dominates the top half of the screen. This area requires multiple light blue blocks to fully clear. You will see blocks with numbers in the twenties and thirties sitting in your tray. Because the light blue area is wide and fully exposed by this point you can safely pull two light blue blocks into your waiting slots. The ants will naturally split up and attack the left and right sides of the head simultaneously. This keeps the numbers counting down rapidly and prevents your slots from jamming.
Step 8: Clean up the top pink background tiles
While the ants handle the light blue head you should pull another pink block to manage the upper background. The pink tiles wrap entirely around the top of the koala ears. Sending ants up the left and right sides to eat the upper pink tiles keeps the board balanced. If you ignore the pink border you will end up with a huge pile of pink tiles at the end of the level and not enough open paths to clear them quickly. Keep the pink path active alongside the light blue path to maintain a high flow of ants.
Step 9: Empty the final remaining blocks to complete the board
The final moments of the level require total precision. Look closely at the top of the board to see exactly which colors remain. You will likely see a mix of light blue and pink tiles along the very top edge. Pull the corresponding blocks from your tray to finish the job. Make absolutely sure you do not pull a block color that is completely covered by another color. Watch the numbers on the blocks drop to zero as the last ants finish their work. The moment the final tile is eaten the board clears and you secure your victory.
Final Thought
Managing the keys early makes all the difference here. I hope this walkthrough helps you keep your paths open and your waiting slots completely safe from jamming. If any specific part of this guide is hard to picture just watch the video above this article to see exactly how I executed the strategy. Good luck with the puzzle.