Colony Flow Level 36 Walkthrough Solution & Guides | How to solve Colony Flow 36

Guide By Liam Stone
Updated on July 10, 2026
The article below explains Level 36 in detail, but the video above gets you there faster.
Video doesn't match your screen?
Game updates frequently scramble layouts! Try our AI Screenshot Solver first to find your exact board instantly, or report broken guides to our team.
Getting through Colony Flow Level 36 requires a careful approach to uncovering hidden sections. This level presents a massive geometric diamond pattern filled with mystery tiles that you have to reveal slowly. I played this stage multiple times to find the safest way to break through the outer shell without causing a traffic jam in your tray. You need a steady rhythm to uncover the board without clogging your waiting spaces. I will walk you through exactly how to strip this board down to nothing.
Colony Flow Level 36 Overview
What You Are Working With
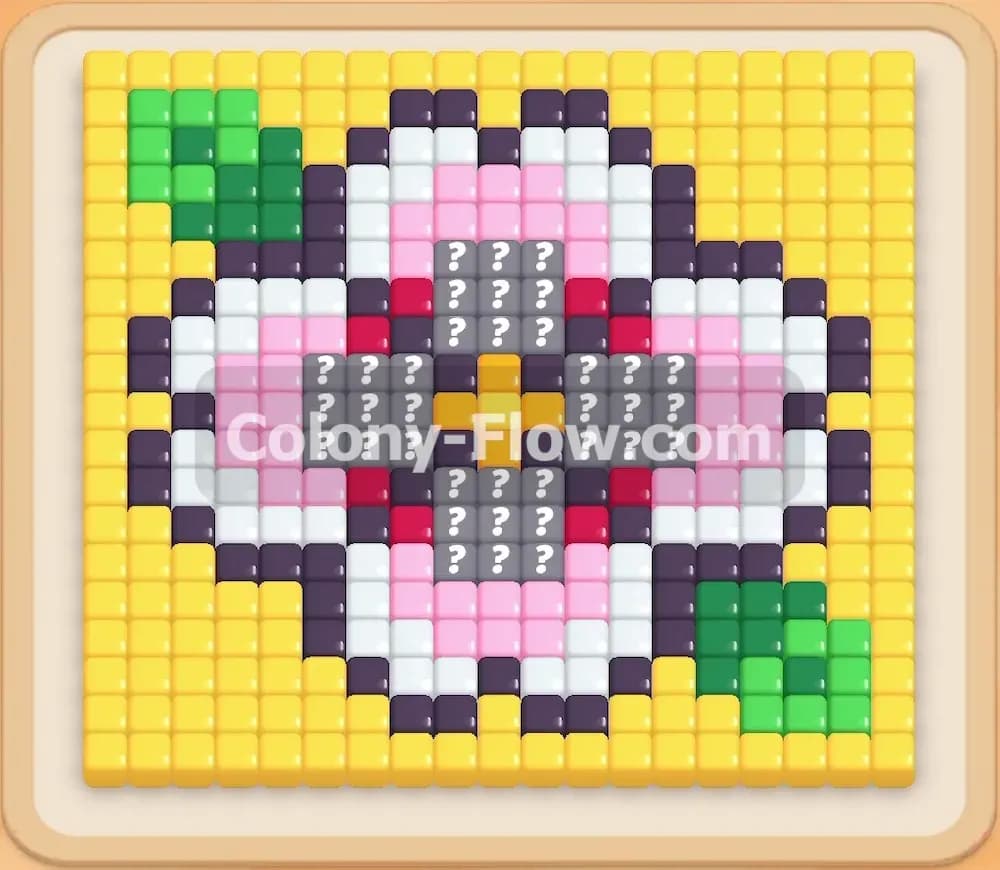
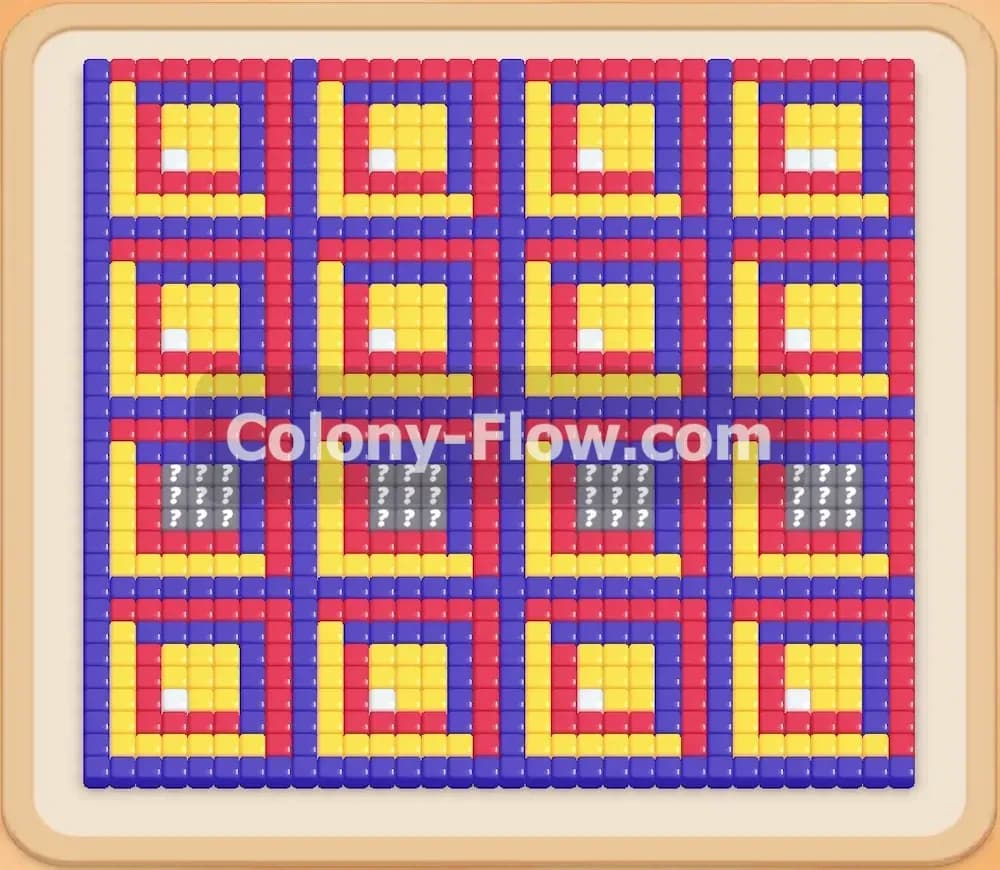
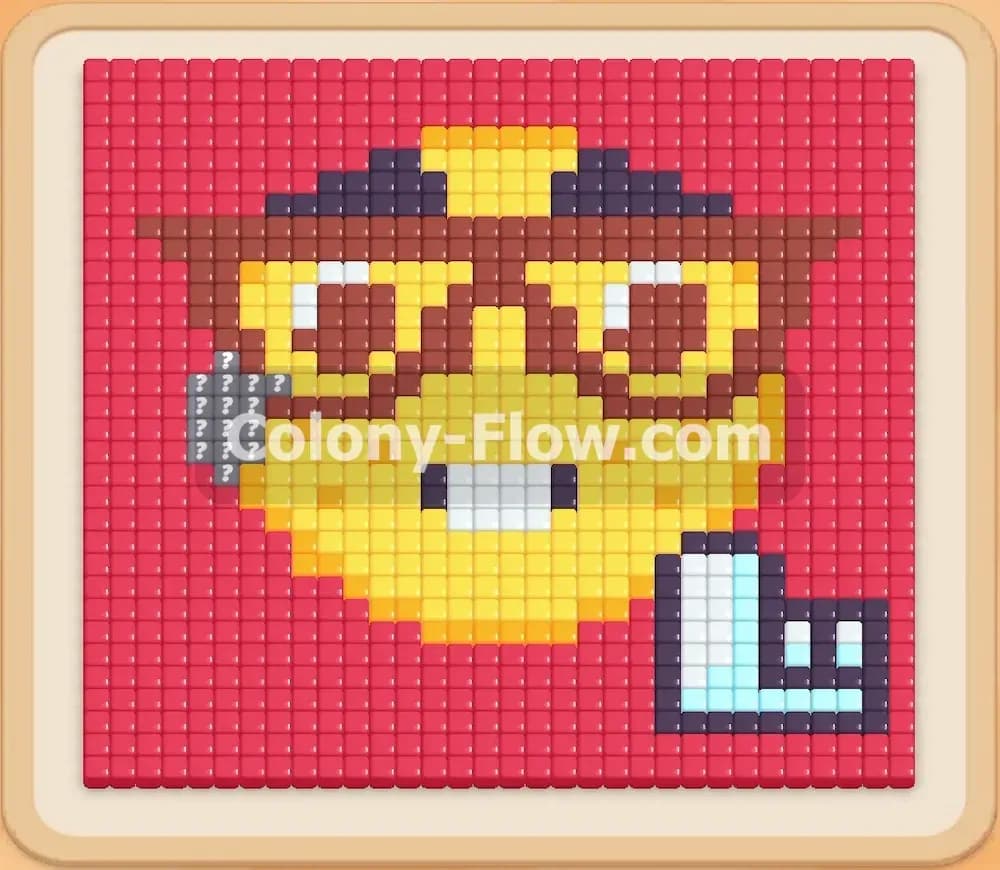
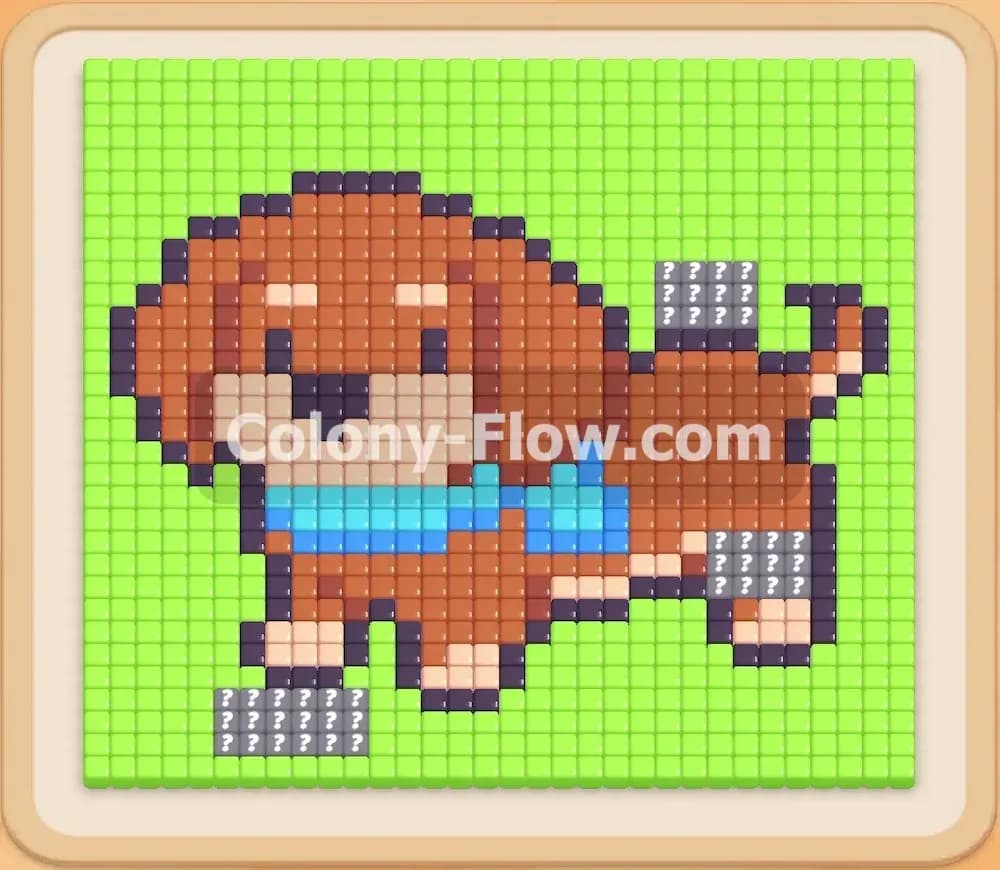
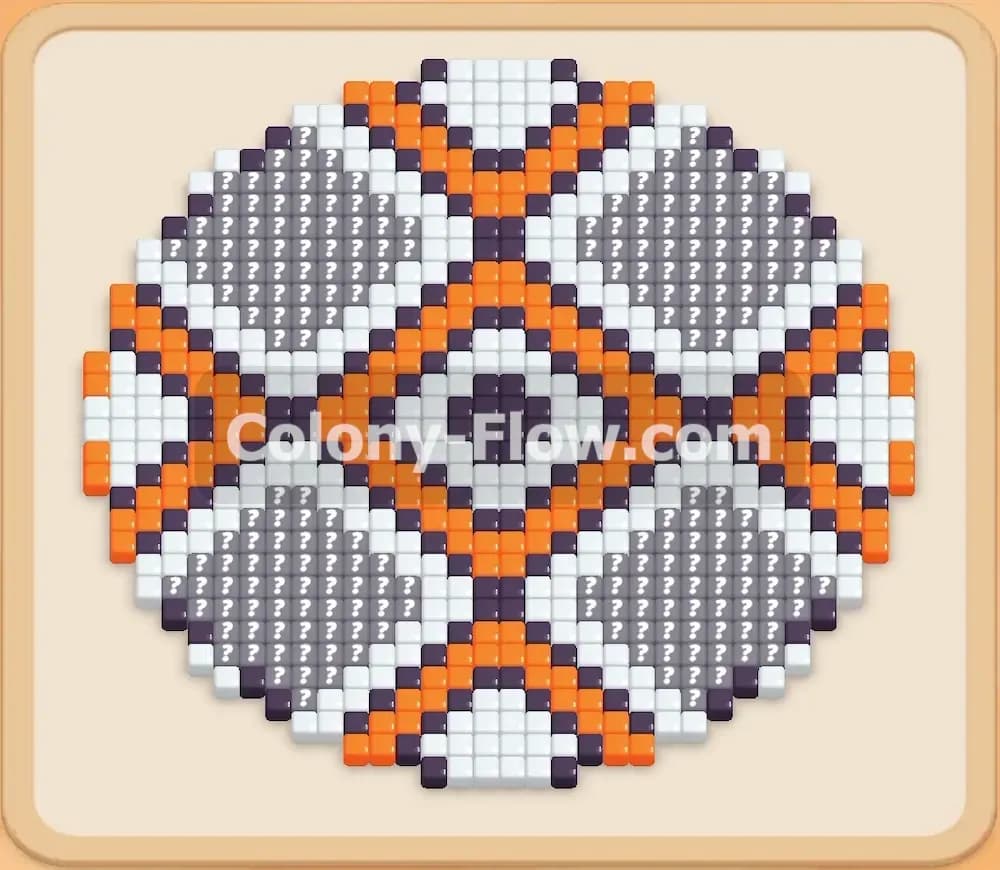
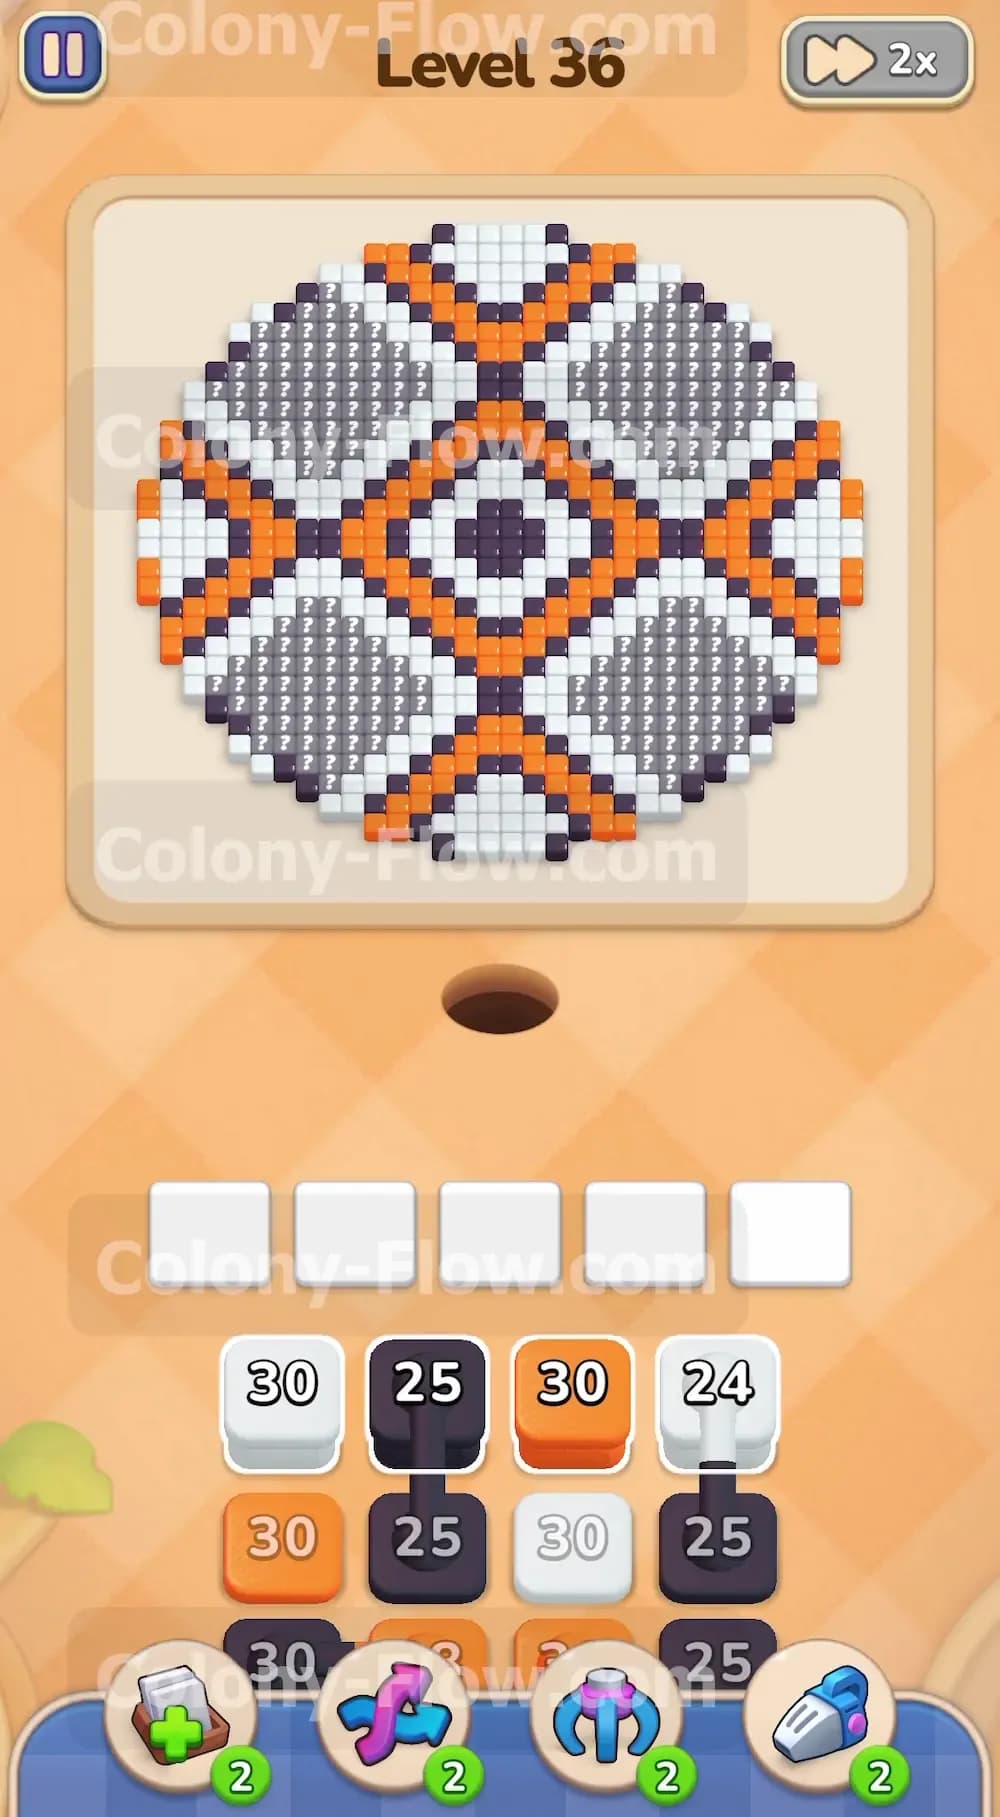
Let us look closely at the board layout and the tray. The main picture is a huge diamond shape made of orange, white, and black tiles. Inside this diamond you will find four large chunks of grey hidden food tiles. These grey tiles have question marks on them and are completely locked at the start. A hidden food tile only flips to its real color when your ants eat a normal tile right next to it.
The tray at the bottom holds your numbered blocks. You have single blocks of orange, black, and white sitting on the top layer. The numbers run high on this level. You will see blocks labeled with thirty, twenty five, and twenty four. Beneath the top layer you will find connected blocks. Connected blocks have a visual line joining two different colors. When you pull one of these connected blocks, both colors snap up into your waiting slots at the same time. This takes up two of your five available spaces instantly.
What It Takes to Clear Level 36 Board
Clearing this board means eating every single colored tile and forcing all the hidden food to reveal itself. You must start from the very bottom edge directly above the nest hole. As the ants eat upward they will touch the grey hidden food and flip it into normal playable tiles. You win when the entire diamond disappears and the last ant finishes chewing.
The main danger in this stage is the five slot limit. If you pull blocks from the tray and fill all five spaces, you risk a total failure. If none of those five colors match an open path on the board, the ants will stop moving entirely. The slots will jam and you will lose the level. Every move must guarantee that the ants have an open path to reach the colors you put in the waiting slots.
Colony Flow Level 36 Step by Step Solution
Step 1: Open the bottom edges to expose the first hidden tiles
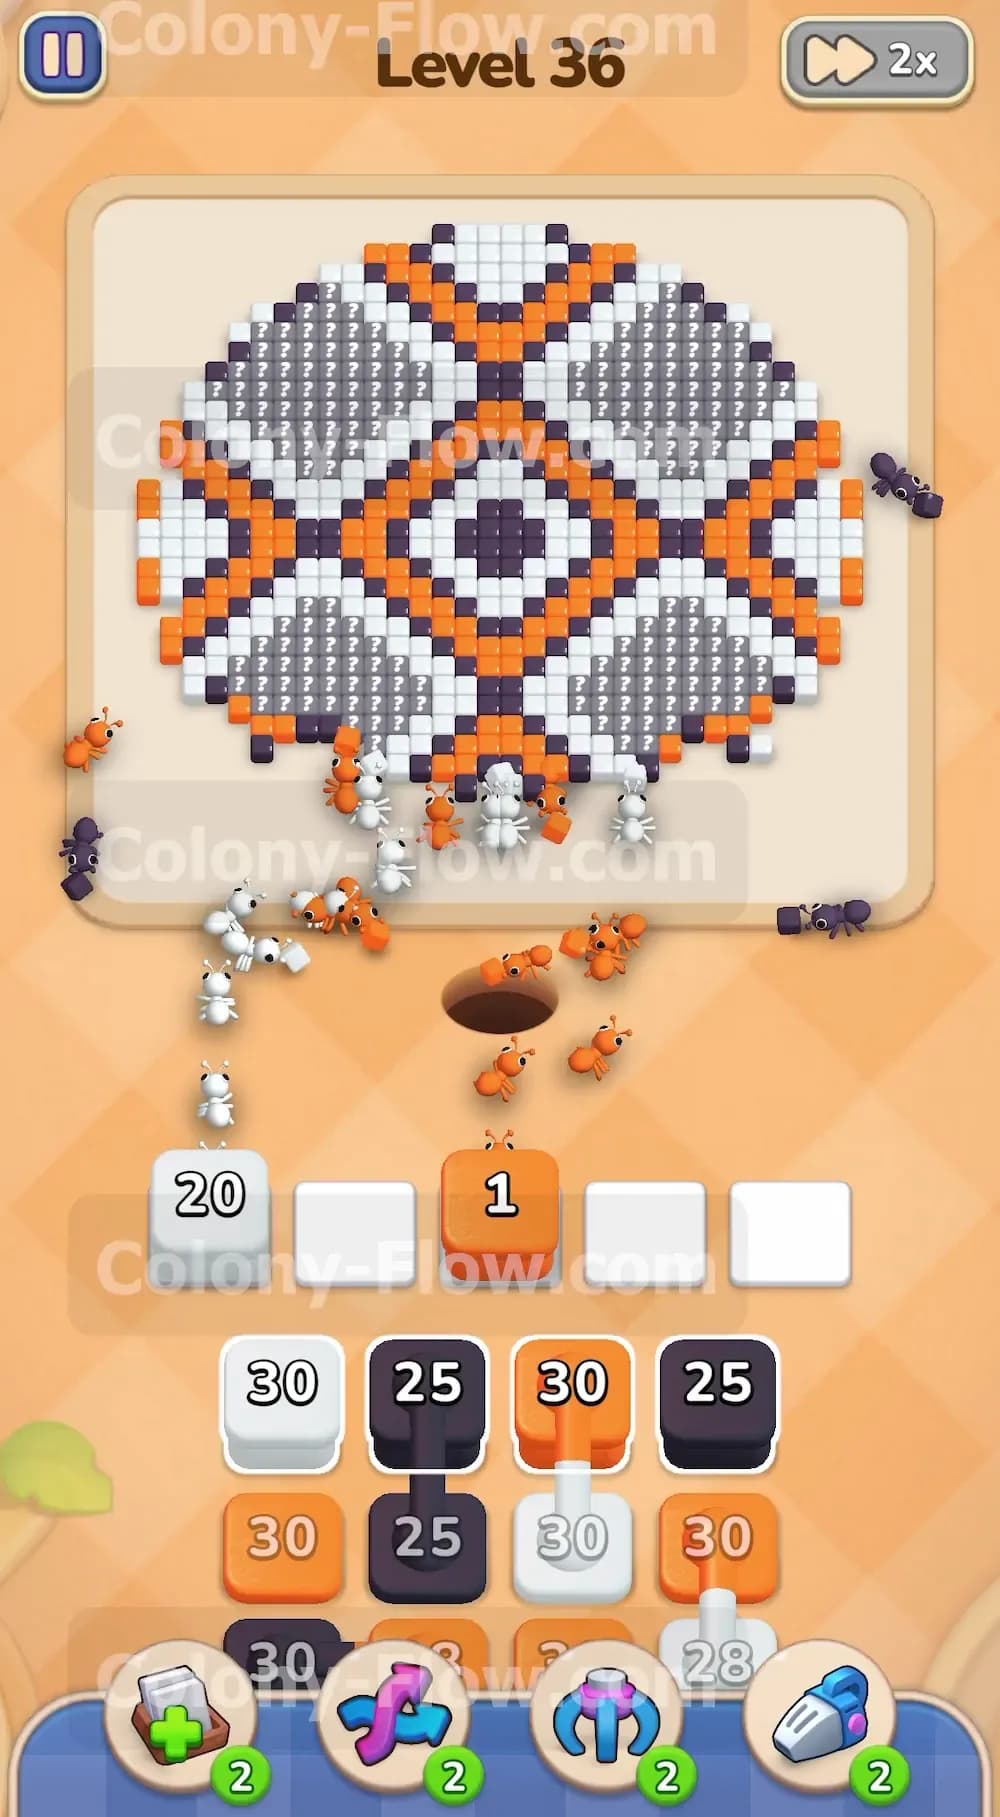
You need to create a starting path by pulling the initial orange and white blocks. Look at the top row of your tray and select the orange block with thirty moves and the white block with twenty four moves. The ants will stream out of the nest hole and immediately start eating the exposed bottom edges of the diamond shape. This creates your initial entry point into the massive geometric pattern. By opening these two colors early, you keep the ants moving and prevent your waiting slots from sitting idle.
Step 2: Let the ants reveal the lower hidden food
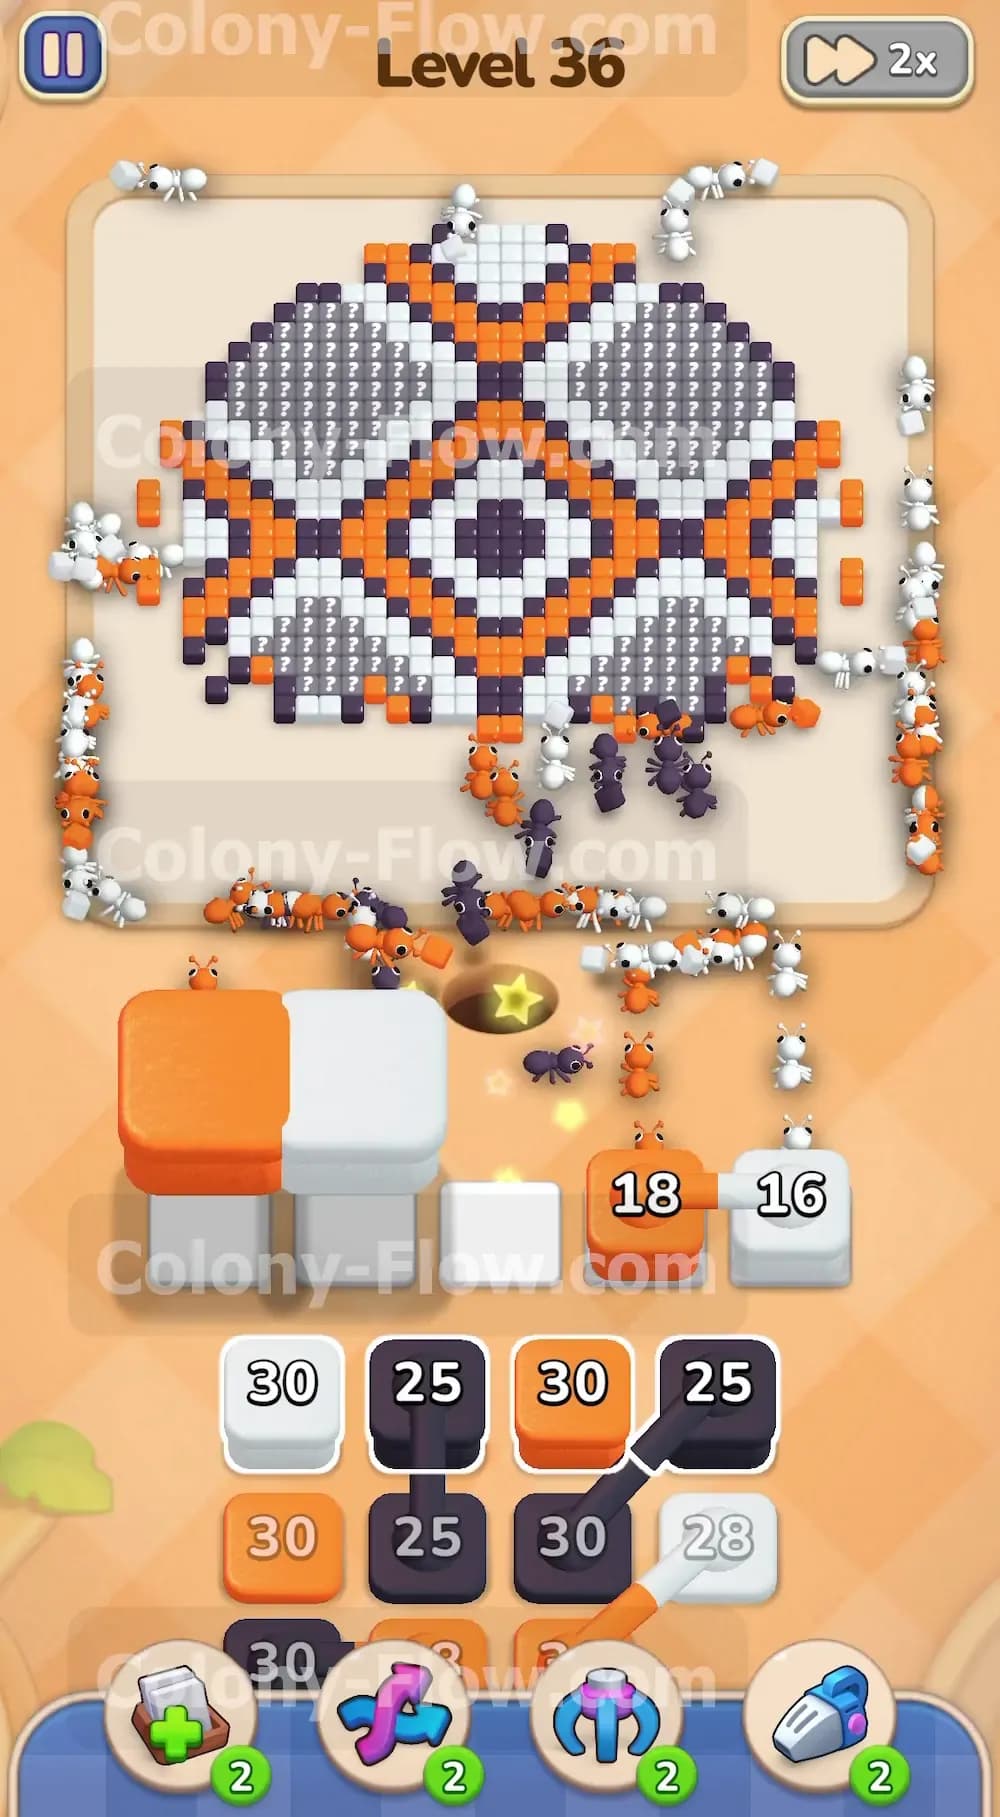
Watch the board closely as the ants consume the bottom outer shell. When they eat the normal orange and white tiles, they will physically touch the lower sections of grey hidden food. This contact triggers the hidden food to flip. The grey tiles will transform to reveal black and orange tiles underneath. You must wait for this visual flip to happen before pulling any black blocks from your tray. If you pull a black block too early, it will just sit in a waiting slot and waste valuable space because the ants cannot reach it yet.
Step 3: Deploy your first black block to maintain flow
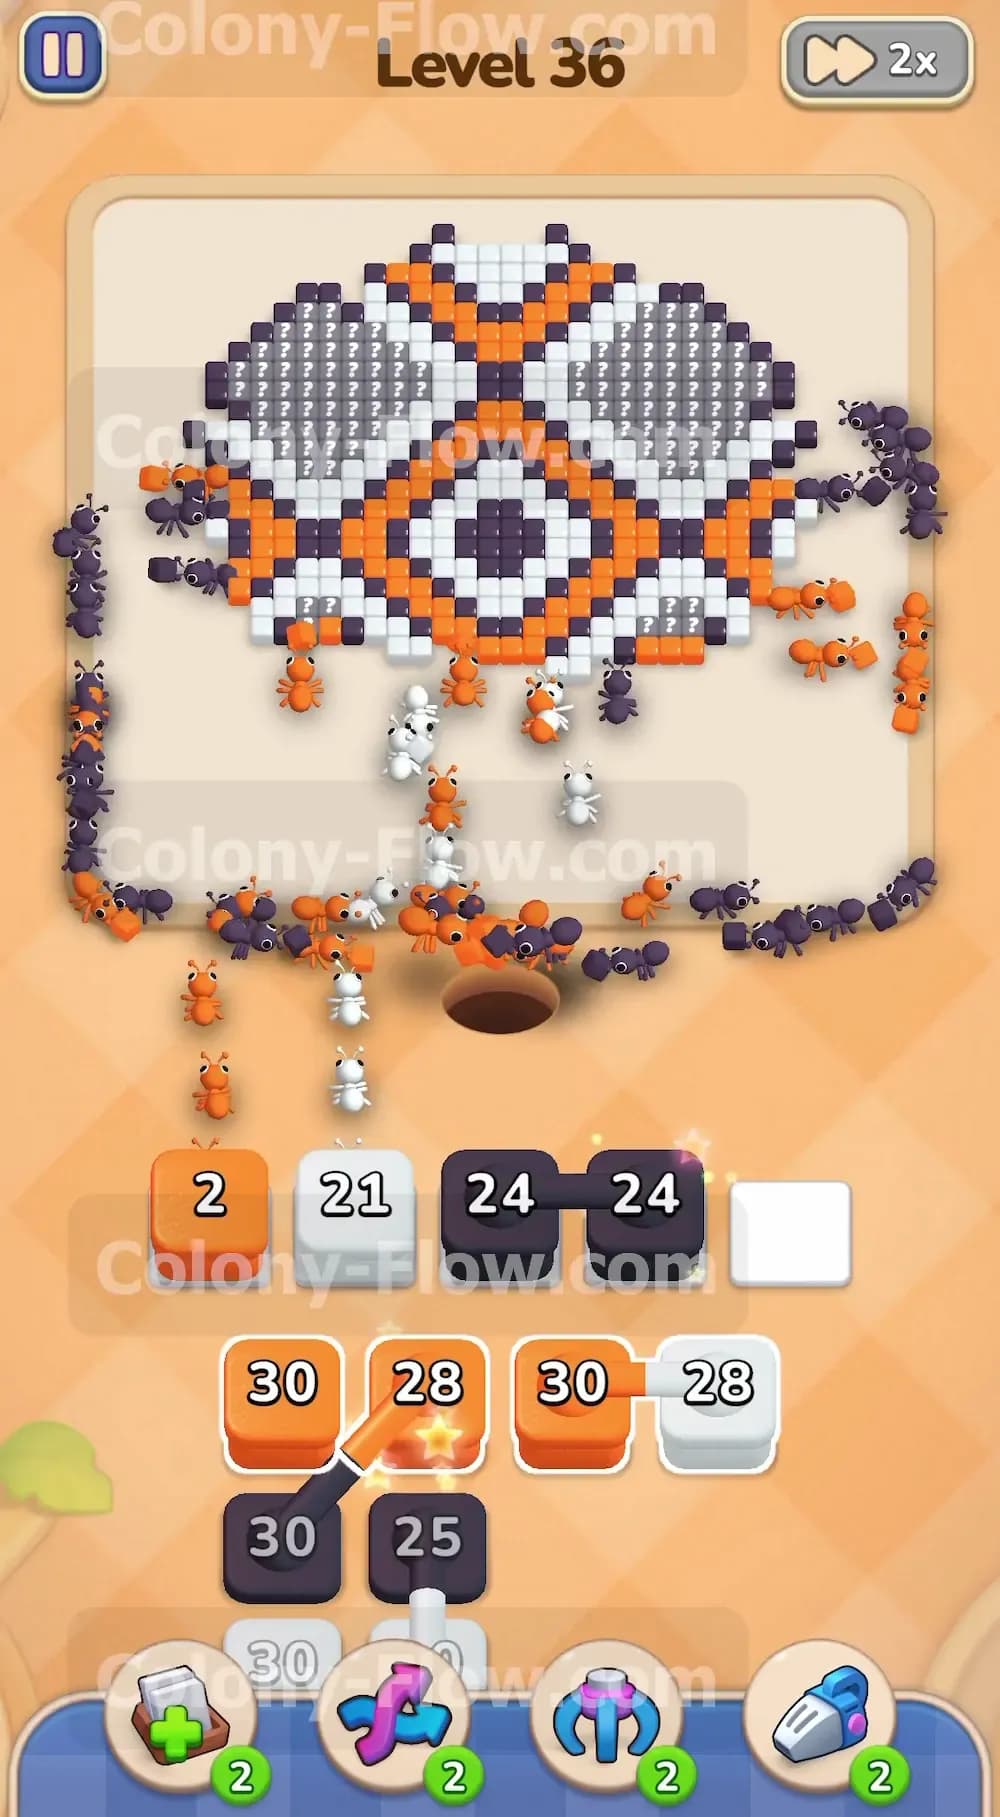
Now that black tiles are fully visible on the board, pull the black block with twenty five moves from the top row of the tray. The ants will immediately rush upward to clear these newly revealed black paths. This keeps your waiting slots clear and maintains a strong flow of ants out of the nest. You are now steadily cutting into the core of the diamond from the bottom up. Keeping this continuous motion is how you survive the tight slot limit.
Step 4: Manage the first pair of connected blocks
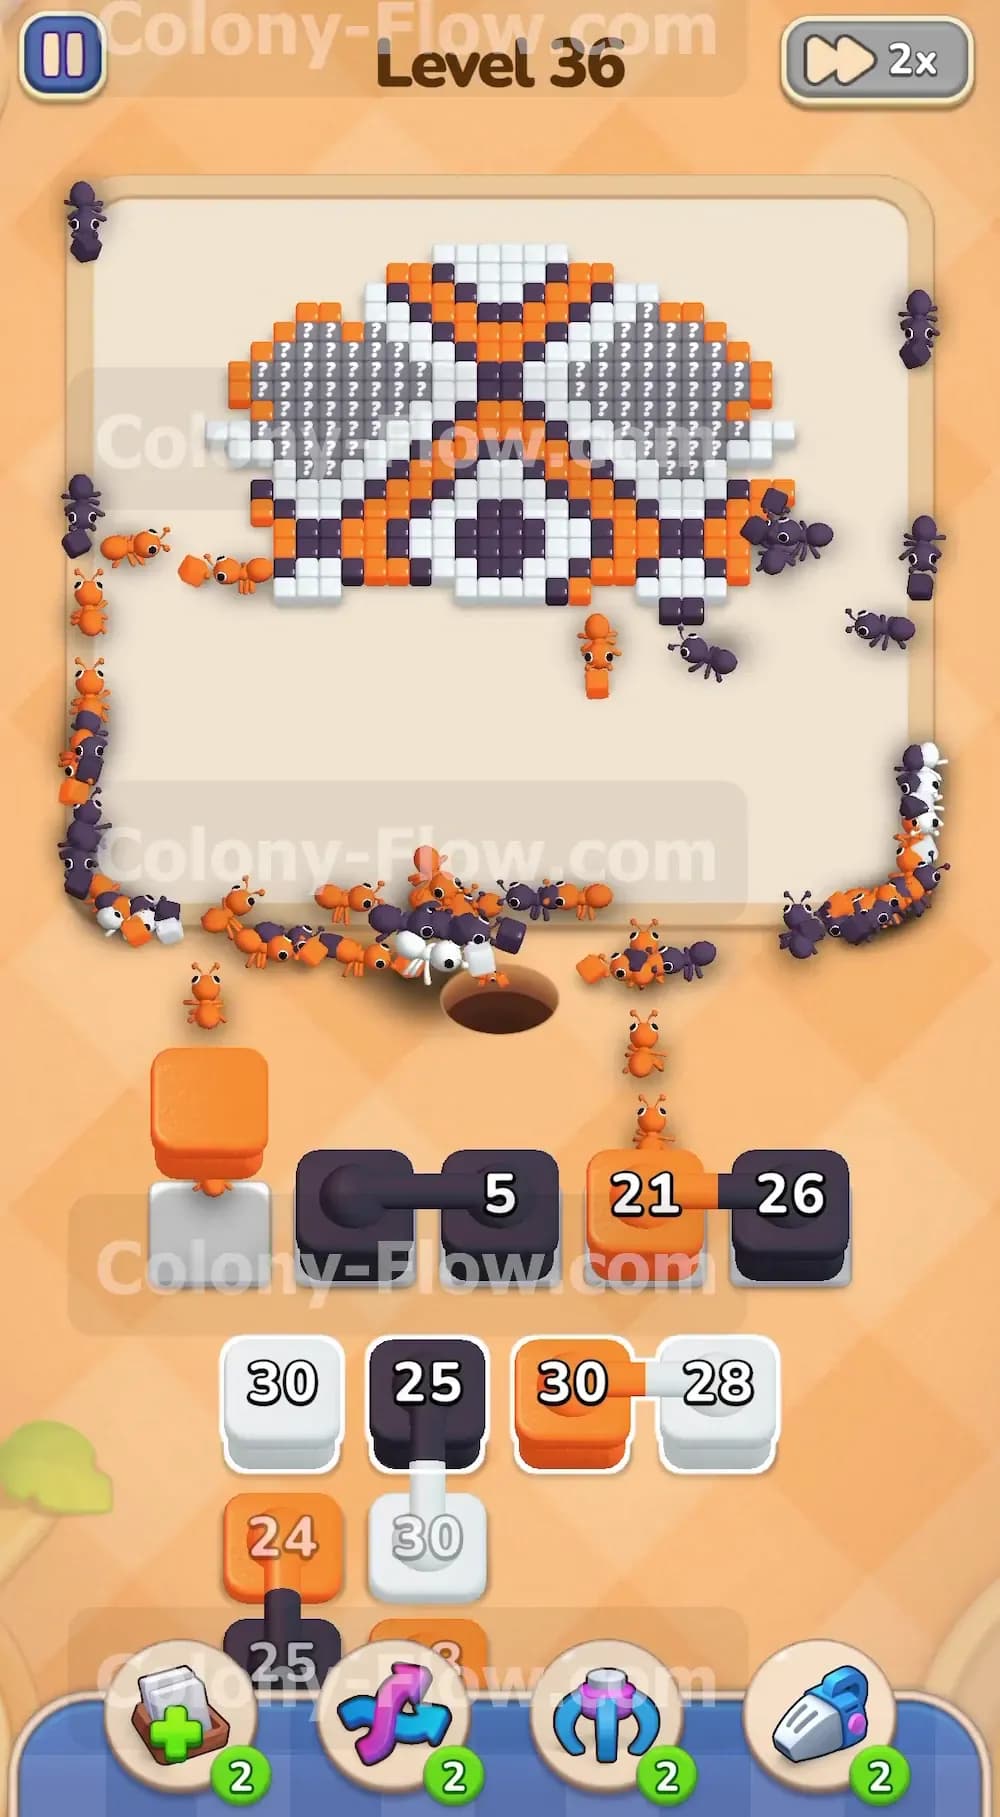
Look at the second row in your tray to find the connected pair of blocks. This pair links a black block with twenty five moves to a white block with thirty moves. Connected blocks pull together automatically. You must ensure the board has open paths for both black and white before you pull them. Because you already opened the bottom left and bottom right corners, paths for both of these colors are now ready and waiting. Pull this connected pair into your slots. The ants will split to the left and right sides of the board to eat both paths simultaneously.
Step 5: Feed the left and right upward push
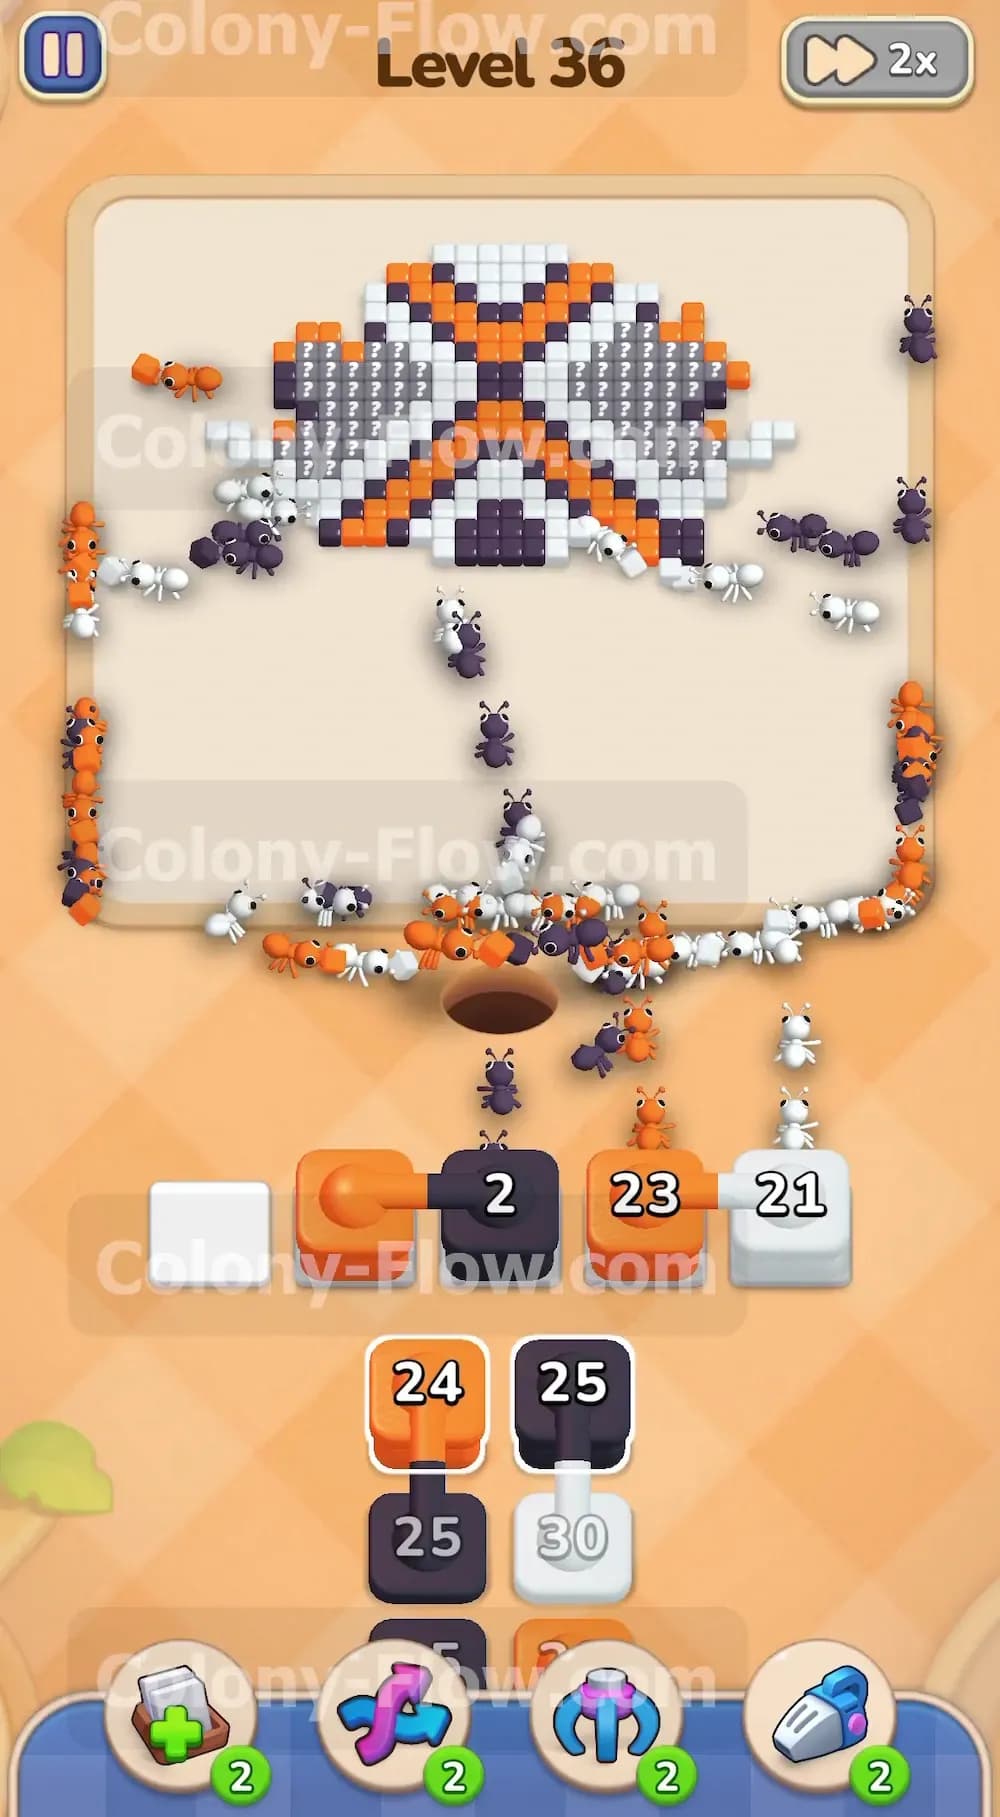
The ants are now working their way up the left and right flanks of the diamond shape. They will uncover the upper sections of hidden food as they climb higher. Pull another orange block with thirty moves to feed this upward push. Watch your slot count constantly during this phase. You want to keep at least two slots empty to stay safe. As the ants consume the orange tiles along the outer edges, they will trigger the upper grey tiles to flip and reveal the final layers of the puzzle.
Step 6: Handle the second set of connected blocks
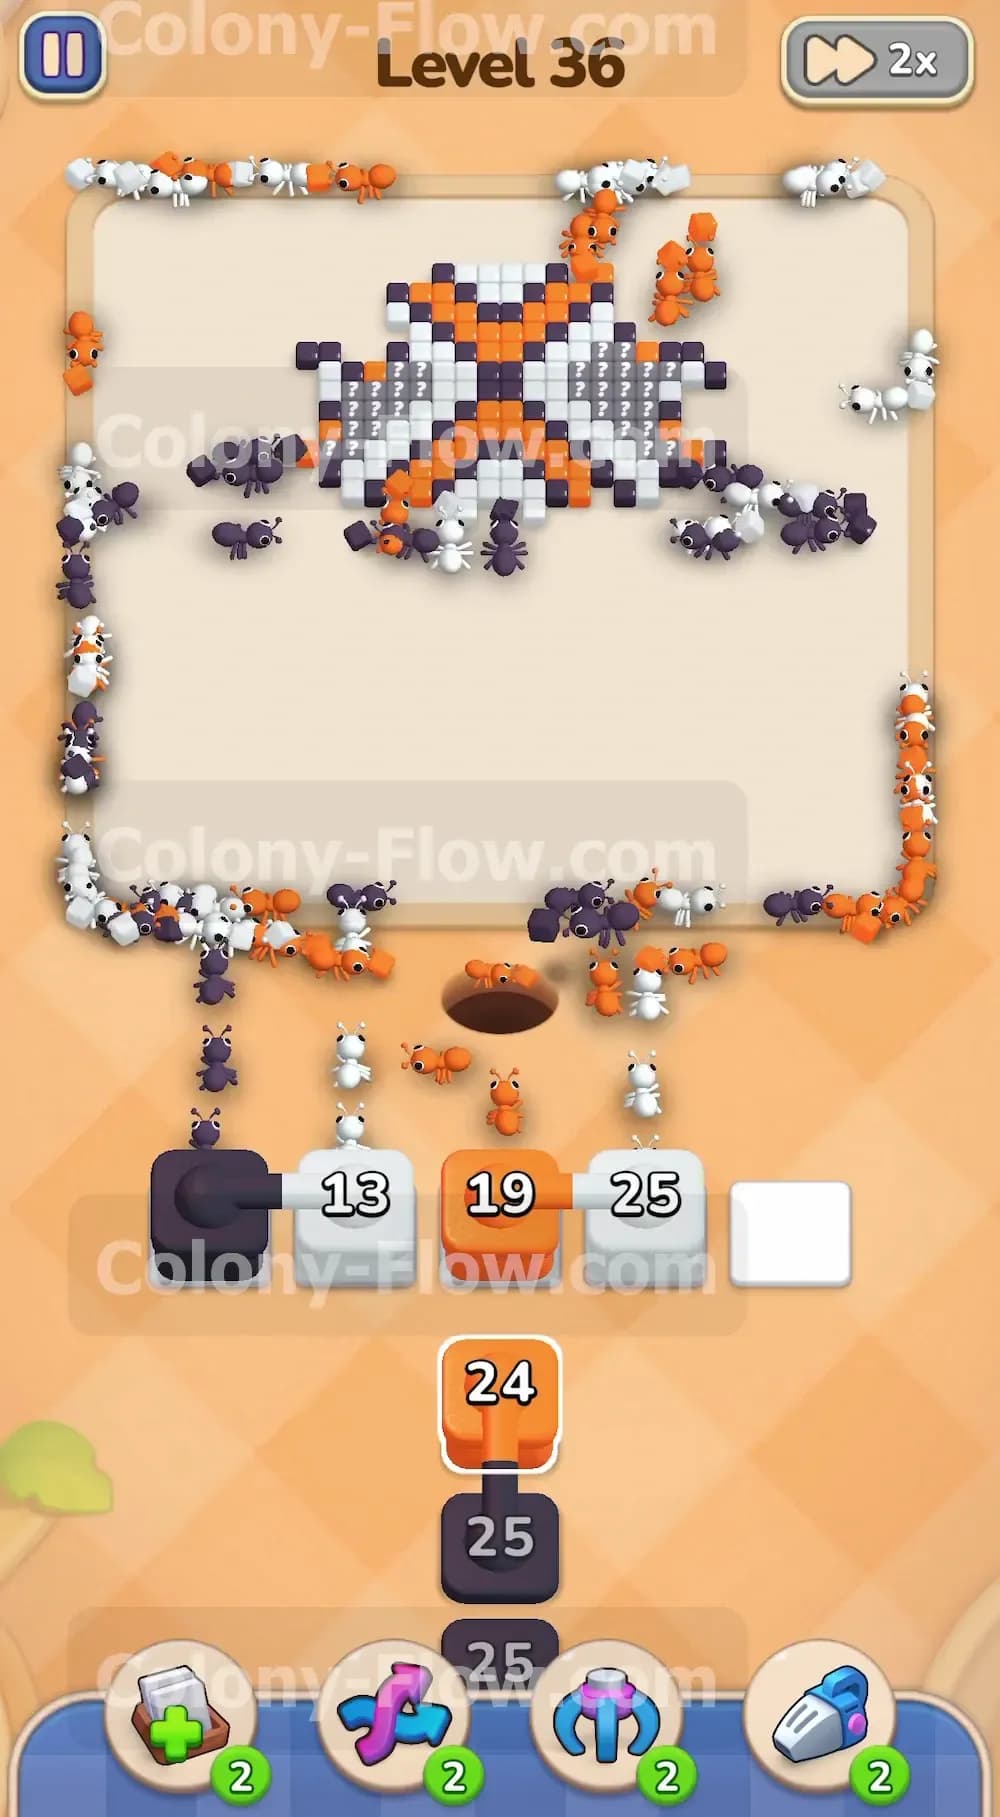
The lower area of your tray holds another set of connected blocks. This pair features an orange block with twenty four moves linked to a black block with twenty five moves. By this point the entire bottom half of the diamond is completely gone. The ants have clear access to the upper middle section of the pattern. Pull this connected pair into your waiting area. The ants will quickly consume the central black and orange tiles that just unlocked from the hidden food flip.
Step 7: Clear the remaining upper hidden food
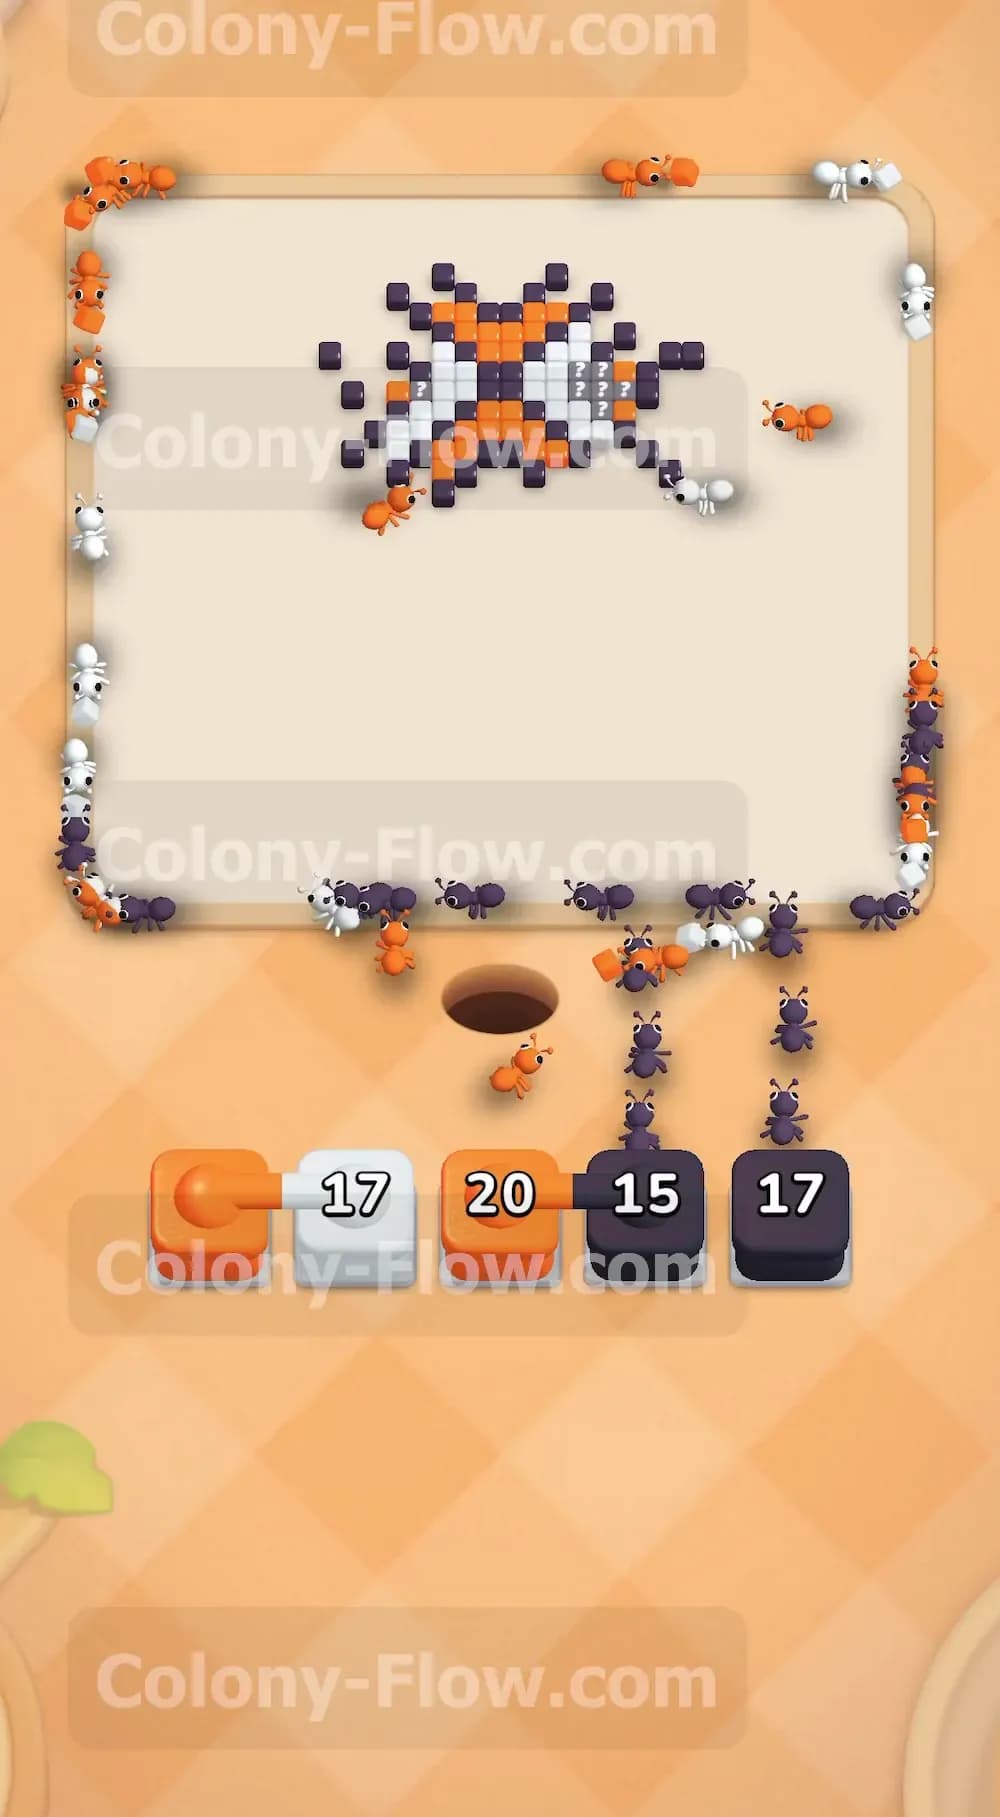
The remaining grey tiles at the very top of the board will now unlock. These reveal the final mix of colors required to beat the level. Pull your remaining white block and your remaining black block into the slots. The ants will swarm the top peak of the diamond. Because you saved these blocks until the exact moment their paths opened up, your waiting slots remain perfectly balanced. The ants will travel in long lines up the sides of the screen to reach these top tiles.
Step 8: Sweep the final remaining tiles
Only a few scattered tiles remain near the very top of the board at this point. The numbers on your blocks in the waiting slots will steadily count down to zero. Keep your hands off the tray and just let the ants do their job. They will finish off the last few white and black pieces at the peak of the diamond. Once the very last tile vanishes from the screen, the remaining ants will march away and you will secure the win.
Final Thought
Patience is your best tool for beating this specific level. You have to let the ants chew through the outer layers to expose the hidden food before you commit your blocks to the waiting slots. If you manage the connected blocks carefully and never rush your pulls, you will clear the diamond pattern easily. Check out the video above this article if you want to see exactly how the hidden food flips during the tricky middle section.