Colony Flow Level 210 Walkthrough Solution & Guides | How to solve Colony Flow 210

Guide By Liam Stone
Updated on August 1, 2026
The video above has you covered on Level 210, so skip the text if you'd rather watch it play out.
Video doesn't match your screen?
Game updates frequently scramble layouts! Try our AI Screenshot Solver first to find your exact board instantly, or report broken guides to our team.
Welcome to Colony Flow Level 210. This level presents a massive pixel art picture of a charcuterie board loaded with sliced meats and cheese. You need to carve your way through a thick light pink background just to reach the main food items. The tray contains several linked blocks that require careful timing to avoid jamming your five waiting slots.
Colony Flow Level 210 Overview
What You Are Working With
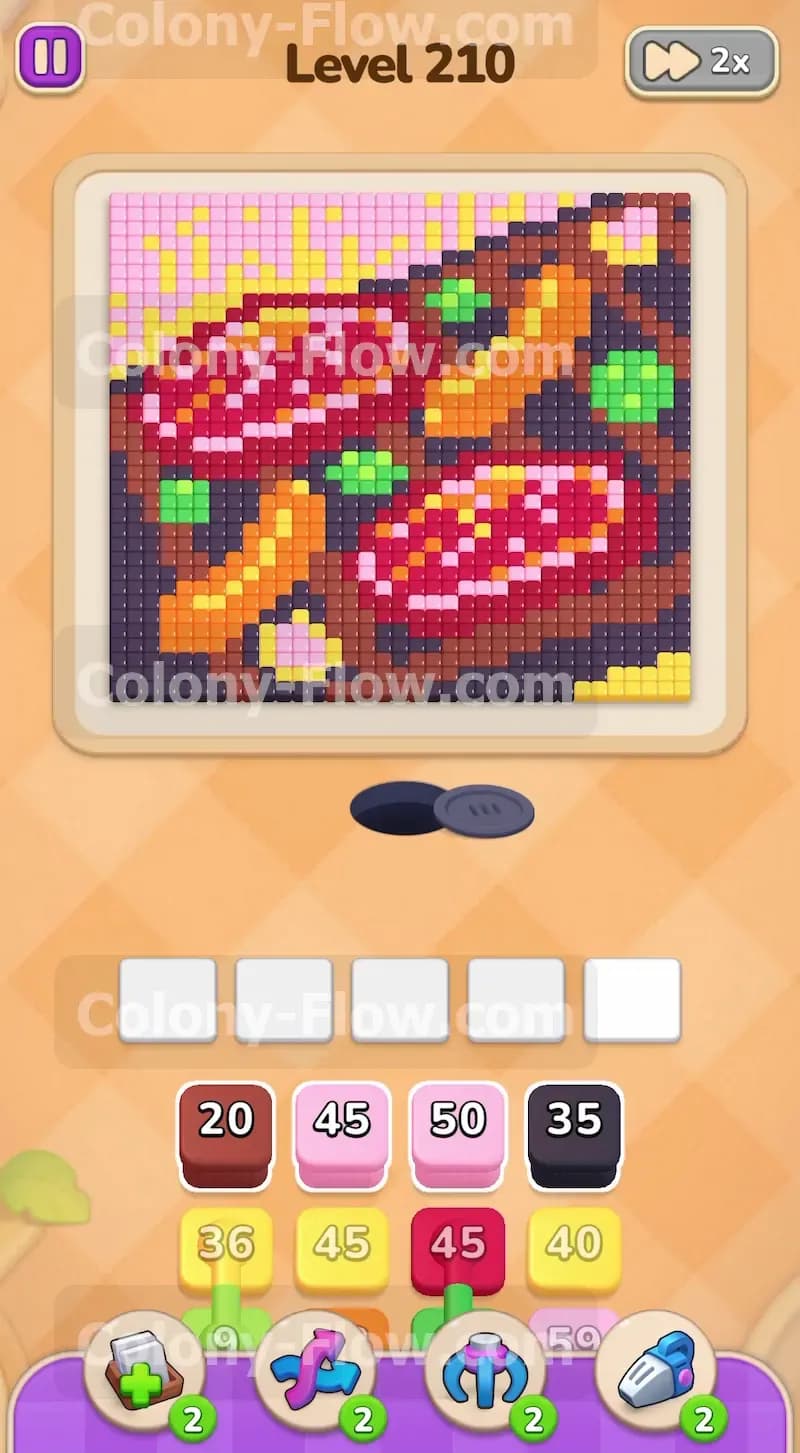
The picture on your screen shows a dark wooden cutting board carrying red sliced meats and yellow cheese sticks garnished with green leaves. A solid wall of light pink tiles surrounds this entire platter and fills the top portion of the game board. This thick background completely blocks your ants from reaching the delicious food in the middle. Look down at your tray and you will spot standard numbered blocks alongside a special mechanic called Connected Boxes. You have a yellow 36 block linked directly by a small visual pipe to a light green 9 block. You also have a thick red 45 block connected to a dark green 40 block. When you pull the top color of a connected pair, the linked box comes along for the ride. You must have open paths for both colors or the second box will sit in your waiting slots and block new moves.
What It Takes to Clear Level 210 Board
Winning this level comes down to managing the outer border first and handling the connected blocks with extreme care. You lose the game if all five waiting slots fill up and your ants have nowhere to go. Because connected boxes force extra blocks into your limited waiting area, you can easily trap yourself if you pull them too early. You must peel away the light pink background to expose the dark brown wooden board underneath. Then you chip away the wooden board to let your ants reach the yellow cheese and red meat tiles. You should never pull a connected block pair unless you have already exposed the corresponding green leaf tiles on the main board. Keeping at least two empty slots in your waiting area will protect you from a sudden dead end.
Colony Flow Level 210 Step by Step Solution
Step 1: Pull the light pink and regular pink blocks to clear the massive background area
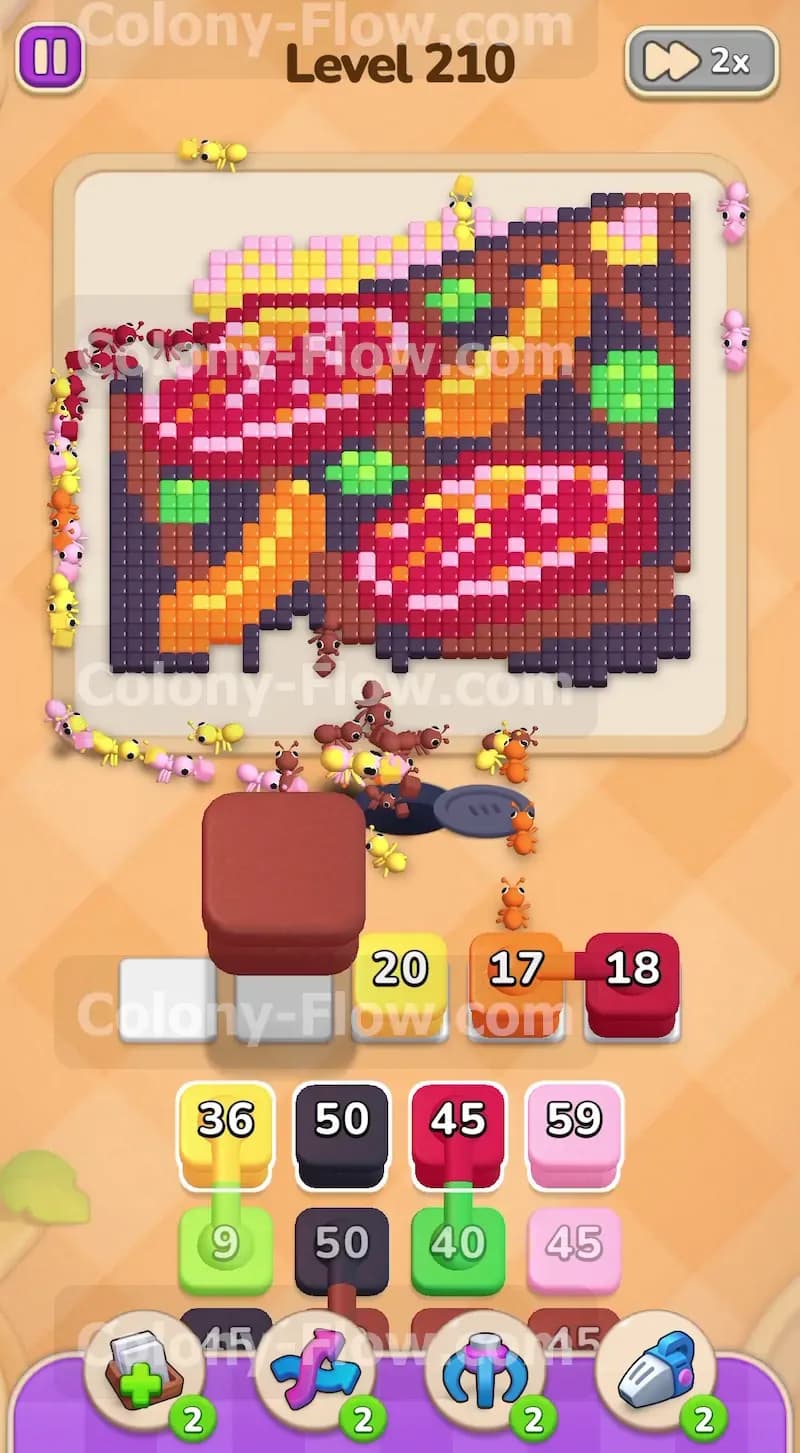
You start with a solid wall of light pink and regular pink tiles covering the entire top half of the screen. Your front tray row offers a light pink 45 block and a pink 50 block. Pull both of these blocks up into your waiting slots immediately. The ants pour out of the nest hole at the bottom and march straight up the left side of the screen to start eating away the background. You can see a massive swarm of light pink and bright pink ants covering the top left corner. You want to watch the numbers on these blocks count down slowly as the ants consume the tiles. Letting these two blocks completely clear their assigned tiles will free up two essential slots in your waiting area. You absolutely need this space empty before you start dealing with the trickier colors inside the main platter. Wait until the pink background tiles vanish completely and the ants return to the nest before you make your next move.
Step 2: Send brown and black ants to tackle the wooden cutting board edges
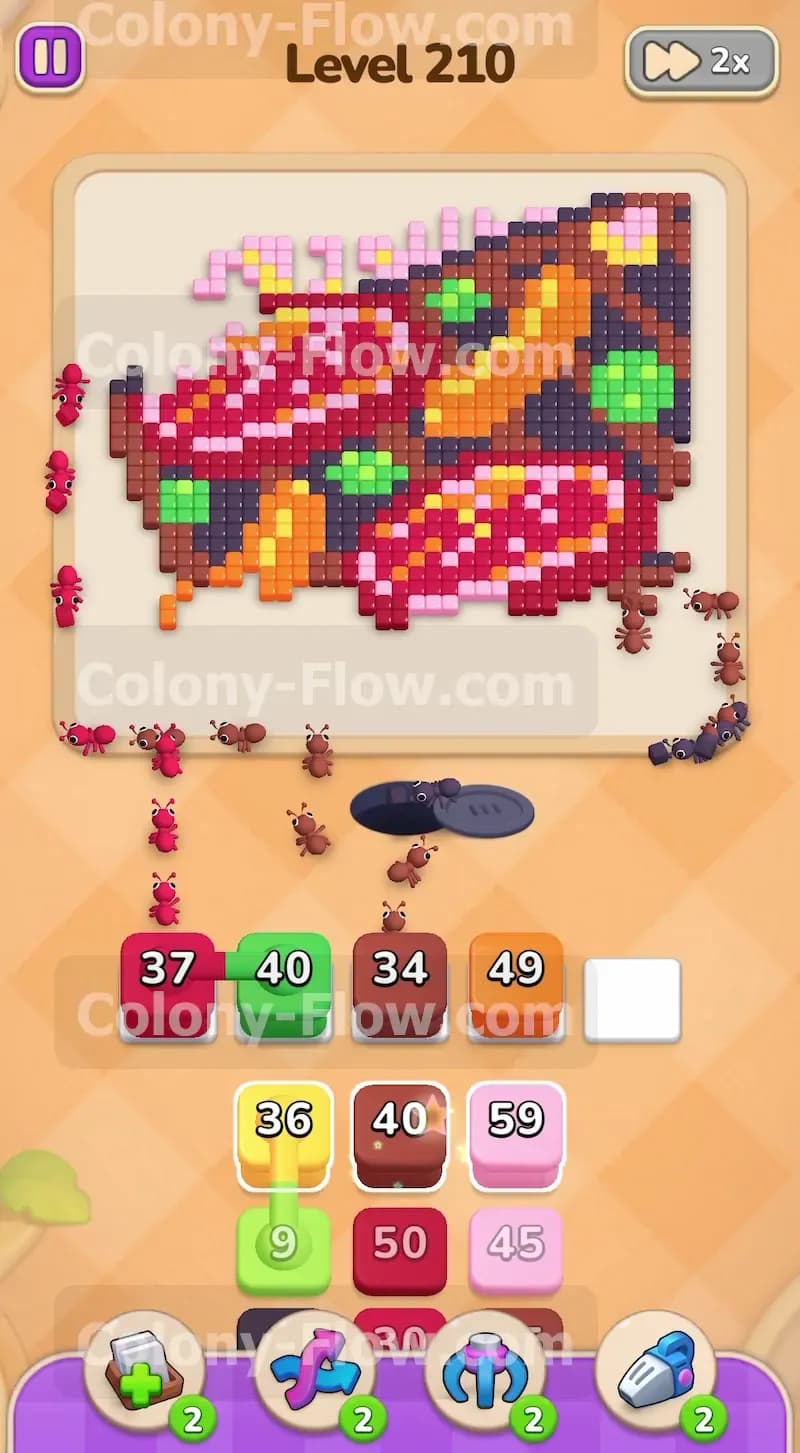
With the top background gone, your ants can finally reach the outer rim of the cutting board. Pull the brown 20 block and the black 35 block from the tray into your waiting area. The brown ants stream out and wrap around the upper left and right sides of the pixel art picture. They chew through the dark brown border tiles and slowly reveal the inner layers of the platter. You will notice the ants taking longer routes as the border shrinks, which naturally slows down the block countdown. Pulling these dark border blocks early is a very smart move because it opens multiple new attack angles for your other colors later on. You want to keep the board perimeter as open as possible so your ants never get bottlenecked in a single narrow pathway. Watch the brown block number drop to zero and disappear from your slot entirely.
Step 3: Unleash yellow ants on the long cheese slices and handle the first connected pair
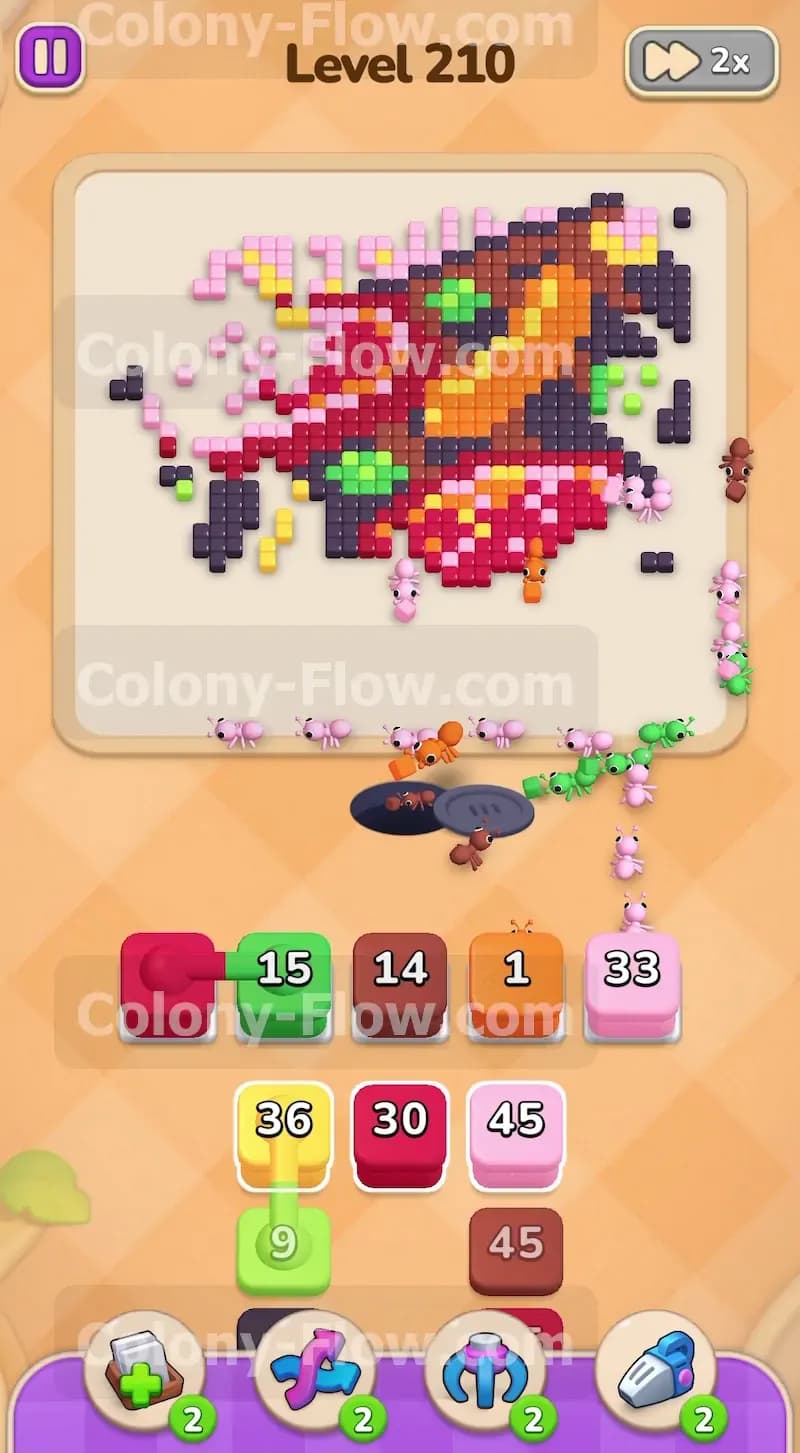
Now you face your first major obstacle with the Connected Boxes mechanic. You need to clear the yellow cheese sticks to reach the red meat slices trapped in the center. The tray holds a yellow 36 block connected directly to a light green 9 block. When you pull the yellow 36 block up into your slots, the light green 9 block follows right behind it into the next available slot. Your yellow ants will immediately run toward the cheese slices and start clearing them rapidly. The light green block will sit active in your waiting slot. This is perfectly fine because the brown ants previously exposed some green leaf tiles near the top cheese stick. The light green ants will quickly find their path and clear those small leaves located right next to the yellow tiles. You must monitor your slots closely during this phase so you do not accidentally pull too many other colors and cause a jam.
Step 4: Clear the dark red meat slices and manage the second connected pair
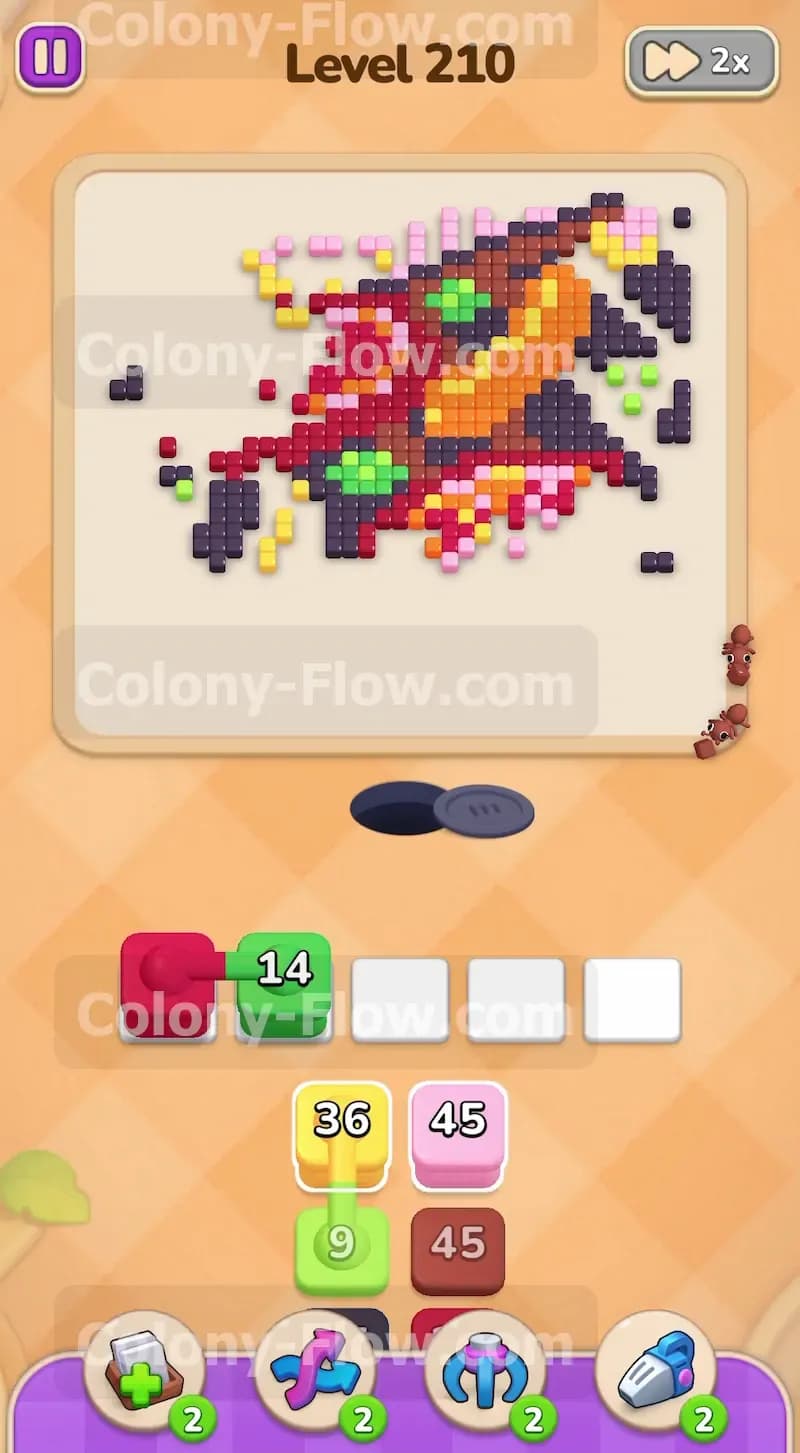
The board now shows exposed sections of red sliced meat near the middle and right side. Look down at your tray and find the red 45 block. This block is connected by a pipe to a dark green 40 block. Pull the red block up into a waiting slot. The dark green 40 block joins it immediately in the queue taking up another precious space. Red ants will swarm the large meat slices and aggressively reduce the tile count on the board. Because the red meat slices touch the dark green leaves, your ants will create fresh paths to the green tiles exactly as they eat the red ones. This natural sequence guarantees that your dark green block will not cause a dead end. Your slots remain totally safe as long as the red ants keep moving and eating. Keep your hands off the remaining tray blocks until the red block drops its number significantly.
Step 5: Process the scattered green garnish tiles with patience
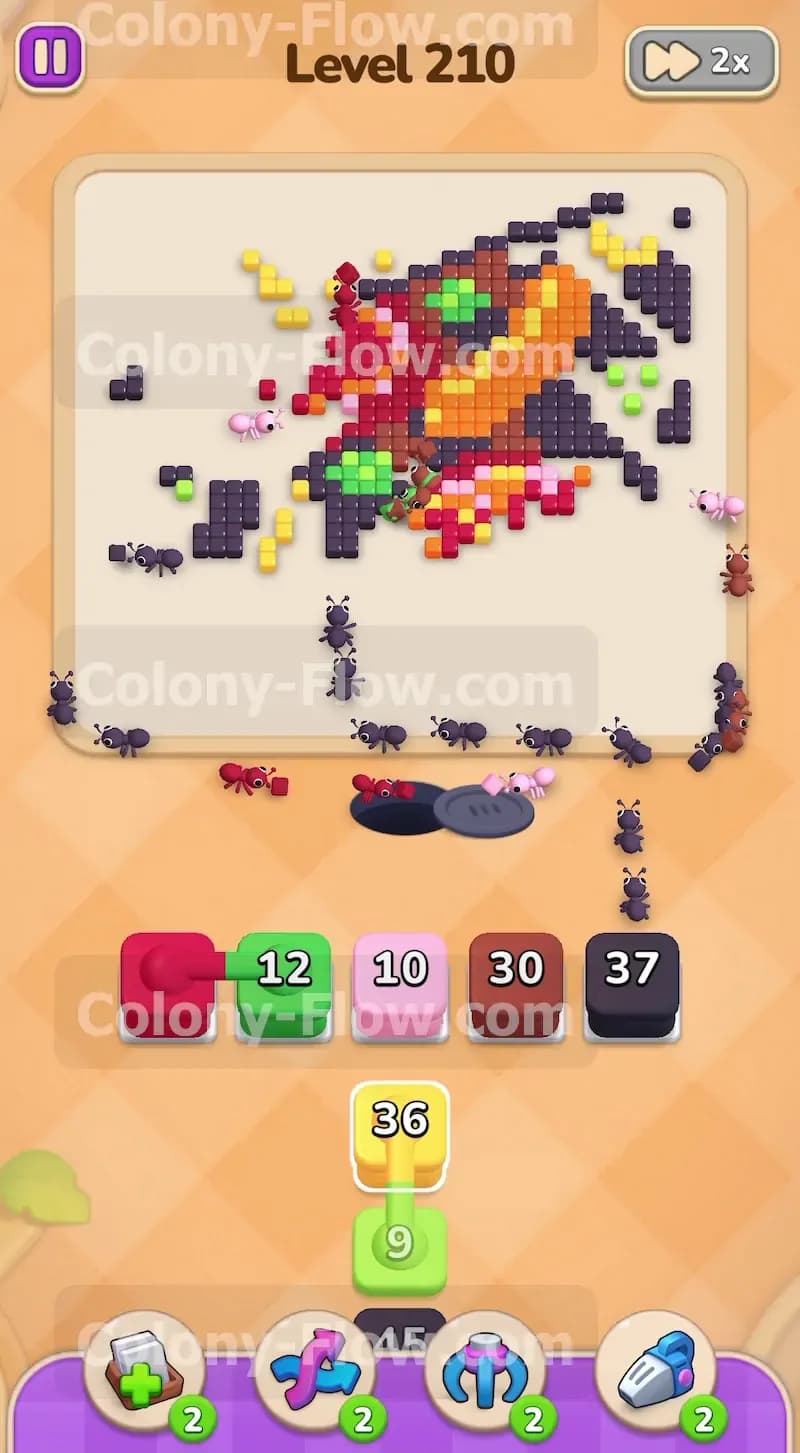
Your light green and dark green blocks are now active in the waiting area at the same time. The ants from these blocks will target the small leafy green patches scattered across the cutting board. These patches are small but they physically block access to the final inner food tiles. Let the green ants do their work without any interference from you. You might see the dark green 40 block take a long while to count down because the green tiles are spread far apart on opposite ends of the board. This distance forces the ants to walk much longer paths across the open board spaces. Patience is your absolute best tool right now. Do not panic and pull another block yet. Wait for the green numbers to reach zero so you reclaim those precious waiting slots for the final push.
Step 6: Clean up the remaining black and dark brown board borders
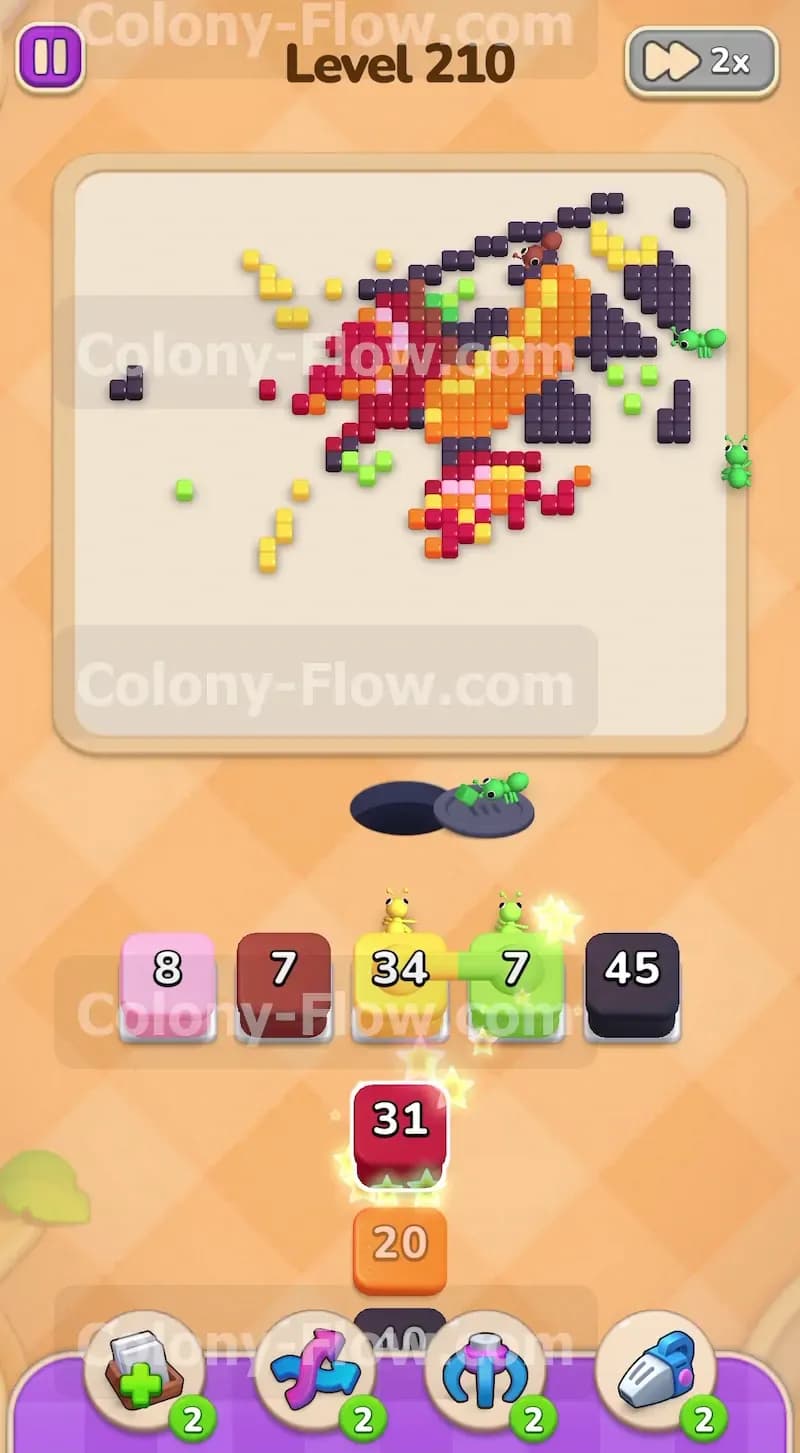
The cutting board picture still has a thick black and dark brown border heavily concentrated near the bottom right corner. Pull the next black 40 block and the brown 34 block into your available slots. The black ants will march around the bottom edge and eat the remaining border tiles holding the picture together. The brown ants will finish off the wooden handle of the cutting board located at the bottom right. The ants have completely open terrain to cross now. This action effectively destroys the entire outer structure of the picture and leaves only a few floating food items in the very center. You have plenty of open paths now across the board, so the risk of dead ending the board is very low. You just need to ensure you do not pull a block color that has no matching tiles left exposed.
Step 7: Finish the final remaining central tiles with red and orange blocks
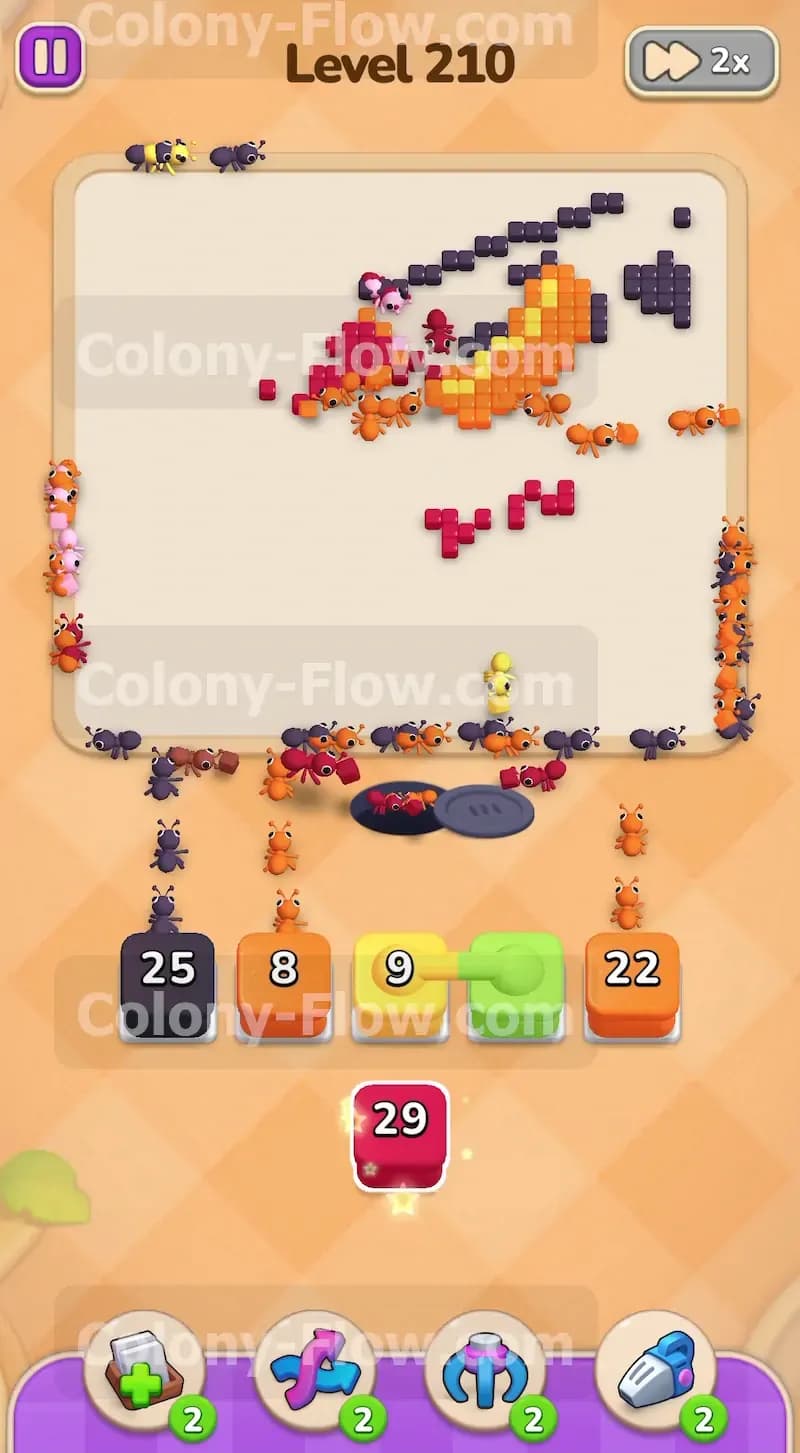
Only a small cluster of red meat and orange carrot pieces remain in the very center of the board. Pull the orange 49 block and any remaining red blocks from your tray into the waiting slots. The orange ants will run up the middle to clear the carrots while the red ants finish the last stubborn bits of meat. Watch the final few numbers count down to single digits on your screen. The ants will quickly sweep the remaining loose tiles away. Once the final tile disappears into the mandibles of your ants, the remaining colony members march off the screen and you officially win the level. Your waiting slots remained clear the entire time and you successfully navigated the dangerous connected block pairs.
Final Thought
Beating this level requires patience and a solid understanding of how connected blocks impact your limited waiting area. You must always think one step ahead to ensure every color you pull has a valid target open on the board. Managing your queue space carefully prevents those frustrating moments where your ants just stop moving. If you find yourself getting stuck or filling your slots too quickly, you can always watch the video above this article. The video shows the exact visual sequence of moves required to keep your ants flowing perfectly from start to finish.