Colony Flow Level 816 Walkthrough Solution & Guides | How to solve Colony Flow 816

Guide By Liam Stone
Updated on August 12, 2026
Watch the video above for the quick version of the Level 816 walkthrough.
Video doesn't match your screen?
Game updates frequently scramble layouts! Try our AI Screenshot Solver first to find your exact board instantly, or report broken guides to our team.
Welcome to Colony Flow Level 816. You have a beautiful pixel art picture of an octopus to clear today. This board requires careful planning because the bottom is heavily blocked by thick barriers. I play every level to find the best route and I am here to help you get past this one without getting stuck.
Colony Flow Level 816 Overview
What You Are Working With
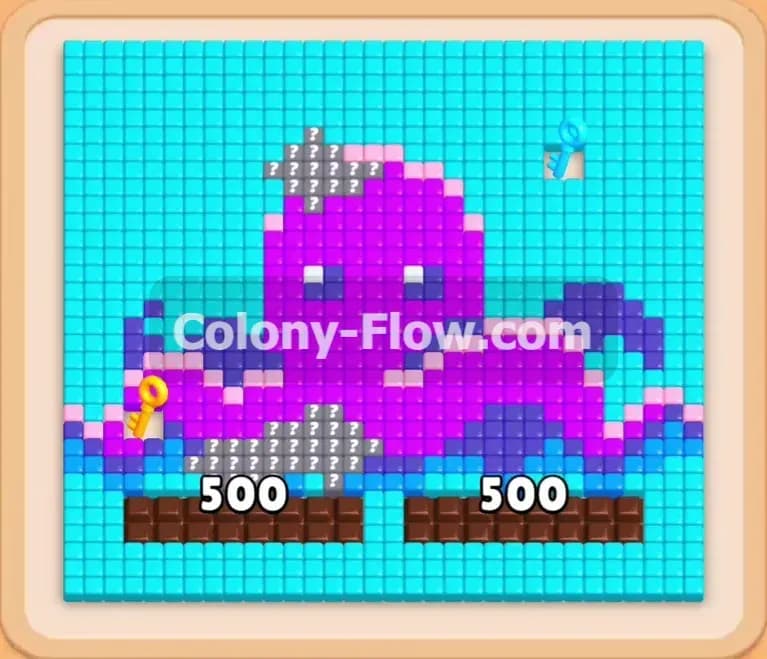
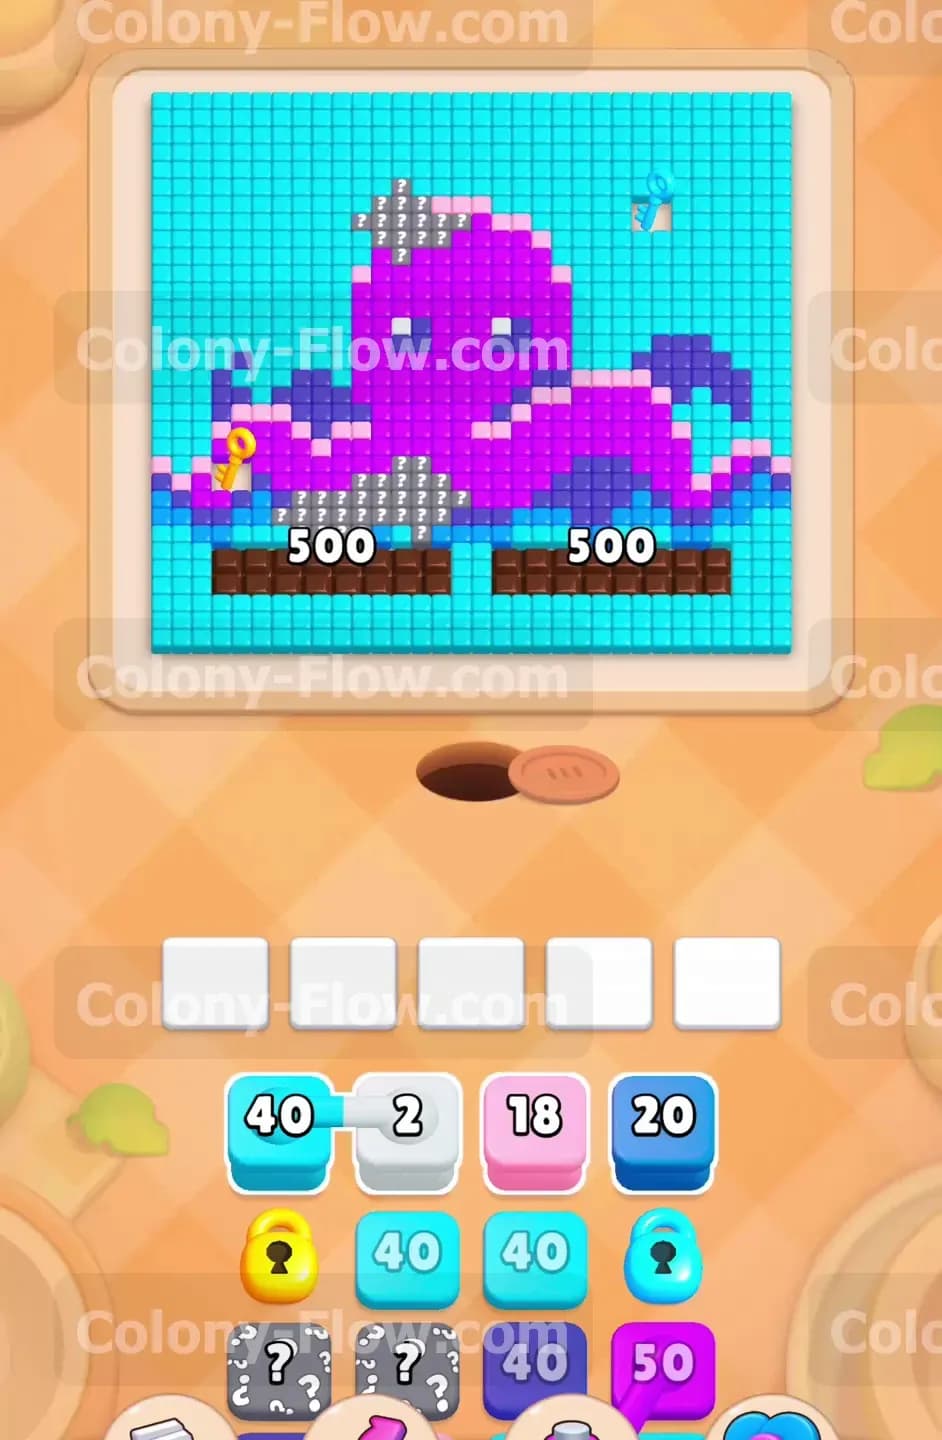
The picture is a large purple and dark blue octopus wearing a small white hat. It sits in a pool of cyan water. The entire bottom edge of the board is blocked by two massive brown chocolate bars. Each chocolate bar displays the number 500 on it. A yellow key sits on the left side of the octopus. A blue key waits on the right side in the water. Your tray at the bottom holds cyan, white, pink, and dark blue blocks. Some blocks are connected together. You also have a yellow lock, several blue locks, and grey hidden boxes blocking your tray progress.
What It Takes to Clear Level 816 Board
You win the game by matching colored blocks from your tray to the exact colors on the board. The ants run out of the nest hole and eat the matching tiles until the picture completely disappears. You must collect the keys to remove the locks in your tray. You also need to sustain a massive assault on the chocolate bars to break them down from 500 to zero. You lose if you fill all five of your waiting slots with blocks that have nowhere to go. You must always keep an open path for your ants so the board never dead ends.
Colony Flow Level 816 Step by Step Solution
Step 1: Start with the connected cyan and white blocks to open the top area
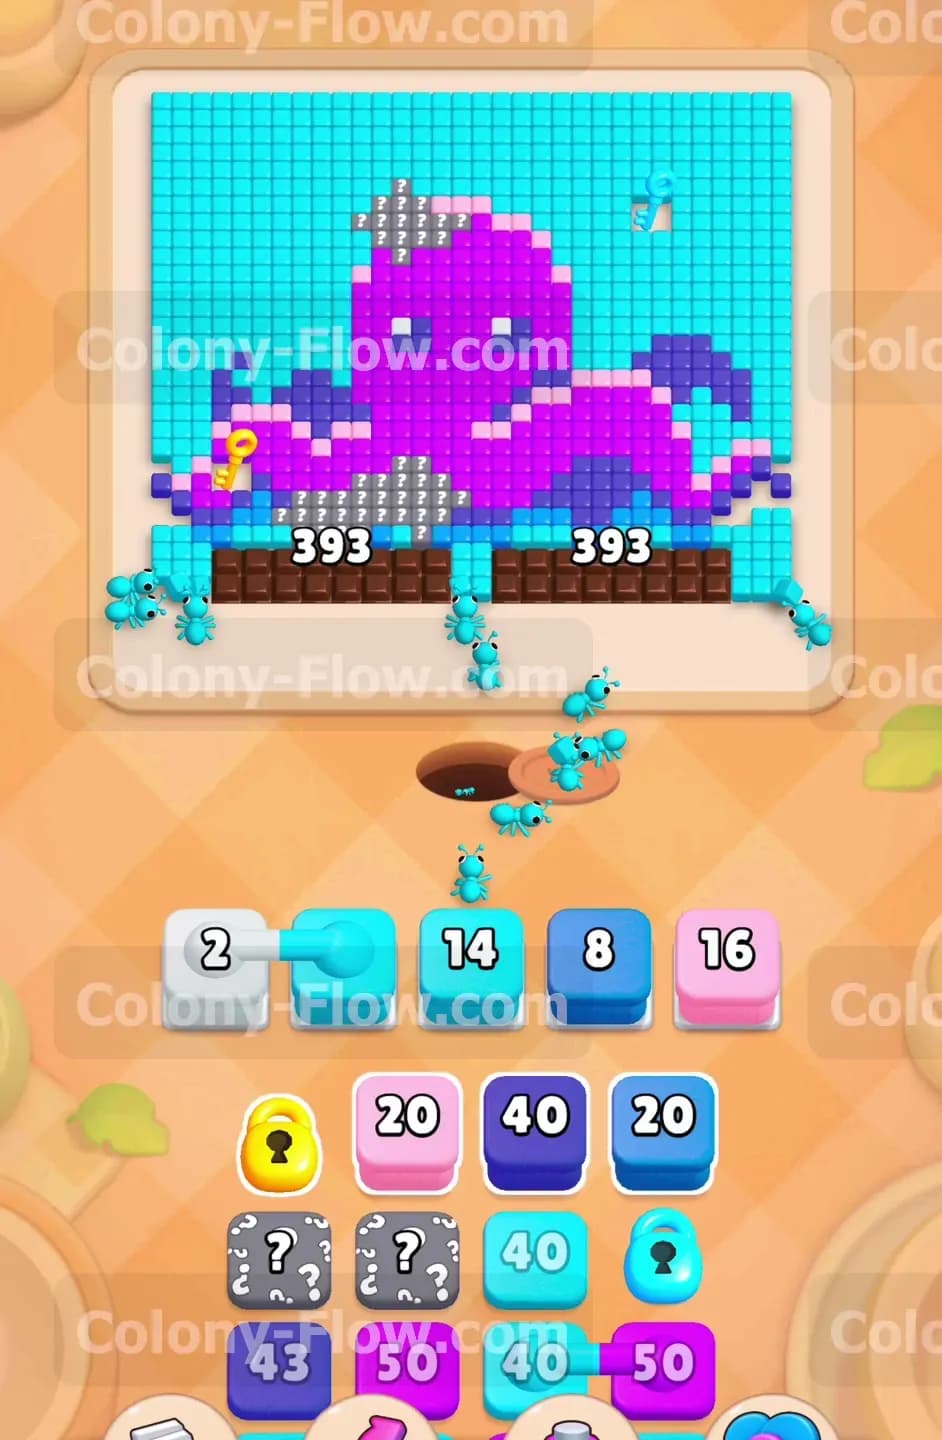
Look at the top row of your tray to find a cyan block connected to a white block. The cyan block carries 40 ants and the white block carries 2 ants. Tap this connected pair into your waiting slots as your first move. The cyan ants stream out of the nest hole and begin eating the light blue water tiles near the top. The two white ants march directly to the tiny white hat on the head of the octopus. Using connected blocks early is highly effective because it deploys two colors while only taking up one waiting slot. This move establishes a strong initial flow and keeps your tray completely safe from jamming.
Step 2: Deploy pink and dark blue blocks to reach the yellow key
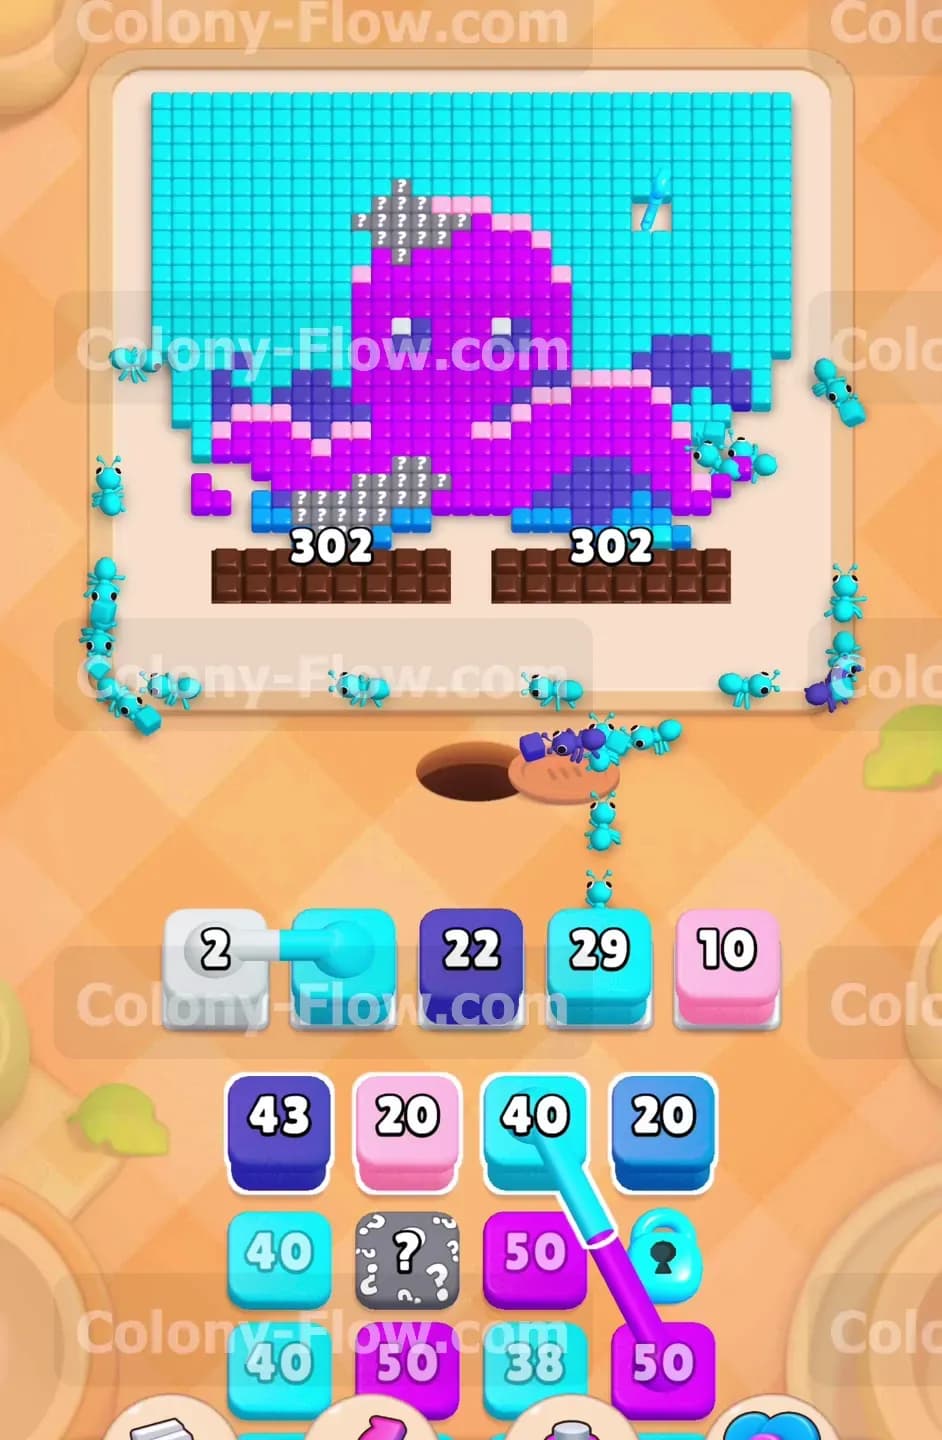
You need to grab the yellow key located on the far left side of the octopus tentacle. Check your tray and tap the pink block carrying 18 and the dark blue block carrying 20. These blocks move into your waiting slots and send their ants up the middle of the board. The ants hook to the left and chew through the matching colored tiles on the tentacle. Carving this specific path is the only way to reach the yellow key without clogging your available slots.
Step 3: Collect the yellow key to unlock the first tray slots
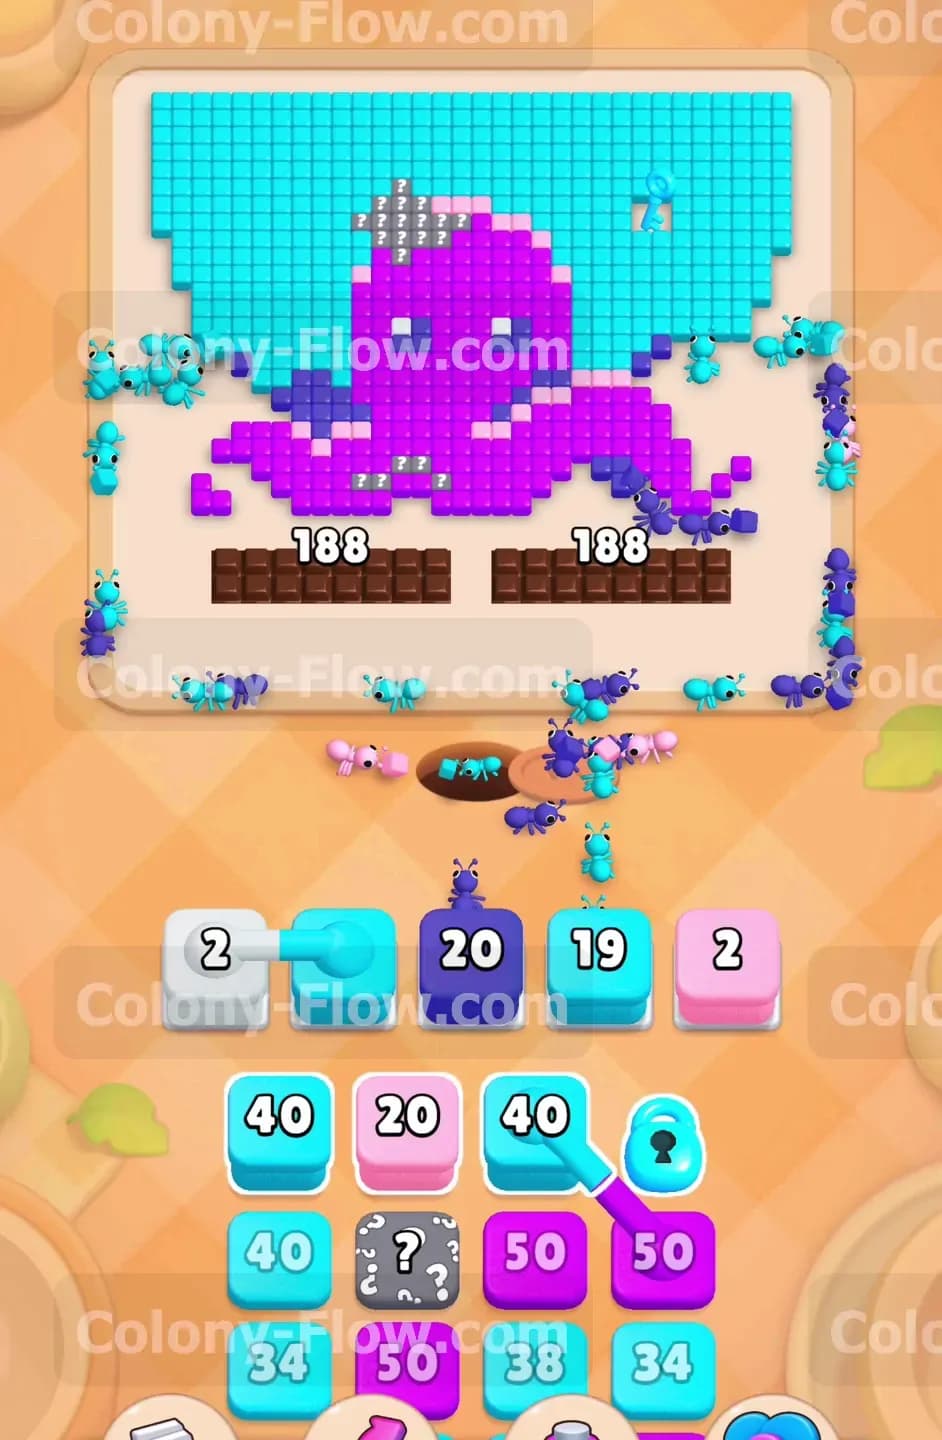
The pink and dark blue ants reach the yellow key and collect it automatically. This action instantly removes the yellow lock from your tray. Removing that lock is a massive relief because it frees up the board and reveals fresh blocks underneath. You now have more ammunition to take down the rest of the left side. Never pull blocks randomly during this phase because you will easily clog your five slots with colors that have no open paths.
Step 4: Send more cyan ants to eat the chocolate and find the blue key
Now turn your attention to the right side of the board where a blue key sits in the cyan background. You have a cyan block carrying 40 in your tray. Tap it into a waiting slot. The cyan ants will flood the right side of the picture and eat away the blue background. While they clear the path to the blue key, they also smash into the chocolate bars at the bottom. The massive number 500 on the chocolate drops down to 393 as the ants chip away at the barrier.
Step 5: Collect the blue key to unlock the purple blocks
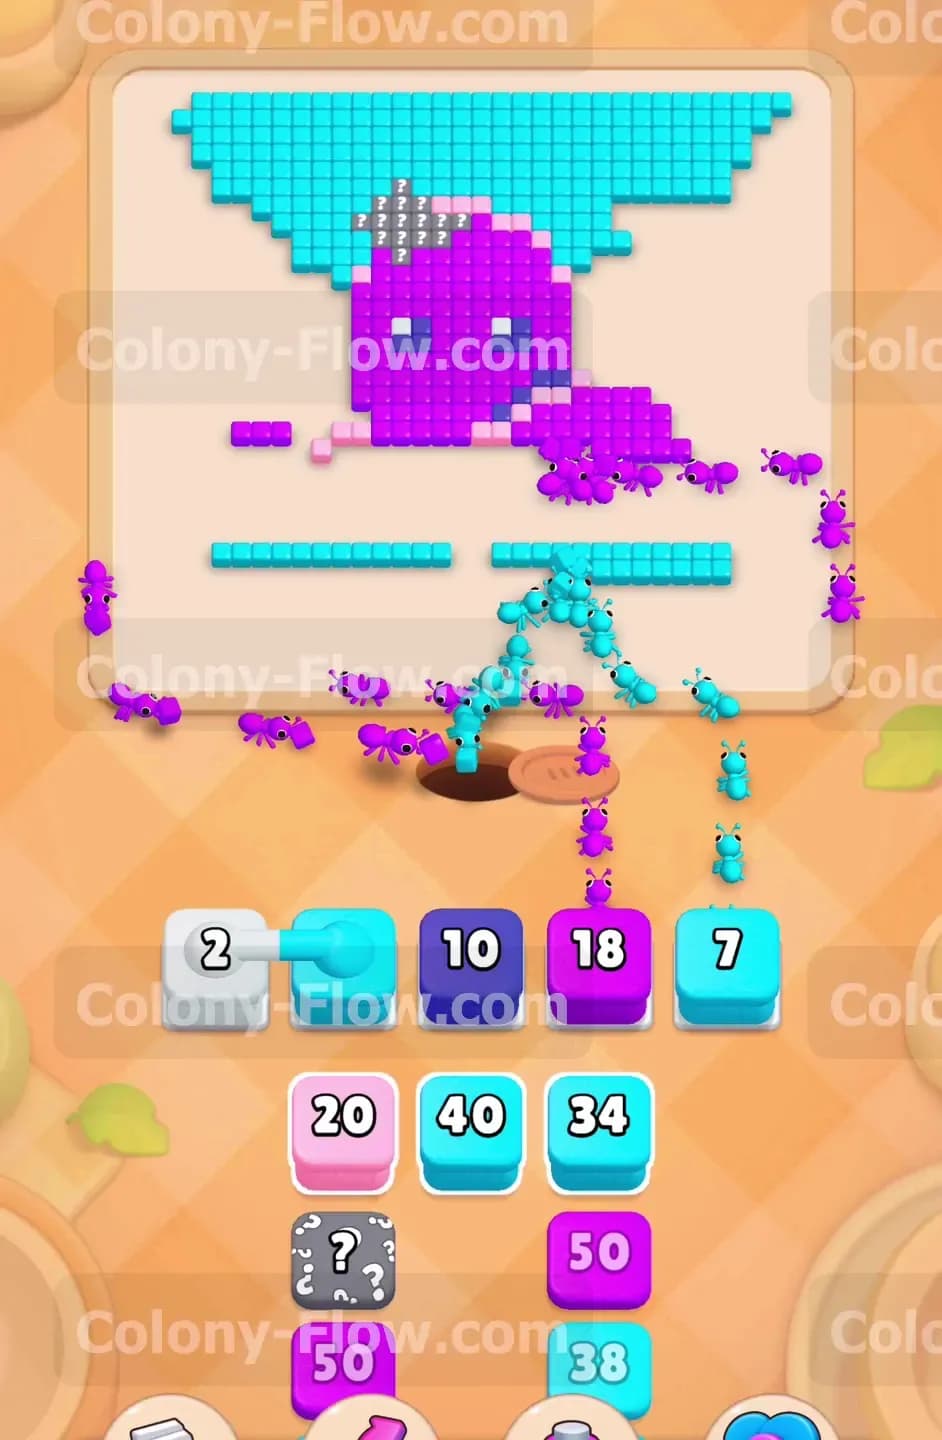
Once the cyan ants clear the right side, they grab the blue key. The blue locks drop from your tray and disappear. This unlocks the heavy hitters you need for the middle of the board. You will see several purple blocks carrying 50 appear in your tray. Having access to these purple blocks is exactly what you need to start erasing the main body of the octopus.
Step 6: Unleash purple blocks to devour the main octopus body
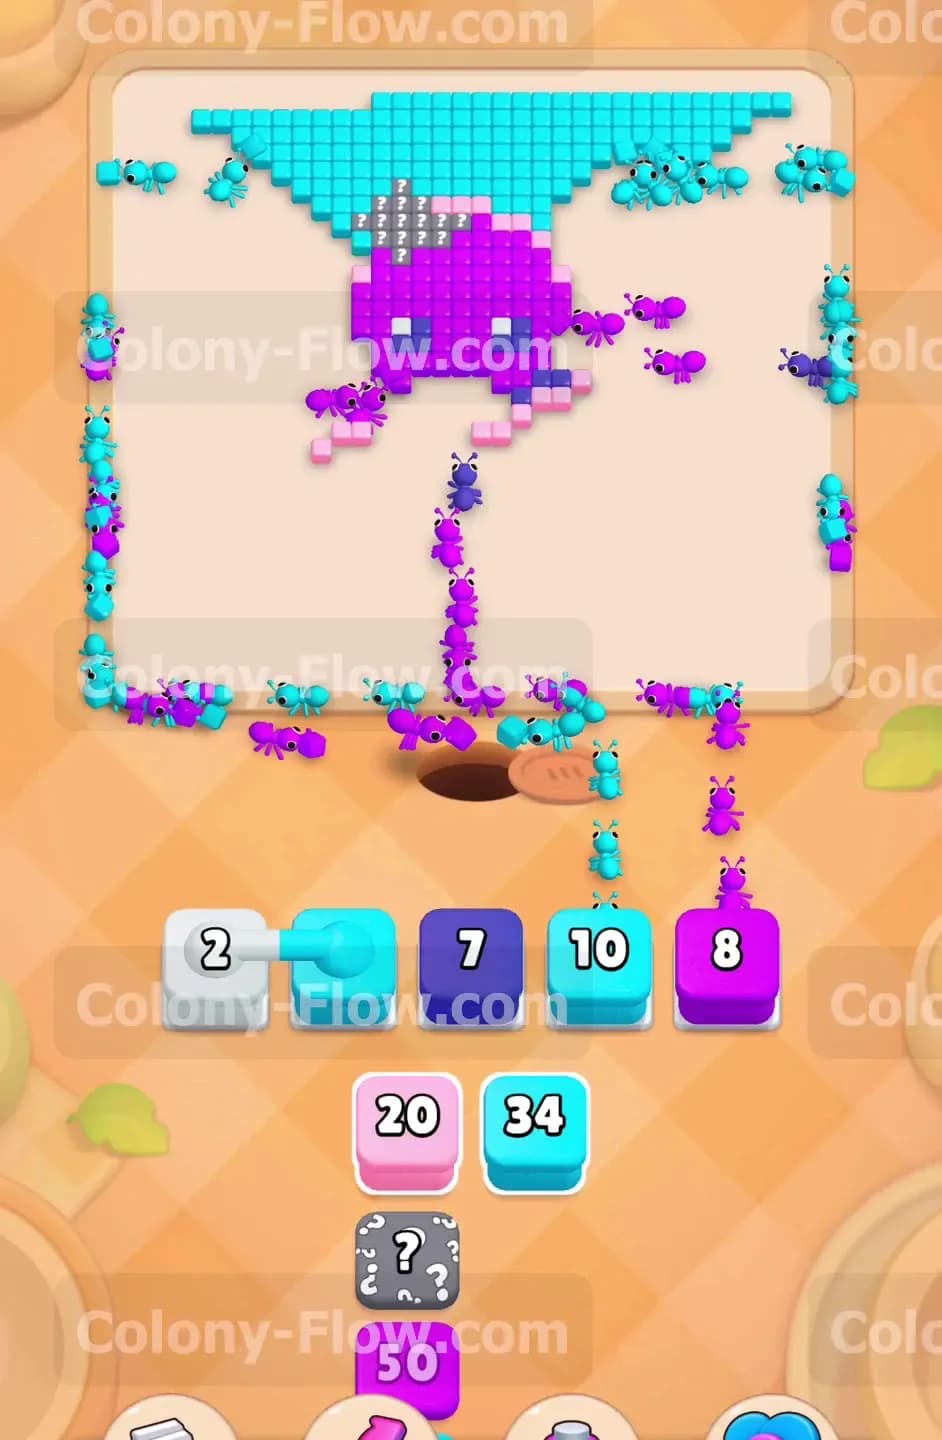
Tap one of the large purple blocks into your waiting slots. The swarm of purple ants runs out of the nest hole and attacks the center of the board. The purple sections of the octopus shrink rapidly as the ants eat their way through the picture. The chocolate blocks take collateral damage during this swarm. You will see the numbers on the chocolate drop from 393 down to 302. Keep your slots balanced and ensure the purple ants have plenty of room to move.
Step 7: Feed mixed colors to sustain the chocolate assault
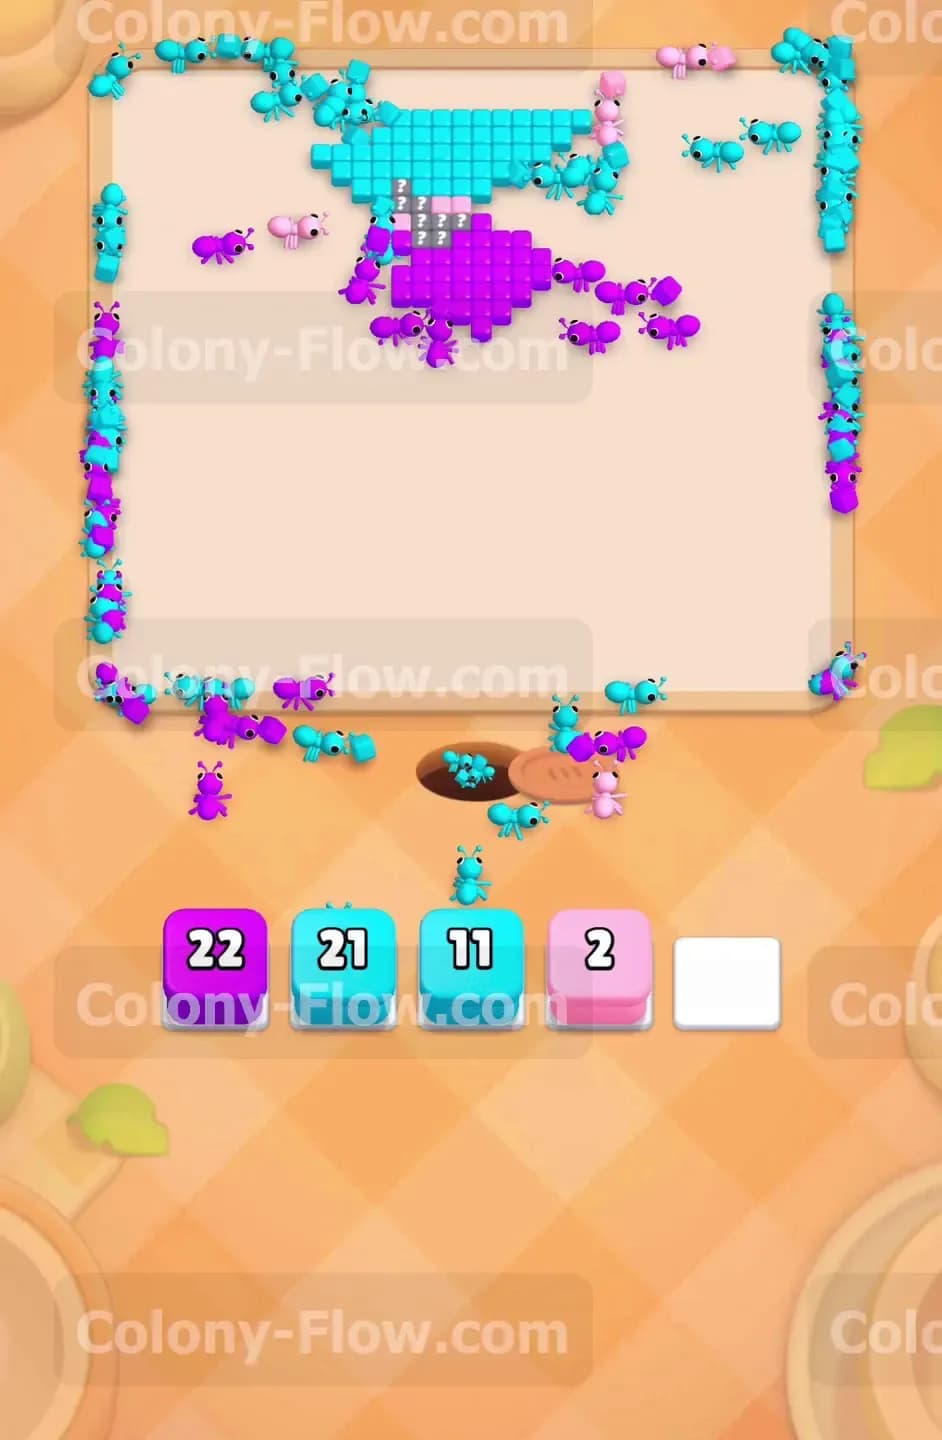
The chocolate blocks are incredibly stubborn and require a constant stream of ants. Tap a mix of cyan, dark blue, and pink blocks into your slots as paths open up. The numbers on the chocolate drop to 188 as the ants chew through the bottom edges of the water and the tentacles. You must manage your five slots perfectly right here. If you pull a block when its matching color is buried behind another color, it will sit in your tray and choke your progress.
Step 8: Break the chocolate barriers completely
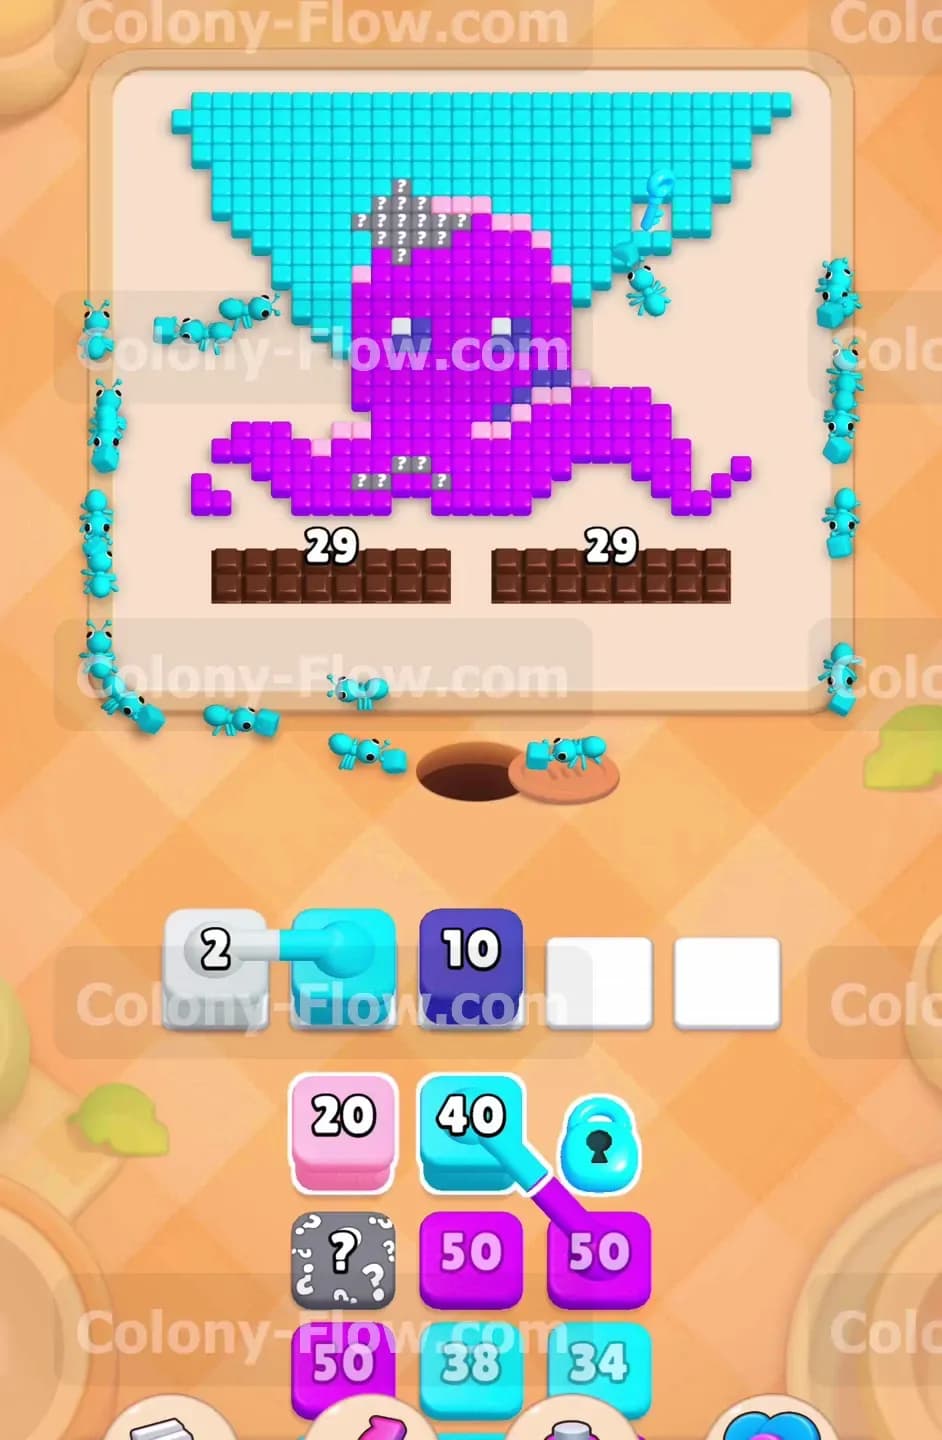
Keep feeding cyan blocks carrying 40 and purple blocks carrying 50 to sustain the pressure on the bottom of the board. The chocolate takes massive damage and drops down to 29. A few seconds later, the chocolate shatters entirely and vanishes from the board. Breaking the chocolate opens up the absolute bottom row of the picture and gives your ants full access to the lowest tentacles.
Step 9: Reveal the hidden boxes and clear the bottom tiles
Look at the grey hidden boxes in your tray. They display question marks until they have a valid path on the board. Because you broke the chocolate and exposed the bottom tiles, these hidden boxes finally reveal their true colors. They turn into the exact pink and cyan colors you need to finish the bottom edges. Tap them into the slots immediately so the ants can sweep up those newly exposed tiles.
Step 10: Finish off the octopus head and top background
The board is now mostly empty. You only have a small triangle of cyan background left at the top and a few stray purple tiles from the octopus head. Carefully check your remaining tray blocks. Pull your last dark blue, cyan, and purple blocks to erase the remaining pixels. Ensure each color has a clear path before you tap it. The final swarm of ants will sweep the remaining tiles off the board. The picture disappears and you win the level.
Final Thought
Managing your five waiting slots is the entire secret to winning this board. You always need to watch the paths and only pull blocks that can immediately deploy their ants. If any part of this written guide is hard to visualize, watch the video above this article to see exactly how I clear the paths in real time.