Colony Flow Level 388 Walkthrough Solution & Guides | How to solve Colony Flow 388

Guide By Liam Stone
Updated on July 19, 2026
If reading isn't your thing, the video above walks you through Level 388 from start to finish.
Video doesn't match your screen?
Game updates frequently scramble layouts! Try our AI Screenshot Solver first to find your exact board instantly, or report broken guides to our team.
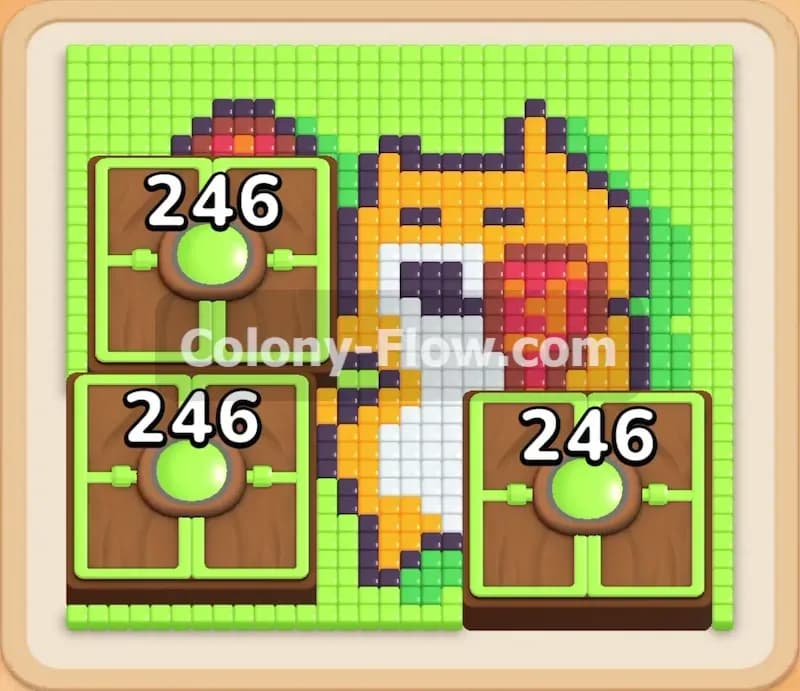
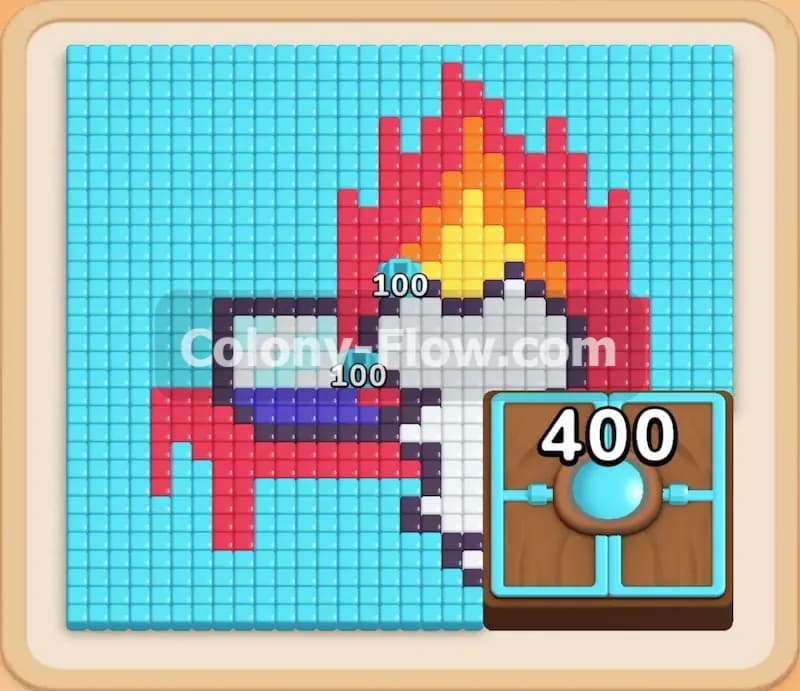
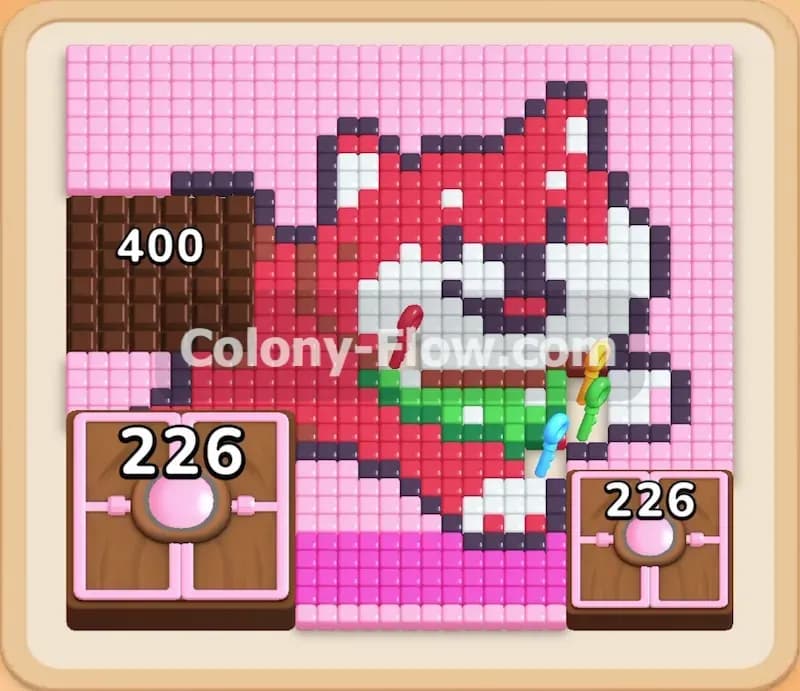
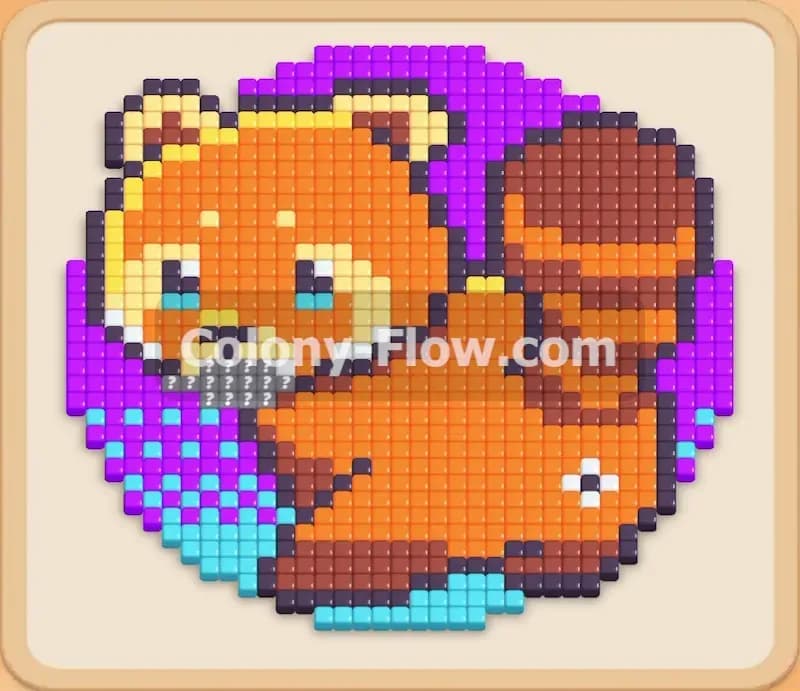
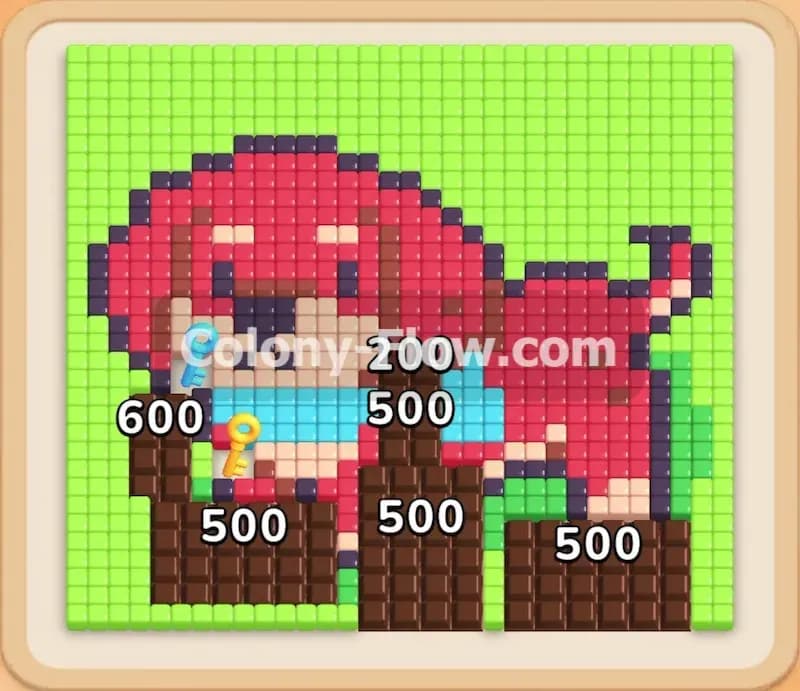
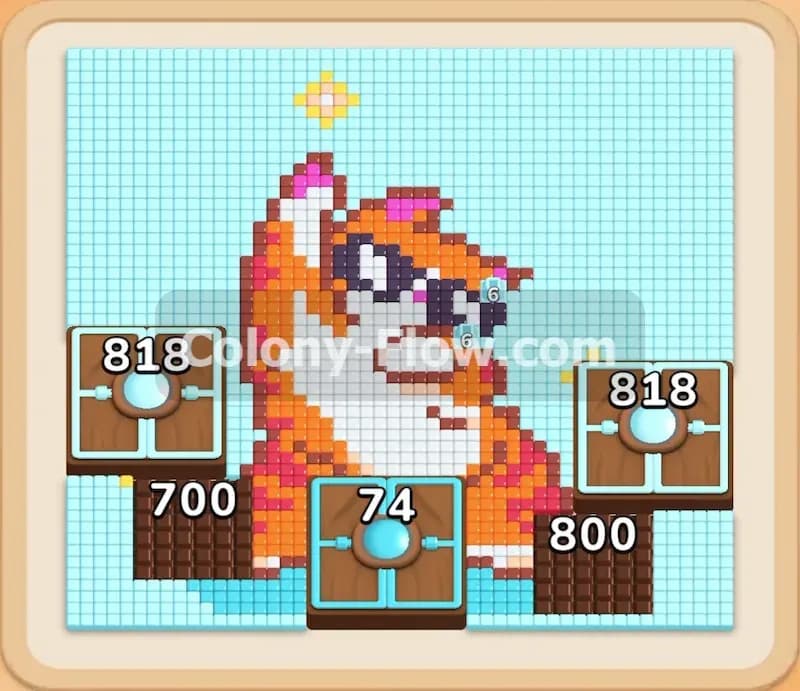
Colony Flow Level 388 presents a fun pixel art picture of an orange cat wearing sunglasses while sitting in a bright blue pool. You face a massive connected box obstacle right from the start that blocks almost every path on the board. I play every level of this game myself and I will walk you through the exact moves I use to clear this board. If you manage your tray correctly you will finish the picture without ever jamming your waiting slots.
Colony Flow Level 388 Overview
What You Are Working With
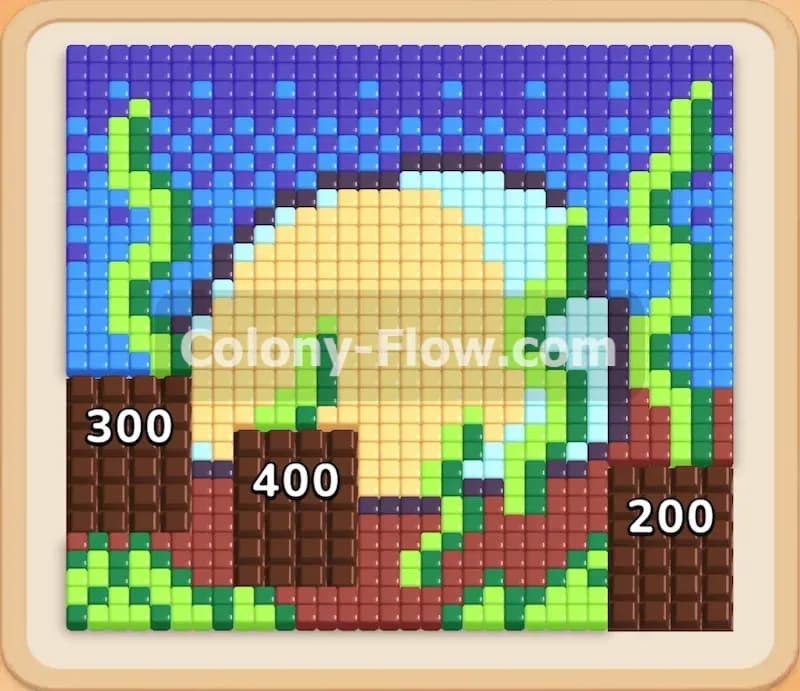
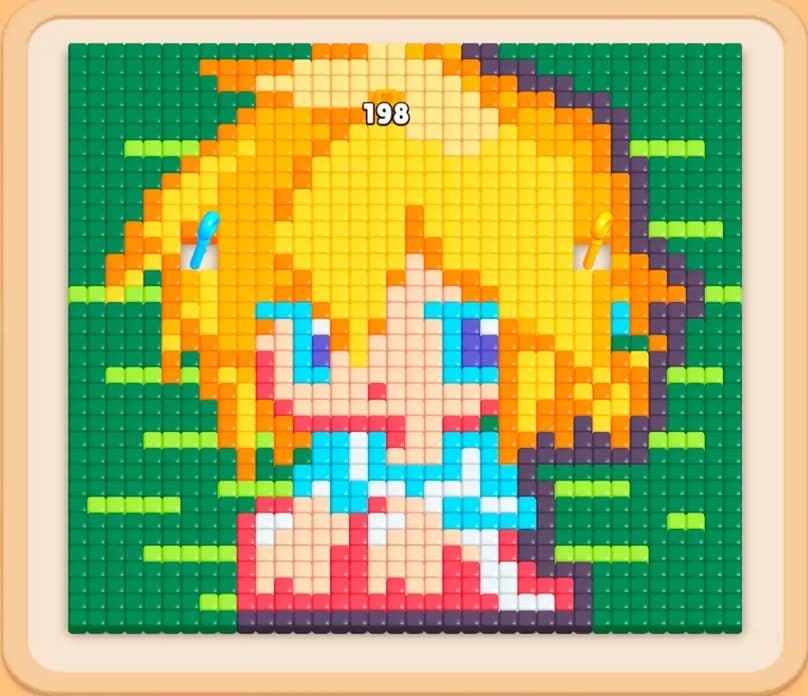
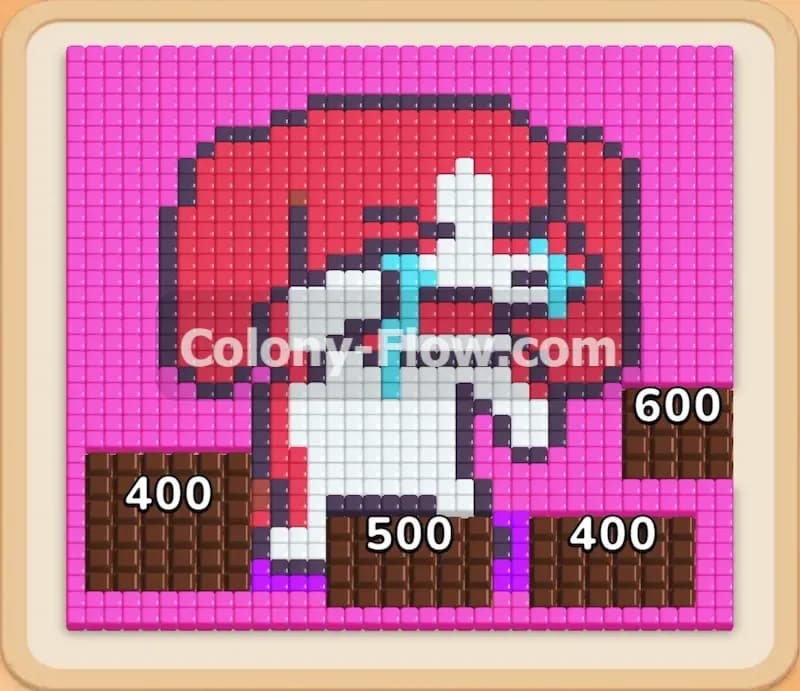
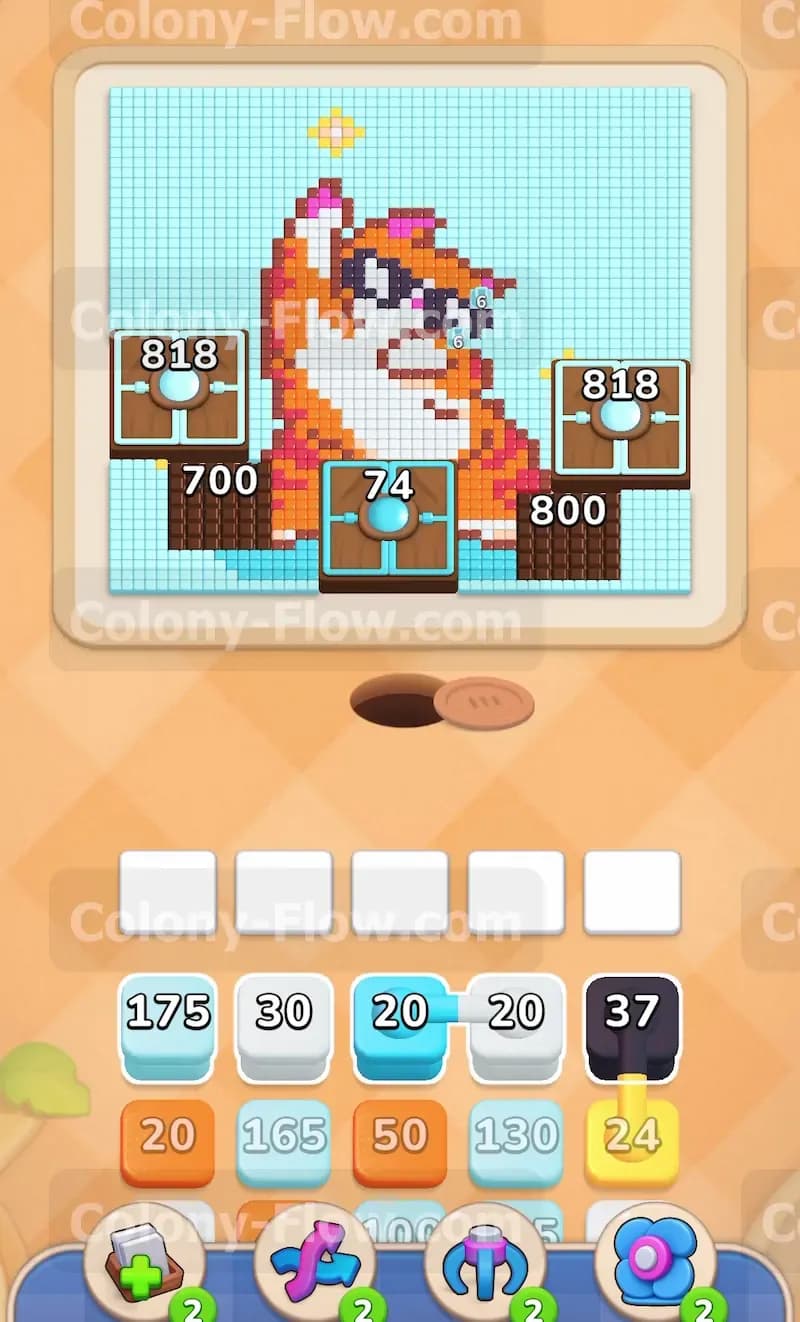
The board features a pixel art image of a large orange and white cat wearing black sunglasses. The cat sits in a light blue pool with a white border. A yellow star sits at the top of the wall behind the cat. Five connected boxes dominate the board and act as a massive obstacle. These boxes are linked together by thin lines across the left right and bottom sections of the picture. They hold massive numbers like 818 and 800 and 700. These boxes physically block the main paths to the center and the sides of the picture. Looking at the tray at the bottom of your screen you have a huge stack of colored blocks waiting for you. You see light blue blocks and white blocks sitting right at the top ready to go. You also see orange brown dark red black and yellow blocks buried deeper in the stacks. You must plan your moves based on what the ants can reach right now.
What It Takes to Clear Level 388 Board
You win the level by feeding all the colored food tiles to your colony of ants until the picture completely vanishes. You have exactly five empty slots above the tray at the bottom of the screen. When you pull a block from the tray it goes directly into one of these slots. If the ants have an open path to the matching color tiles they will run out of the nest hole and start eating. The number on the block counts down to zero and the block disappears to free up your slot. If you pull a color that is trapped behind other tiles or blocked by the connected boxes the ants cannot reach it. The block sits in the waiting slot forever. If you make this mistake five times your slots fill up completely. The board dead ends and you lose the level instantly. You clear this board by stripping the pool away first to open paths to the cat while slowly breaking down the connected boxes.
Colony Flow Level 388 Step by Step Solution
Step 1: Clear the light blue pool water to open the initial paths.
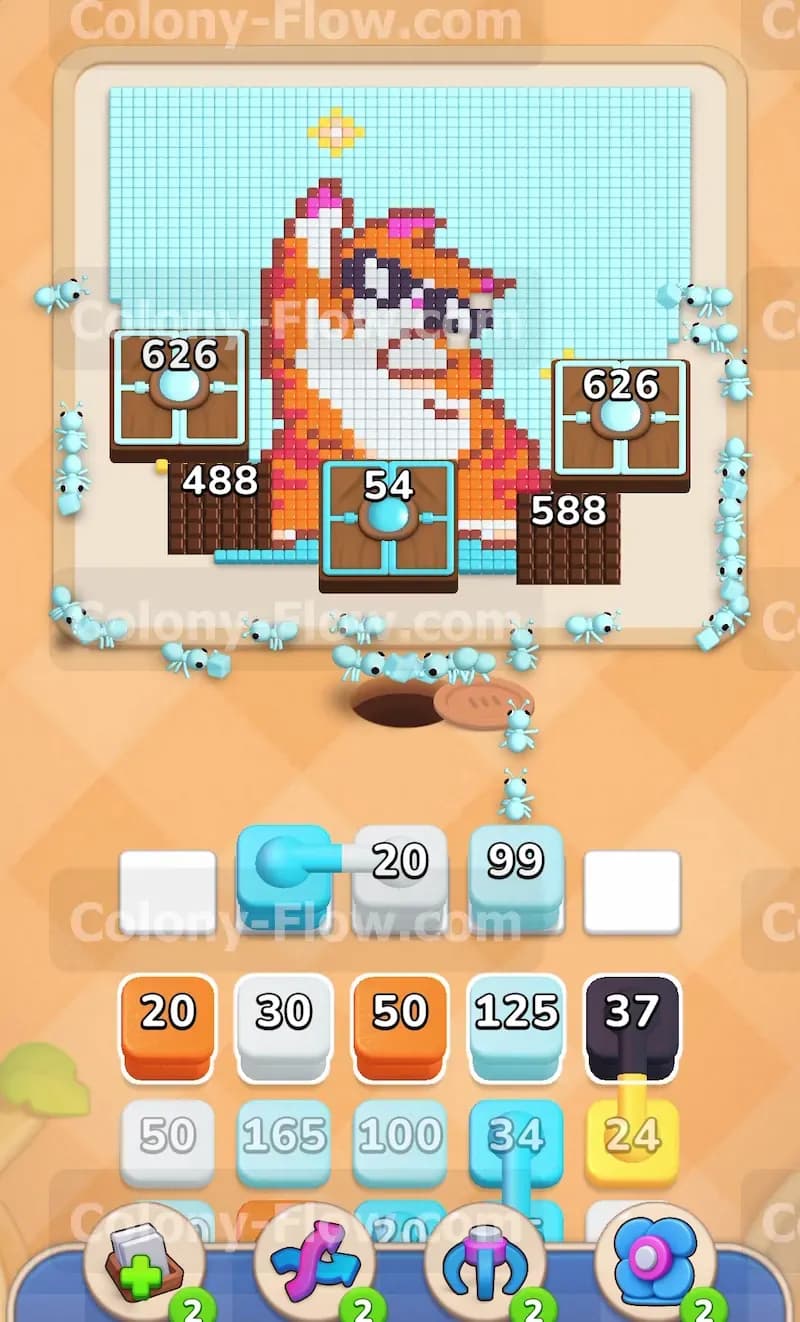
The board begins entirely blocked by the light blue pool water and the massive network of connected boxes. You must clear a path for the ants to move around the outside edges. You grab the large light blue blocks from the bottom tray. A massive line of light blue ants pours out from the nest hole at the bottom. They immediately split left and right to start eating the bright blue water tiles that surround the orange cat. The connected boxes sit directly in their path. As the ants consume the adjacent tiles the numbers on the connected boxes start to drop from their starting values of 818 and 800. You keep your waiting slots completely empty because the light blue ants have immediate access to their target tiles. You never want a block sitting idle in your slots.
Step 2: Send white ants to clear the pool border and the lower face.
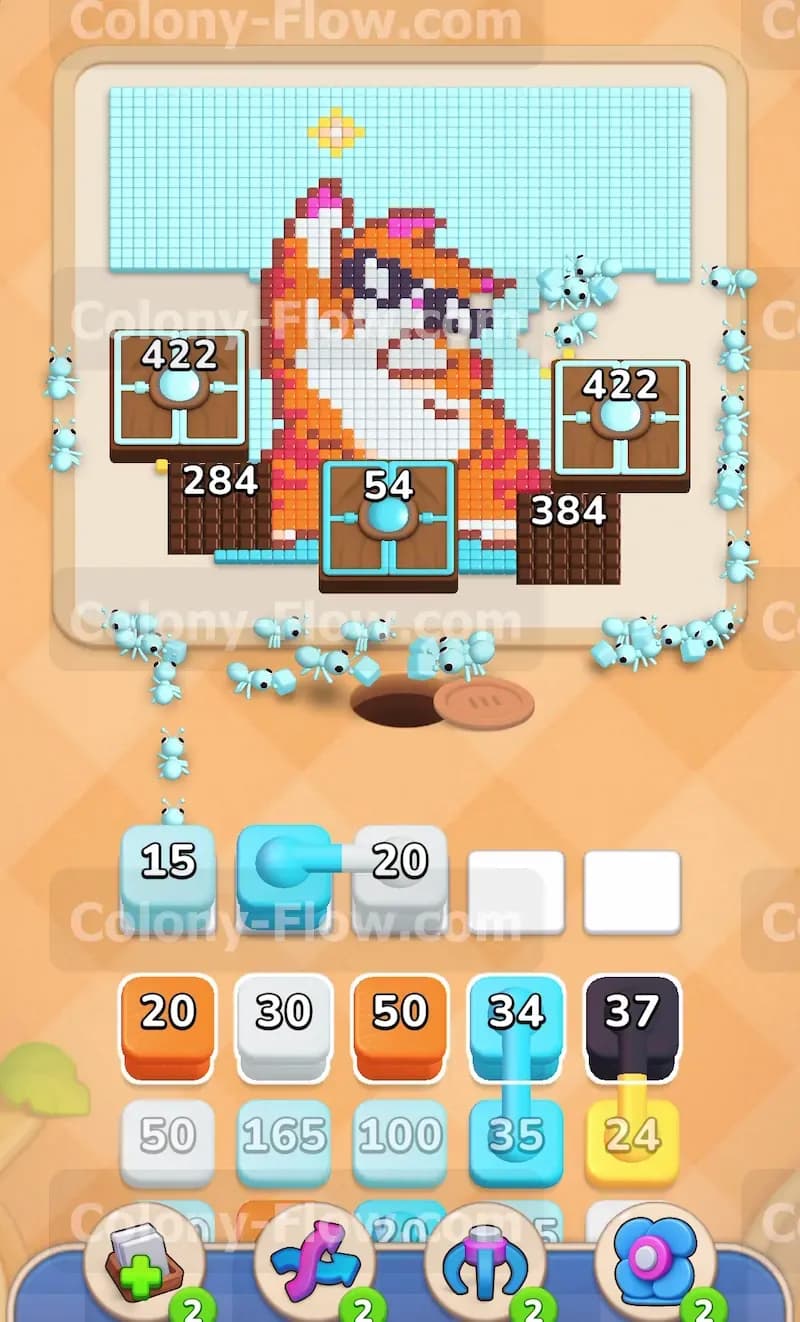
With the outer layer of the pool disappearing you unlock access to the white tiles. You tap the white blocks located near the top of your tray. The white ants stream out of the nest hole and march up the paths left behind by the missing water tiles. They reach the top border of the pool and start consuming the white tiles there. They also begin clearing the white fur on the lower face of the cat. The connected box network takes another huge hit during this wave. The numbers on the left connected boxes fall from 818 down to 488 and then down into the 200s. Your tray management remains solid here because you avoid touching any of the black or yellow blocks buried deeper in the tray. If you pull a black block right now it will sit in your waiting slot because the sunglasses remain blocked by the orange fur.
Step 3: Clear the dark brown pool edges to damage the bottom connected boxes.
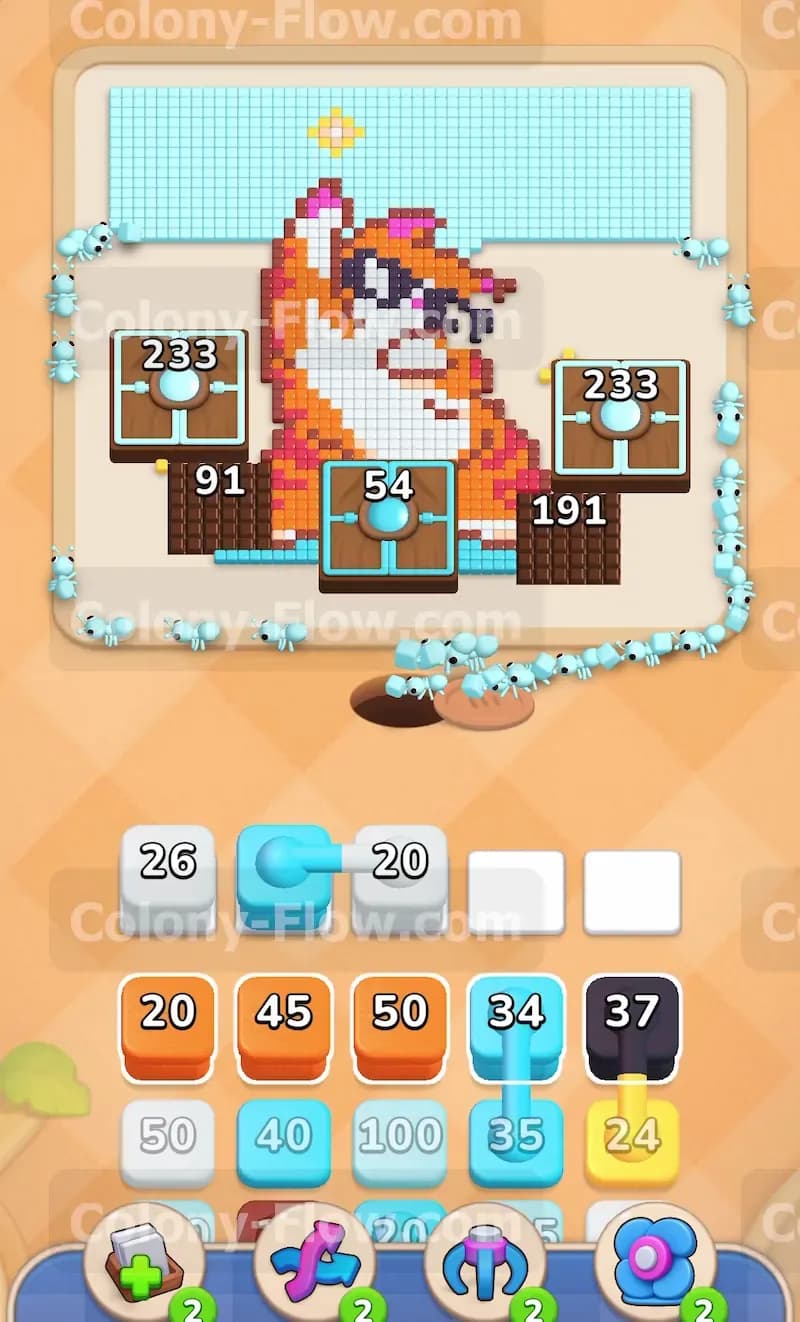
You can now see the dark brown tiles forming the lower edges of the pool structure completely exposed. You select the dark brown blocks from the tray to unleash the brown ants. These ants rush toward the bottom left and bottom right corners of the picture where the dark brown tiles sit. This move directly attacks the connected boxes in the lower section of the board. You watch the bottom center box drop rapidly to 54. A moment later the ants consume enough tiles to make that bottom center box vanish completely. The side boxes fall to 233 and 191 as the ants continue their work. You are making excellent progress while keeping your five slots open. The ants flow smoothly without hitting any dead ends. You always verify that a color has an open route before you pull it. The brown tiles are fully exposed so the ants get right to work without delay.
Step 4: Deploy orange ants to consume the main body of the cat.
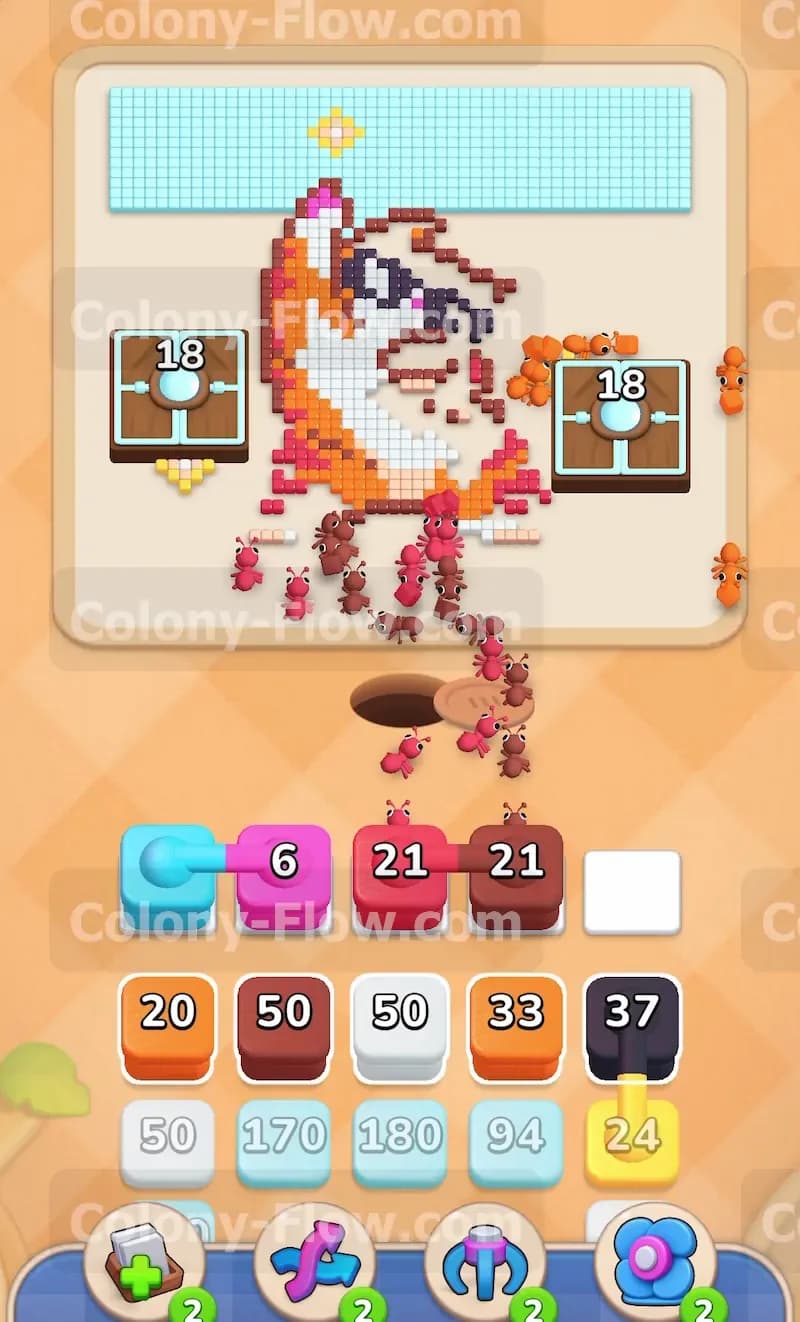
The water and the pool edges are mostly gone at this stage. You finally have a clear shot at the orange cat fur. You pull the orange blocks from the tray and watch a huge swarm of orange ants exit the hole. They flood the center of the board and eat away the chest and head of the cat. This massive wave of ants finishes off the remaining connected boxes on the left and right sides. The numbers on those boxes drop to 123 and then down to 18 before they completely disappear from the board. The board opens up entirely. You no longer have to worry about the connected boxes blocking your routes. The orange ants finish their meal and return to the nest leaving behind only a few isolated colors on the board.
Step 5: Use the dark red blocks to clear the shadows and inner ears.
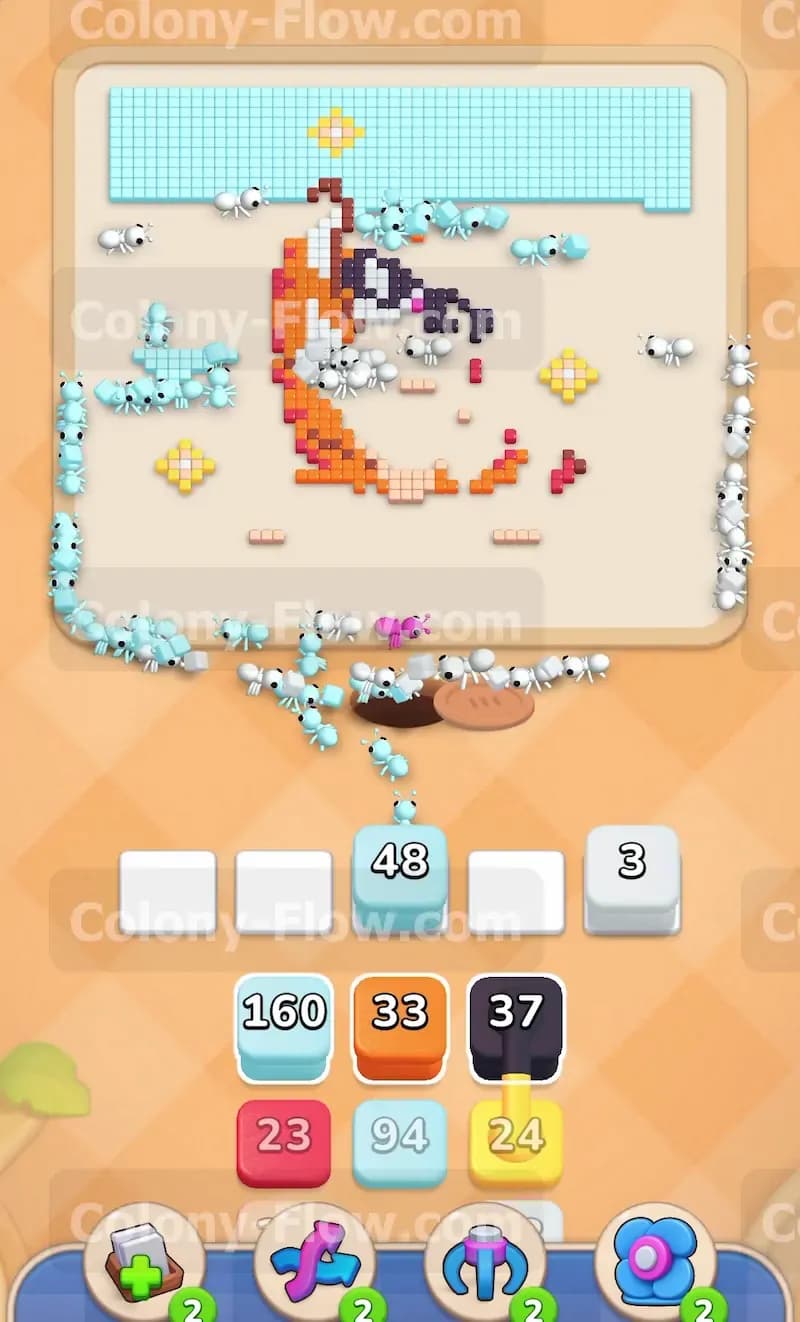
You are in the home stretch now. The orange fur is gone and the dark red tiles are exposed. These tiles represent the shadows under the chin of the cat and the details inside the ears. You tap the dark red blocks in the tray. The dark red ants march straight up the middle of the board since the connected boxes are no longer in the way. They quickly eat the shadow tiles and climb higher to clear the ears. You maintain a perfect flow of ants. Your five waiting slots remain empty because you waited until the red tiles were completely unblocked before pulling the blocks.
Step 6: Finish the picture with the black sunglasses and the yellow star.
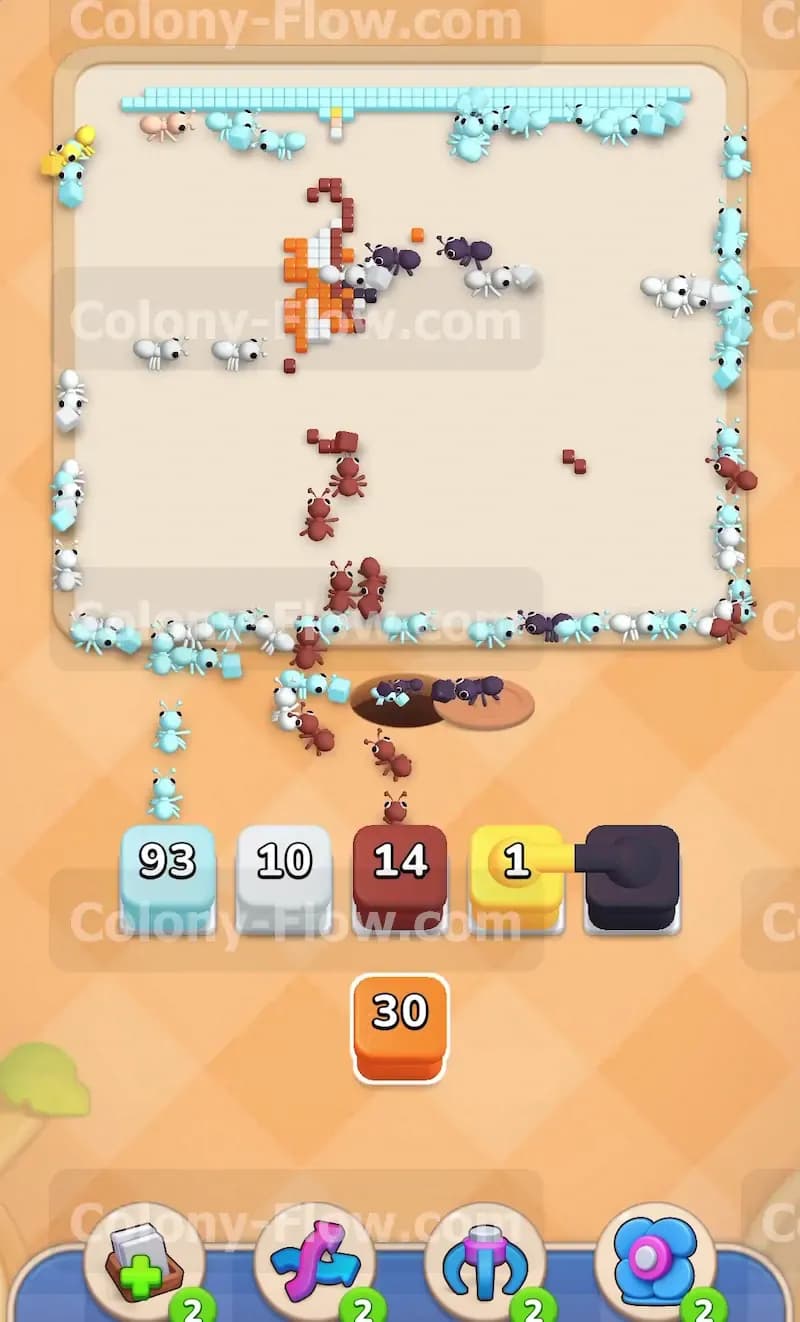
Only two details remain on the board. You need to clear the black sunglasses on the cat face and the yellow star at the very top of the wall. You pull the black block first. Black ants run straight up the open board and eat the sunglasses. Then you tap the yellow block. The yellow ants travel all the way to the top edge of the board and consume the star. The picture is completely cleared. The ants finish their routes and the level ends in a win. You successfully managed your waiting slots from start to finish without a single jam.
Final Thought
This level tests your patience and your ability to read the board layout before you pull blocks. The massive connected boxes look intimidating but they break down naturally as long as you feed the ants the right colors in the correct order. Keep your waiting slots empty and never pull a color that the ants cannot reach. Watch the video above this article if any step is hard to follow in text so you can see exactly how the paths open up.