Colony Flow Level 431 Walkthrough Solution & Guides | How to solve Colony Flow 431

Guide By Liam Stone
Updated on July 29, 2026
The video above covers the entire Level 431 solution. Watch it if you want to skip the article and jump straight to the answer.
Video doesn't match your screen?
Game updates frequently scramble layouts! Try our AI Screenshot Solver first to find your exact board instantly, or report broken guides to our team.
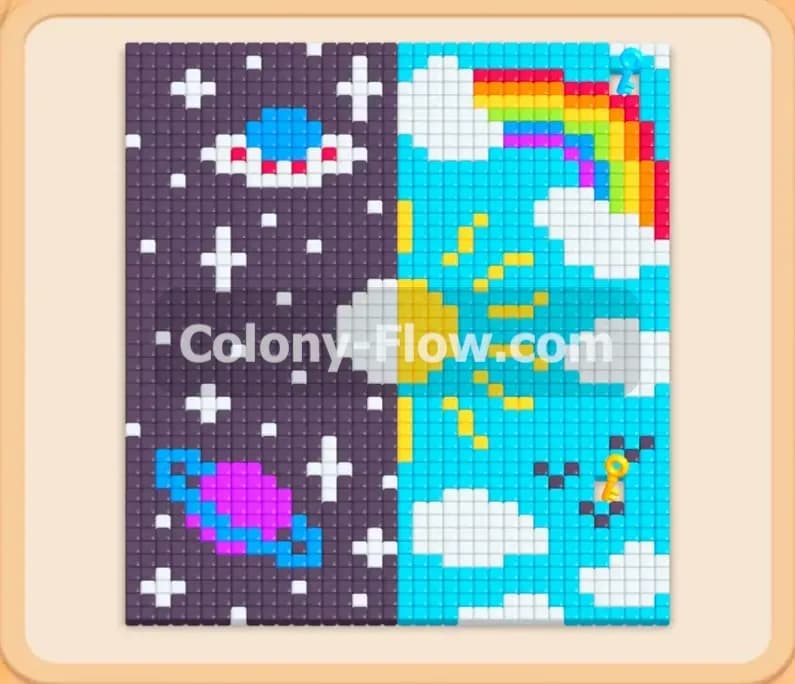
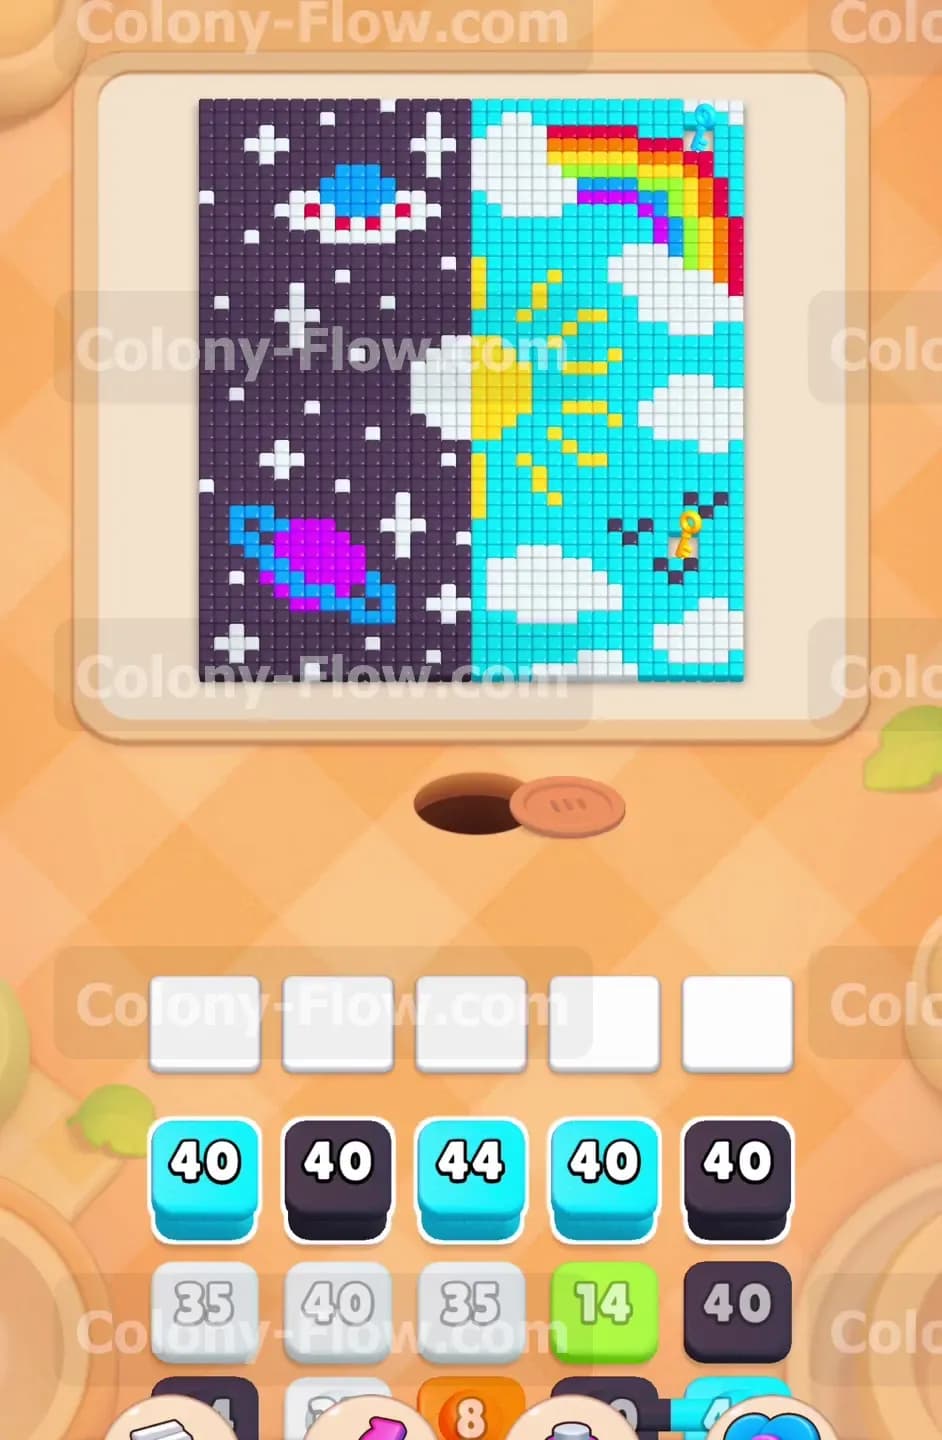
Colony Flow Level 431 presents a highly detailed split picture puzzle that demands careful attention right from the start. You face a board divided straight down the middle with a dark space scene on the left and a bright sunny sky on the right. The sharp contrast makes it easy to see your targets but the sheer number of tiles requires excellent block management. You must feed the colony efficiently to carve through the heavy backgrounds without ever jamming your limited tray space.
Colony Flow Level 431 Overview
What You Are Working With
The picture is split into two perfectly distinct themes. The left side features a dark purple space background dotted with small white stars a colorful UFO and a ringed purple planet. The right side shows a beautiful day with a massive light blue sky fluffy white clouds a bright yellow sun a rainbow and a few small black birds. Your tray at the bottom holds a wide variety of colored blocks. You see light blue blocks for the sky black blocks for the space background white blocks for the clouds and stars and several detail colors like red yellow orange green and purple. You also face two specific special elements on this board. You have connected boxes in your tray where multiple blocks are permanently linked together and pull into your waiting slots as a single unit. You also have the Lock and Key mechanic. Two blocks in your bottom tray carry heavy padlocks. You must clear tiles on the board to uncover the hidden key to use those restricted blocks.
What It Takes to Clear Level 431 Board
Winning this level requires you to strip away the massive background sections first to open clear paths to the smaller details. You lose the game immediately if you fill your five waiting slots with blocks that the ants cannot reach. The light blue sky and the dark purple space completely block access to the sun the rainbow and the UFO. You must alternate your block pulls between the left and right sides of the board to keep a constant flow of ants leaving the nest hole. Collecting the hidden key is your primary goal in the middle of the game because you need those locked blocks to finish the final sections of the picture. You win when the final colored tile is eaten and the board is completely empty.
Colony Flow Level 431 Step by Step Solution
Step 1: Pulling connected light blue blocks clears the right side sky.
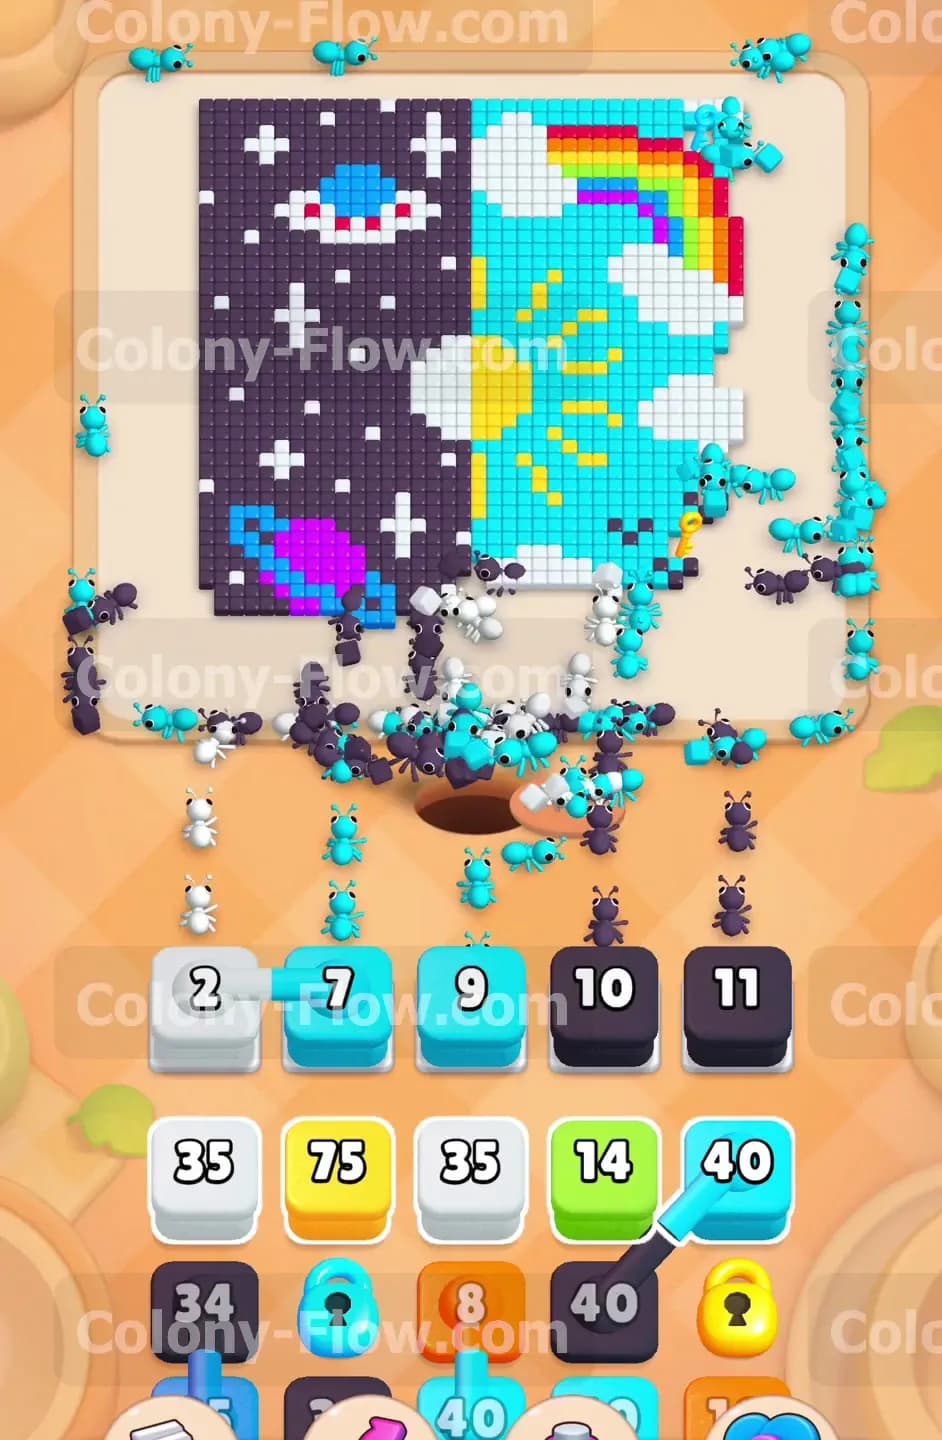
Start your board by focusing on the massive light blue sky section on the right side. You pull the connected light blue blocks into your waiting slots. These connected boxes take up two of your five slots immediately so you must ensure the ants have a clear wide open path to the sky tiles. The ants stream out of the nest hole and march right devouring the sky. The numbers on your light blue blocks count down rapidly as the ants chew away the picture. You also pull a small white block holding two points to let the ants begin snacking on the fluffy white clouds located near the bottom right edge. This opens up the lower section of the right half perfectly and keeps your slots cycling.
Step 2: Feeding black blocks removes the dark space background.
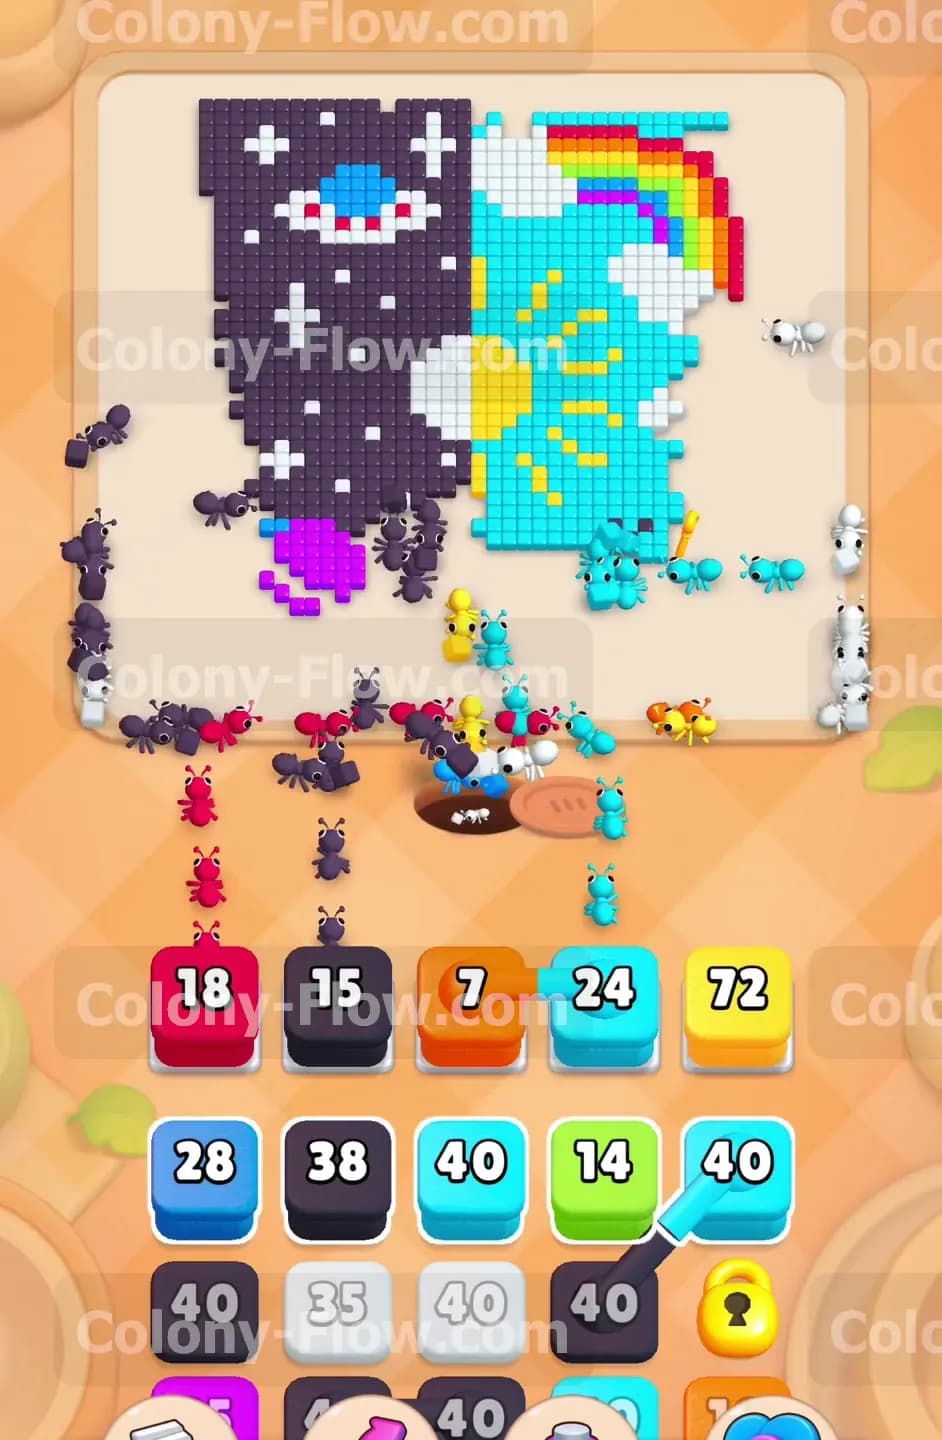
Your attention must shift to the left side of the board to prevent a tray jam. The dark purple space background covers almost the entire left half of the picture. You pull two black blocks numbered ten and eleven into your waiting slots. The colony splits its focus and a new stream of ants heads left. They chew away the space background starting from the bottom and working their way up toward the UFO. Alternating between the light blue sky on the right and the dark space on the left keeps your waiting slots emptying out quickly. You never want to leave a large numbered block sitting idle in your tray.
Step 3: Using the massive yellow block reveals the hidden key.
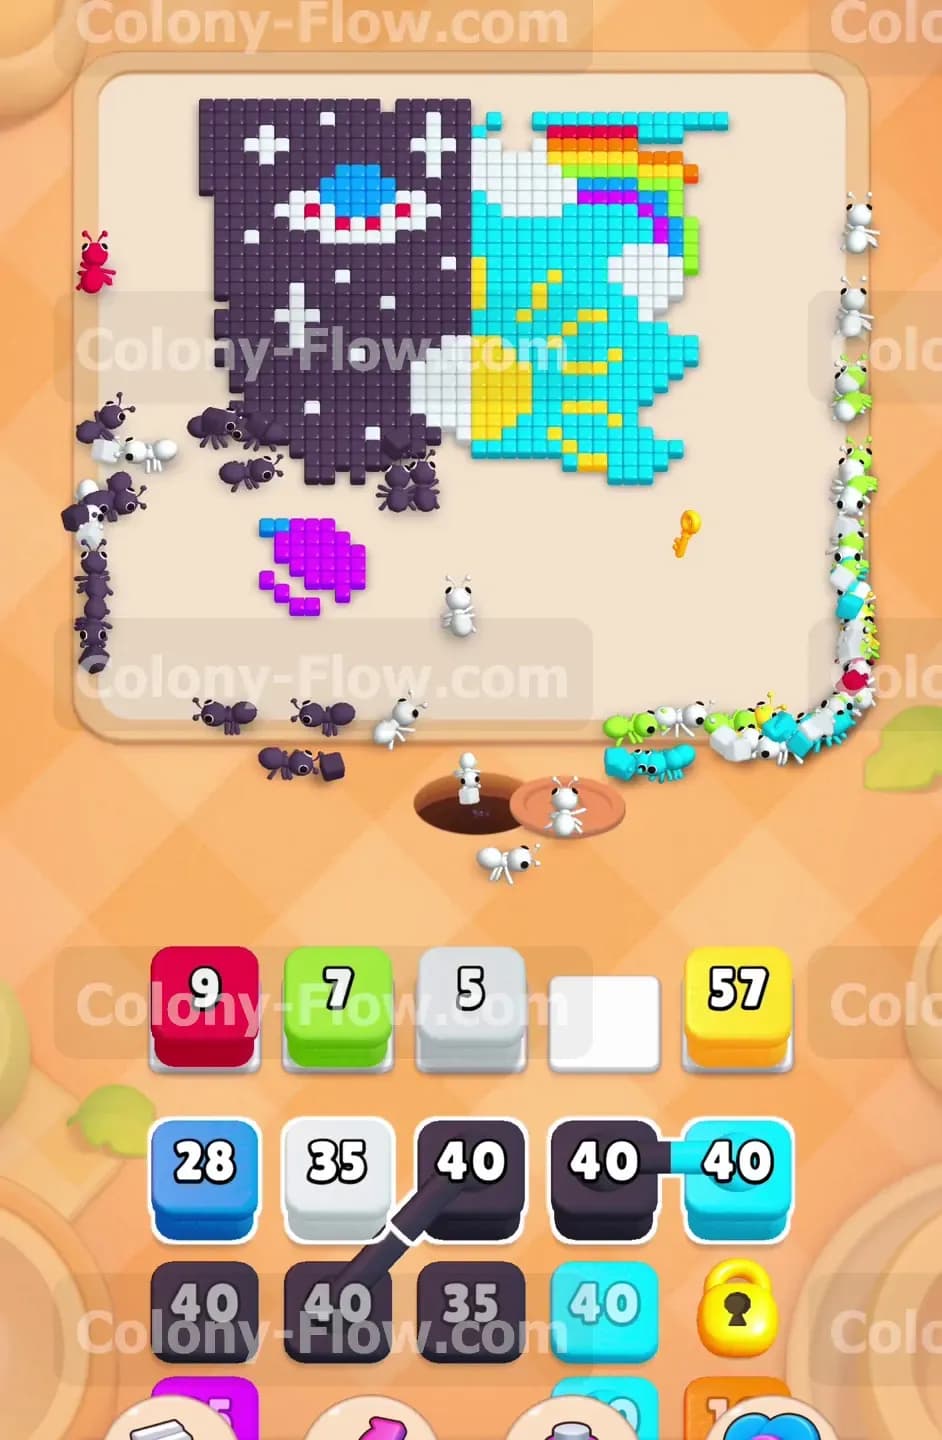
As the sky and space backgrounds recede the yellow sun becomes fully exposed in the center of the board. You pull a large yellow block holding seventy two points. This is a massive block so you must wait until the sun is completely unblocked before bringing it into your tray. The ants swarm the yellow sun tiles and clear them out in a huge wave. Clearing the sun and the adjacent light blue sky tiles reveals the hidden golden key on the right side of the board. The ants automatically grab the key once the tiles around it disappear.
Step 4: Unlocking the tray opens up your detail colors.
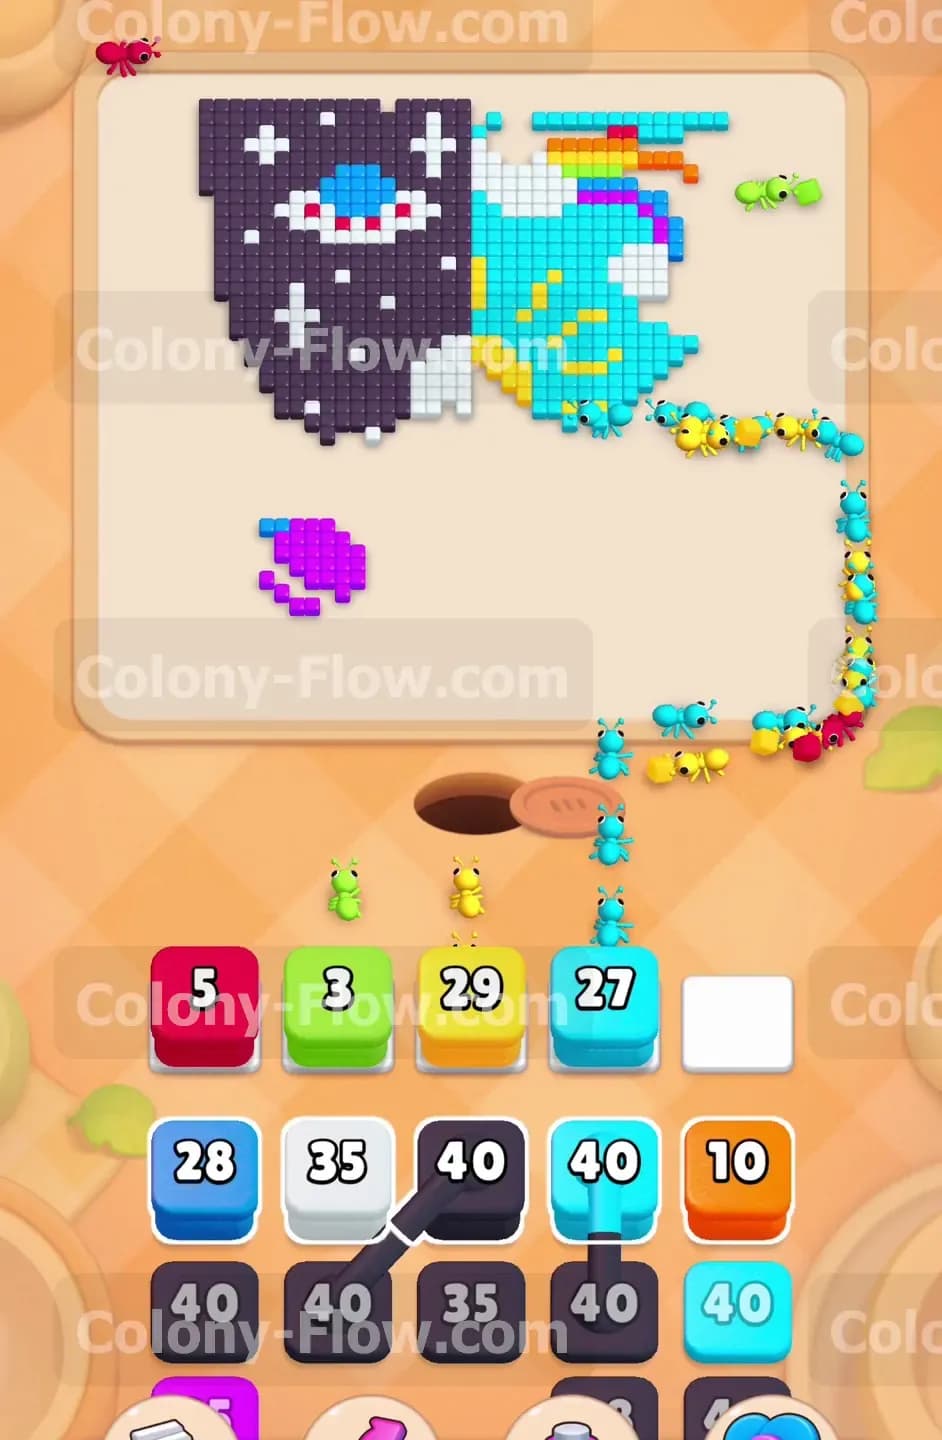
Collecting the key shatters the heavy padlocks on the light blue and orange blocks in your bottom tray. This is a vital moment because you need that orange block holding eight points to clear the sun rays and the bottom stripe of the rainbow. You pull the newly unlocked orange block and another smaller yellow block into your waiting slots. The ants rush to the rainbow and finish off the remaining sun rays. You keep the flow moving by pulling another black block to continue chewing through the top left space background. The board is now mostly empty with only the specialized icons remaining.
Step 5: Managing the connected black blocks finishes the space sky.
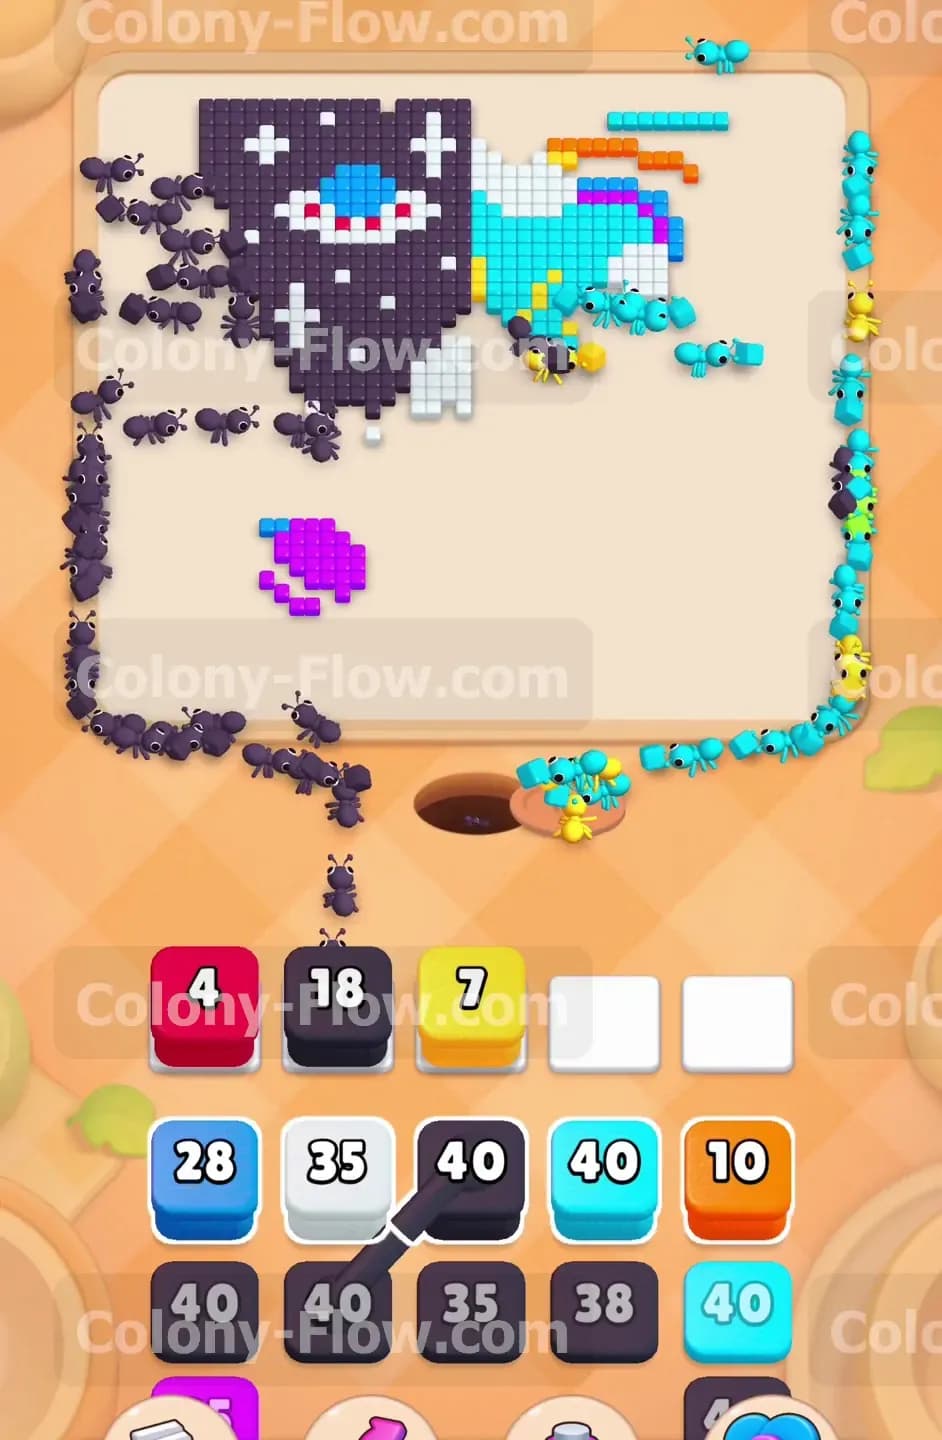
You face another set of connected boxes in your tray and this time they are black blocks holding forty points each. You must pull them to clear the remaining space background and the tiny black birds flying in the top right corner. Because these connected blocks carry high numbers you wait until both the birds and the top space section are fully accessible. You pull the connected black boxes into your tray filling two slots at once. The ants divide their forces perfectly. One group heads to the top right to eat the birds while the main group finishes the dark purple tiles around the UFO and stars. Your slots remain safe because the paths are wide open for both groups.
Step 6: Clearing the UFO and rainbow requires careful single pulls.
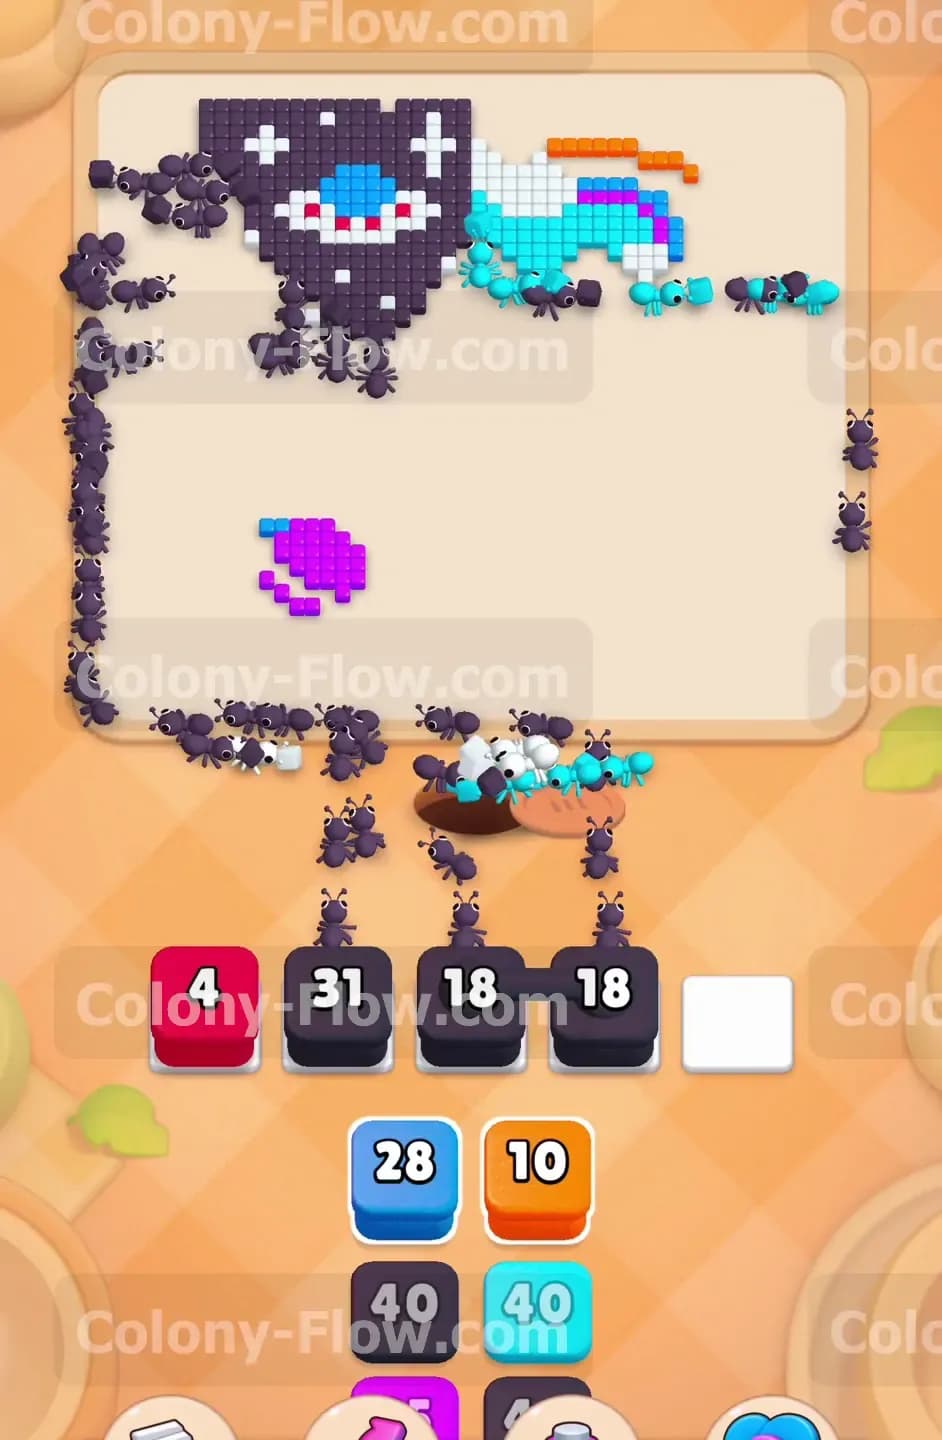
The board is now reduced to the small colorful details. You have the rainbow on the top right and the UFO on the top left. You pull a red block a green block and a white block. The ants march up to the rainbow to clear the red and green stripes. Another group heads to the UFO to eat the red top and the white accents. You must be extremely careful here. Pulling too many detail colors at once will instantly fill your five slots and cause a loss. You wait for the red block to completely empty before pulling the blue block needed for the bottom of the UFO.
Step 7: The purple planet is the final piece of the puzzle.
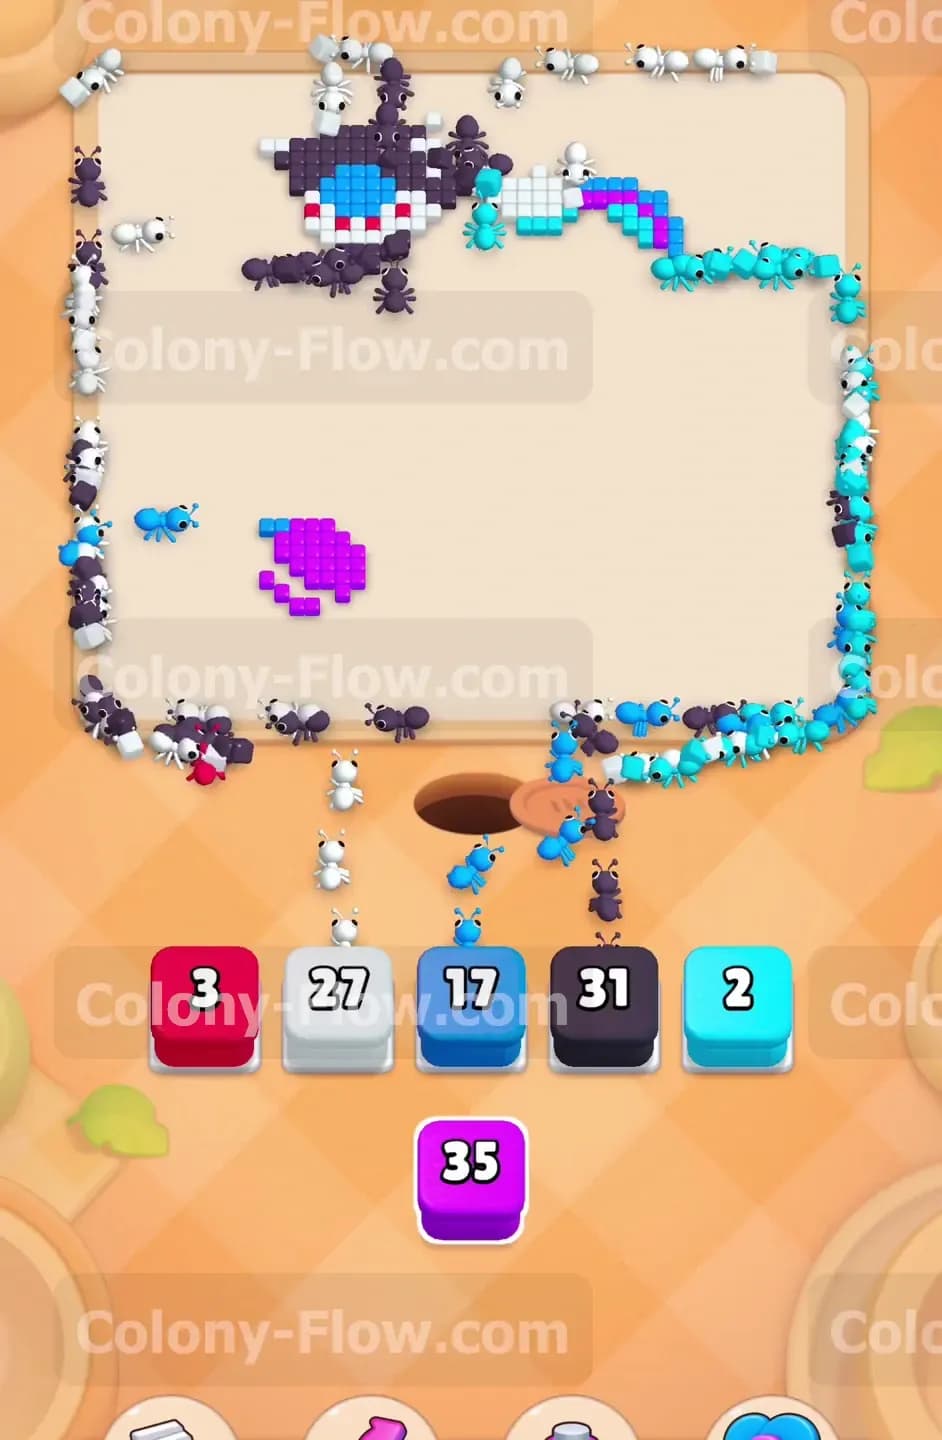
The only thing left on the completely empty board is the purple ringed planet in the lower left corner. You pull the final purple block holding thirty five points into your single open waiting slot. The last wave of ants leaves the nest hole and marches directly to the planet. They eat the purple tiles rapidly and the block number drops to zero. The picture is totally clear and your ants finish the board.
Final Thought
Colony Flow Level 431 is a fantastic test of your ability to manage both sides of a split board simultaneously. You must respect the connected boxes and time your key collection perfectly to avoid dead ends. Remember to always clear the heavy background colors before pulling blocks for the small details. Please watch the video above this article if you find any step hard to follow in text.