Colony Flow Level 125 Walkthrough Solution & Guides | How to solve Colony Flow 125

Guide By Liam Stone
Updated on August 1, 2026
The Level 125 solution is right there in the video above, so read on only if you want the extra detail.
Video doesn't match your screen?
Game updates frequently scramble layouts! Try our AI Screenshot Solver first to find your exact board instantly, or report broken guides to our team.
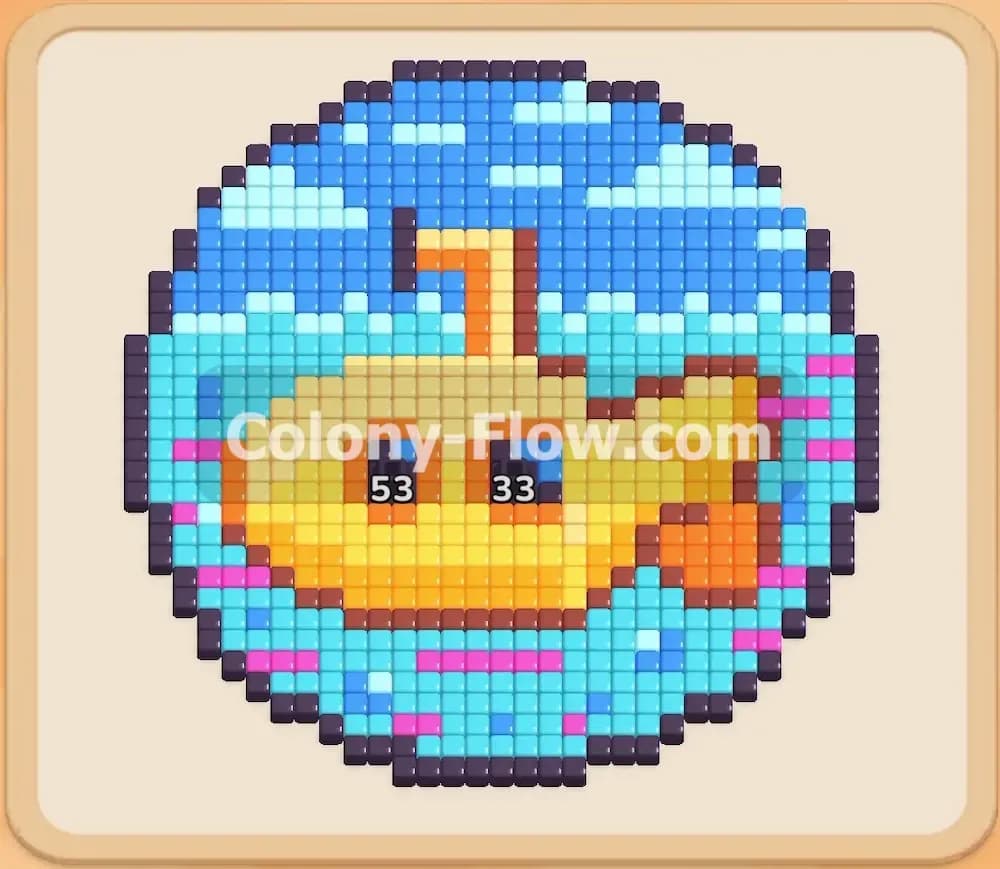
Colony Flow Level 125 drops you into a massive underwater scene featuring a bright yellow pixel art submarine. You start with a board completely choked by outer borders and layers of ocean water. Your main goal is to peel back these layers to reveal the submarine without jamming your limited wait slots. Managing the massive blocks of blue and yellow is the key to keeping your colony moving and clearing the picture.
Colony Flow Level 125 Overview
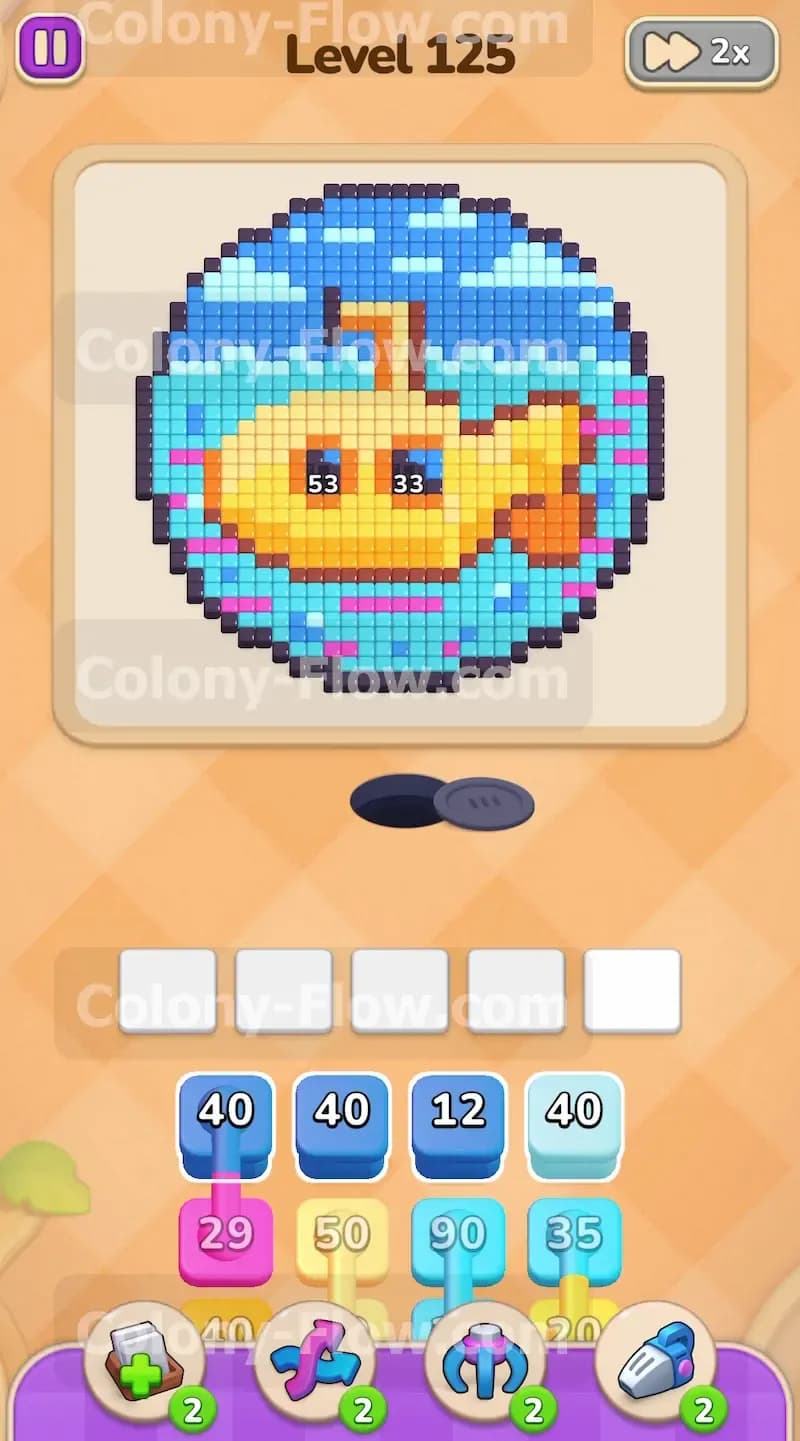
What You Are Working With
The picture is a large circular underwater scene. The outermost layer is a thick dark blue border that wraps around the entire puzzle. Inside that border you will find a massive background of light blue water mixed with medium blue accents and a single pink stripe near the bottom. The center of the board holds the main prize. The yellow submarine features an orange tail, an orange periscope, and large black windows. The tray gives you massive numbers to deal with. You will see light blue blocks holding counts of 90 and 76. You will see large yellow blocks for the hull. Down at the bottom of the tray you will spot connected boxes. These black blocks are linked together and must be pulled as a pair.
What It Takes to Clear Level 125 Board
Clearing this board requires strict discipline with your wait slots. You only have five slots available at the bottom of the screen. If you fill them with colors that have no open path to the board, your ants will stop moving and you will lose the level. The submarine is completely surrounded by water. You must clear the dark blue border and the light blue background first. Only then will the yellow hull open up for your ants. You also need to keep enough slots empty at the end of the level to pull the connected black boxes safely.
Colony Flow Level 125 Step by Step Solution
Step 1: Start the level by clearing the dark blue border and the pink water stripe
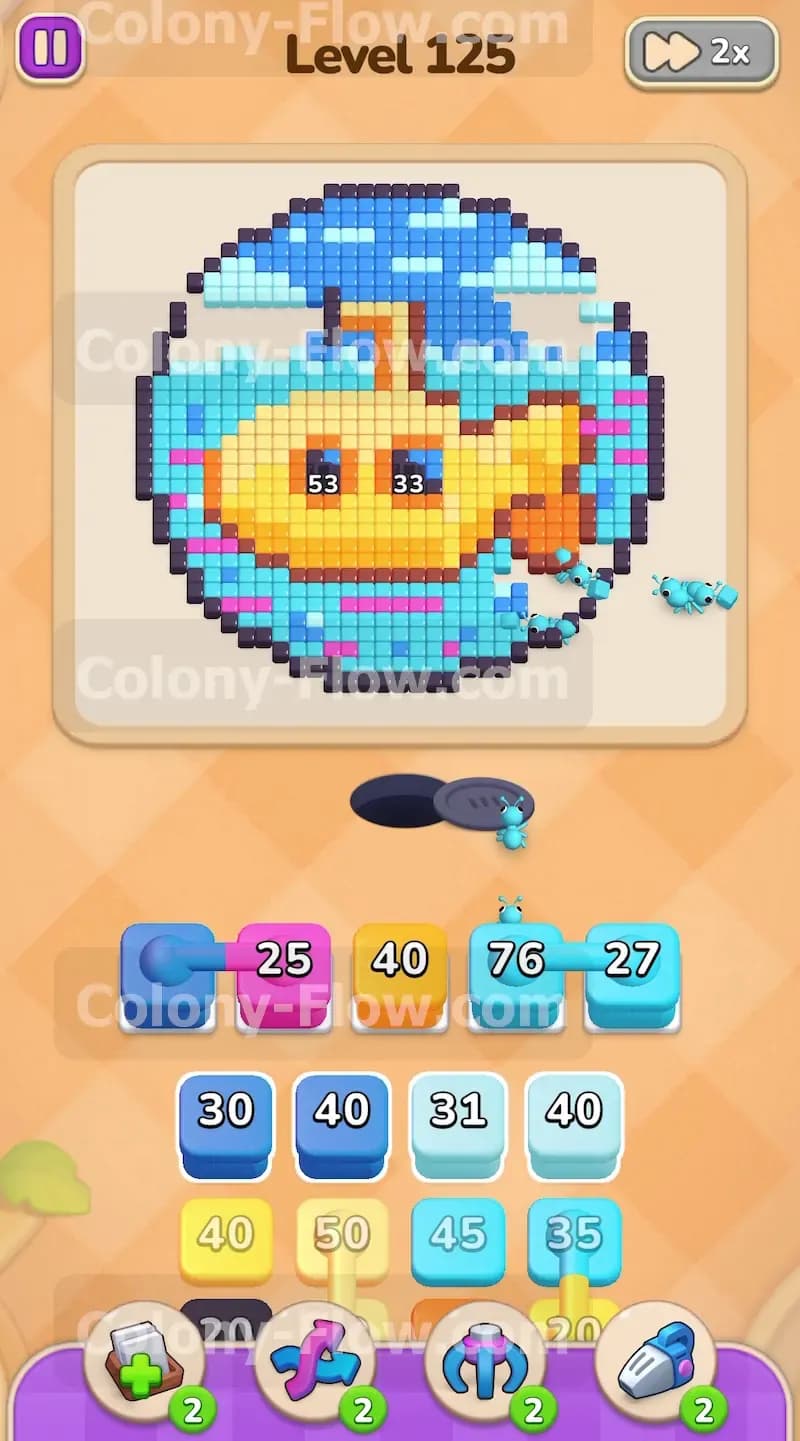
Start your board by pulling the Dark Blue 40 block and the Pink 29 block. The dark blue border forms the entire outer edge of the picture. By pulling the dark blue block right away, you give your dark blue ants a massive surface area to attack. The Pink 29 block targets the pink stripe near the bottom of the water. Both of these colors have immediate open paths from the nest hole. This ensures your ants stream out continuously. The wait slots will hold these two blocks while the numbers count down slowly. You now have three empty wait slots left to begin working on the massive ocean background.
Step 2: Unleash the first wave of light blue and medium blue ants
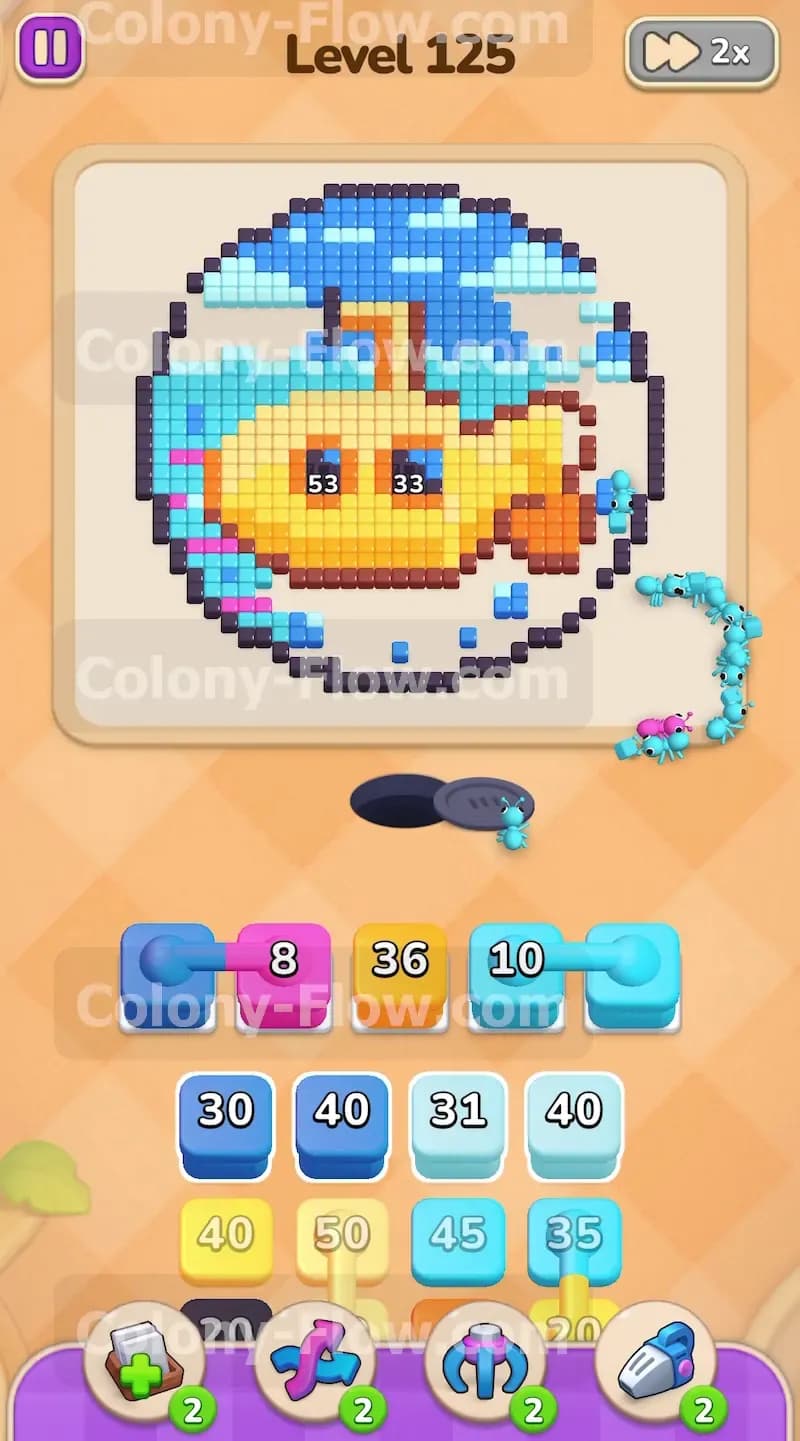
With the outer edges busy, pull the Medium Blue 12 block and the Light Blue 40 block. These blocks target the water surrounding the yellow submarine. The light blue background makes up a huge portion of this puzzle. You need to start chewing through it early. The ants will find clear paths through the gaps created by the dark blue border ants. Watch the numbers on your blocks drop. The Medium Blue 12 block will empty fast and vanish from the wait slot. This opens that slot back up for your next move. Never pull a yellow block at this stage because the submarine is still blocked by the water.
Step 3: Bring out the massive light blue water blocks to expose the center
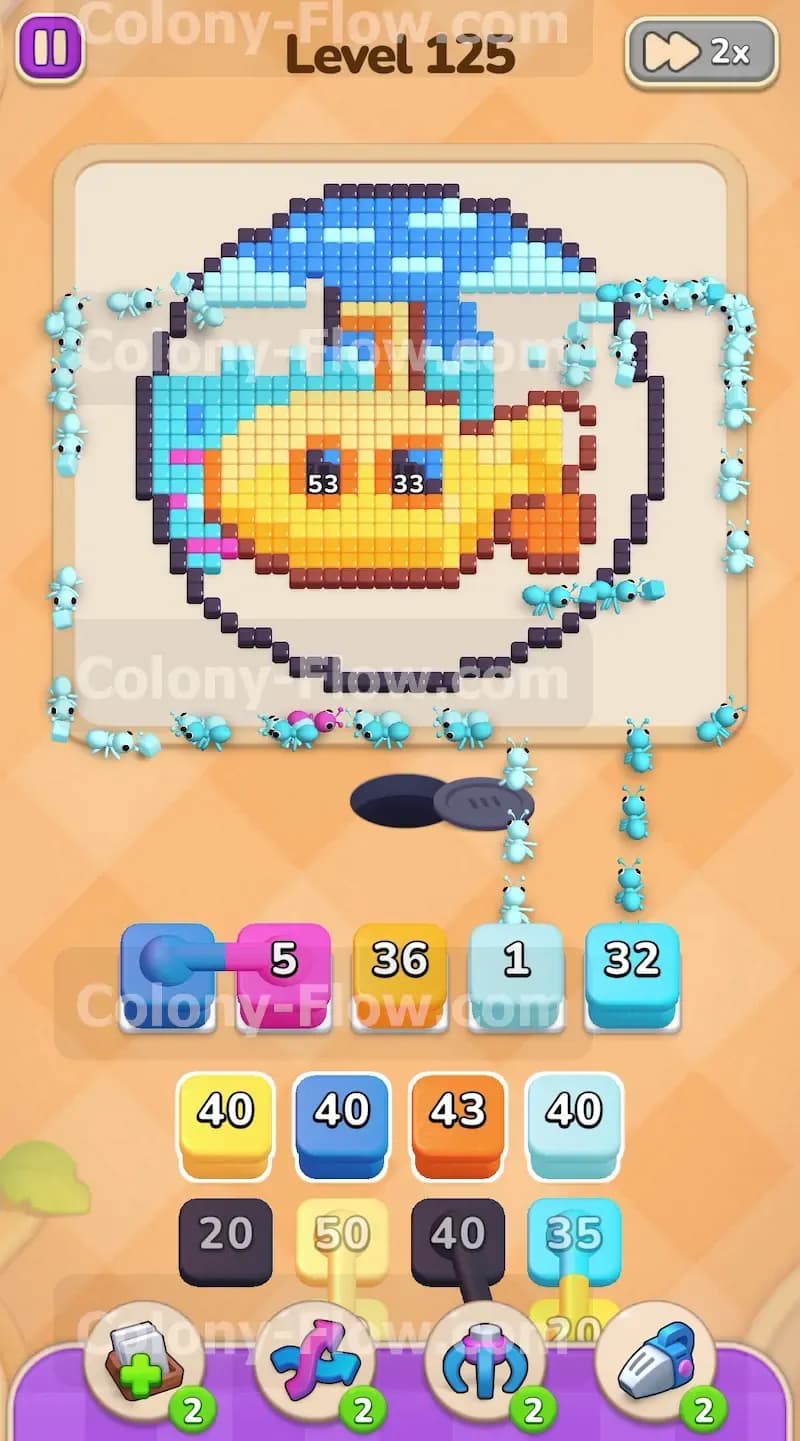
Pull the Light Blue 90 block and the Light Blue 76 block as your wait slots open up. These are some of the largest blocks in the entire puzzle. They require a long time to drain completely. By getting them into the wait slots now, you ensure a constant flow of light blue ants eating away the ocean. Your dark blue border block will likely finish its count around this time. When it does, pull the next Dark Blue 40 block to keep the border clearing progress alive. Keep your eyes on the paths. The light blue ants will slowly expose the edges of the yellow submarine hull.
Step 4: Send your yellow ants to attack the submarine hull
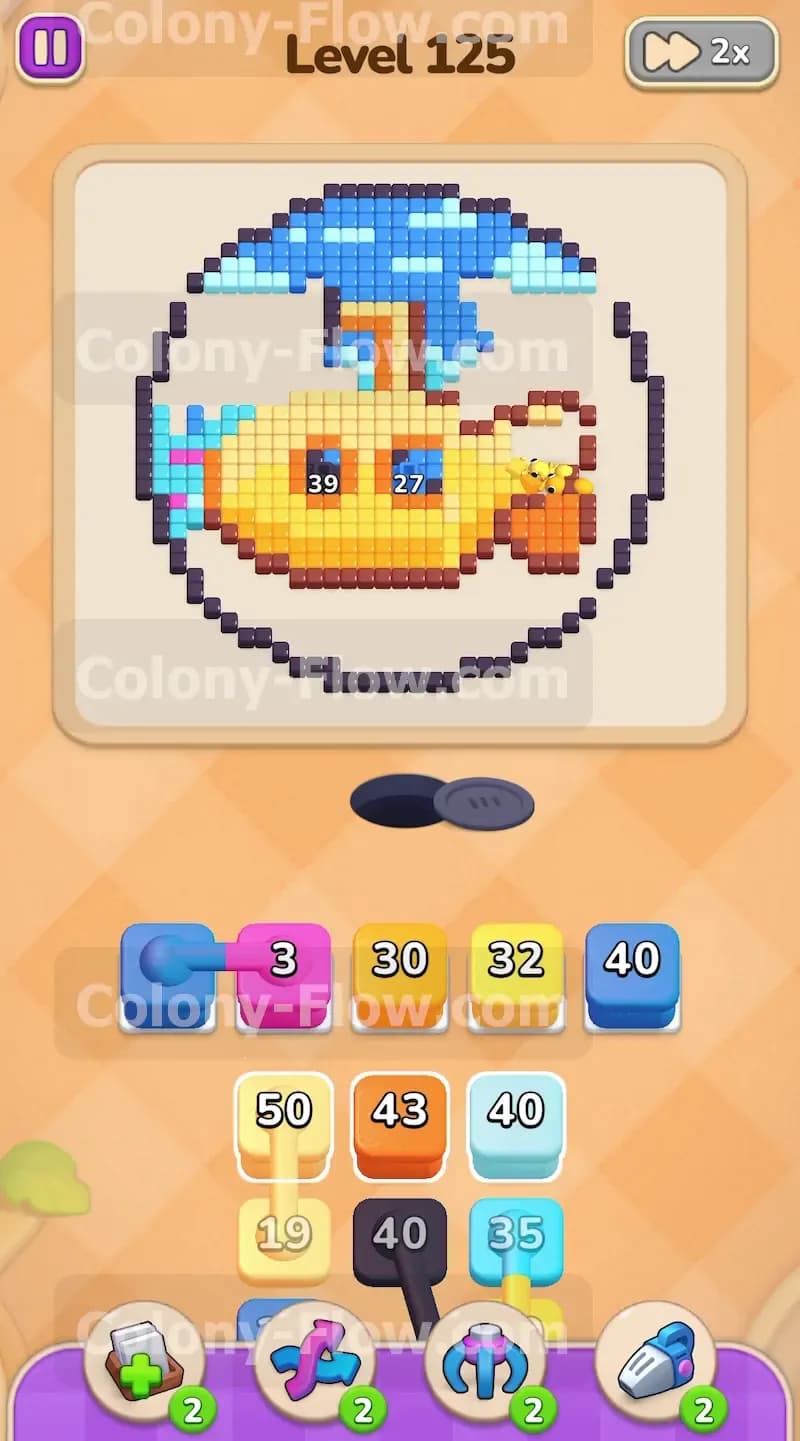
Once the blue ants clear enough water away from the center, the yellow tiles become reachable. You can now pull the Yellow 50 block and the Yellow 40 block into your available wait slots. The yellow colony will stream out of the nest hole at the bottom of the screen and march right into the middle of the board. They will start dismantling the thick bright yellow hull of the submarine. At this point your five wait slots will be very busy. You might have a light blue block counting down along with a dark blue block and two yellow blocks working all at once. This situation is perfect because every single color has an open path to the board. The slots will not jam as long as the ants can keep eating.
Step 5: Target the orange periscope and tail sections
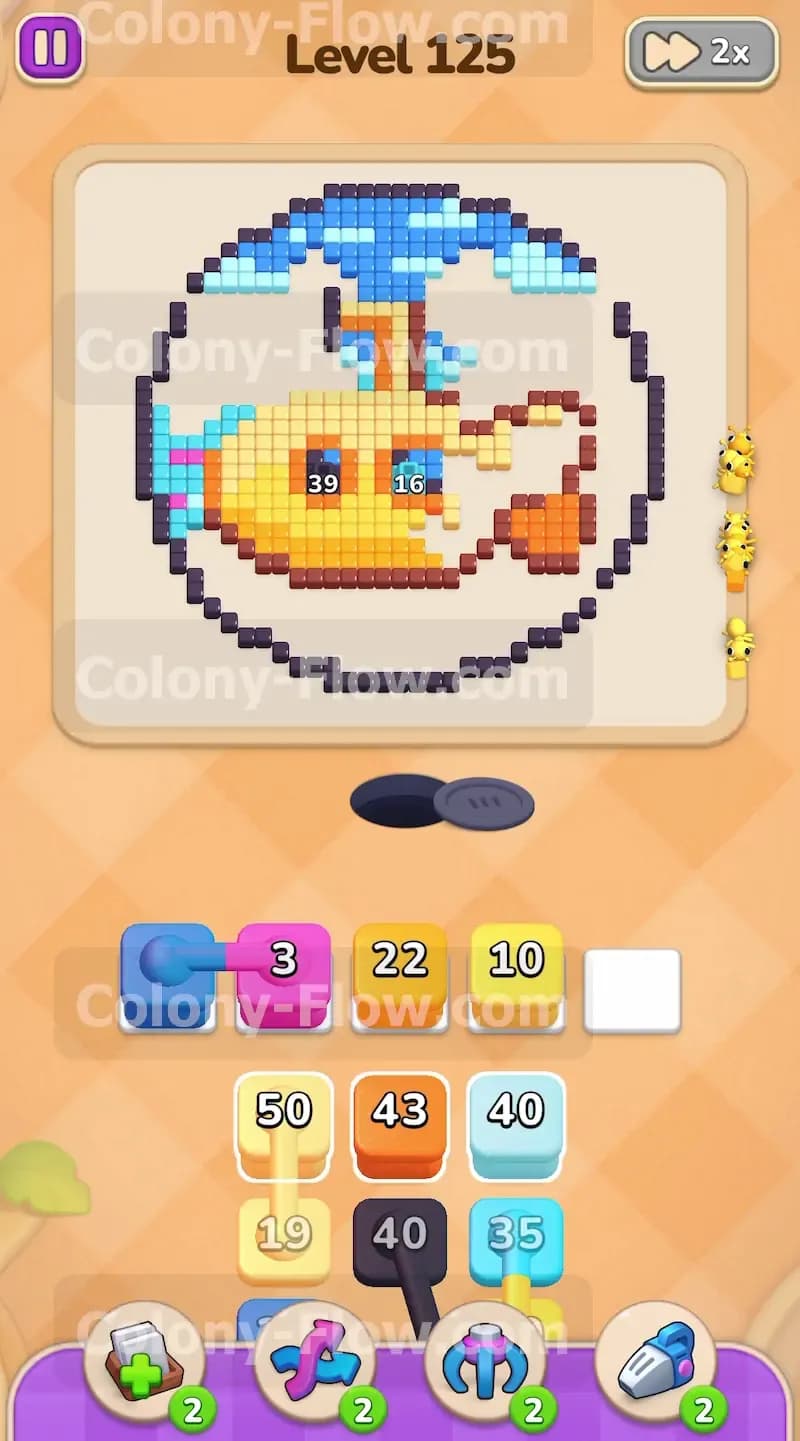
The yellow ants will quickly open paths to the orange details on the submarine. Pull the Orange 36 block and the Medium Blue 27 block. The orange ants will travel up to the top to eat the periscope and move to the back to eat the tail. The medium blue block will send ants to clean up the remaining dark water patches around the sub. You must balance the orange and yellow blocks carefully here. Let one block finish and disappear before you pull the next one. This steady rotation prevents a dead end and keeps the board highly active.
Step 6: Clear the final pieces of the yellow hull
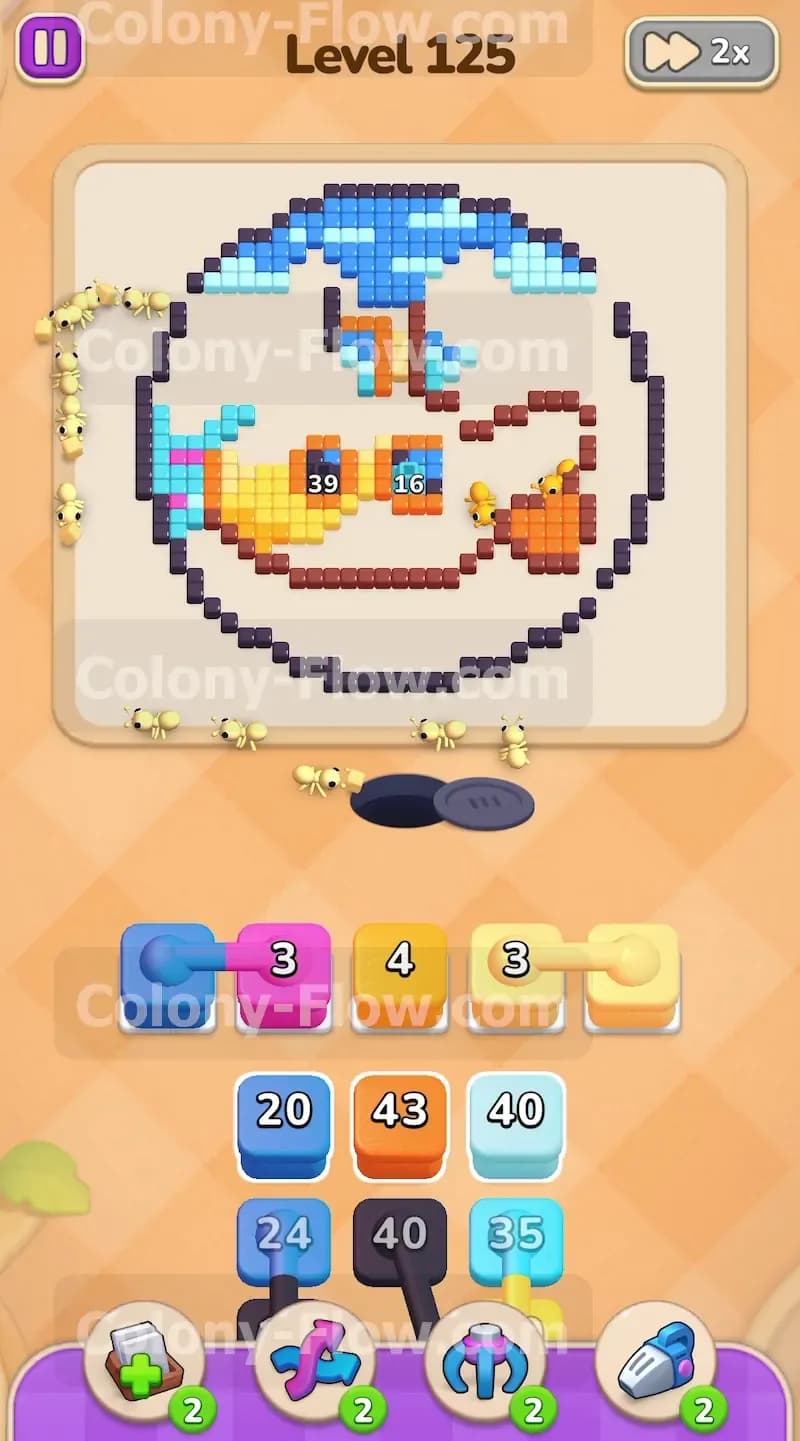
Pull the Yellow 30 block and the Yellow 32 block to finish the main body of the submarine. The yellow hull is extremely thick and requires multiple heavy blocks to clear. As these yellow ants finish their meal, the black window tiles in the center will stand out clearly. You will notice numbers resting on these remaining black tiles. Do not worry about those numbers yet. Just focus on letting the yellow and orange ants finish their specific tiles. Ensure your light blue blocks have completely emptied out of the wait slots so you have maximum space for the final moves.
Step 7: Clean up the final orange details to clear the way
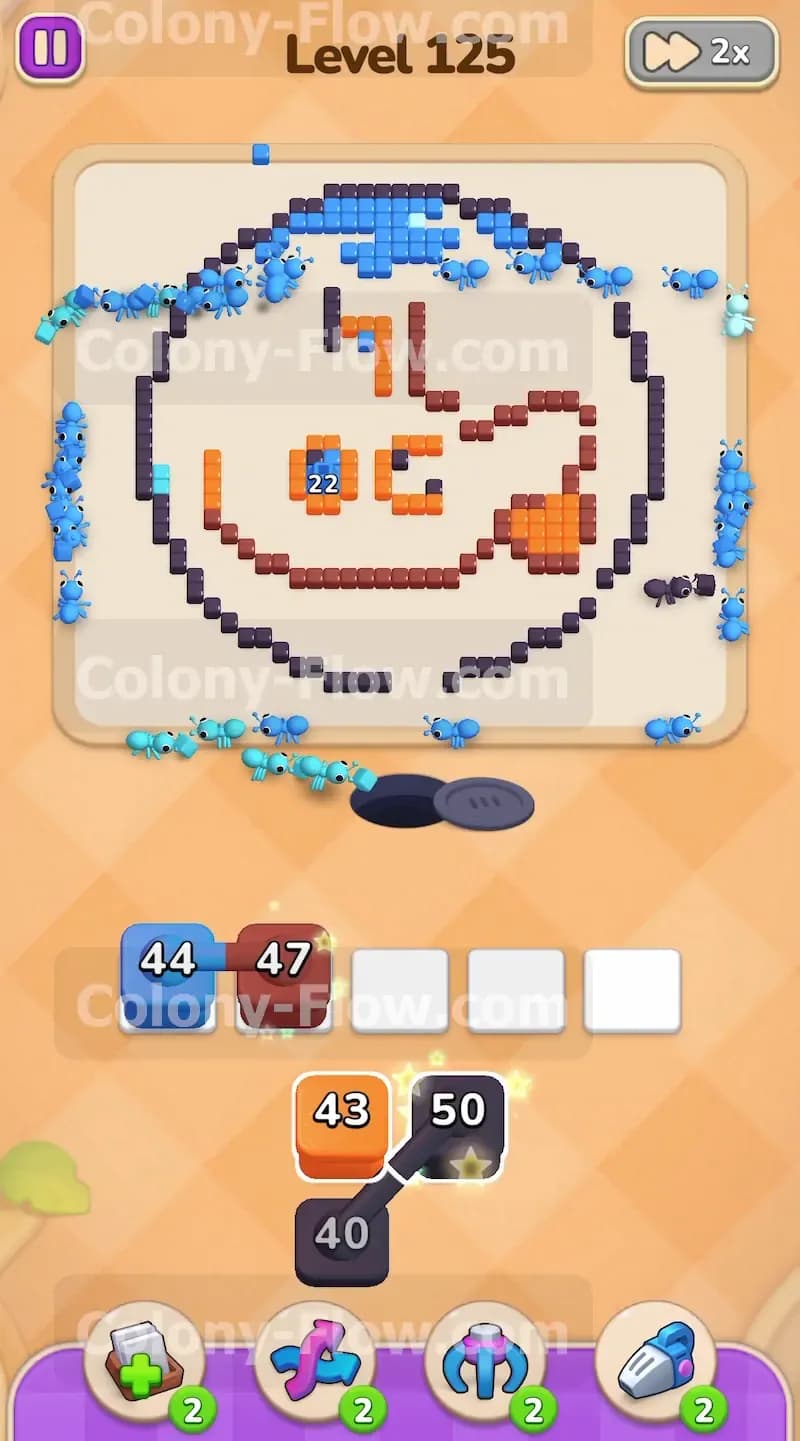
Pull the Orange 43 block to clear the very last orange tiles from the tail and the bottom stripe of the submarine. This move guarantees that nothing blocks the black windows. Watch the orange ants trace their way across the cleared board to find their targets. When this orange block hits zero and vanishes, your board will be mostly empty. The only tiles left will be the black windows of the submarine. More importantly, your wait slots will be wide open and ready for the special connected boxes.
Step 8: Deploy the single black block to start the windows
Pull the Black 40 block to send your first wave of black ants to the windows. The windows are a large concentrated group of black tiles. The single black block will thin them out and make room for the final massive push. Let this block drain down completely. You need to keep at least two empty wait slots available for the very final move. The black ants will path straight into the center of the board and clear the smaller window sections without any trouble.
Step 9: Pull the connected black boxes to finish the level
Now you must use the connected boxes at the bottom of the tray. You will see a Black 43 block linked directly to a Black 50 block. Because they are connected, you must pull them together and they will take up two wait slots at the exact same time. Pull the pair into your wait slots. The final massive swarm of black ants will pour out of the nest hole. They will rush the center and devour the remaining black window tiles. When the last black tile vanishes, the picture clears and you win the puzzle.
Final Thought
Level 125 tests your patience and your ability to manage massive block numbers without panicking. By clearing the water completely before touching the submarine, you maintain perfect board flow from start to finish. If you find yourself struggling to visualize the timing of the connected boxes, check out the video above this article to watch the exact final sequence in action.