Colony Flow Level 436 Walkthrough Solution & Guides | How to solve Colony Flow 436

Guide By Liam Stone
Updated on July 29, 2026
Rather watch than read? The video above walks through Level 436 step by step.

Video doesn't match your screen?
Game updates frequently scramble layouts! Try our AI Screenshot Solver first to find your exact board instantly, or report broken guides to our team.
Welcome to Colony Flow Level 436. I play every level myself and this one presents a stunning night sky scene complete with a storm cloud and a massive numerical barrier. When I first loaded this board I realized it requires serious tray management because a huge portion of the board is blocked until you meet a specific color requirement. You need to carefully sequence your colors so your tray does not fill up while you attempt to break that barrier.
Colony Flow Level 436 Overview
What You Are Working With
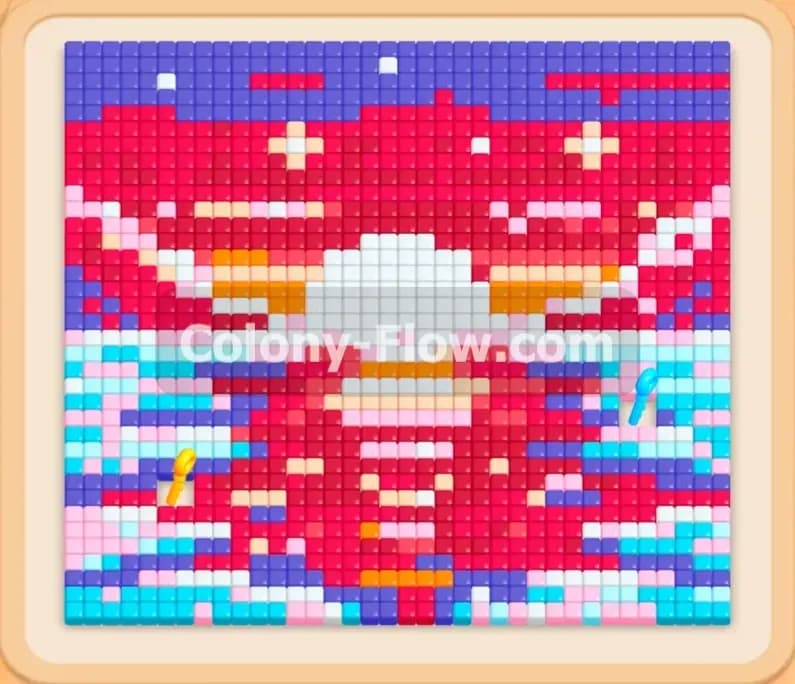
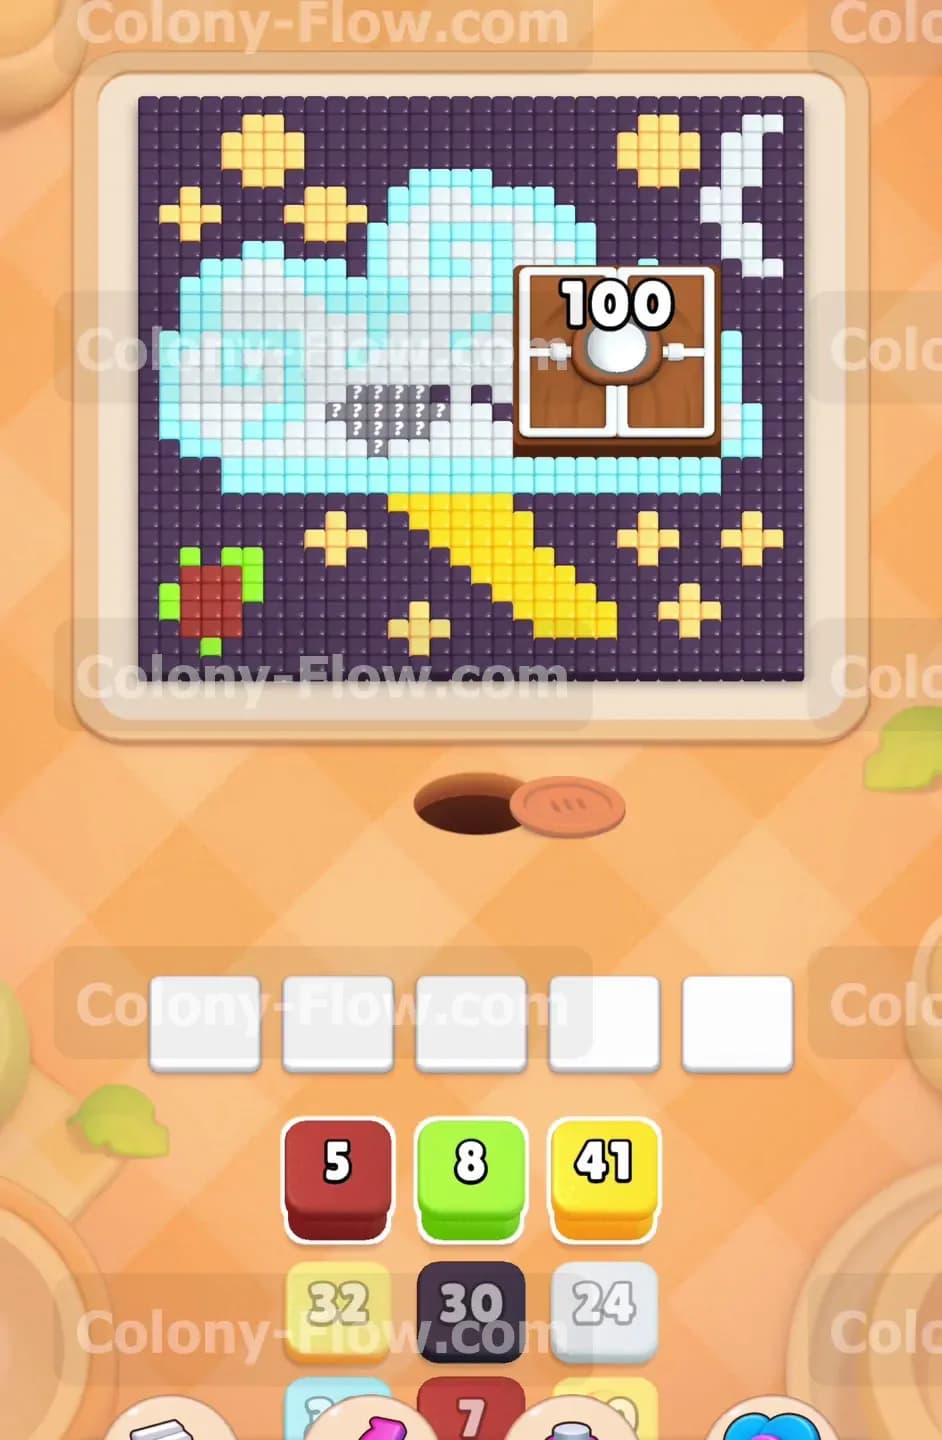
A beautiful pixel art layout fills the entire playing area. The top and outer edges consist of a massive dark purple night sky background that wraps around the image. In the center sits a large storm cloud made of a light blue interior and a white outer border. Below the cloud is a bright yellow lightning bolt reaching all the way down toward the nest hole. On the right side of the sky you will find a crescent moon and several small yellow stars scattered around the background. The most important feature on the board is a massive Hungry Door sitting over the right side of the cloud and the moon. This door displays the number 100 and completely blocks everything underneath and behind it. Your block dispenser at the bottom provides red, green, yellow, light blue, white, and dark purple blocks. You have exactly five waiting slots to hold these blocks and you will lose the game if they all fill up with no valid path for the ants to take.
What It Takes to Clear Level 436 Board
Winning this level requires a strict bottom up approach to prevent your five waiting slots from jamming. You must clear the small items near the nest hole first to open the initial pathways to the rest of the board. Then you need to commit heavily to the white blocks to feed the Hungry Door until the 100 point requirement drops all the way to zero. You have to carefully balance the white blocks with light blue and yellow blocks to keep the left side of the board active and your queue moving. Once the Hungry Door vanishes you can finish the remaining cloud pieces and the moon. Only after the central areas are completely gone should you release the dark purple blocks to consume the massive night sky background. Doing things in the wrong order will trap your ants and end your run early.
Colony Flow Level 436 Step by Step Solution
Step 1: Clear the bottom left debris and start the yellow lightning.
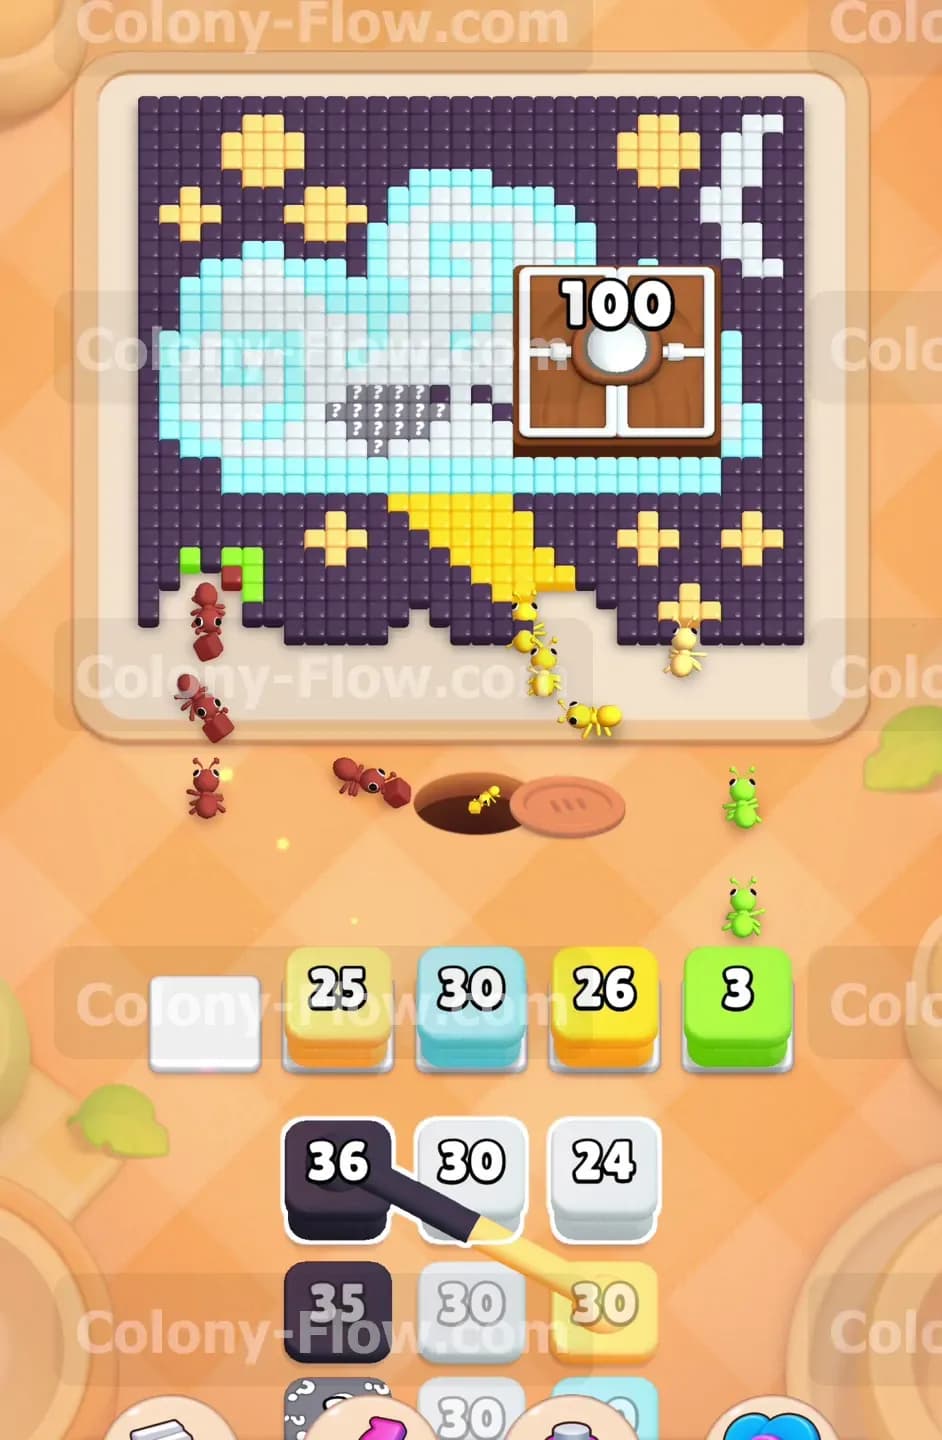
Start your game by focusing entirely on the immediate area around the nest hole. I always clear the small cluster of pixels in the bottom left corner first because it opens up the board. Pull the red 5 block and the green 8 block into your waiting slots right away. The red and green ants will exit the nest and immediately eat those small pixels. Getting these out of the way is absolutely critical for opening walking lanes for the rest of your ants. Next pull the yellow 41 block to target the lightning bolt. The yellow ants will swarm the bottom center of the board and begin eating the lightning bolt from the bottom up. This initial sequence clears the entrance and ensures your ants do not get stuck near the hole. It also keeps your waiting slots cycling smoothly so you do not hit the five block limit. If you ignore the small plant on the left you will severely restrict how many ants can leave the nest at one time and your tray will quickly back up.
Step 2: Begin clearing the cloud interior and outline.
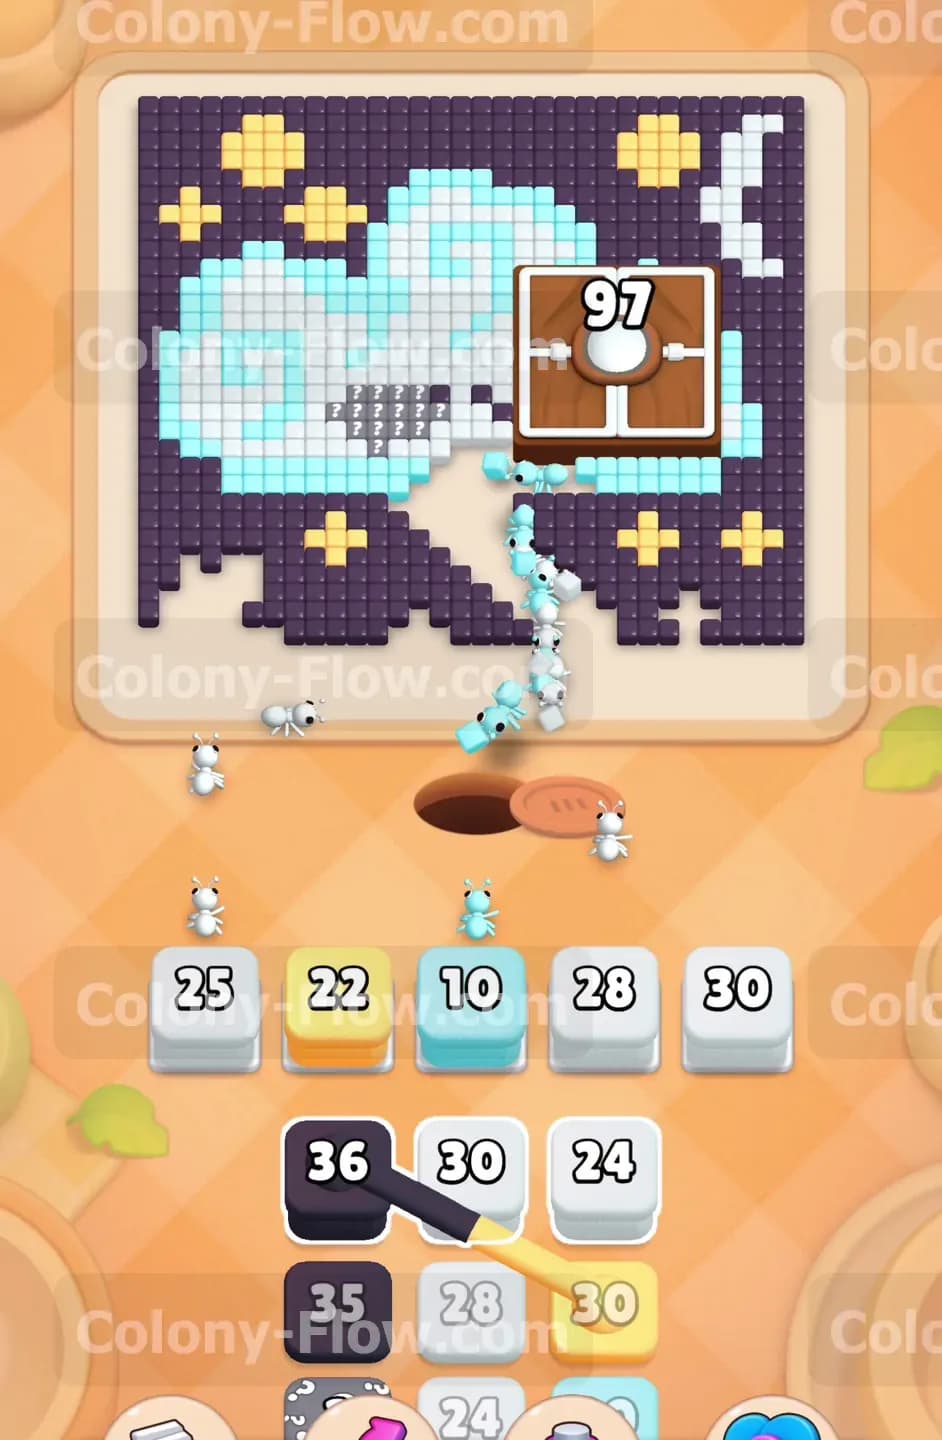
With the bottom entrance clear you can start moving your attention further up the board. Pull a light blue 30 block and a white 32 block from the dispenser into your empty waiting slots. The light blue ants will travel up the yellow lightning bolt path and begin eating the interior pixels of the storm cloud on the left side. The white ants will follow right behind them and attach to the white outline of the cloud. As you do this you will see more yellow blocks appear in your queue below the active slots including a 25 and a 26. Pull these yellow blocks whenever you have an open slot to keep feeding the lightning bolt. Balancing the light blue blocks, the white blocks, and the yellow blocks keeps your tray moving perfectly. You must constantly monitor the blocks coming up from the bottom of the screen. Do not pull any dark purple blocks yet because the background is completely blocked by the cloud and the lightning. If you pull dark purple blocks right now they will sit in your waiting slots and cause a fatal jam that ends the level.
Step 3: Feed the Hungry Door to lower the requirement.
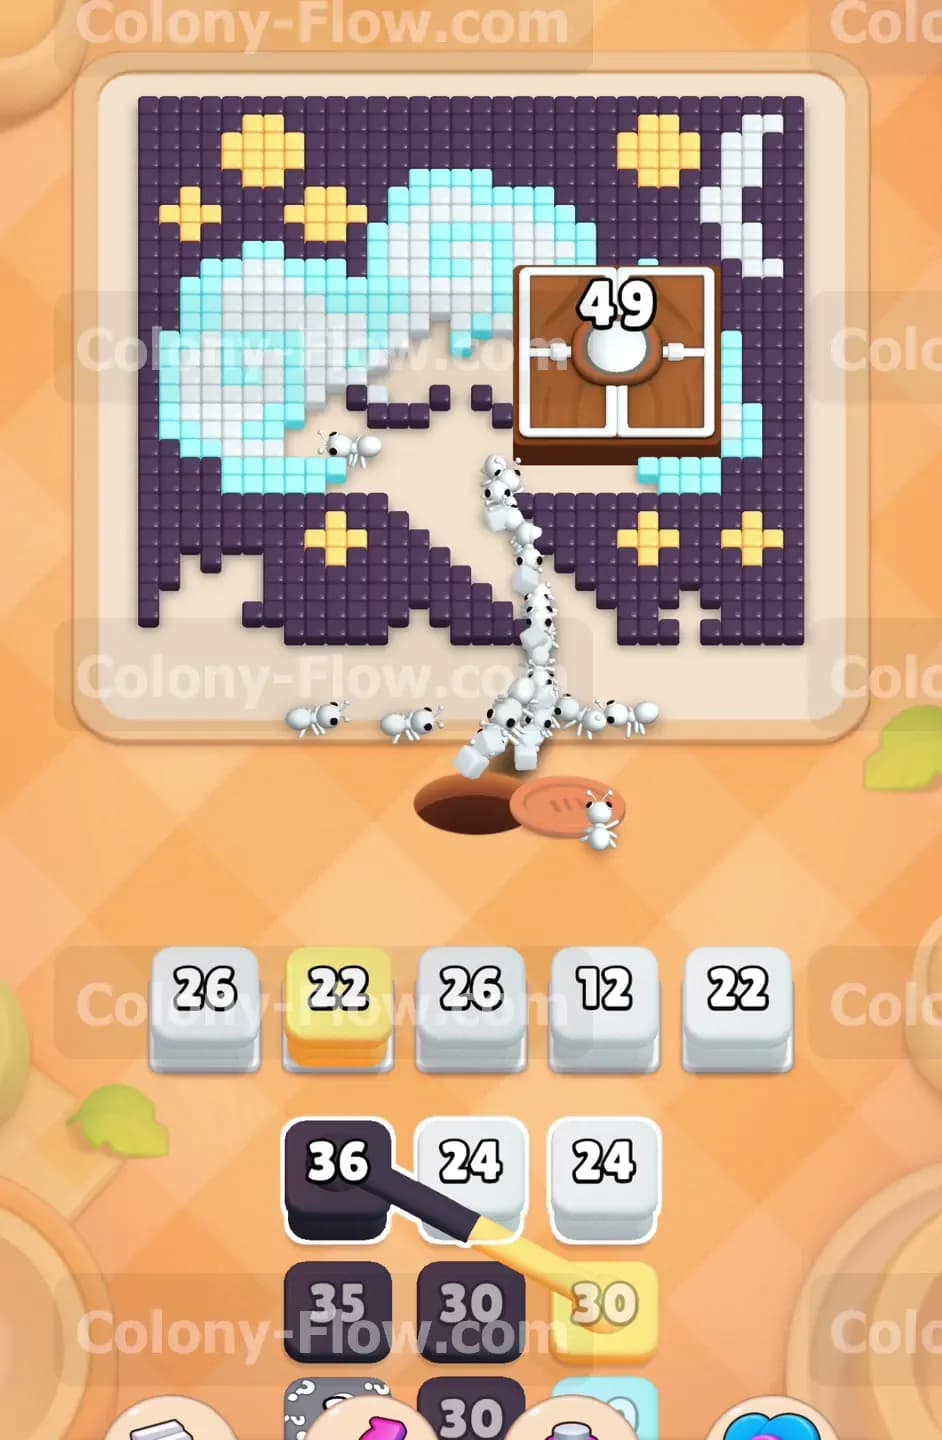
The white ants walking along the cloud outline will eventually bump into the Hungry Door on the right side of the board. This door requires exactly 100 white ants to open and it acts as the primary bottleneck for the entire level. You must prioritize every white block you see in the queue to feed this massive requirement. Pull a white 28 block, a white 30 block, and a white 25 block into your slots in rapid succession. As the white ants stream into the door you will watch the number drop from 100 down to 97 and continue falling as more ants arrive. Keep sending white blocks to maintain the heavy pressure on the door. While you do this you must keep at least one waiting slot open for a light blue block. Sending light blue ants into the left side of the cloud prevents the left side of the board from stalling while the right side is entirely stuck behind the door. Maintaining a flow on both sides of the board is the only way to cycle enough blocks to find the white ones you need.
Step 4: Break the Hungry Door and clear the hidden moon.
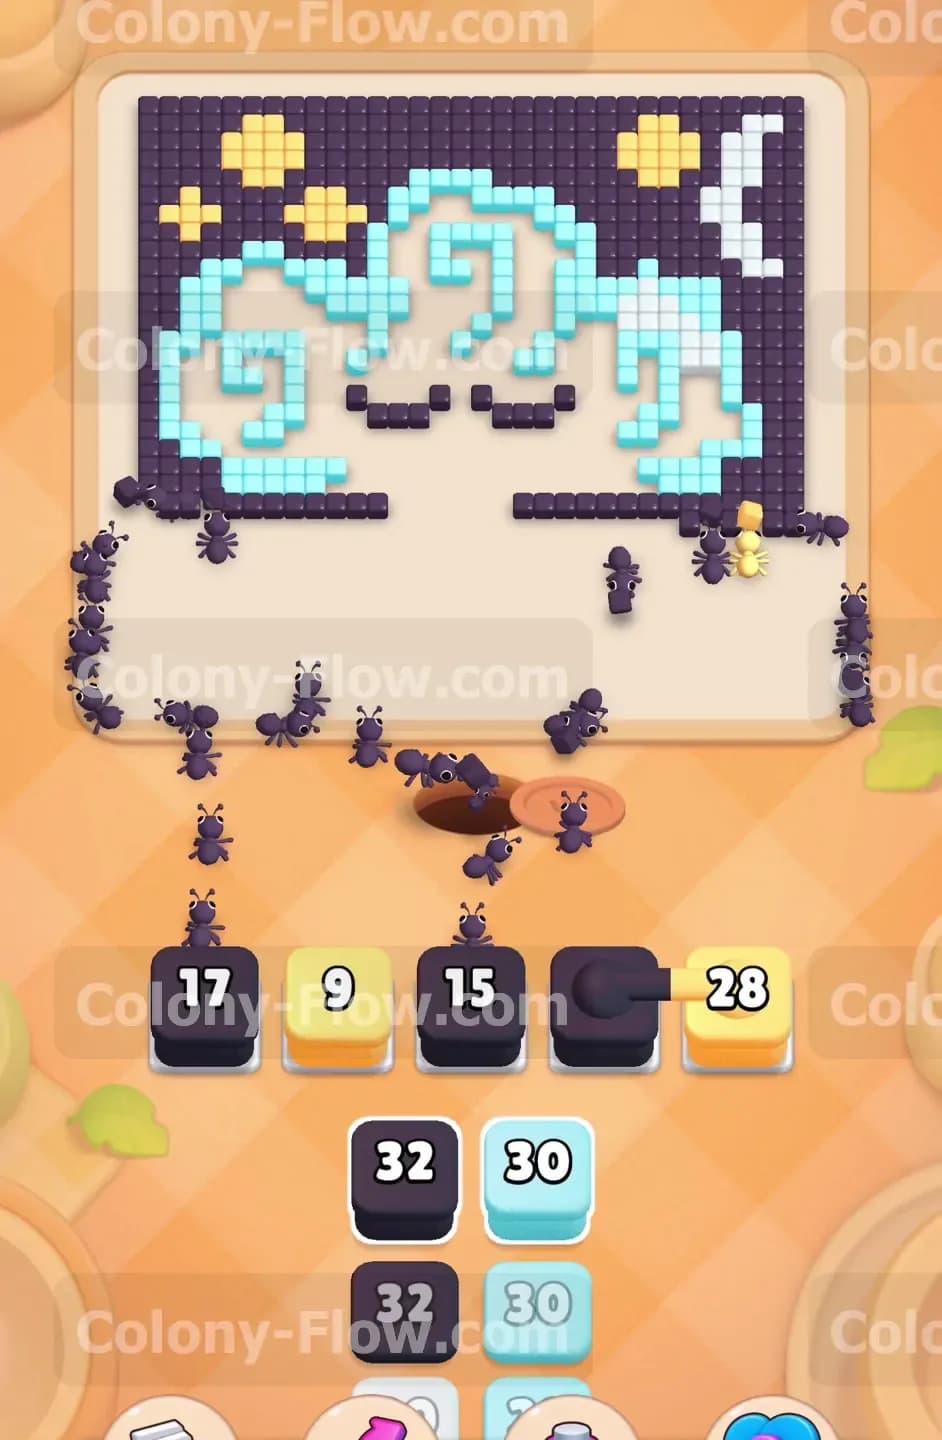
The Hungry Door is incredibly stubborn but your constant stream of white ants will eventually break it down. Send another heavy wave of white blocks including a 26 and a 12 to finish off the remaining 49 points on the counter. Once the number hits zero the door completely vanishes from the board and frees up a massive amount of space. This action is incredibly satisfying and reveals the rest of the white cloud outline along with the crescent moon on the right side. The remaining white ants currently on the board will immediately shift targets and start eating the moon and the cloud border. Send a few more light blue blocks to finish eating the interior of the right side of the cloud now that the door is out of the way. Your board is now completely open in the center and the major roadblock is entirely gone. You no longer have to worry about the white ants getting bottlenecked.
Step 5: Unleash the dark purple ants on the night sky background.
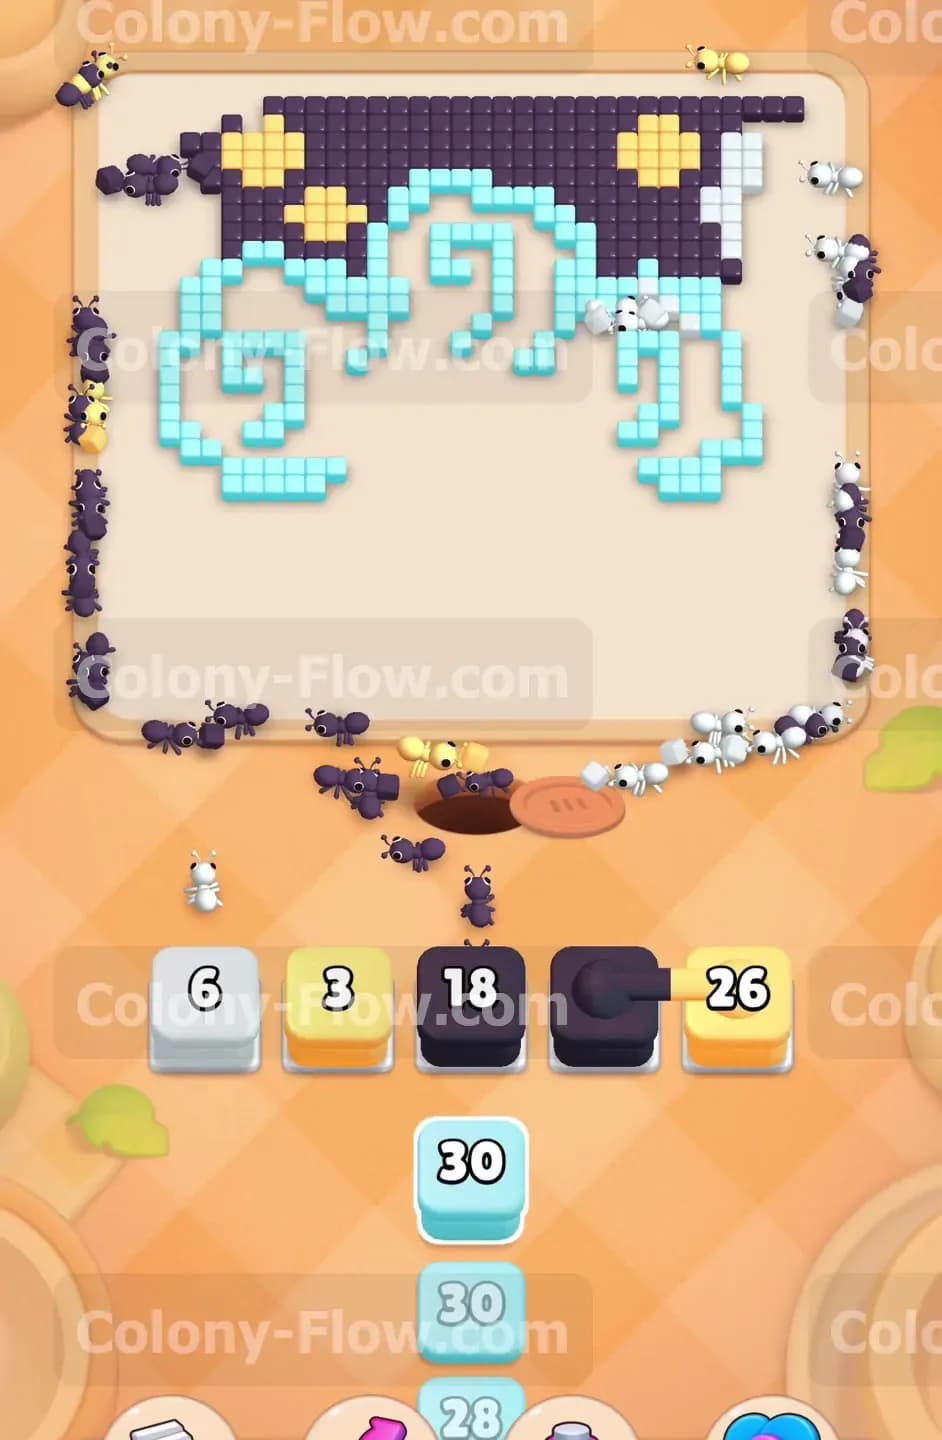
Now that the cloud and the lightning bolt are completely out of the way the massive dark purple background is fully exposed. This is the exact moment to start pulling the dark purple blocks from your queue. You will see several heavy blocks waiting for you including a 36, a 35, and a 28. Pull them into your waiting slots and watch the dark purple ants flood out of the nest hole. They will hit the bottom edge of the board first and begin spreading outward to the left and right corners. Because the central area is entirely empty the ants travel incredibly fast across the open space. Keep pulling every dark purple block you can safely fit into your slots without completely filling the five block maximum. The ants will march up the outer edges of the board and start working their way toward the top corners in a massive swarm. The dark purple ants will easily handle the bulk of the remaining work.
Step 6: Clear the yellow stars and mop up the final edges.
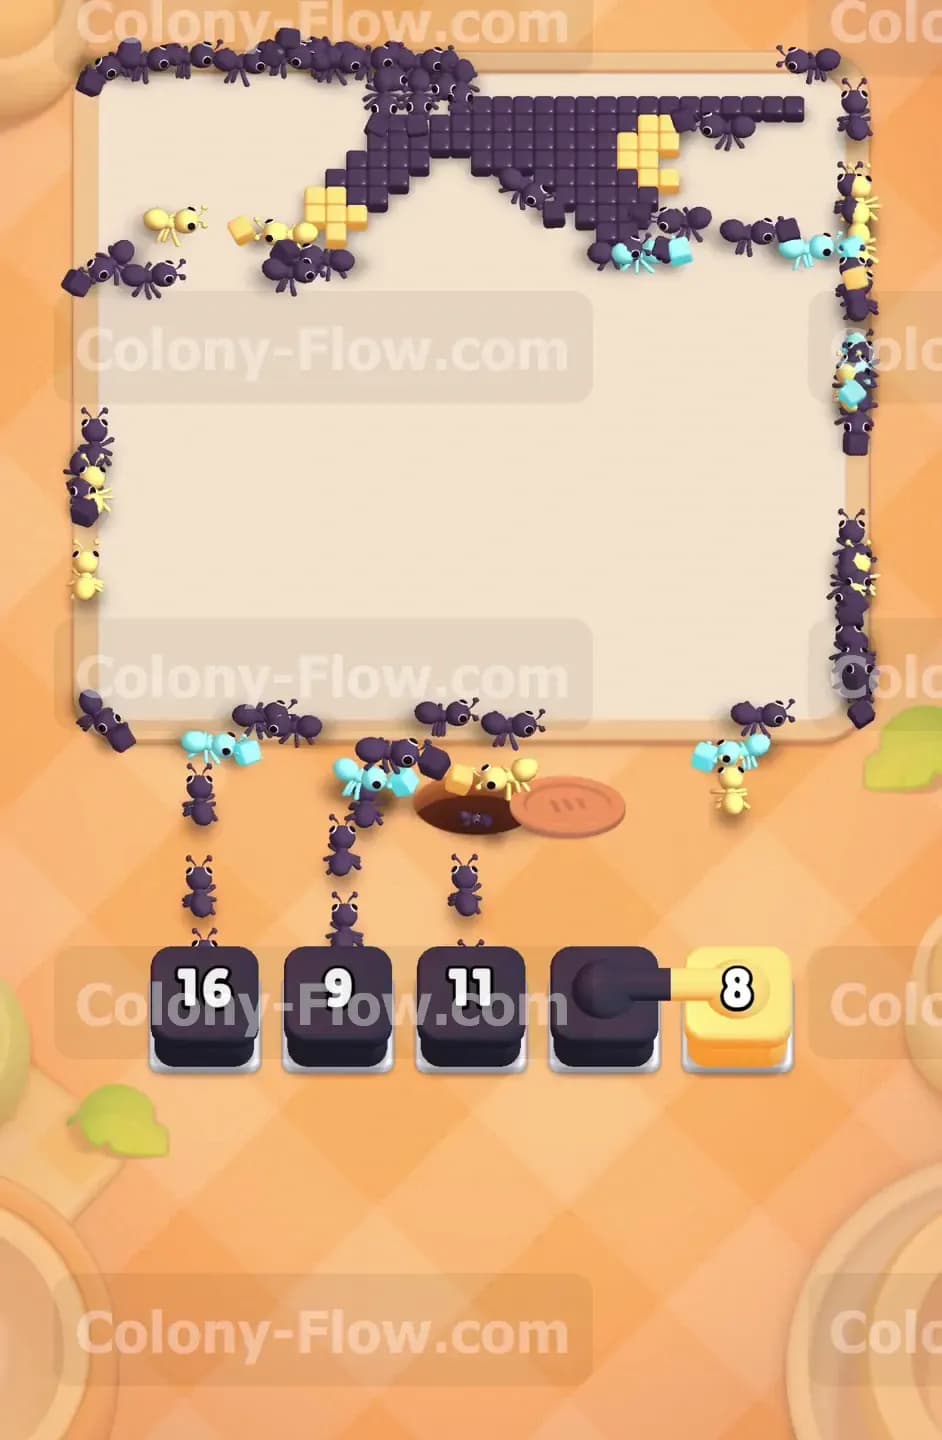
While the dark purple ants consume the background you will notice a few scattered yellow stars remaining in the night sky. Look at your tray and you will find the final yellow blocks waiting for you near the bottom. Pull the yellow 22, the yellow 9, and the yellow 3 blocks into your remaining open slots. The yellow ants will run past the purple ants and head straight for those individual stars. Clearing the stars opens up the final few spaces for the dark purple ants to finish their job. Finally send the last few dark purple blocks like the 17, the 15, and the 18 to clean up the very top border of the board. The dark purple ants will sweep across the top edge and eat the final stubborn pixels hiding in the corners. Watch the board clear completely to secure your hard earned victory.
Final Thought
That is everything you need to know to beat this specific board. The Hungry Door is definitely the biggest challenge here but managing your tray slots correctly will get you past it. If any of these written steps feel hard to visualize you can always watch the video above this article. Seeing the blocks move in real time makes the whole process much easier to understand. Good luck and enjoy clearing the rest of your game.