Colony Flow Level 240 Walkthrough Solution & Guides | How to solve Colony Flow 240

Guide By Liam Stone
Updated on August 1, 2026
The article below breaks down Level 240 in detail, but the video above shows the whole thing if you'd rather watch.
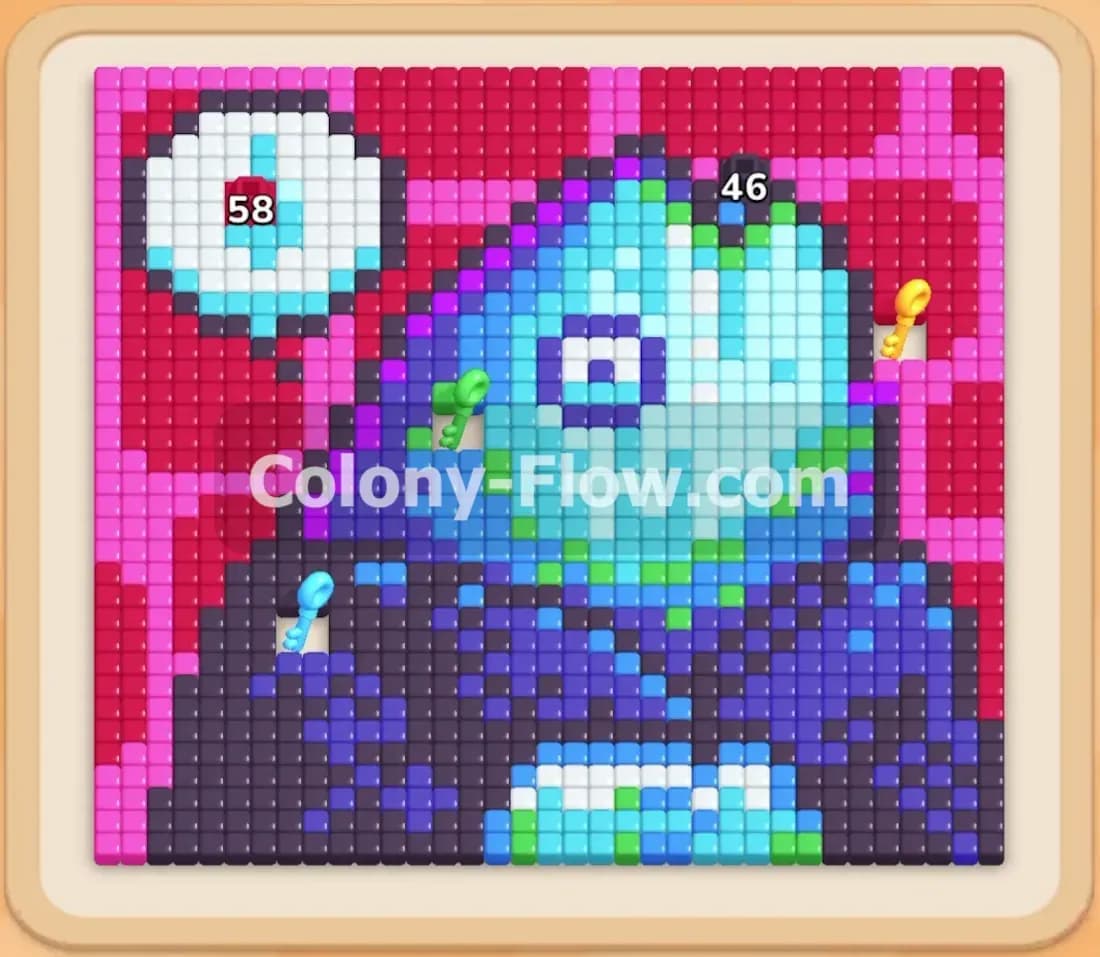
Video doesn't match your screen?
Game updates frequently scramble layouts! Try our AI Screenshot Solver first to find your exact board instantly, or report broken guides to our team.
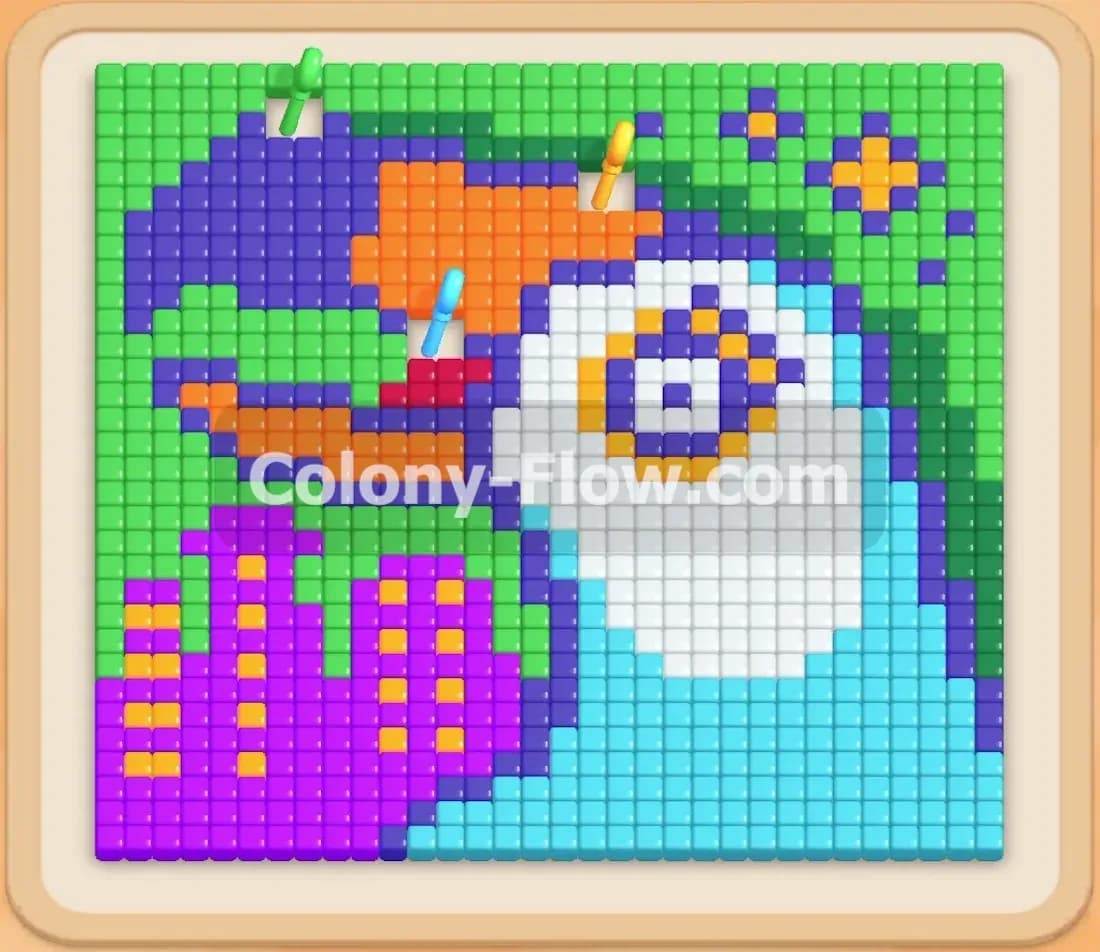
Welcome to Colony Flow Level 240 where you face a massive blue creature pixel art challenge. You need to guide your ants through a dense board full of distinct color zones. I play every single puzzle to test the mechanics and I beat this level by carefully managing the waiting slots while grabbing the scattered keys right on time. You will see a mix of connected blocks and a locked tray that makes things tricky. Follow my moves closely and you will clear the board on your very first try without getting trapped.
Colony Flow Level 240 Overview
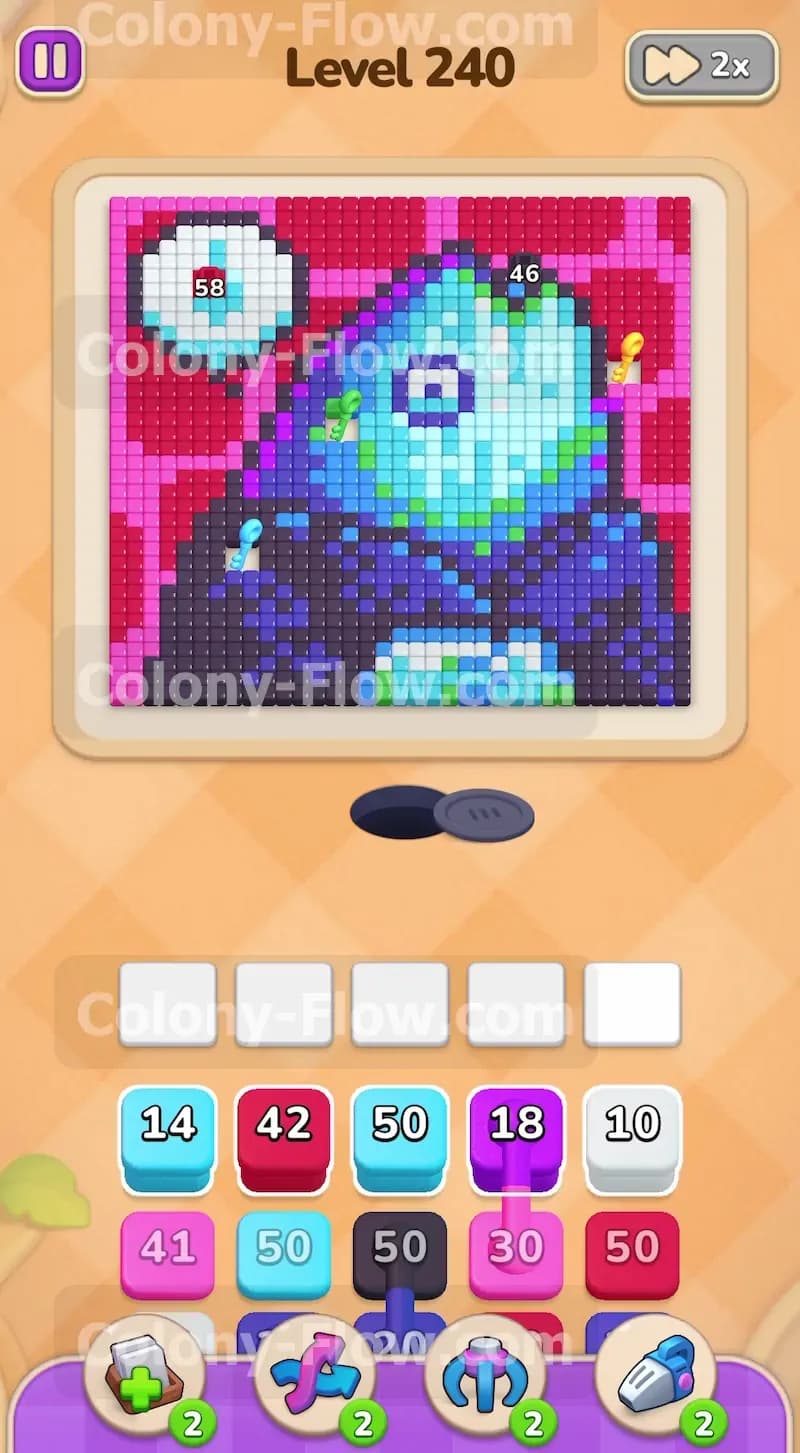
What You Are Working With
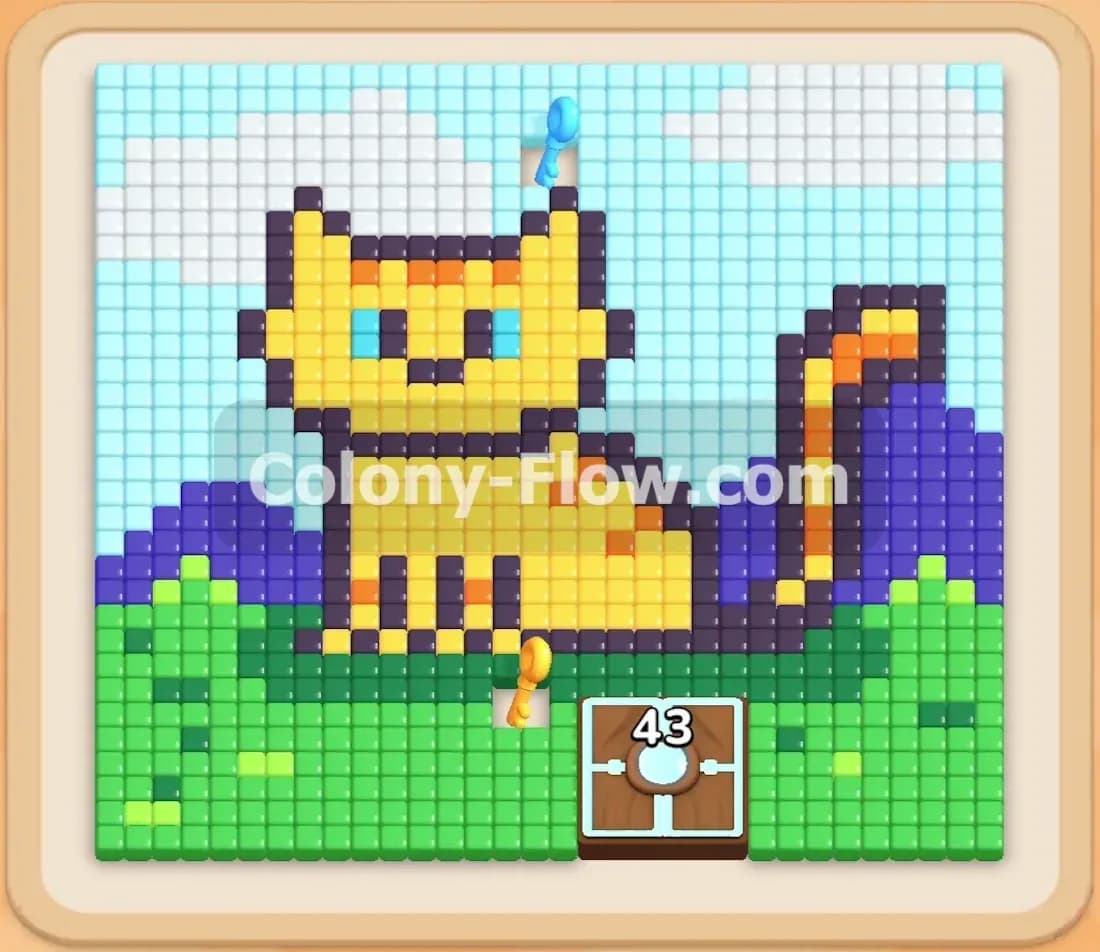
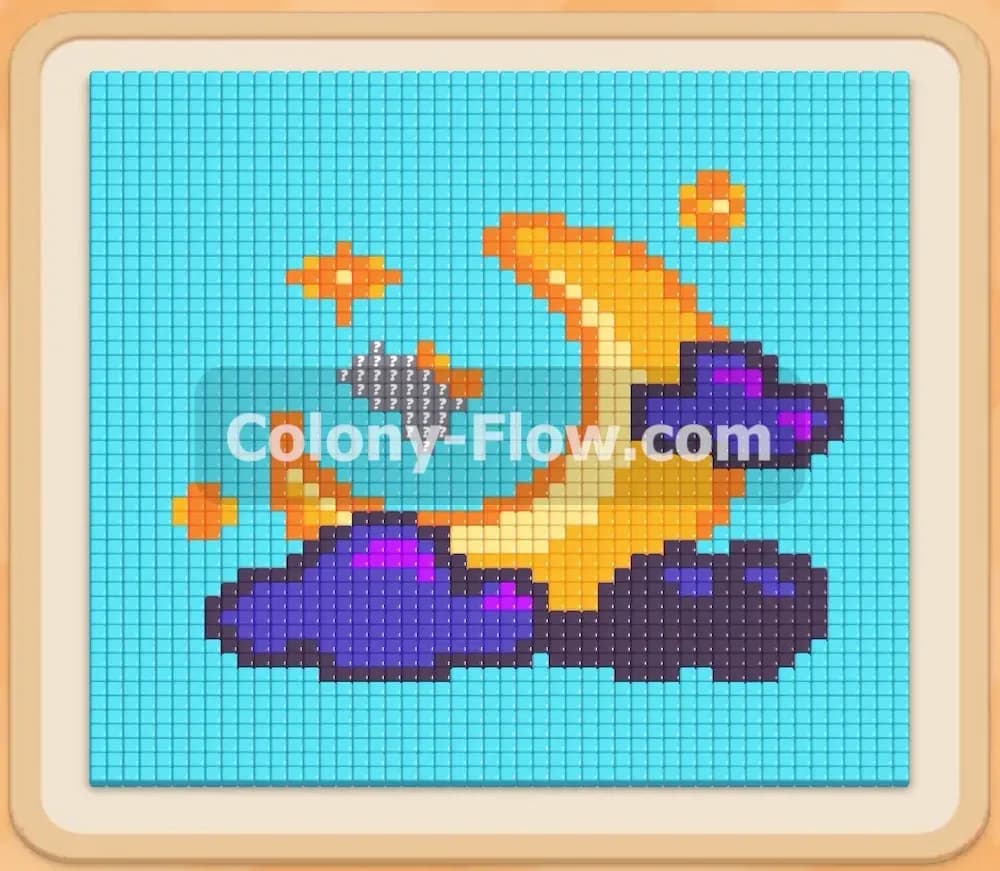
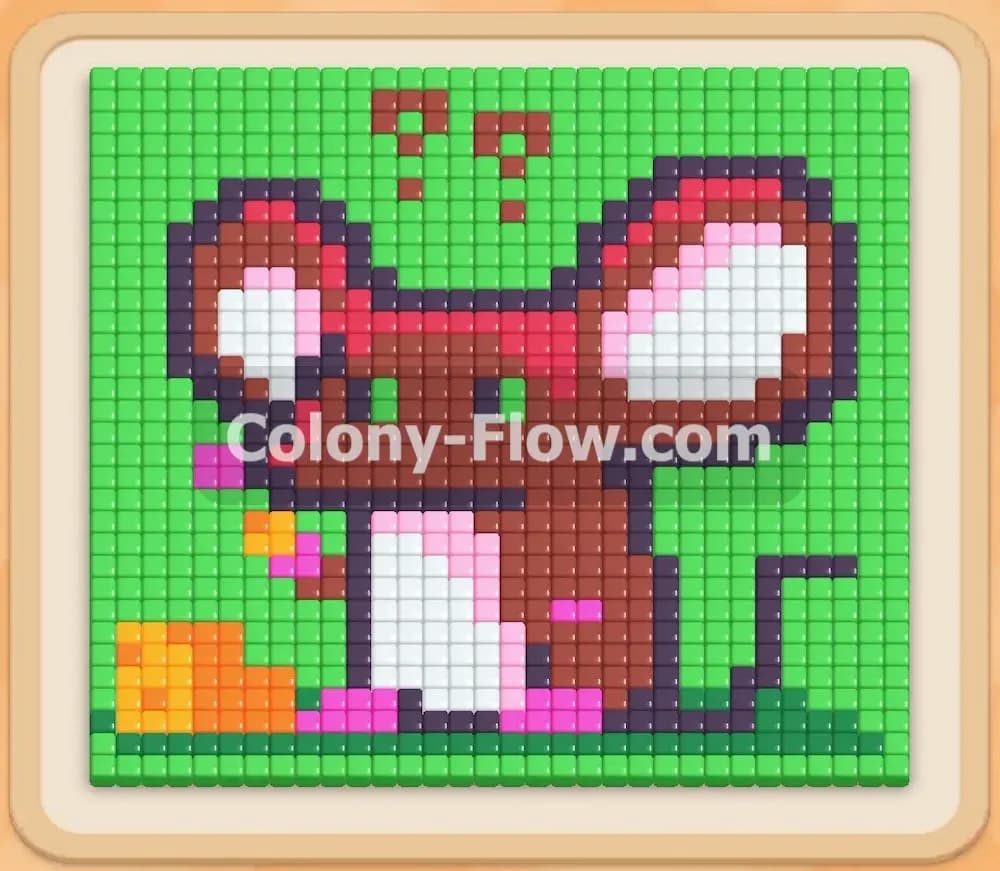
The board features a large creature with a bright cyan face and a thick dark blue coat. This character sits directly against a vibrant red background. There is a white circular speech bubble shape located on the top left corner of the image. You will immediately notice three keys scattered across the creature. These keys are crucial because your tray contains a green lock block. You cannot use the blocks trapped behind that lock until you collect every single key on the board. The tray also holds a set of connected blocks. You will see a purple block and a white block tied together by a visual line. When you pull one into the waiting area you automatically pull both. This means they will take up two of your five waiting slots at the exact same time.
What It Takes to Clear Level 240 Board
Winning this level requires you to carve out paths carefully so your ants never get stuck behind dead ends. You lose the game if your five waiting slots fill up completely and no ants can reach their matching food tiles. Your main strategy for this level is to clear the outer right edge of the red background first and then work your way gradually across the cyan face. This steady progression opens the necessary paths to the keys. Collecting all three keys removes the green padlock block from your tray and gives you full access to the blocks you need for the final cleanup phase. Always make sure the color you pull into the slots has a direct open path from the nest hole to the matching tiles.
Colony Flow Level 240 Step by Step Solution
Step 1: Open the right side of the red background.
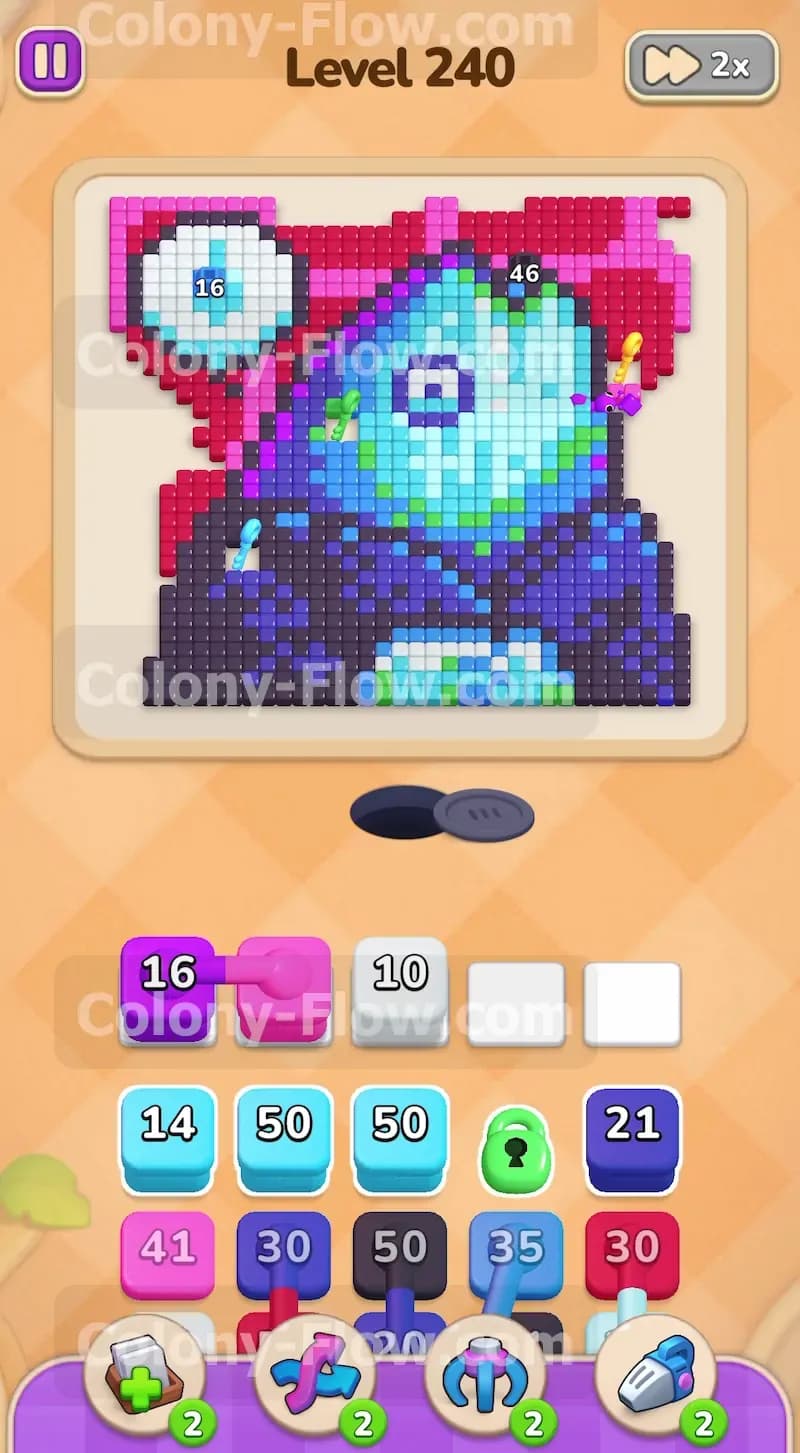
You need to create a clear working space on the right side of the board before tackling the creature. Pull the large red block from the tray to send a stream of red ants flowing up the right side. The ants will quickly chew through a massive chunk of the red background pixels. While the red ants are busy working you should pull the connected purple and white blocks into your waiting slots. The purple block starts at a high number and the white block comes along with it. Because they are connected they instantly take up two of your five waiting slots. You must ensure the red block keeps flowing steadily so your remaining three slots do not jam up and cause a loss.
Step 2: Start clearing the cyan face to reach the first key.
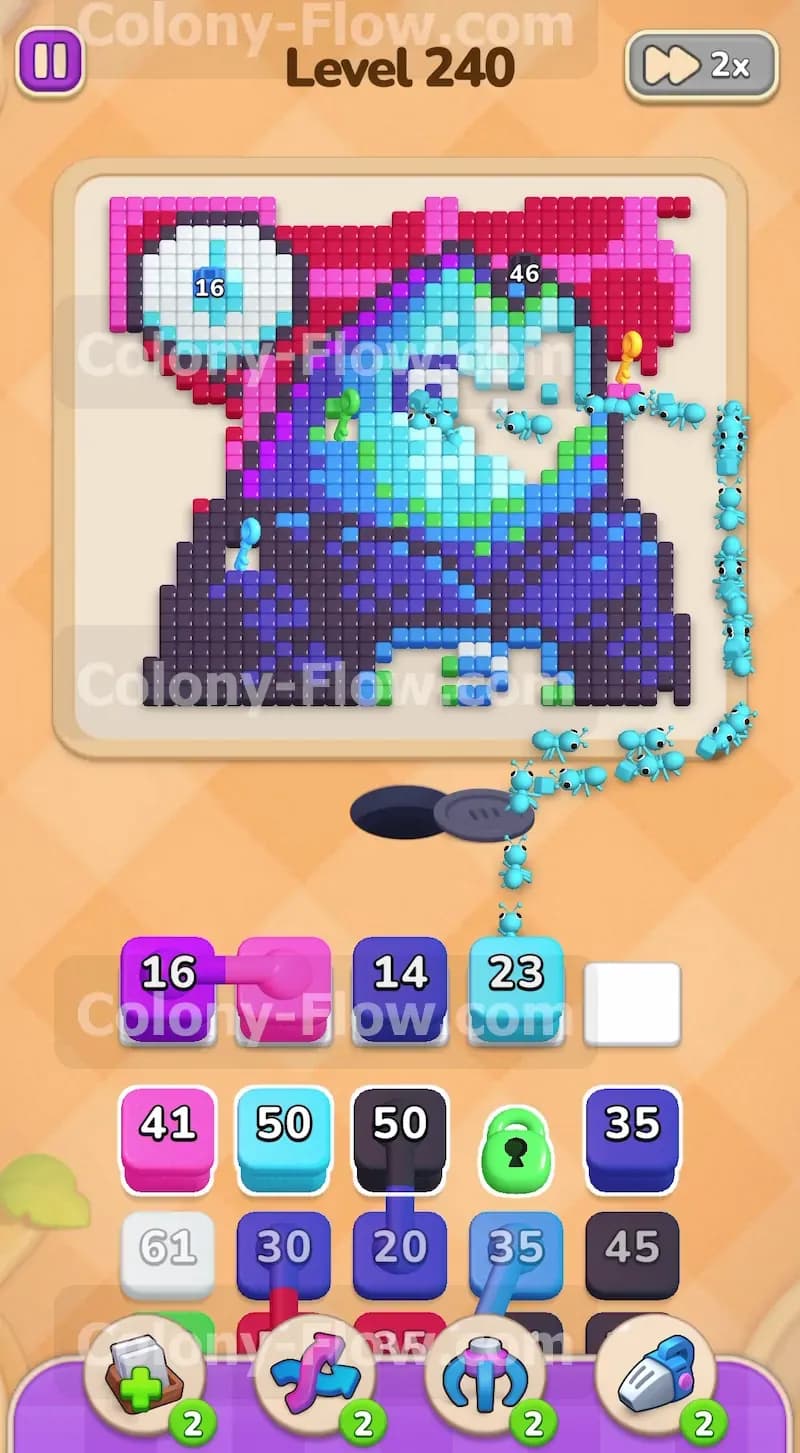
With the right side background partially clear you can move in on the creature itself. Pull a large cyan block from the tray and place it in the waiting area. The cyan ants will march up the open path and begin eating away the right side of the cyan face. This move is incredibly important because a gold key sits right on the outer edge of the face. As the ants consume the cyan pixels they will physically run over the gold key and collect it for your tray. You still have the purple and white connected blocks sitting in your waiting slots so you must let the cyan ants do their job without pulling too many extra colors at once.
Step 3: Strip away the right side of the dark blue coat.
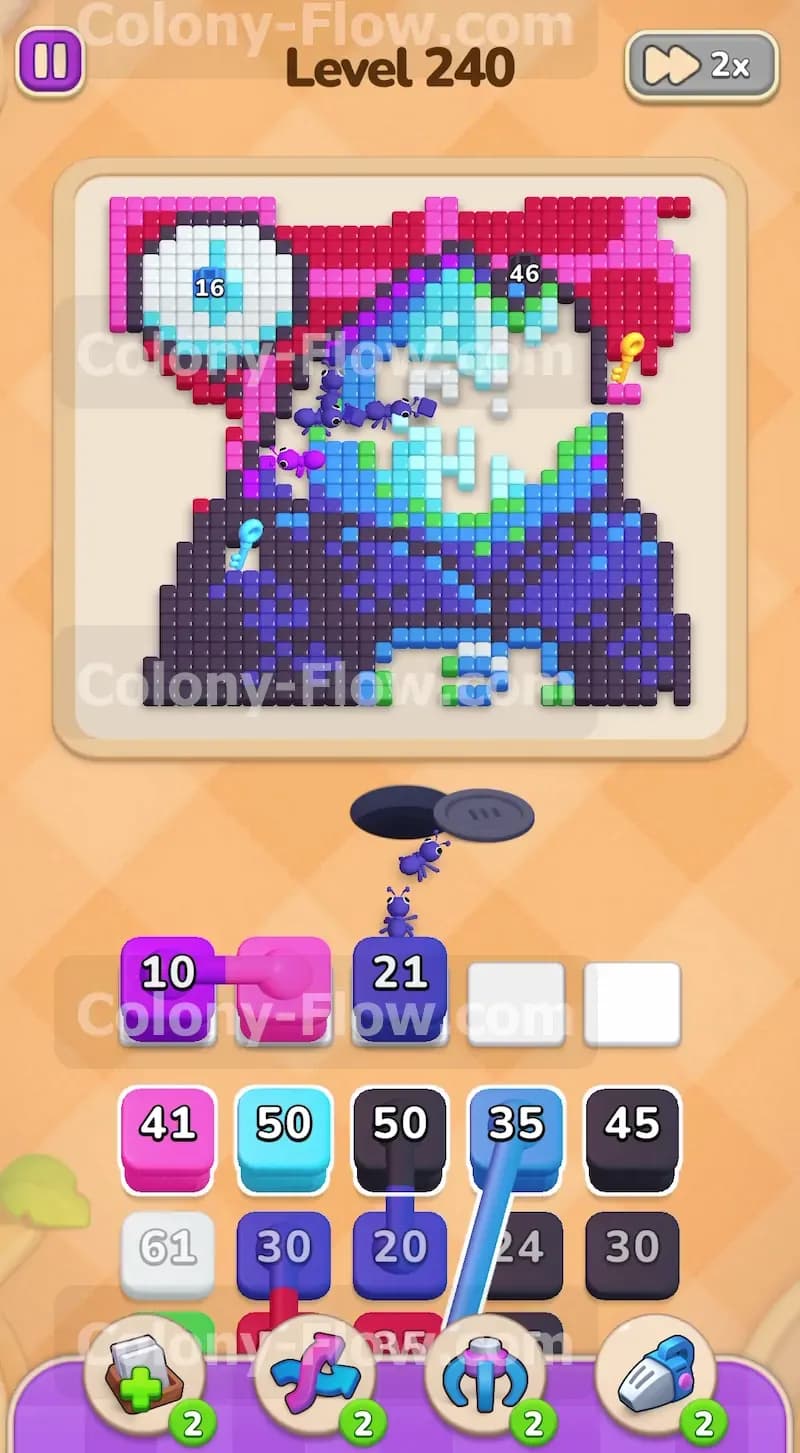
Now that the face is shrinking you need to remove the bulky coat on the right side to keep the paths wide open. Pull a dark blue block into your waiting slots. The dark blue ants will flow up the right side and start clearing the lower half of the creature. You will see a large dark blue chunk disappear as the block counts down to zero. This opens up a vast amount of empty space on the right side of the board allowing other ants to pass by easily. Your connected purple block will slowly tick down in number and your white block will wait patiently. You are safely maintaining your flow because the dark blue ants have a massive open path to their food tiles.
Step 4: Continue working down the right side to prevent slot jams.
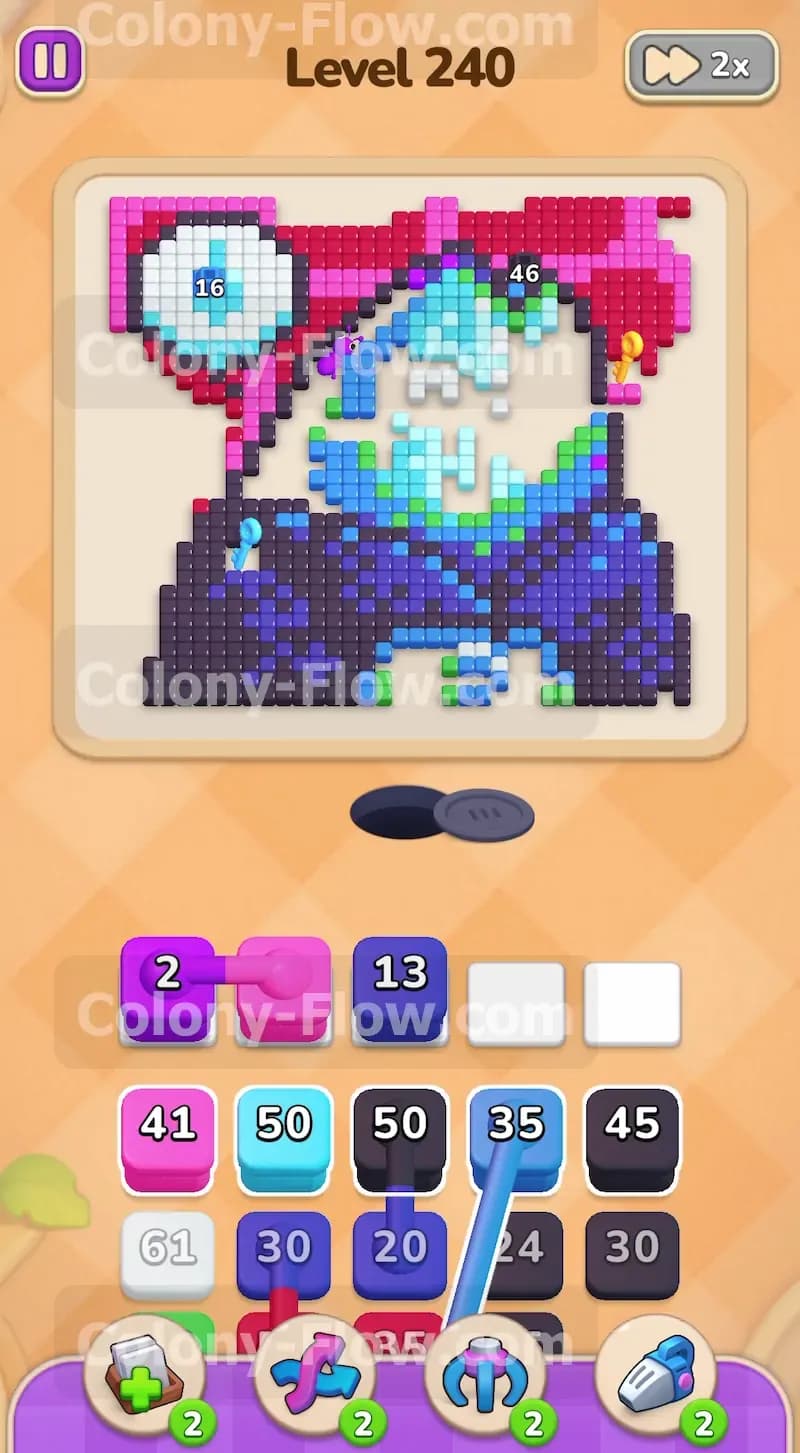
You still have those connected blocks taking up valuable space in your tray area. Pull another cyan block into the slots to keep the pressure on the face pixels. Then pull a smaller red block to clean up the remaining red border on the far right edge of the screen. By alternating between the dark blue coat and the cyan face you ensure that ants are always actively moving out of the nest hole. The steady stream of ants prevents the waiting slots from filling completely and triggering a game over. The right side of the board is now mostly empty and you have successfully avoided creating a dead end.
Step 5: Shift your focus to the left side of the dark blue coat.
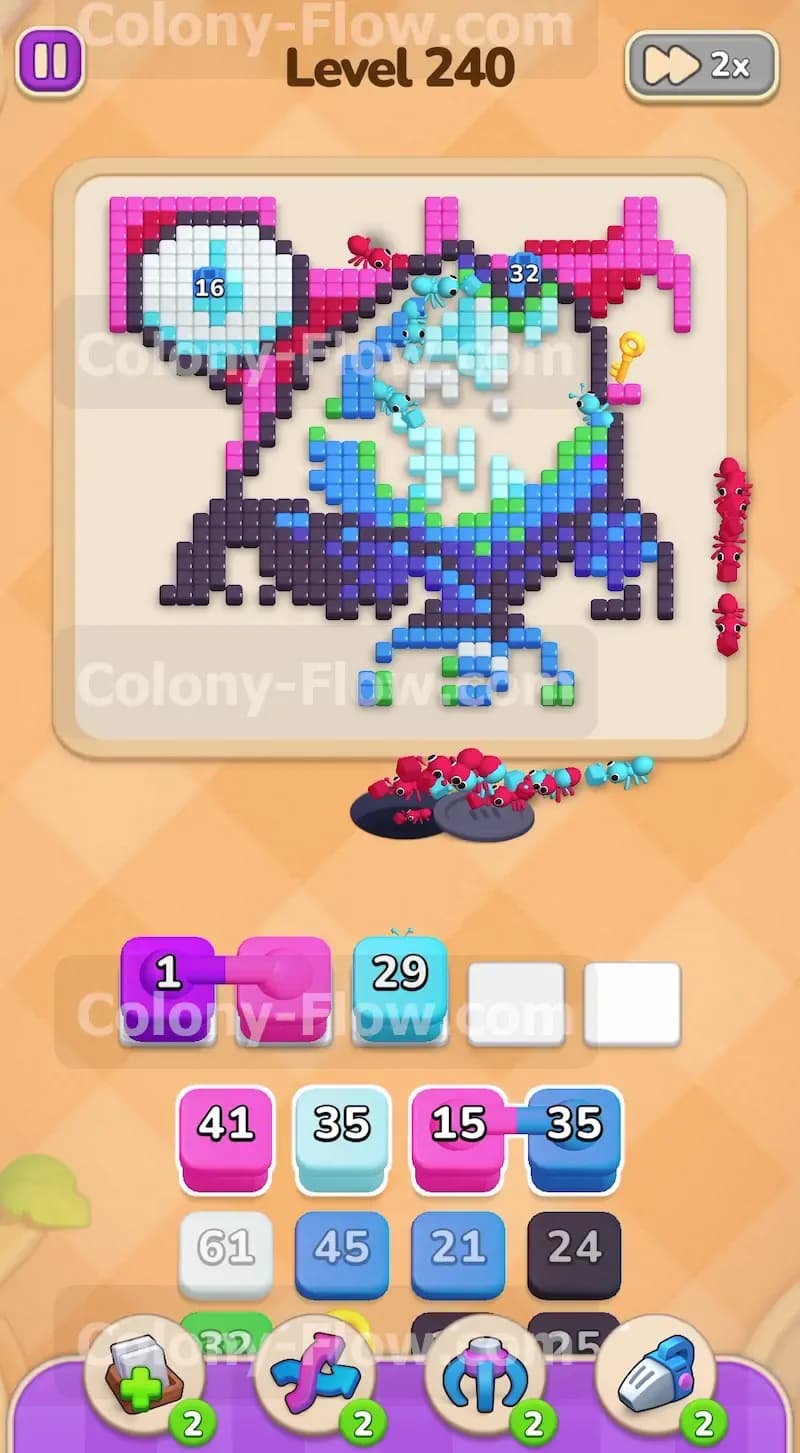
With the right side perfectly clear it is time to move your ants to the left side of the board. Bring up a large dark blue block from the tray to target the remaining coat. The dark blue ants will travel across the newly empty space and attack the bottom left section of the pixels. This move exposes the left side of the creature and gives you direct access to the remaining scattered keys. A cyan key rests precisely on the left edge of the coat. As the dark blue ants eat the surrounding pixels they will collect this second key for you and bring you closer to opening the lock.
Step 6: Attack the left side red background and the speech bubble.
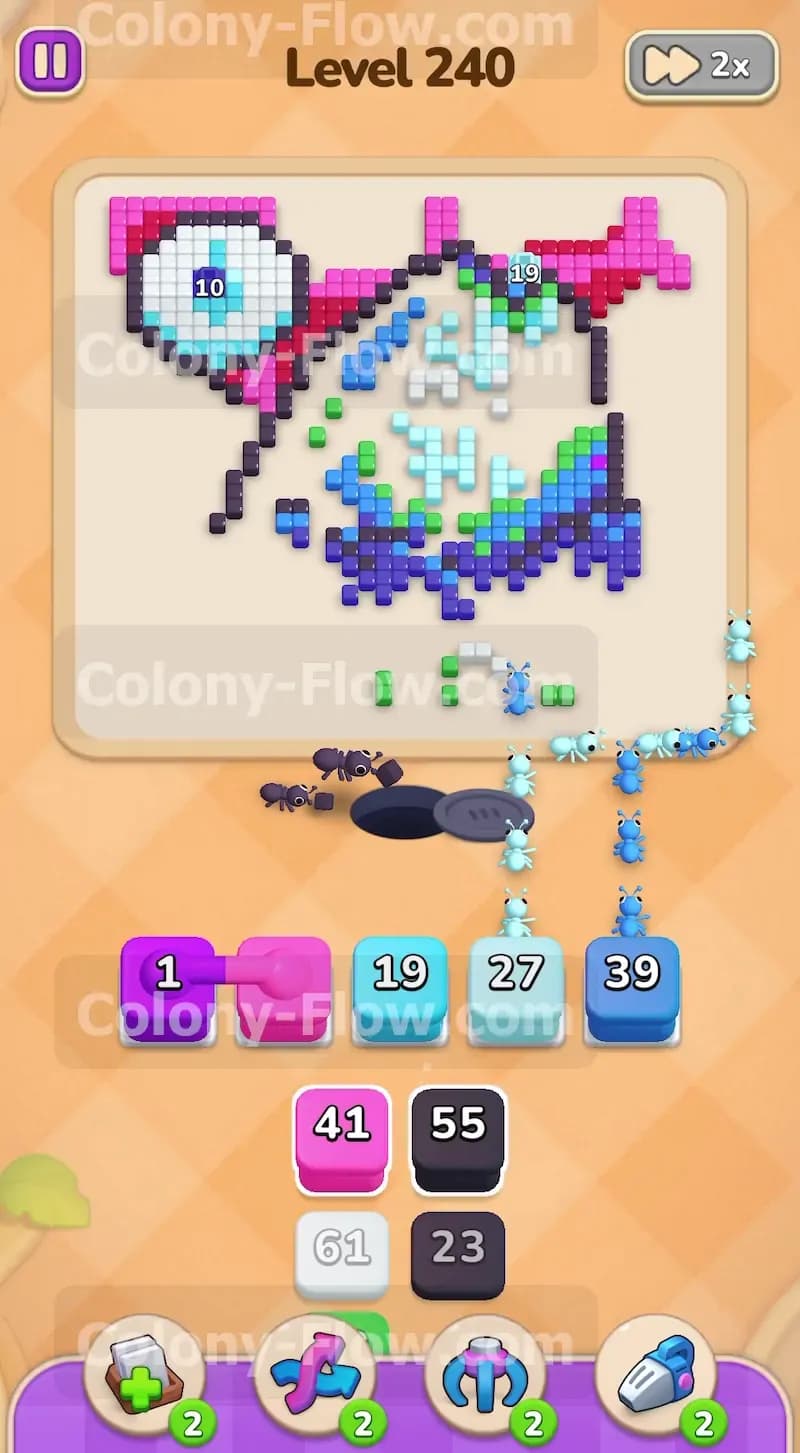
The top left corner contains a thick red background and a white circular speech bubble that you need to eliminate. Bring a pink block up into your slots to handle the top left corner background pixels. You will also need to pull a white block to start clearing the speech bubble shape. The ants will weave their way up the left side and begin breaking down these final large structures. You will notice your long awaited purple block finally dropping down to just two or one remaining ants. The connected blocks are almost entirely finished which will soon free up massive space in your waiting slots for the final push.
Step 7: Collect the final key and unlock the tray.
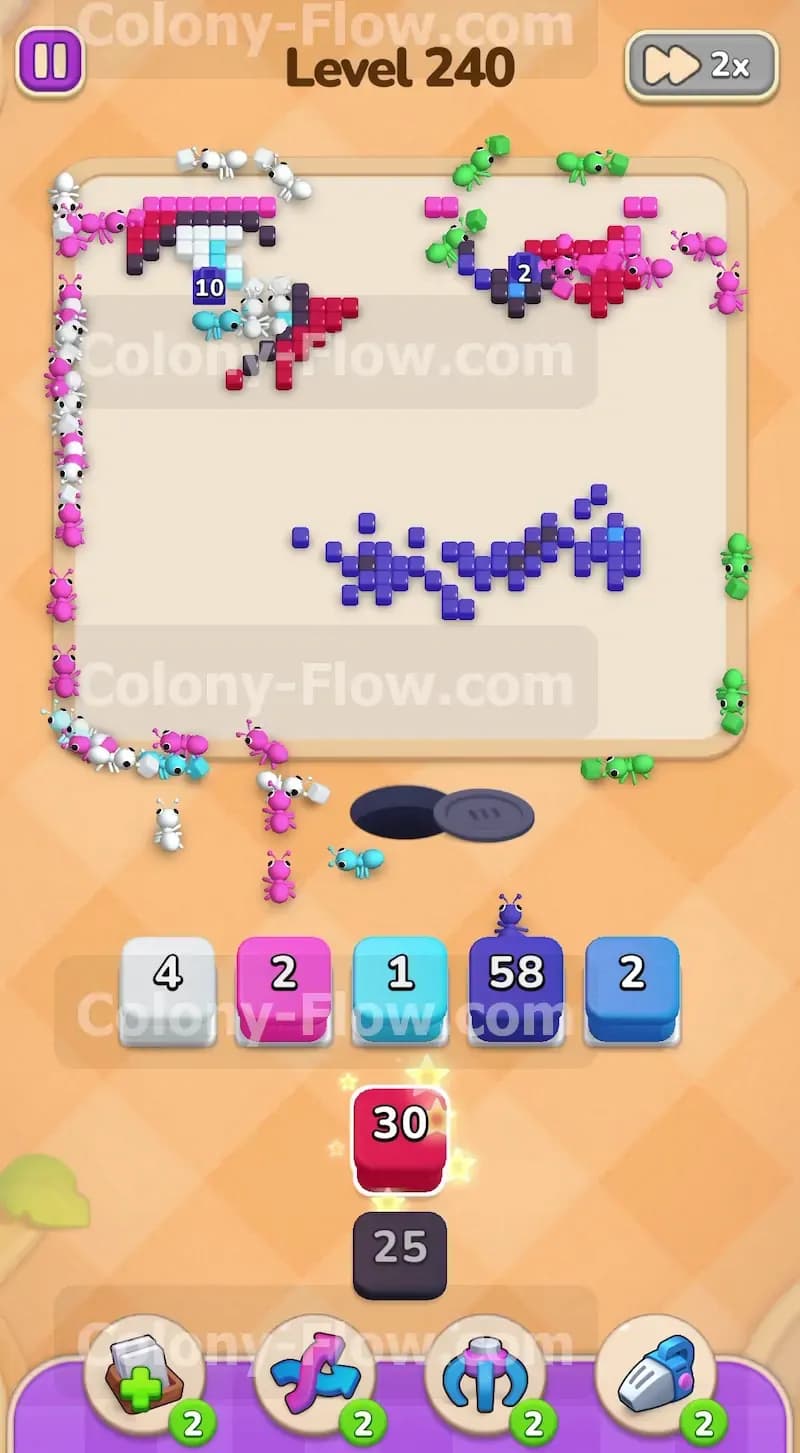
Bring up another cyan block to eat away the remaining middle section of the cyan face pixels. There is a final green key located on the left cheek of the creature. As the cyan ants finish off the central face they will grab this final green key. Collecting this last piece immediately triggers the green padlock block sitting in your tray. The lock block completely vanishes and reveals the remaining colors you need to finish the puzzle. You now have complete unrestricted access to every block in your tray and your waiting slots are mostly empty.
Step 8: Clean up the scattered remaining pixels on the board.
The board is now reduced to a few scattered bits of white red and dark blue floating in the empty space. Pull the massive dark blue block from your tray to clear the huge remaining chunk of the coat. The dark blue ants will swarm the board and hunt down every last piece of that specific color. Bring up the remaining red and white blocks to mop up the stragglers in the top left corner. Because you managed your paths perfectly throughout the entire level the ants will easily navigate the empty board to find their specific targets. Keep pulling the final small numbered blocks until the board is completely clear and you achieve victory.
Final Thought
This puzzle thoroughly challenges your ability to manage connected blocks while simultaneously hunting down keys. As long as you clear the right side first and never block your main pathways you will easily succeed. Managing those five waiting slots is the true secret to beating the game. Please watch the video located above this article if you struggle with any specific move or get stuck on how the connected blocks operate.