Colony Flow Level 337 Walkthrough Solution & Guides | How to solve Colony Flow 337

Guide By Liam Stone
Updated on August 1, 2026
The article below goes step by step through Level 337, but the video above shows the same thing faster.
Video doesn't match your screen?
Game updates frequently scramble layouts! Try our AI Screenshot Solver first to find your exact board instantly, or report broken guides to our team.
Welcome to Colony Flow Level 337. I play every level of this puzzle game myself so I can help you beat the tough ones. You will need a solid strategy to clear this picture without trapping your moves. Follow my guide below to beat the board smoothly.
Colony Flow Level 337 Overview
What You Are Working With
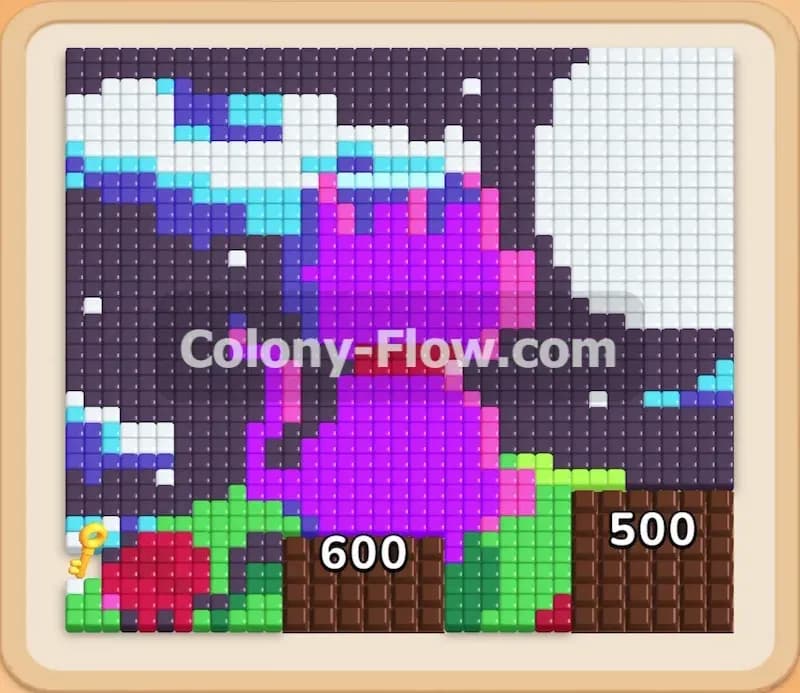
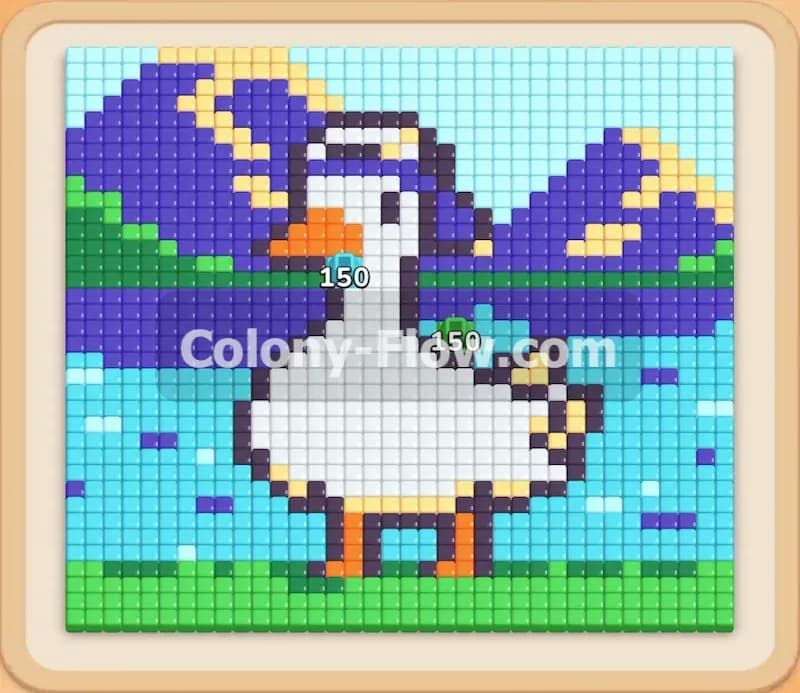
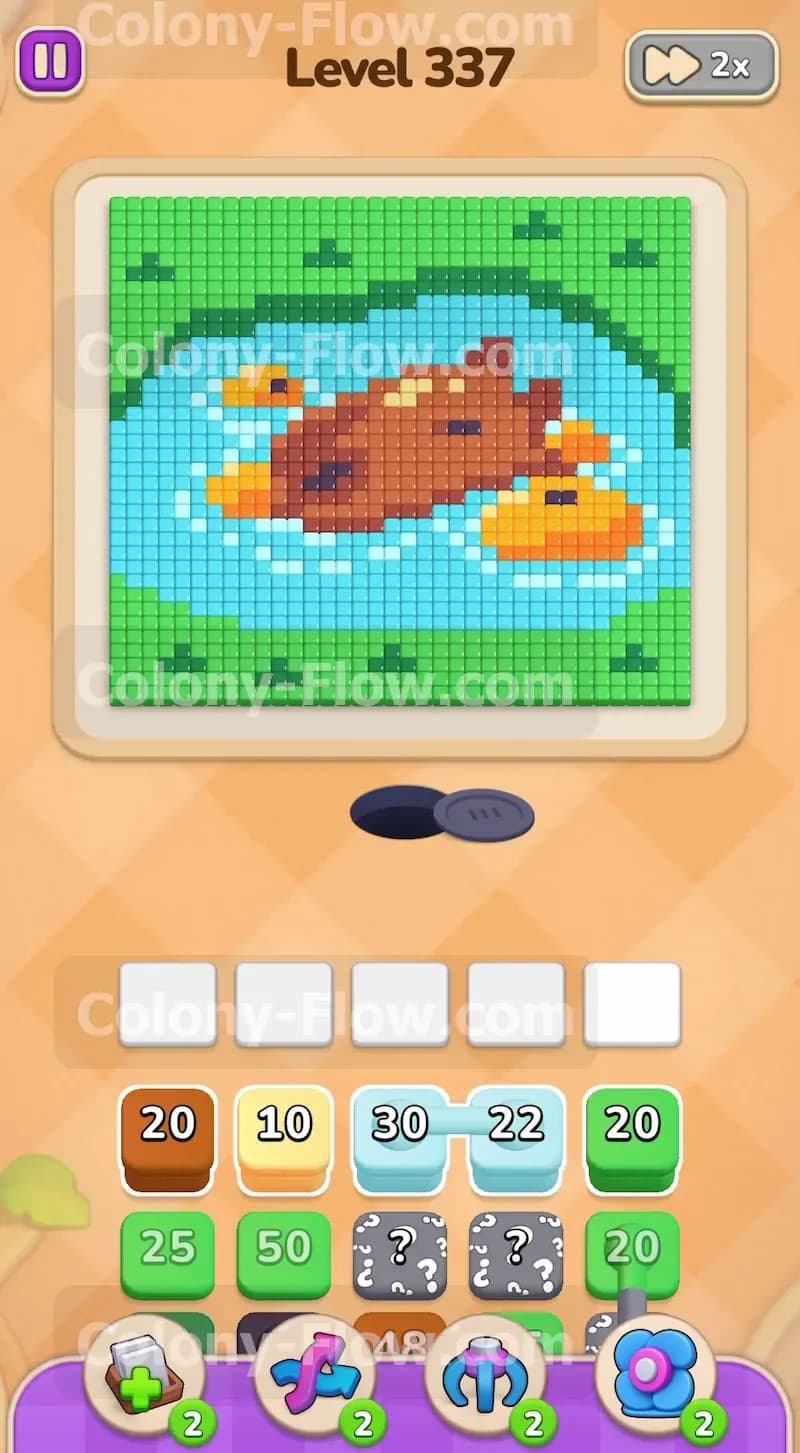
The picture in this level features a brown capybara resting in a light blue pond. Yellow rubber ducks float nearby and bright green grass borders the scene. Your tray holds brown, yellow, light blue, and green blocks. You will also face hidden boxes that disguise their true color until you expose them. Connected boxes show up later and you must handle them carefully because they arrive in pairs.
What It Takes to Clear Level 337 Board
You clear this board by guiding ants to eat every single colored tile. You do this by pulling numbered blocks from the tray up into your five waiting slots. The color of the block tells the ants which tiles to eat. You win when the picture completely disappears. You lose if you fill all five waiting slots with colors that cannot reach their matching tiles. Your entire strategy revolves around keeping an open path for the ants so the board never dead ends.
Colony Flow Level 337 Step by Step Solution
Step 1: Clear the bottom green grass to open the main board
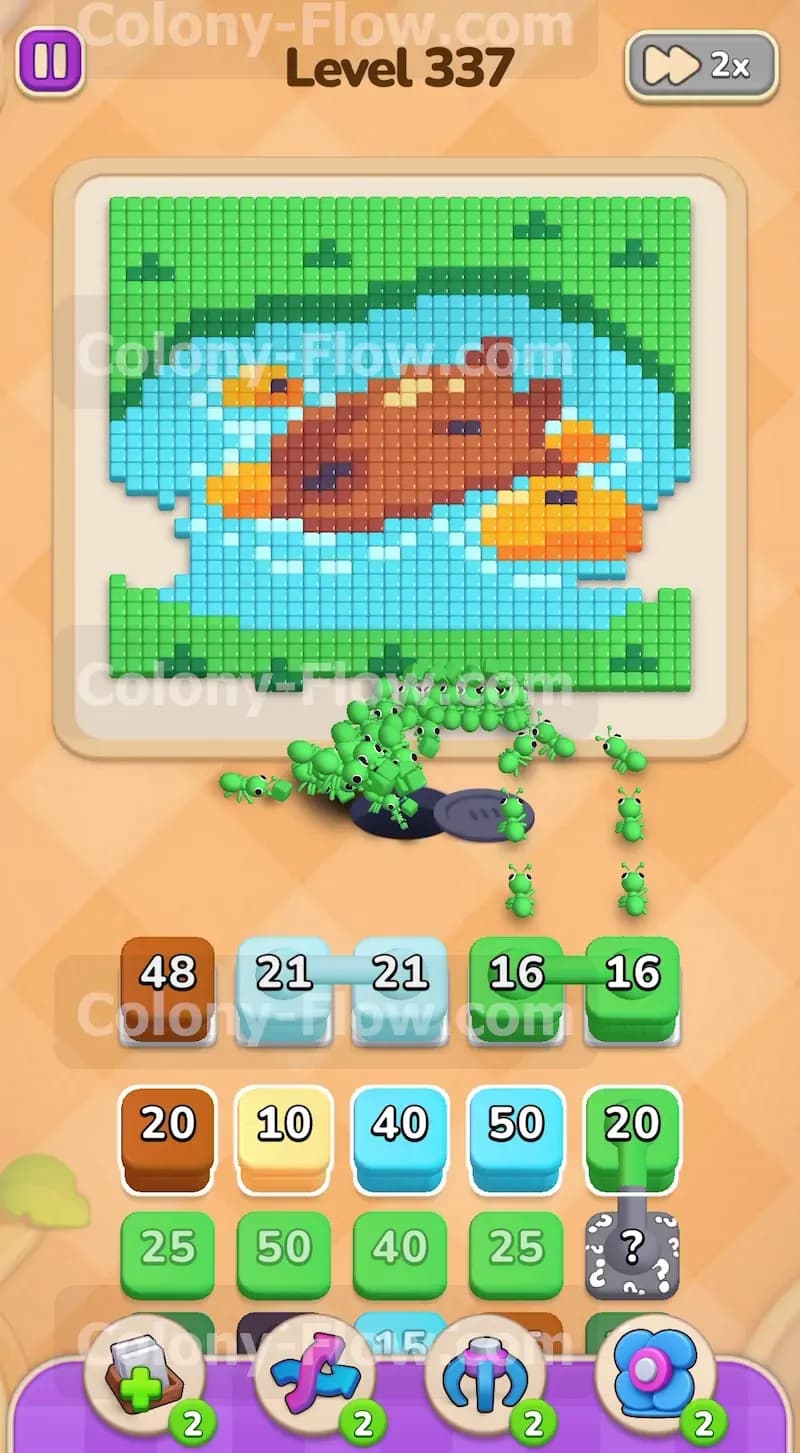
When the level begins a solid thick border of bright green grass blocks the entire bottom area. Your ants start at the nest hole situated right below this grass. They cannot reach the water or the animals until you tear down this green wall. Look at your tray and select the green blocks. Tap a green block to pull it up into your waiting slots. A swarm of green ants will crawl out of the nest and begin eating the grass. Watch the numbers decrease on the blocks as the ants do their work. You only want to pull enough green blocks to open a wide gap in the bottom border. Do not pull any light blue or brown blocks right now. If you pull a brown block the capybara remains entirely out of reach. That brown block will sit completely stuck in your slot and restrict your future moves.
Step 2: Drain the light blue pond to expose the center pieces
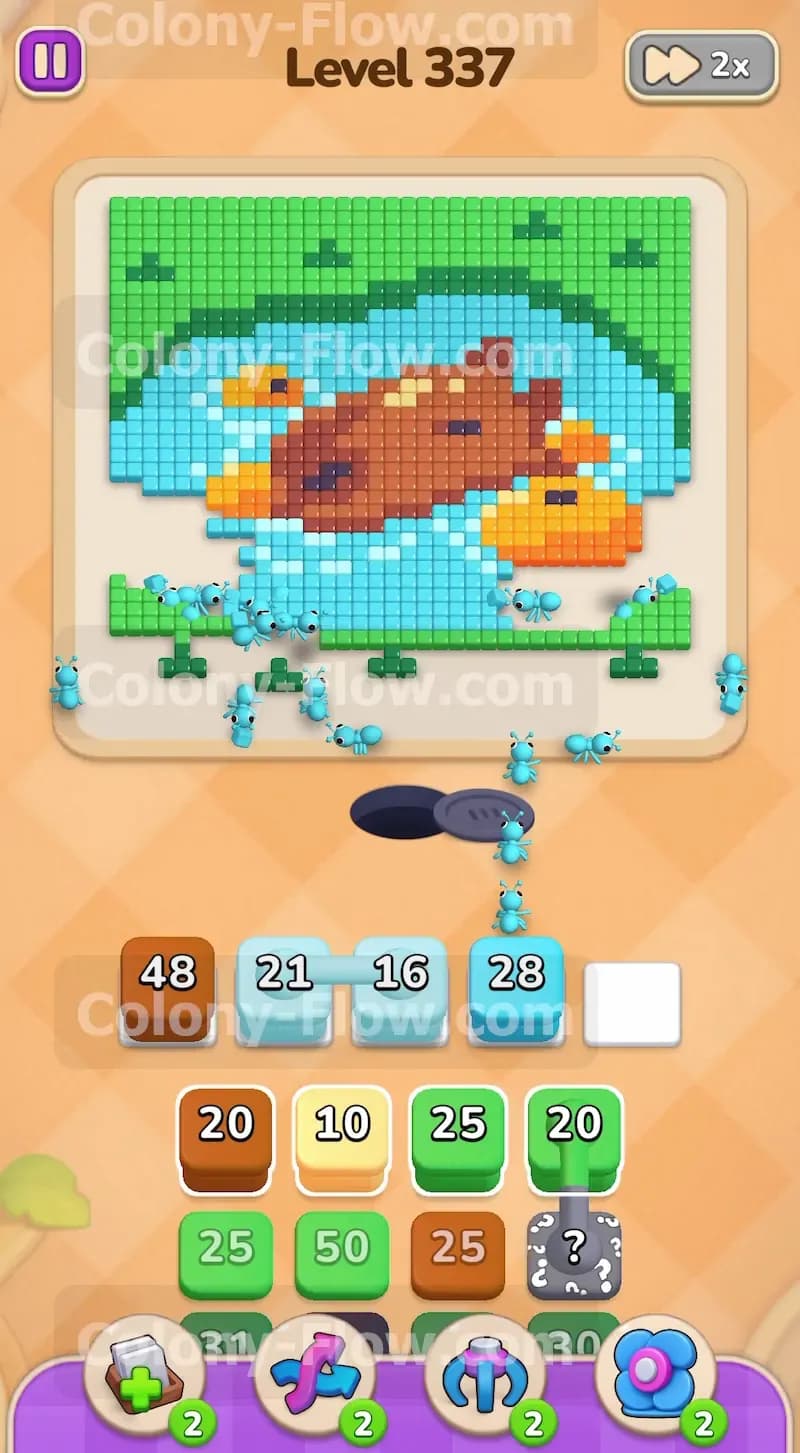
Once the bottom green grass vanishes you get direct access to the light blue pond. This pond surrounds the capybara and the floating ducks. Find a light blue block in the tray and tap it. Light blue ants will march through the gap you created and start devouring the water tiles. The water covers a large area so you will need a few light blue blocks to make real progress. Pull another light blue block as the first one drops in number. You aim to clear enough water to reach the bottom edge of the brown capybara. This step is vital because the capybara occupies a massive section of the board. Removing the water directly below it creates the physical space you need to send brown ants in the next phase.
Step 3: Send brown ants to tackle the large capybara
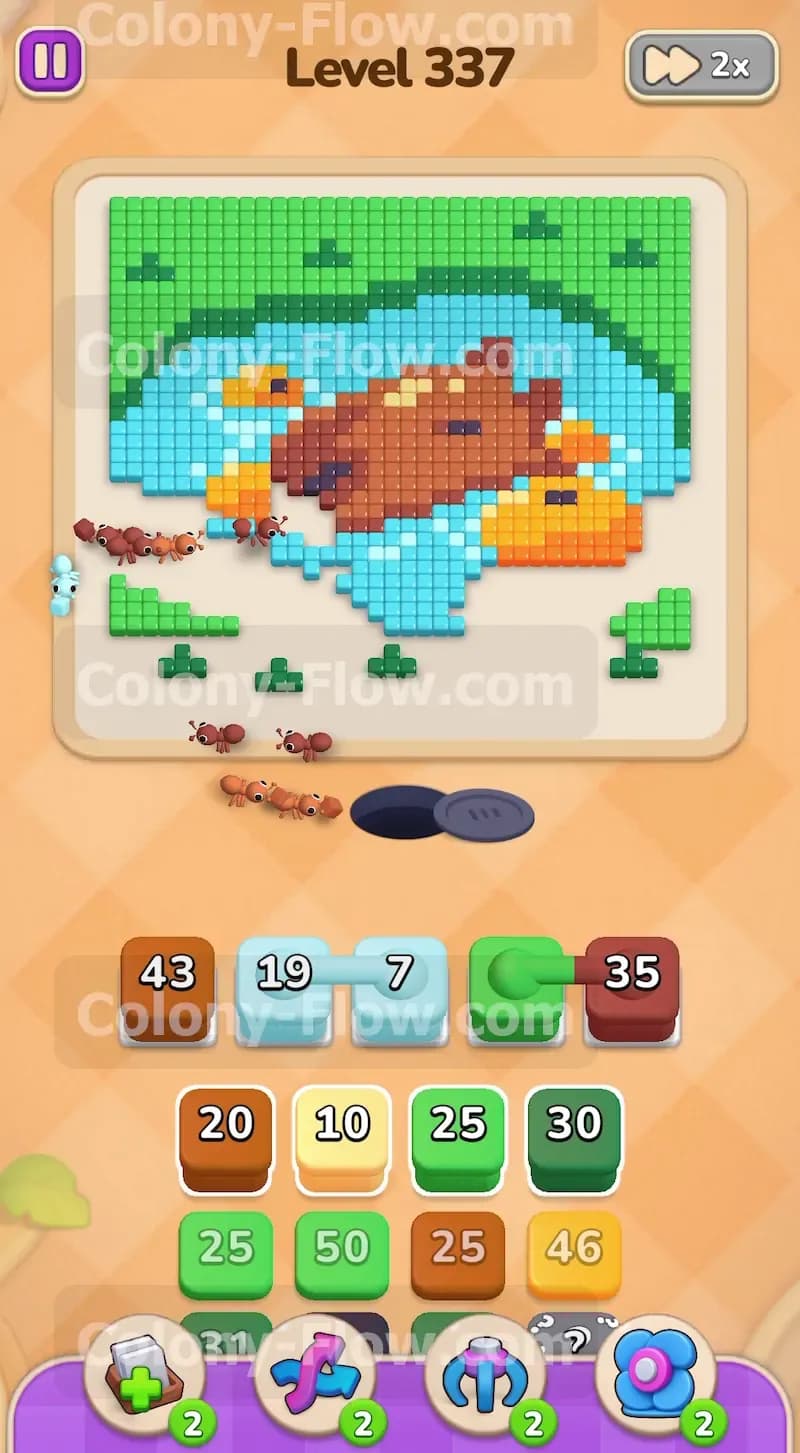
The brown capybara rests squarely in the middle of the pond. Now that the water blocking its base is gone you have a clear open path. Tap a large brown block from your tray to send it into the waiting slots. The brown ants will stream out and start chewing on the bottom half of the capybara. You can run brown ants and light blue ants at the exact same time. This dual approach clears the board much faster. While the brown ants focus on the animal the light blue ants continue sweeping up the water on the sides. Always monitor your five slots closely. You never want to fill all five slots at once. Keep one or two slots empty just in case a block empties out and you need room for a different color.
Step 4: Expose and manage the hidden boxes in your tray
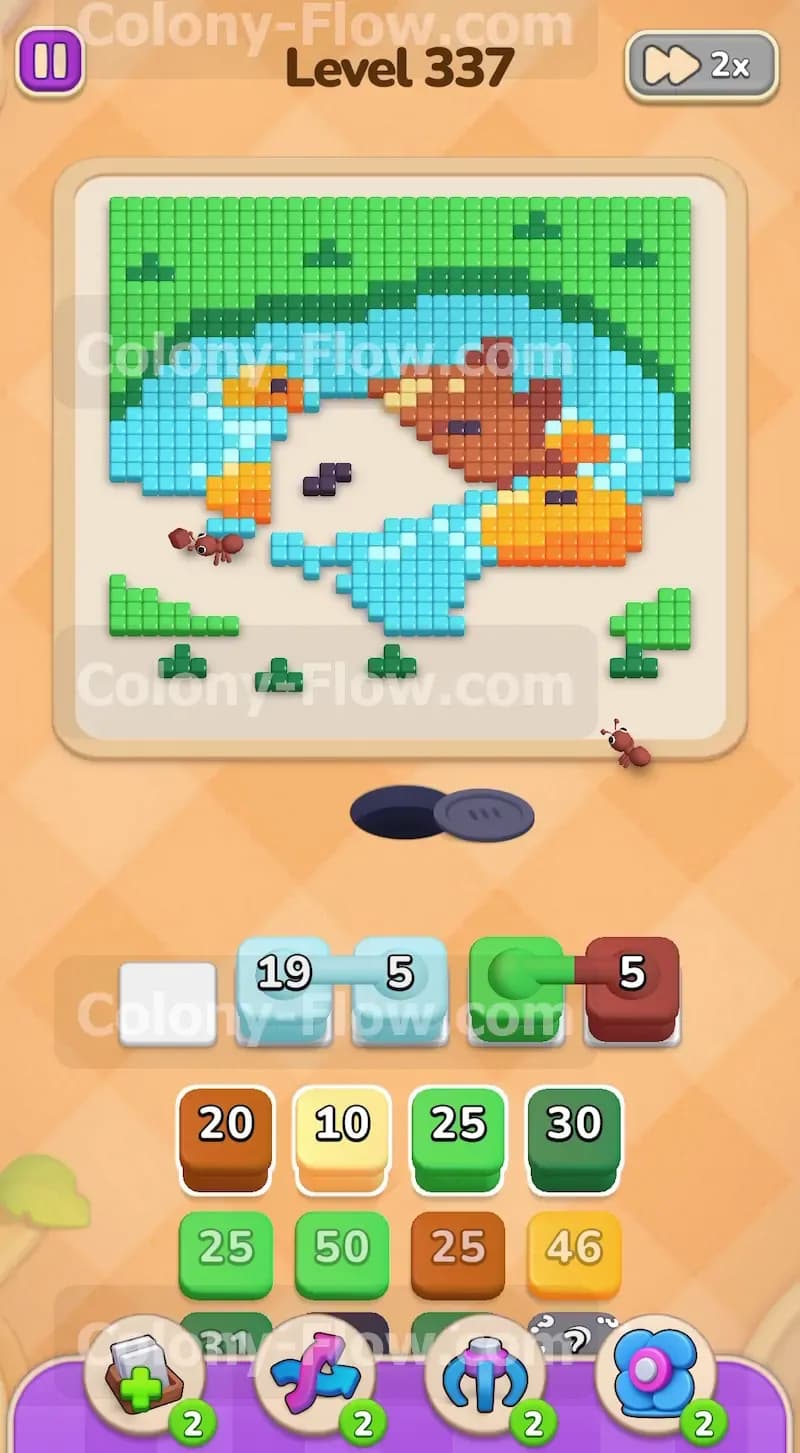
As you use blocks the tray constantly shifts forward and brings hidden boxes into view. These boxes display a large question mark instead of a specific color. You have zero clues about what color they hold until they slide closer to the active play area. You must clear the known blocks sitting in front of them to reveal their identity. Keep working on the light blue water and the brown capybara to keep the tray moving. Once a hidden box flips over and reveals its color you need to pause and check the board. If the revealed color matches tiles that the ants can physically reach you can pull it safely. If the revealed color is trapped behind a solid wall leave it in the tray. Pulling a trapped color is the fastest way to clog your slots and ruin your run.
Step 5: Wipe out the yellow rubber ducks floating in the water
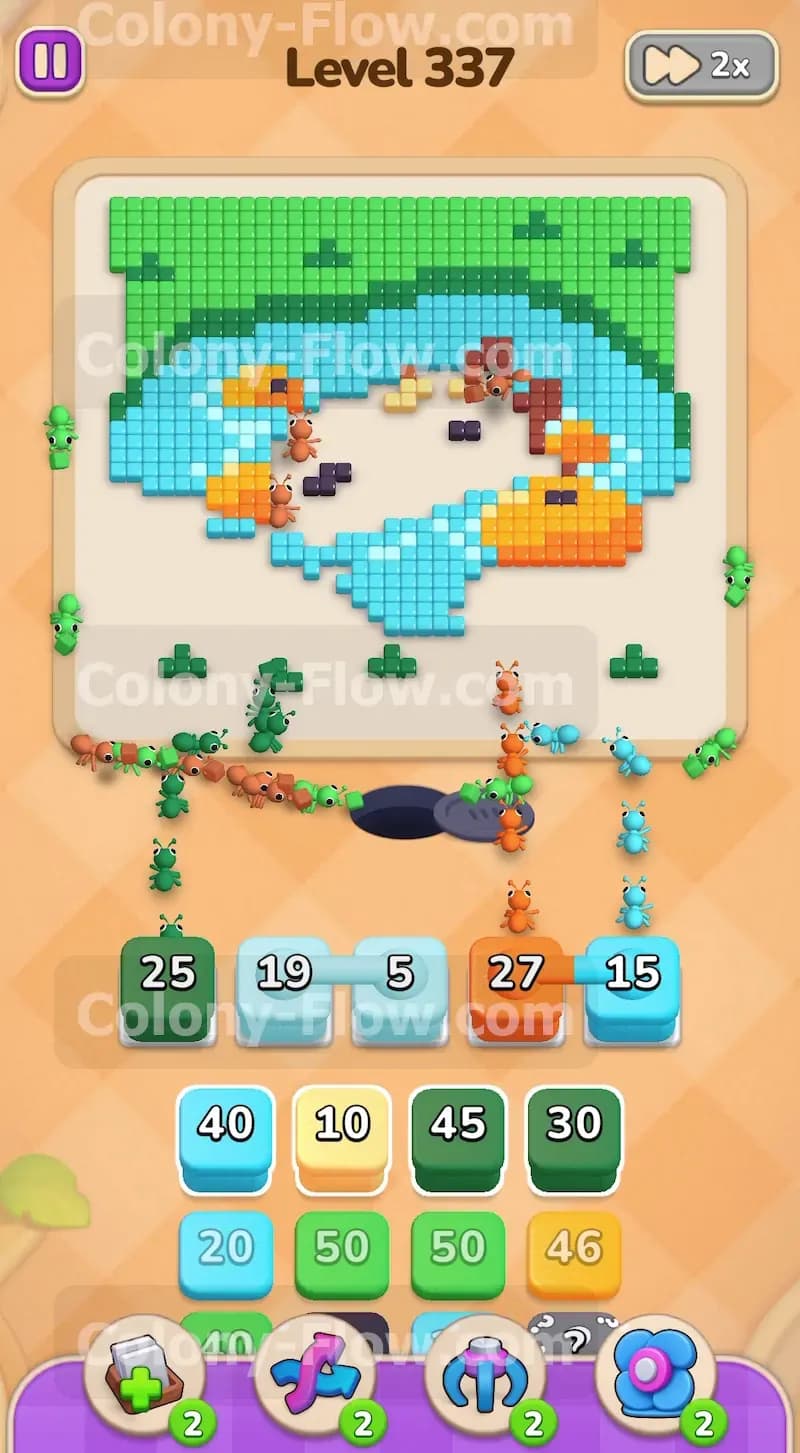
You will see multiple yellow rubber ducks floating near the capybara on the left and right sides. The light blue water initially kept them safe from your ants. By this point you have cleared enough water to reach these ducks. Tap a yellow block to dispatch the yellow ants. The ducks are quite small so they do not require huge blocks. A small yellow block will typically wipe out an entire duck. Verify that the path is perfectly clear before you tap. If even a single light blue water tile blocks the yellow ants the yellow block will sit frozen in your slot. Wait patiently until the ducks are totally exposed before you pull the yellow blocks.
Step 6: Maneuver the connected green boxes carefully into the slots
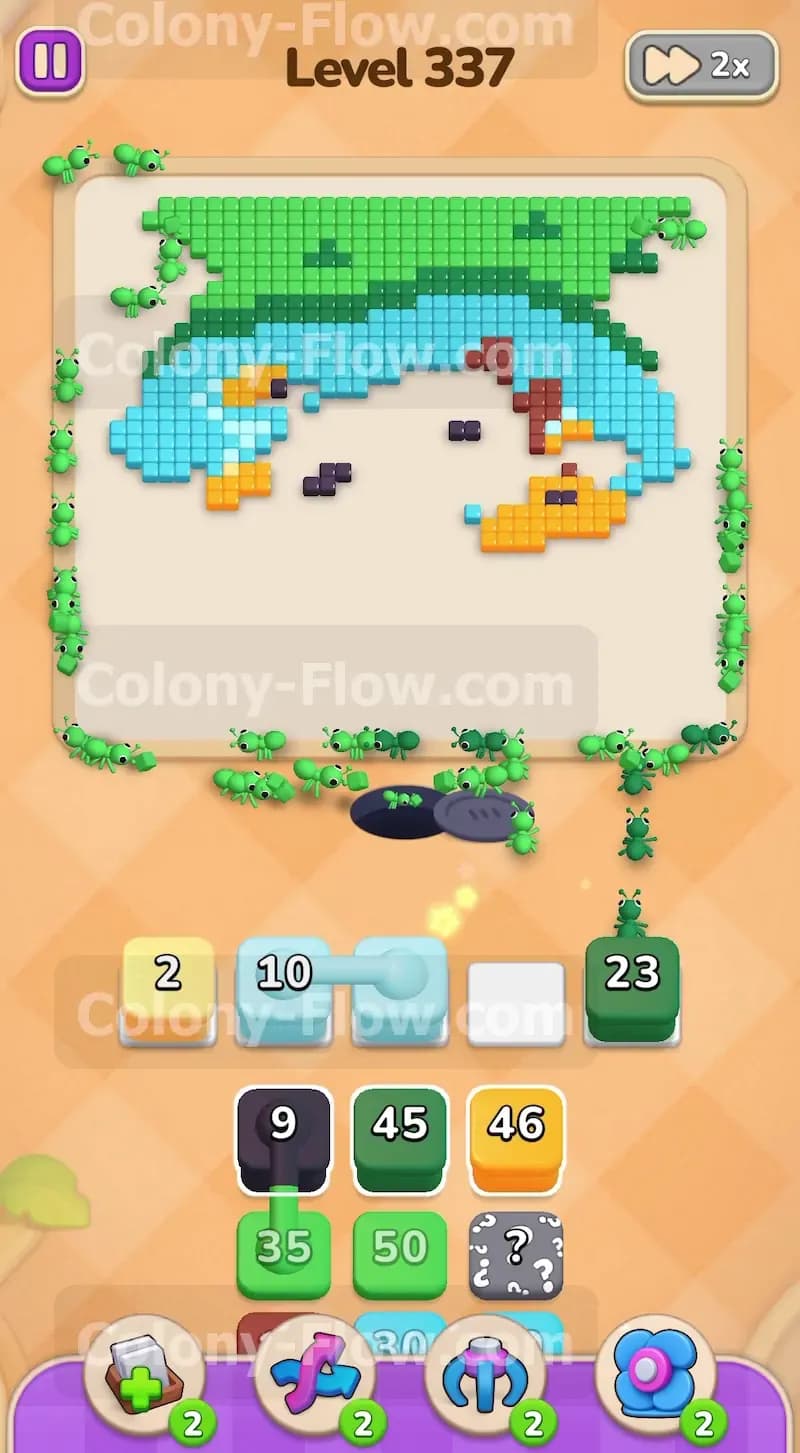
Midway through the level you will encounter connected boxes in your tray. These blocks are permanently linked together by a thick pipe shape. When you tap a connected box both linked pieces move into your waiting slots at the very same time. This means they eat up two of your five slots instantly. You must make absolutely sure you have enough room before you tap them. You will find connected green boxes designed to clear the upper grass sections. Only pull these connected green boxes when the ants have a wide open highway past the capybara and up to the top border. If your slots are currently full of active light blue or brown blocks wait patiently. Let those active blocks finish their countdowns and vanish before you bring the connected green boxes into play.
Step 7: Clear the orange duck pieces and remaining side water
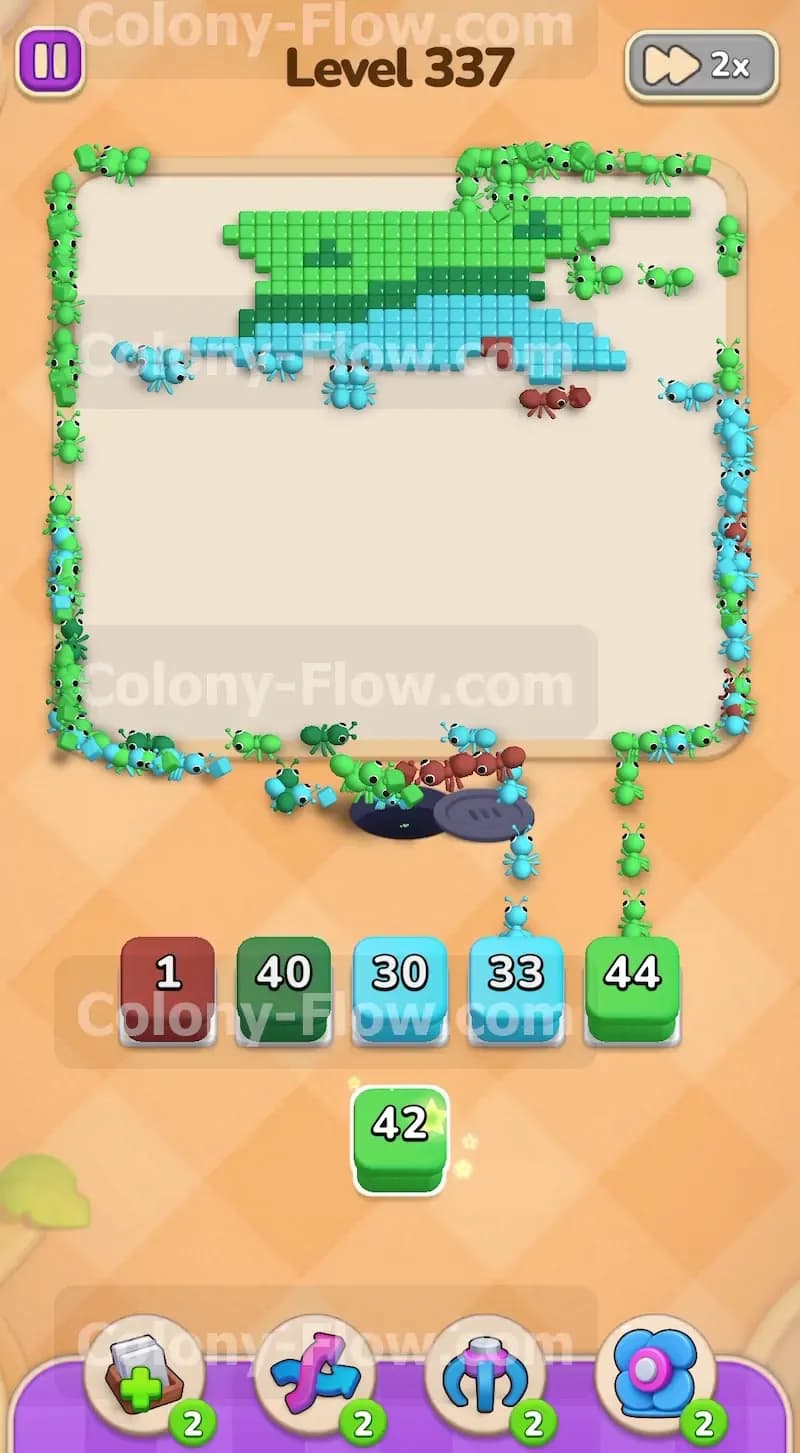
The rubber ducks feature small orange sections mixed in with the yellow pieces. You also have stubborn patches of light blue water holding onto the top corners around the capybara. Pull the orange blocks to finish off the duck details completely. Then bring out the remaining single light blue blocks to drain the rest of the side pond. You must be highly methodical during this phase. The board is getting much emptier but the remaining tiles are scattered far apart. The ants will take longer to walk across the empty board to reach their final targets. Give them plenty of time to march. Do not spam blocks into the slots out of habit. Taking it slow keeps your slots clear and prevents a surprise game over.
Step 8: Deploy the connected light blue boxes for the upper pond
Another set of connected boxes will slide into your view. This time they are light blue. You need these massive combined blocks to clear the final stretches of water sitting right below the top grass line. Check your tray and verify that you have two empty slots ready to go. Tap the connected light blue boxes and let the ants loose. They will sprint all the way up the board and wash away the very last water tiles. This action completely isolates the top green grass. The capybara is totally gone and the ducks are a memory. You are now looking at a mostly empty board with merely a green outline at the very top.
Step 9: Wipe out the final top green grass tiles to claim victory
You are in the final stretch of the level. The only tiles remaining are the bright green grass tiles forming the top border. Your tray is packed with dark green and bright green blocks. The path is completely wide open from the nest hole straight to the top of the screen. Tap the green blocks and load up your slots. The ants will charge up the screen and devour the top grass. Keep pulling green blocks as they become available in the tray. Watch the final tiles vanish from the screen one by one. Once the very last green tile disappears the level concludes and you win. You managed your waiting slots perfectly and never allowed the board to jam.
Final Thought
You have everything you need to clear this level on your first try. Managing the connected boxes and the hidden boxes takes a little practice but you can handle it. If you find any specific move hard to visualize in text I highly encourage you to watch the video above this article.