Colony Flow Level 152 Walkthrough Solution & Guides | How to solve Colony Flow 152

Guide By Liam Stone
Updated on July 12, 2026
You'll find the complete Level 152 walkthrough in the video above if reading isn't what you're after.
Video doesn't match your screen?
Game updates frequently scramble layouts! Try our AI Screenshot Solver first to find your exact board instantly, or report broken guides to our team.
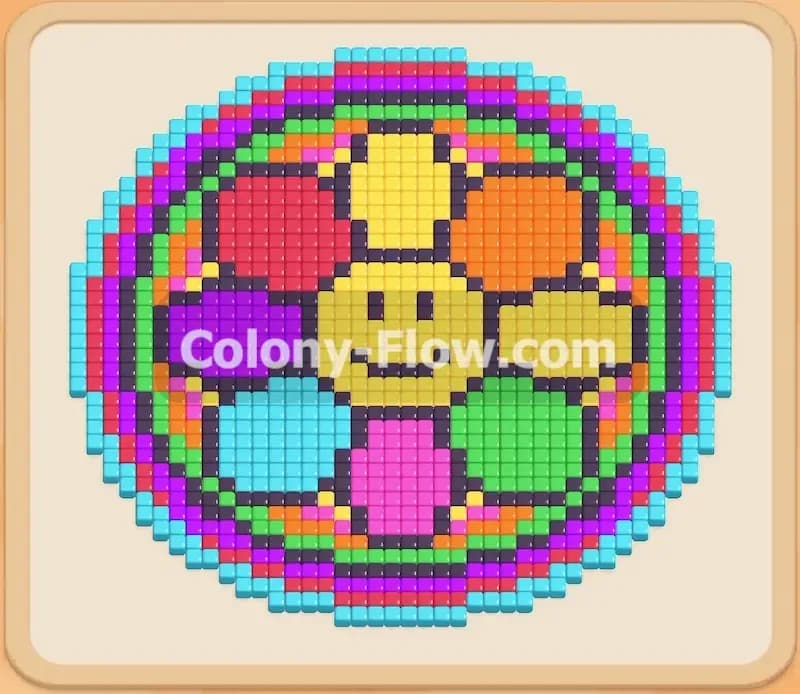
Colony Flow Level 152 presents a massive pixel art beetle that takes up the entire board. You have a lot of colorful tiles to clear and a tray full of connected blocks that will seriously test your space management skills. I played this level several times to figure out the perfect order to pull the colors so the waiting slots always stay open. You must be very careful with your moves because one wrong pull can ruin the entire run.
Colony Flow Level 152 Overview
What You Are Working With
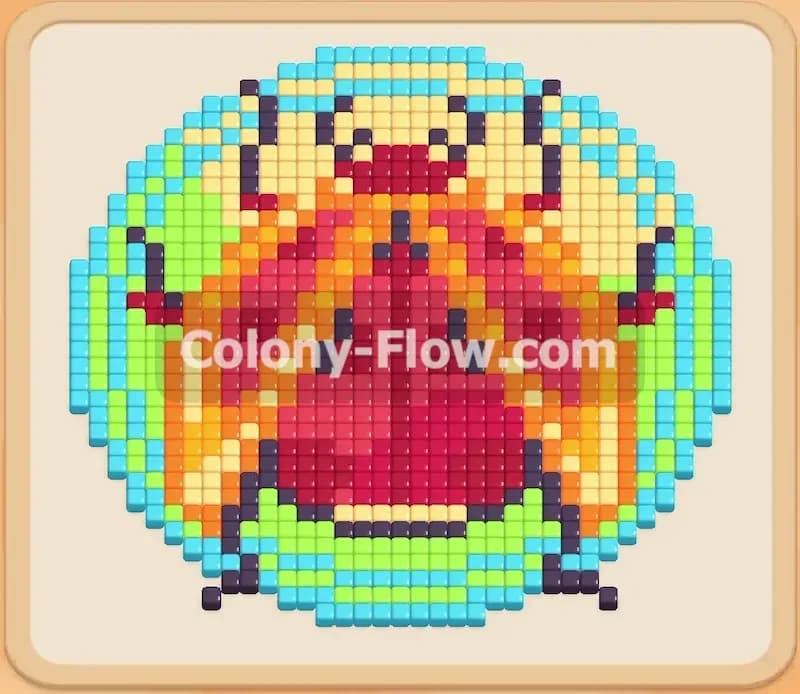
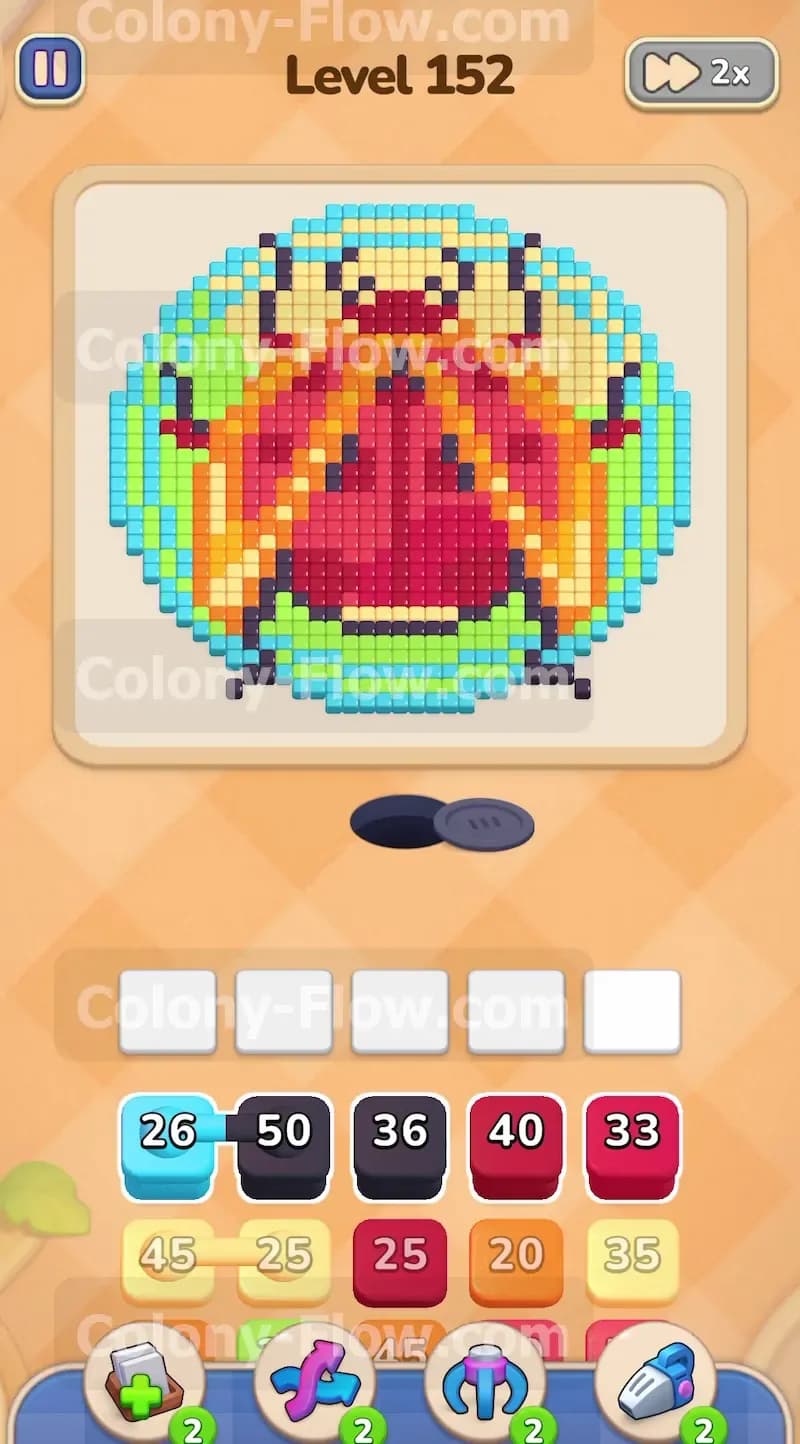
The board features a large pixel art insect surrounded by a circular border. The insect has a dark red body with bright orange and yellow wings. It also has black legs sticking out of the left and right sides. The circular background uses light green and light blue tiles to frame the bug. Down in your tray you will see multiple sets of Connected Boxes. These blocks are permanently linked together and they move to the waiting slots at the exact same time. Since you only have five waiting slots total you must be incredibly careful when pulling a connected pair. Taking up two slots at once leaves you very little room for error. If you pull a connected pair and neither color can reach the board you will quickly fill your remaining slots and lose the level.
What It Takes to Clear Level 152 Board
You clear the board by feeding every single colored tile to your hungry ant colony. The ants stream out of the dark nest hole at the bottom of the screen and travel upward to find their matching colors. You must unlock paths from the bottom edge and slowly work your way up to the top of the circle. Success means pulling the right blocks at the exact right moment so the ants always have an open path to the picture. You must constantly monitor the board to ensure your waiting slots never jam. When the final tile disappears and the ants finish their meal you win the level.
Colony Flow Level 152 Step by Step Solution
Step 1: Open the bottom edge using the first connected pair
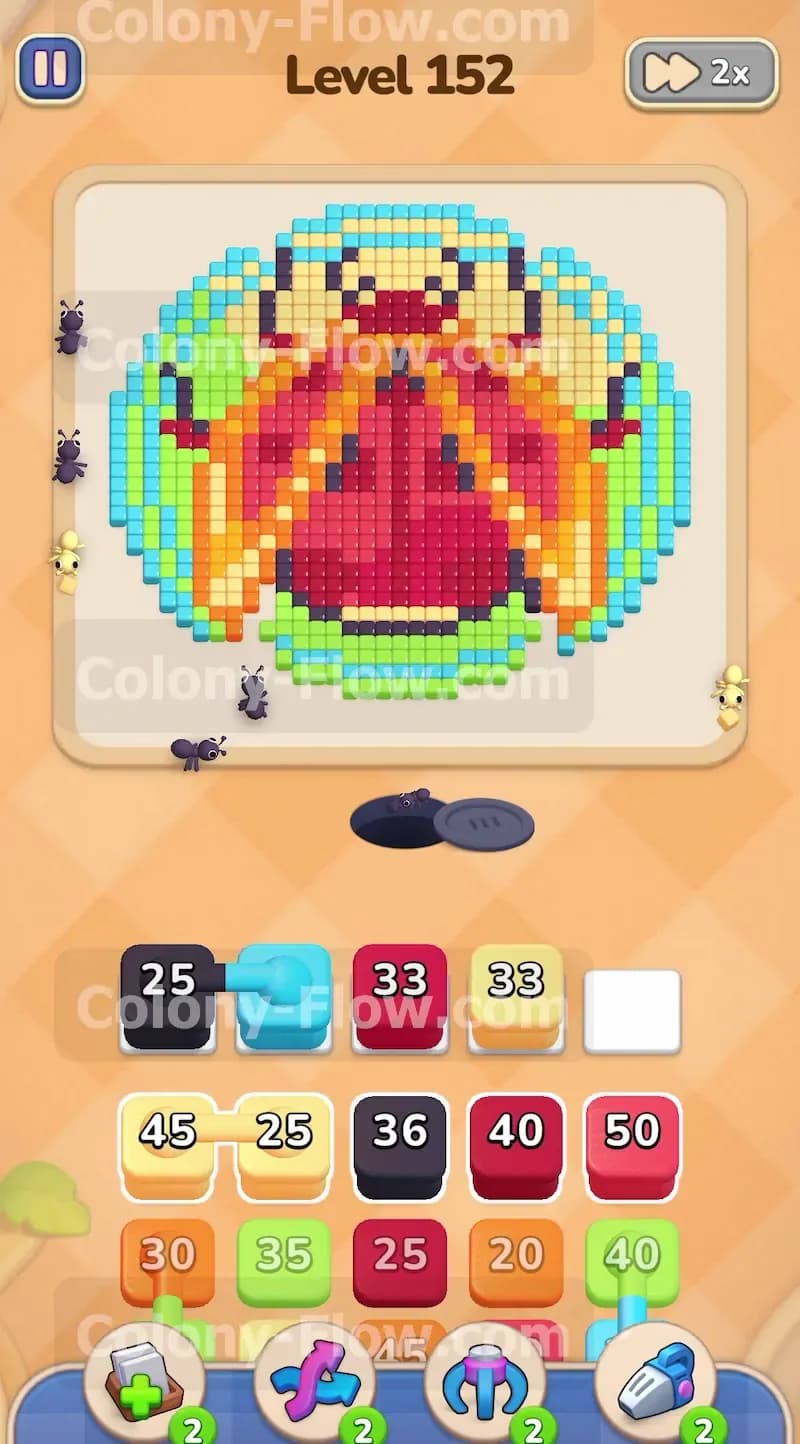
Your very first move requires dealing with the connected light blue and black blocks sitting at the top of your tray. The light blue block holds twenty six ants and the black block holds fifty ants. Tapping this pair sends both blocks to your waiting slots simultaneously. The black ants immediately rush out to eat the bottom black legs of the beetle. At the exact same time the light blue ants scatter to start chewing on the bottom edge of the circular border. Letting these two colors work at the same time is perfect because they open completely different paths on the left and right sides of the picture. You must wait for these numbers to drop significantly before pulling anything else. You do not want to risk filling your five slots this early in the game.
Step 2: Clear the lower red body to widen the center path
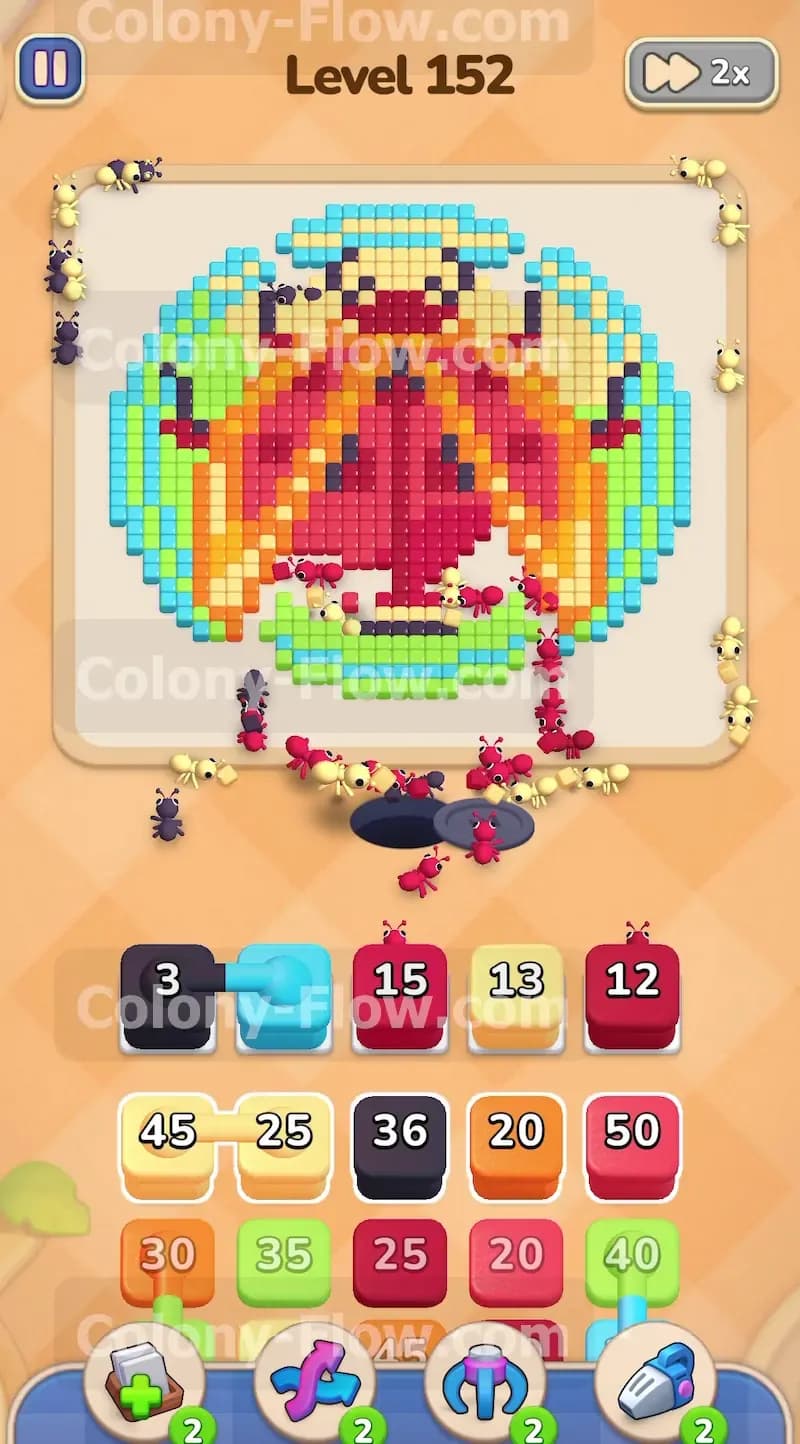
Once the black ants finish the bottom legs you have a clear path to the dark red lower body of the bug. You can now pull the dark purple block and the bright pink block into your waiting slots. The bright pink block holds thirty three ants and will completely devour the bottom tip of the beetle shell. The dark purple ants will target the darker shadow sections of the lower body. As these ants swarm the center they carve a massive hole right up the middle of the bug. This wide opening is exactly what you need to safely reach the internal wing colors without getting blocked. Keep a very close eye on your five waiting slots and make sure they do not fill up while these red blocks count down to zero. The ants will take a moment to chew through all that thick red pixel art.
Step 3: Send ants to the lower wings and the outer green circle
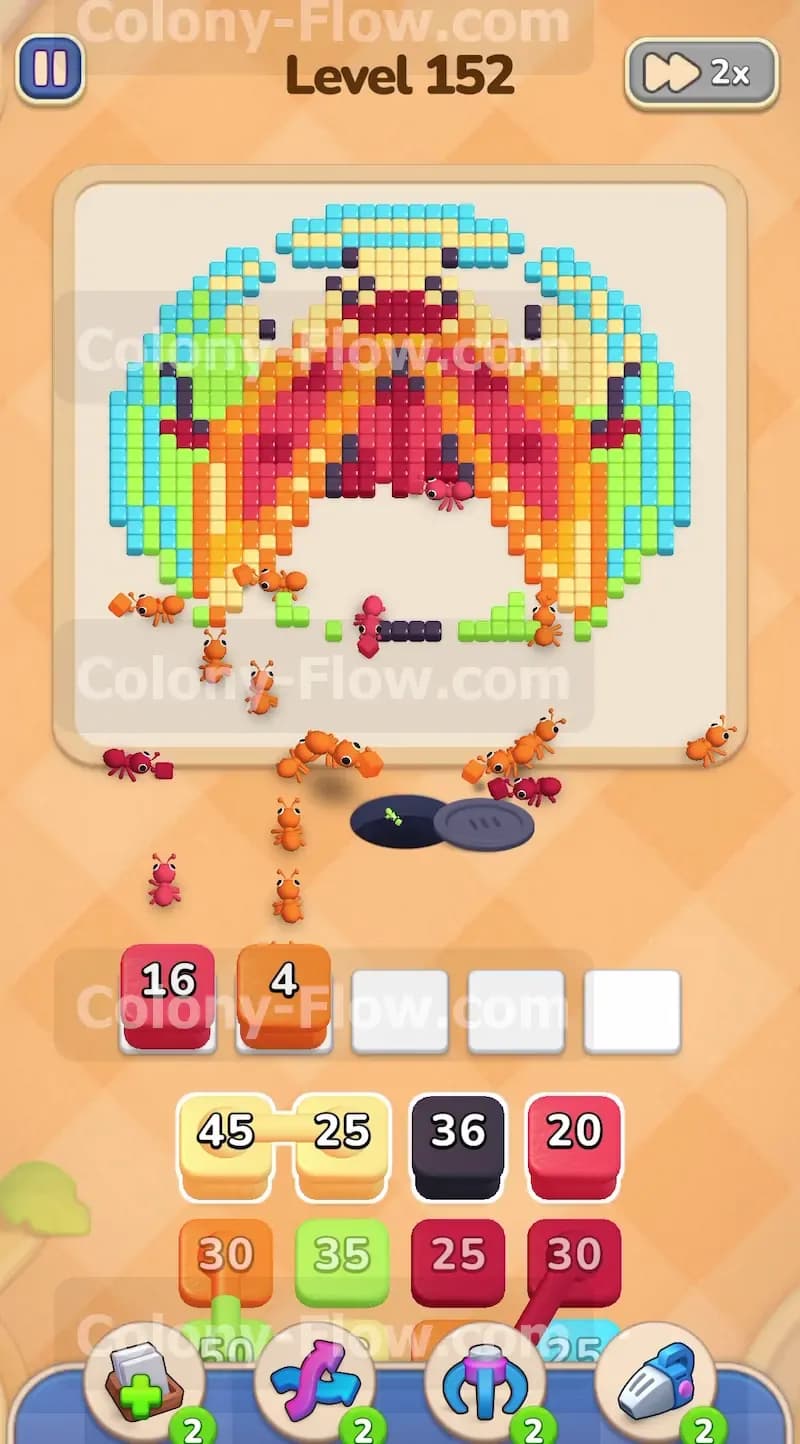
Now you need to clear the lower wing sections that sit just above the empty space you just created. Pull the red block with fifteen ants and the light green block with thirteen ants. The red ants will rush into the center gap and eat the lower interior edges of the wings. The light green ants will veer off to the extreme left and right sides to consume the lower chunks of the circular green background. By splitting your colony between the center wings and the outer circle you ensure that neither path gets clogged. Your waiting slots stay perfectly clear because both colors have immediate access to their target tiles. You will see a beautiful symmetry as the ants mirror each other on both sides of the screen.
Step 4: Deploy the yellow and orange connected boxes to clear the bright wings
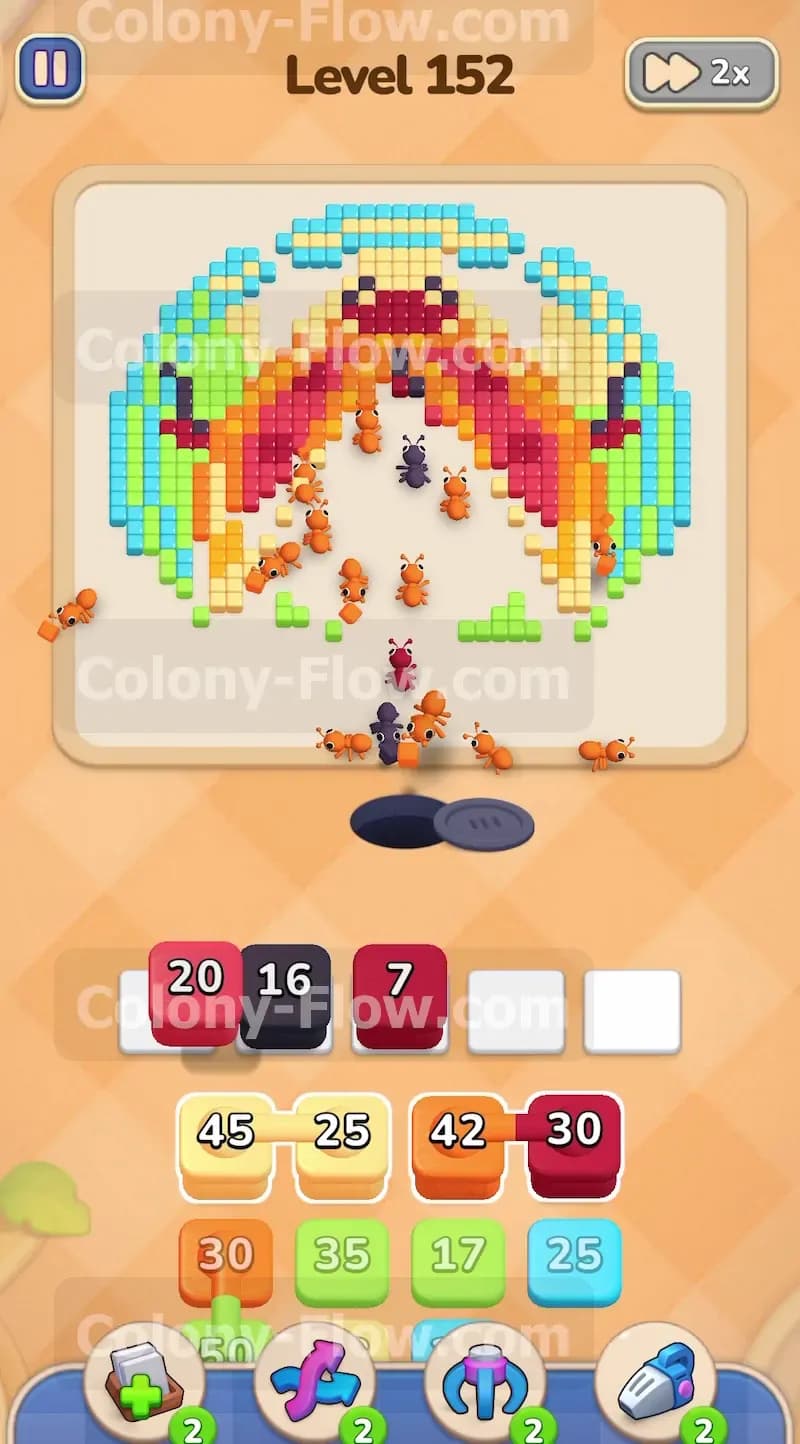
Your tray will now reveal another set of connected boxes featuring a light yellow block and an orange block. Tap this pair to move them both into the waiting slots. You will also want to bring up the separate orange block holding four ants to help clear the smaller details. The orange ants quickly eat the bright spots on the lower wings. The yellow block will release a massive swarm of ants to consume the entire middle section of the wing pattern. Since you opened the center path earlier these yellow ants pour straight up the middle and fan out perfectly across both wings. Let the yellow numbers completely count down to zero before you touch any other blocks in your tray. Rushing this step will guarantee a jammed board.
Step 5: Chew through the middle background circle with black and pink
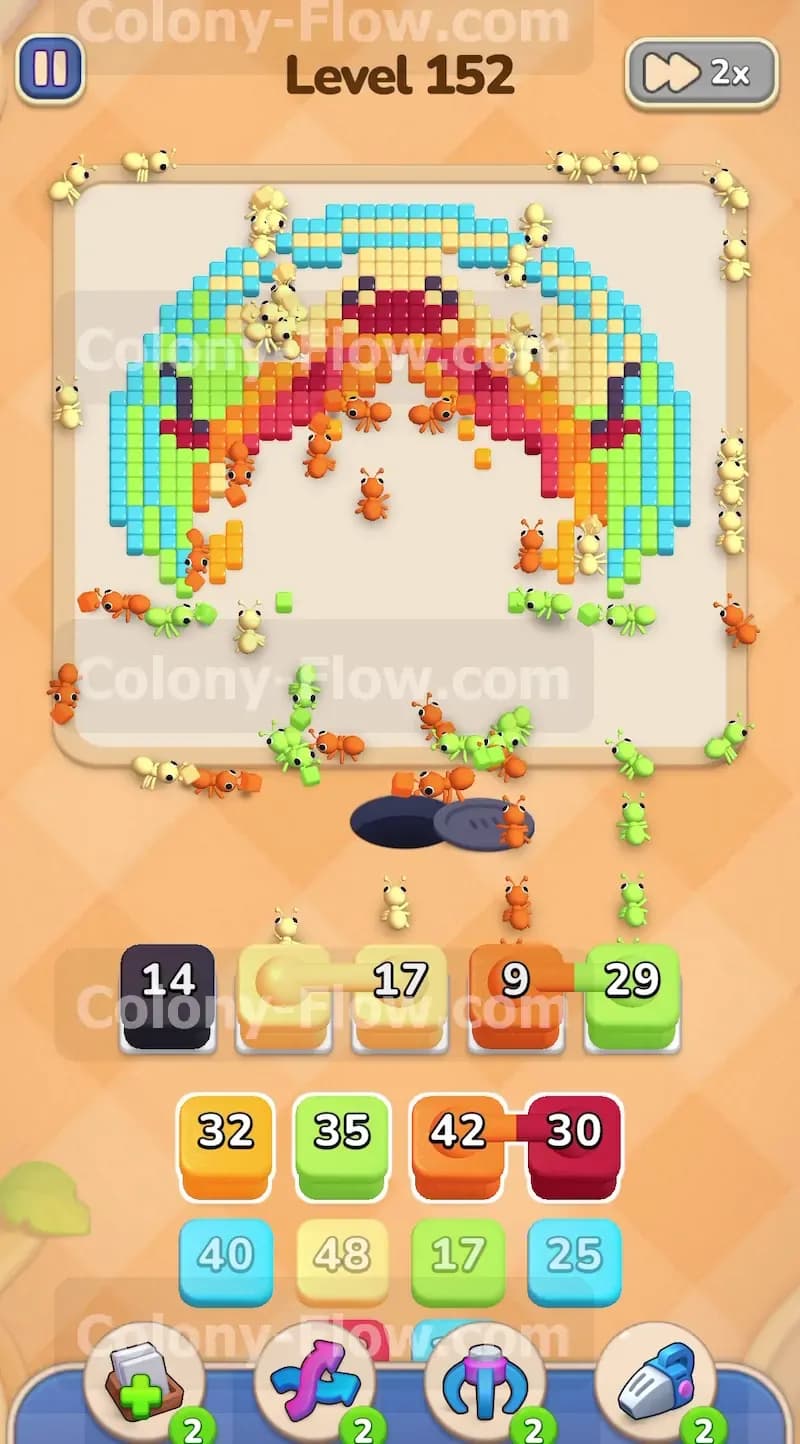
With the center wings completely gone you can shift your attention back to the outer edges of the picture. Bring up the black block holding sixteen ants and the pink block holding twenty ants. The black ants will march up the sides to eat the middle legs and the darker background elements connecting the bug to the circle. The pink ants will finish off the remaining pink border sections near the middle of the wings. This move creates a massive open archway right across the middle of the board. You are maintaining excellent flow here and your five waiting slots remain completely safe. Never pull extra blocks if the current ones are still actively finding paths to their matching tiles.
Step 6: Attack the upper wings and head using a new connected pair
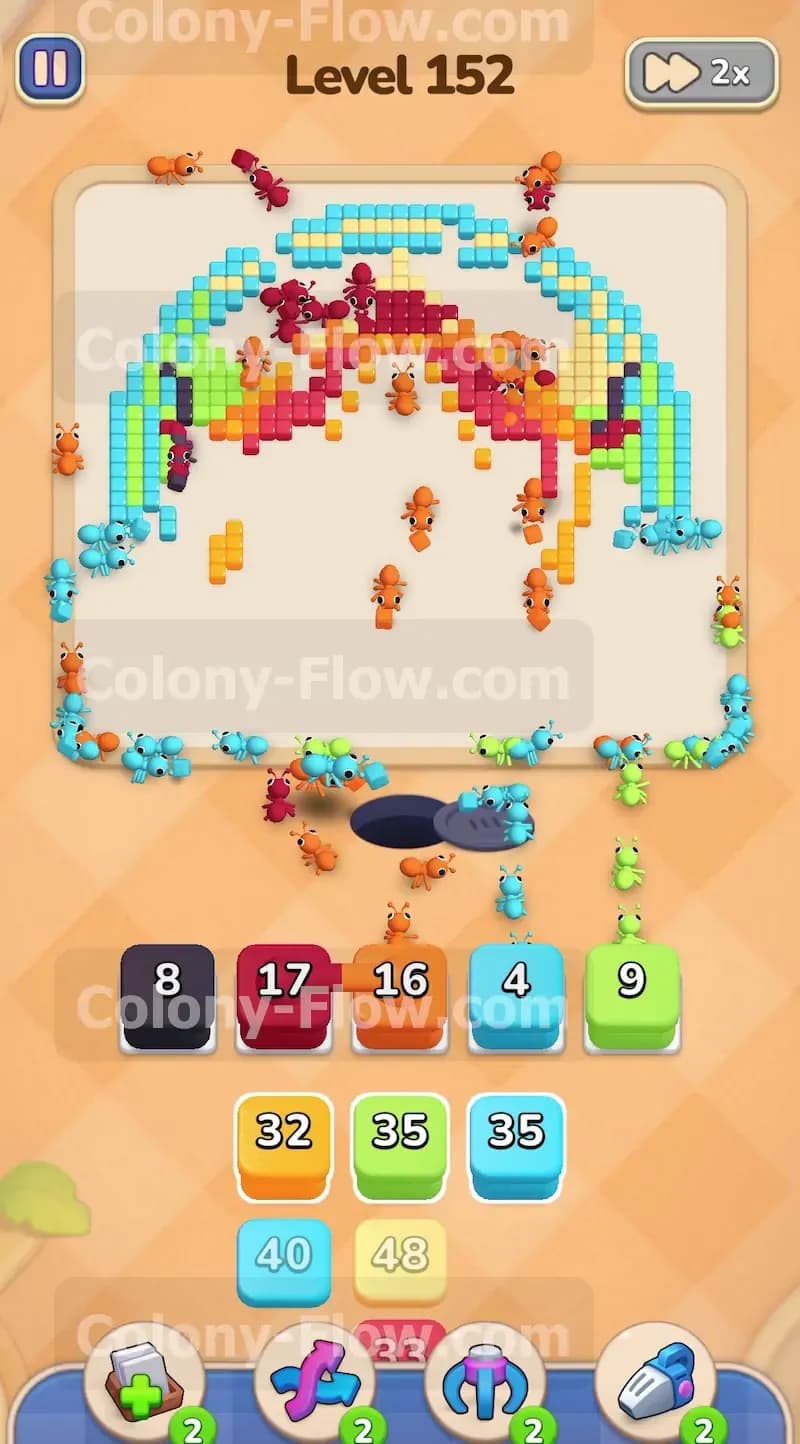
Look down at your tray and find the connected pair linking a dark red block with seventeen ants to an orange block with sixteen ants. Pulling this pair sends thirty three ants straight into the upper sections of the beetle. The dark red ants will swarm the head and the upper shell while the orange ants devour the top corners of the wings. You should also bring up the light green block holding nine ants to keep chewing away at the upper background circle. The ants will wrap around the remaining wing structure and slowly pinch the top of the picture inward. This is a very satisfying phase of the level because you can watch the entire main insect shape disappear completely.
Step 7: Finish the top background border with light blue and green
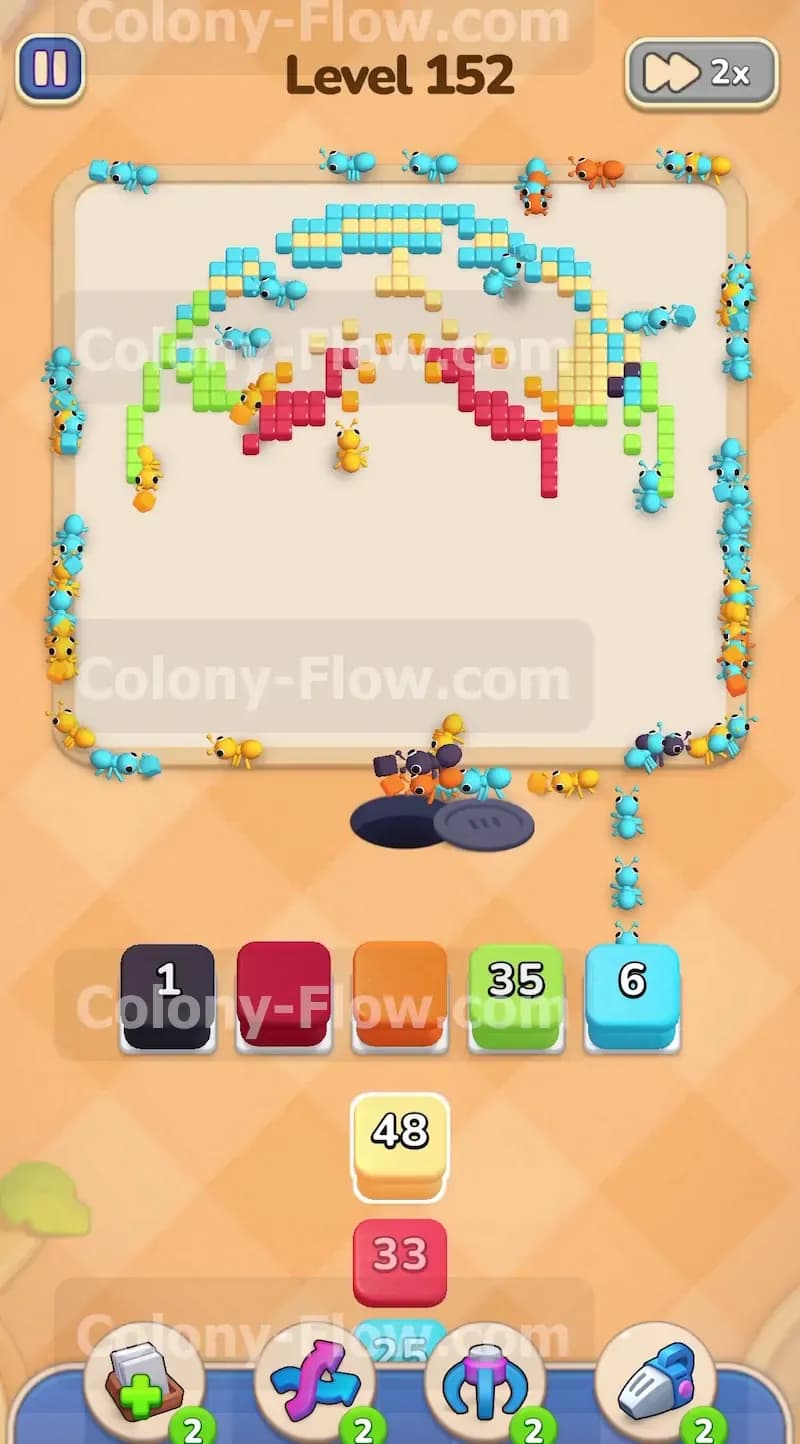
Only the very top arc of the circular background remains on the board. Your tray is now down to the final few blocks. Pull the green block holding thirty five ants and the light blue block holding six ants. The light blue ants will scurry up the far left and right edges to eat the top blue border. The green ants will follow right behind them to consume the thick green arc at the very top of the circle. You will also see a final black block holding a single ant to eat the very last black leg tip. Let all these ants stream up the sides and meet in the top center. When the last tile vanishes from the screen the board is completely clear and you win the level.
Final Thought
Colony Flow Level 152 requires careful timing with your connected boxes to keep your waiting slots open. By opening the bottom center first and splitting your ants between the wings and the outer circle you create perfect pathing for every color. If you struggle to match the sequence described above you can watch the video above this article to see exactly how to time your block pulls.