Colony Flow Level 567 Walkthrough Solution & Guides | How to solve Colony Flow 567

Guide By Liam Stone
Updated on August 1, 2026
If you want the fast route, watch the video above. It covers Level 567 from the first move to the last.
Video doesn't match your screen?
Game updates frequently scramble layouts! Try our AI Screenshot Solver first to find your exact board instantly, or report broken guides to our team.
Welcome back to another puzzle guide. Colony Flow Level 567 gives you a massive pixel art picture to clear and throws a tricky connected box layout at you right from the very beginning. You have a detailed flying saucer beaming down a bright rainbow and a starry night sky to dismantle piece by piece. I played through this entire board to figure out the exact sequence of moves so you do not get stuck on a full tray.
Colony Flow Level 567 Overview
What You Are Working With
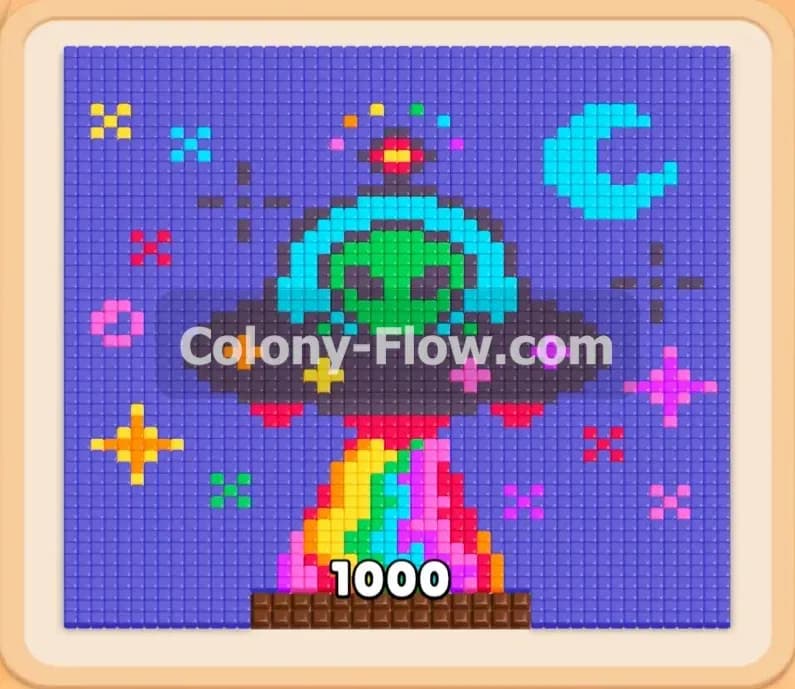
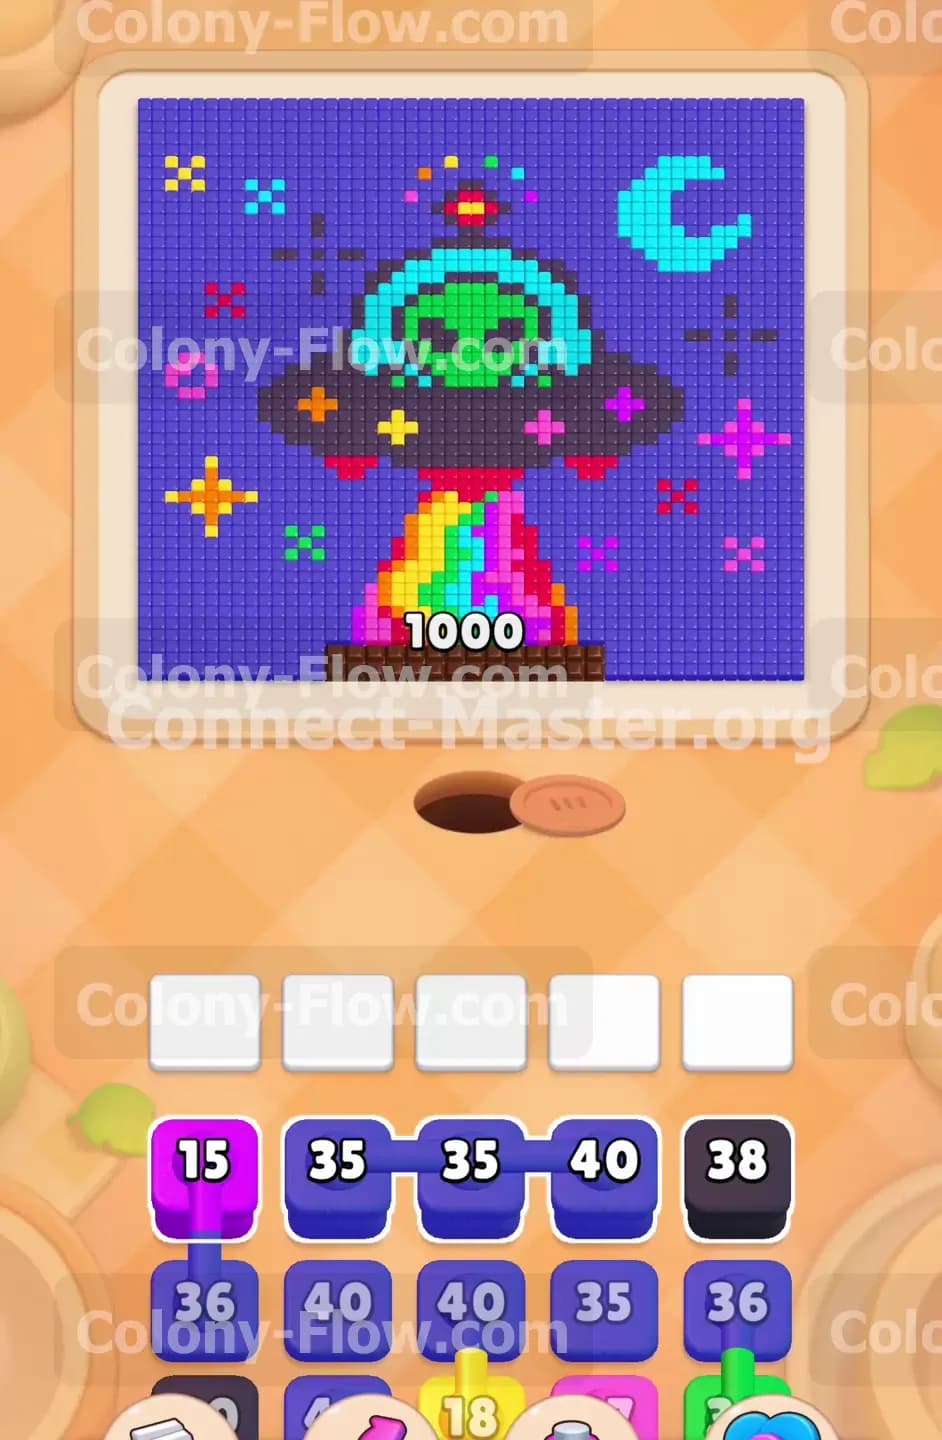
You start the game with exactly one thousand pixels making up the picture at the top of your screen. The central flying saucer has a dark grey hull and a green alien pilot sitting inside a cyan glass dome. A bright rainbow beam shoots straight down from the ship to the bottom of the board. The background features a massive dark blue night sky filled with pink stars, orange stars, and a large cyan crescent moon on the right side. Down in your tray you will see multiple rows of brightly colored blocks carrying high numbers. Many of these blocks are connected boxes. They have thick horizontal lines linking them together in groups. When you pull one connected box up to the waiting slots you pull the entire linked group with it.
What It Takes to Clear Level 567 Board
You win the level when your ants eat every single pixel in the picture and the board is completely empty. The five white waiting slots sitting directly above your block tray control the pace of the entire game. If you pull a connected group of four boxes into the slots and none of those colors can reach their matching tiles on the board they will just sit there and freeze. If you pull one more block and fill the fifth slot without opening a valid path the game immediately ends and you lose. You must constantly monitor the open edges of the pixel art and carve out paths from the bottom up. Your main strategy relies on timing your connected box pulls perfectly so you avoid dead ending the board.
Colony Flow Level 567 Step by Step Solution
Step 1: Open the bottom paths by clearing the pink stars and the red rainbow base
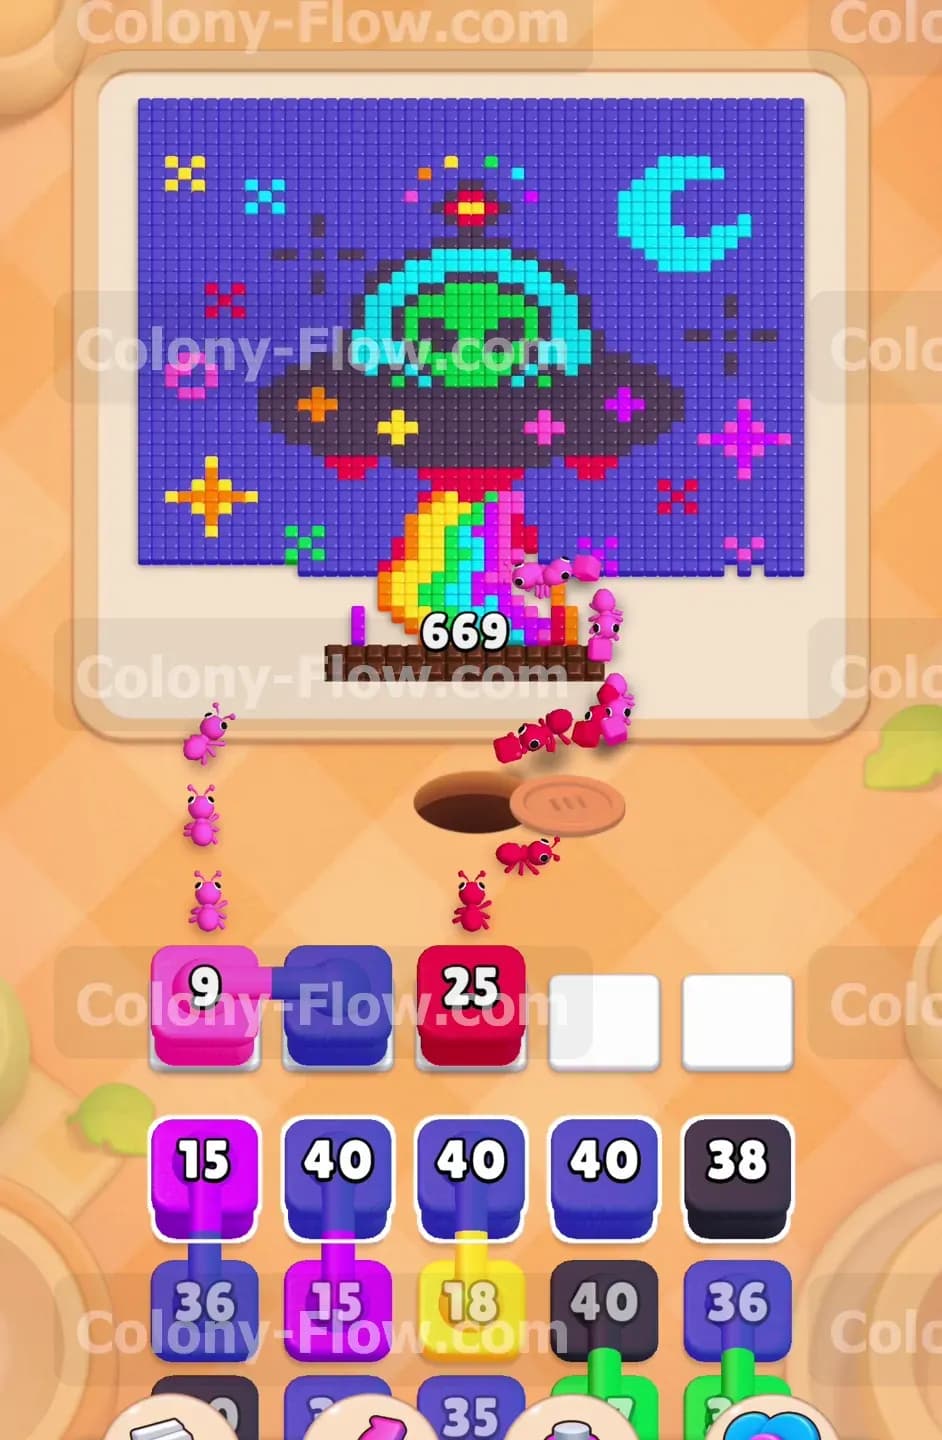
Start by addressing the immediate obstacles closest to the nest hole. The bottom edges of the picture feature pink stars floating in the dark blue sky and the base of the rainbow beam sitting directly exposed at the bottom center. You need to pull the pink and red blocks from your tray to send your first waves of ants upward. A pink block counting down from nine pixels and a red block counting down from twenty five pixels will do the heavy lifting here. The pink and red ants march straight up from the hole and split left and right to eat the lower star clusters. This opens the physical space you need to reach the core of the rainbow. Always let these initial swarms finish their meals so your waiting slots empty out completely.
Step 2: Eat through the center of the rainbow to expose the ship hull
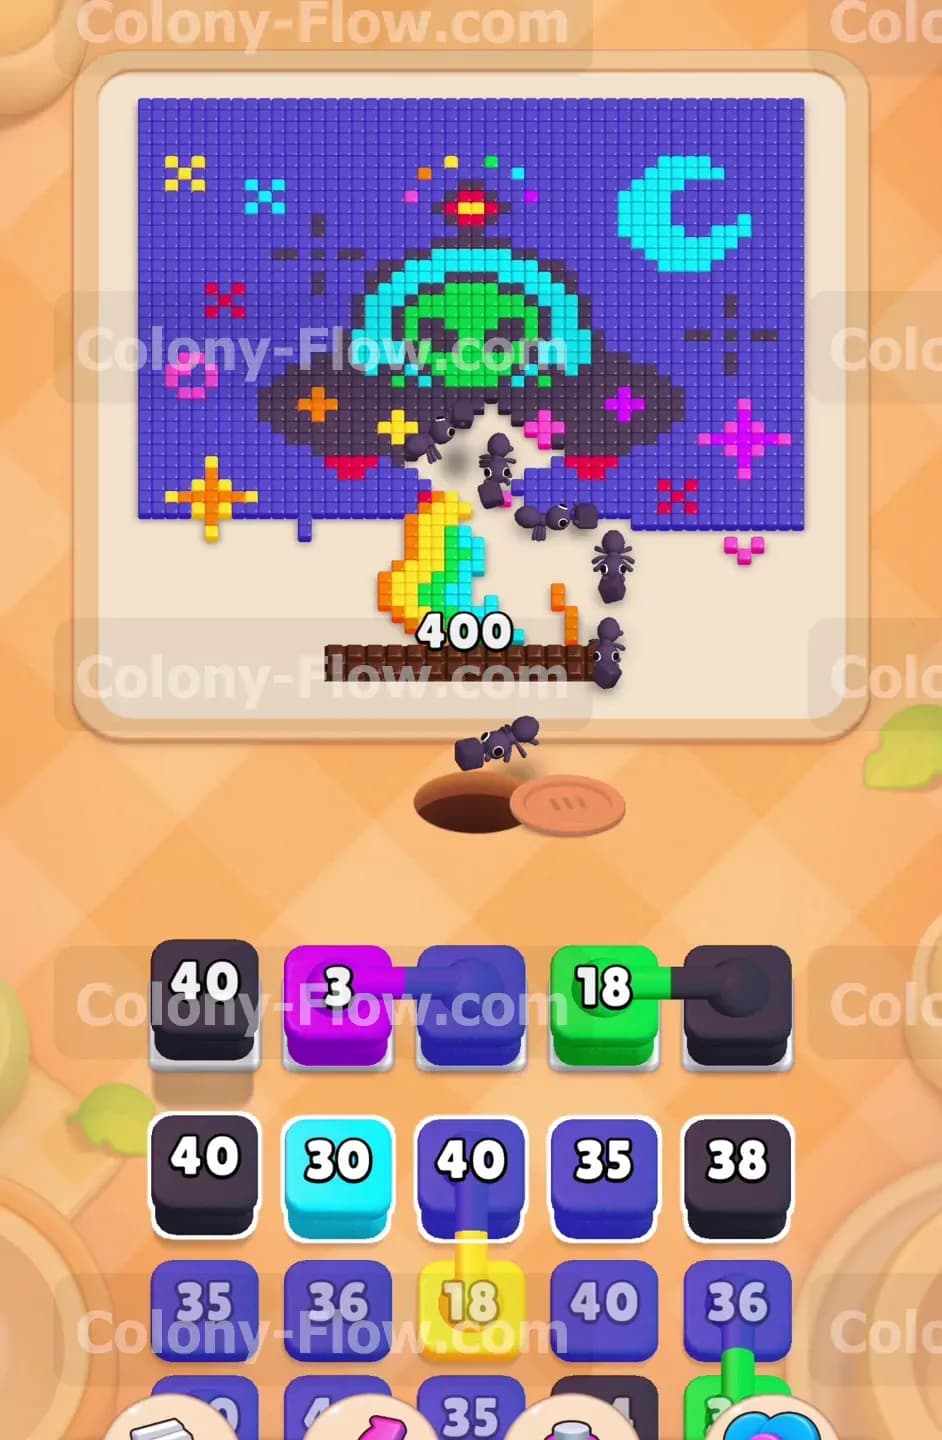
With the outer edges of the beam gone you can focus on the inner colors. Pull the next available blocks to target the yellow and green sections of the rainbow beam. You will see a green block with eighteen pixels and a purple block with three pixels open up in your tray. Send these up to the waiting area. The ants will stream directly up the center channel you just created. They chew through the rainbow blocks and finally touch the dark grey tiles that make up the bottom of the flying saucer. You must make sure the green and purple ants have a clear run before you pull anything else. If you pull a connected box too early the slots will jam and end your run.
Step 3: Deploy the dark grey ants to dismantle the bottom of the flying saucer
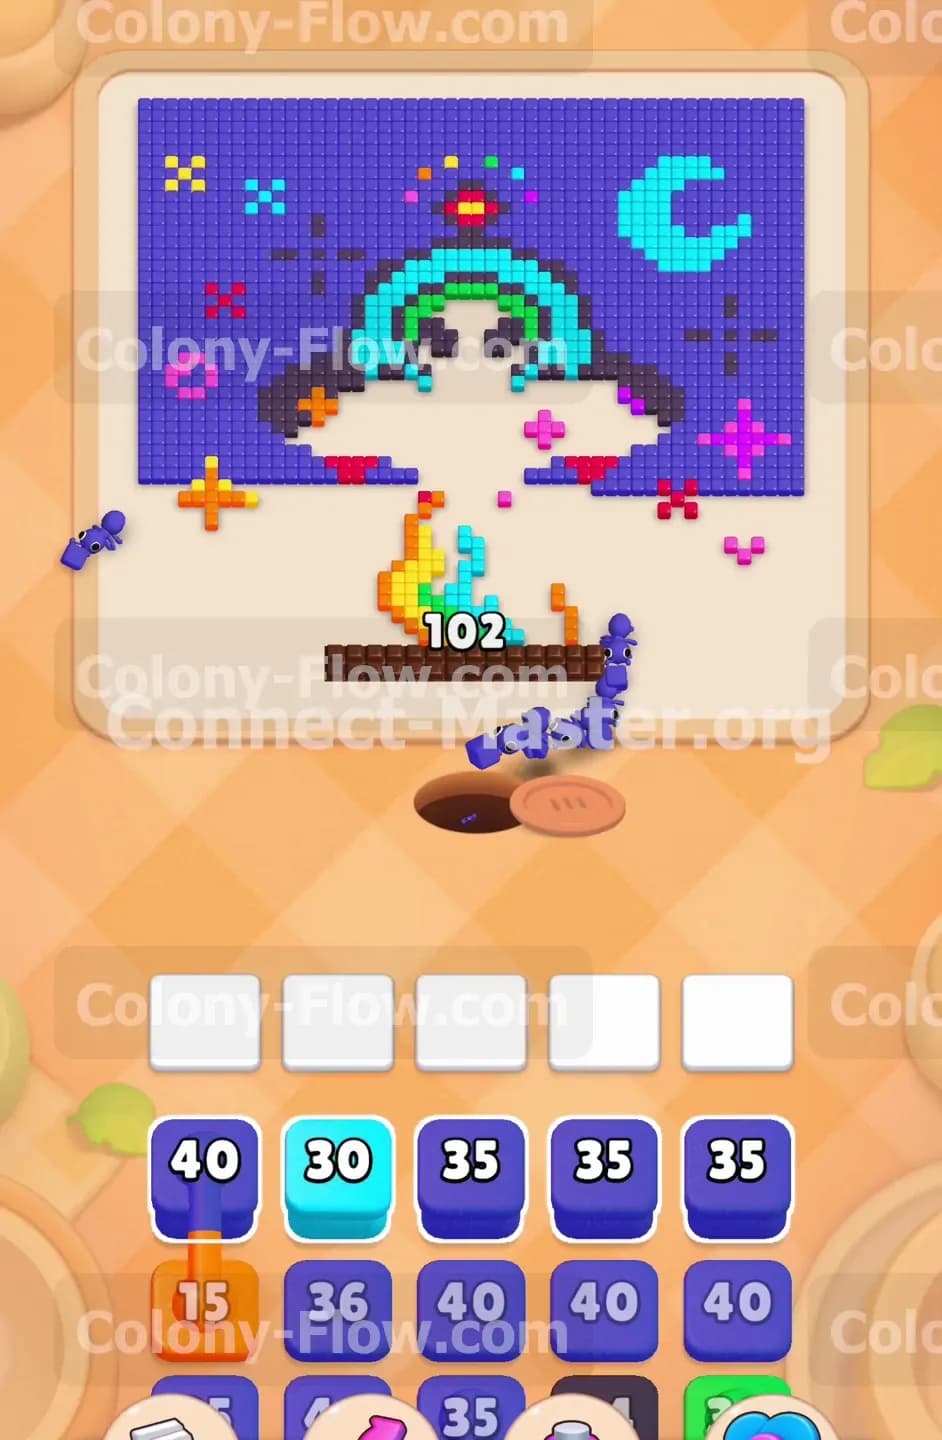
Now that the dark grey hull is exposed you can start breaking down the main ship. Pull the dark grey block carrying forty pixels into your active slots. This is where the connected boxes start becoming a dangerous factor. If the dark grey block brings a blue or purple block with it you must ensure those secondary colors also have exposed tiles to eat. The black ants will swarm up the middle and spread out along the flat bottom of the saucer. They eat away the dark grey outline and reveal the cyan interior details of the ship. Watch the number forty count down to zero and verify that the slot clears before moving to the next major color. The dark grey hull takes up a lot of space so this step takes some patience.
Step 4: Release a massive dark blue swarm to tackle the night sky background
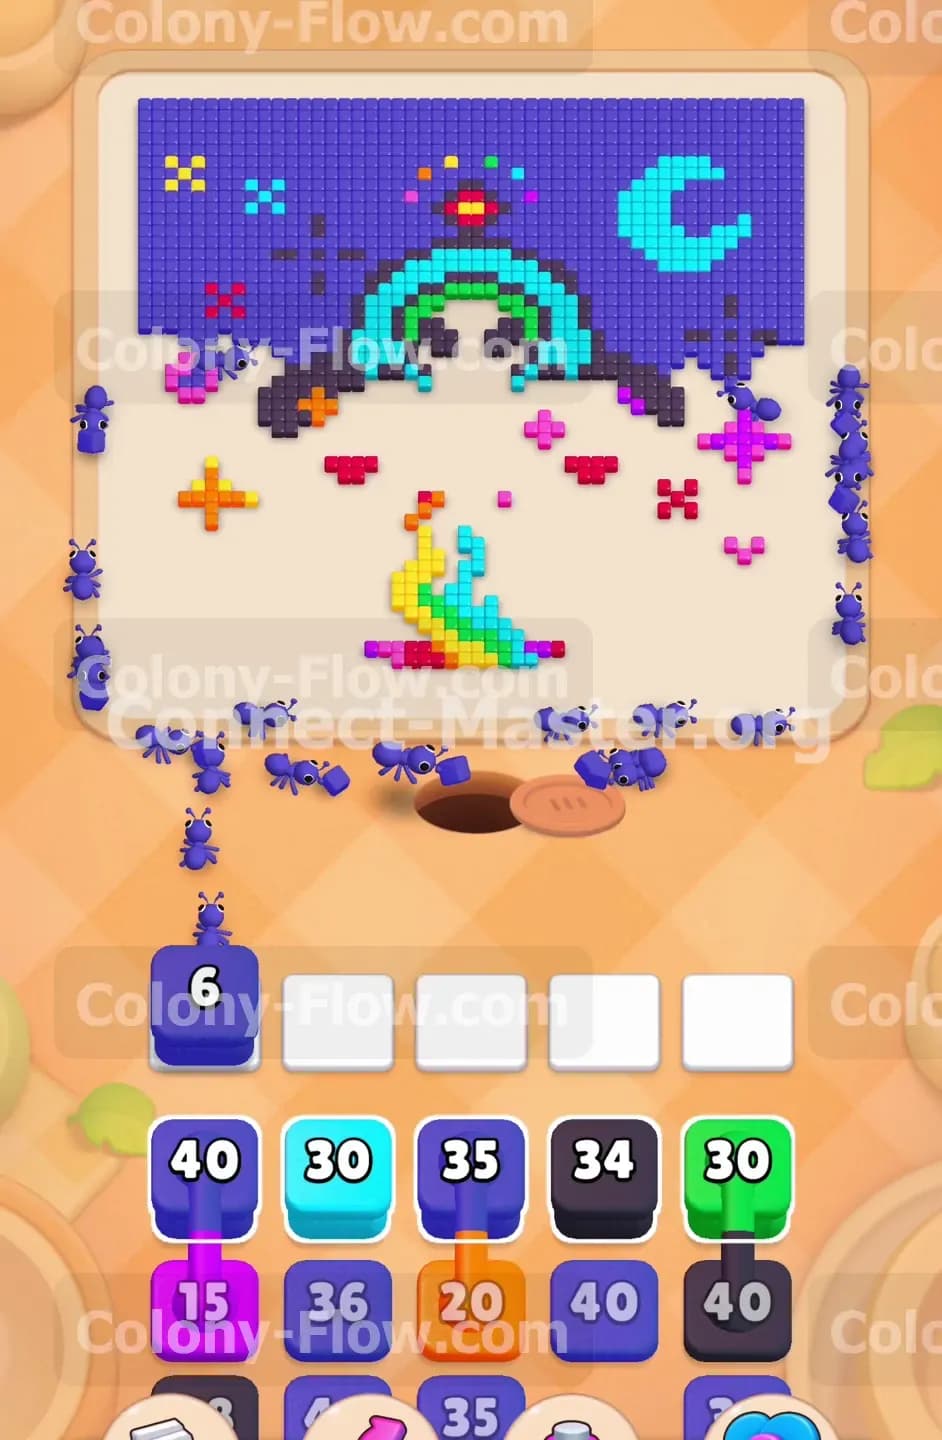
The dark blue sky makes up the largest portion of the picture. Your tray is loaded with dark blue blocks holding thirty five and forty pixels each. Pull the first set of dark blue blocks into the waiting slots. A huge colony of dark blue ants will pour out of the nest and march toward the exposed bottom edges of the sky. They sweep left and right across the board. Because there are so many dark blue tiles to clear you can safely pull multiple dark blue blocks in a row without risking a jam. The ants will wrap around the remaining stars and the ship as they eat their way up the sides of the picture. Keep an eye on the countdown numbers in the slots to ensure they keep dropping steadily.
Step 5: Clear the cyan moon and the alien head inside the saucer
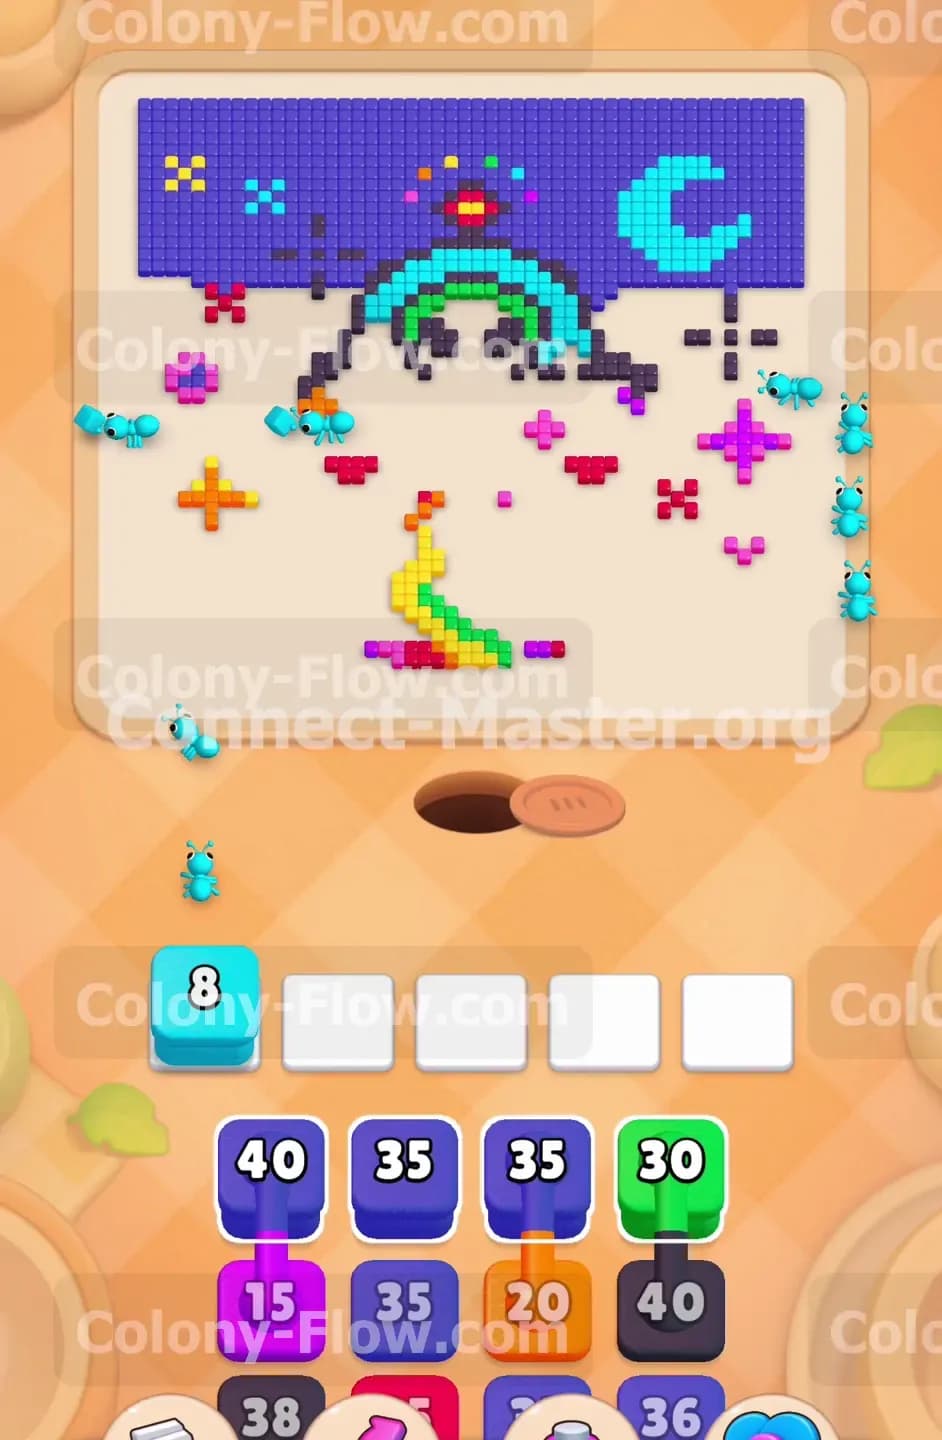
While the dark blue ants are busy working on the background you can target the cyan details. The large crescent moon on the right side and the alien pilot in the center are both made of cyan tiles. Pull the cyan block holding thirty pixels followed by the cyan block holding eight pixels. The cyan ants will travel up the right side of the board to devour the moon. Another group will head straight up the middle to eat the alien head and the glowing cyan outlines on the ship. This move clears a massive amount of clutter from the upper half of the board and gives your remaining ants straight paths to the top corners. The picture will look mostly empty after this massive wave finishes.
Step 6: Pull the mixed connected boxes to finish the central details
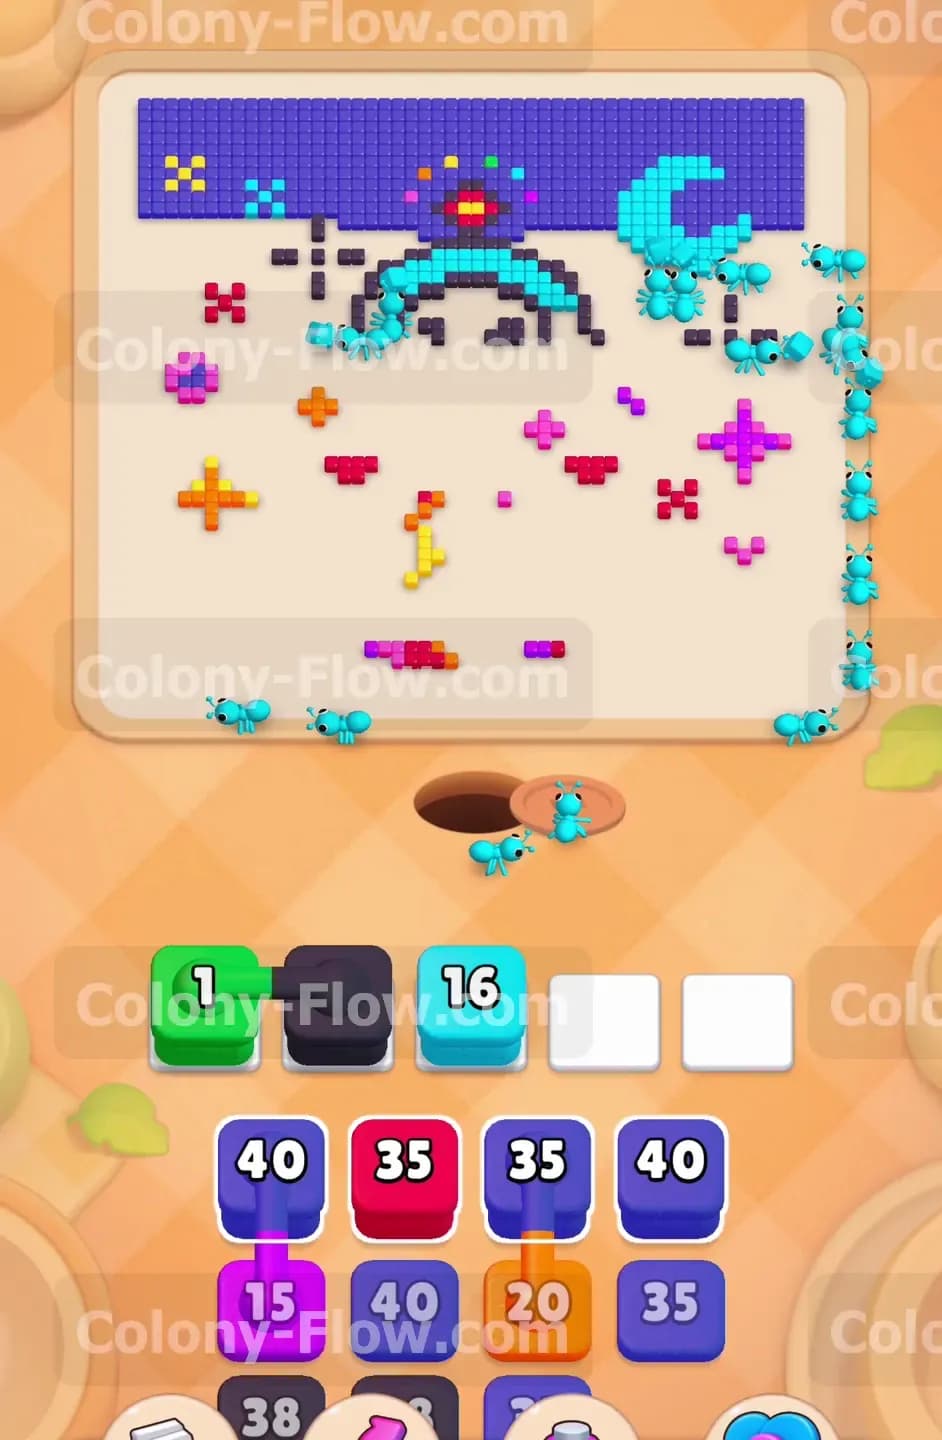
As the board gets emptier you will need to clean up the isolated colors left behind. You will encounter a connected group containing a green block with just one pixel linked to a dark grey block. Pull this pair into the waiting slots. Because the board is mostly open now the green ant and the black ants will easily find their remaining matching tiles in the center of the ship area. You will also pull a cyan block with sixteen pixels to finish off the very last cyan outlines near the top. Keeping your slots moving smoothly here is critical because you are running out of blocks in the tray. Wait for the green block to vanish entirely before moving on.
Step 7: Complete the final perimeter sweep to win the level
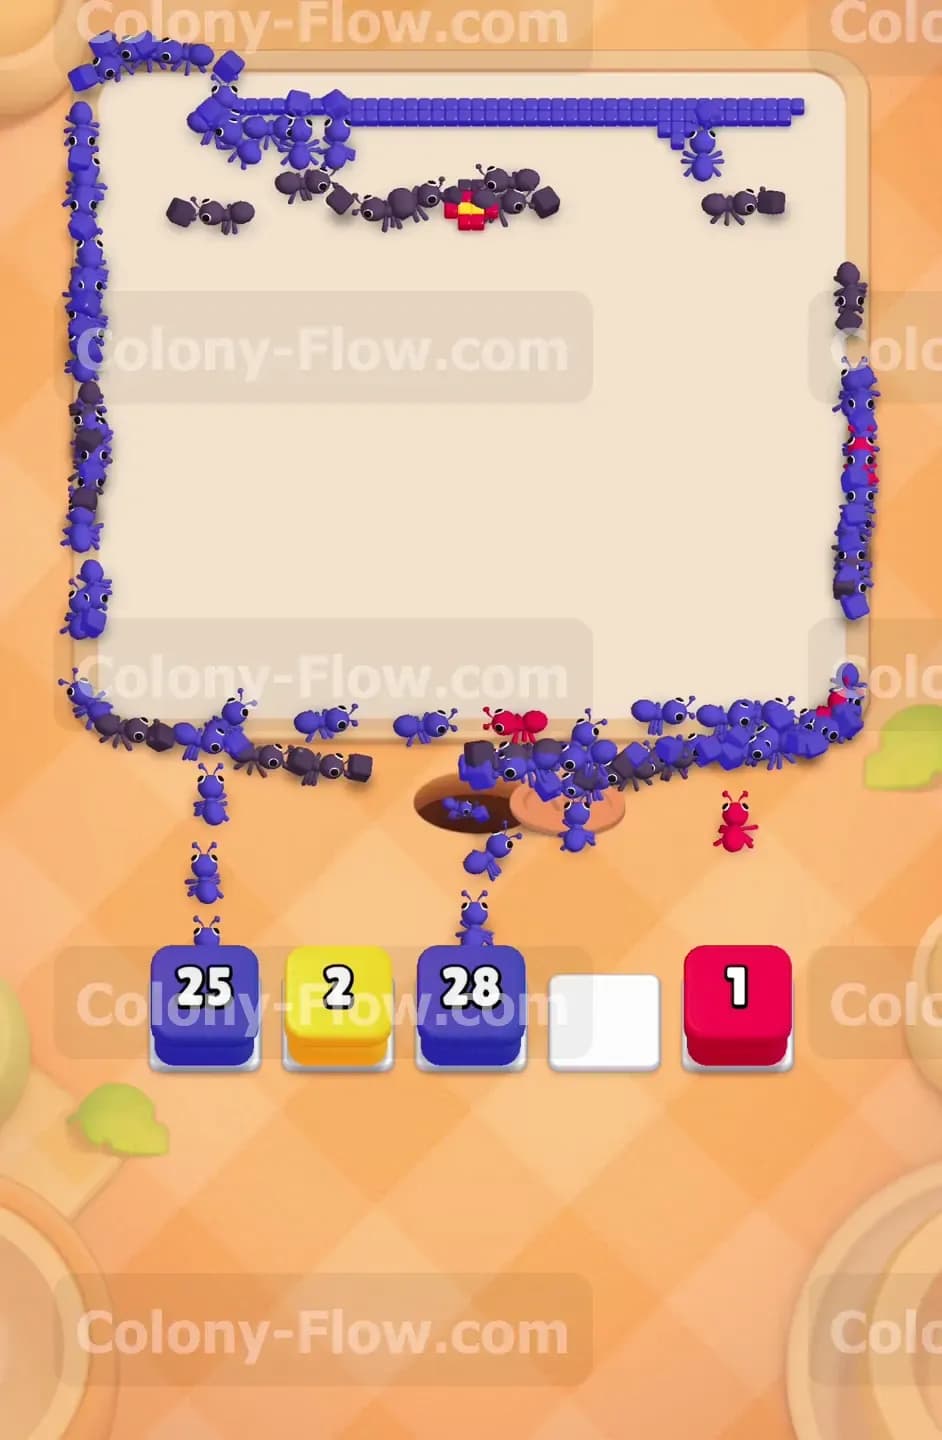
The only thing left on the board is the very top edge of the dark blue sky. Pull the remaining dark blue blocks from the bottom of your tray. You will see a block with six pixels and another counting down from twenty eight. The dark blue ants will stream out and do a full lap around the empty white space. They march all the way up the left and right walls to meet at the top edge of the frame. Let them eat the final row of blue pixels. You will also use a yellow block holding two pixels and a red block holding one pixel to clear out the final bits of the rainbow beam. Once the picture is completely gone the level ends in victory.
Final Thought
That is everything you need to know to beat this specific board. Managing those connected boxes in the early game is the only real hurdle here. If you keep your center paths open and let the big background colors clear out gradually you will not have any trouble keeping your waiting slots empty. Feel free to watch the video above this article if you want to see exactly how the ants path through the center rainbow section. Keep your board flowing and I will see you in the next guide.