Colony Flow Level 260 Walkthrough Solution & Guides | How to solve Colony Flow 260

Guide By Liam Stone
Updated on August 1, 2026
If you'd rather see it than read it, the video above walks through Level 260 from start to finish.
Video doesn't match your screen?
Game updates frequently scramble layouts! Try our AI Screenshot Solver first to find your exact board instantly, or report broken guides to our team.
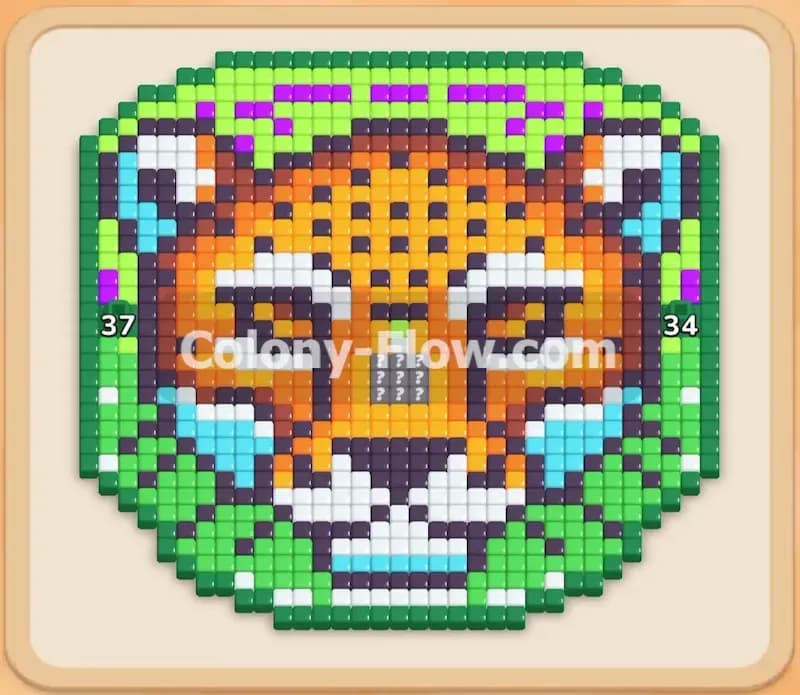
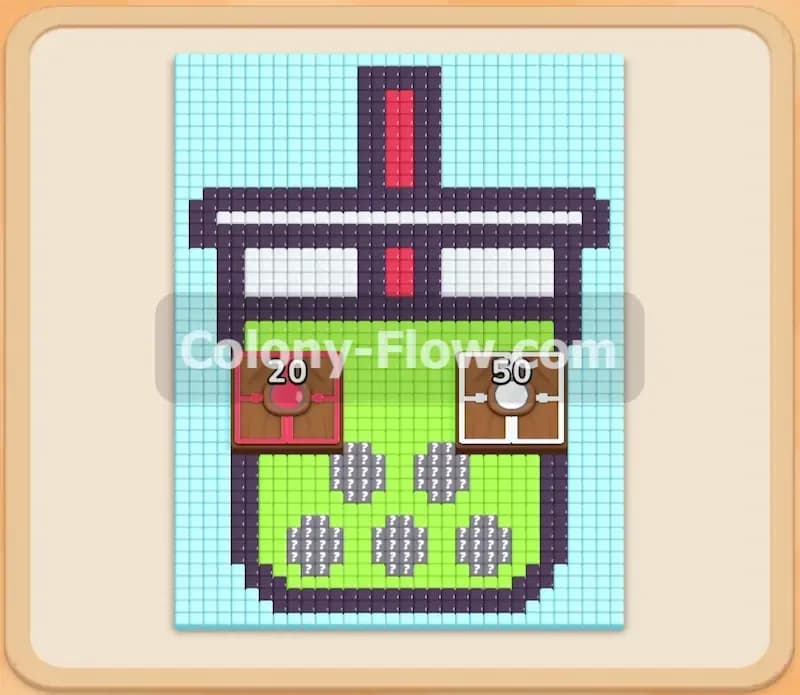
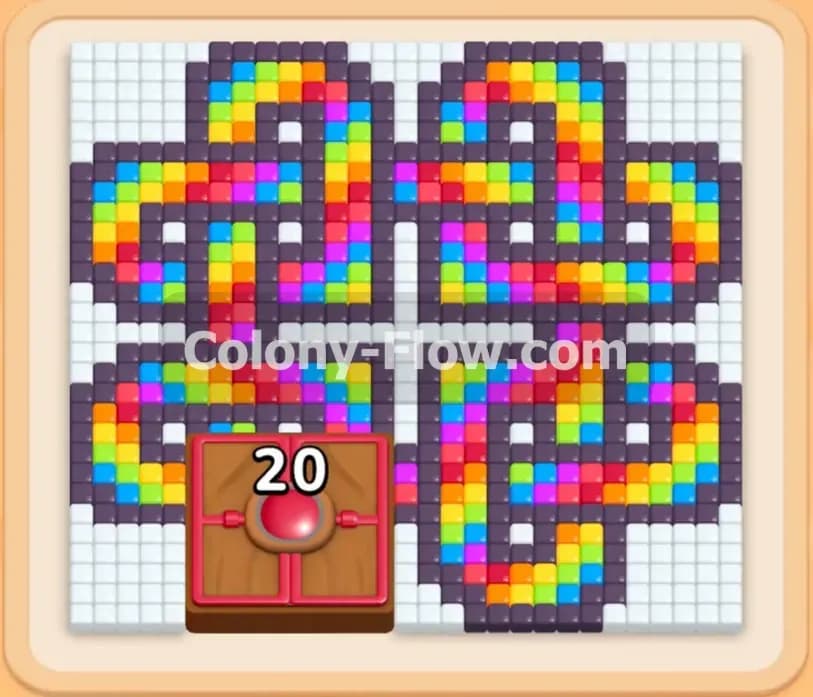
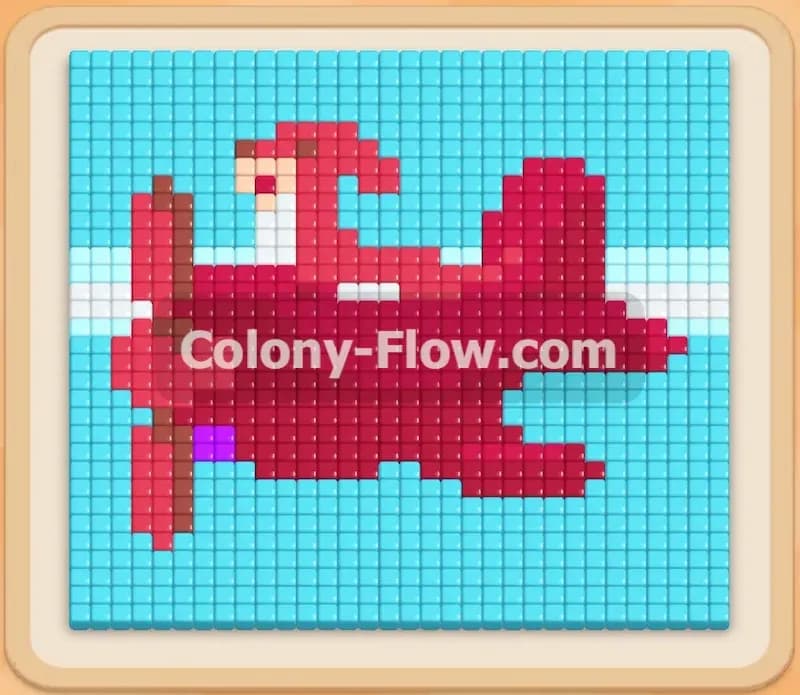
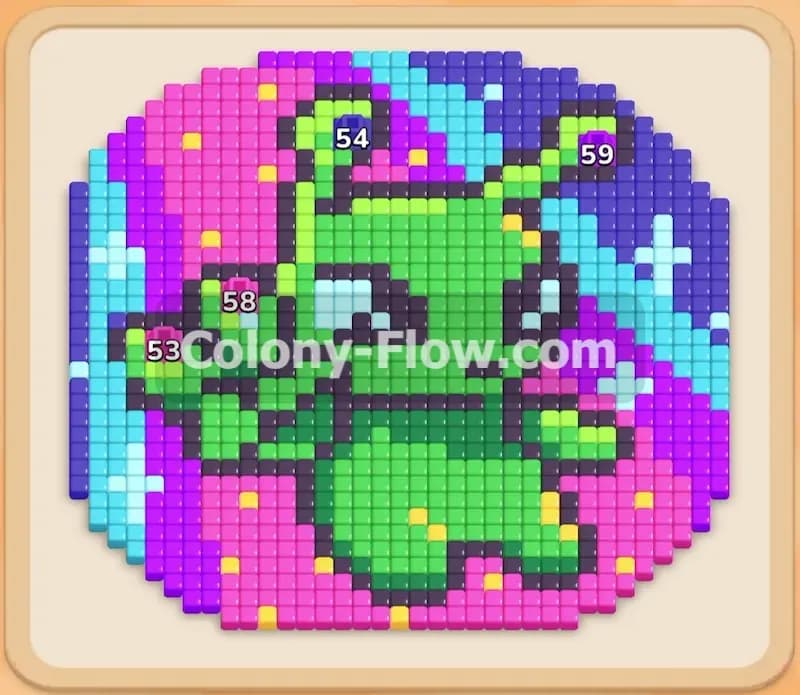
Colony Flow Level 260 features a bright pixel art alien creature. You need to clear a large green alien surrounded by a vibrant background of pink and dark blue. I found this level very satisfying to clear once you understand the tray layout. You just need to manage your tray space carefully to avoid jamming your waiting slots.
Colony Flow Level 260 Overview
What You Are Working With
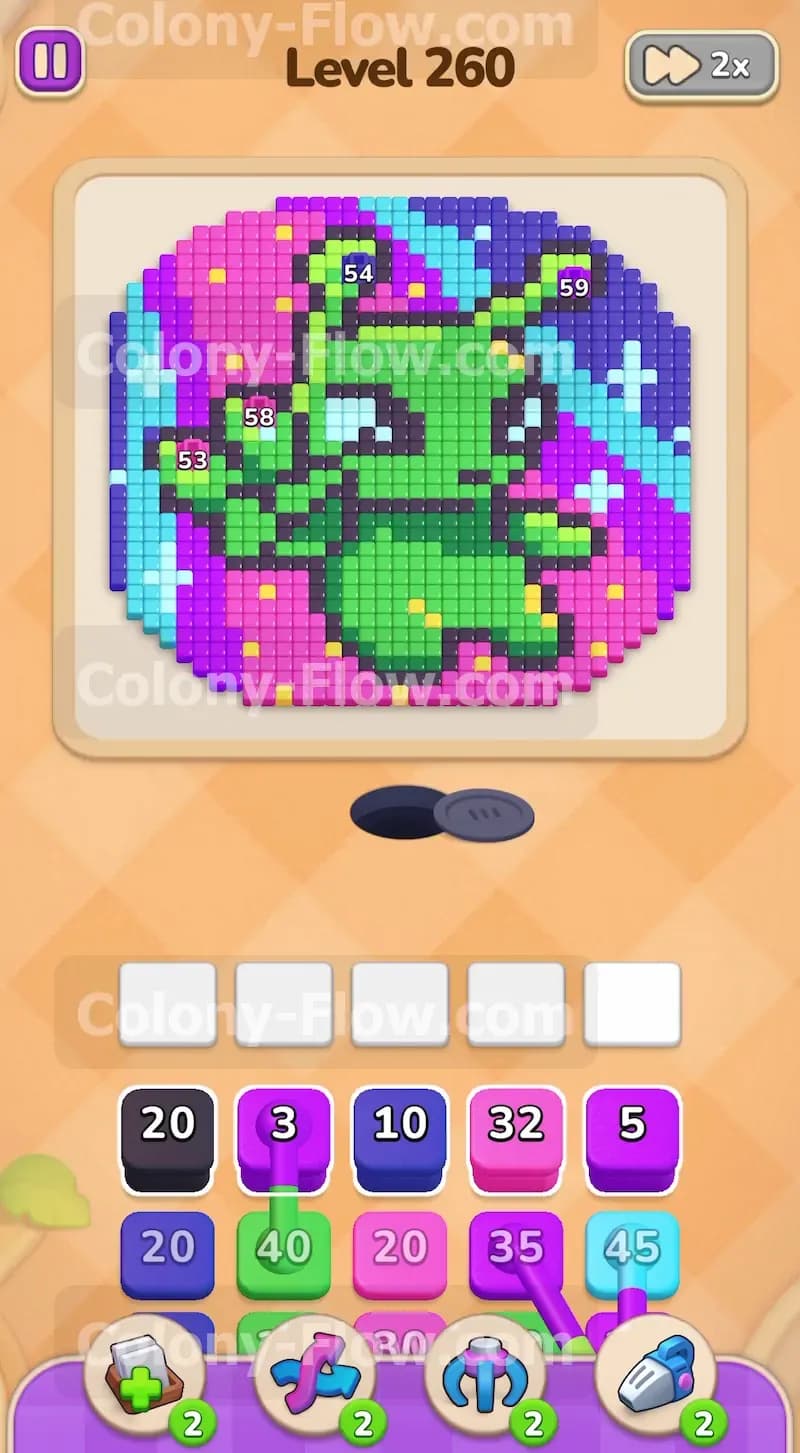
The board shows a massive green alien figure with thick black outlines. The background splits into a bright pink section on the left and a dark blue section on the right. Several light blue cross shapes act as stars scattered around the background. A few yellow accents dot the design near the bottom. The tray below holds columns of numbered colored blocks. Some blocks feature connected lines between them. These connected boxes act as a single group. When you pull one connected box up to your waiting slots the linked box comes with it automatically. You must always ensure you have enough empty slots to catch both connected boxes at the exact same time. If you pull a connected pair with only one empty slot left you instantly lose the level.
What It Takes to Clear Level 260 Board
You win by matching every colored block in your tray to the exact same colored tiles on the board. The ants stream out of their dark nest hole at the bottom and carry the colors to the matching pixels. You clear the board when the ants eat every single pixel and the background goes completely blank. You lose if your five waiting slots fill up with blocks that have no open paths to their matching tiles on the picture. Your entire strategy revolves around opening continuous paths. You must never dead end the ants. Always leave at least one active block clearing tiles so the tray keeps flowing smoothly.
Colony Flow Level 260 Step by Step Solution
Step 1: Open the dark blue background on the right side
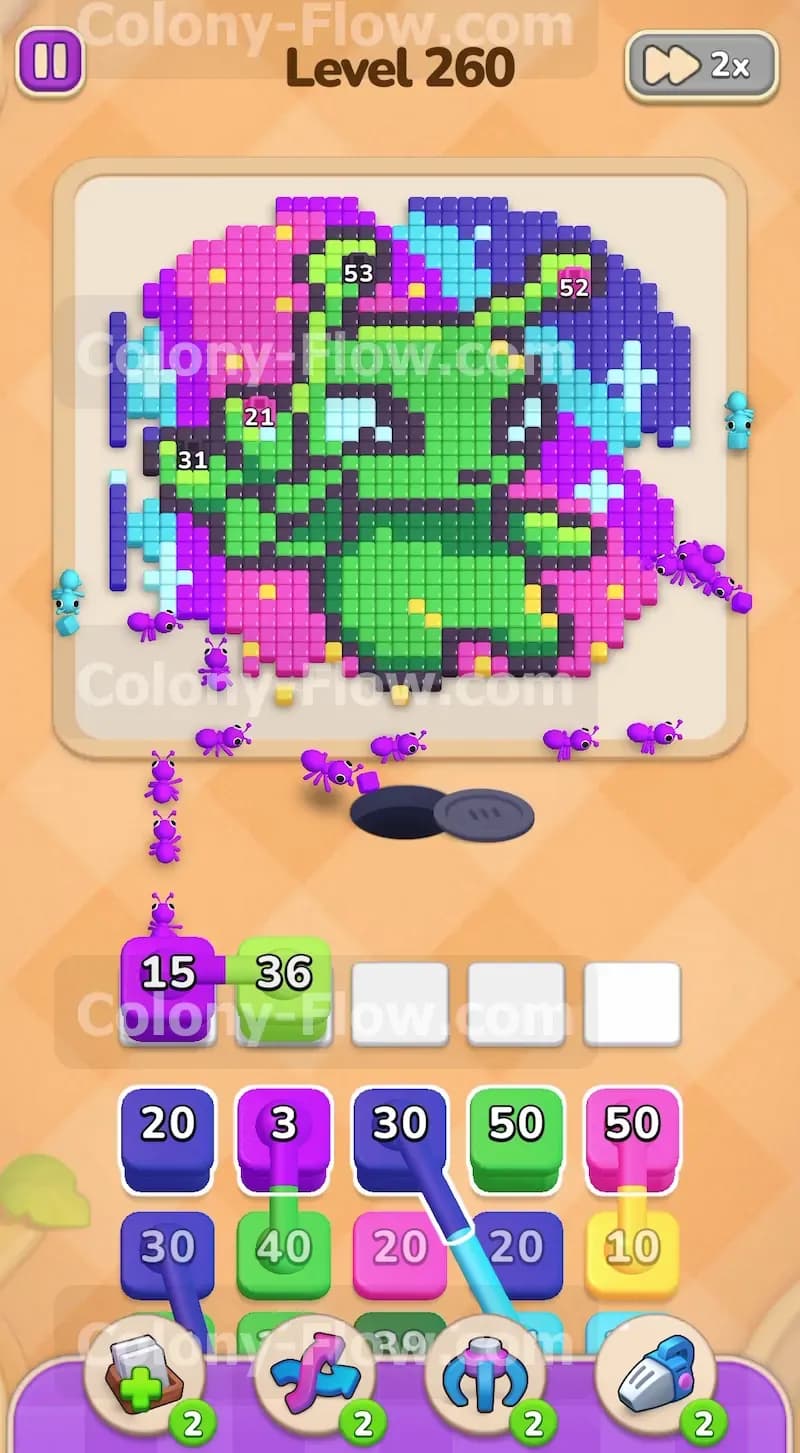
You start the level facing a solid wall of tight pixels. Your first move is to pull the dark blue blocks from the top of the tray. Send these blocks to the waiting slots. The ants will immediately rush out and start eating the dark blue background on the right side of the alien. You will notice connected boxes in the tray. Make sure you have at least two open slots before you tap a dark blue block with a connecting line. The ants carve a clear path along the right edge and open up access to the light blue stars and the black outline of the alien. Watch the numbers on your dark blue blocks count down to zero. Keep pulling dark blue blocks with values like 20 and 30 until the right side is completely open and the ants have plenty of room to maneuver.
Step 2: Clear the purple sections at the top of the board
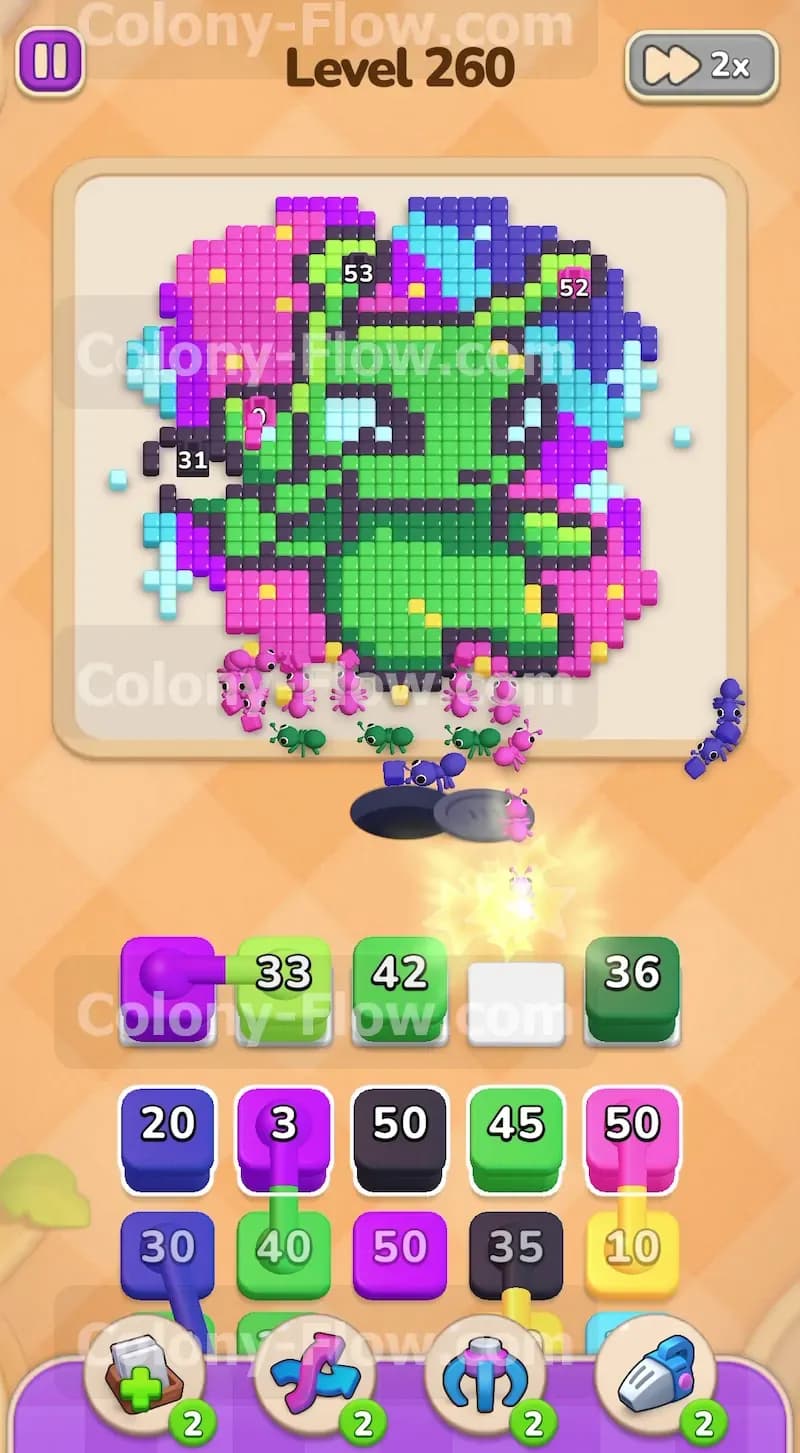
With the right side partially open you can now access the purple background tiles. Look at your tray and find the purple numbered blocks. Pull a purple block into your waiting slots. The ants will travel up the cleared right side and begin clearing the purple sections near the top right corner. You want to keep the board flowing smoothly. Do not pull too many purple blocks at once. Let the ants finish eating the current purple section before you pull the next one. This prevents your waiting slots from jamming while the ants travel the long distance to the top of the board. The purple tiles wrap around the upper head of the alien. Send enough purple blocks with numbers like 50 and 30 to erase that entire upper corner.
Step 3: Attack the massive green alien body
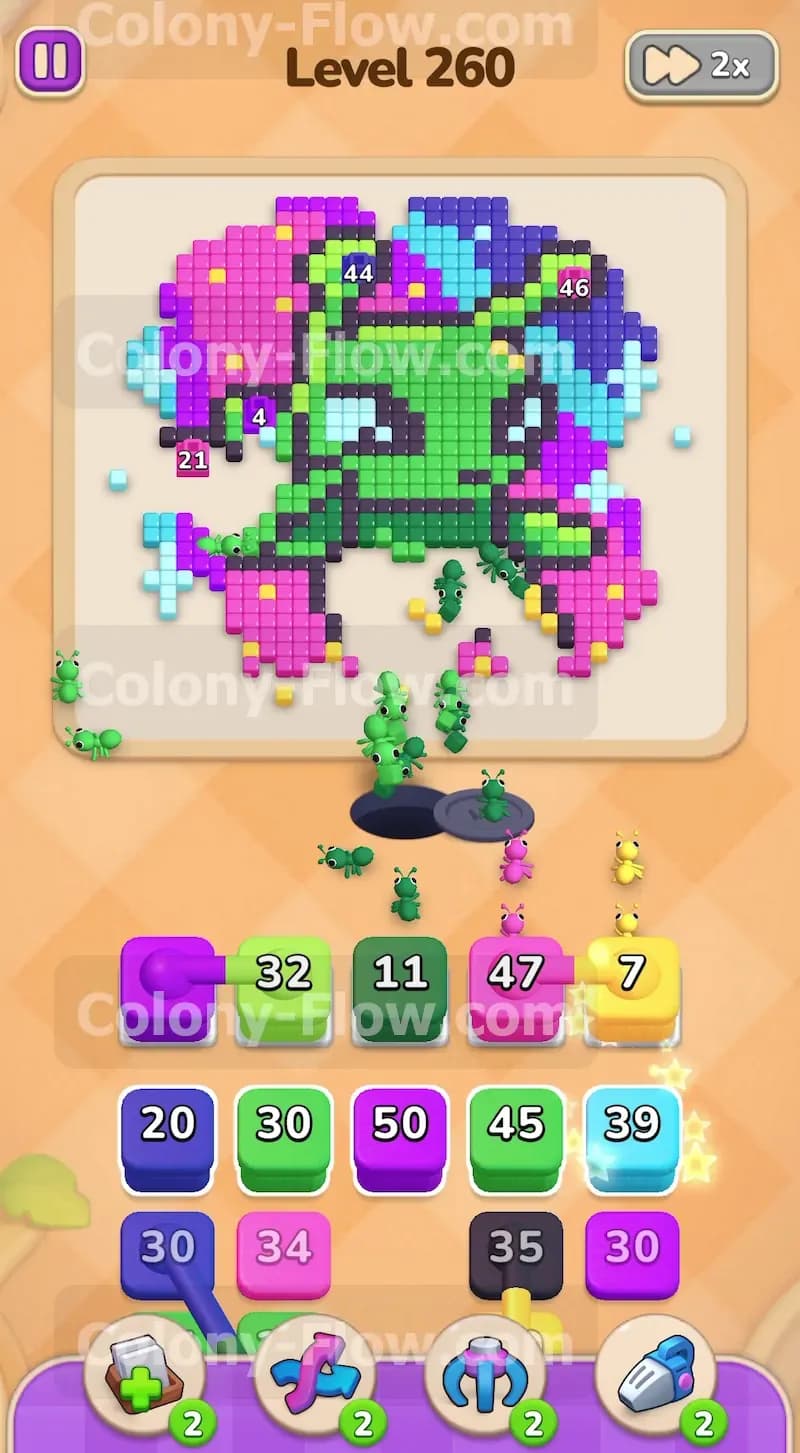
The green alien makes up the bulk of this picture. Once the top and right sides have some open space you can start feeding green blocks to the ants. The tray contains several large green blocks with high numbers like 36 and 40 and 42. Pull one or two green blocks into the slots. The ants will march directly into the main body of the alien. Watch the numbers count down as the ants dismantle the green pixels. Since the green area is so large you will spend a good amount of time here. Always keep an eye on your waiting slots. Leave at least two slots open for emergencies. The green blocks will rapidly clear the head and torso of the alien. You will see the entire center of the board vanish as the ants consume the green tiles.
Step 4: Remove the pink background tiles on the left
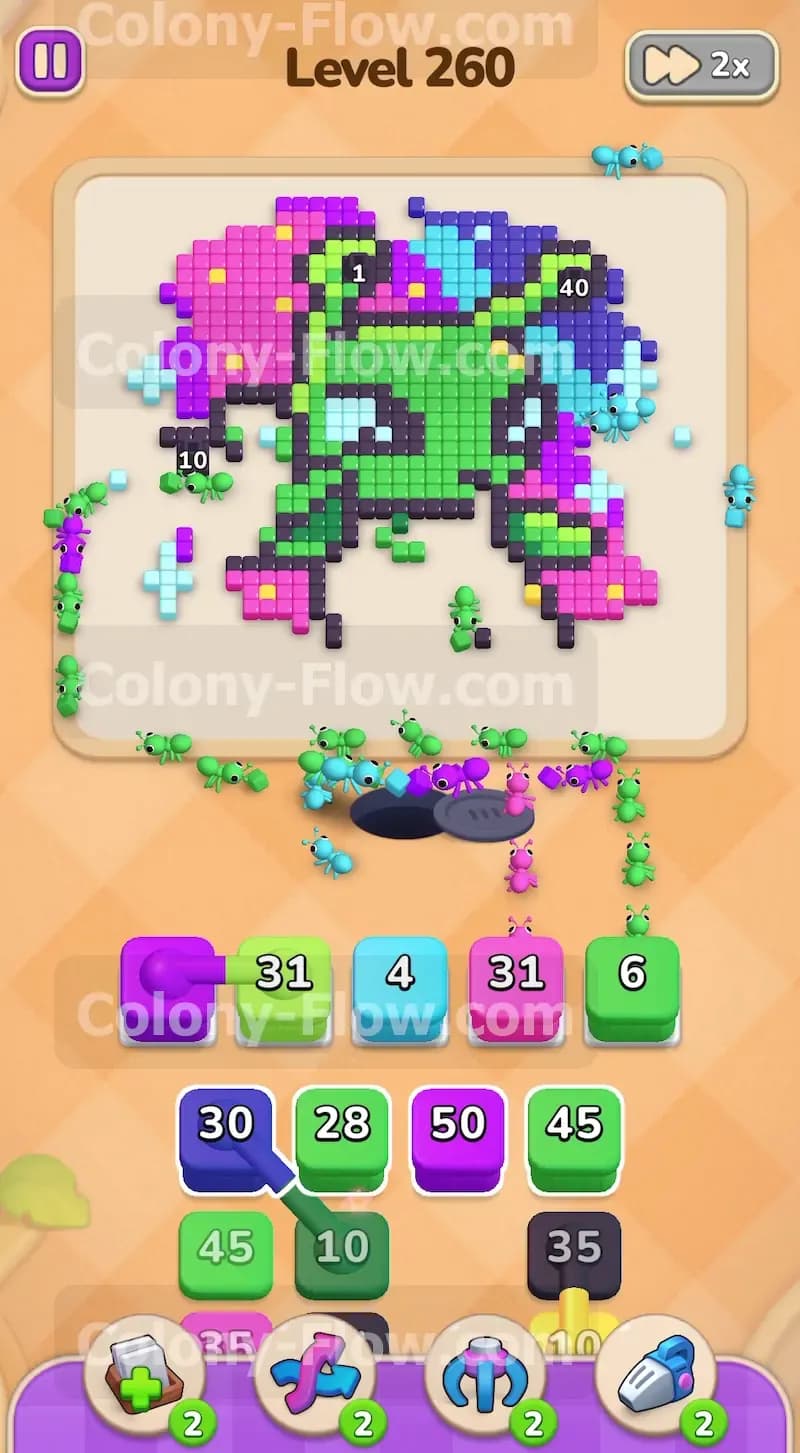
As the green body shrinks you gain access to the pink background on the left side. Locate the pink blocks in your tray. Tap a pink block to send it to the waiting area. The ants will stream across the cleared green space and begin devouring the pink pixels. The pink section wraps around the left side and the bottom left corner. You will need a few different pink blocks with values like 20 and 32 to clear it all. Clear the pink tiles steadily. Do not rush and pull every pink block you see. Wait for the ants to finish their current meal before serving the next pink block. Managing the pink blocks correctly opens up the entire left side of the board and gives the ants total freedom of movement.
Step 5: Erase the light blue stars scattered around the alien
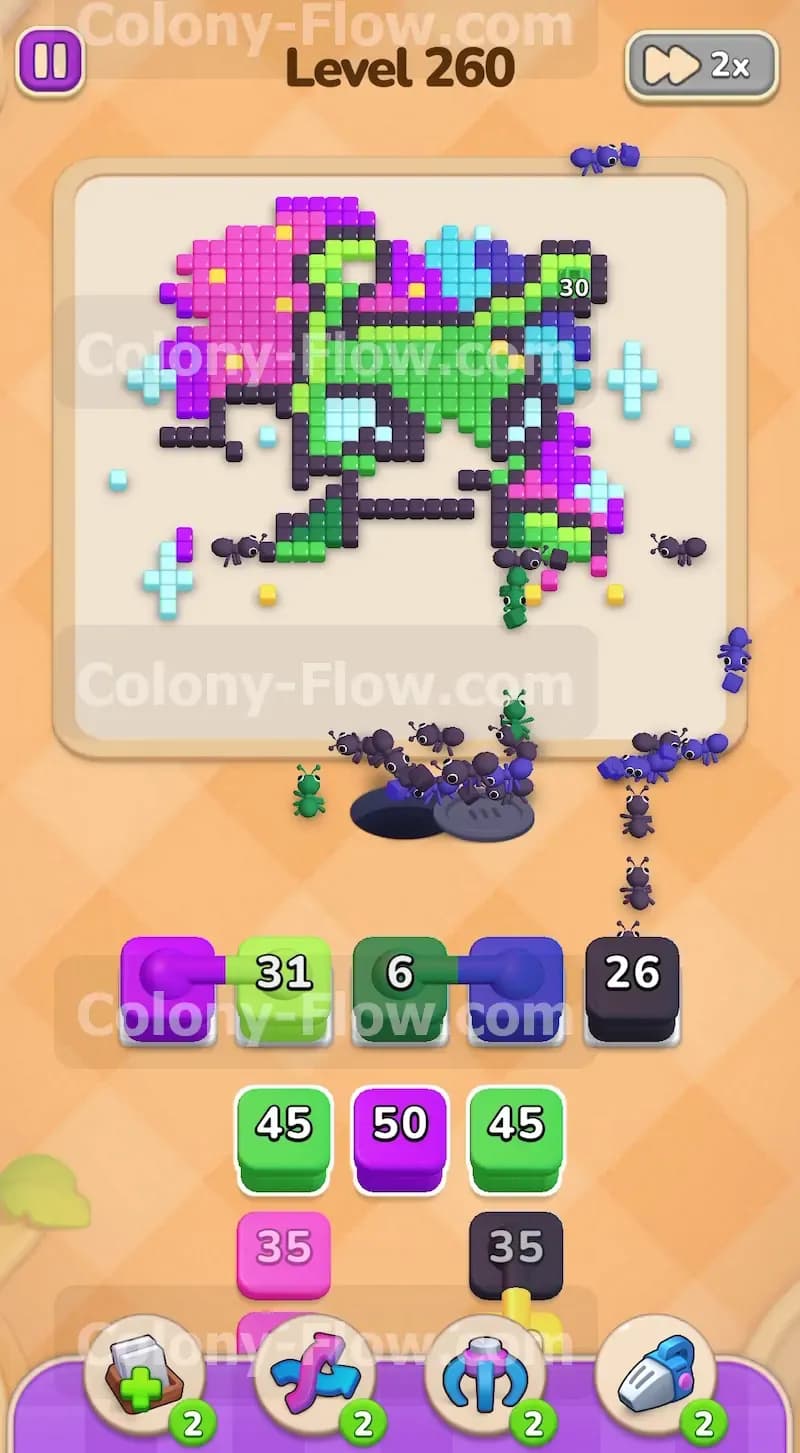
The light blue plus shapes are now fully exposed. These act as stars in the background. Check your tray for the light blue blocks. Pull a light blue block up to your waiting slots. The ants will scatter and hunt down the small blue crosses. Because these stars are spread out the ants take a little longer to reach them all. Patience is your best tool here. Let the ants do their job. Avoid pulling any other colors until the light blue numbers reach zero and the stars disappear completely. The light blue blocks have specific numbers like 45 that perfectly match the total count of star pixels.
Step 6: Target the black outline around the creature
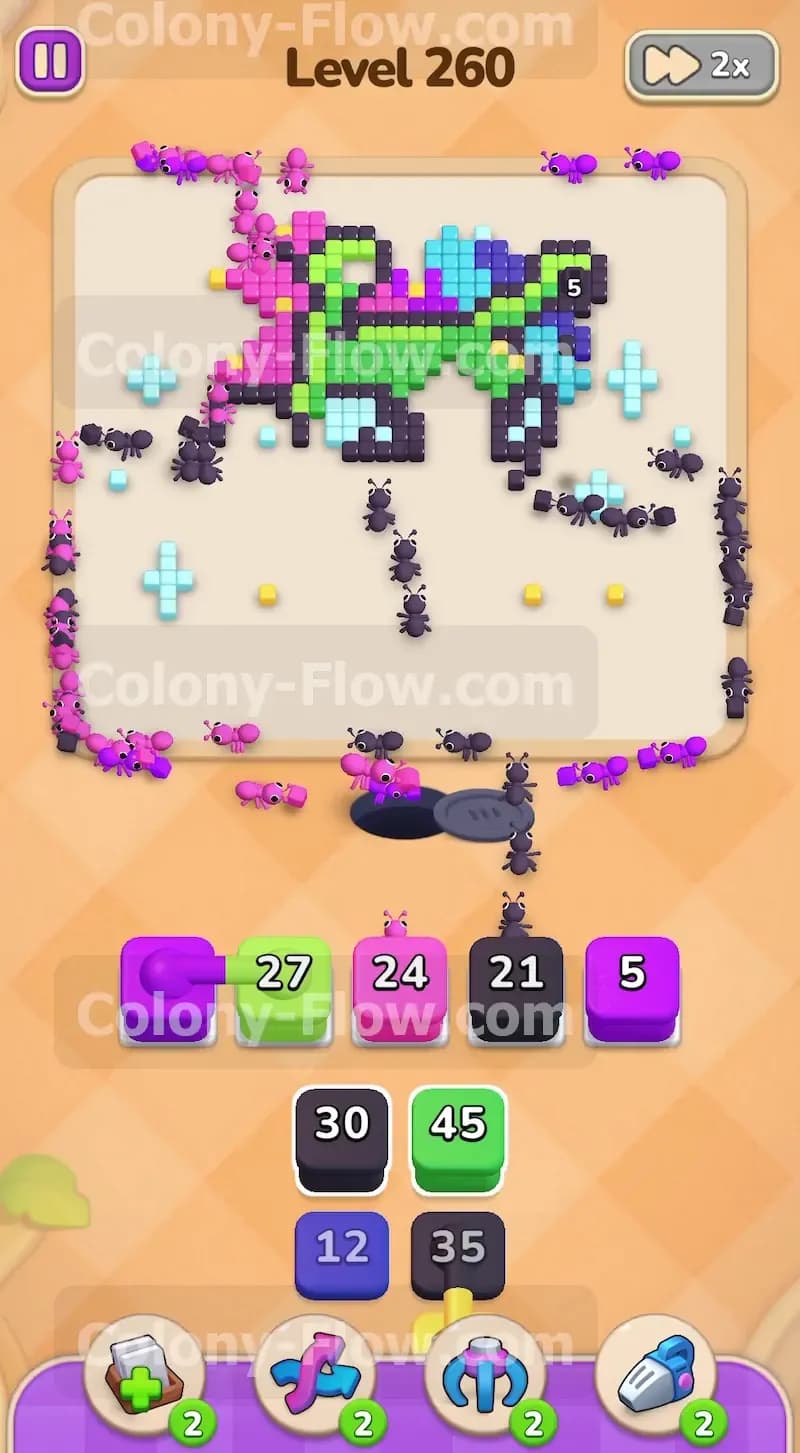
The alien is framed by a thick black outline. This outline separates the green body from the background colors. Now that the background and most of the body are gone the black tiles stand completely exposed. Pull the black blocks from your tray. The ants will form a long line and trace the perimeter of the alien shape. They will eat the black pixels one by one. The black blocks in the tray have large numbers in the twenties and thirties. It takes a constant stream of ants to clear these borders. Keep your slots clear and watch the ants finish the outline. The black outline acts as a skeleton for the picture so removing it leaves only a few fragmented pieces behind.
Step 7: Clear the yellow accents near the bottom
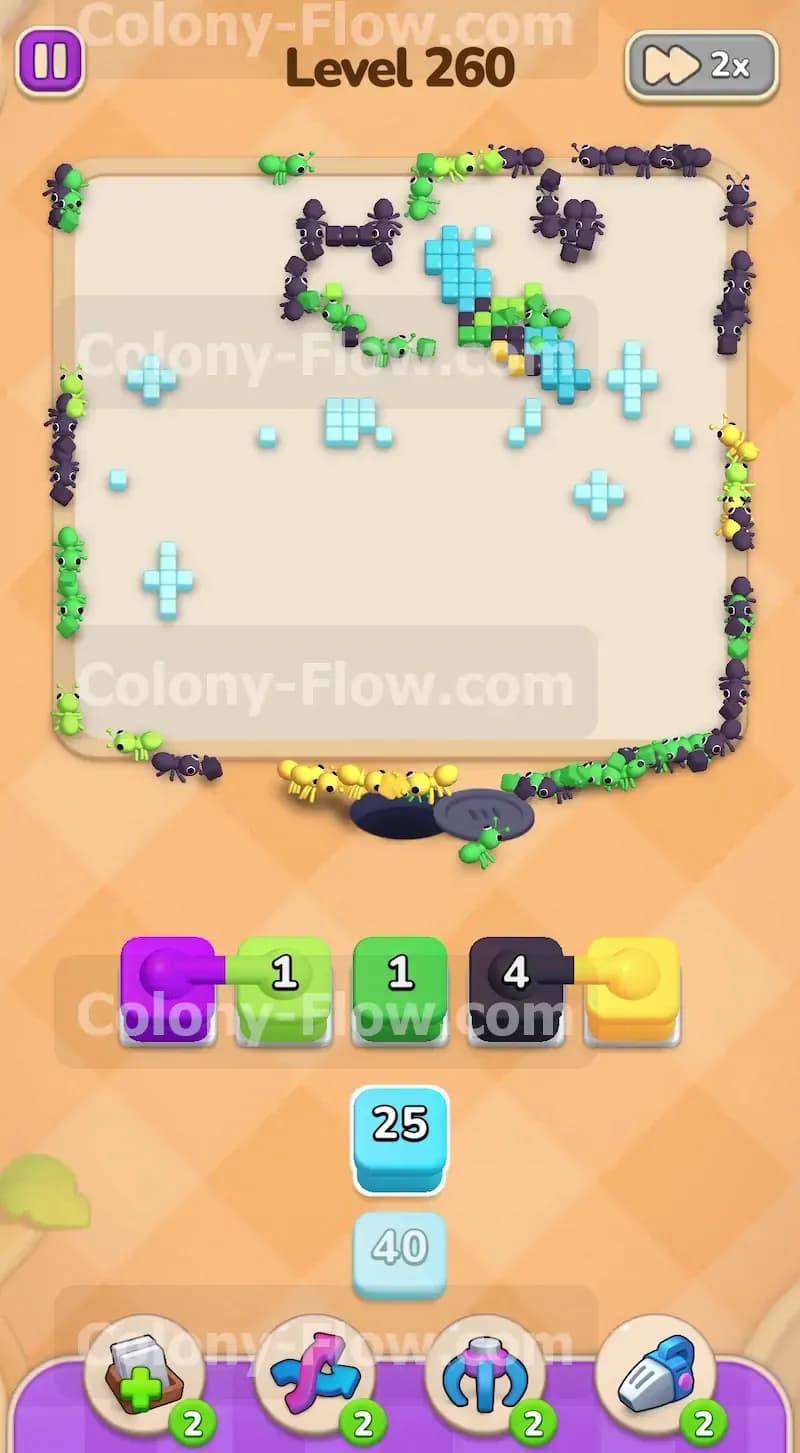
Only a few colors remain on the board at this stage. You will see small yellow spots near the bottom of the picture. Find the yellow blocks in your tray and send them to the waiting slots. The ants will quickly rush to the yellow pixels and eat them. These yellow spots are small so the blocks will count down very fast. This rapid clearing frees up your waiting slots almost instantly. You can immediately pull the next color without worrying about jamming your tray.
Step 8: Clean up the final remaining scattered tiles
You are now in the absolute final stretch of the level. The board is mostly empty and your tray is incredibly small. Only a few scattered pixels remain across the board. You might have one or two green pixels and a tiny cluster of purple pixels left. Carefully pull the exact colors you need from your tray. Pull these final blocks one at a time. The ants will clean up the last few pixels and the board will clear completely. The nest hole will close and you will win the level.
Final Thought
This level requires careful tray management and a very steady pace. If you manage your connected boxes properly and keep your paths open you will clear the entire board without any trouble. You just need to respect the five waiting slots and never overcrowd them. Watch the video above this article if you find any step hard to visualize in text form.