Colony Flow Level 3 Walkthrough Solution & Guides | How to solve Colony Flow 3

Guide By Liam Stone
Updated on July 10, 2026
You can watch the full Level 3 walkthrough in the video above if you'd rather not read through every step.
Video doesn't match your screen?
Game updates frequently scramble layouts! Try our AI Screenshot Solver first to find your exact board instantly, or report broken guides to our team.
Welcome to Colony Flow Level 3. I am Liam Stone and I write puzzle game guides based on playing every single level myself. This level presents a colorful red berry picture surrounded entirely by a thick dark border. You need to manage your tray blocks perfectly so your ant colony never runs out of open paths to their food. Let us break down exactly how to solve this board and keep your waiting slots completely clear.
Colony Flow Level 3 Overview
What You Are Working With
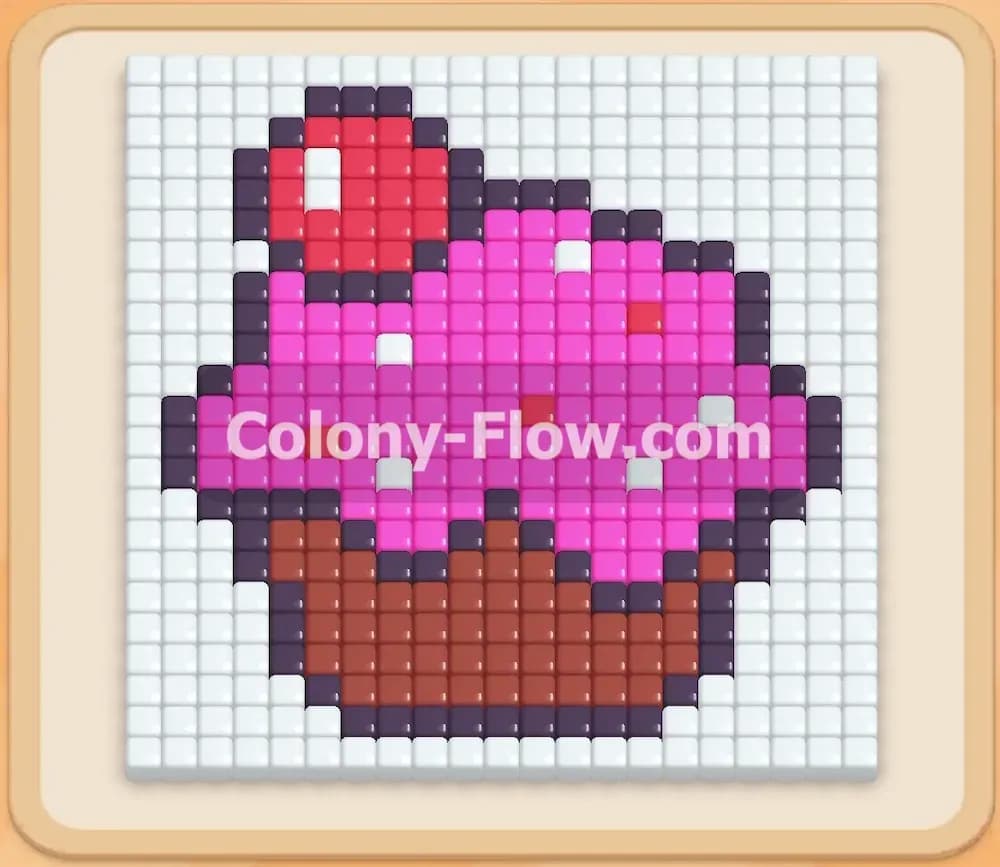
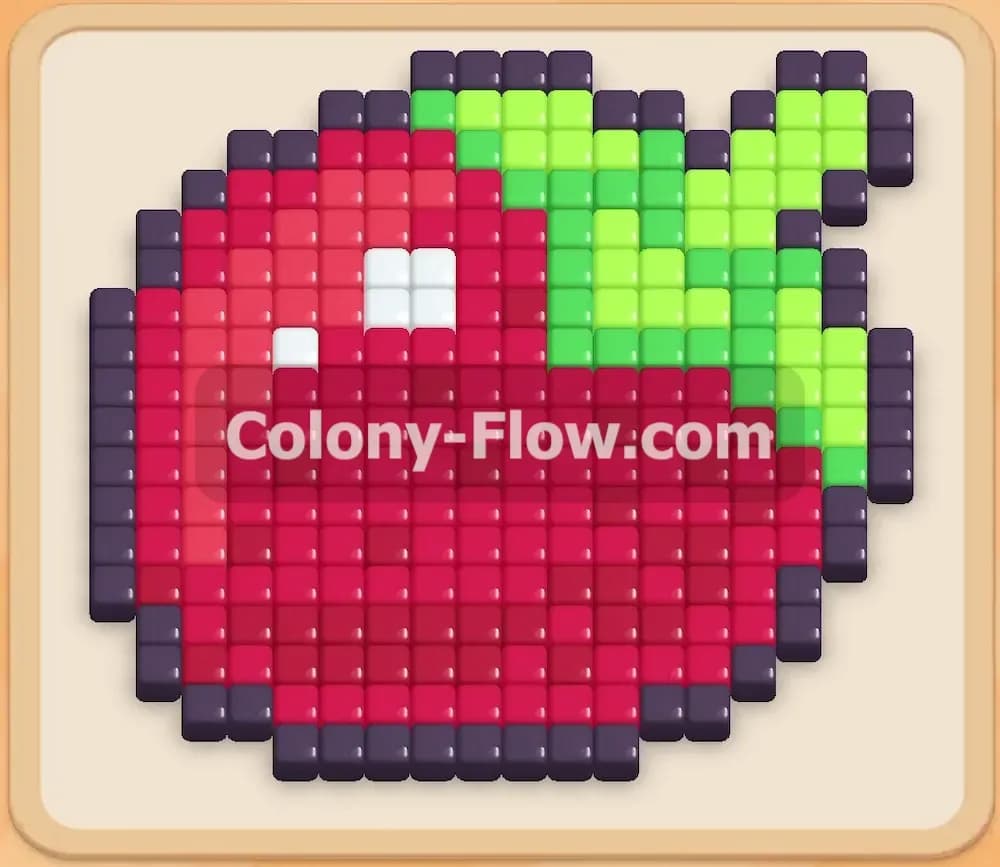
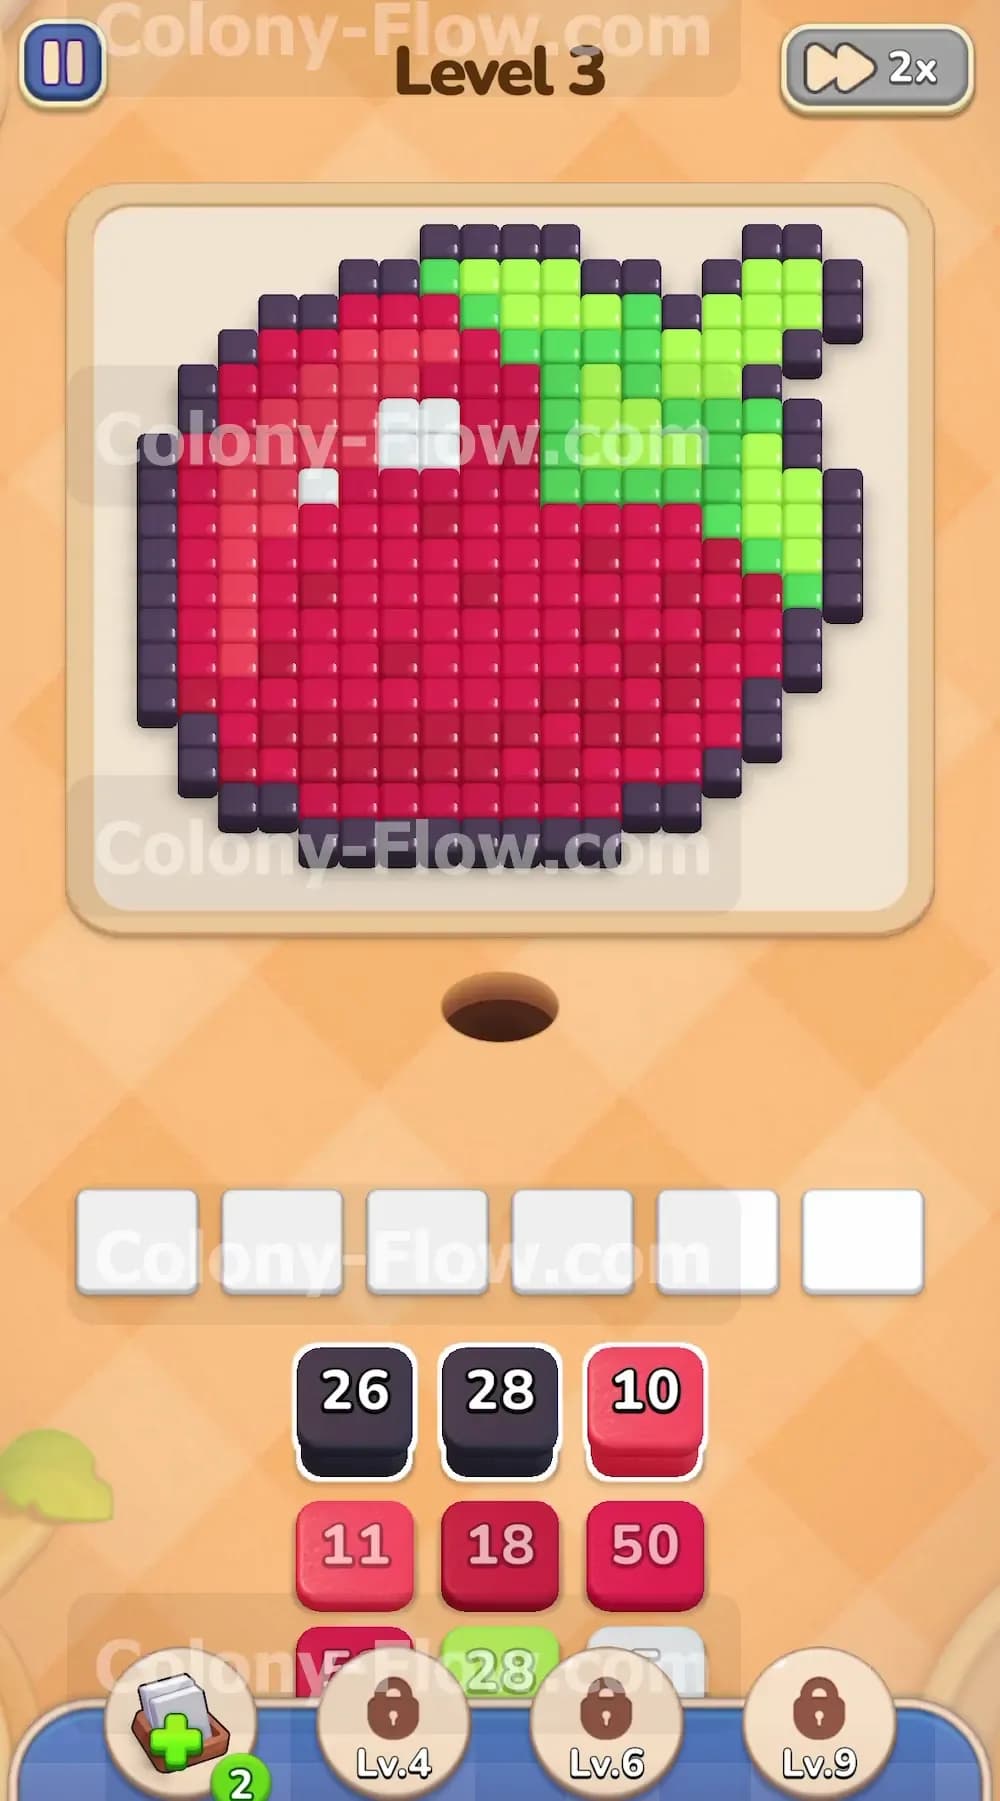
The pixel art picture for this level looks like a large red apple or berry. It features a solid red body, a green leaf at the top right corner, and a tiny white light reflection near the center. A thick dark outline wraps completely around the outside edge of the fruit. This border is your biggest obstacle because it completely blocks access to the inside red and green tiles.
Down in your tray at the bottom of the screen you have a mix of colored blocks with numbers on them. You start with two dark blocks showing 26 and 28. Below those are several red blocks including a 10, an 11, an 18, and a massive 50. Further down the tray you will find a green 28 block, a white 5 block, a red 52 block, and a green 10 block. The nest hole sits right between the tray and the picture. The ants will stream out of this hole as soon as you pull a block into one of your five waiting slots.
Level 3 Objective
You clear this level by matching all the colored blocks from your tray to the colored pixels in the picture until the board is completely empty. The ants must eat every single tile to secure the win. You lose the level if you fill all five waiting slots with blocks and no ants can reach their matching colors. Your primary goal is to always open a clear path for the ants before you pull a new color from the tray.
Colony Flow Level 3 Step by Step Solution
Step 1: Clear the outside border by playing the two dark blocks first.
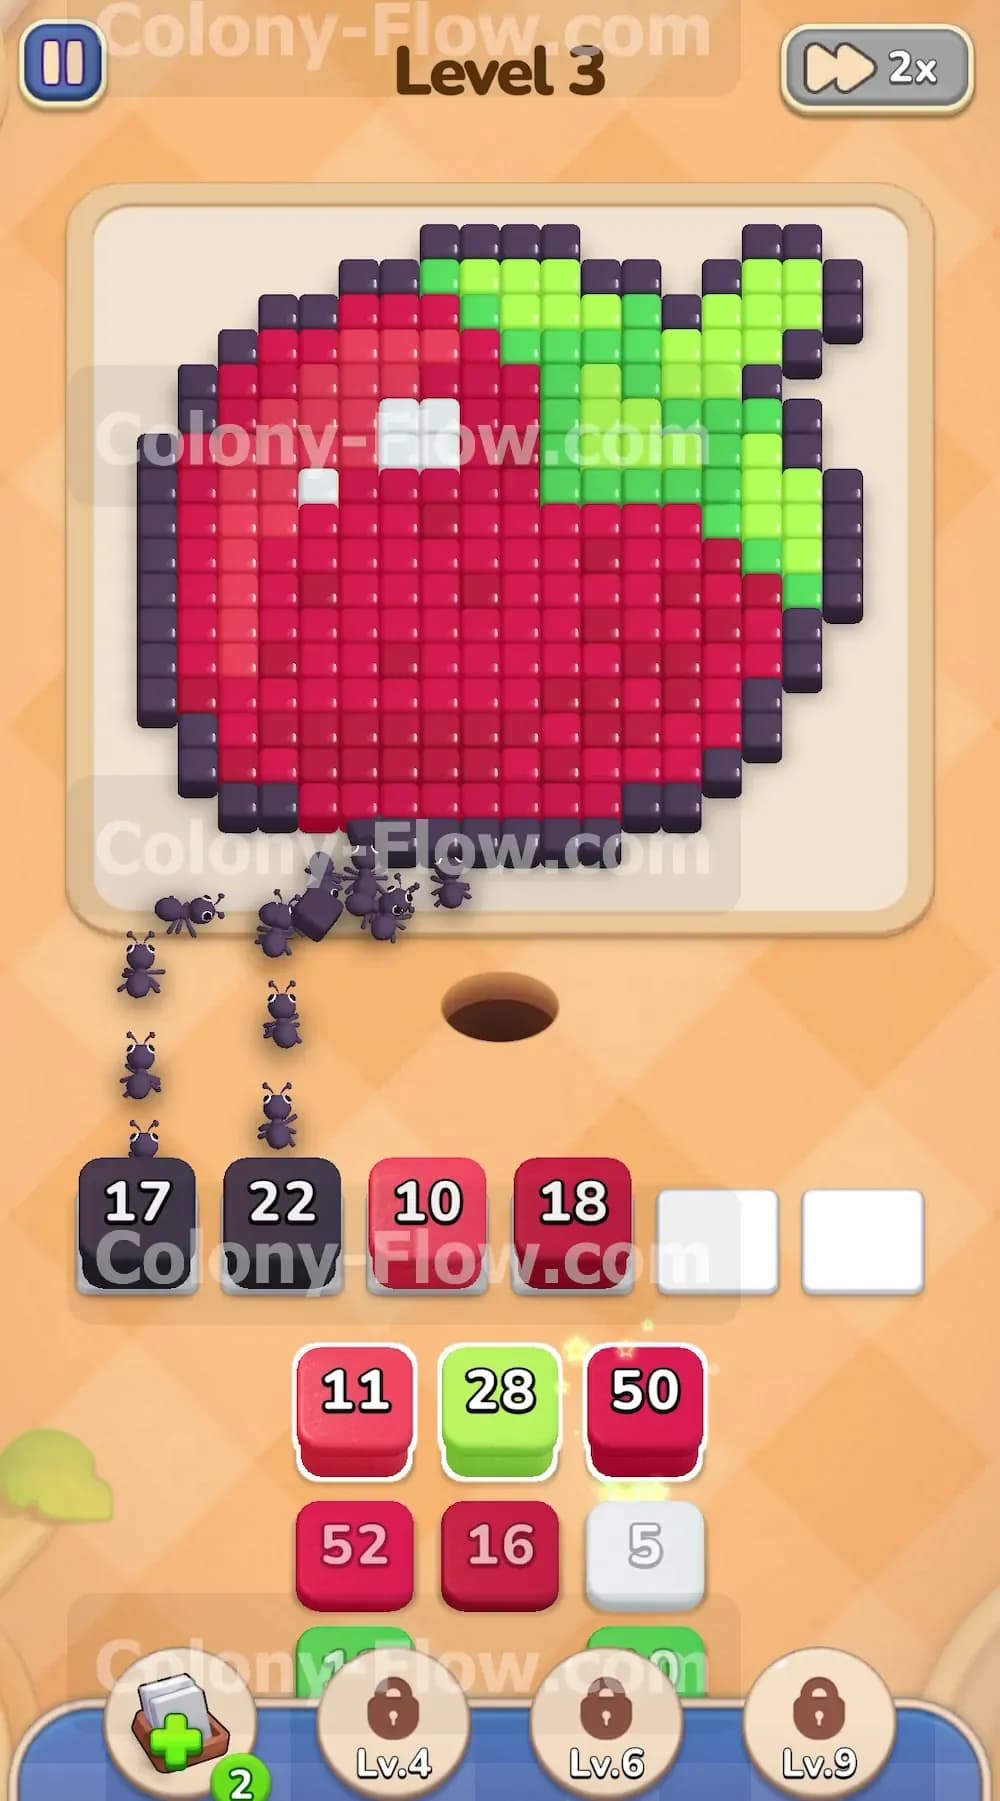
You must start by targeting the dark outline that surrounds the entire picture. Look at your tray and pull the dark 26 block and the dark 28 block up into your first two waiting slots. Do not touch any red or green blocks yet. As soon as the dark blocks hit the slots, a swarm of dark ants will pour out of the nest hole. They will travel up the screen and begin eating the dark pixels on the outer edge of the fruit. Because the dark pixels are on the very outside, the ants have direct open paths to reach them without any other colors blocking their way. The numbers on your dark blocks will rapidly count down from 26 and 28 as the ants consume the border. This keeps your slots moving and prevents a dead end.
Step 2: Pull your first red blocks to follow the dark ants into the fruit.
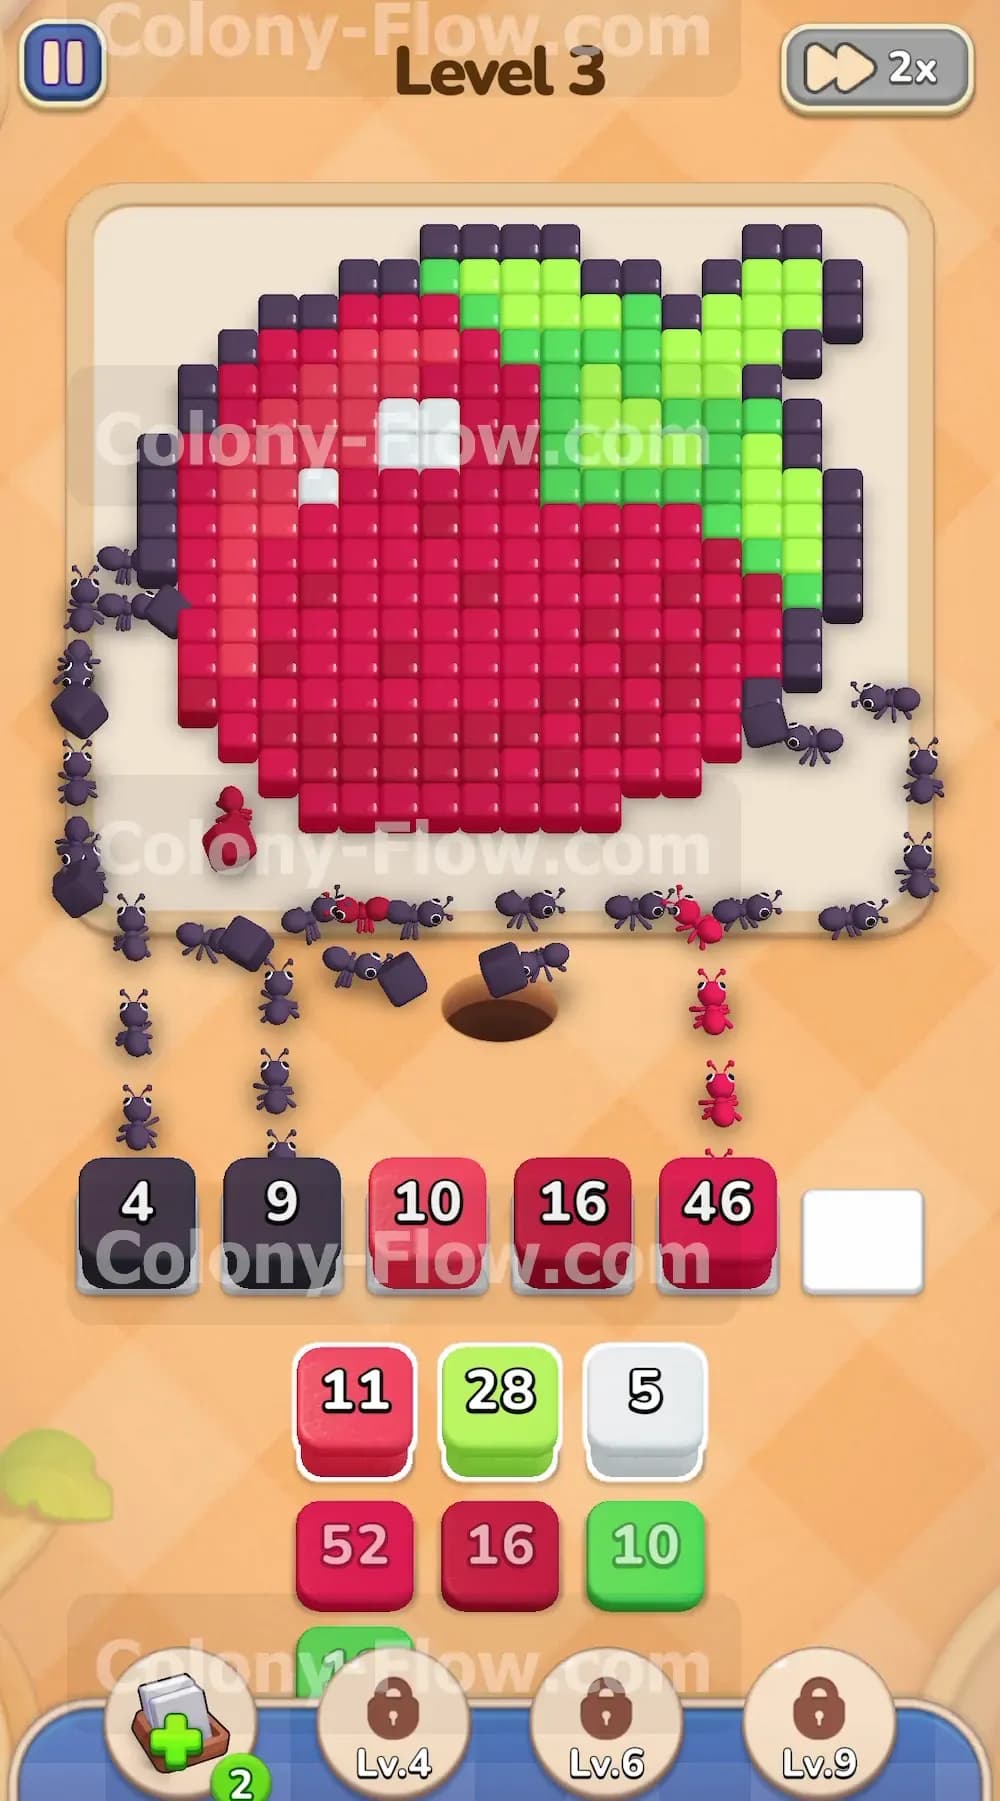
Once the dark ants eat away the bottom section of the border, they expose the red pixels underneath. This is your signal to start moving red blocks. Pull the red 10 block and the red 18 block into your open waiting slots. Red ants will immediately spawn from the nest hole and run straight to the freshly exposed red pixels at the bottom of the fruit. Your dark blocks will drop to single digits and then disappear completely as the last outline pixels vanish. By waiting for the dark ants to break the wall first, you ensure the red ants have an immediate path to their food. This keeps the red blocks counting down and keeps your five slots from jamming.
Step 3: Bring up the heavy red blocks to clear the main body.
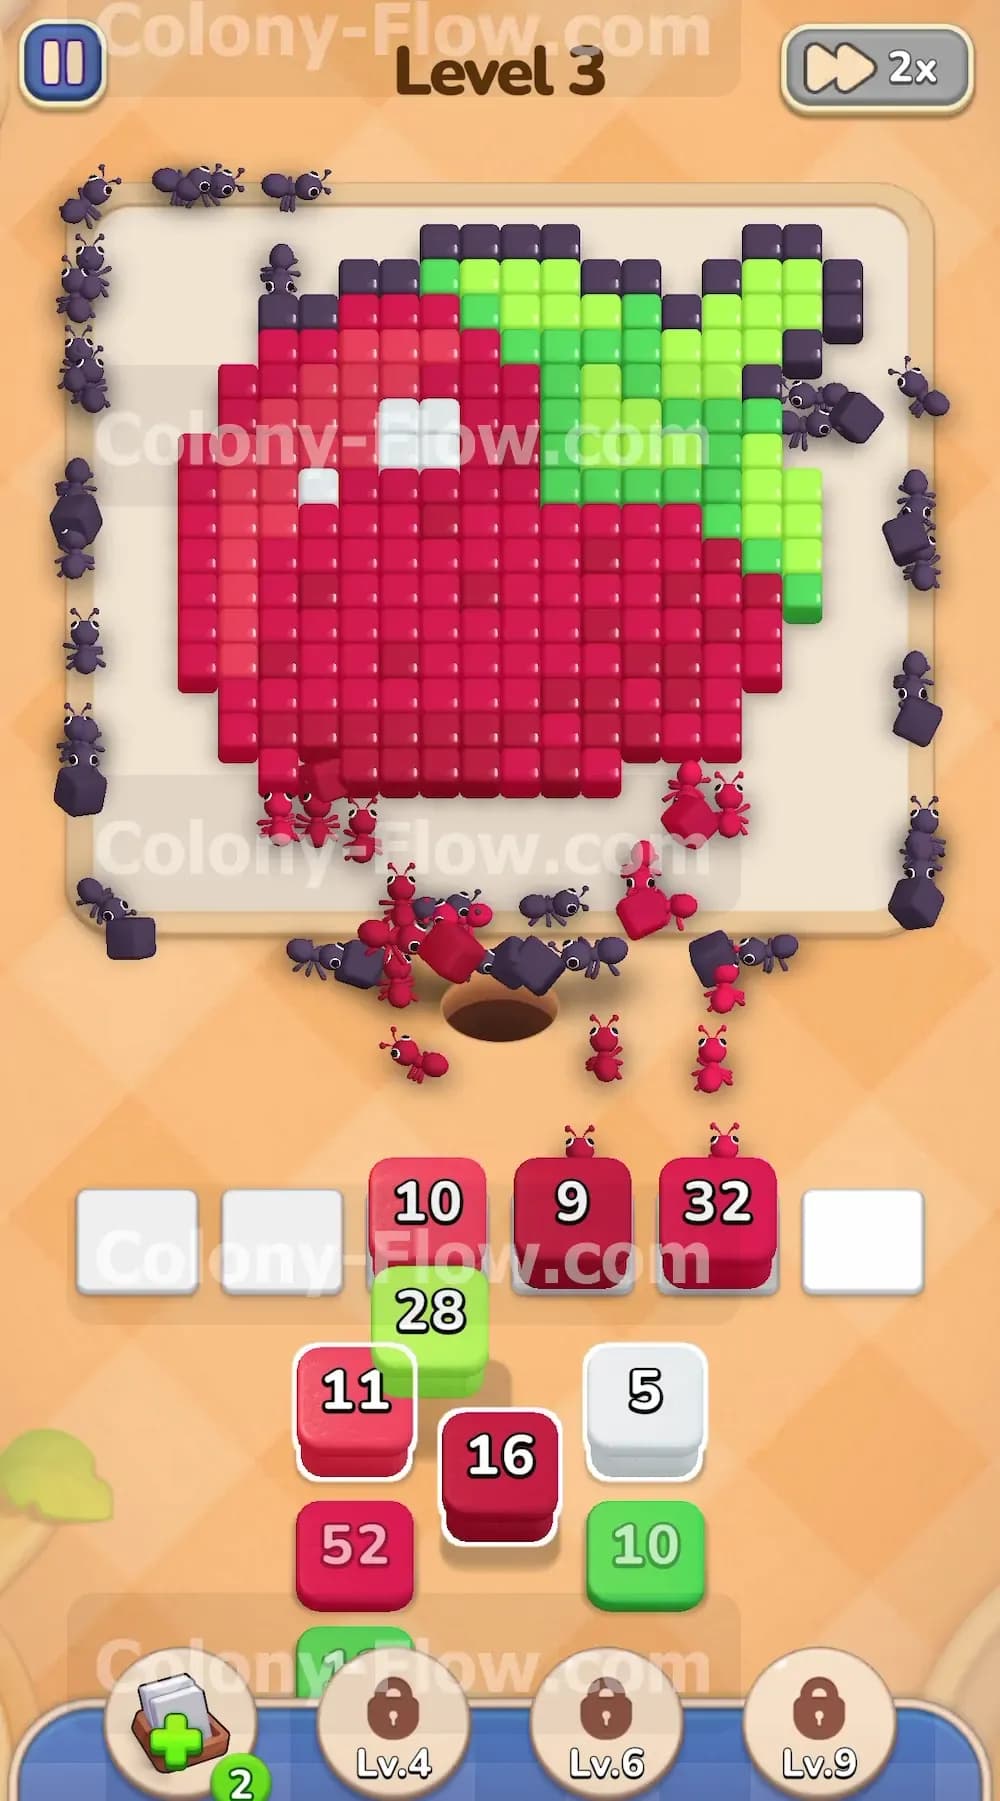
With the dark border completely gone, the entire red center of the fruit is exposed and ready to be eaten. You now have plenty of open paths. Pull the large red 50 block and the red 11 block up into your waiting area. A massive wave of red ants will stream out of the nest hole and flood the board. They will spread out across the bottom and middle sections of the red berry. The numbers on these large blocks take longer to count down, so you want them active early. The red 50 block will slowly drop to the 40s and 30s as the ants do their heavy lifting. Because there is so much red exposed on the board, these blocks will never stall in your slots.
Step 4: Activate the first green block to target the top leaf.
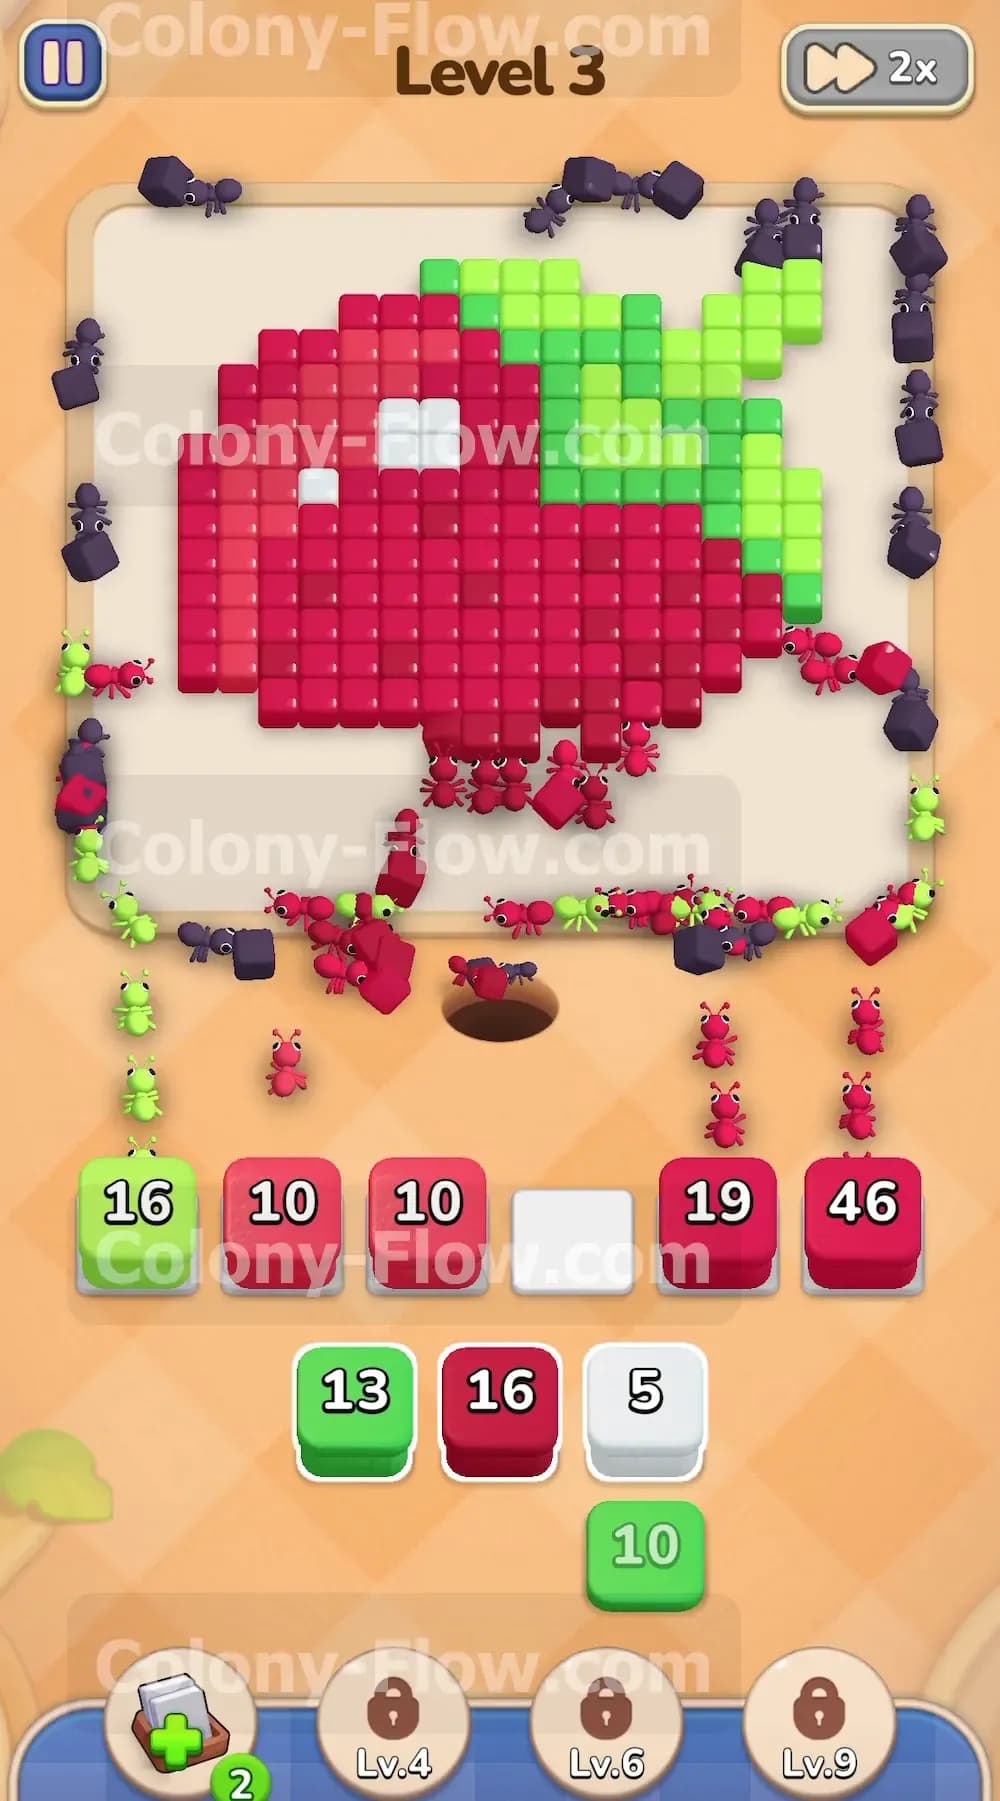
As the red ants clear away the right side of the fruit body, they will open a clear path up to the green leaf. Watch the right edge of the picture carefully as the red tiles disappear. Once you see the path open on that side, grab the green 28 block from your tray and pull it into a waiting slot. Green ants will spawn and travel up the right side of the board to reach the leaf. If you pulled this green block too early, it would just sit in a slot and block other colors from being played. By timing it right, the green ants immediately start eating the leaf and the number 28 begins to drop.
Step 5: Deploy the white block for the center reflection pixels.
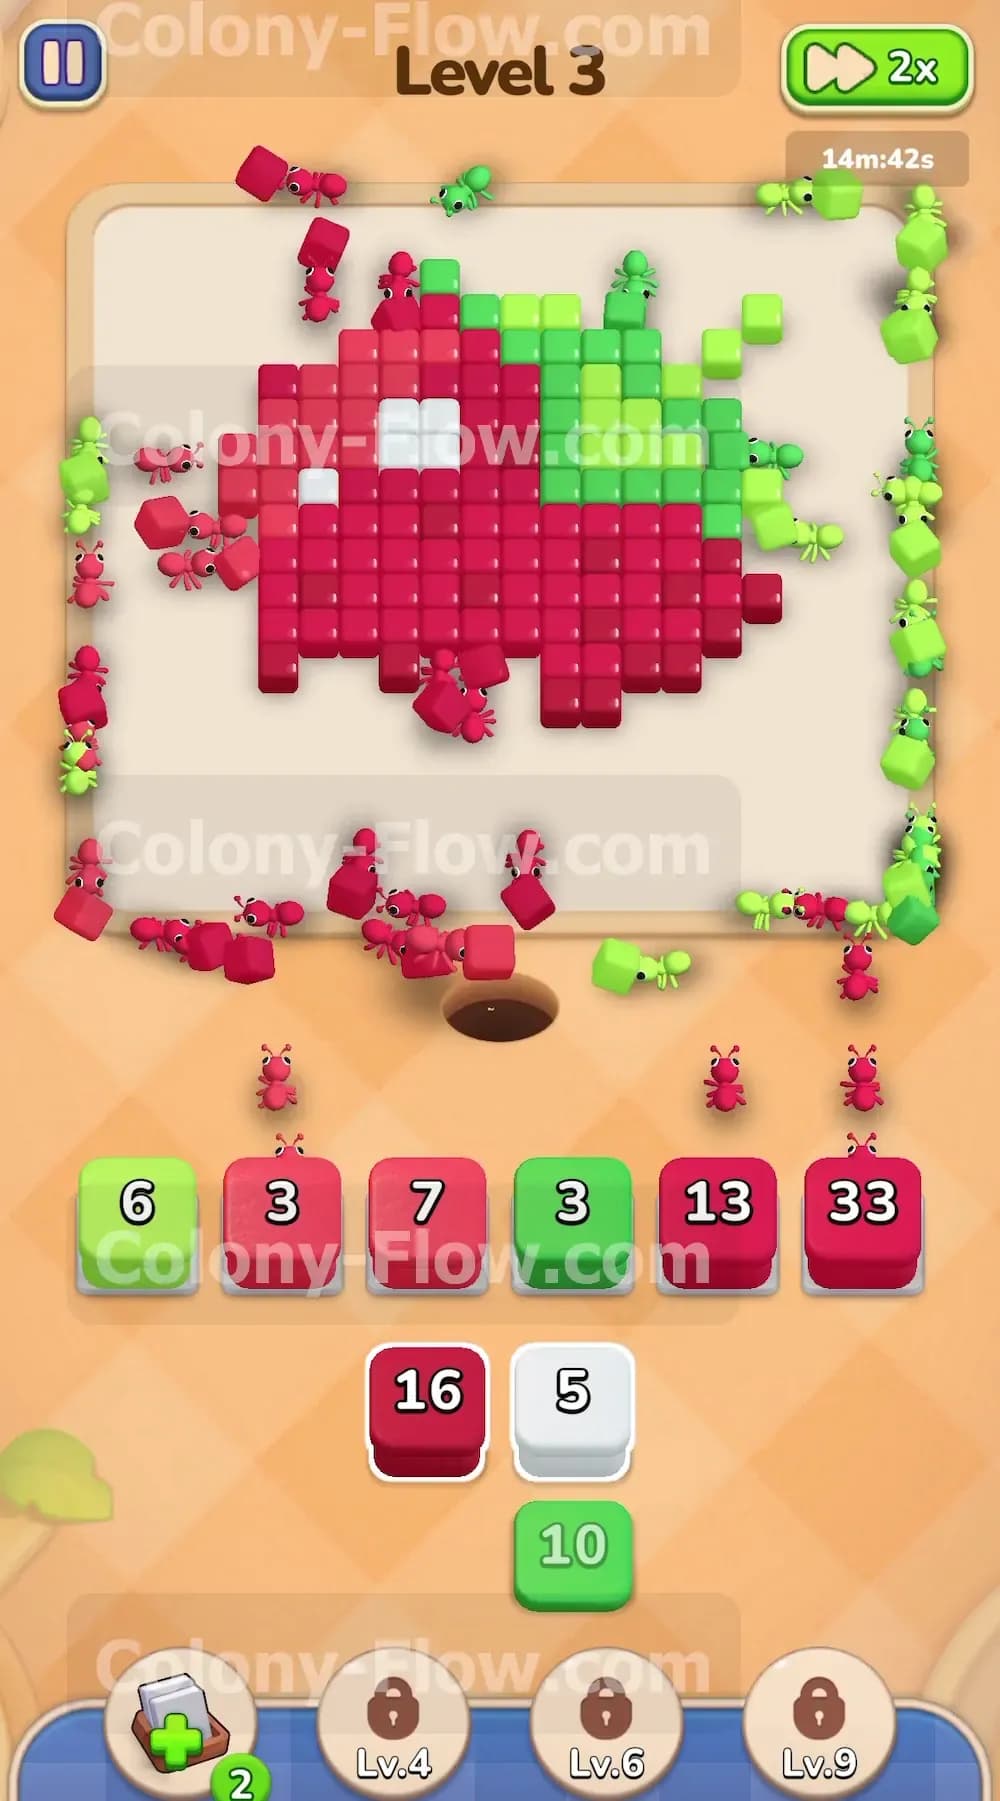
There are only a few white pixels forming a reflection near the top left center of the red fruit. You must wait until the red ants eat enough surrounding red pixels to completely expose this white section. Once the red ants clear a path directly to the white tiles, pull the white 5 block into a free slot. White ants will emerge from the hole and head straight for those specific pixels. It is very easy to forget about this small white block and accidentally bury it under red blocks in your tray. Make sure you pull it as soon as the path opens so it does not hold up your progress.
Step 6: Empty the bottom of your tray with the final red and green blocks.
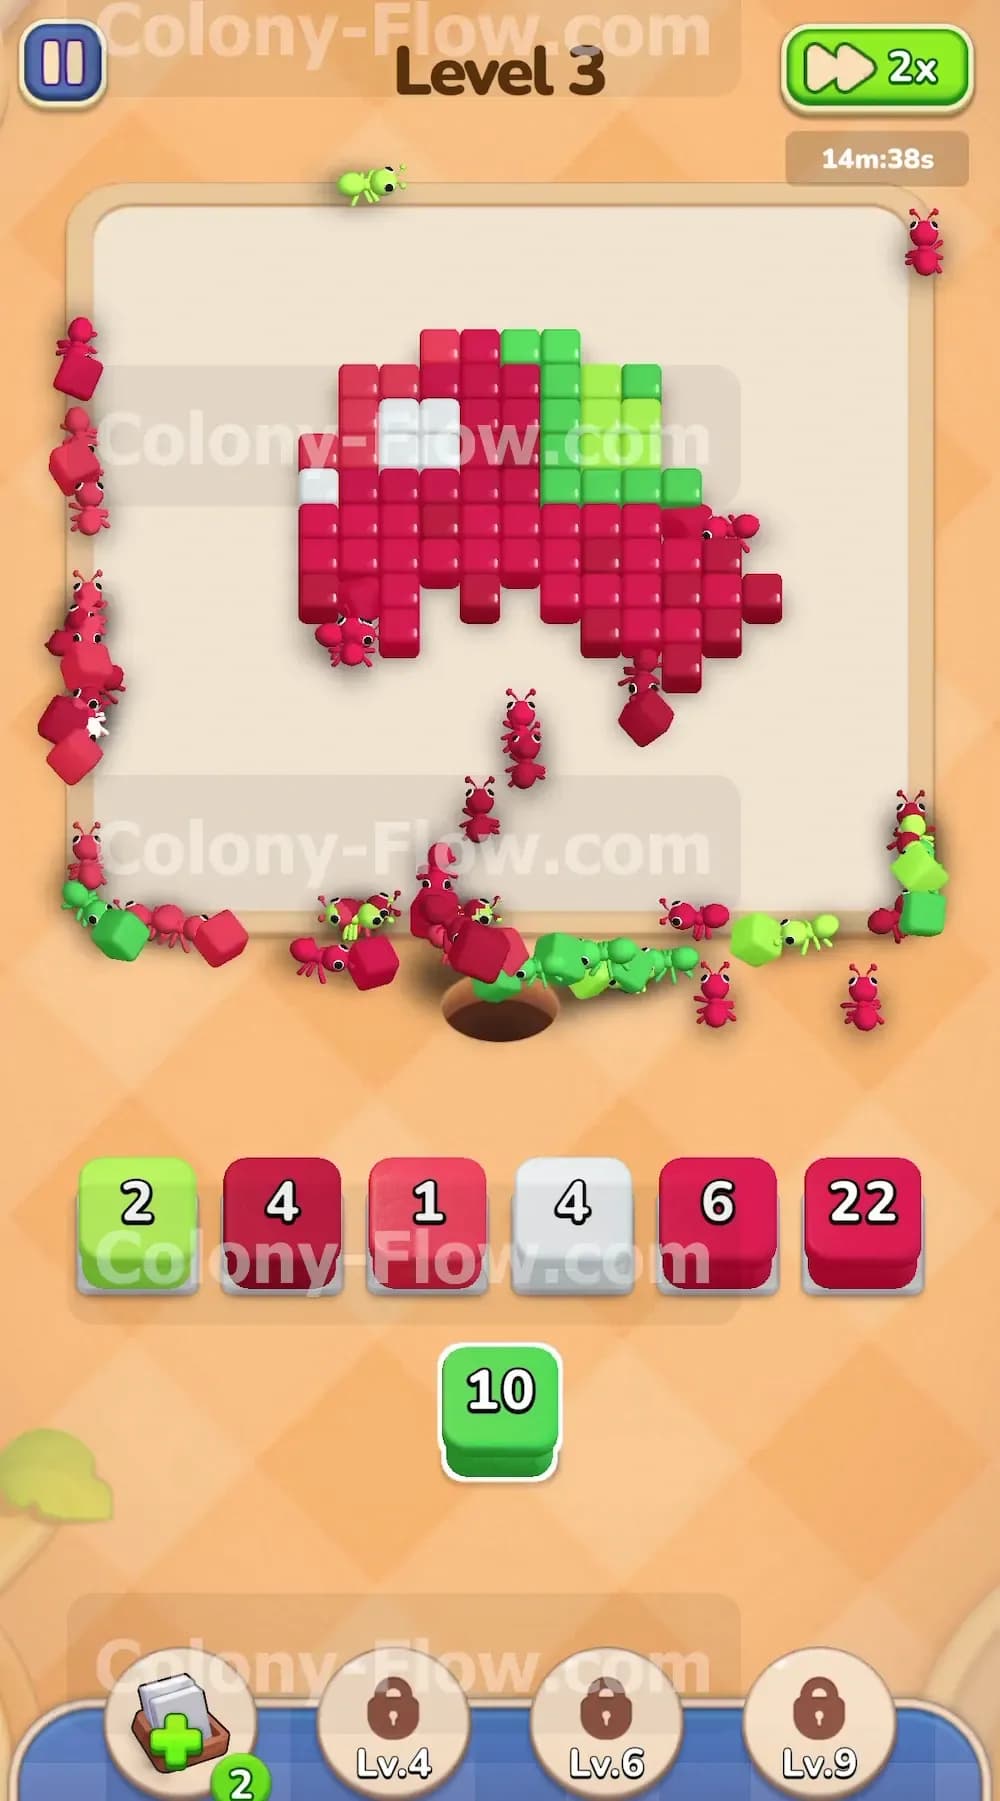
You are now in the final phase of the level and the picture is shrinking quickly. Look at the bottom of your tray and pull the remaining red 52 block and the green 10 block into your available slots. The red ants will join the swarm attacking the remaining red body while the new green ants will finish off the top leaf. Keep a close eye on your five waiting slots during this busy phase. Always make sure a block is actively counting down before you pull another one. The large red 52 block will take up a slot for a while, so let the ants work through it without crowding the board.
Step 7: Let the ants finish the last few tiles on the board.
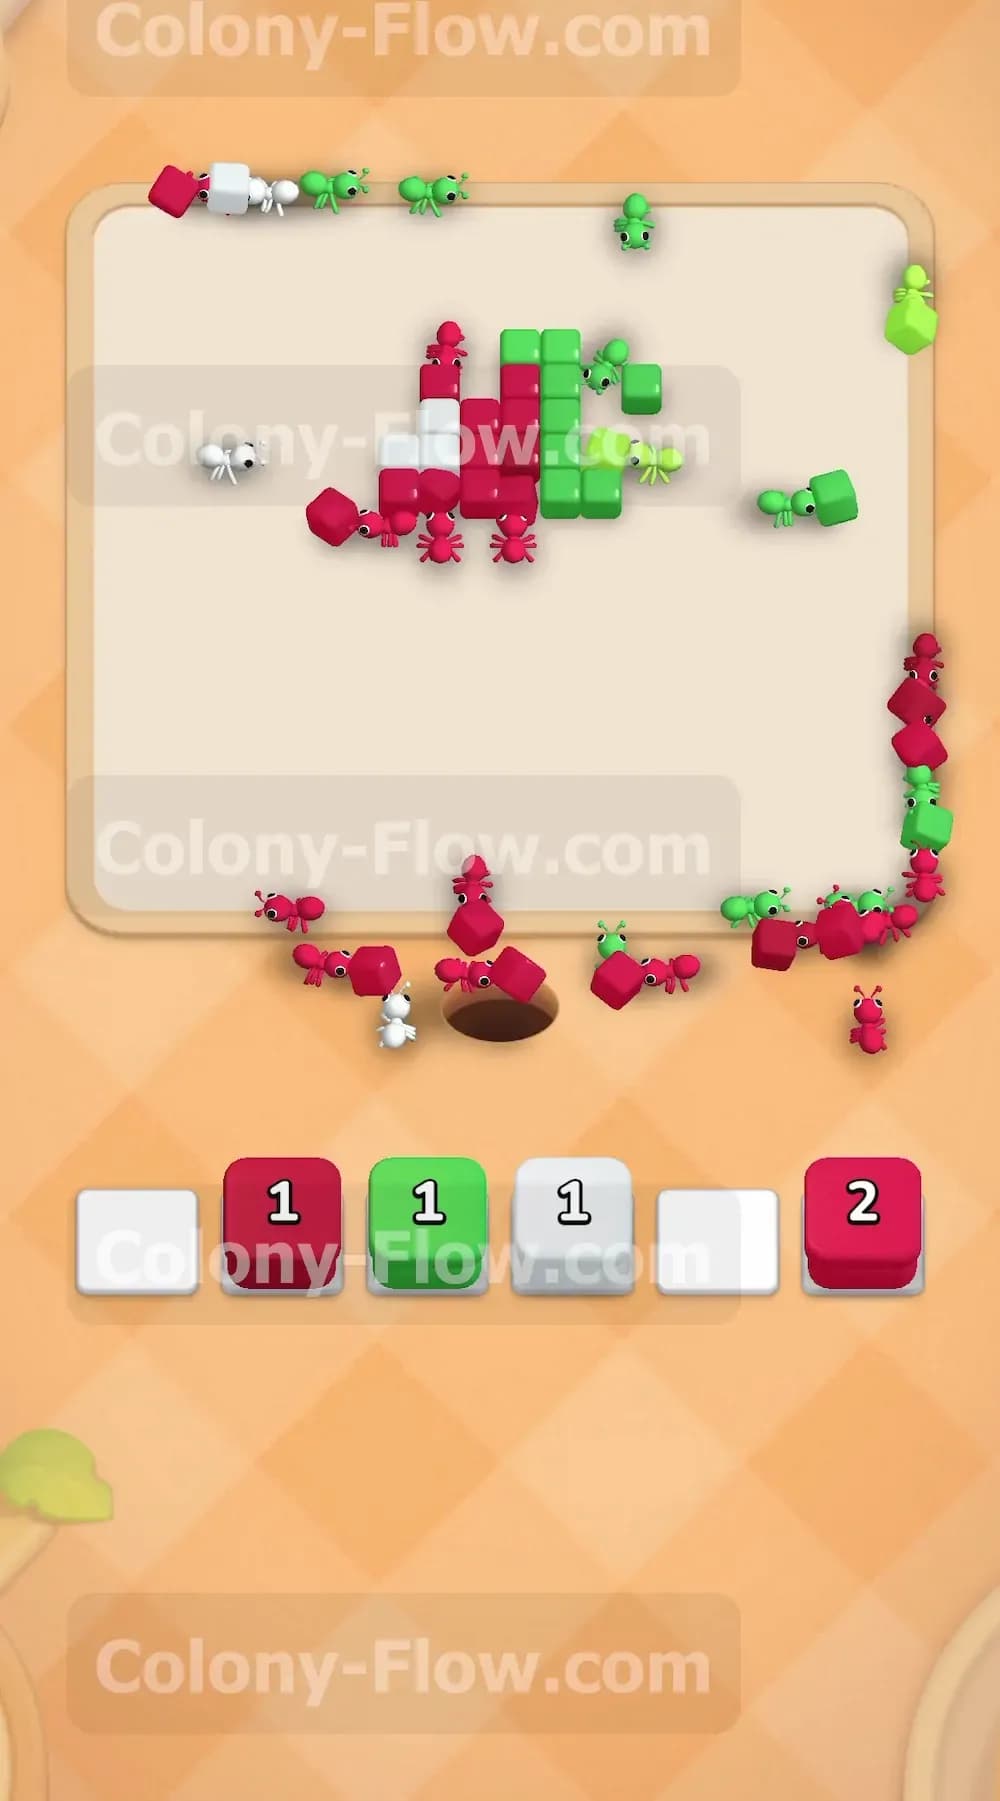
At this point your tray is completely empty and all your remaining blocks are sitting in the waiting area. The numbers will all be dropping into the single digits. You will see ones and twos on your red blocks, green blocks, and your white block. The last few ants will run up to grab the very final pixels of the leaf and the central fruit body. You do not need to do anything else here except watch the board clear. Once the final pixel is eaten, the blocks will disappear from the slots and you will beat the level.
Overall Strategy to Clear Level 3 Board
- Work from the outside inward to break the dark outline. The most common way to lose this specific level is pulling the large red 50 block or the green 28 block before the dark border is broken. The red and green blocks will have nowhere to go and will permanently clog your waiting area. Always play the dark 26 and 28 blocks first to guarantee a path.
- Match your tray pulls to the exact paths opening up on the board. When the bottom dark border breaks, only pull enough red blocks to feed ants into that specific opening. Wait for the right side to clear completely before you pull the green block to feed the top leaf.
- Hold the white 5 block until the red center is fully exposed. The white reflection pixels are completely surrounded by red tiles from the very beginning. If you place the white block in a slot too early, it will sit there completely frozen. Wait until the red ants eat their way into the middle of the picture before pulling the white block.
- Balance your large number blocks with your small number blocks. You have massive blocks like the red 50 and the red 52 sitting in the tray. Pull these large blocks alongside smaller ones like the red 10 or the green 10. This combination ensures that some blocks finish their count quickly and open up their slot for the next color.
Final Thought
Beating this board comes down to strict patience and paying attention to the outermost layers of the picture. If you control the urge to pull the massive red blocks immediately and focus on the dark outline first, you will breeze through this puzzle. If you find any of these tray moves hard to follow in text, I encourage you to watch the video above this article to see exactly how I route the ants to victory.