Colony Flow Level 960 Walkthrough Solution & Guides | How to solve Colony Flow 960

Guide By Liam Stone
Updated on August 8, 2026
The video above solves Level 960 in real time, so skip the article if watching works better for you.
Video doesn't match your screen?
Game updates frequently scramble layouts! Try our AI Screenshot Solver first to find your exact board instantly, or report broken guides to our team.
Colony Flow Level 960 is a beautiful but tricky puzzle where you reveal a glowing yellow crescent moon in a deep purple night sky. You will need to manage a massive hungry door and deal with several linked blocks that threaten to clog your waiting slots. I will walk you through my exact method for completing this stage without getting trapped. Staying patient and pulling the right colors at the right time makes all the difference here.
Colony Flow Level 960 Overview
What You Are Working With
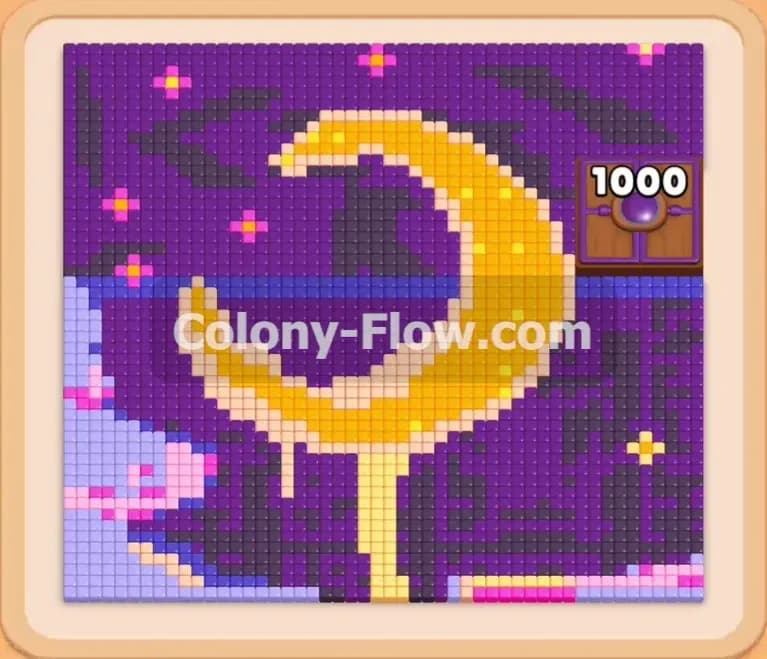
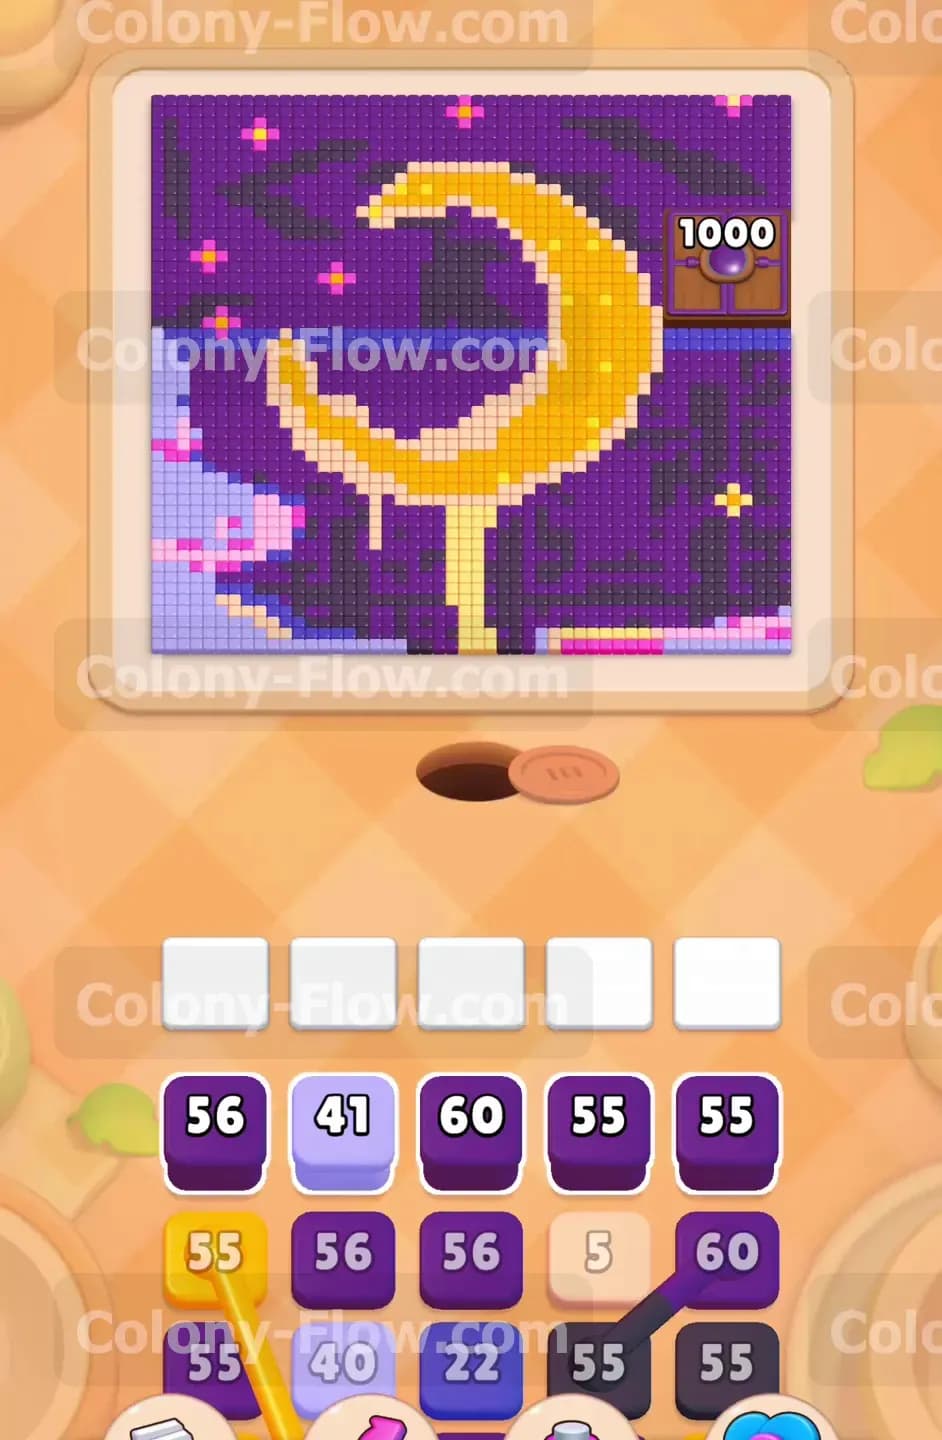
The picture for this level features a large yellow crescent moon surrounded by a dark purple night sky. There are small details scattered throughout the scene including light blue clouds, pink starbursts, and orange accents. In the top right corner of the board sits a huge hungry door starting at a 1000 point requirement.
Down in your tray you will find a steady supply of large numbered blocks. You have dark purple, light purple, yellow, light blue, pink, and orange blocks. The biggest threat in your tray is the constant appearance of connected boxes. These are multiple colored blocks joined by a visible line. When you pull one connected box from the tray, every attached block comes with it and takes up space in your waiting slots.
What It Takes to Clear Level 960 Board
To beat this level you must clear every pixel of the night sky and the glowing moon while simultaneously feeding 1000 pixels to the hungry door. The hungry door drops its number automatically as your ants clear the required colors from the board.
You lose the game if your five waiting slots completely fill up with blocks and your ants have nowhere to go. Because this level uses so many connected boxes, a single bad pull can dump three or four blocks into your waiting slots at once. You must carve paths through the dark purple sky first to expose the inner colors. You only pull a block when you know exactly which path the ants will take to reach that specific color.
Colony Flow Level 960 Step by Step Solution
Step 1: Start clearing the outer night sky background to open the board
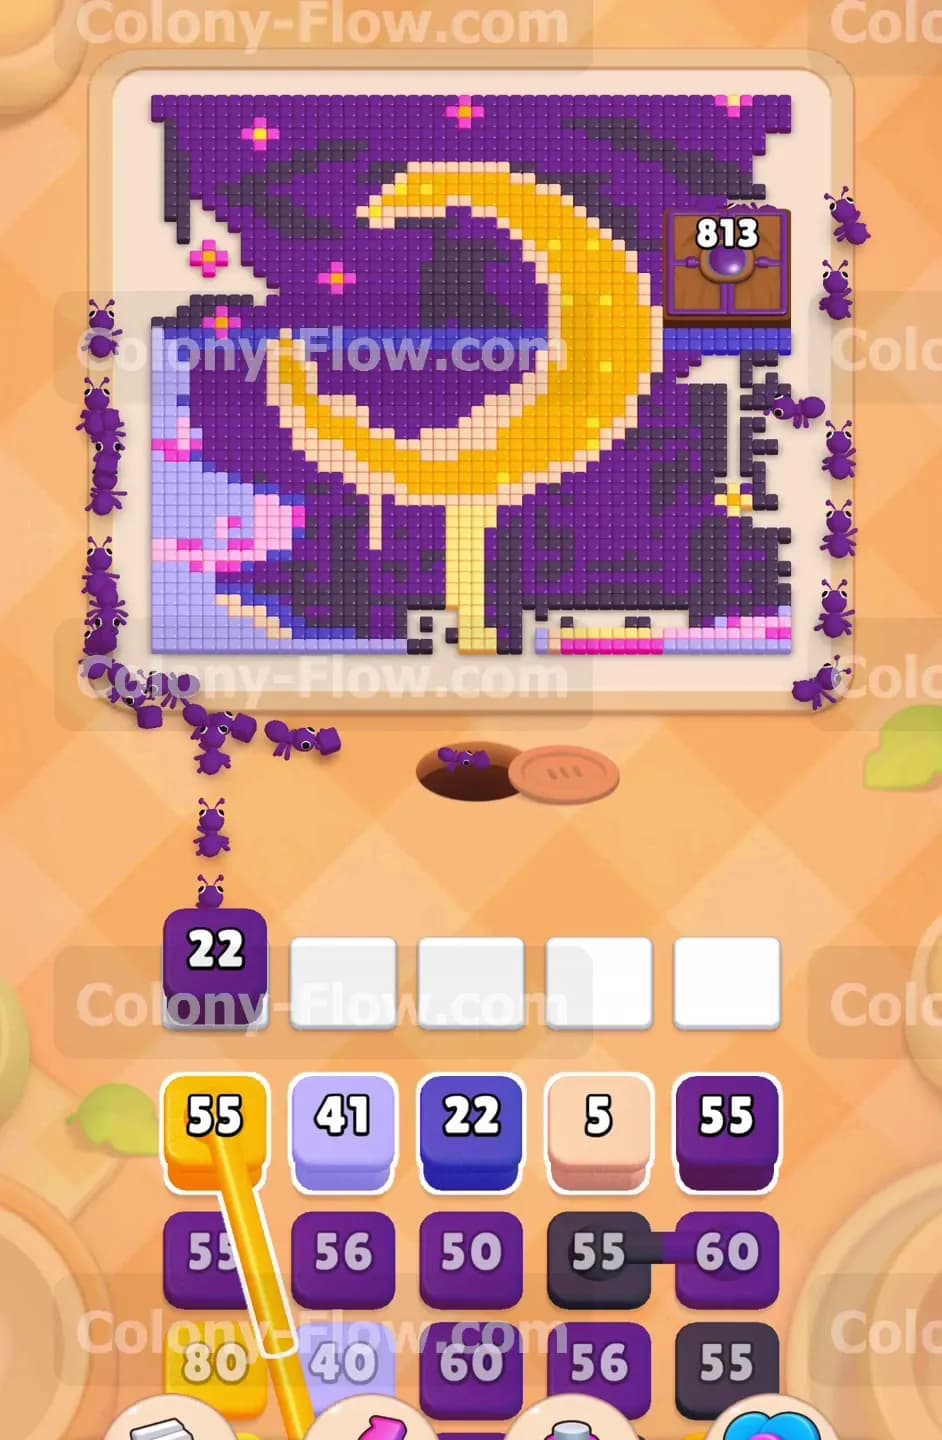
You face a solid wall of deep purple and dark purple pixels right from the start. Your first move is to pull the large purple blocks from the tray to get your ants moving. Pull the blocks numbered 56 and 60 to send the ants streaming out of the nest hole. They will run straight up the left side and toward the bottom right corner of the screen. Do not touch any yellow blocks yet. If you pull a yellow block right now, it will sit dead in your waiting slot because the ants cannot reach the center moon. You must chew away the dark outer edges of the sky first.
Step 2: Manage the first set of connected boxes to prevent a slot jam
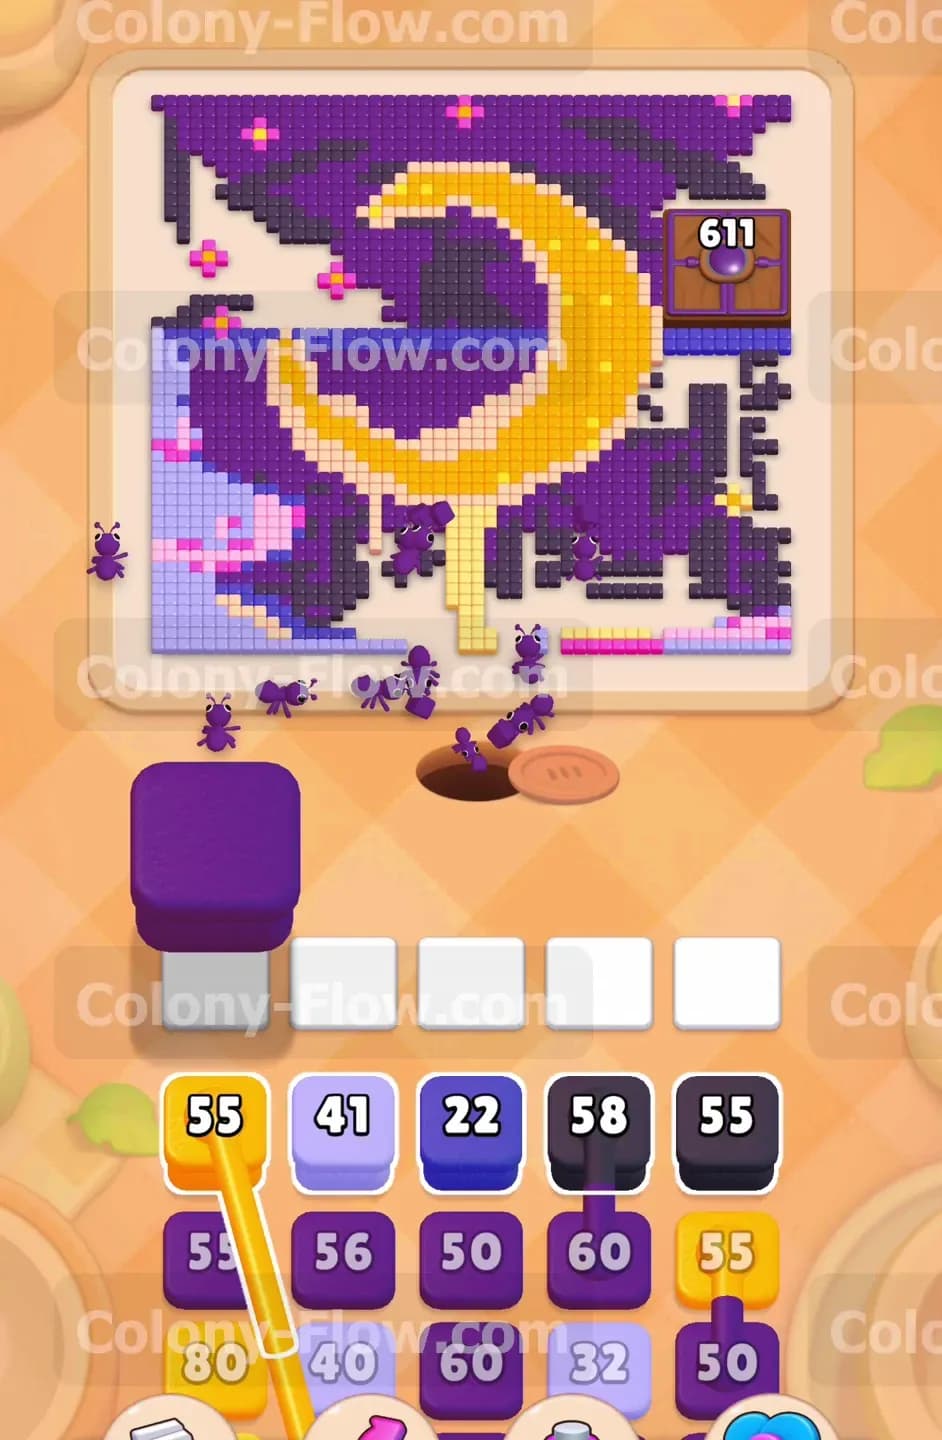
Soon you will see connected boxes appear in your tray. These blocks are joined together and always move as a group into your waiting slots. You must be extremely careful here. If you pull a connected pair of light blue and purple blocks, you need open paths for both colors. Wait until the ants have chewed away enough dark purple sky to expose the lighter blue clouds on the left side of the picture. Once you see that blue path open, you can safely pull the connected boxes. The ants will divide their attention between the two colors. This keeps your waiting slots moving and prevents a fatal jam early in the match.
Step 3: Focus heavily on the dark purple background to feed the hungry door
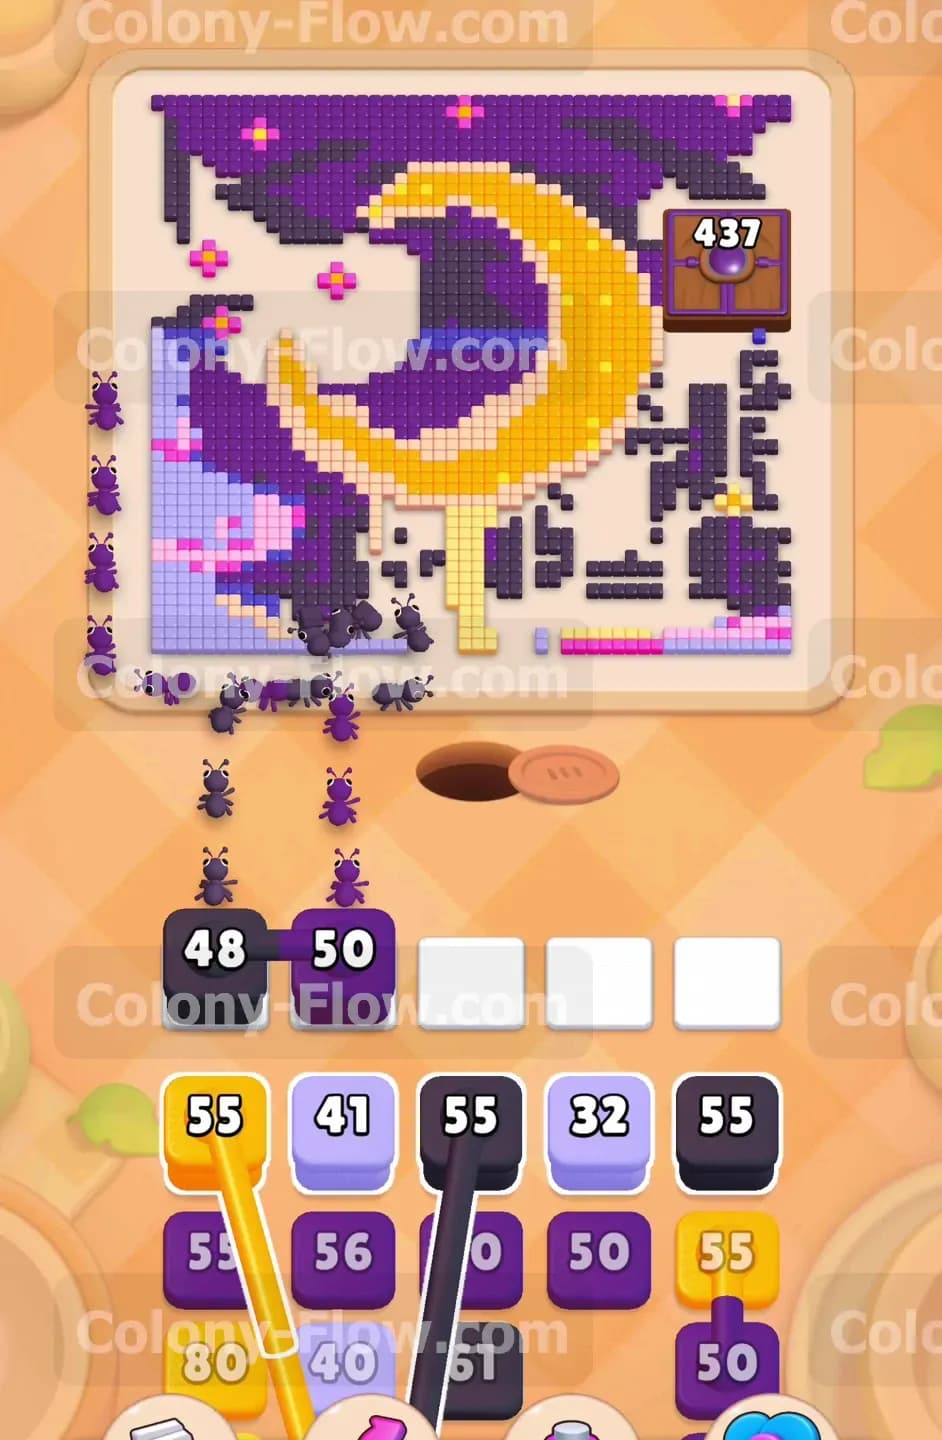
That hungry door in the top right corner is your main obstacle and it demands constant feeding. Every dark purple pixel your ants eat reduces that number. Keep pulling the large dark purple blocks numbered in the fifties and sixties. The ants will carve huge open paths through the background sky. You will watch the door number drop from 1000 down into the eight hundreds and then into the six hundreds. Always prioritize pulling a dark purple block if you have an empty waiting slot. Keeping the ants eating the sky is the most reliable way to shrink the hungry door requirement without filling your slots with unusable colors.
Step 4: Bring in the first yellow blocks to start the moon edge
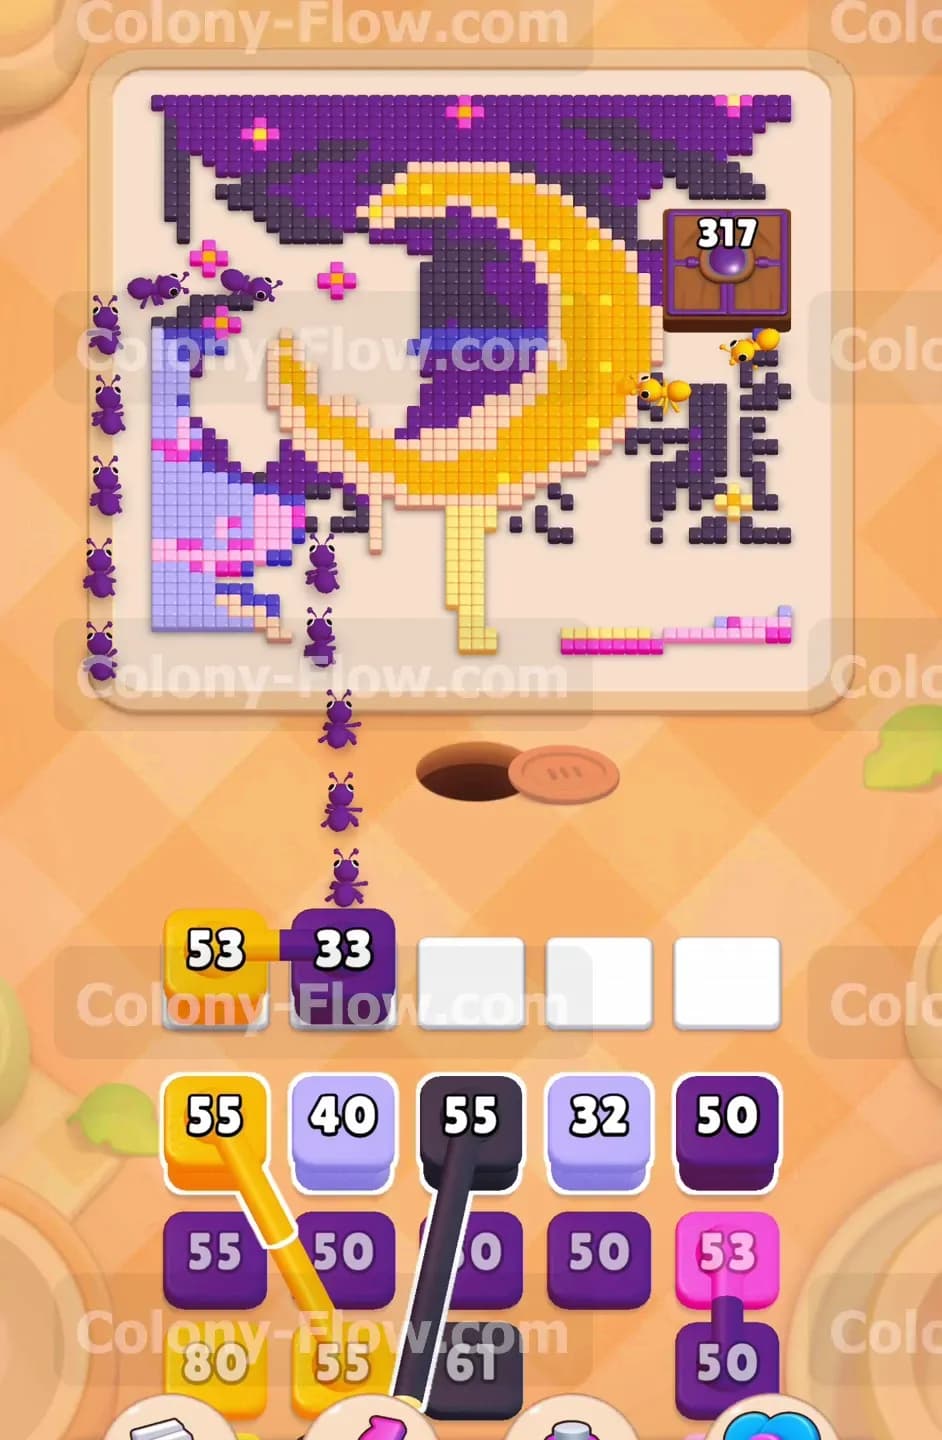
Around the time the hungry door drops into the four hundreds, your ants will finally reach the bottom edge of the yellow moon. The dark sky will be clear enough at the bottom center of the board to allow direct access. Now is the perfect time to pull your first yellow block. It usually holds a number around 55. The ants will rush to the bottom tip of the crescent and start devouring the bright yellow pixels. While they do this, you should also pull another connected pair of dark purple blocks to keep clearing the sky on the right side. Balancing the yellow moon and the dark purple sky keeps multiple paths active and keeps your tray flowing.
Step 5: Handle the connected orange and dark purple blocks carefully
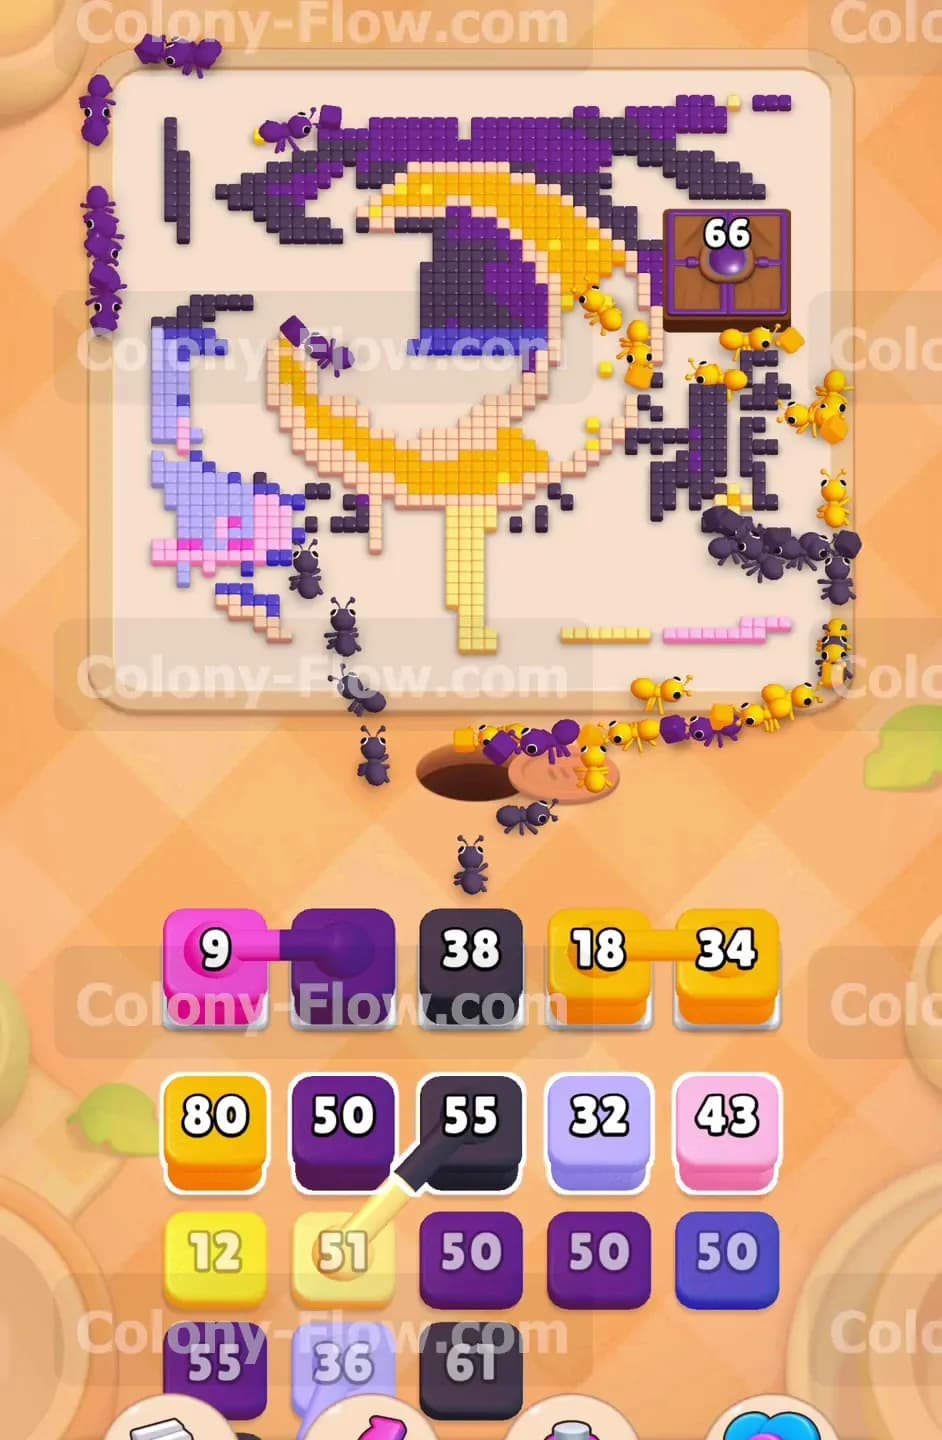
As you push deeper into the picture you will encounter connected boxes featuring orange and dark purple. The hungry door will be down near 300 points by this time. Look closely at the small stars and cloud details opening up near the curved belly of the moon. You must ensure the ants can actually reach these small orange sections before you pull that connected pair. Wait until the yellow moon clears enough to expose the nearby orange pixels. Pull the connected pair and watch the ants clear the stars while simultaneously finishing off the large sections of the dark purple sky. This dual clearing action opens the entire top left corner of the board.
Step 6: Deploy your largest yellow blocks to clear the complex connected groups
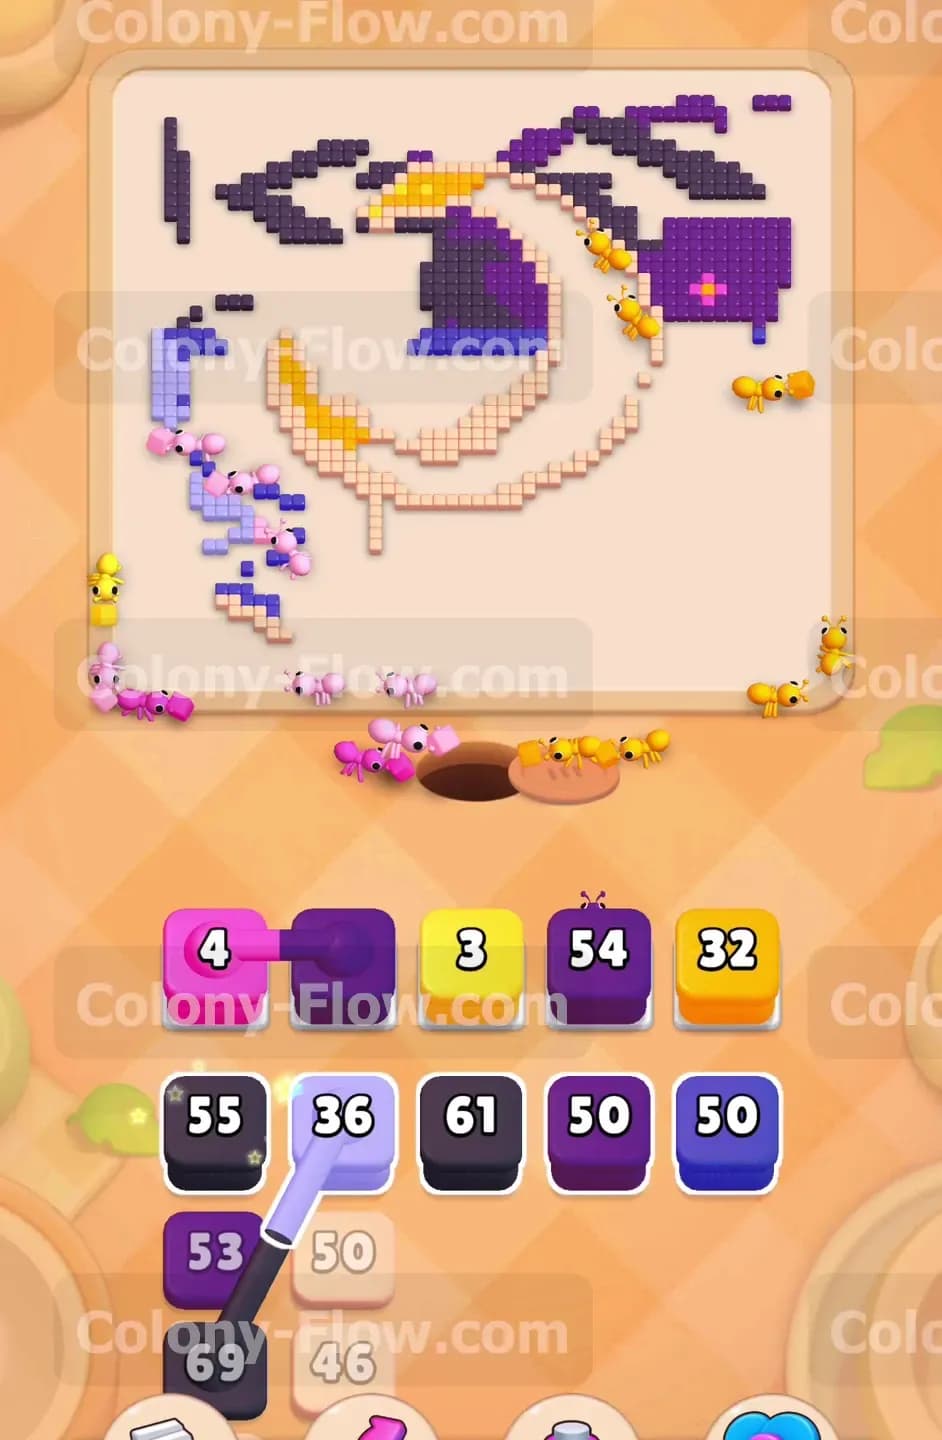
The hungry door will finally drop below 100 points. At this stage your tray becomes heavily crowded with small connected boxes. You will see pink, dark purple, and orange blocks all tied together in long chains. To survive this phase you must keep the main swarm of ants incredibly busy. Pull the massive 80 point yellow block from your tray. This sends a huge wave of ants into the thickest part of the glowing moon. With the main path busy processing all that yellow, you can safely pull the small connected boxes into your slots. The ants will snap up the remaining sky pixels between yellow trips and break open the hungry door for good.
Step 7: Clear the remaining clouds and finish the inner moon
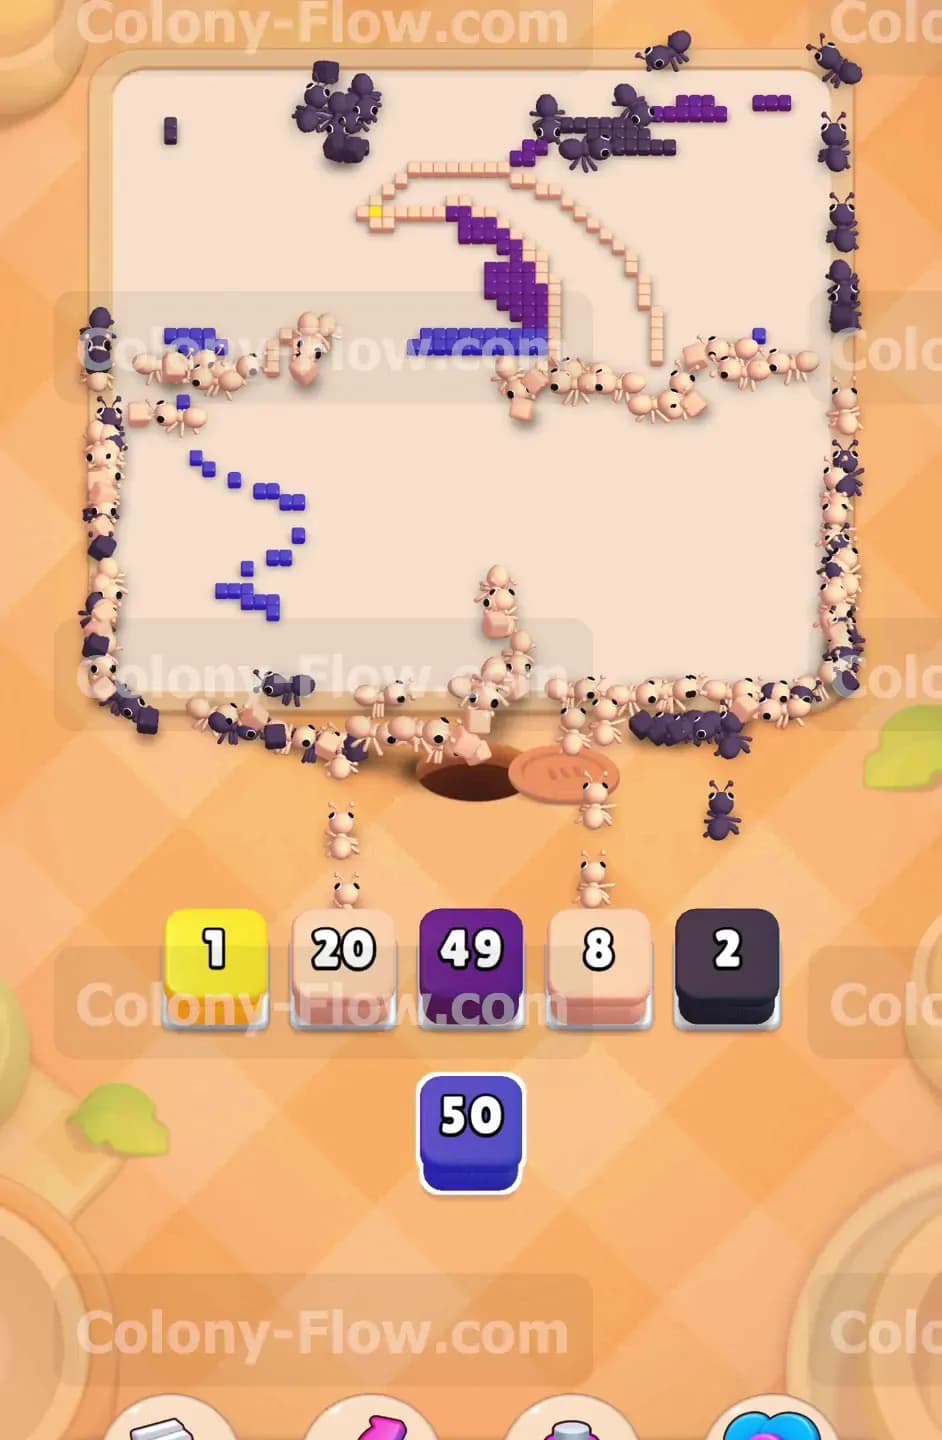
With the hungry door completely gone you face a wide open board. Only the bright yellow inner curve of the moon and a few scattered light pink clouds remain. Your waiting slots might have a few leftover small blocks. Look at your tray and pull the final yellow blocks and the light pink blocks. Because the entire outer board is empty, the ants can reach every single remaining pixel from any angle. You can pull the remaining blocks in any order and watch the ants clean up the last pieces of the picture. The board clears completely and you secure the win.
Final Thought
This stage looks intimidating because of the massive door requirement but you can absolutely beat it by controlling the pace of your tray. Focus on opening paths before you pull any complicated groups of blocks. If you find yourself getting stuck on exactly when to pull the connected boxes, watch the video above this article. Seeing the timing in motion makes it much easier to replicate on your own screen. Keep your waiting slots clear and you will master this layout.