Colony Flow Level 220 Walkthrough Solution & Guides | How to solve Colony Flow 220

Guide By Liam Stone
Updated on August 1, 2026
If skimming isn't enough, watch the video above for the full Level 220 walkthrough.
Video doesn't match your screen?
Game updates frequently scramble layouts! Try our AI Screenshot Solver first to find your exact board instantly, or report broken guides to our team.
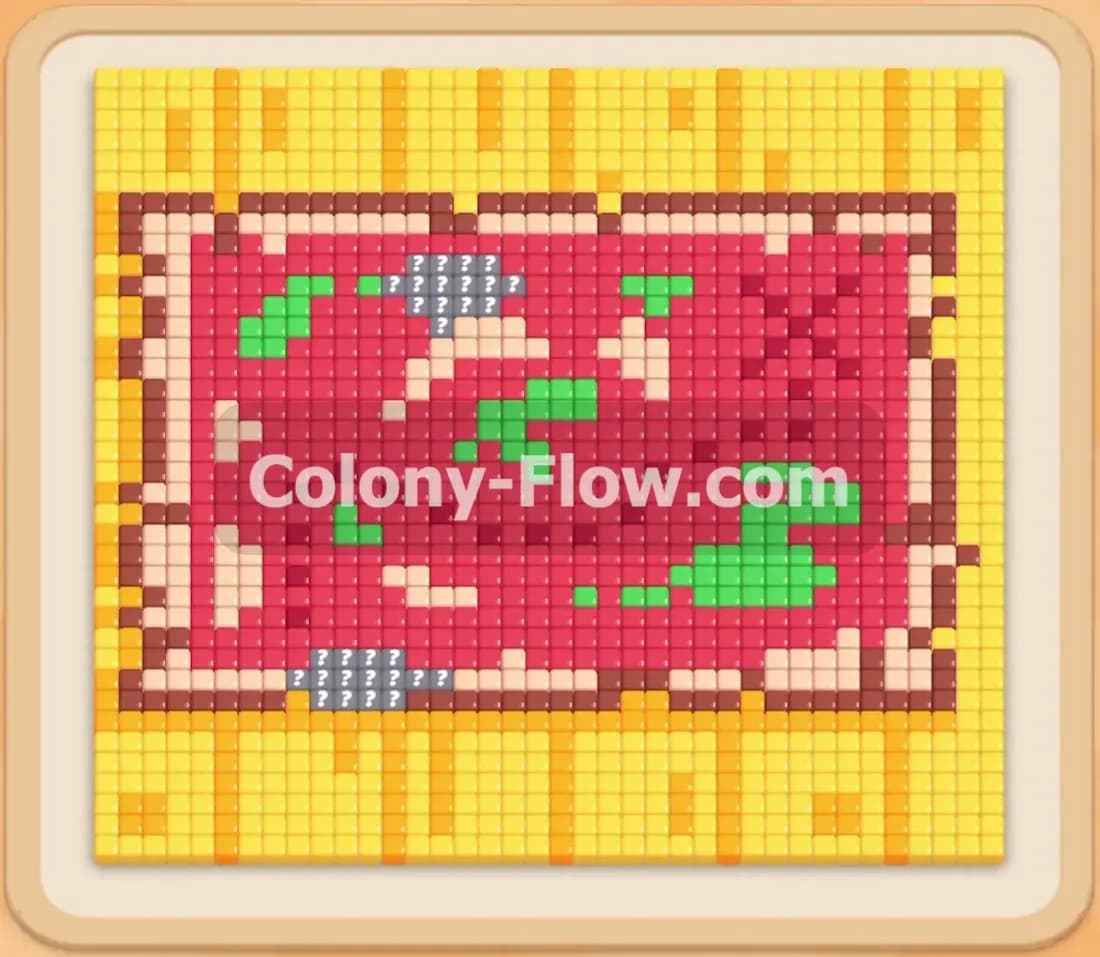
Welcome to Colony Flow Level 220. This board greets you with a bright and complex geometric diamond pattern covering the main play area. You need to carefully pick apart this pattern from the bottom up to keep your colony moving. I played through this entire puzzle to find the safest path to victory.
Colony Flow Level 220 Overview
What You Are Working With
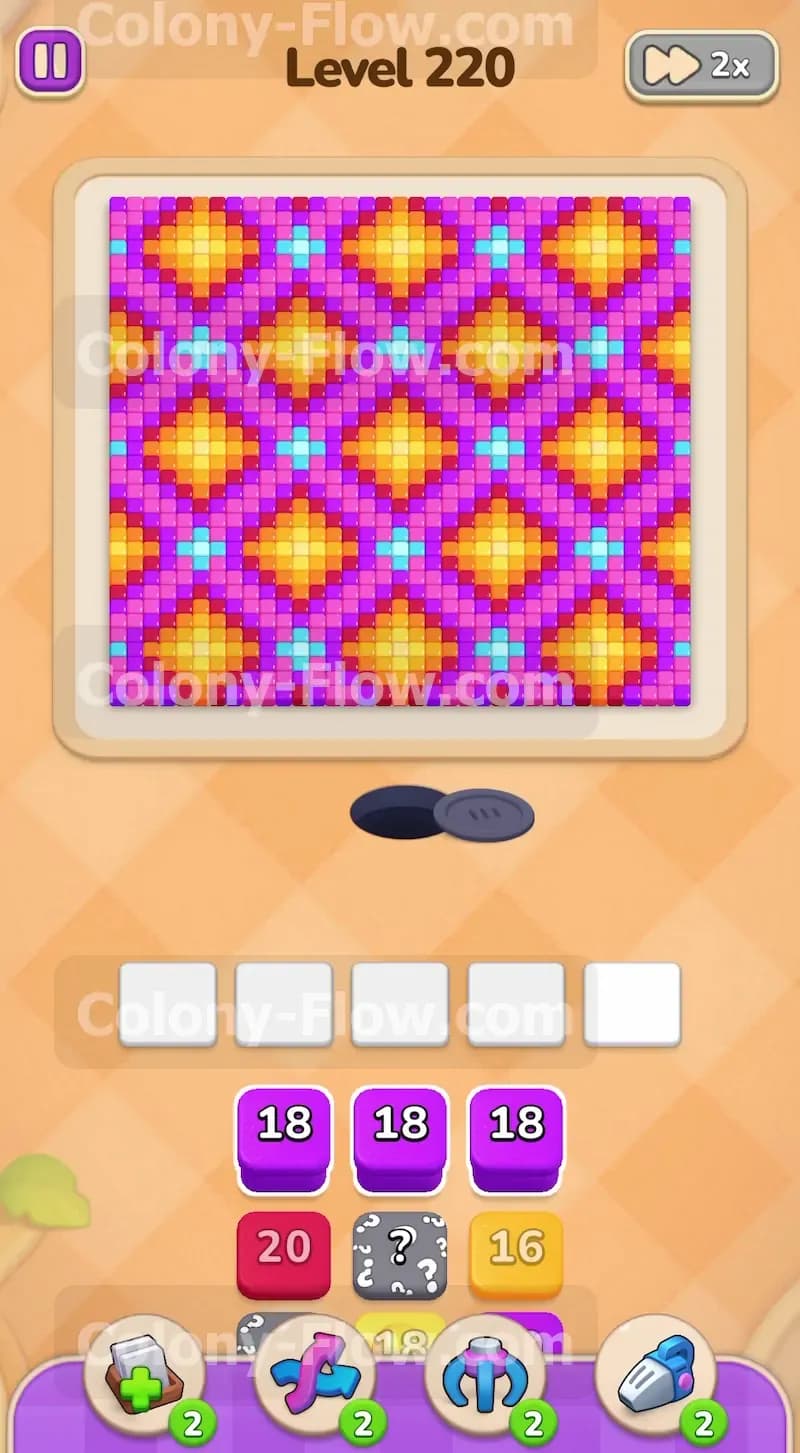
The main picture is a repeating diamond grid made of purple orange yellow pink and light blue tiles. The bottom edge is fully sealed by a thick border of purple tiles. Your tray at the bottom holds a deep stack of blocks. You can see several purple blocks with the number eighteen right at the top of the stack. Further down the stack you will notice blocks with question marks on them. These are Hidden Box tiles. They conceal their required color until you remove the blocks sitting above them in the tray.
What It Takes to Clear Level 220 Board
Clearing this level requires you to manage your five waiting slots perfectly. The diamond pattern only opens up a few tiles at a time. If you pull too many colors into your waiting slots before the ants can reach the matching tiles on the board you will run out of space. You lose the level if all five slots fill up and the ants stop moving. You must carve a path layer by layer to keep at least one active color working at all times.
Colony Flow Level 220 Step by Step Solution
Step 1: Pull the initial purple blocks to break the bottom border.
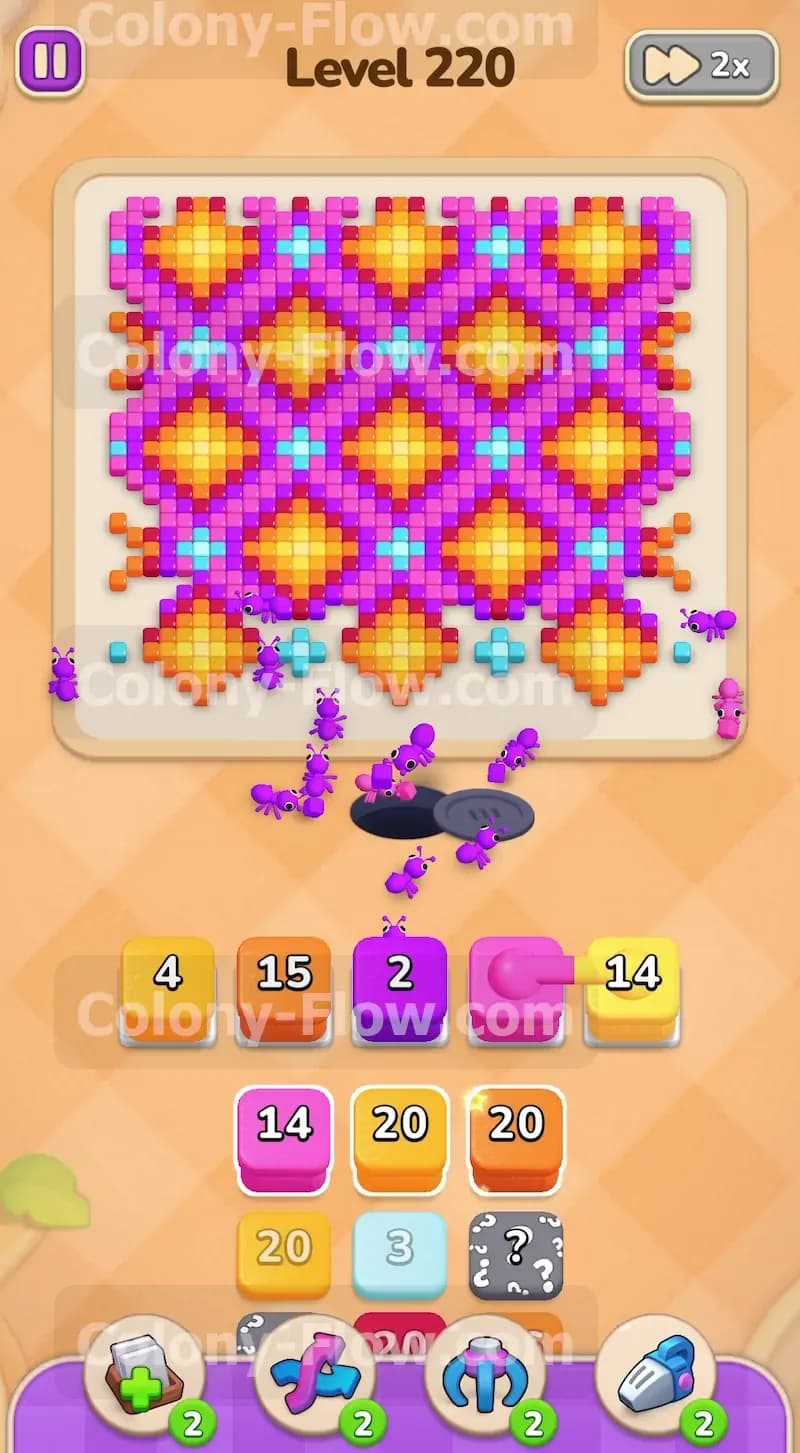
The board begins with only the lowest points of the purple diamonds exposed. You must start by pulling the purple blocks from the top of your tray. Tap the purple block with the number eighteen to send it to an open slot. The ants immediately stream out of the nest and march up to the lowest purple tiles. They grab the food pieces and return them to the hole. This action shrinks the number on your purple block until it disappears. You just opened the first critical path into the center of the grid.
Step 2: Clear the exposed pink and orange layers.
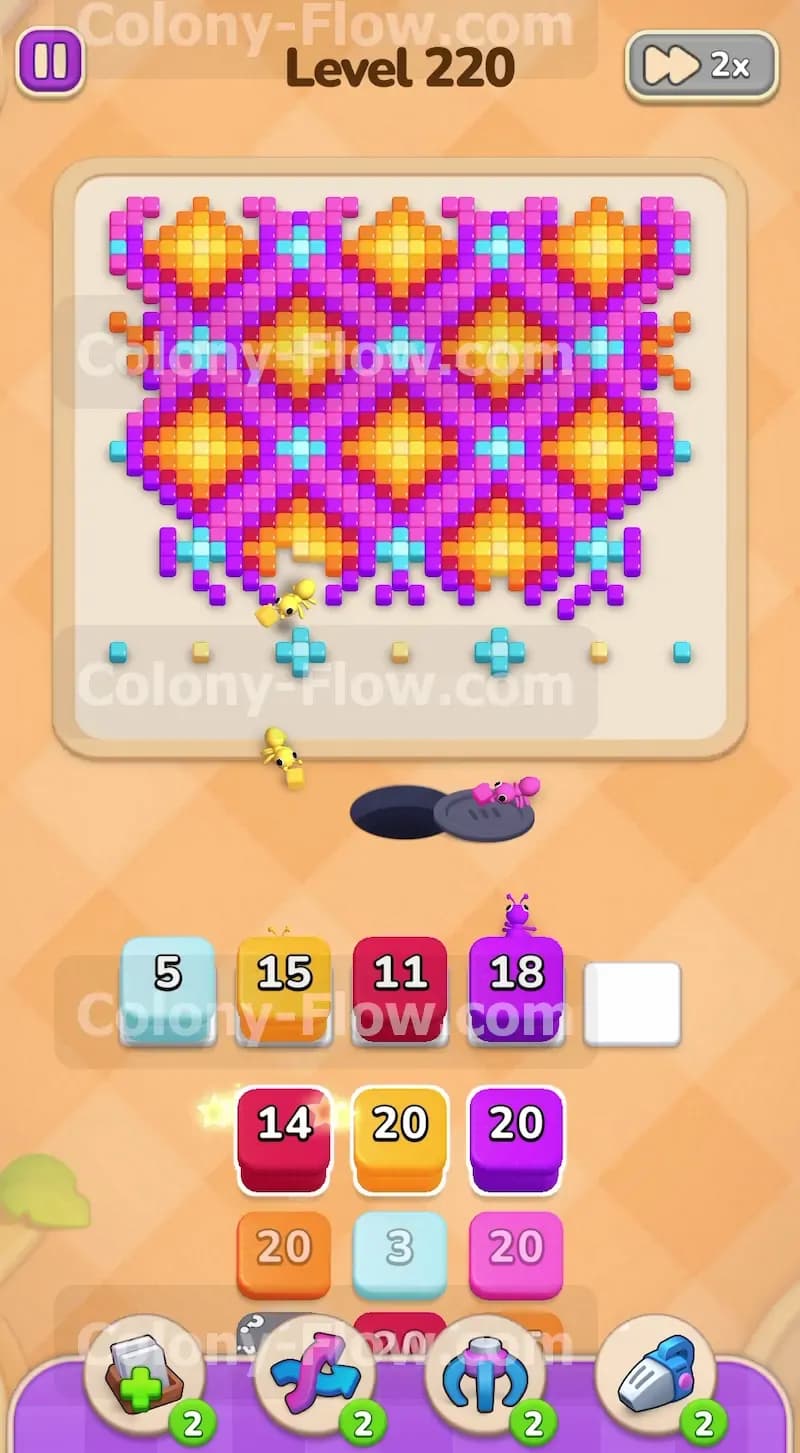
With the bottom purple tips gone the pink and orange sections of the lower diamonds become available. You now see a pink block with the number fourteen and an orange block with the number fifteen in your tray. Tap both of them into your waiting slots. The ants will split their attention and harvest both colors at the same time. Doing this strips away the lower walls of the bottom diamonds and exposes the yellow centers. You still have plenty of room in your waiting slots because the ants have clear paths to these new colors.
Step 3: Reveal the first Hidden Box in your tray.
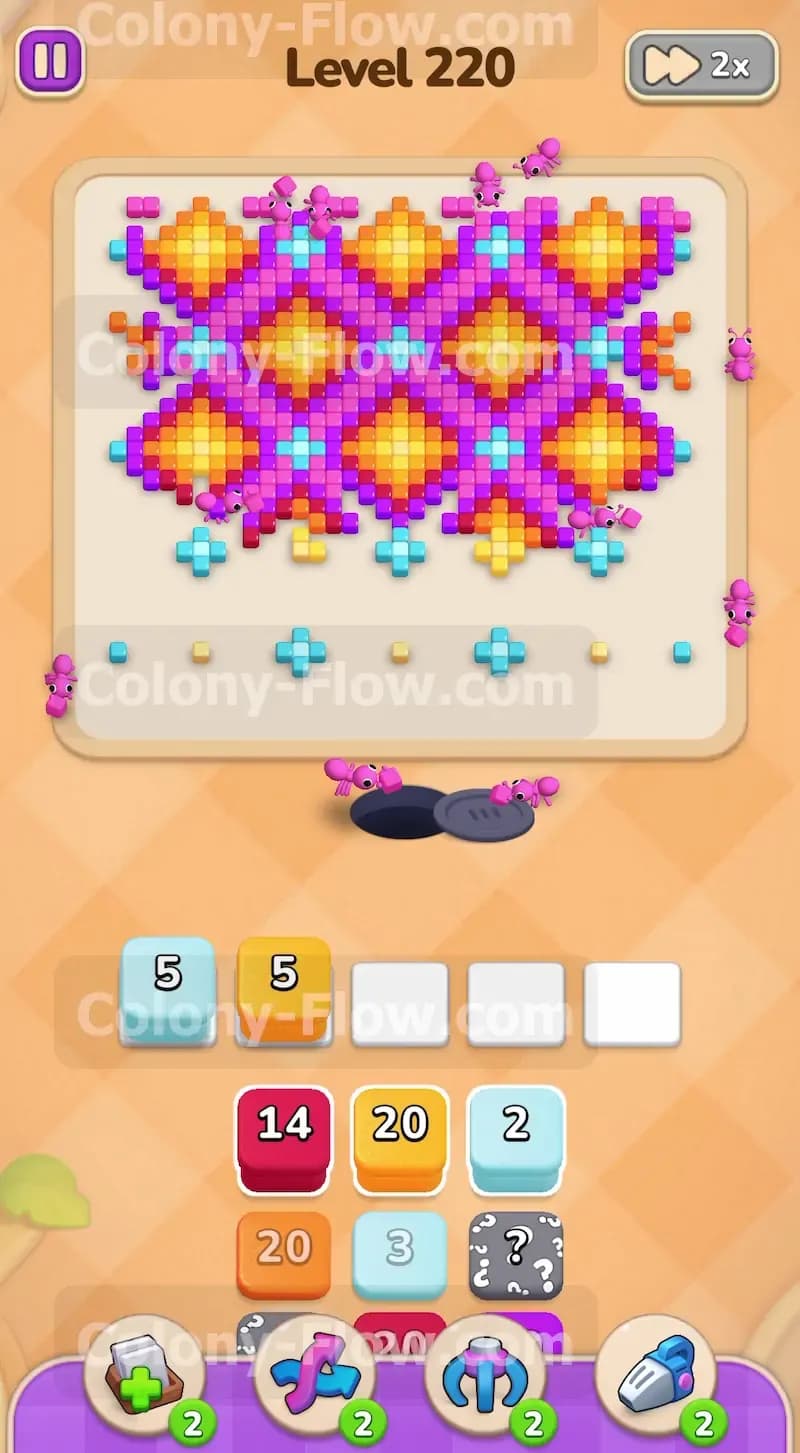
As you clear the first few pink and orange blocks you expose the top of a Hidden Box in your tray. A Hidden Box tile keeps its color a secret while it sits beneath other blocks. Once the blocks above it vanish the question mark drops away and reveals the true color. You want to expose this block early so you can plan your next moves. Pull the blocks above it as soon as the board allows. Once the Hidden Box reveals itself you can match it to the newly opened tiles on the board.
Step 4: Target the light blue crosses to open the middle section.
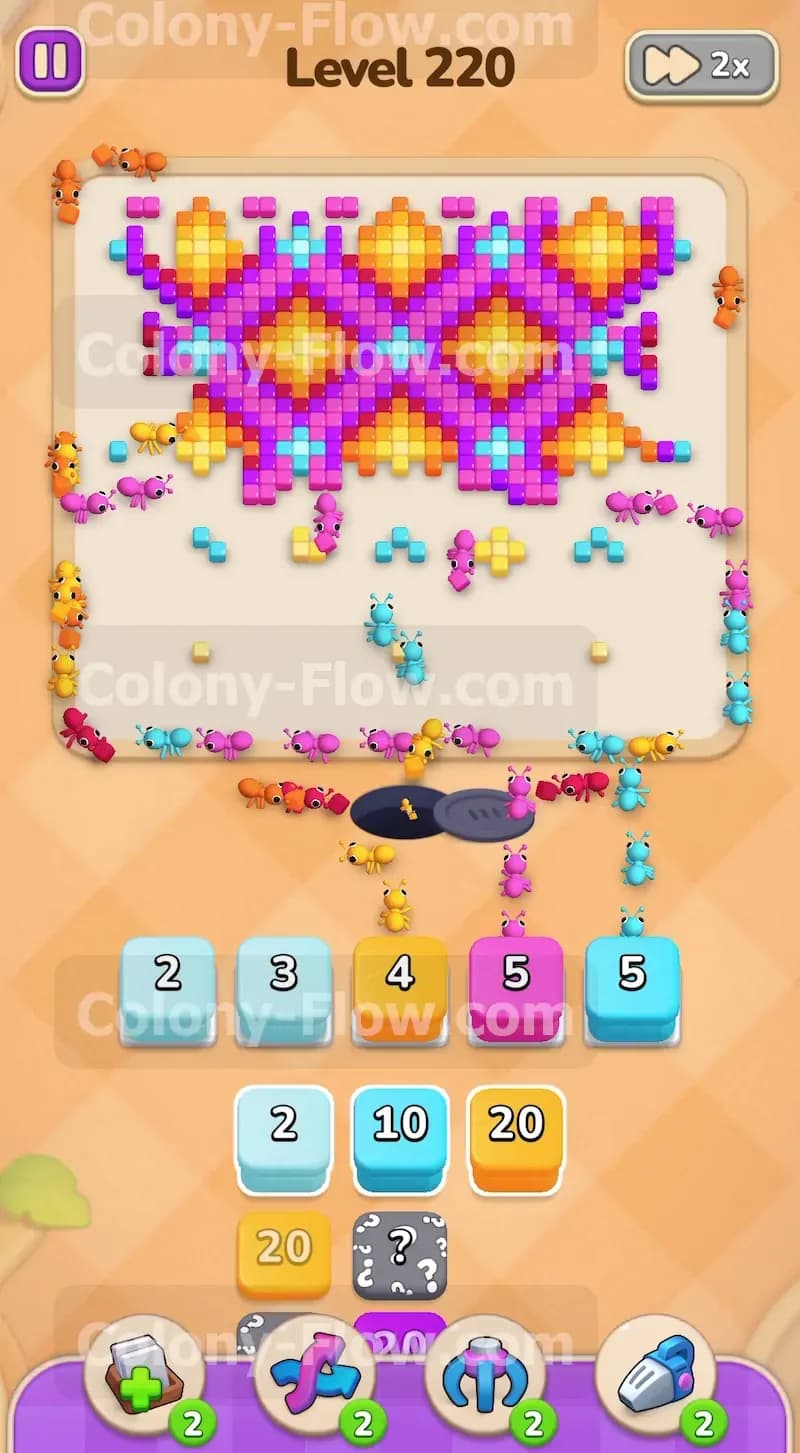
The center of each diamond shape holds a small cross made of light blue tiles. As the ants eat away the outer layers these light blue crosses become the next physical barrier. Look at your tray and locate the light blue blocks. You will see a light blue block with the number five and another with the number three. Bring them up into your slots. The ants will rush to the exposed light blue crosses and tear them down. This move shatters the solid grid and leaves the upper diamonds floating freely.
Step 5: Remove the yellow and dark red center pieces.
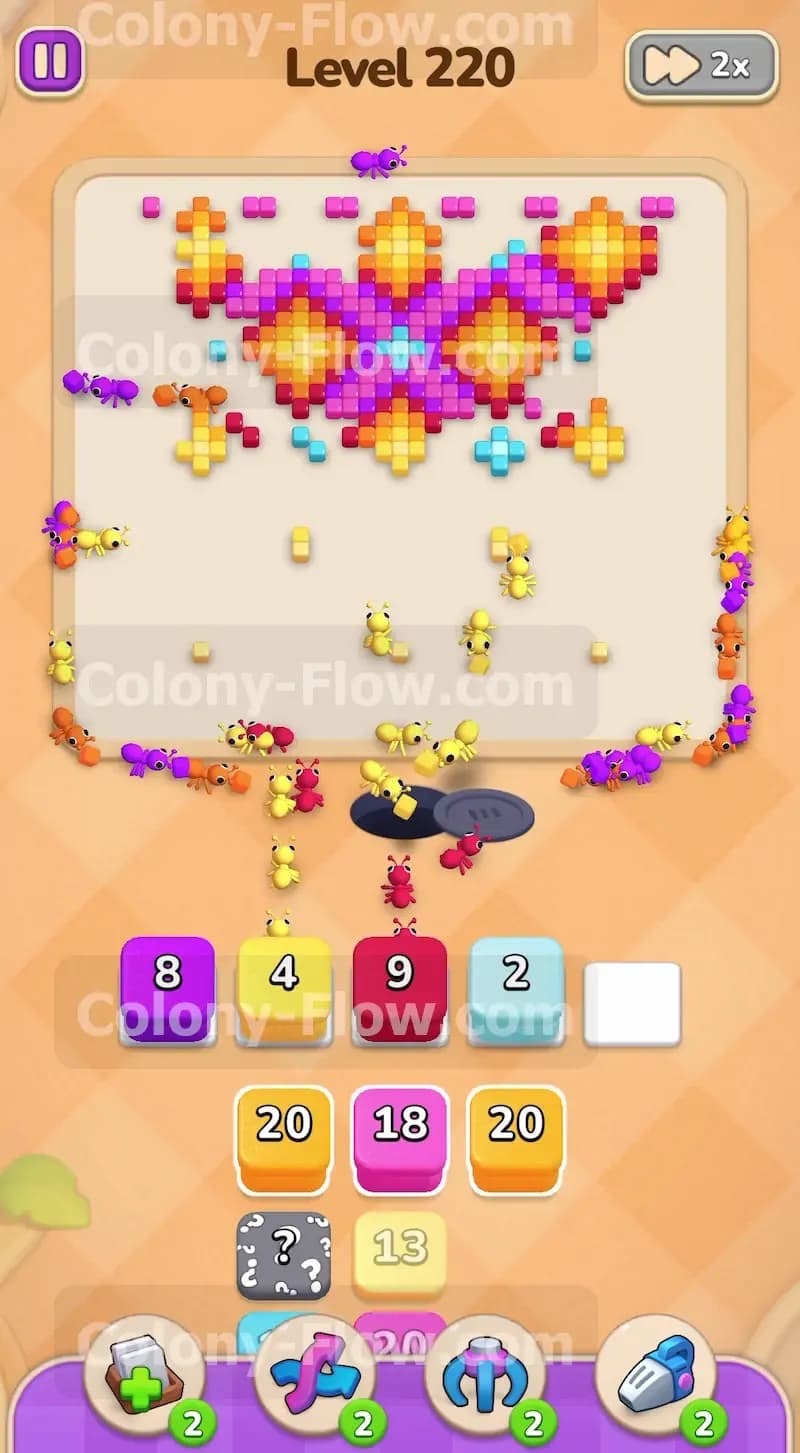
Now that the bottom diamonds are breaking apart you have access to their yellow and dark red cores. Your tray contains a dark red block with the number fourteen and a yellow block with the number twenty. Tap the dark red block first to clear out the tight spaces. Then tap the yellow block. The ants will swarm the thick yellow clusters. Always wait for the ants to finish a large number block before you pull another big block. This patience ensures your waiting slots never jam.
Step 6: Manage a full row of waiting slots carefully.
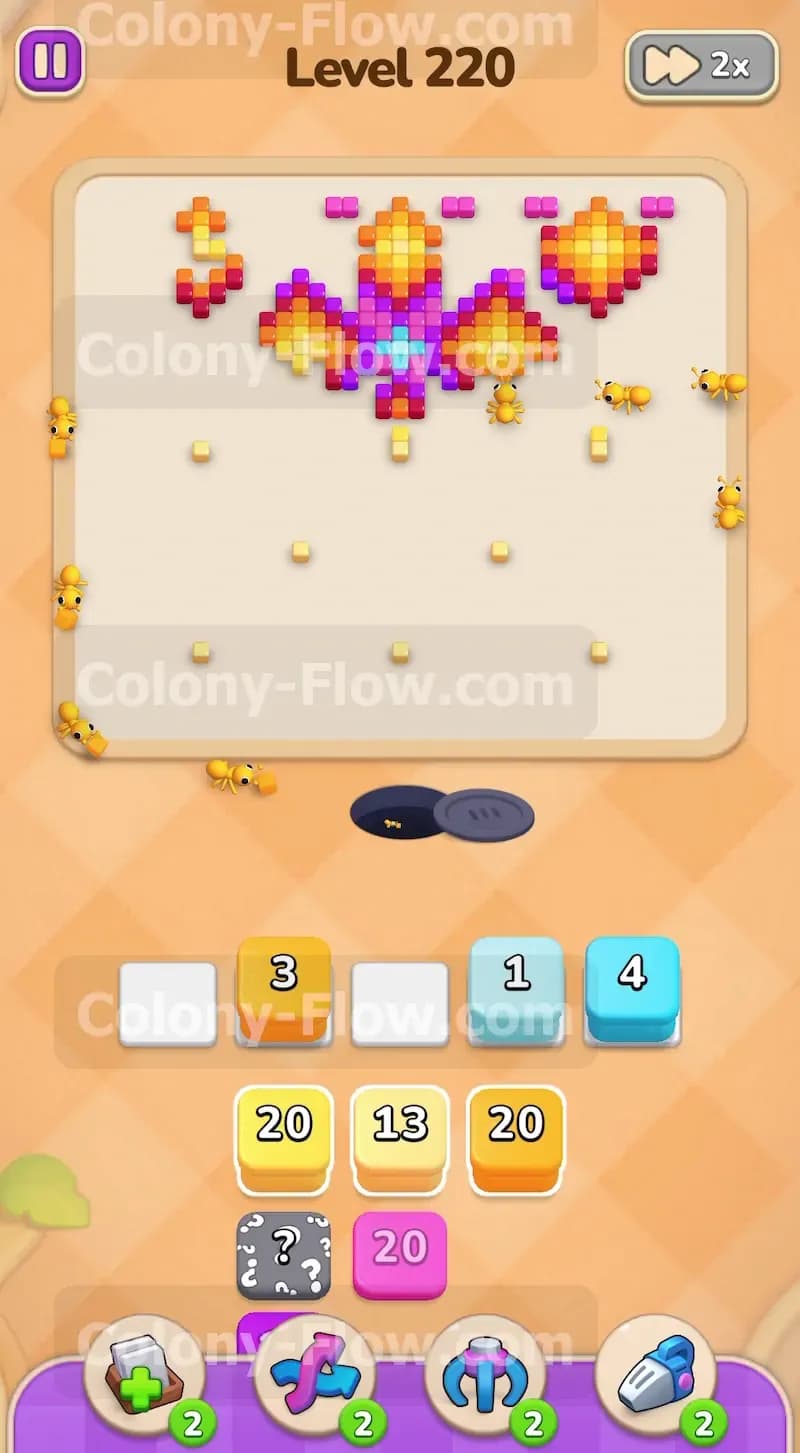
You will eventually hit a moment where your waiting slots fill up almost completely. You might have a purple block an orange block and three light blue blocks sitting in the slots at once. This is the most dangerous part of the level. Do not panic when the slots fill. As long as the ants have an open path to at least one of those light blue blocks they will keep working. Watch the numbers count down. The moment one block empties and vanishes you regain a precious open slot.
Step 7: Attack the purple borders of the upper diamonds.
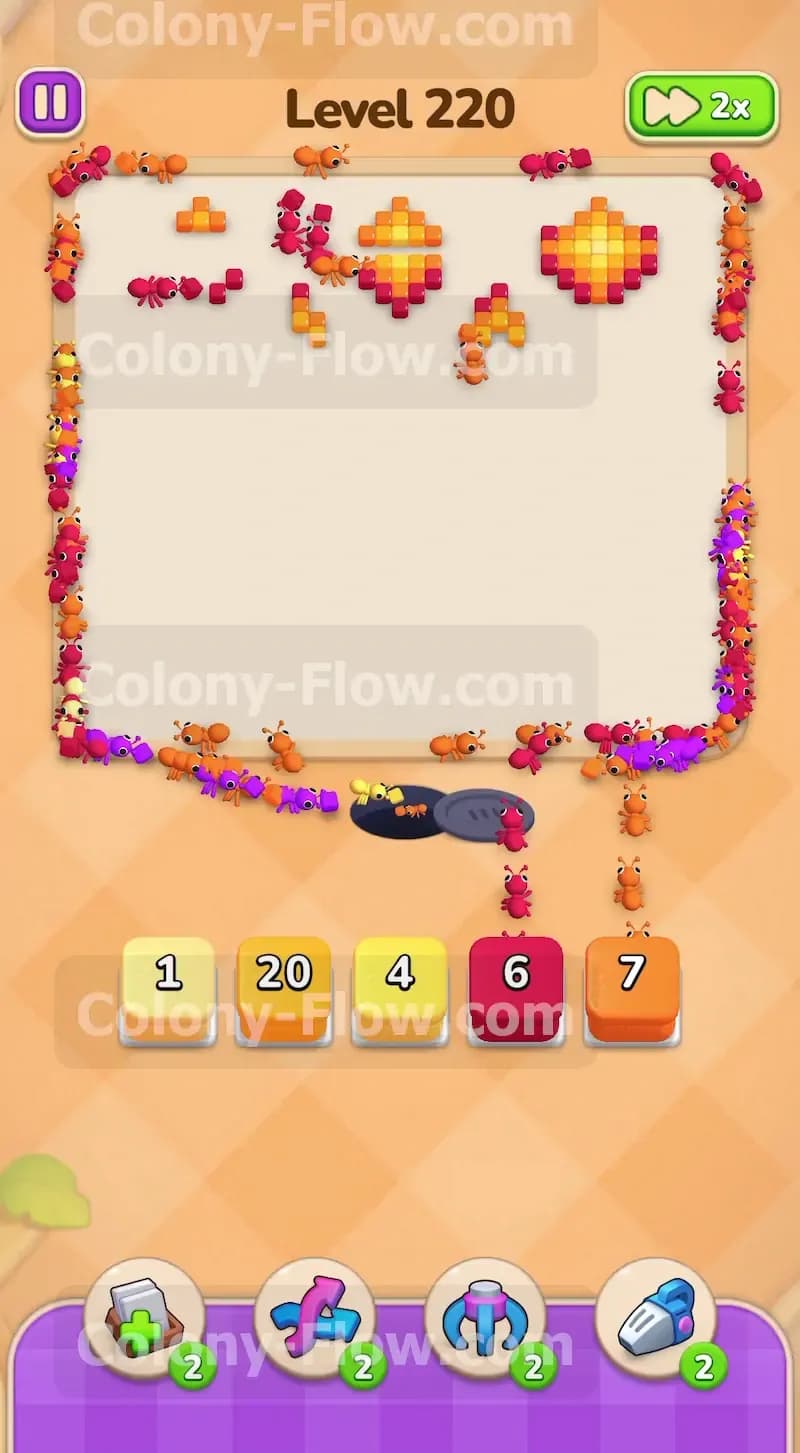
The bottom half of the board is now entirely clear. The ants must travel further up the screen to reach the remaining tiles. The upper shapes are protected by a fresh layer of purple tiles. Look for the purple block with the number eight in your tray and tap it. The ants will make the long trek to the top of the board to eat the purple borders. This action exposes the final tight clusters of orange and yellow tiles near the top corners.
Step 8: Clear the thick orange sections near the top.
You are now looking at large chunks of orange tiles forming the upper diamond bodies. Your tray offers multiple orange blocks including two big blocks with the number twenty and a smaller one with the number thirteen. Pull one orange twenty block first. Let the colony chew through the thickest part of the orange shapes. Once that block clears pull the next orange block. Feeding the orange blocks one by one prevents you from trapping yourself at the very end of the game.
Step 9: Handle the final Hidden Box at the bottom.
Deep in your tray you will find the last Hidden Box tile. By clearing the heavy orange blocks you finally uncover this hidden tile. It reveals its color just in time to match the remaining pieces on the board. Tap it into your waiting slot. The ants will easily clean up this color because the board is completely wide open. You have successfully navigated the deepest part of the tray without clogging your slots.
Step 10: Clean up the final top edge tiles to win.
Only a few scattered tiles remain at the very top edge of the screen. Your tray holds a red block with the number six and a small orange block with the number seven. Tap these final blocks into your slots. The remaining ants will rush to the top corners and grab the last few pieces of food. The board completely empties out and the victory screen appears. You conquered the entire grid by managing your space perfectly.
Final Thought
Level 220 tests your patience and your spatial awareness. You have to keep a steady rhythm and never let your slots fill up with unplayable colors. If any of these step descriptions feel tricky to visualize I highly recommend watching the video above this article.