Colony Flow Level 208 Walkthrough Solution & Guides | How to solve Colony Flow 208

Guide By Liam Stone
Updated on July 13, 2026
The video above has the full walkthrough for Level 208, so use it if you'd rather skip the article.
Video doesn't match your screen?
Game updates frequently scramble layouts! Try our AI Screenshot Solver first to find your exact board instantly, or report broken guides to our team.
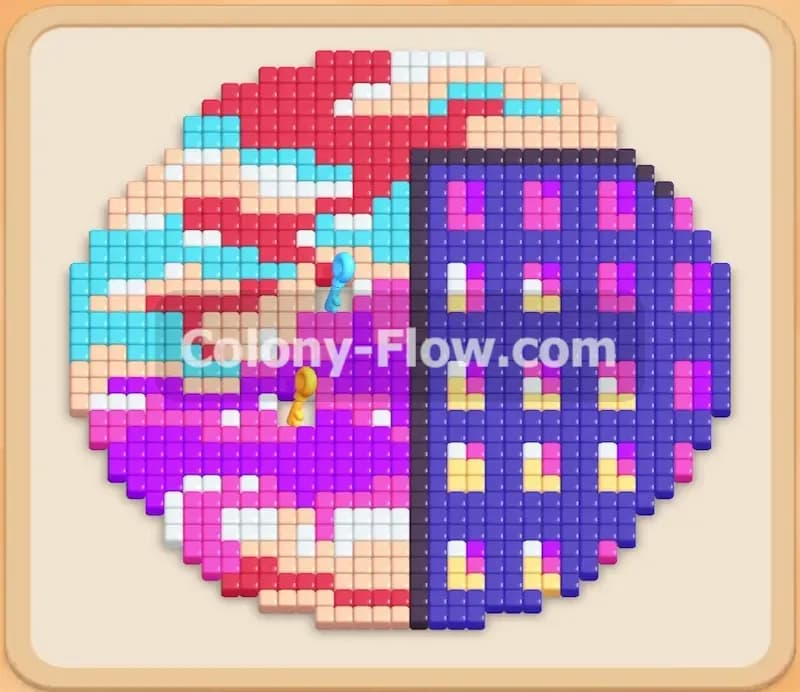
Welcome back to another puzzle guide. Today we are looking at Colony Flow Level 208 and it brings a really satisfying challenge to your screen. The board presents a large circular pixel art image that resembles a bright sunset on the left and a dark purple building structure on the right. Your ants will need to navigate carefully to break this complex image down without jamming your tray. I played this level several times to find the perfect sequence so you can clear it smoothly and confidently.
Colony Flow Level 208 Overview
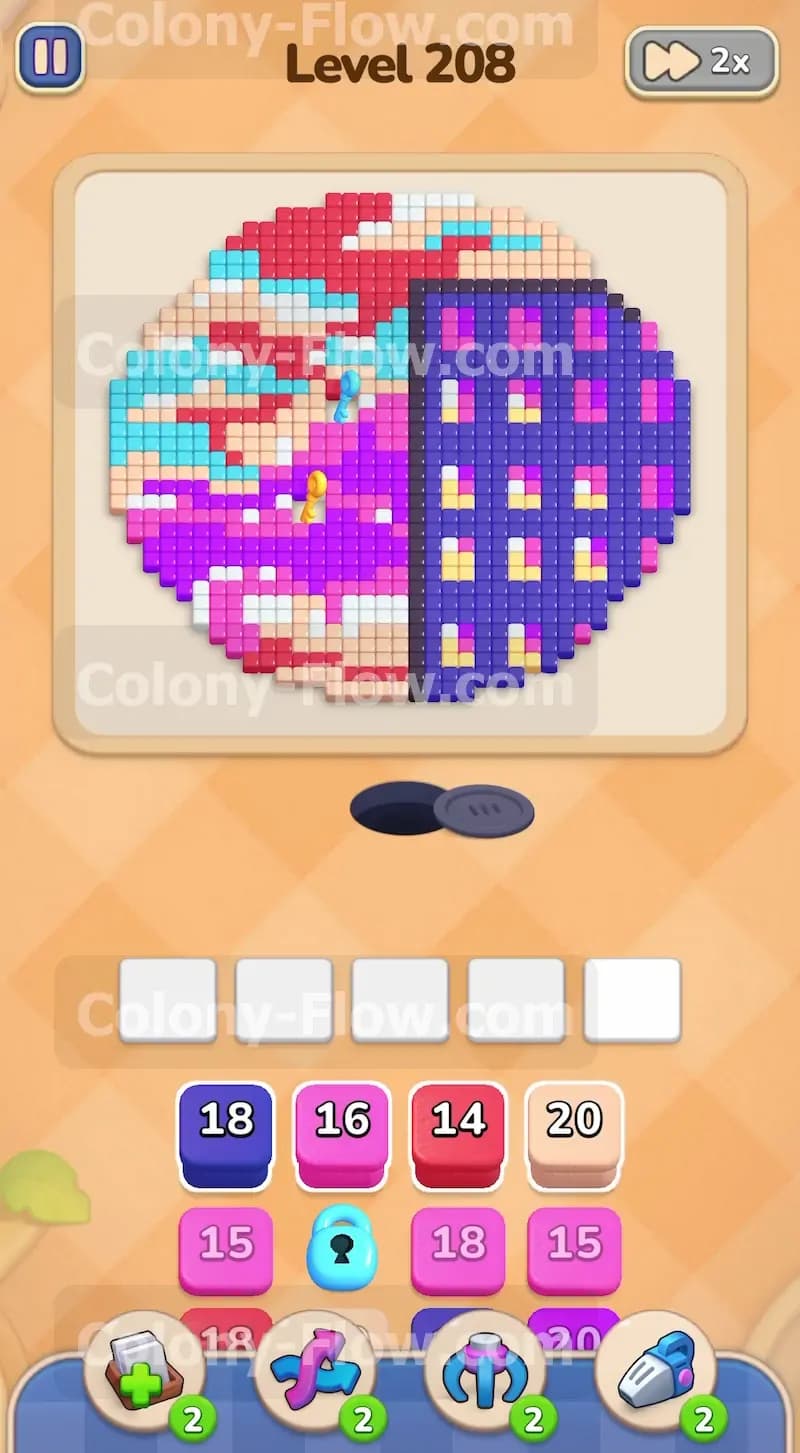
What You Are Working With
The visual design of this level is split into two distinct halves. The left half features beautiful swirling patterns of light blue, white, red, and pink resembling a sunset sky. The right half is a heavy solid block of magenta squares covered by a rigid grid of dark blue lines forming a building shape. Your tray is packed with blocks matching all these specific colors. You will also spot a cyan keyhole lock holding back some vital blocks deep in the lower tray. The nest hole sits directly at the very bottom center of the board. Ants will pour out of this hole and immediately look for the closest open path to their target color. The waiting slots are completely empty at the start and you have five spaces total to juggle your active blocks.
What It Takes to Clear Level 208 Board
To win you must feed your ants every single colored tile on the board until the picture completely vanishes. The main obstacle standing in your way is the thick right side grid. The dark blue lines form tight enclosures around the magenta tiles. You have to peel the outer boundary layers first to let the ants reach the interior sections. If you pull blocks in the wrong order the ants will get stuck trying to reach a tile permanently locked inside the grid. When that happens your five waiting slots will rapidly fill up with active blocks and you will instantly lose the game. Keeping at least one open and accessible path for your active colors is the absolute only way to succeed here.
Colony Flow Level 208 Step by Step Solution
Step 1: Start by clearing the bottom border using dark blue and magenta blocks.
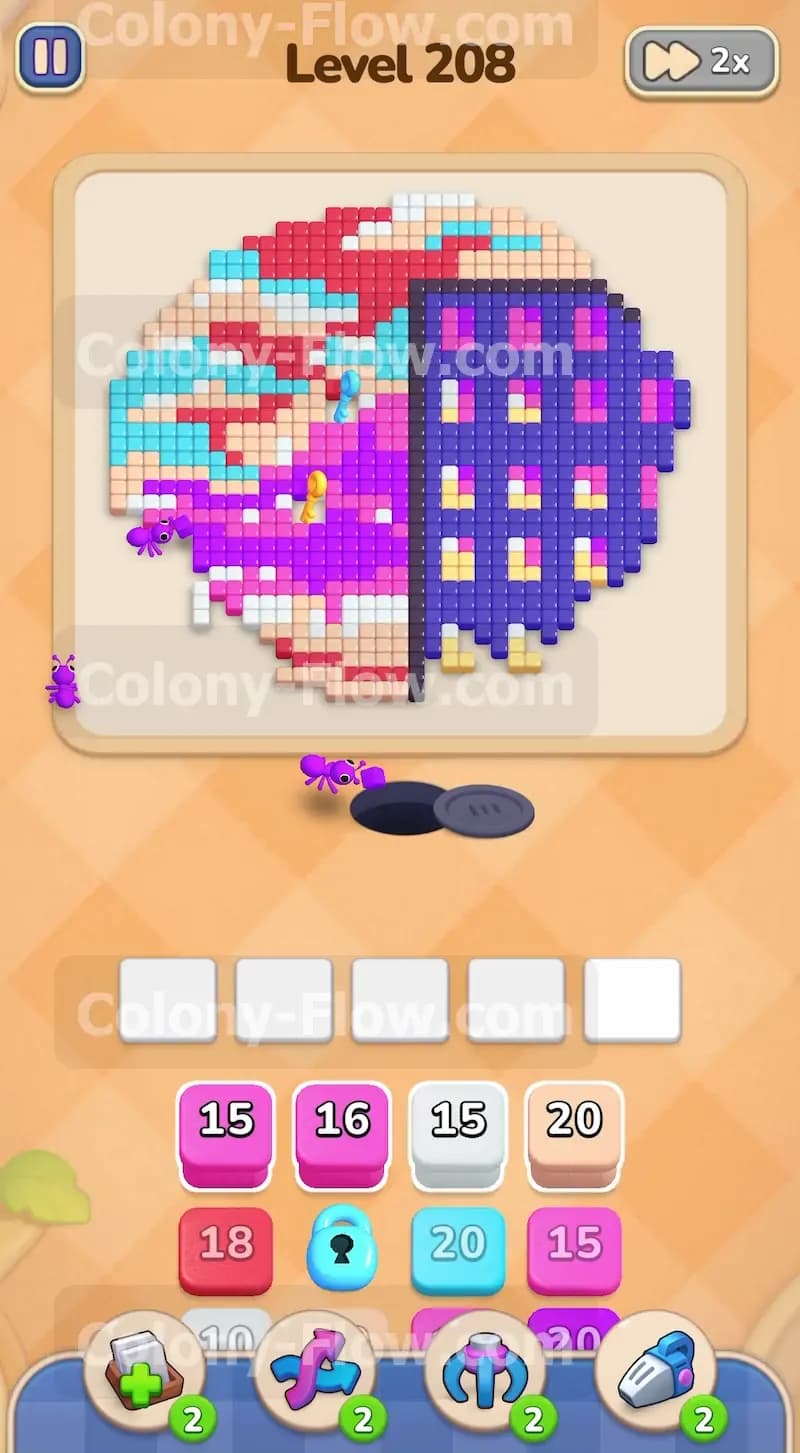
The nest is located right beneath the circular image. You want to give the ants immediate access to the lowest tiles so they do not have to walk very far. Pull the eighteen dark blue block and the sixteen magenta block into your waiting slots. The ants will stream out and head straight for the bottom edge of the purple building and the lower pink swirls. This initial wave chews away the boundary and opens up multiple pathways leading further up into the overall design. Watch the numbers on the active blocks tick down as the ants carry the food away. Wait until these first two blocks are nearly empty before you pull anything else to keep your slots completely safe from a random jam.
Step 2: Deploy the large white and red blocks to open the left side of the sunset pattern.
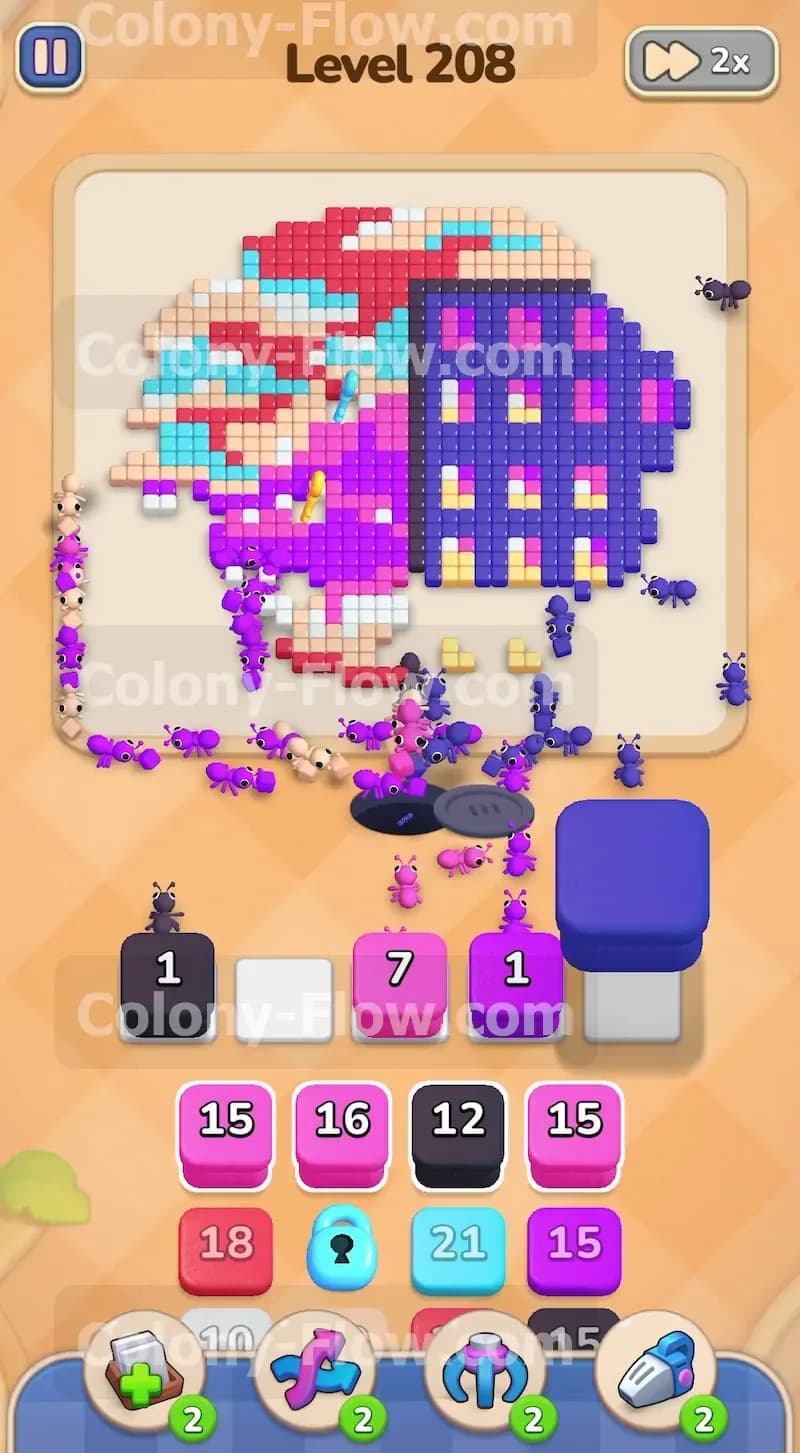
Now that the bottom border is open your ants can easily walk toward the left side of the board. The left half consists of large white clouds and red sky patterns. Pull the twenty white block followed by the fourteen red block from your tray. The ants will split their attention and form two long lines stretching out to the far left edge. They will start carving massive chunks out of the sunset picture. Because you waited for the previous dark blue and magenta blocks to clear you will have plenty of room in your five waiting slots. The white and red tiles sit on the outer edge of the image so the ants can reach them without running into any dead ends.
Step 3: Manage the waiting slots with smaller dark blue blocks to reach the lower right grid.
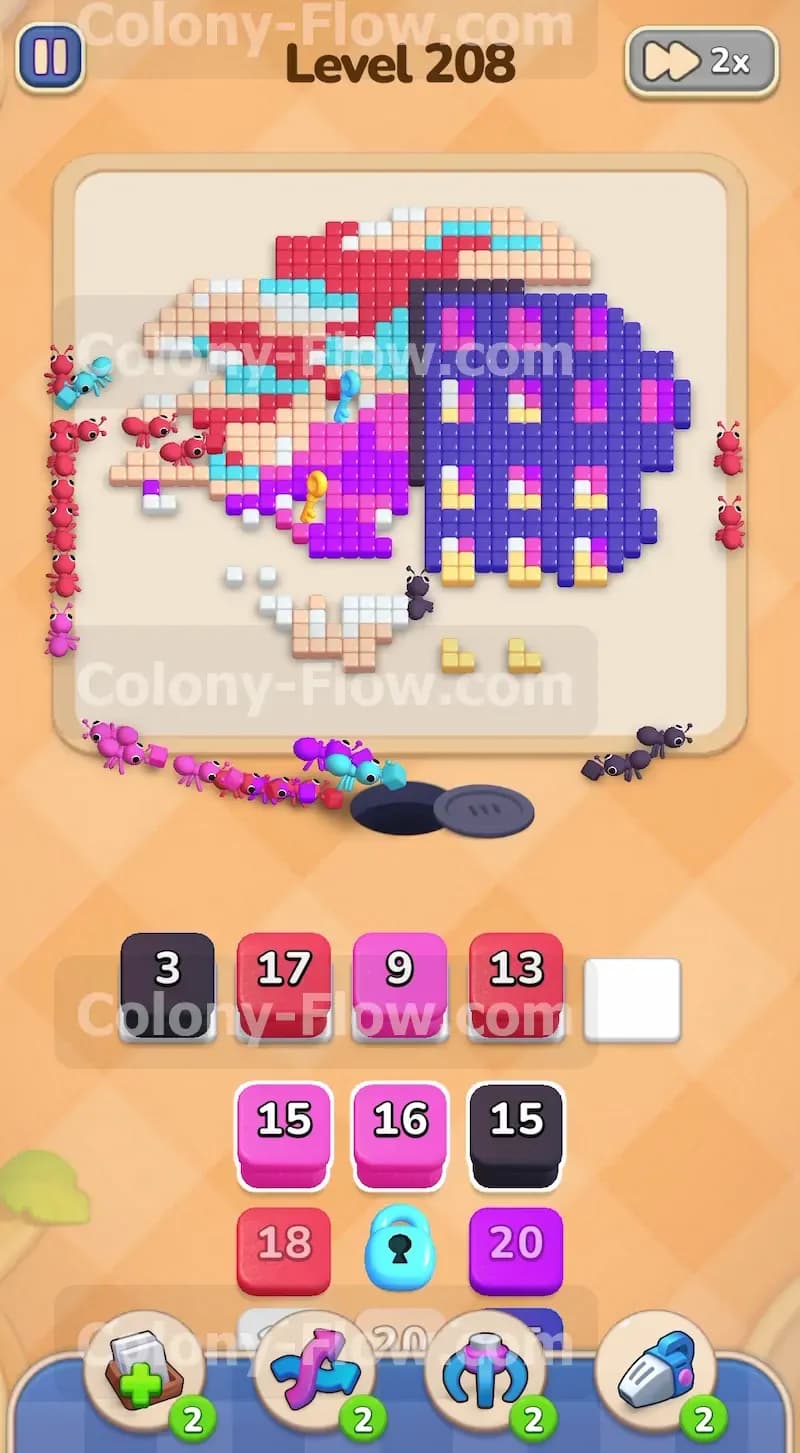
As the left side opens up you need to shift your focus back to the right side building structure. The tray will now reveal smaller blocks including a seven magenta and a one dark blue. Pull these into the tray alongside another available magenta block. The ants will march straight over to the right and begin eating the exposed magenta squares sitting between the dark blue grid lines. The single dark blue block is perfect for removing a small piece of the grid that blocks further interior access. The ants will quickly consume these smaller numbers and clear out the slots. You will see the bottom corner of the purple building start to disappear entirely.
Step 4: Send a massive wave of red blocks to clear the middle of the left side sky.
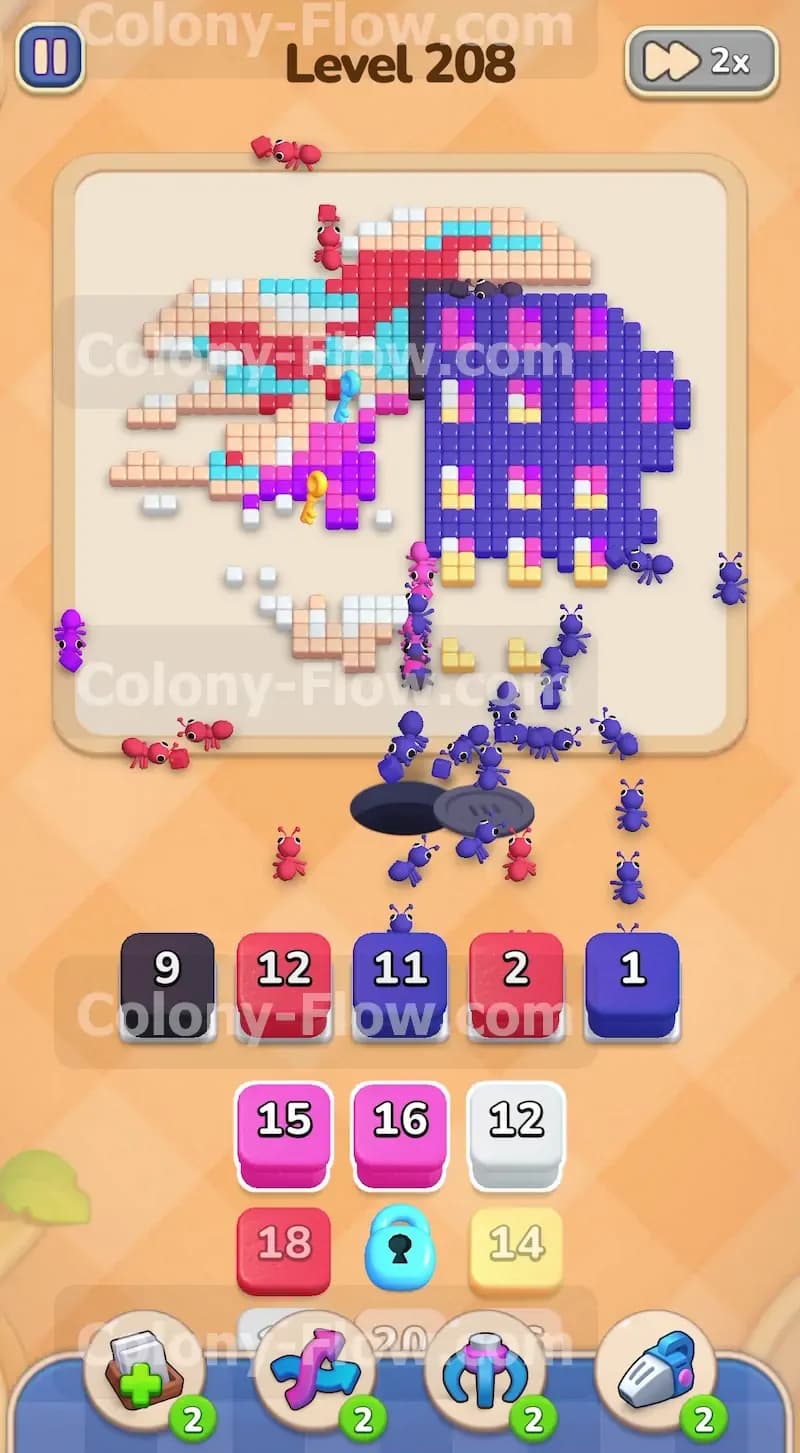
The sunset pattern still has a large amount of red tiles clustered right in the middle. Your tray will offer a seventeen red block and a thirteen red block for you to use. Move both of these heavy red blocks into your waiting slots along with a nine magenta block. A huge swarm of ants will pour out of the nest and travel straight up the left side of the board. They will devour the thick red bands running through the light blue sky. The nine magenta block will simultaneously send ants to clean up the remaining pink swirls near the center line. This step removes a massive chunk of the total picture and leaves the left side looking very bare and easy to navigate.
Step 5: Break the main structure of the right side grid using a sequence of dark blue blocks.
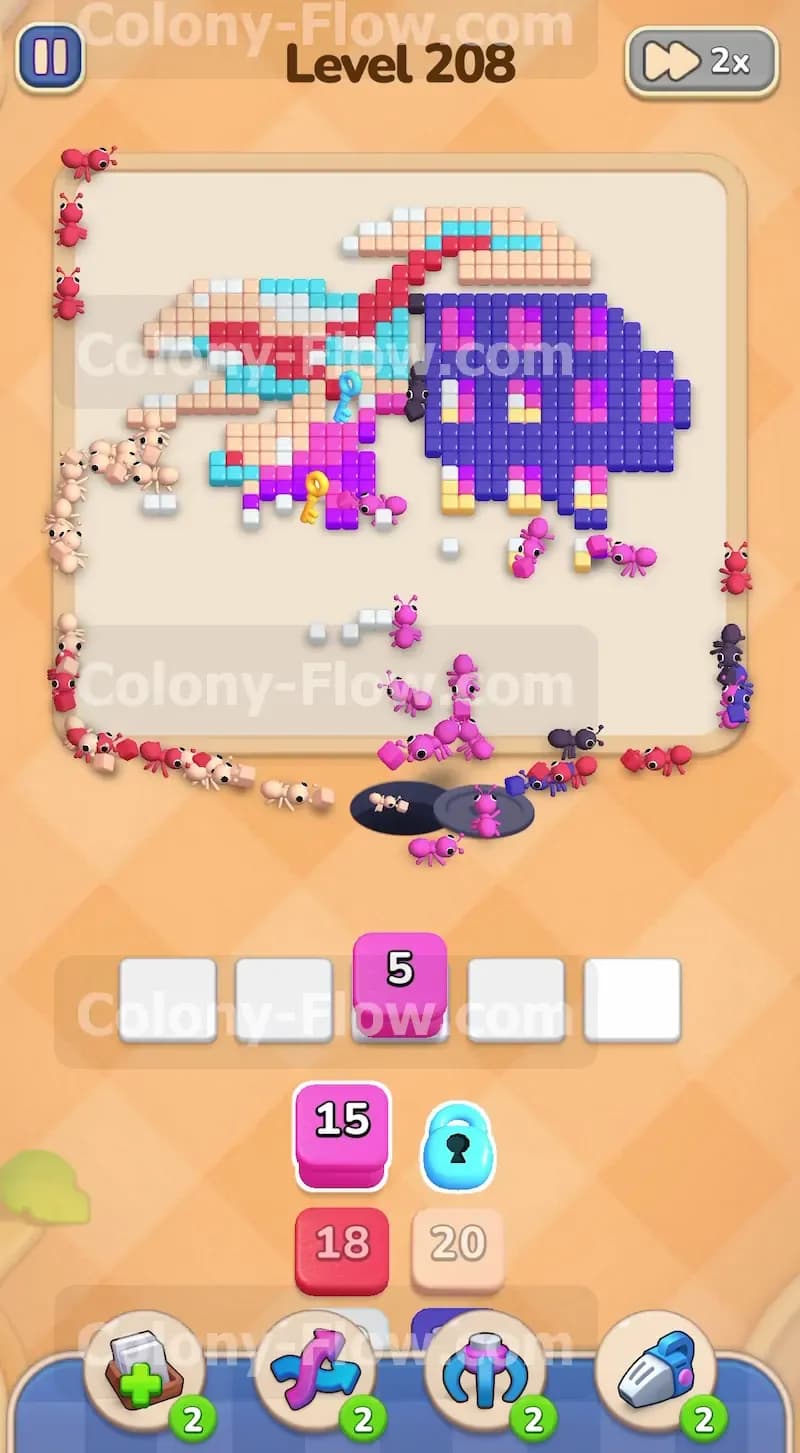
The right half of the board still holds a dense network of dark blue grid lines protecting the inner colors. Your tray will present a sequence of dark blue blocks numbering nine, eleven, and one. Pull these into the slots along with a twelve red and a two red block. The ants will form a massive perimeter walking around the right side. They will travel all the way up the right edge to attack the grid from the outside moving in. By removing the dark blue lines you expose the inner magenta tiles for your next move. The red blocks will keep a second group of ants busy finishing off the very top of the sunset design. Keep a close eye on your five slots during this heavy pull to ensure the ants always have an open route to their chosen targets.
Step 6: Use the next set of magenta blocks to clear the exposed building interior.
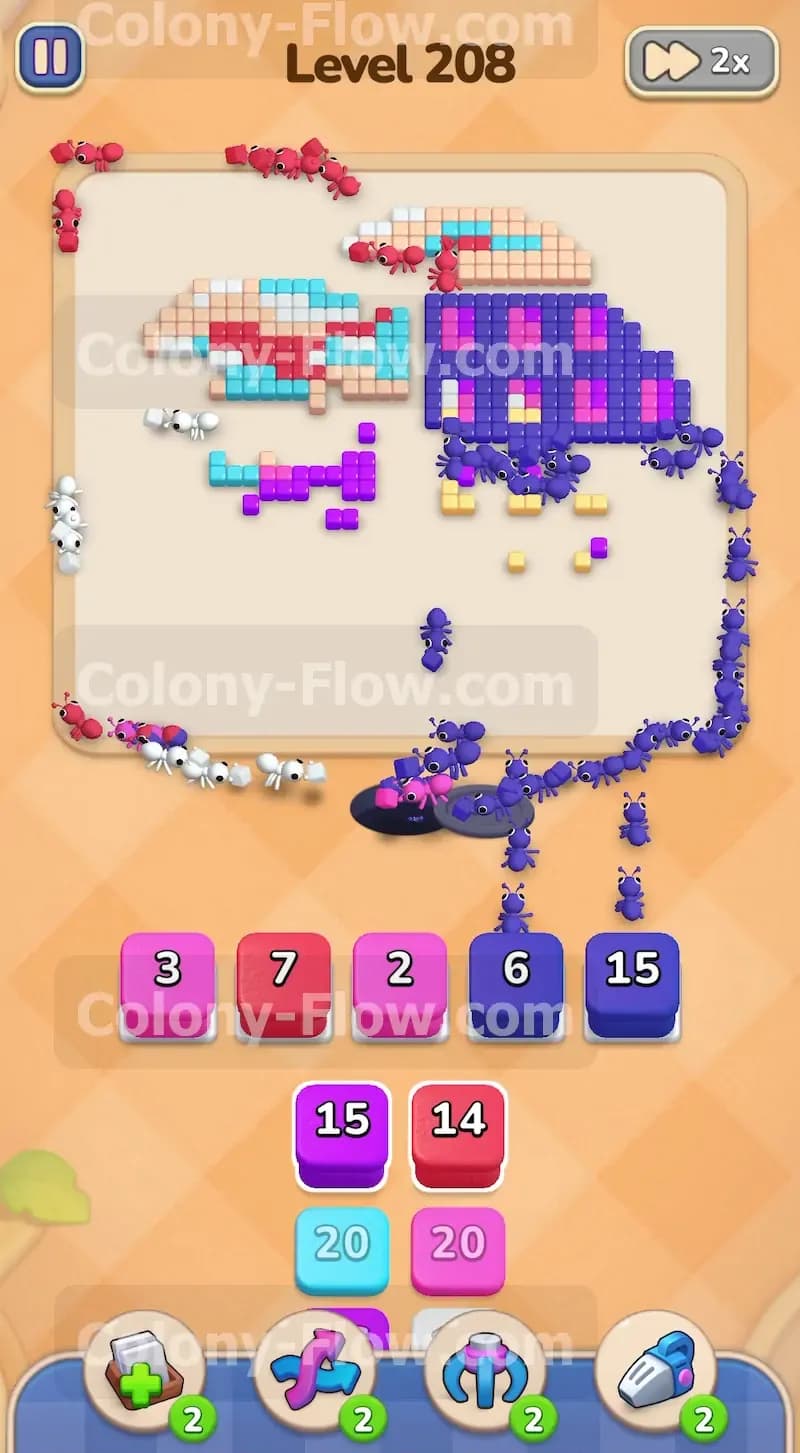
With the dark blue grid severely broken your ants can now freely walk inside the building structure. Pull the fifteen magenta block and the five magenta block from the tray. The ants will surge into the gaps left by the missing grid lines and eat the inner magenta squares. This move significantly reduces the remaining footprint of the building and keeps the ants moving efficiently. You will notice the cyan keyhole block in the tray is getting much closer to being usable. You must continue clearing the surrounding colors before you can fully unlock it. The ants will quickly process these magenta blocks because the paths are wide open and free of any surrounding obstacles.
Step 7: Destroy the final remnants of the purple building with your remaining dark blue blocks.
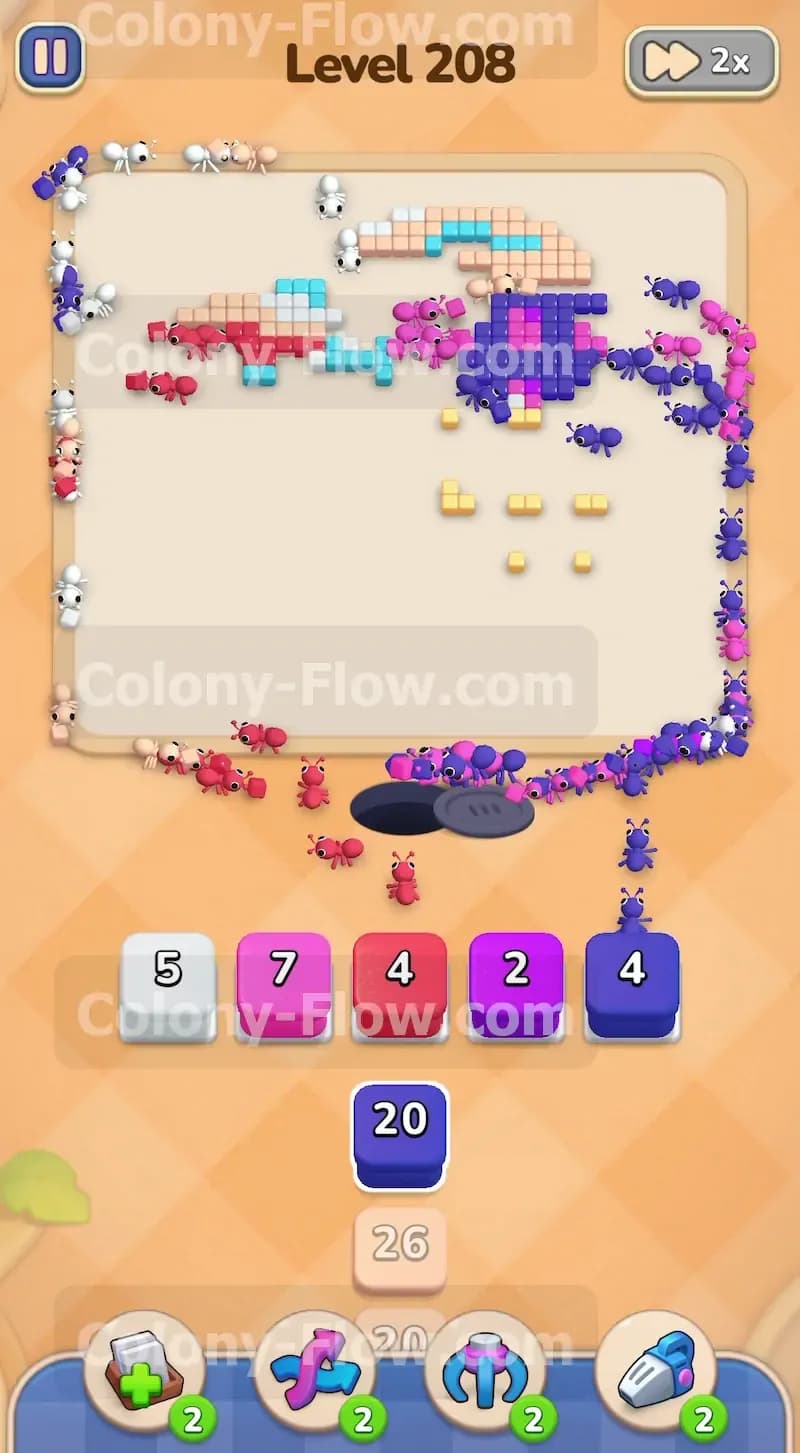
The board is now mostly empty space with just a few scattered clusters of tiles remaining. Pull the fifteen dark blue block and the six dark blue block into your waiting slots. Add the seven red block to keep the ants moving on multiple fronts across the screen. The ants will travel to the far upper right corner to consume the last thick sections of the grid lines. Another group will head to the top left to grab the final red pieces of the painted sky. Because the board is so open the ants travel very fast and reach their destinations without delay. Your slots will empty out rapidly as the insects swarm the last few structural pieces of the main image.
Step 8: Finish the level by cleaning up the top edge with the last white and magenta blocks.
Only a handful of isolated tiles remain at the very top edge of the board. Your tray will have a five white block, a seven magenta block, and a two magenta block left to use. Pull all of them into your waiting slots to initiate the final cleanup. The ants will make the long trek from the bottom nest hole all the way up to the top boundary layer. They will eat the final white cloud pieces and the last tiny magenta squares dotting the screen. Once the final tile disappears the remaining ants will scurry off the board and you will officially complete the level. You managed the slots perfectly and never gave the ants a single chance to get stuck.
Final Thought
Colony Flow Level 208 is a great test of how well you can balance two completely different sides of a complicated board. By carefully peeling the protective grid on the right and systematically breaking down the swirling shapes on the left you keep the ants moving without a single interruption. If any part of this written guide feels tricky to visualize you can always watch the video above this article to see the exact block order in motion. Keep your paths clear and you will have no trouble beating this challenge.