Colony Flow Level 654 Walkthrough Solution & Guides | How to solve Colony Flow 654

Guide By Liam Stone
Updated on August 8, 2026
Watch the video above for the quick version of the Level 654 walkthrough.
Video doesn't match your screen?
Game updates frequently scramble layouts! Try our AI Screenshot Solver first to find your exact board instantly, or report broken guides to our team.
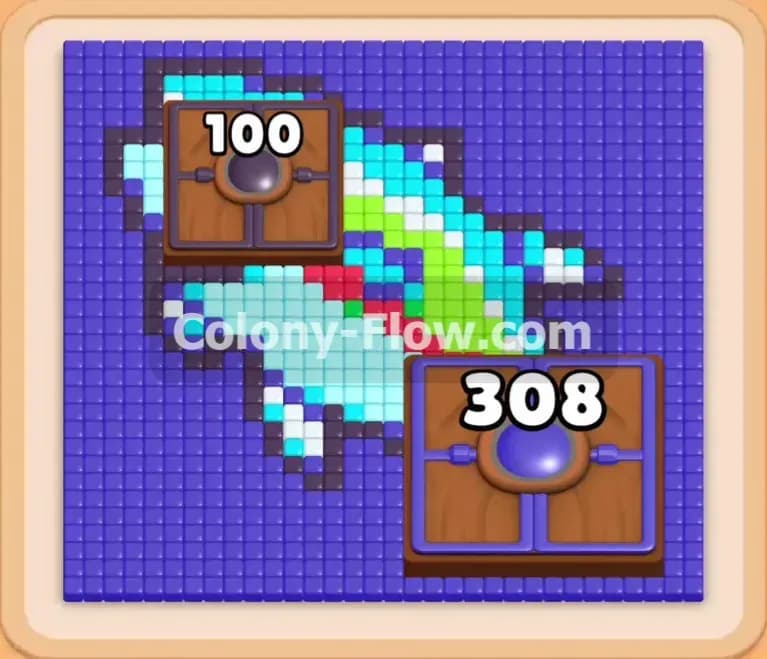
Welcome to Colony Flow Level 654. I am Liam Stone and I am here to guide you through this massive puzzle. This level features a beautiful pixel art dolphin completely trapped by a huge dark blue background. You also have two giant wooden structures blocking your path. I will walk you through the exact strategy you need to clear the board without filling your waiting slots.
Colony Flow Level 654 Overview
What You Are Working With
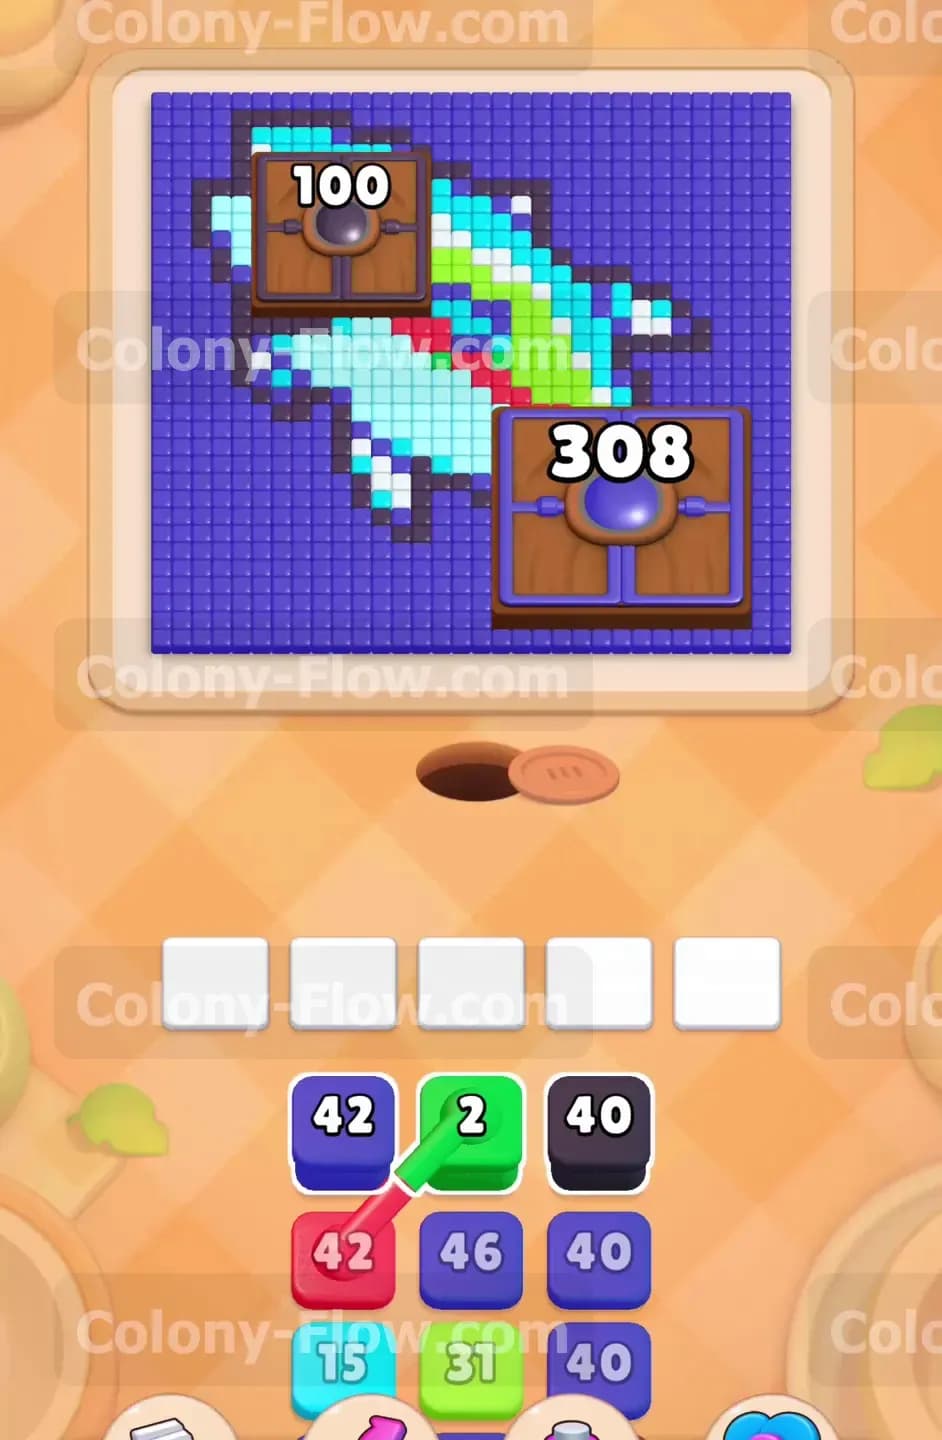
You have a giant dark blue background filling most of the screen. In the middle of this background is a pixel art dolphin made of light blue, green, white, red, and black tiles. The biggest obstacles are two Hungry Doors. The top left Hungry Door requires one hundred points to break. The bottom right Hungry Door is even bigger and requires three hundred and eight points. Your tray contains standard colored blocks and several Connected Boxes. These connected blocks are linked together by a thick line and they move into your waiting slots as a pair.
What It Takes to Clear Level 654 Board
To win you must completely feed the two Hungry Doors and clear every single colored tile. Your main threat is the five waiting slots at the bottom of the screen. If you fill all five slots with blocks that have no open paths on the board, you lose immediately. You must balance sending dark blue ants to the background and sending brightly colored ants to the dolphin. You also need perfect timing when pulling the Connected Boxes so they do not jam your tray.
Colony Flow Level 654 Step by Step Solution
Step 1: Clear the initial dark blue background to make room
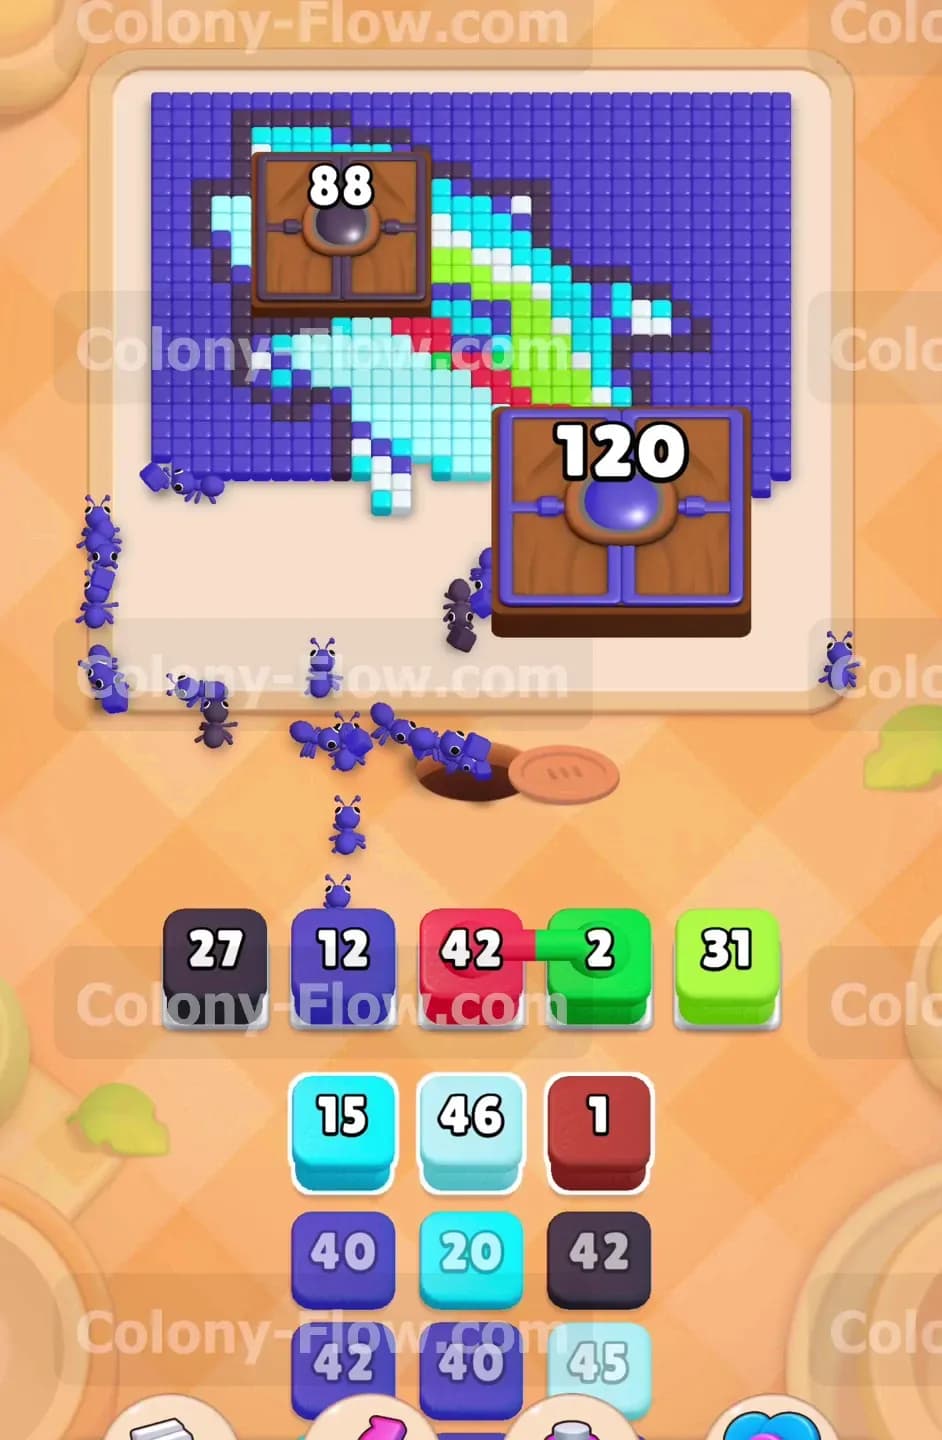
You start the level facing a solid wall of dark blue tiles. The dolphin is visible but heavily surrounded. You need to open some paths immediately so your ants can reach the main structure. Pull the dark blue blocks from your tray to get things moving. The dark blue ants will swarm out of the nest hole and begin eating the background tiles. This action creates the initial breathing room you need. Always clear the outer edges first so you do not accidentally create a dead end for your other colors. The dark blue ants will naturally pave a path toward the bottom right corner.
Step 2: Launch a massive assault on the bottom right Hungry Door
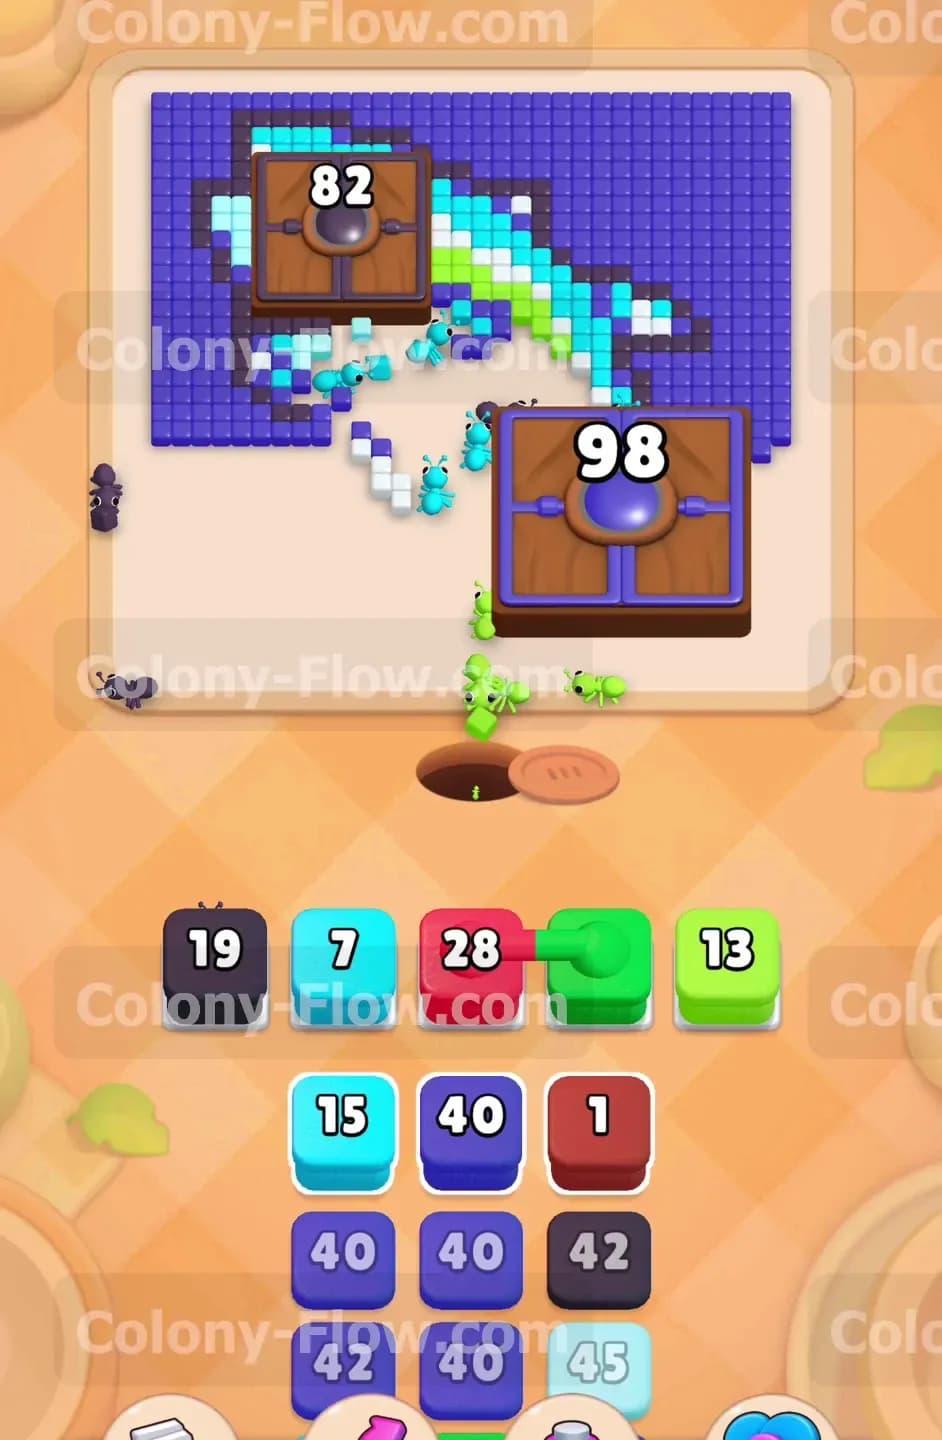
The bottom right Hungry Door is your largest problem because it demands three hundred and eight points. You must start feeding it as early as possible. As the dark blue ants clear the space around it, pull more dark blue blocks to target the door directly. You will see the massive number slowly tick down as the ants attack the wooden structure. Do not wait until the end of the level to handle this door. It requires multiple heavy blocks from your tray to completely satisfy its hunger. Keep the dark blue ants flowing steadily to avoid a bottleneck later.
Step 3: Begin exposing the light blue and green dolphin belly
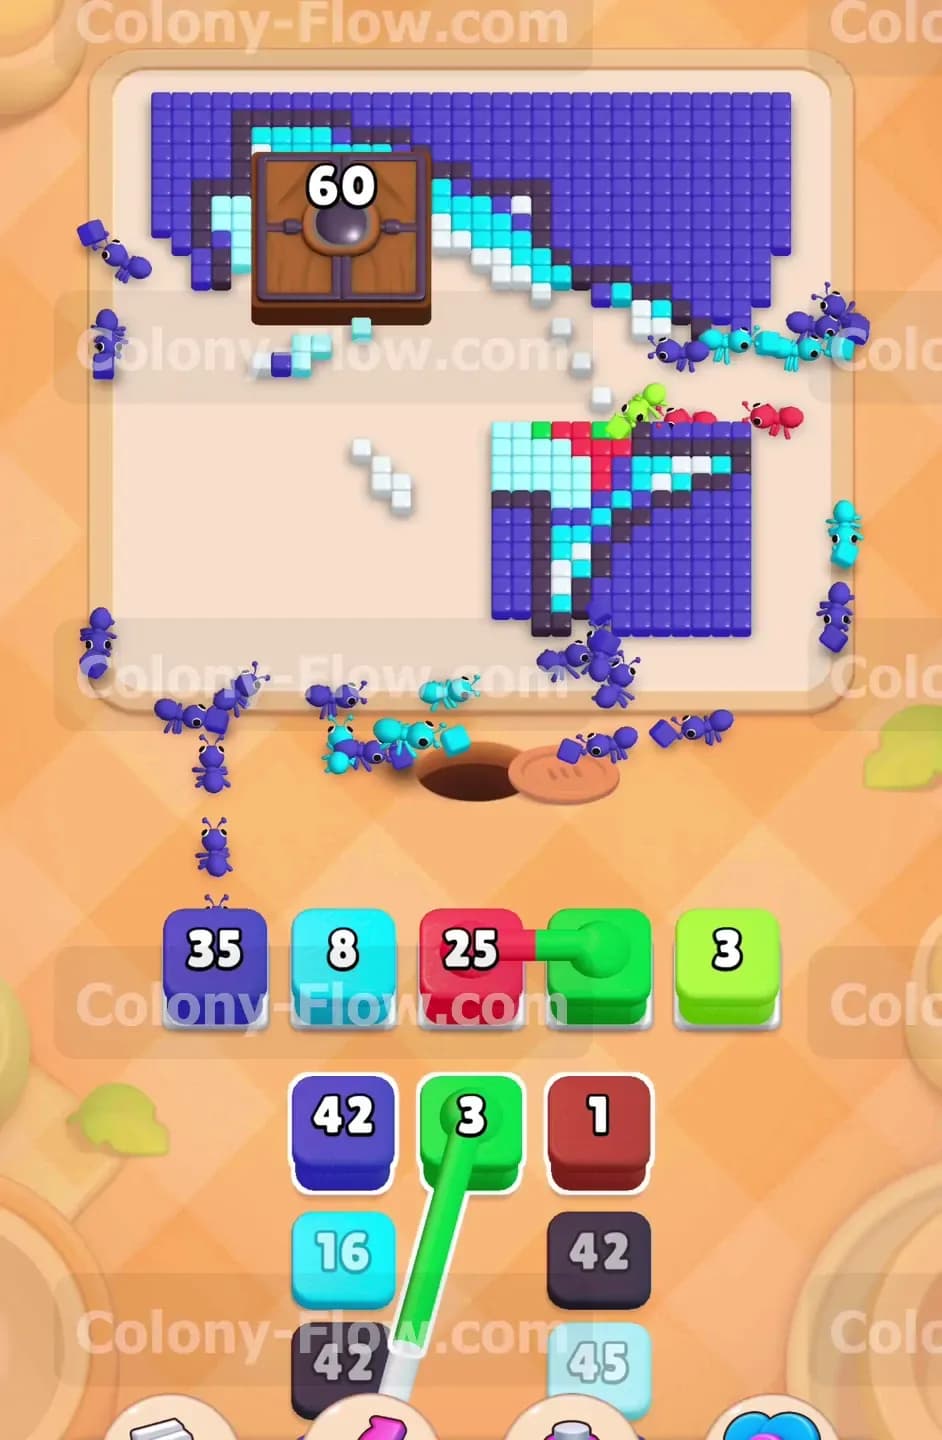
While your dark blue ants work on the massive door, you need to keep the rest of the board active. Look at the exposed sections of the dolphin body. You will see light blue and light green tiles ready to be eaten. Pull the light blue blocks and light green blocks into your waiting slots. These ants will march up the middle of the board and carve out the belly of the dolphin. Mixing these colors into your workflow ensures your waiting slots stay clear. If you only focus on the dark blue background, you will run out of dark blue blocks and your tray will jam with unplayable colors.
Step 4: Manage your first set of Connected Boxes carefully
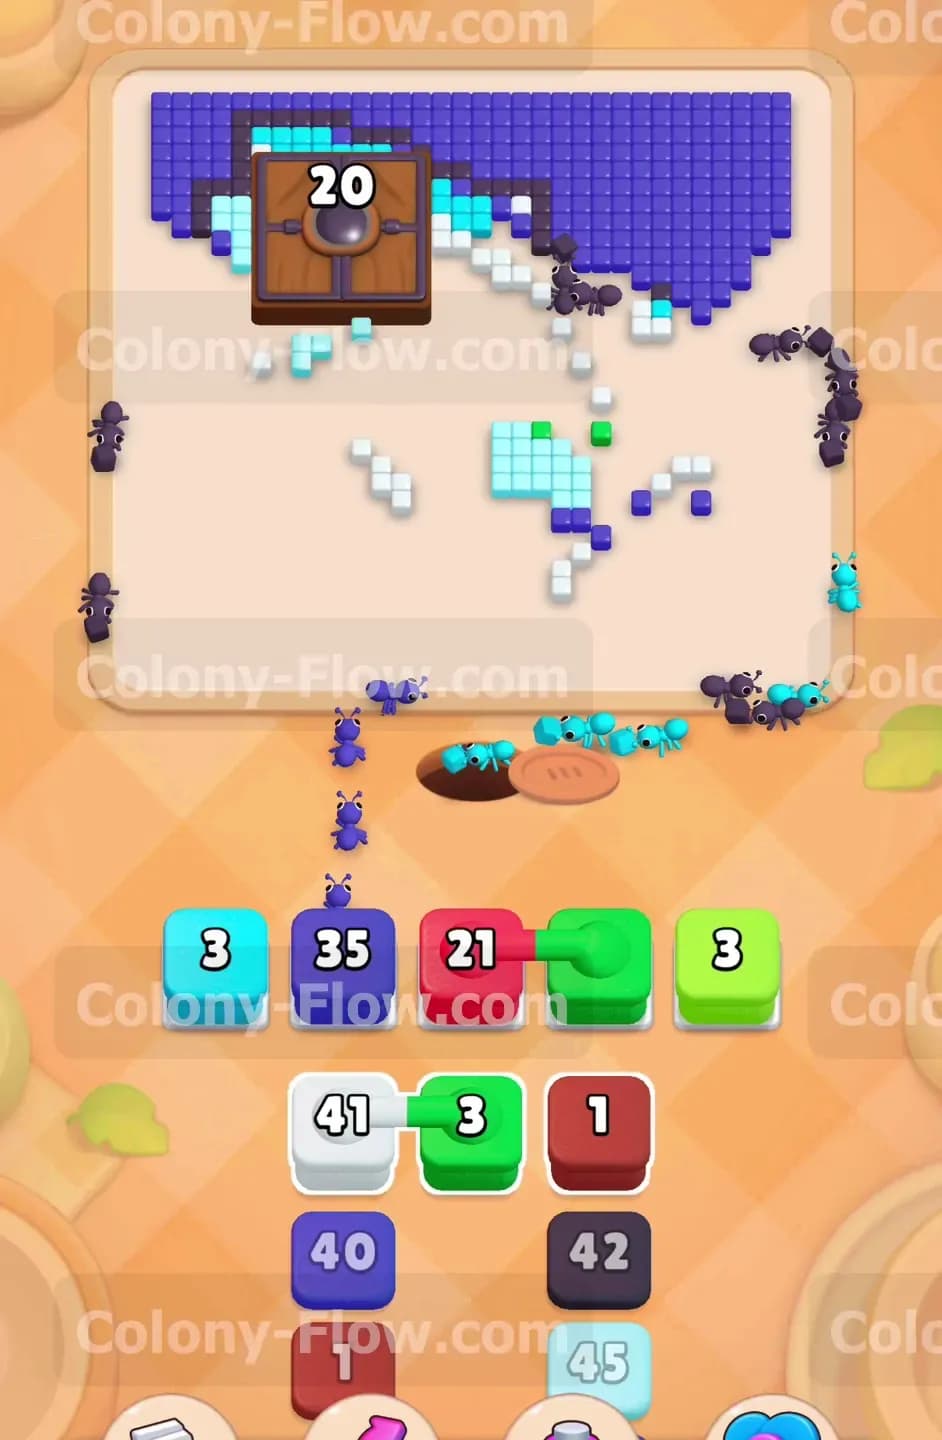
This level introduces Connected Boxes to complicate your tray management. You will spot a green block physically linked to a red block. When you tap one of these blocks, both of them snap into your waiting slots together. This means they instantly consume two of your five available slots. Before you pull this linked pair, you must verify that both green tiles and red tiles are accessible on the board. If the red tiles are buried under other colors, the red block will sit in your tray and waste a slot. Wait until the light blue ants clear a path to the red dolphin details before you pull the connected pair.
Step 5: Shatter the bottom right Hungry Door completely
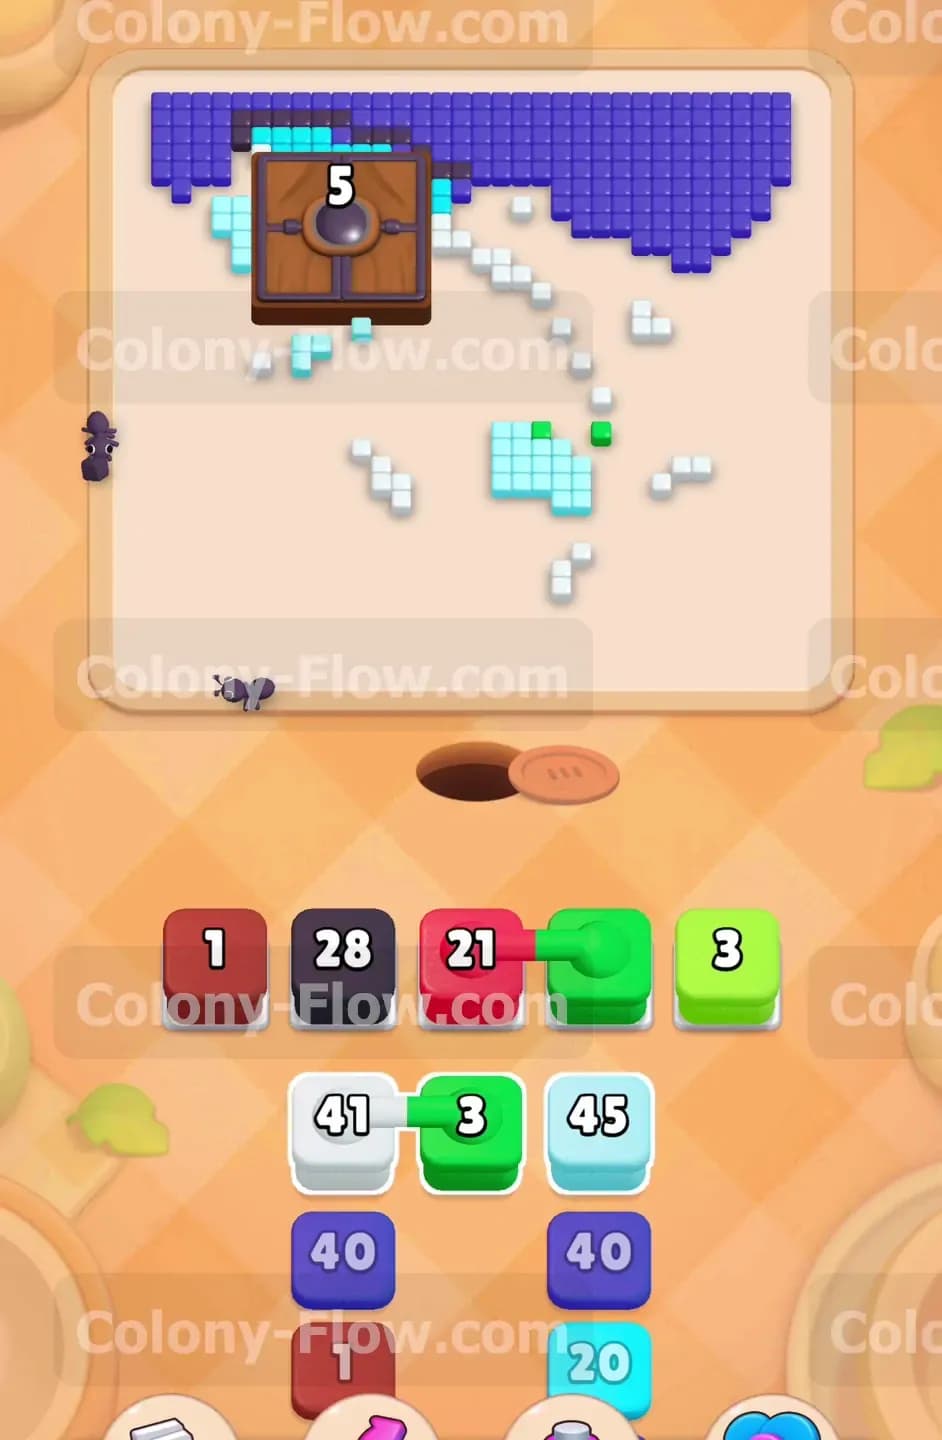
Your relentless dark blue ant attacks will finally bring the bottom right Hungry Door down to zero. The heavy wooden structure will break apart and vanish from the board. This is a major moment because it frees up a massive amount of space on the right side. With the door gone, your ants have direct access to the tail of the dolphin and the remaining dark blue background tiles in that corner. Pull a black block to send black ants toward the newly exposed outline tiles near the tail. Clearing this section gives you great momentum.
Step 6: Shift your attention to the top left Hungry Door
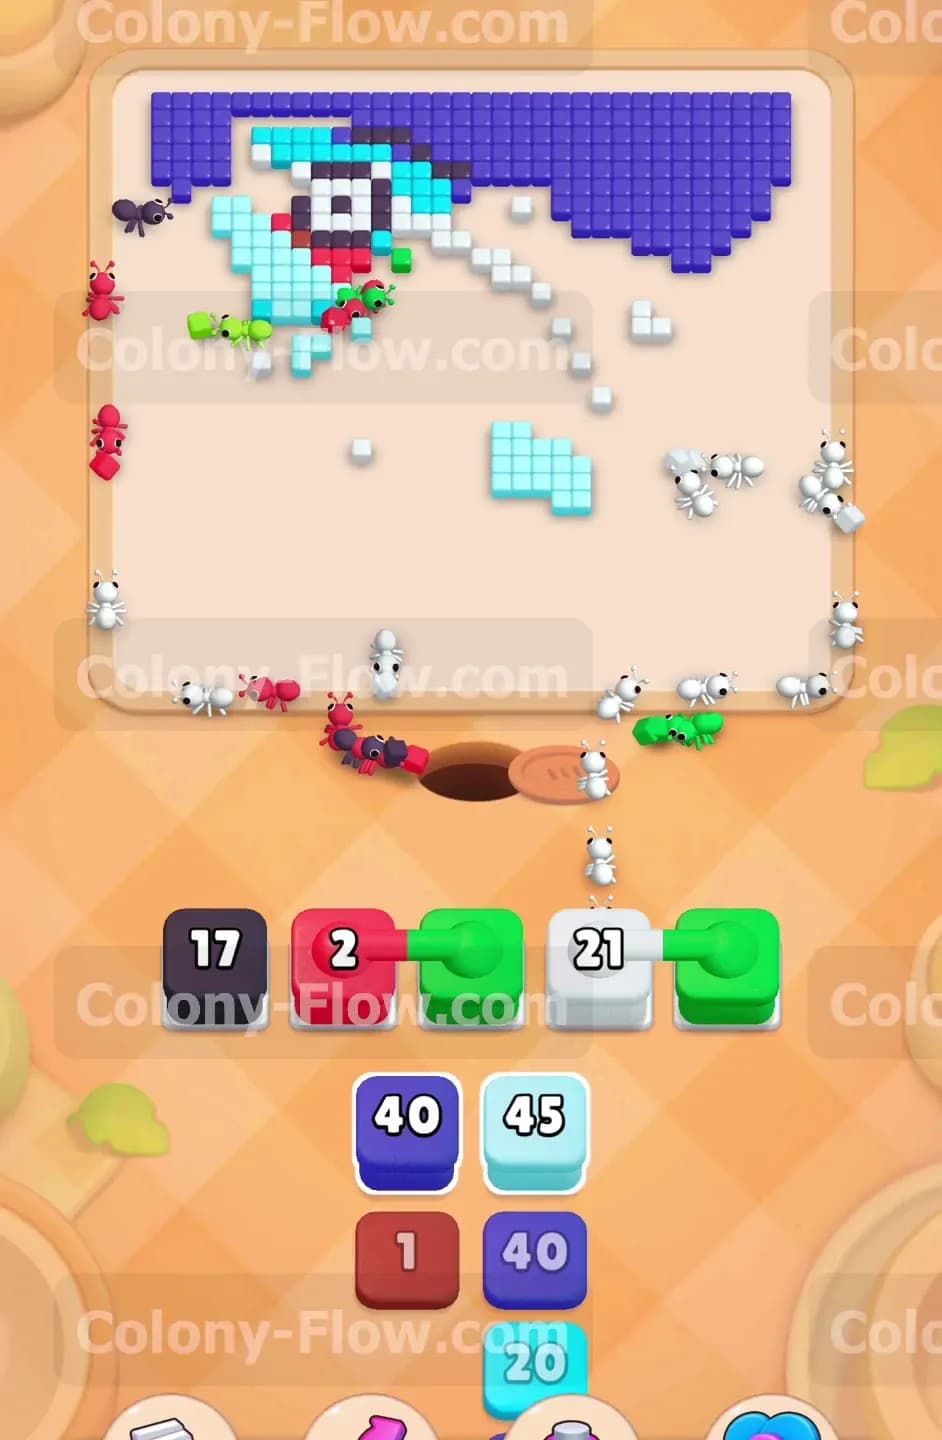
Now that the right side is under control, you must deal with the top left Hungry Door. This one requires one hundred points. Send your next wave of dark blue ants up the left side of the screen. The path is narrow at first so make sure no other colors are blocking the way. Pull the dark blue blocks and watch the ants march toward the door. Just like before, you want to keep the number dropping steadily. Balance this by pulling light blue and white blocks to continue clearing the dolphin body. This dual approach keeps your tray flowing smoothly.
Step 7: Navigate the white and green connected blocks
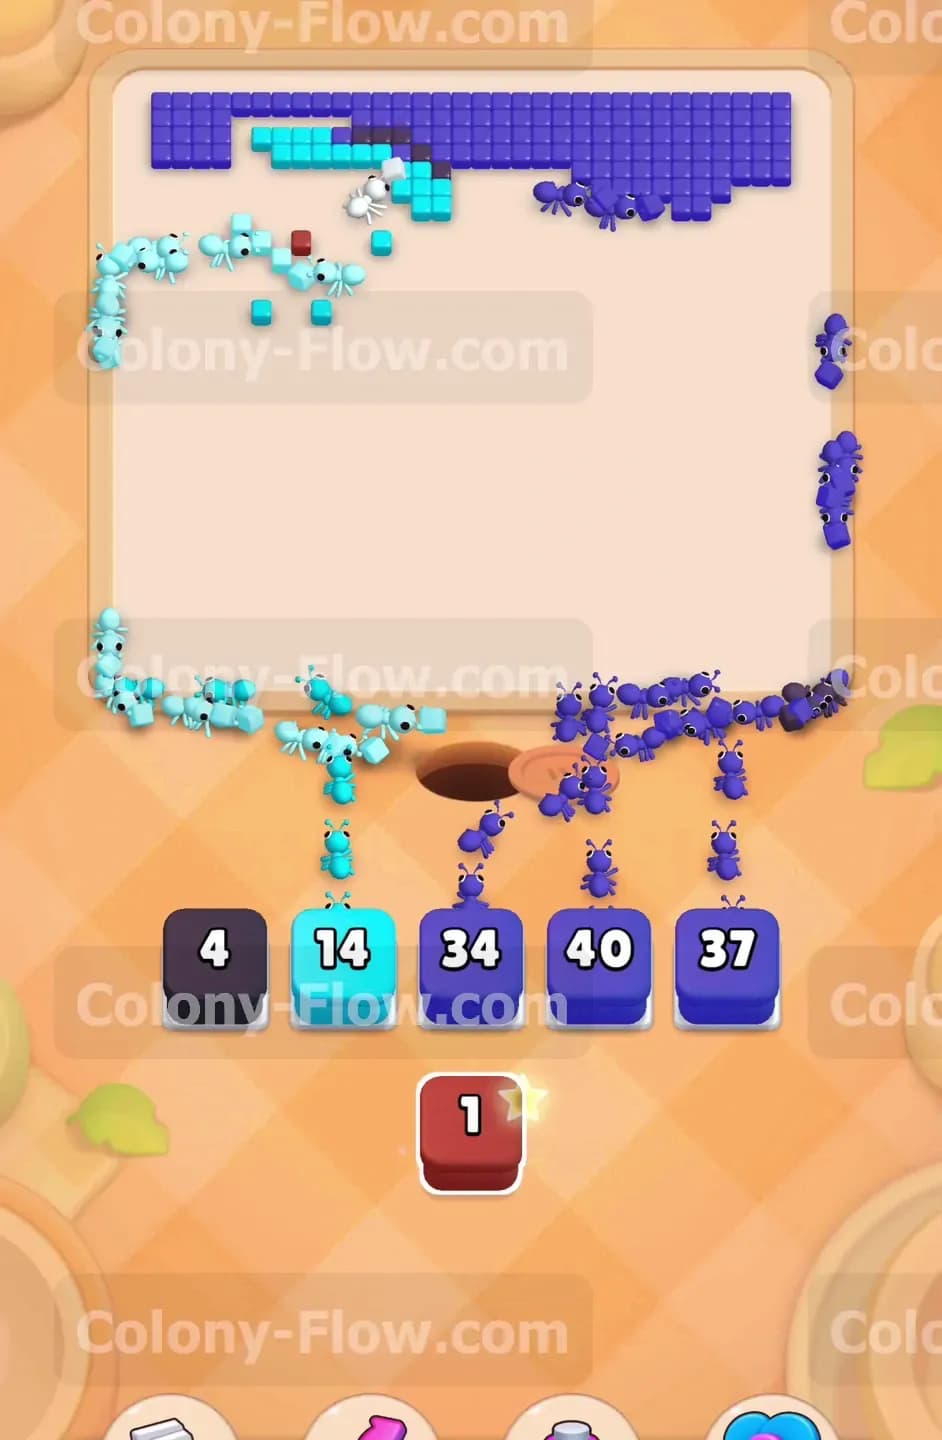
As you work through the tray, another pair of Connected Boxes will appear. This time you will face a white block linked to a green block. The white tiles form the lighter accents on the upper body of the dolphin. Check the board to ensure the white tiles are fully exposed and not blocked by the black outline tiles. Once the path is clear, pull the connected pair. The green ants and white ants will deploy simultaneously and eat their respective targets. Managing these pairs correctly is the secret to never jamming your five waiting slots.
Step 8: Break the top left door to reveal the hidden dolphin eye
Your dark blue ants will eventually bring the top left Hungry Door down to zero. When this structure shatters, it reveals the final hidden section of the dolphin. You will find the eye and the top of the head buried underneath. This section includes a tight cluster of black, white, red, and green tiles. You must carefully pull the exact colors you need from the tray. Do not pull a large block if you only need to clear a two tile space because the leftover ants will have nowhere to go. Match your blocks precisely to the newly revealed colors.
Step 9: Clean up the final water splashes and finish the board
With both Hungry Doors destroyed and the dolphin fully exposed, you enter the cleanup phase. You will have a few scattered light blue tiles resembling water splashes and a handful of dark blue background tiles remaining. Pull your final light blue and dark blue blocks to send the last waves of ants. Watch the board closely to ensure every ant finds a target. When the final tile vanishes from the screen, the level is complete. You successfully managed the massive doors and the tricky connected blocks without a single tray jam.
Final Thought
Colony Flow Level 654 requires excellent tray management and a steady assault on the two giant doors. If you keep your paths open and plan your connected block pulls carefully, you will clear the board with ease. If you find any of these steps difficult to follow in text, please watch the video above this article to see exactly how I played the board and managed my tray.