Colony Flow Level 345 Walkthrough Solution & Guides | How to solve Colony Flow 345

Guide By Liam Stone
Updated on July 18, 2026
The video above has the full Level 345 walkthrough, so skip the reading if you just want to watch.
Video doesn't match your screen?
Game updates frequently scramble layouts! Try our AI Screenshot Solver first to find your exact board instantly, or report broken guides to our team.
Colony Flow Level 345 drops a detailed pixel art viking right onto your screen. You have to feed your ant colony to clear this warrior while managing several tricky special tiles that get in your way. I play every single level myself to figure out the exact sequence of moves so you can clear the board without getting stuck.
Colony Flow Level 345 Overview
What You Are Working With
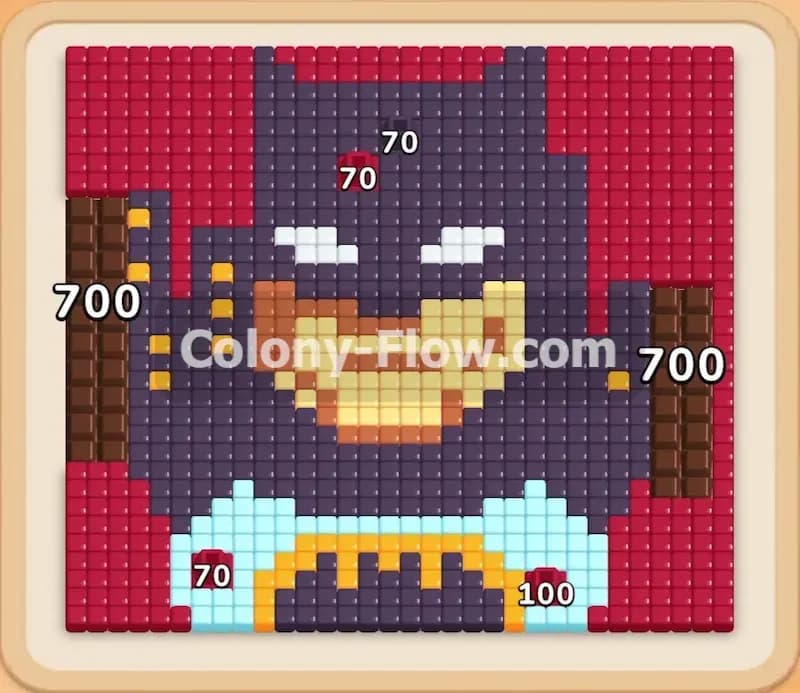
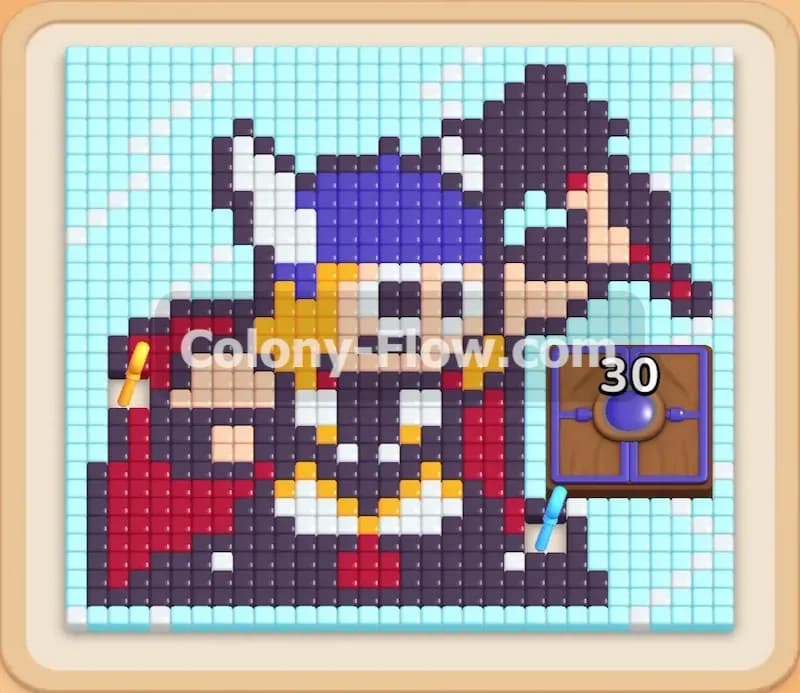
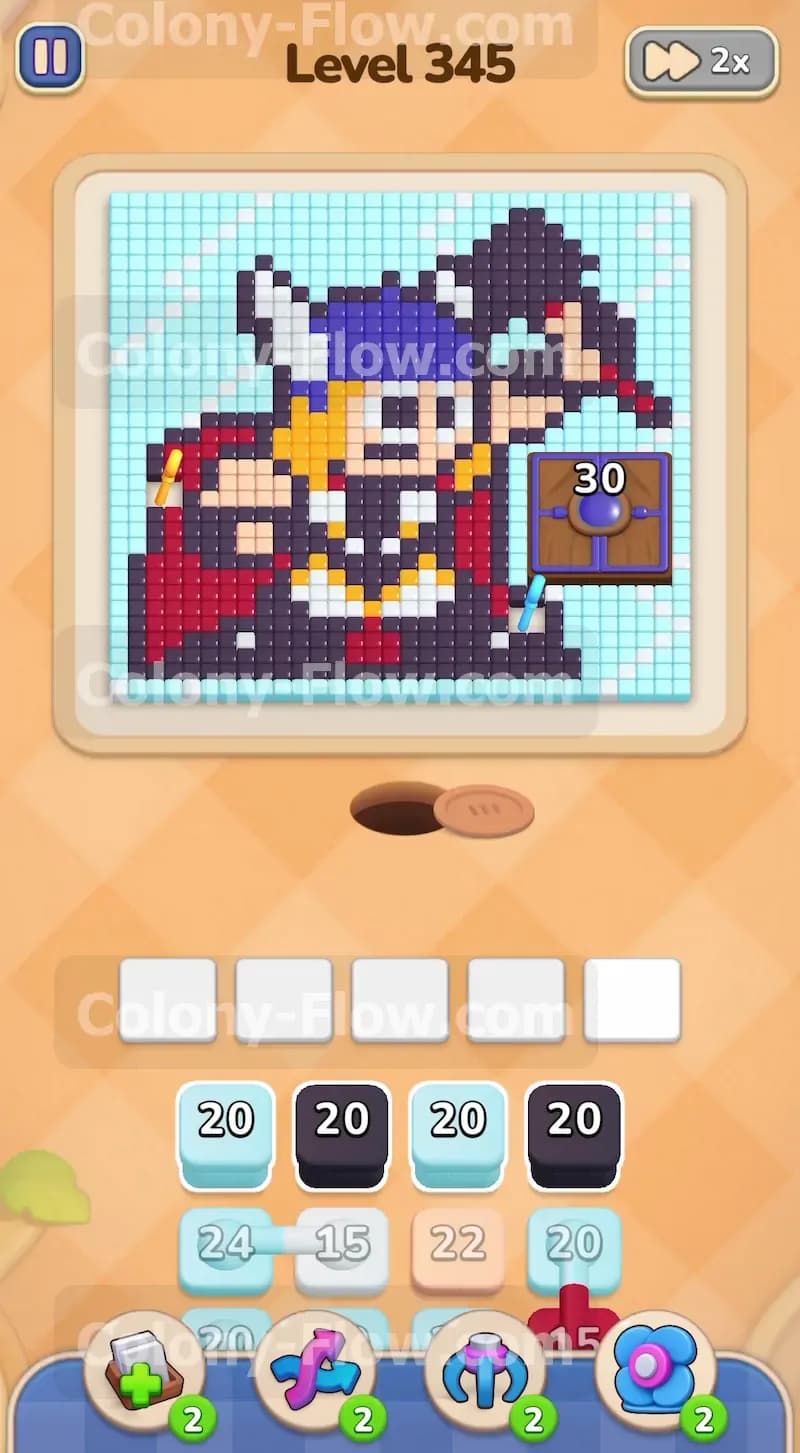
The board features a highly detailed viking character with a dark purple helmet and a flowing red cape set against a bright light blue sky. On the far right side of the board sits a large dark purple Hungry Door labeled with a thirty. Your tray at the bottom is packed with a mix of colors including dark purple and light blue blocks. You will also deal with connected blocks that pair two different colors together in a single chain. A yellow lock sits on one of the blocks deep in your tray and the matching yellow key rests on the left side of the game board. Hidden boxes sit in the middle rows of the tray and reveal their true colors with a green spark only after you clear enough space.
What It Takes to Clear Level 345 Board
You win this level by carefully peeling away the light blue sky and breaking down the viking from the outside edges inward. The core challenge comes from keeping your waiting slots empty while you process the connected blocks and wait for paths to open. If you pull too many colors at once without an open path to the matching picture tiles your five slots will fill up and you will lose the level instantly. You must sequence your block pulls to grab the yellow key early and save enough dark purple blocks to satisfy the massive Hungry Door later in your run.
Colony Flow Level 345 Step by Step Solution
Step 1: Clear the open sky and deploy your first connected block
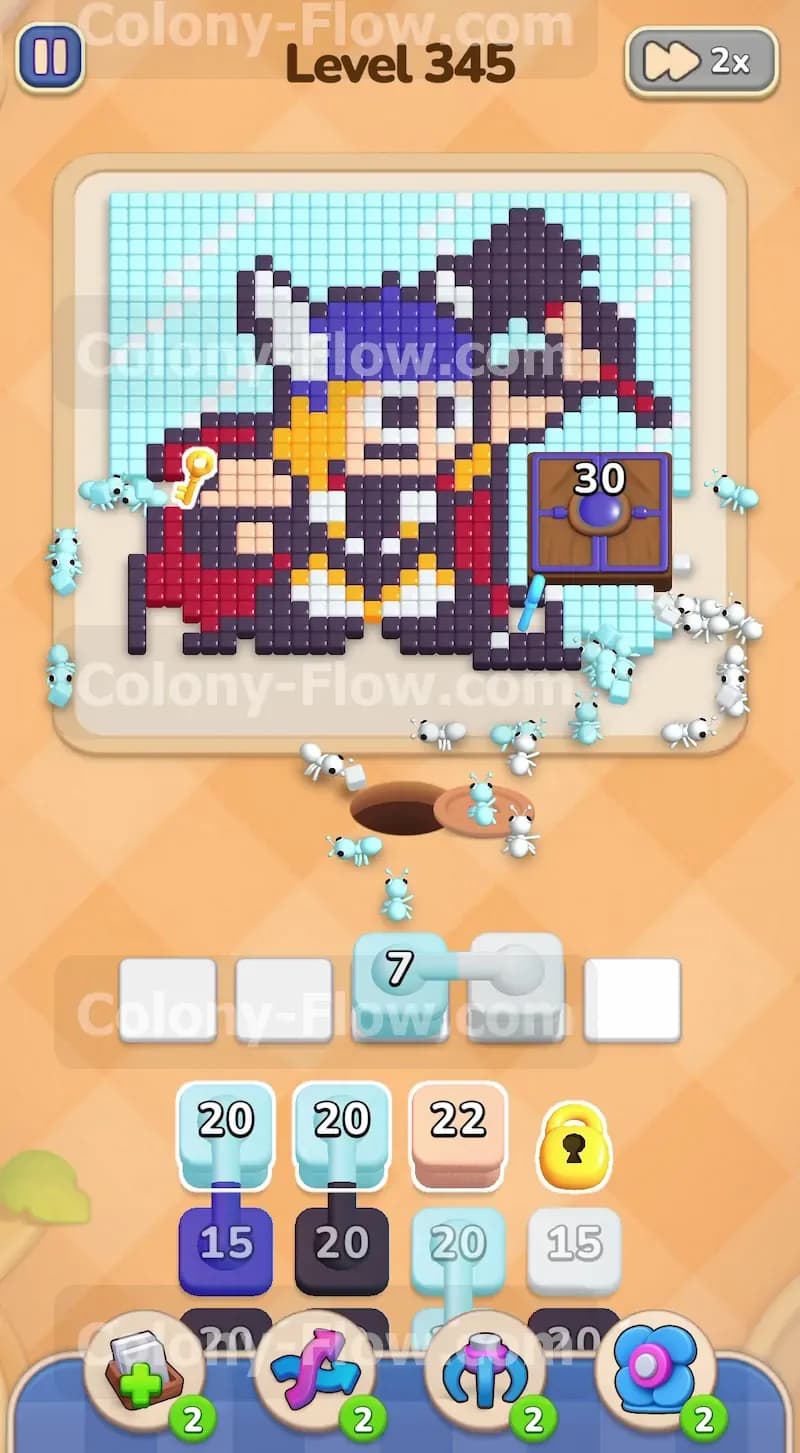
The outside edge of the entire picture consists of light blue tiles making up the background sky. You can safely pull the top light blue twenty blocks from your tray to send a massive swarm of ants to the perimeter of the board. Your tray also holds a connected pair featuring a light blue twenty four block tied to a white fifteen block. Pull this connected pair right away so the light blue ants can join the sky cleanup crew. The white block will sit in your waiting slot while the blue half finishes its work. Once the blue tiles are gone the white ants will automatically leave the slot to clear the white horns on the viking helmet. This move gets a bulky connected block out of your tray early but requires you to keep a close eye on your remaining empty slots.
Step 2: Collect the yellow key to free up your locked tray block
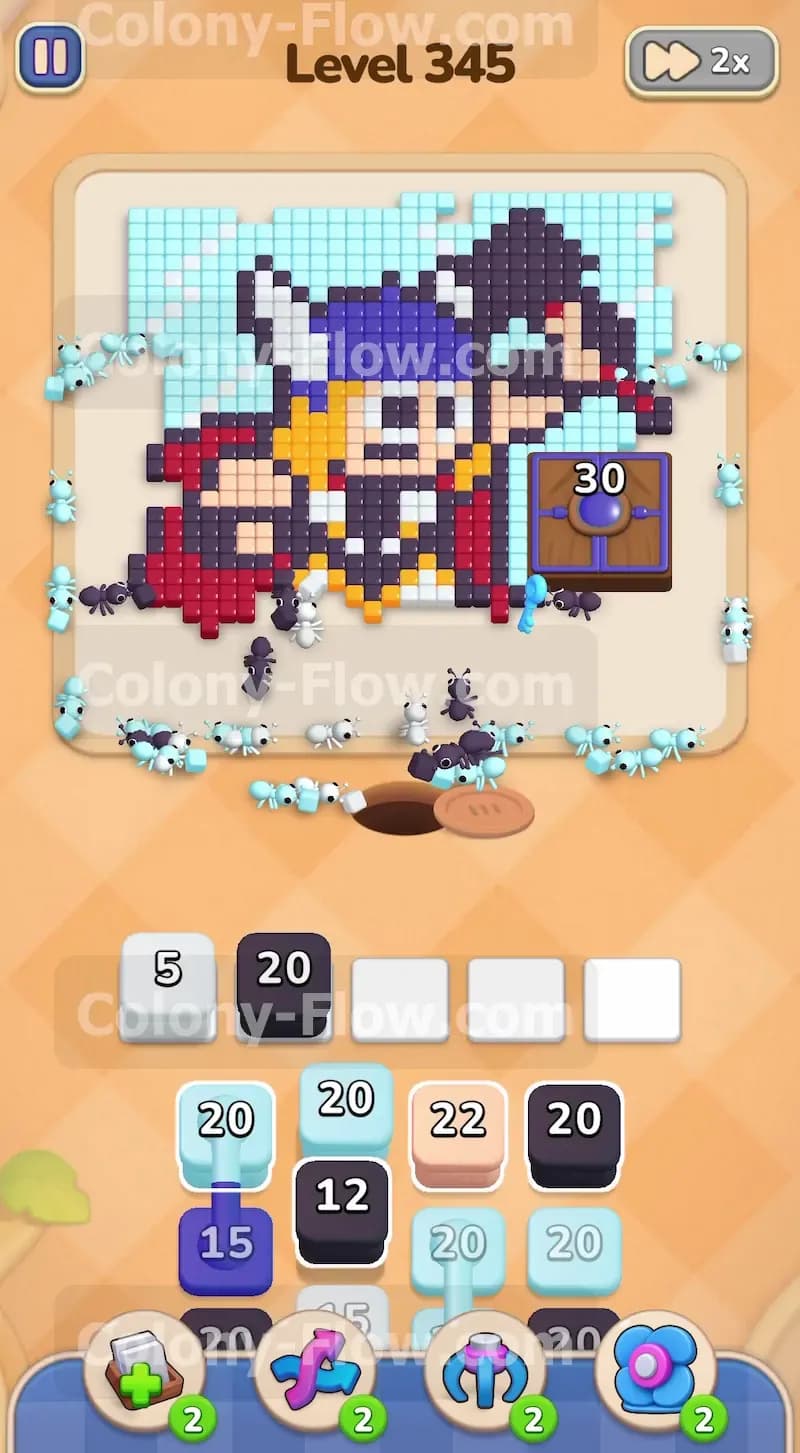
Clearing the left side of the background and the white horns exposes a yellow key resting near the hand of the character. You have a yellow fifteen block in your tray that is completely covered by a padlock. You cannot use that yellow block or anything directly behind it until you collect the key. Pull a dark purple twenty block from the top row to send your ants into the upper edge of the dark purple helmet. The dark purple ants will chew through the outer boundary and eventually grab the yellow key for you. Unlocking that yellow block early in the game prevents your tray from bottlenecking later when you desperately need to access the bottom rows. Make sure the dark purple ants have an unbroken path before you pull the block.
Step 3: Clear the flesh colored face and the blonde hair
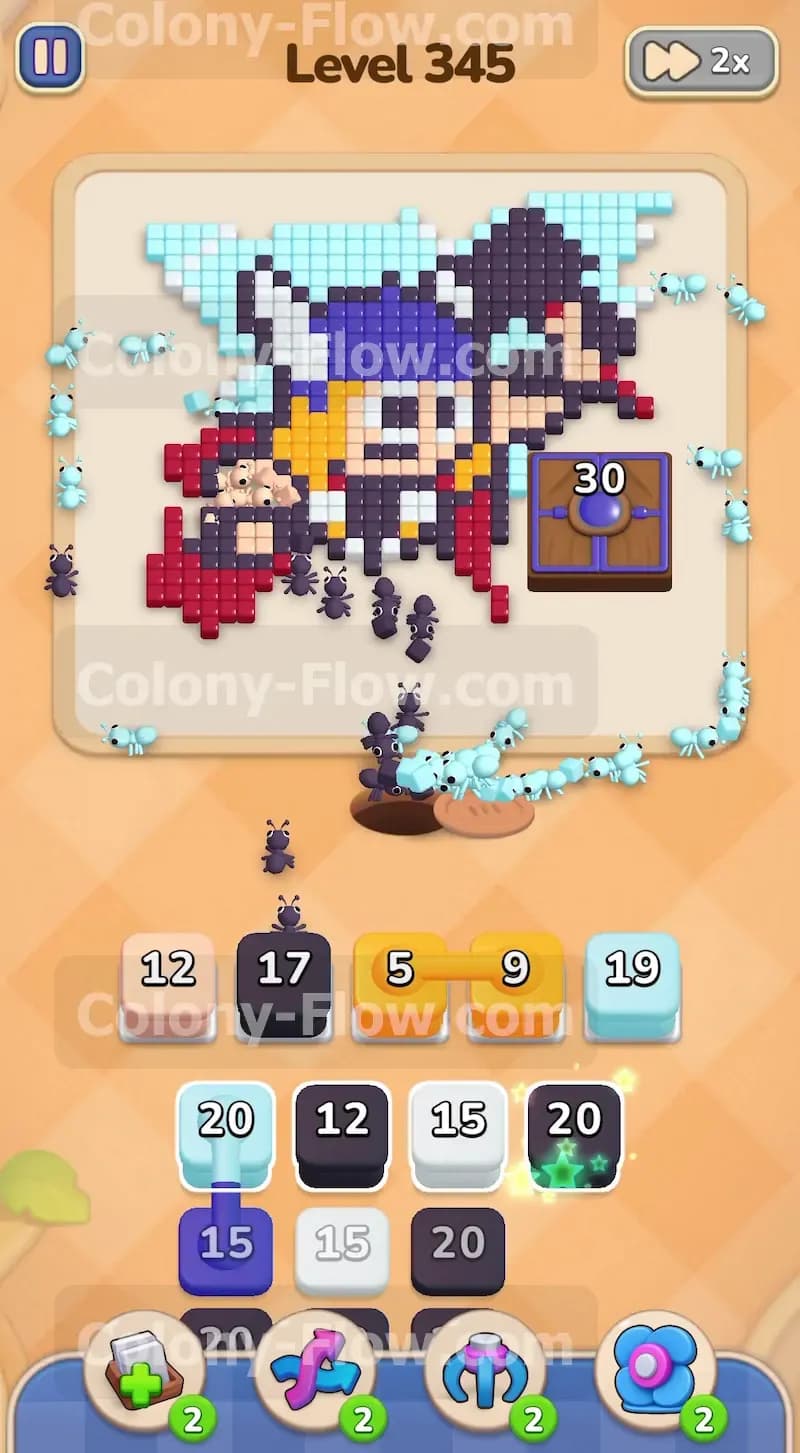
With the top of the dark purple helmet cleared away you expose the flesh colored face tiles and the bright blonde hair. Pull the light flesh colored twelve block from the tray to clear the face and hands of the warrior. You also have a connected set made of a yellow five block and an orange nine block. Pull this pair so the ants can tackle the blonde hair and the dark orange shadow details underneath the helmet. The connected blocks will take up a waiting slot temporarily while they process. Let the ants finish eating the yellow tiles before you pull any other heavy colors from the tray so you do not jam your board and trigger a loss.
Step 4: Wipe out the red cape to open the lower sections
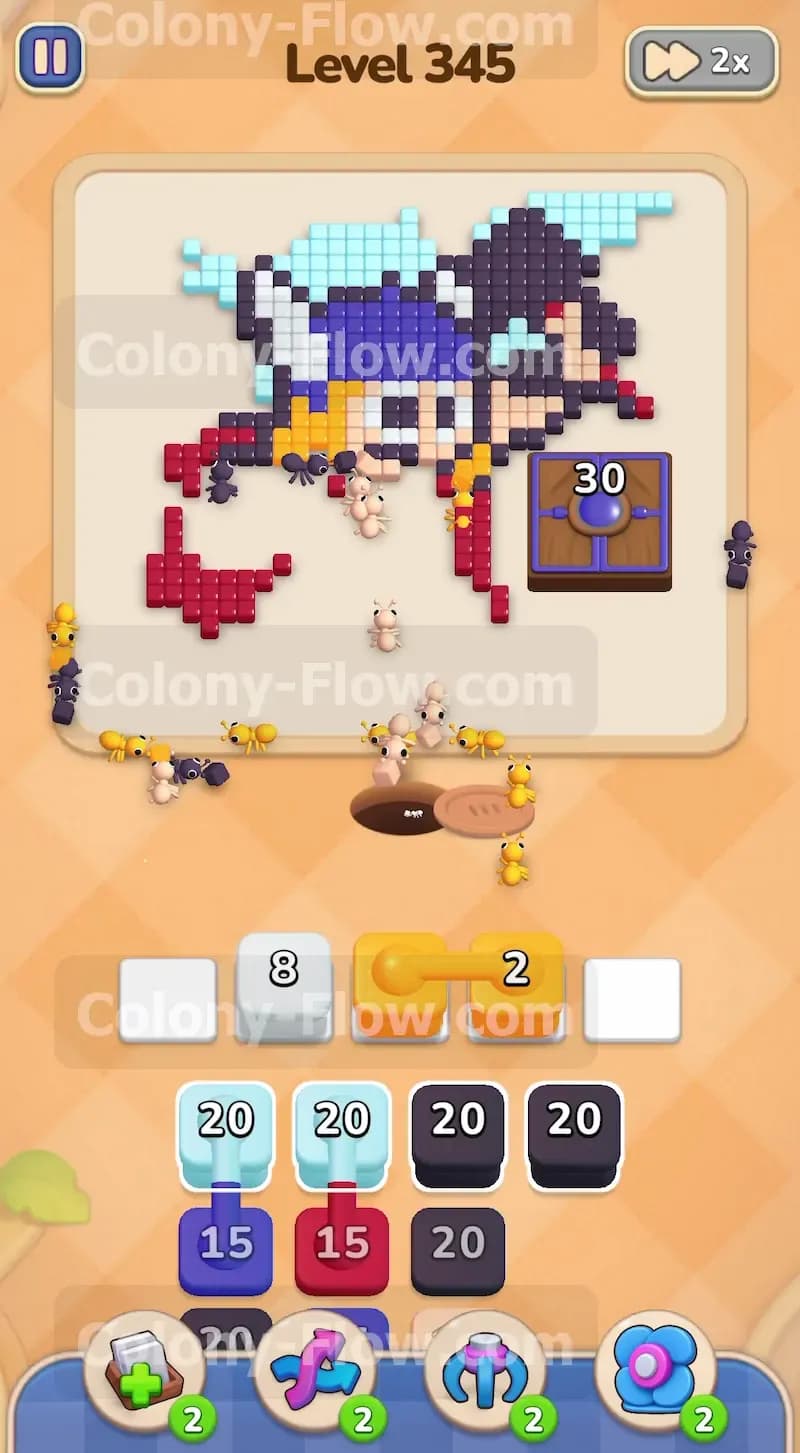
The bottom left and lower middle sections of the character consist of a massive red cape. You have several red blocks like a red fifteen and a red twenty two sitting deeper in your tray. Pull the red fifteen block to start the assault on the cape fabric. The red ants will stream down the left side and eat away a huge chunk of the picture. This clears out several dead ends and gives you a wide open space for your upcoming moves. Pulling the red blocks also helps you dig deeper into your tray where the rest of your essential dark purple blocks are hiding. Always ensure the red ants have an open route to the cape before pulling multiple red blocks into your slots.
Step 5: Reveal the hidden boxes to finish the dark purple outline
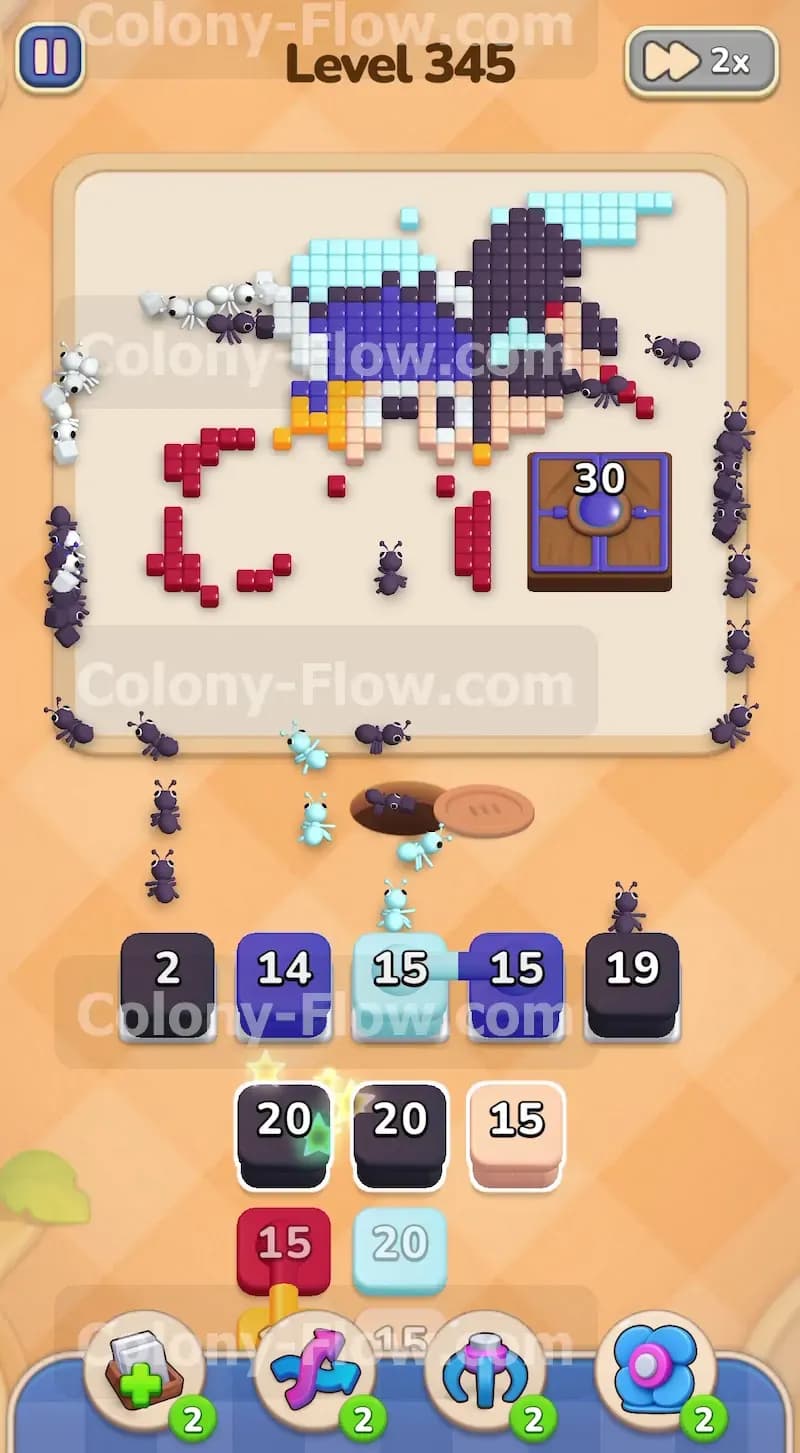
As you pull blocks from the middle rows of the tray you will notice bright green sparks appearing on some dark purple blocks. These are hidden boxes that finally have enough board space to activate and show their true color. Pull these newly revealed dark purple blocks like the dark purple nineteen and dark purple fifteen to finish off the weapon staff and the thick outline surrounding the character. The dark purple tiles snake all the way around the right side of the viking and form the structural outline of the entire picture. You need to keep supplying dark purple ants to chew through these tough border pieces. Pace your pulls so the ants do not bunch up and stall out in your waiting slots.
Step 6: Feed the large Hungry Door on the right side
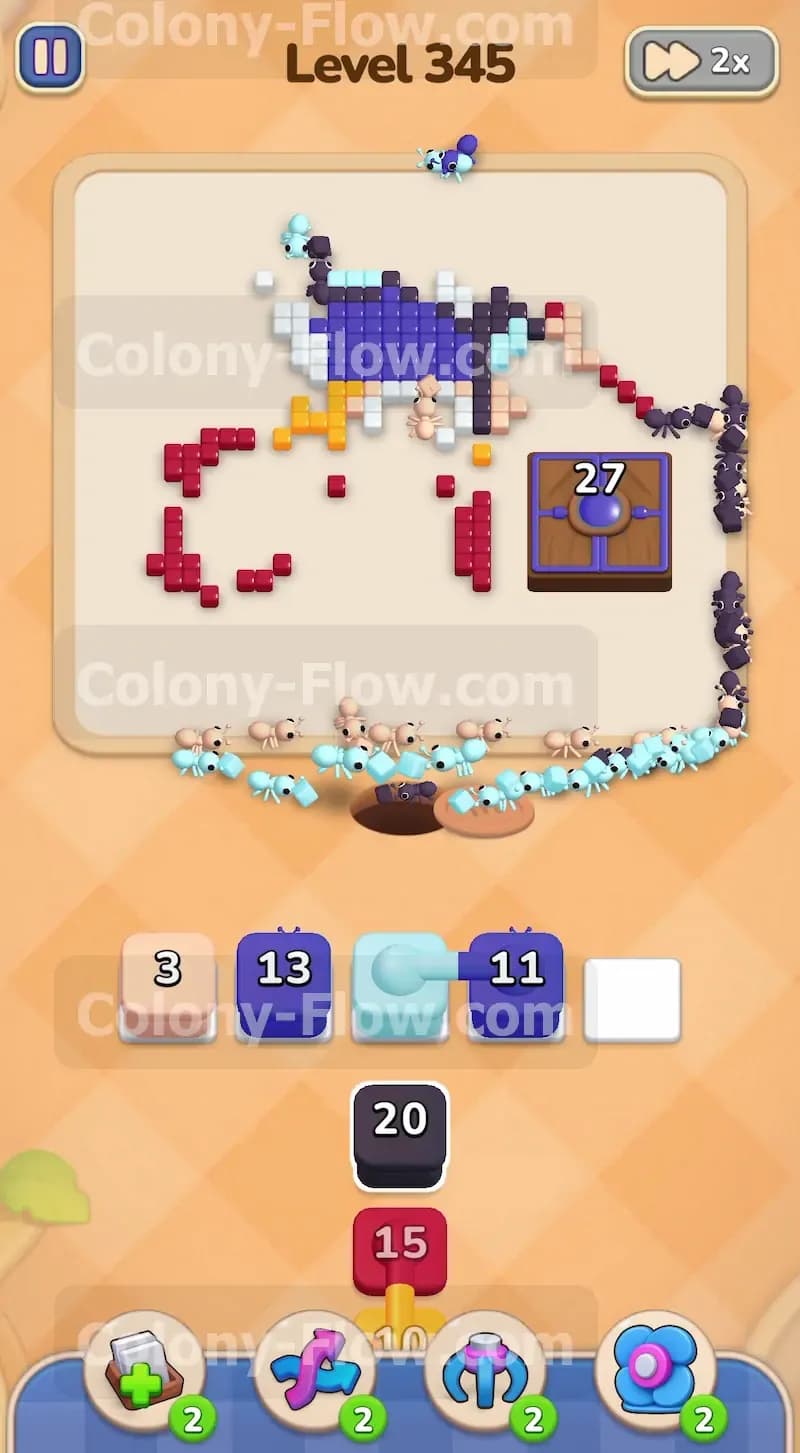
The right side of the board features a large Hungry Door that requires thirty tiles to open. This door specifically demands dark purple ants to lower its counter. You must dedicate a large portion of your remaining dark purple blocks to this door to get it out of the way. Pull a dark purple twenty block and watch the ants march directly into the Hungry Door to lower the number. You will need to pull a second dark purple block to finish the thirty tile requirement. Do not pull any light blue blocks during this step because the sky background behind the door is still completely blocked off. Wait patiently for the door counter to reach zero and watch the door completely disappear from the board.
Step 7: Clear the hidden background tiles behind the door
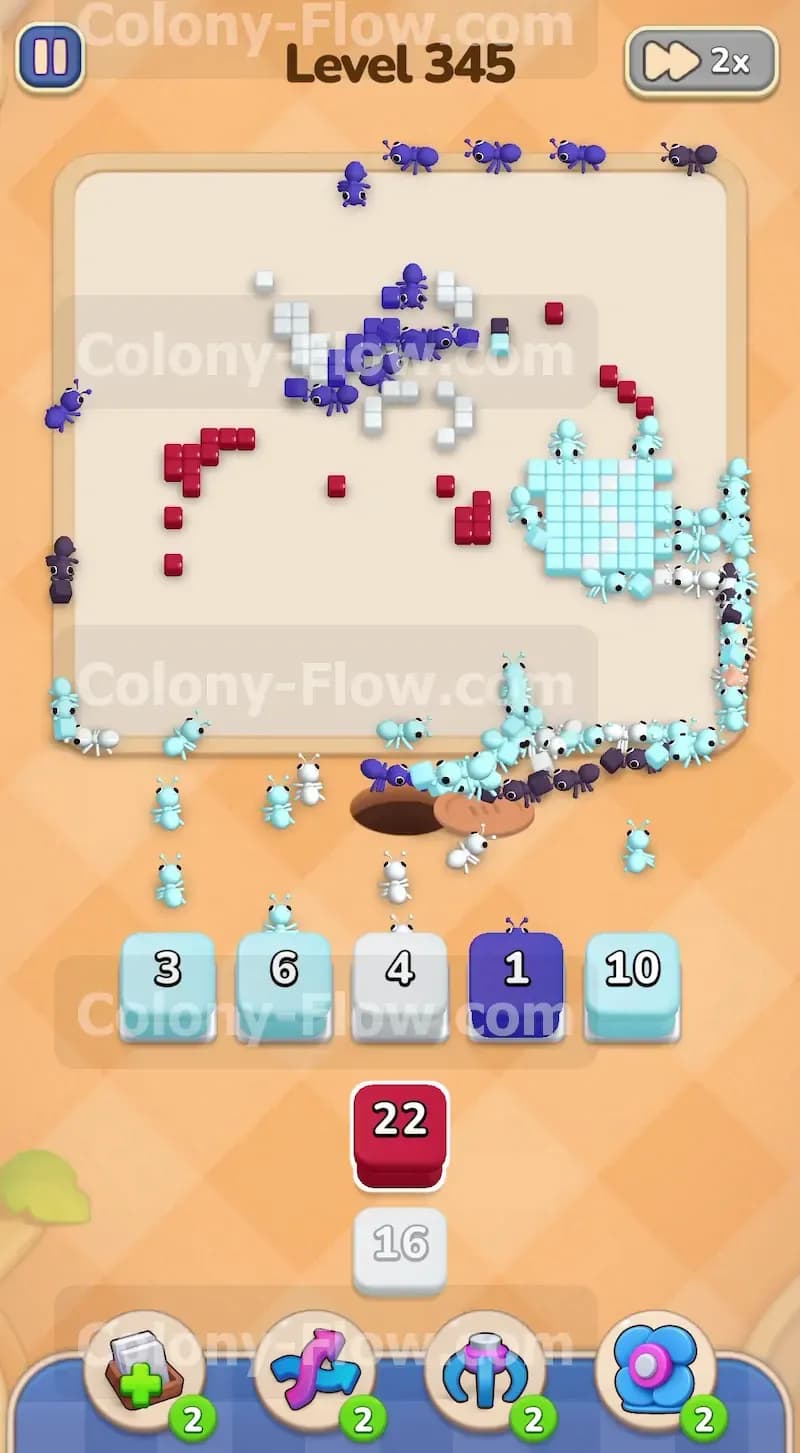
Opening the Hungry Door reveals a massive hidden section of light blue sky background tiles and a few leftover white tiles. Your tray should now only have light blue blocks and white blocks remaining. Pull the white six and white four blocks to clear the final highlight details on the right side of the board. Then pull the light blue ten and light blue three blocks. The ants will flood into the newly opened area on the far right and consume the rest of the sky. Keep your waiting slots managed by pulling one light blue block at a time until the entire board is empty and you beat the level.
Final Thought
This level tests your patience with connected blocks and special obstacles blocking massive sections of the board. Taking the time to unlock the tray early and feed the door in the correct order makes a huge difference in your success rate. Check out the video above this article if you want to see exactly how these moves and the special tile mechanics look in action.