Colony Flow Level 177 Walkthrough Solution & Guides | How to solve Colony Flow 177

Guide By Liam Stone
Updated on July 12, 2026
The video above solves Level 177 in real time, so skip the article if watching works better for you.
Video doesn't match your screen?
Game updates frequently scramble layouts! Try our AI Screenshot Solver first to find your exact board instantly, or report broken guides to our team.
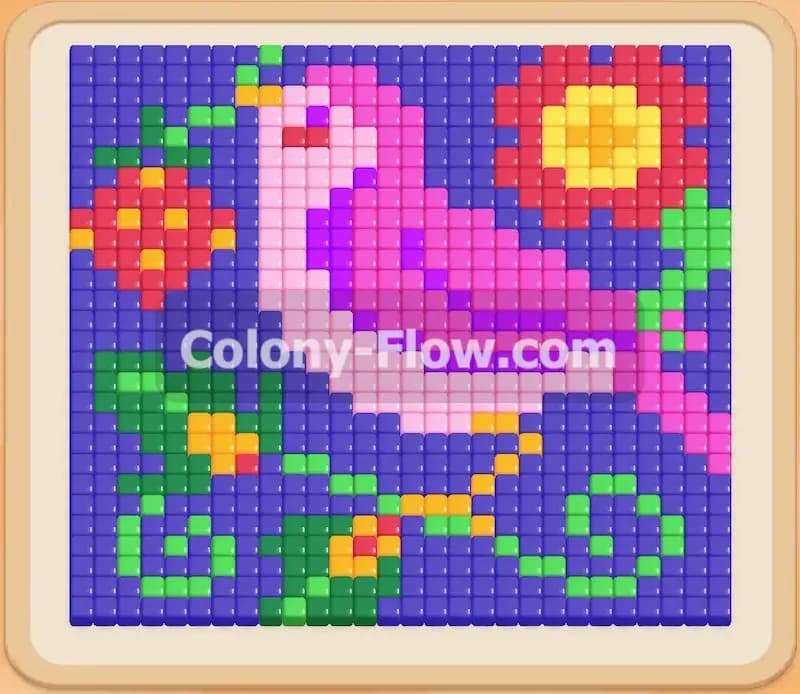
Colony Flow Level 177 brings a beautiful pixel art bird directly to your screen. You will guide your ant colony to clear out a vibrant pink bird resting on a green leafy branch under a bright sun. The board looks straightforward at first glance but managing your tray slots requires careful planning to avoid a dead end. I played through this puzzle multiple times to figure out the exact sequence you need to succeed. Read through my strategy to learn how to keep your ants moving and beat this colorful challenge.
Colony Flow Level 177 Overview
What You Are Working With
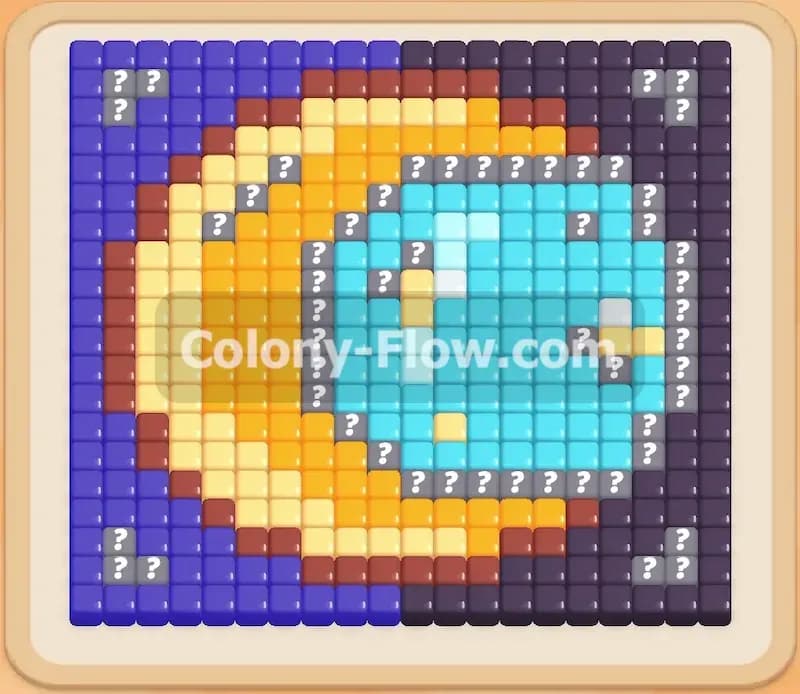
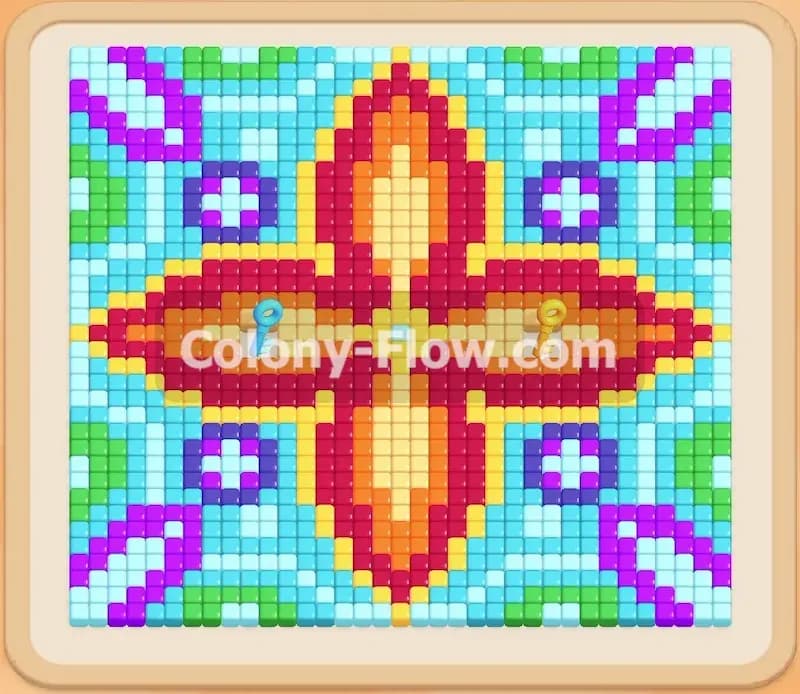
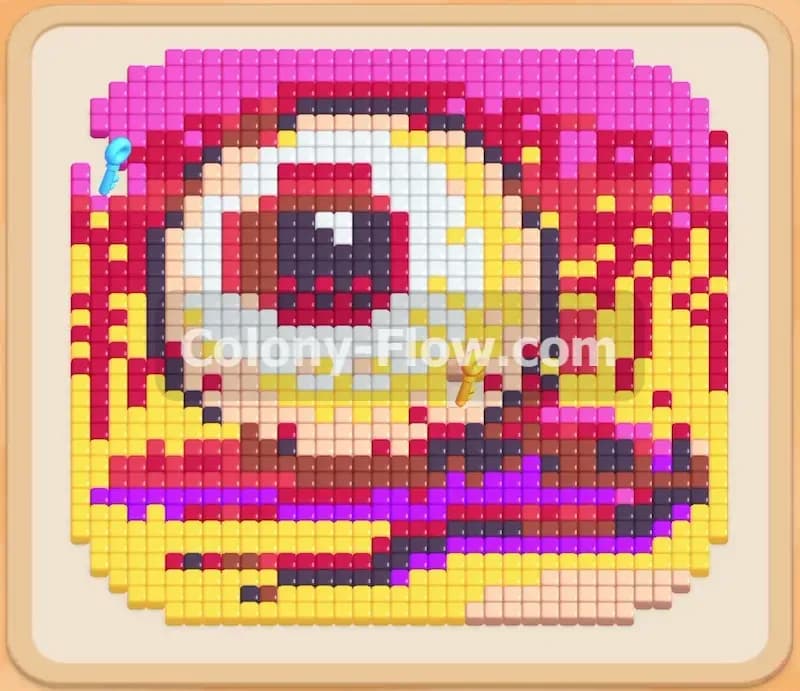
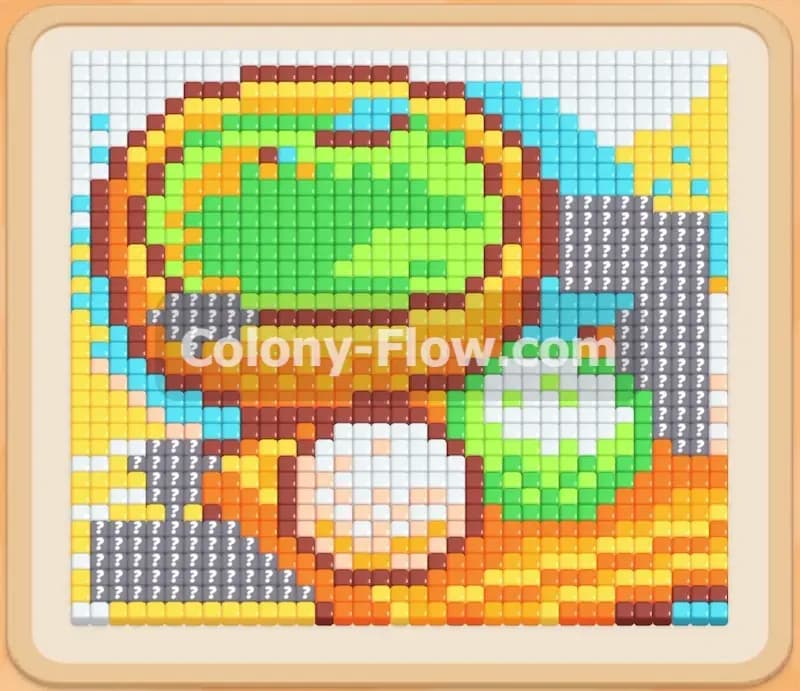
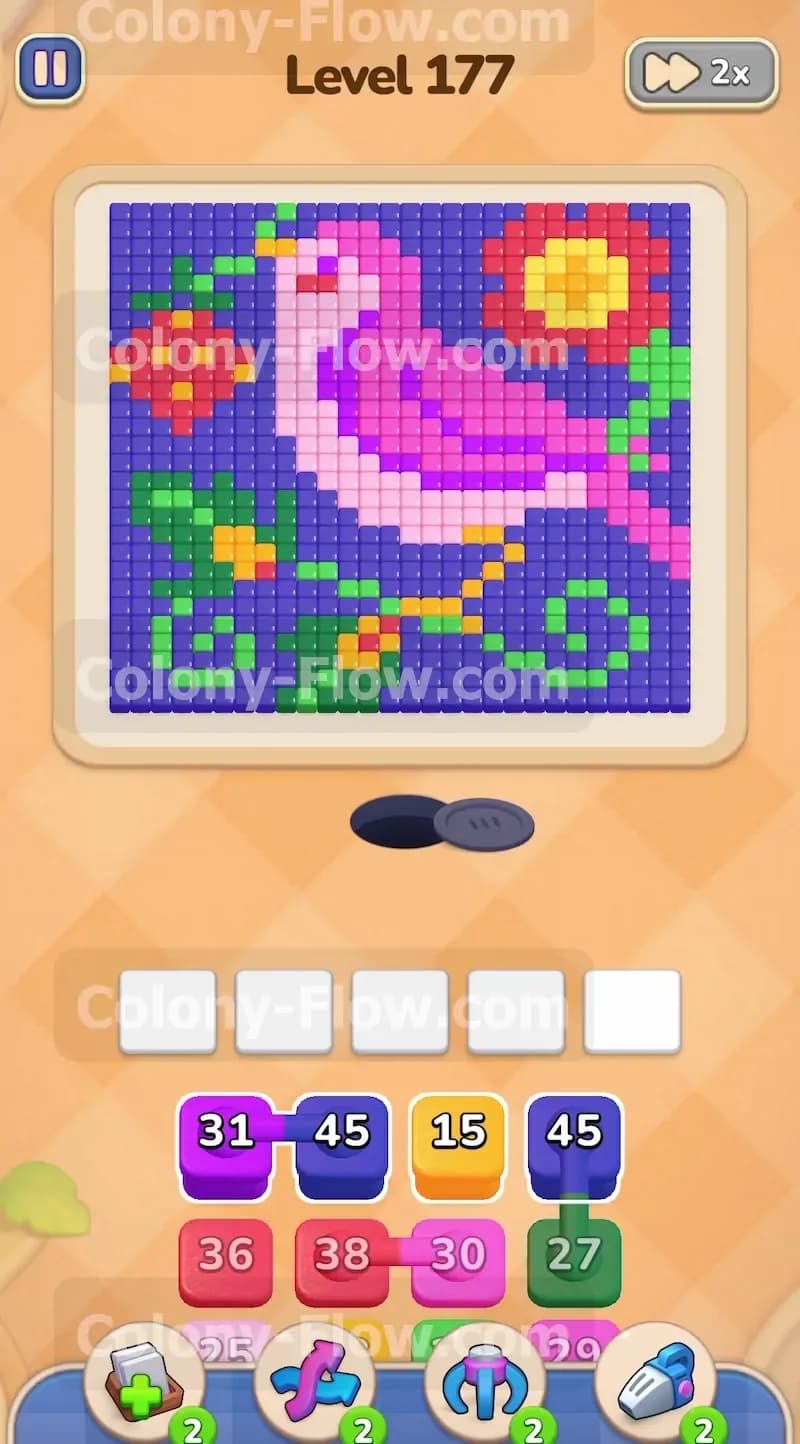
The picture features several distinct sections that you must dismantle tile by tile. You have a large pink bird taking up the center of the canvas. A green branch with scattered leaves runs completely across the bottom section. A red and yellow sun sits high in the upper right corner. The entire background behind these objects is filled with dark blue tiles. At the bottom of your screen your tray is packed with blocks in matching colors. You will see purple, blue, orange, green, red, pink, and yellow blocks waiting to be used. Each block displays a specific number that tells you exactly how many ants will spawn from the nest hole. Some pink blocks in the tray are connected together which means they will pull into your slots at the exact same time as a single group. You have exactly five waiting slots to hold active blocks while the ants work on the picture.
What It Takes to Clear Level 177 Board
To win you must completely remove every pixel art tile from the board until nothing remains. Your ants need open paths to reach the specific colors they are trying to eat. The biggest threat in this puzzle is filling all five waiting slots with colors the ants cannot reach yet. If you pull a blue block too early the ants will block the entrance hole because the blue background tiles are trapped behind the bird. You must peel back the outer layers of the picture first. I focus entirely on the outer edges of the green leaves and the pink bird to create wide paths. Once the edges are open you can safely bring up the blocks for the inner sections like the yellow sun center and the massive dark blue background. Keeping at least one path open ensures your waiting slots never jam.
Colony Flow Level 177 Step by Step Solution
Step 1: Start by targeting the outer edges of the bird and the red flower.
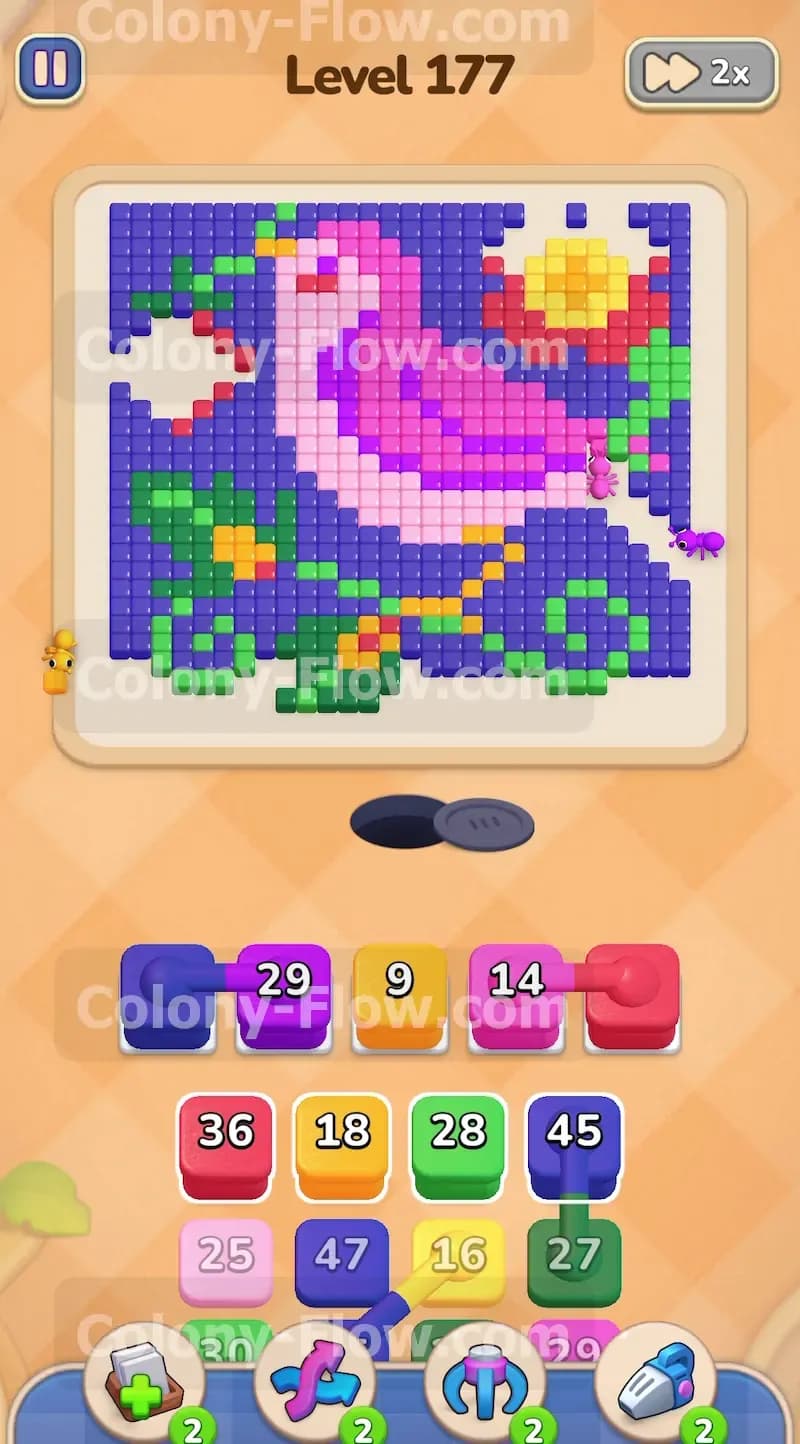
You need to open the board quickly so you do not jam your slots early in the puzzle. Look at the accessible tiles and pull the first available purple block and orange block into your waiting slots. The purple ants will immediately head toward the outer edges of the background while the orange ants begin nibbling the scattered orange accent tiles around the branch. Follow this up by bringing a pink block and a red block up to the active area. The pink ants will rush up to the right side of the bird and start breaking down the tail feathers. The red ants will begin working on the red border of the sun located in the top right corner. This combination of moves establishes multiple active paths across the board. You keep your waiting slots flowing smoothly because all four colors have immediate access to their target tiles.
Step 2: Clear the bottom green leaves to open the lower section of the canvas.
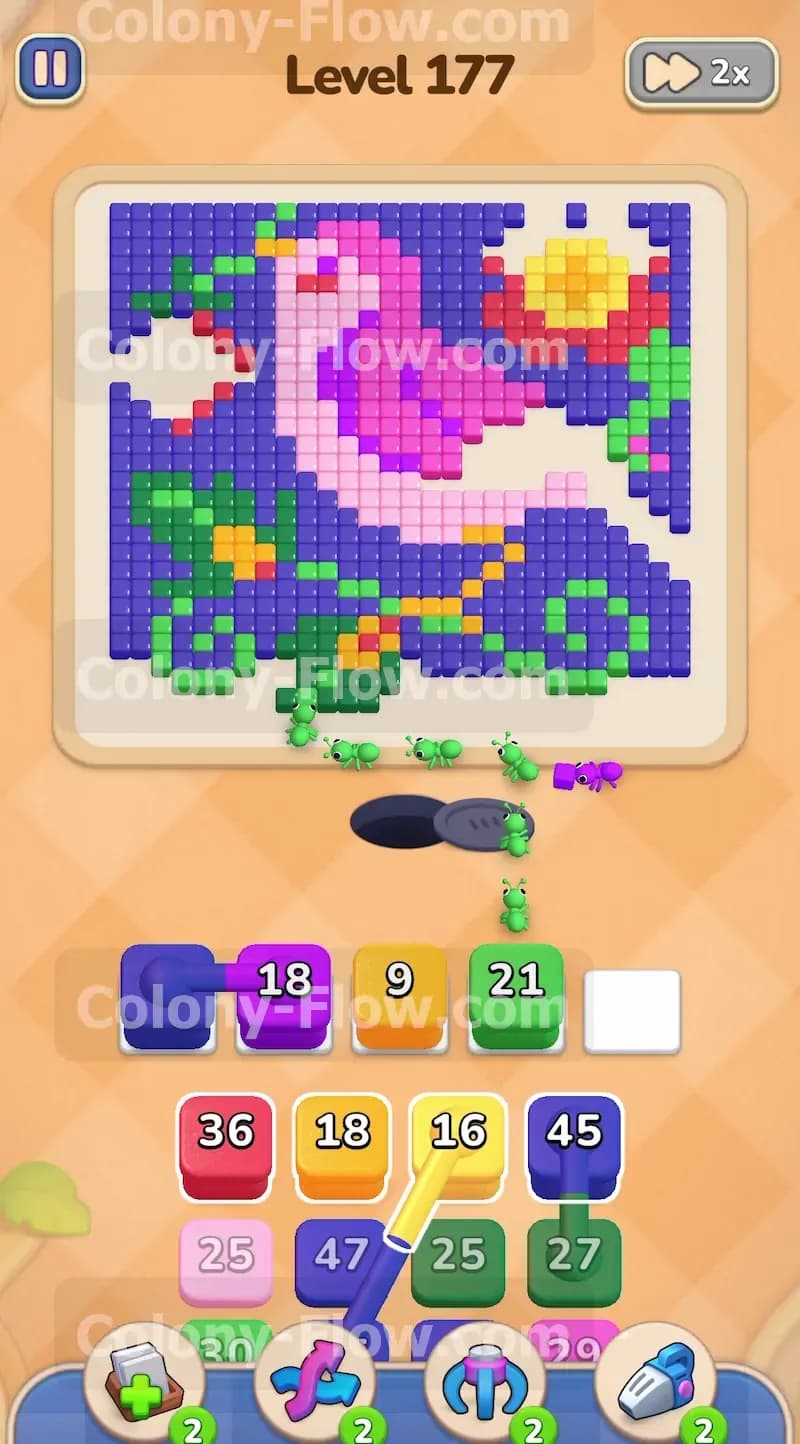
The green branch blocks access to the middle of the board and creates a barrier for future moves. You must remove it to give your ants more room to maneuver around the bottom. Bring up a green block from the tray and let the ants swarm the leafy branch. The green block holds a large number and the ants will stream out rapidly to eat the bottom border. While the green ants work pull another pink block to keep the pressure on the bird. The pink ants will move from the tail up toward the main body of the bird. Watch your waiting slots carefully during this phase. Do not pull the yellow or blue blocks yet because the dark blue background and yellow sun center are still trapped behind the bird and branch. Keep your focus entirely on pink and green until the bottom half of the board opens up.
Step 3: Break down the connected pink blocks to clear the massive bird body.
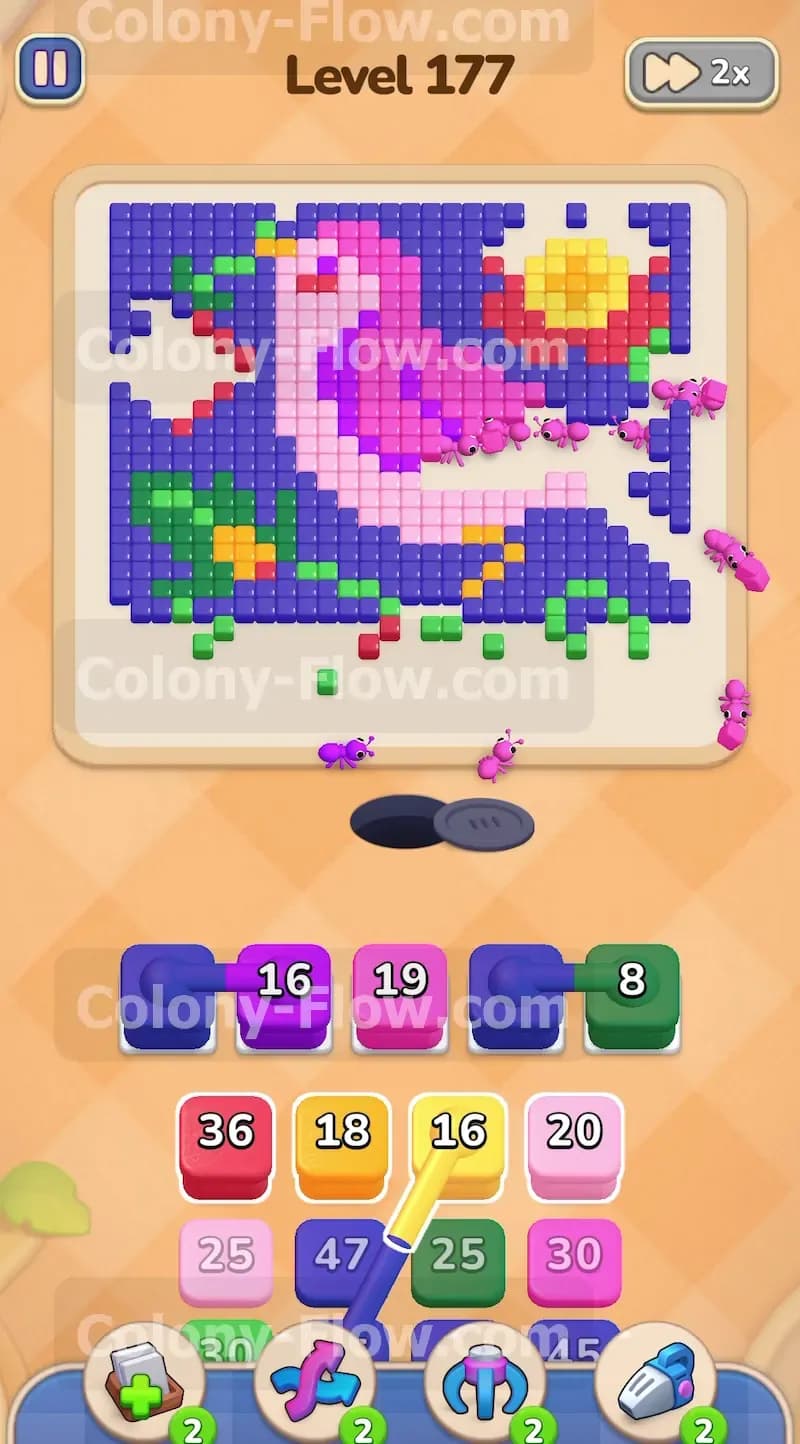
You will notice connected pink blocks in your tray that pull together. Bring them into your waiting slots now that the lower paths are completely clear. A massive wave of pink ants will flood the screen and attack the main body of the bird. They will eat away the belly and work their way up toward the head section. This takes some time because the pink section is huge and requires a lot of ants to clear completely. Keep an eye on your remaining slots while the pink ants do their job. You can bring up another purple block to let purple ants continue clearing the dark blue tiles around the left side. The purple ants help widen the gap around the bird so other colors can eventually pass through the area. Never let your slots fill up completely while waiting for the pink ants to finish their massive meal.
Step 4: Continue feeding pink and green blocks to maintain constant forward momentum.
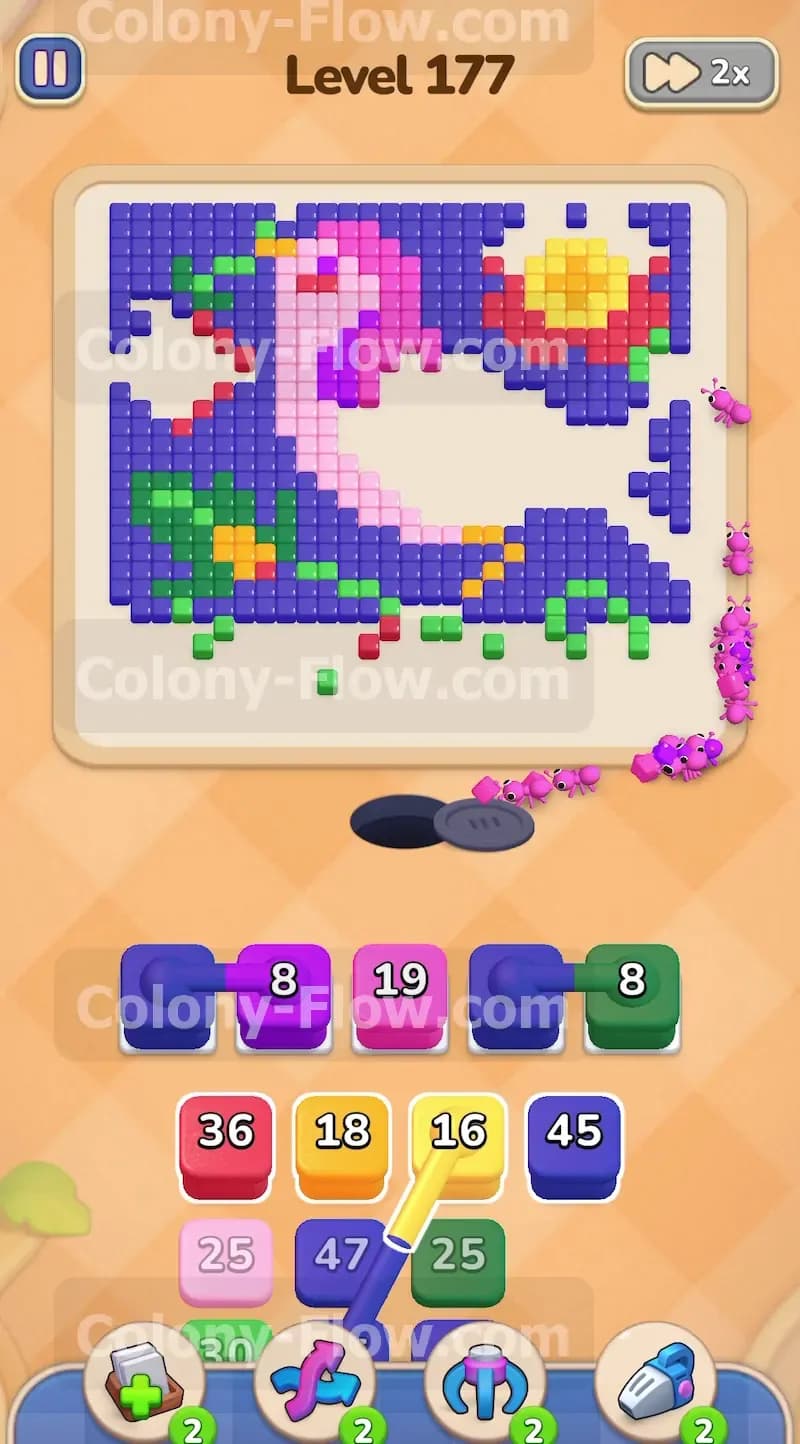
The body of the bird is shrinking but you still have a lot of pink tiles left to clear. Pull the next available pink block into your waiting slots. The ants will march right past the empty space where the tail used to be and start eating the chest and neck of the bird. At the same time you should pull another green block to clean up the remaining leaves on the left side of the branch. The green ants will follow the path along the bottom edge and steadily remove the green tiles. By keeping both pink and green active you ensure that multiple sections of the board are shrinking at the same time. This constant forward momentum prevents your waiting slots from backing up. The path to the top left corner is slowly getting wider with every tile that disappears.
Step 5: Finish the bird head and the remaining red sun border.
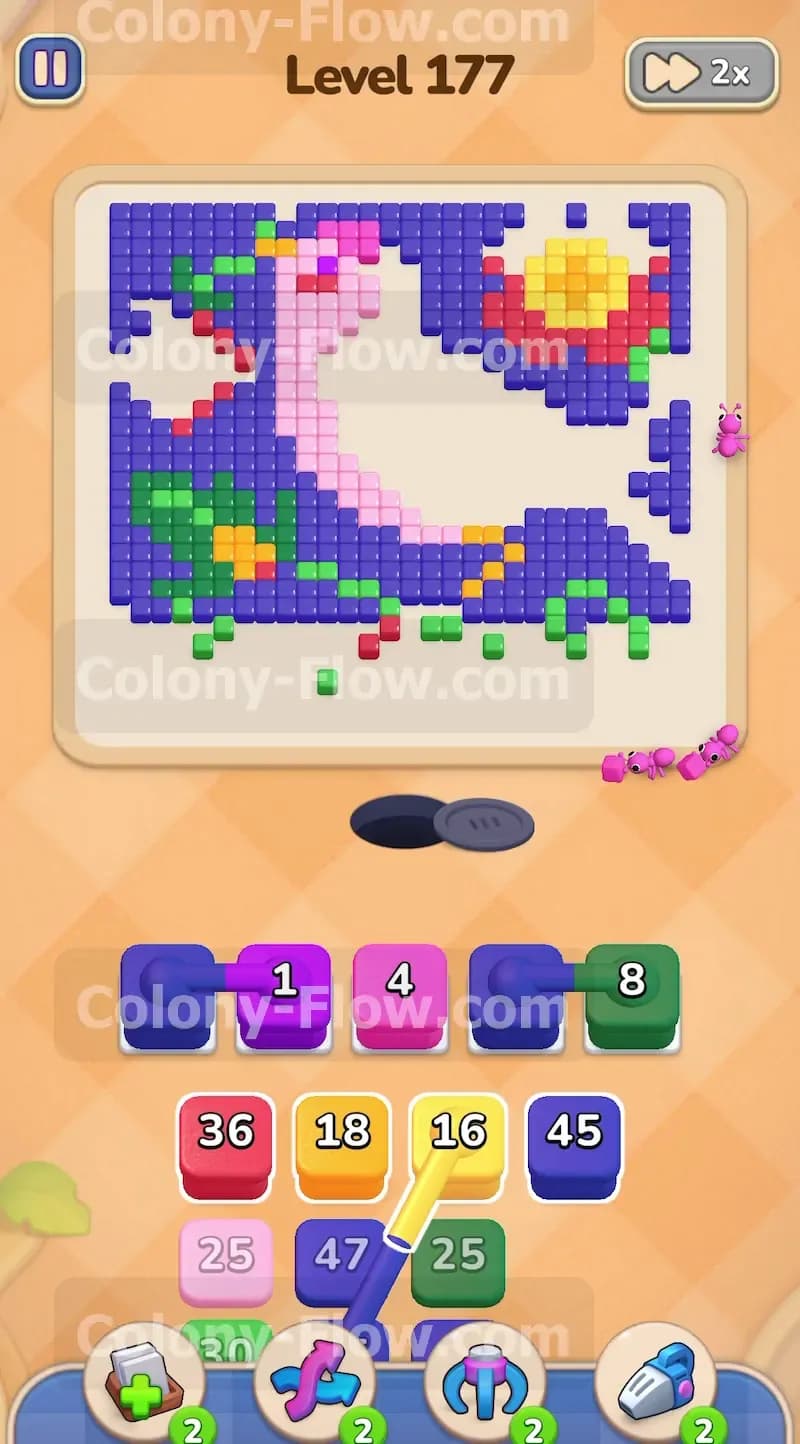
The pink bird is almost gone but the head remains intact at the top left. Pull the next pink block to send ants directly to that top left corner. The ants will travel all the way across the board to consume the final pink tiles. At the exact same time bring up another red block into your slots. The red ants will march straight up the right side and finish eating the red ring around the sun. This is an important moment for your board layout. Clearing the bird head and the red sun ring finally exposes the pure yellow tiles in the very center of the sun. It also opens up the massive dark blue background behind where the bird used to sit. Your patience in holding back the yellow and blue blocks pays off right here.
Step 6: Release the yellow block to clear the entire sun center.
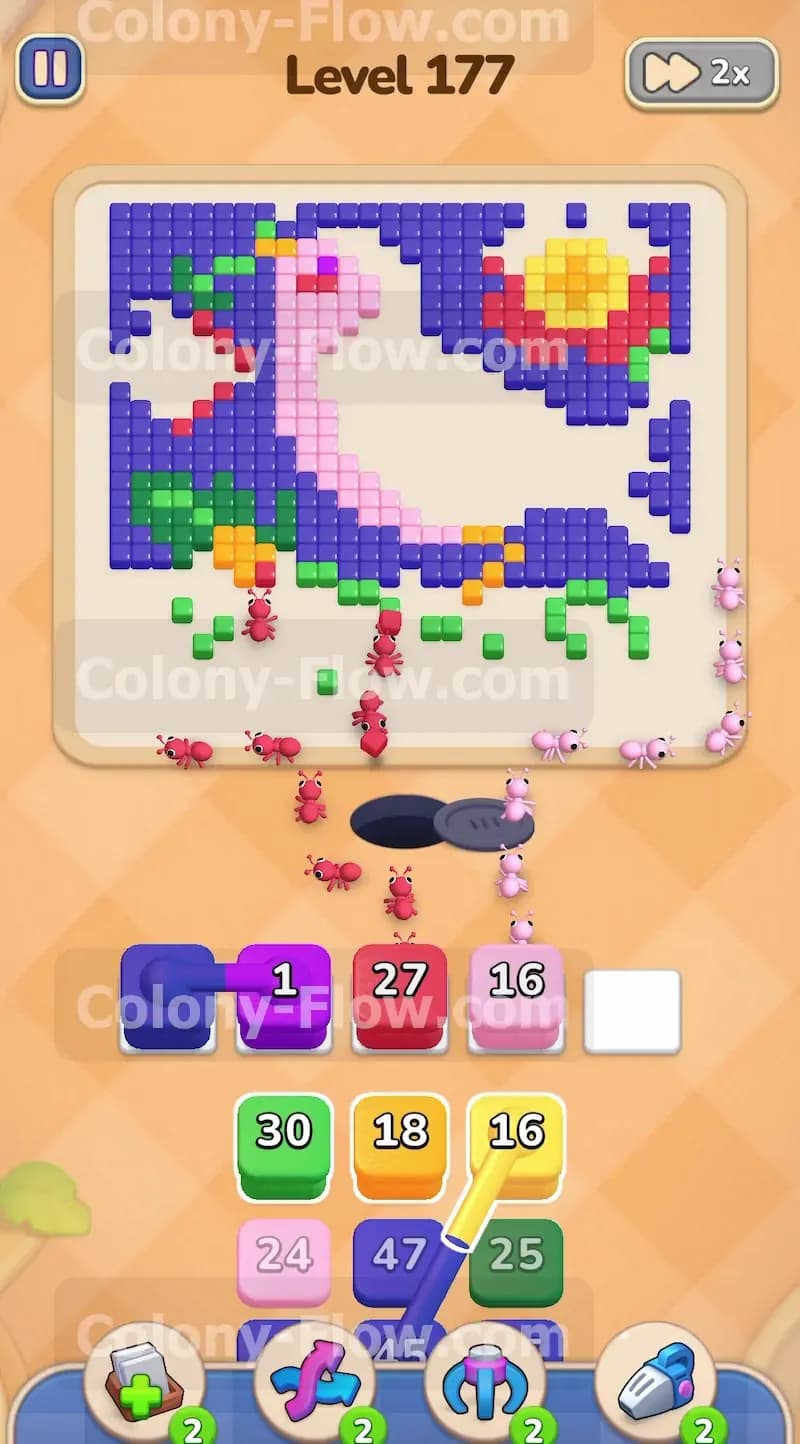
Now that the red ring is completely gone the yellow center of the sun is fully exposed to your ants. Pull the yellow block from your tray into an open waiting slot. The yellow ants will rush straight to the top right corner and consume the bright sun center in one quick wave. This clears a large cluster of tiles rapidly and frees up that waiting slot almost immediately. You should also pull another green block if any scattered leaves remain near the bottom left edge. By doing this you ensure the board is entirely clean except for the dark blue background tiles. The ants have wide open paths everywhere now so the risk of hitting a dead end is completely eliminated. The board is perfectly primed for the final phase.
Step 7: Deploy the first wave of blue blocks to consume the massive background.
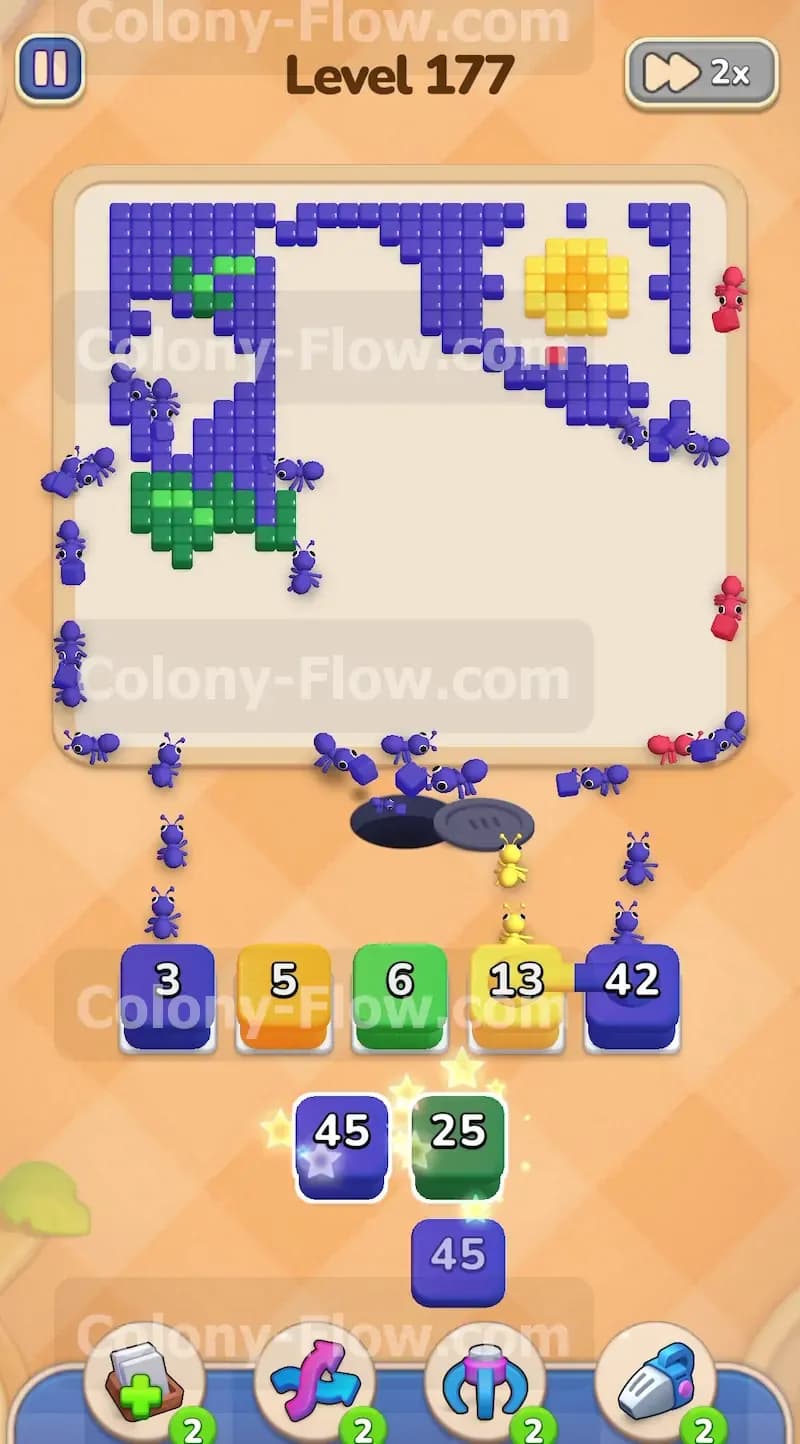
The final phase of the level is all about clearing the dark blue tiles that fill the rest of the board. Your tray is full of high numbered blue blocks waiting to be used. Start pulling the first few blue blocks into your waiting slots. The blue ants will swarm the board from every possible direction. They will cover the empty areas where the bird and branch used to be and eat away the dark blue background from the bottom up. Since you saved these blocks for the very end the blue ants will have absolutely zero obstacles in their way. Watch the numbers on the blocks tick down rapidly as the ants steadily clean the lower half of the screen.
Step 8: Empty the remaining tray blocks to finish the puzzle.
The only things left are the final blue blocks and a few scattered pieces hidden at the very end of the tray. Pull everything you have left into your open slots. The final massive swarm of blue ants will rush the top half of the board and consume the last remaining dark blue tiles. The screen will clear completely as the final numbers hit zero. You managed your tray perfectly by keeping the paths open and saving the background colors for last. The ants will return to their nest hole and you will beat the level.
Final Thought
Colony Flow Level 177 is incredibly satisfying once you understand how to peel back the layers of the picture. Focus on the pink bird and the green branch first to open the board safely without hitting a dead end. If you find yourself struggling with any particular move or tray sequence I highly recommend you watch the video above this article. Seeing the ants clear the paths in real time makes the whole strategy much easier to follow. Good luck with your ant colony and have fun clearing the canvas.