Colony Flow Level 144 Walkthrough Solution & Guides | How to solve Colony Flow 144

Guide By Liam Stone
Updated on July 11, 2026
If reading isn't your thing, the video above walks you through Level 144 from start to finish.
Video doesn't match your screen?
Game updates frequently scramble layouts! Try our AI Screenshot Solver first to find your exact board instantly, or report broken guides to our team.
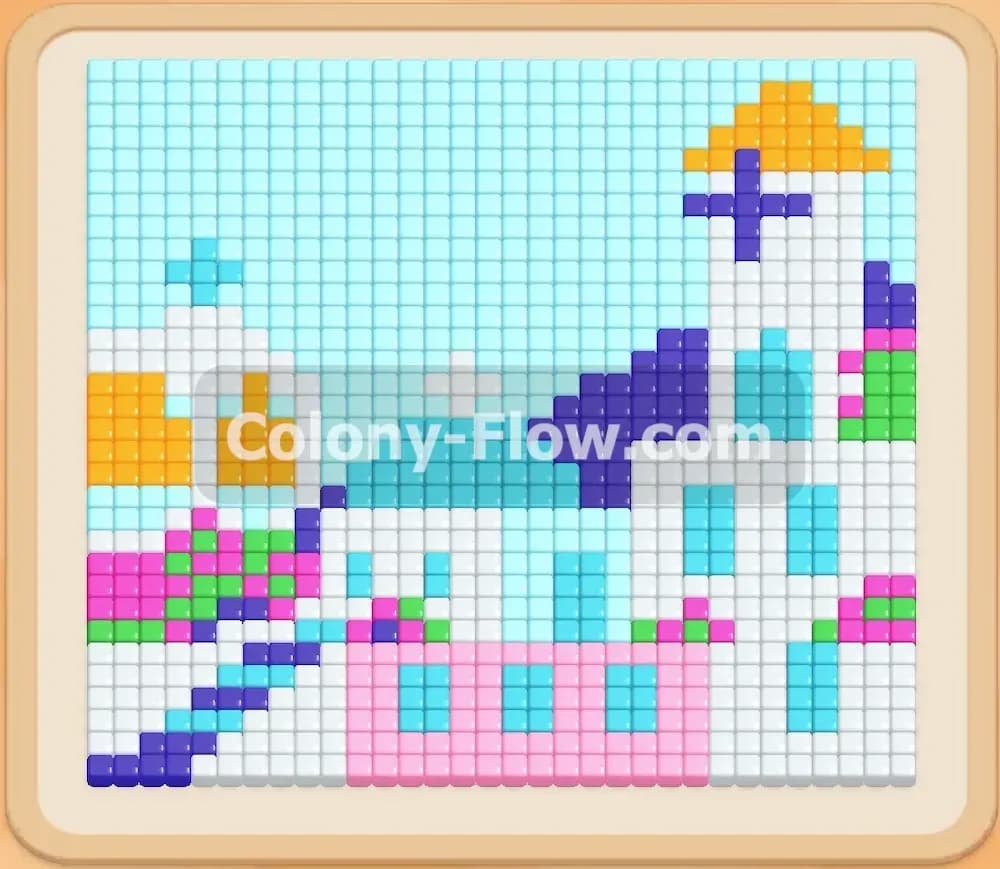
Welcome to Colony Flow Level 144. This puzzle presents a massive pixel art scene featuring a large building with colorful roofs and a bright sky. You need careful planning to dismantle the structure without clogging your available spaces. I will guide you through the entire process to help you achieve a clean board.
Colony Flow Level 144 Overview
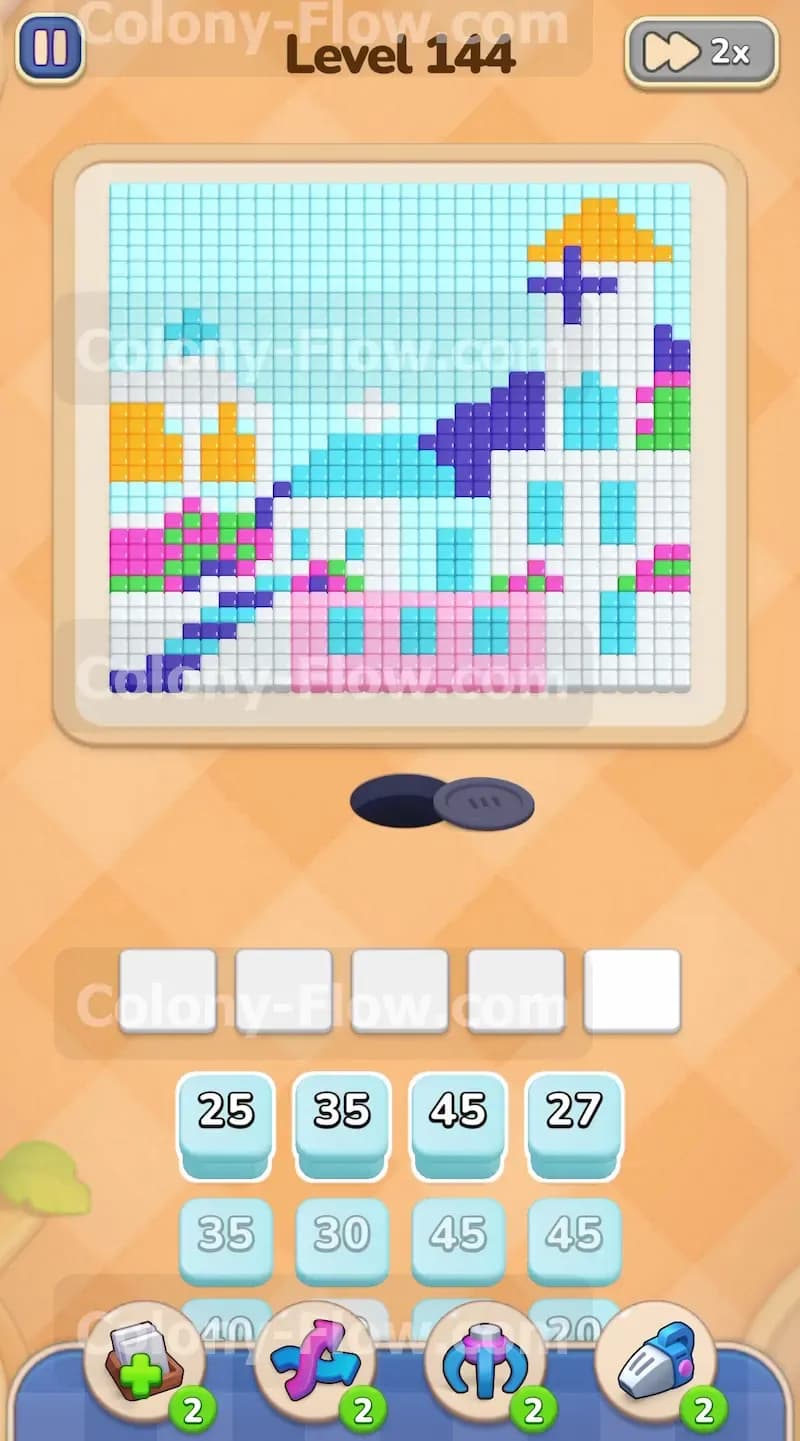
What You Are Working With
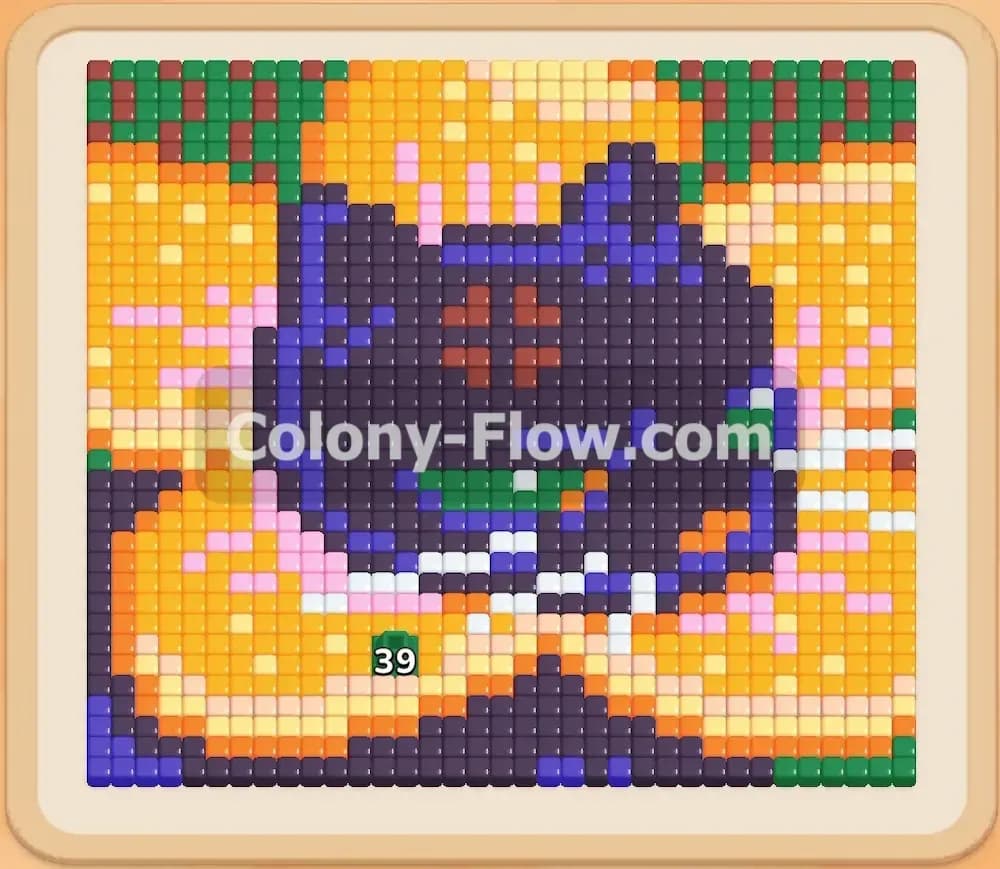
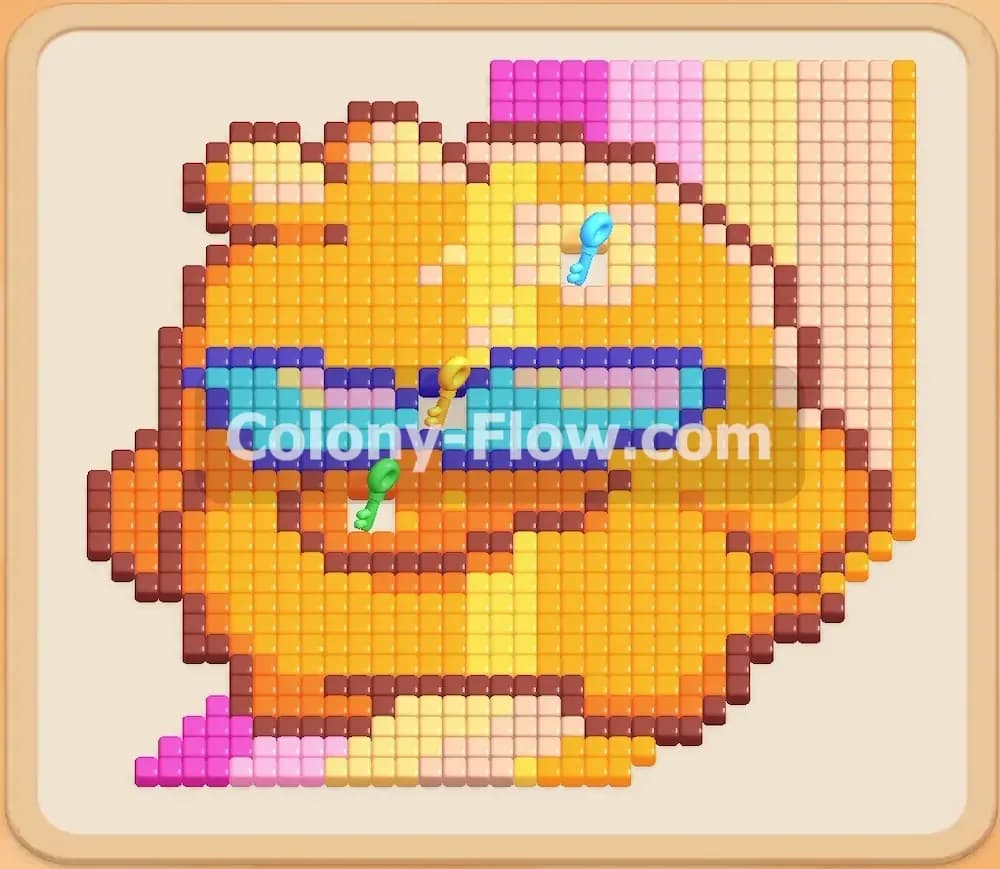
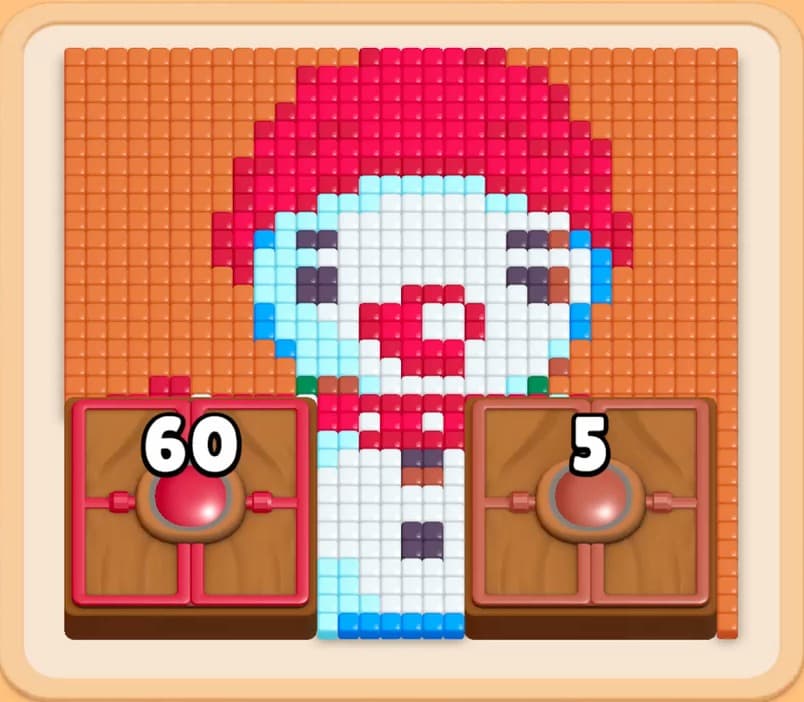
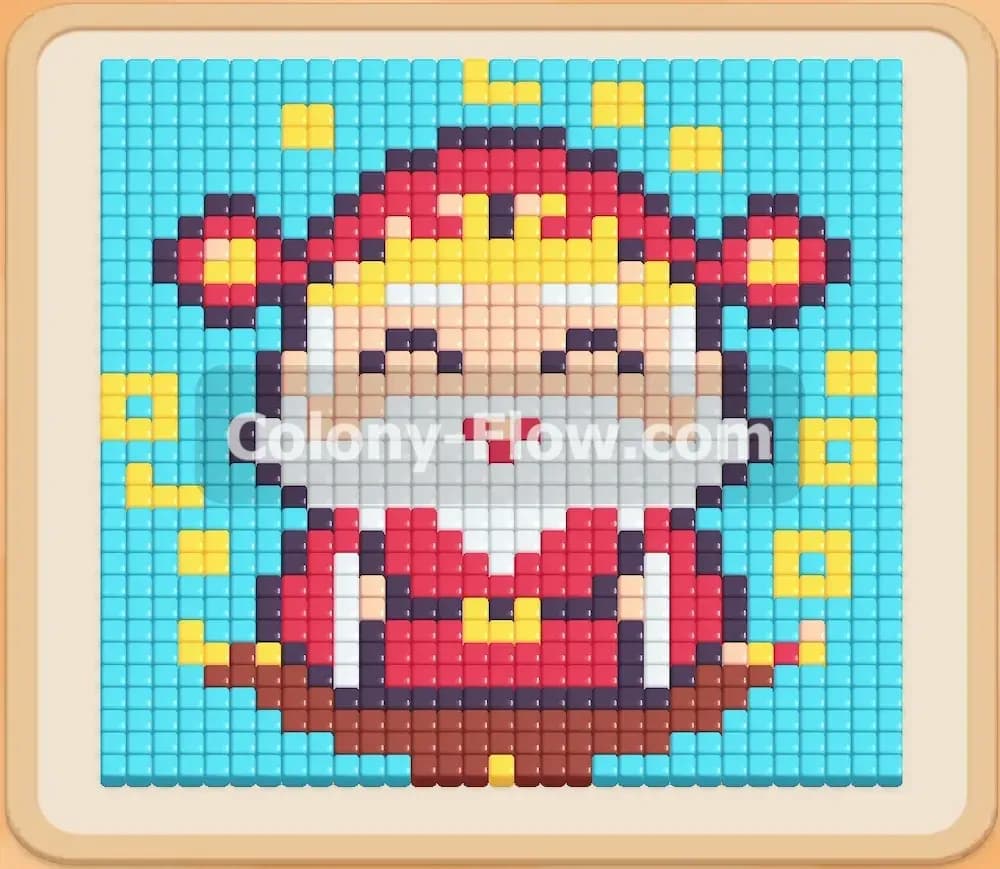
The board displays a complex picture of a building against a light blue sky. The main structure consists of bright white walls resting on a solid pink foundation. You will notice a prominent purple cross on the upper section of the building. The roofs feature distinct yellow tiles that add a splash of color to the top. There are also small green accents scattered around the lower areas. The tray at the bottom holds a variety of numbered blocks corresponding to these colors. You will encounter connected boxes in your tray during this puzzle. These connected boxes link two or more colors together with a solid line. You pull them as a group and must clear them in sequence. There are no hidden boxes or chocolate layers to worry about here. The paths are initially blocked by the massive picture itself. You rely on the ants streaming from the nest hole to carve pathways into the solid block of pixels. The sheer size of the picture means you have plenty of outer edge tiles to target right from the start.
What It Takes to Clear Level 144 Board
You win the level when the ants consume every single colored pixel on the board. The mechanics require you to pull numbered blocks from the tray into the five waiting slots. The ants match the color of the block and travel along open paths to eat the corresponding picture tiles. You lose if all five waiting slots fill up with blocks that have no valid paths to the picture. This creates a dead end where no ants can move and the board jams permanently. You must constantly monitor the exposed edges of the picture. Only pull blocks that match the colors currently accessible to the ants. If you pull a yellow block while the yellow roof is entirely surrounded by white and light blue pixels, that block will sit idle. Managing the flow of the colony is the ultimate key to success. You want a continuous stream of ants actively eating the board to keep your waiting slots open and ready for new blocks.
Colony Flow Level 144 Step by Step Solution
Step 1: Clear the outer light blue sky border to open the board
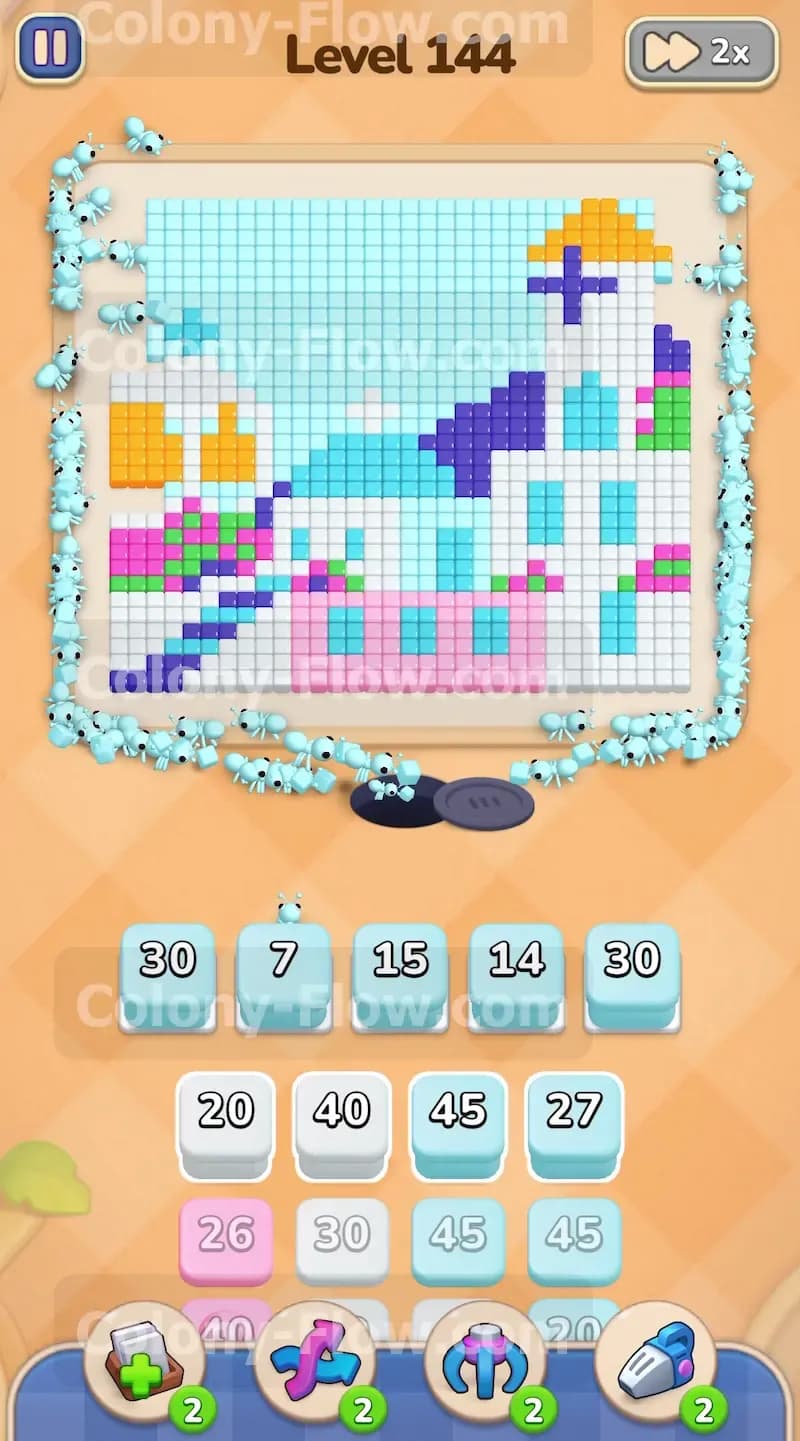
You start the puzzle by looking at the large expanse of light blue sky surrounding the main buildings. The ants need an immediate target to begin clearing the outer edges of the board. You look at your tray and pull up several light blue blocks to get the colony moving right away. Specifically you bring up a light blue thirty block, a light blue seven block, a light blue fifteen block, a light blue fourteen block, and another light blue thirty block. The ants rush out of the nest hole and spread across the entire perimeter of the picture. They begin eating away the light blue pixels that form the sky. You watch the numbers on the blocks decrease rapidly as the ants consume the tiles. You must keep the ants flowing so the waiting slots never remain occupied for too long. If you let the slots sit full, you risk failing the puzzle early. By targeting the most accessible color first, you guarantee a steady stream of active ants. The outer border shrinks quickly and reveals more of the inner white structures.
Step 2: Transition the colony to the exposed white building walls
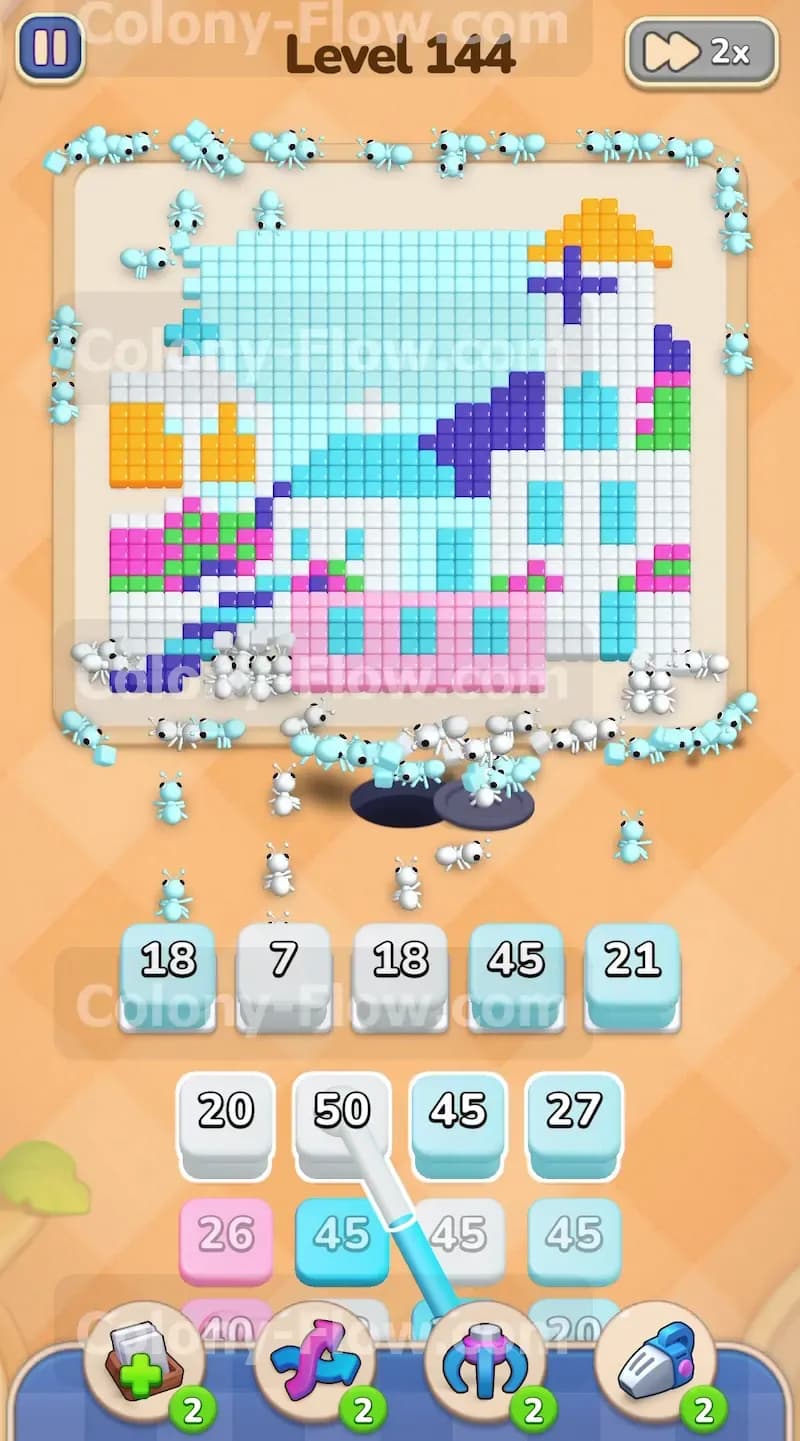
Once the ants clear a good portion of the sky, the white walls of the buildings become completely exposed. You now possess a direct path to start working on the white tiles. You pull a white seven block and a white eighteen block into the waiting slots. You also mix in some more light blue blocks like an eighteen, a forty five, and a twenty one to keep the sky clearing process active. The colony divides its attention between finishing the sky and chewing deep into the white buildings. This dual approach proves highly effective for maintaining a continuous flow of ants. The ants carve wide paths into the white sections and break the solid structures into much smaller pieces. You must monitor the waiting slots closely to confirm that both white and light blue ants have open routes to their respective colors. Keeping multiple colors active at the same time prevents any single block from stalling in the tray. The massive buildings slowly lose their shape as the white pixels vanish into the busy colony.
Step 3: Open up new pathways by targeting the pink foundation
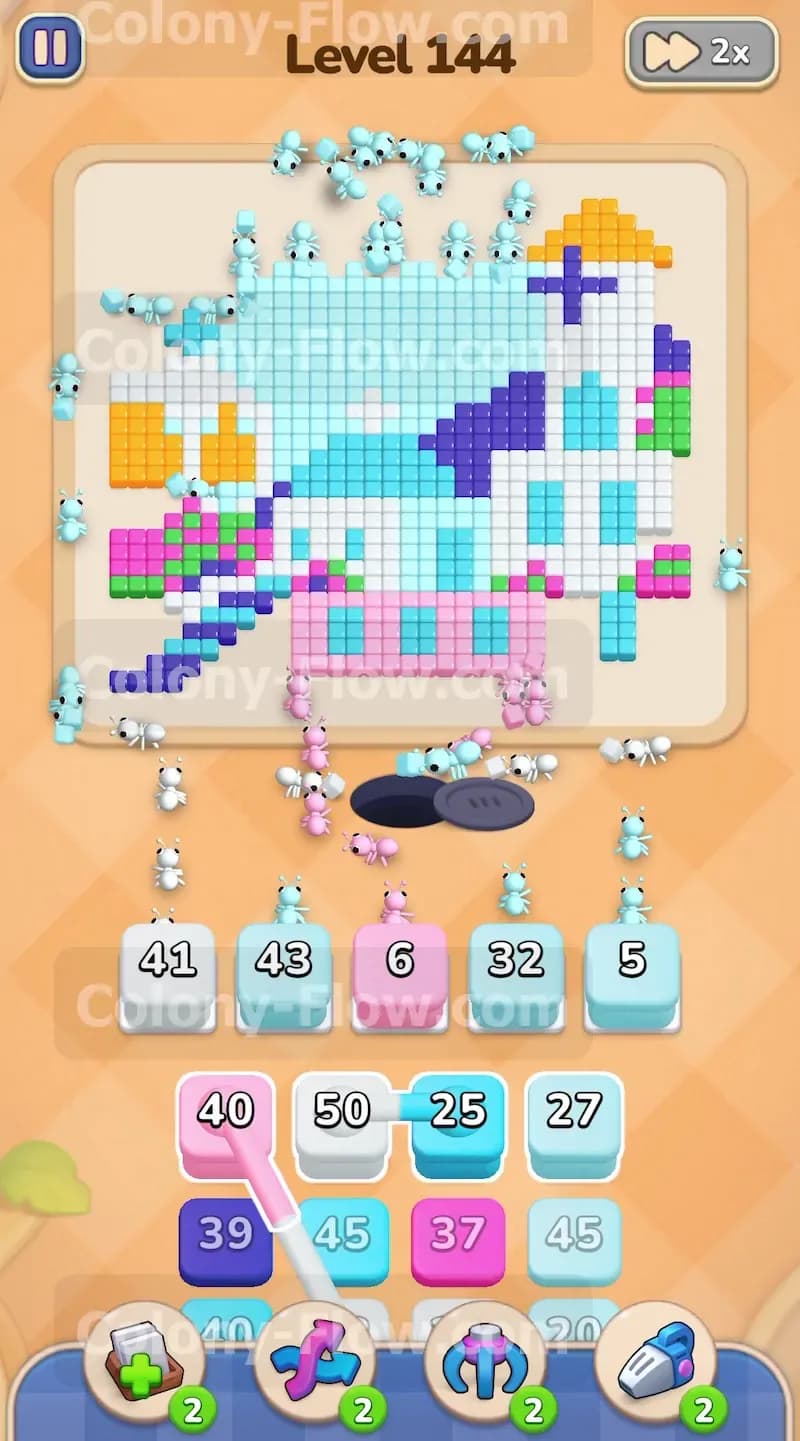
As the white walls diminish, the pink tiles at the bottom of the picture become completely vulnerable. The ants need a fresh color to target so you avoid a dead end scenario on the board. You pull a pink six block into the waiting area to initiate the attack on the bright pink foundation. Alongside the pink block, you bring up a white forty one, a light blue forty three, a white thirty two, and a light blue five. The ants now have three different colors to consume simultaneously. They swarm the pink base while others continue to strip away the remaining white and light blue tiles. The pink foundation is crucial because it acts as a barrier to the inner parts of the picture. Clearing it opens up entirely new pathways for the colony to explore. You watch the pink six block count down rapidly as the ants devour the foundation tiles. The coordination of these three colors ensures that your waiting slots remain active and clear at all times. The puzzle is now significantly smaller and far more manageable.
Step 4: Manage the connected boxes carefully to prevent tray jams
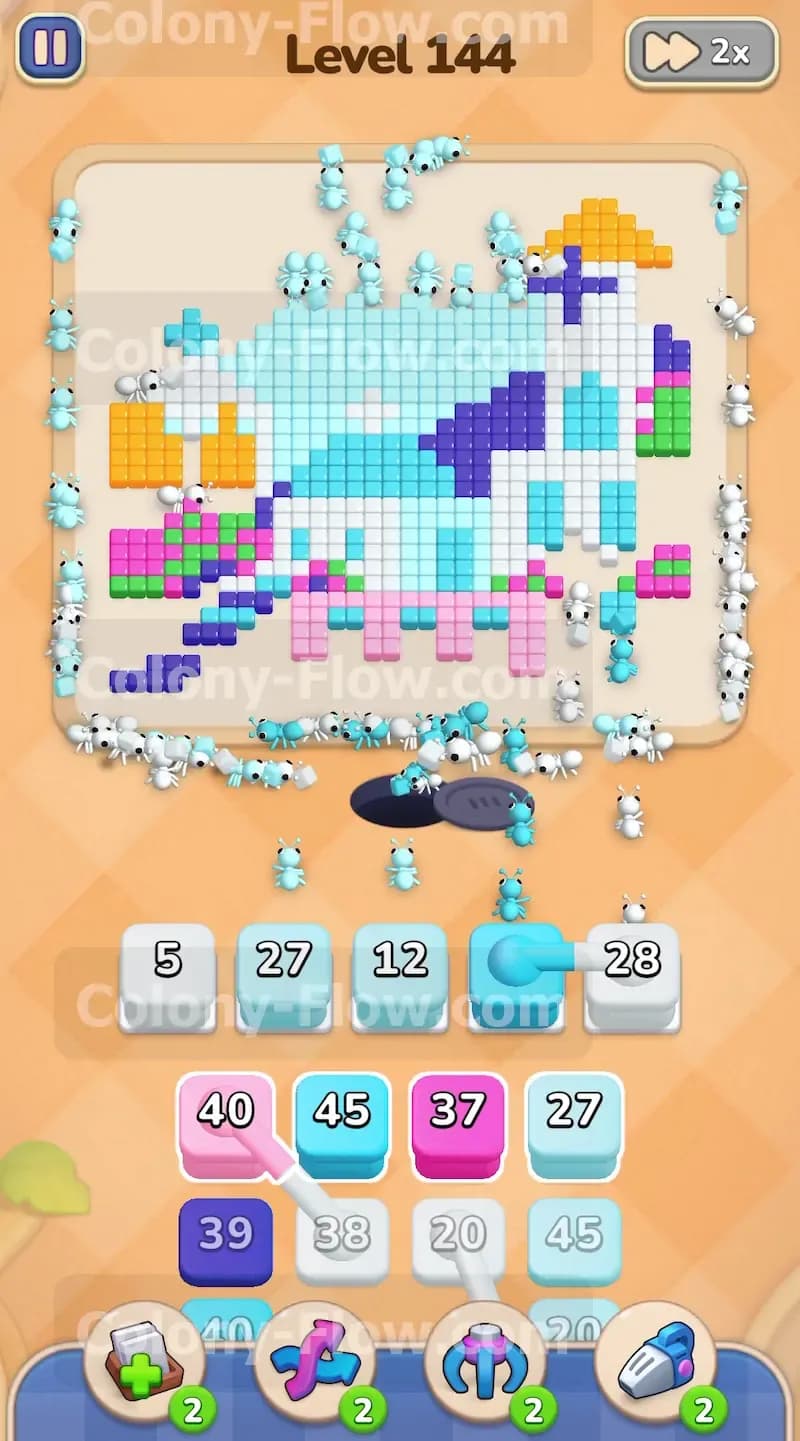
You will eventually encounter connected boxes in your tray as you progress. These blocks link together by a solid line and you must manage them with extreme caution. You see a group containing a pink forty, a white fifty, and a light blue twenty five. You pull the light blue twenty five block into a waiting slot along with a separate light blue twenty eight. The ants eagerly consume these blocks to clear more of the remaining sky. Connected boxes can trick you because they might clog your tray if you pull them at the wrong moment. You must make certain that the top color in the connected group has an immediate open path on the board. Since the light blue sky is still accessible, the ants drain the twenty five block without hesitation. This action clears the way for the next color in the connected sequence. You also keep an eye on the white five, light blue twenty seven, and white twelve blocks that share the waiting area. Every single move you make here revolves around keeping the colony flowing and the slots rotating.
Step 5: Dismantle the central purple cross and remaining pink blocks
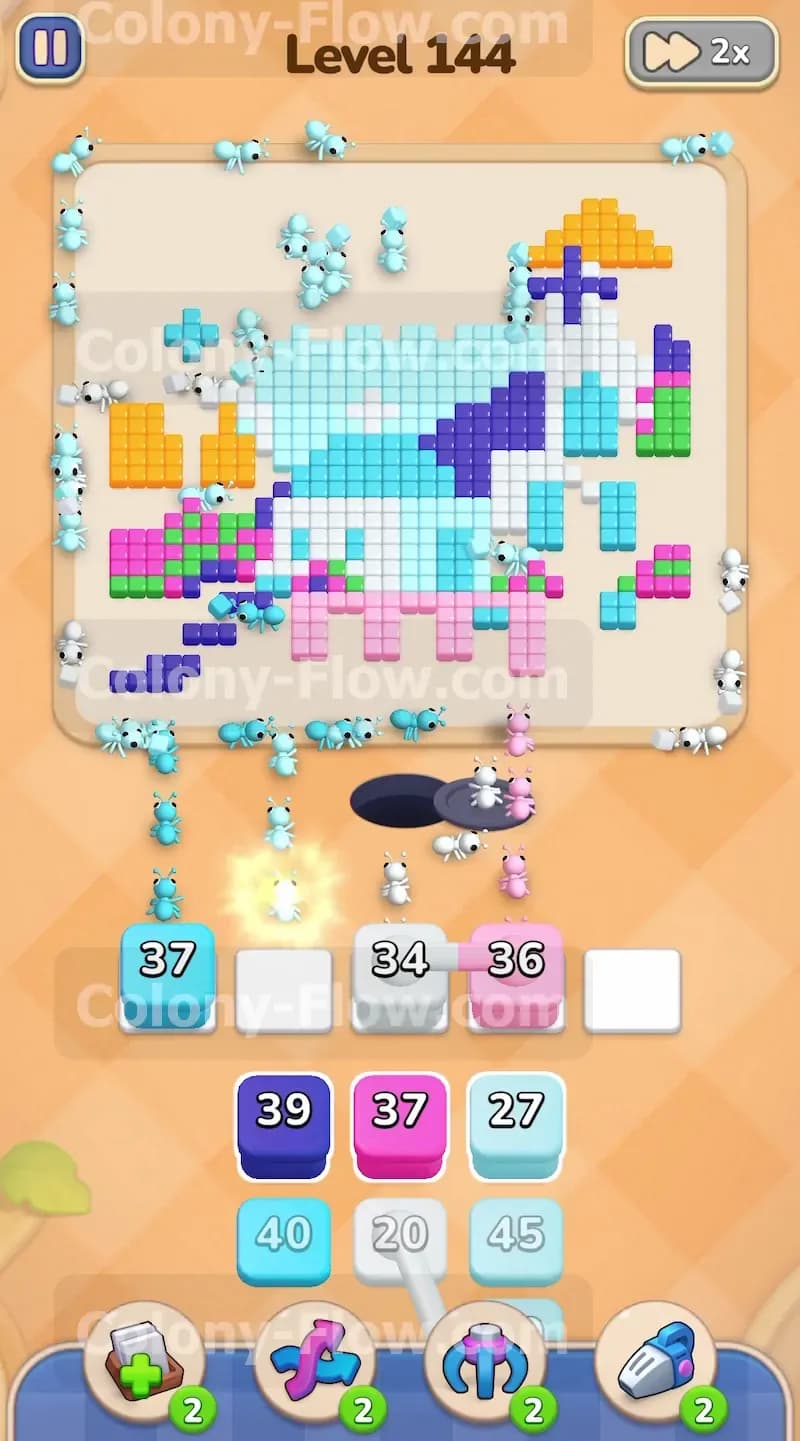
With the outer edges largely gone, you turn your focus entirely to the central details of the picture. The building features a distinct purple cross and several more pink roof sections. You pull a light blue thirty seven block, a purple thirty four block, and a pink thirty six block into the empty waiting slots. The ants recognize the new targets and rush straight towards the center of the board. They dismantle the purple cross pixel by pixel and chew through the remaining pink roof tiles. The purple block is particularly important because it frees up the space around the top of the main structure. You must confirm that the purple tiles are fully exposed before you pull the corresponding block from the tray. If you pull the purple block too early, it will sit idle in the waiting slot and consume valuable space. The ants efficiently clear the cross and the pink roof parts, leaving only a few scattered sections behind. The board is now mostly empty space with isolated clusters of bright color.
Step 6: Clean up the lingering white and light blue sections
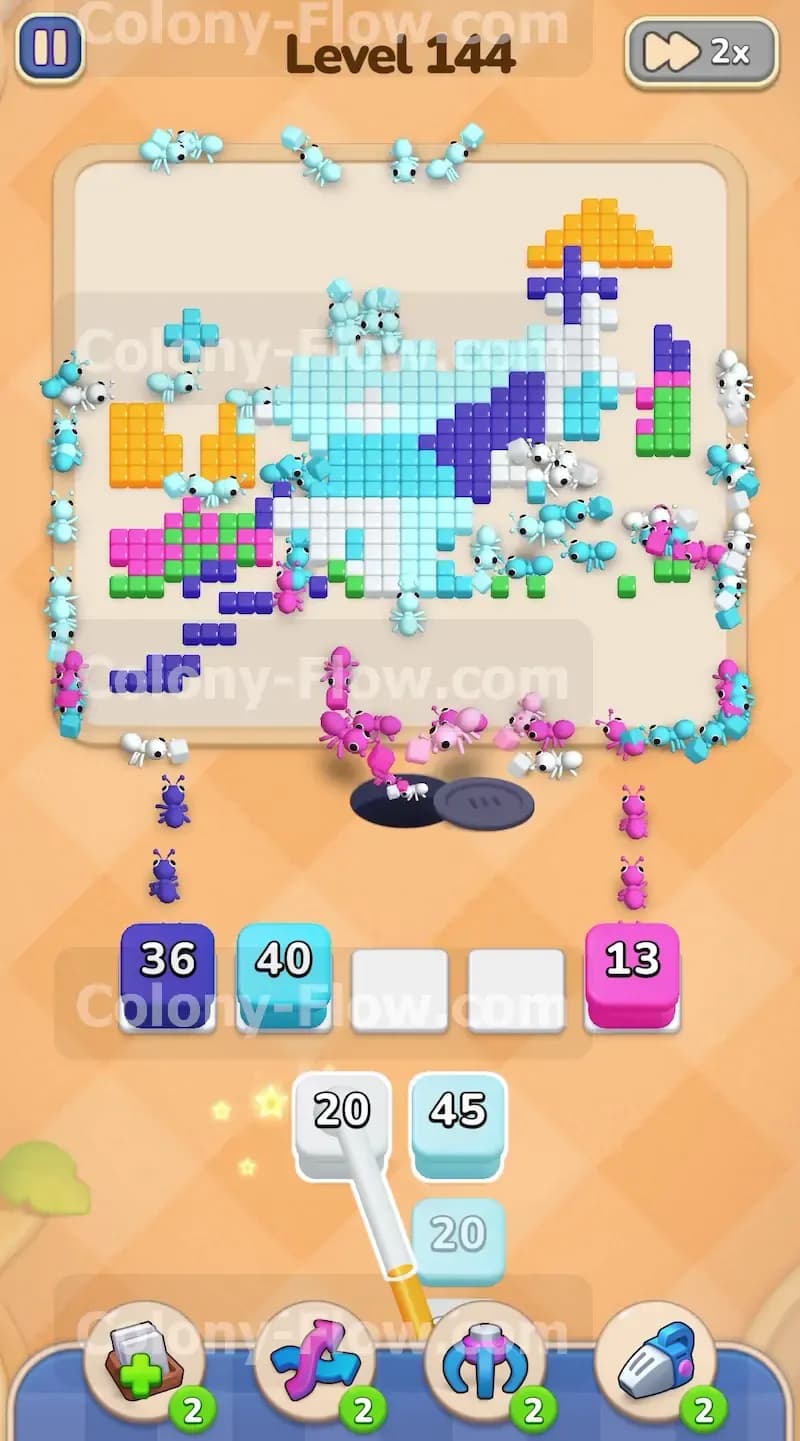
The picture is nearly finished but you still have some stubborn white and light blue tiles lingering on the board. You bring up a purple thirty six block, a light blue forty block, and a pink thirteen block to address the final stragglers. The ants sweep across the board to consume the very last pieces of the white walls and the isolated patches of light blue sky. They also finish off a dark purple section positioned on the right side of the puzzle. This specific cleanup phase requires absolute precision. You want to avoid pulling large numbers for colors that only have a few tiles left. The ants automatically adjust the block number to match the remaining tiles on the board. You watch as the colony systematically erases the lingering pixels one by one. The pathways are wide open now, allowing the ants to travel quickly from the nest hole to their distant targets. You are very close to completing the puzzle, but you must remain focused on keeping the slots flowing properly.
Step 7: Finish the puzzle by clearing the yellow and green accents
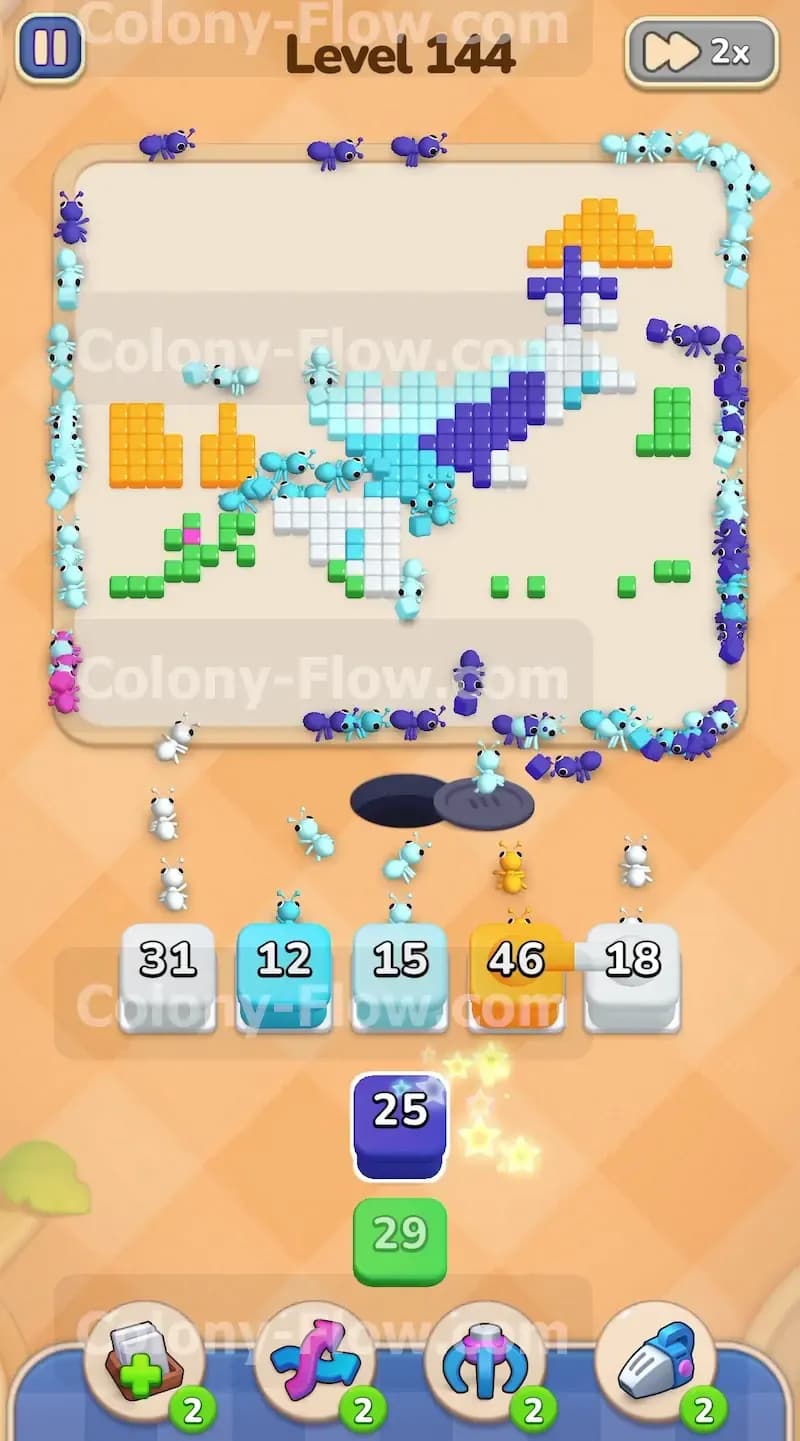
The final remnants of the picture consist of a yellow roof, some green accents, and a few miscellaneous tiles scattered around. You pull a white thirty one block, a light blue twelve block, a light blue fifteen block, a yellow forty six block, and a white eighteen block. The ants surge forward to tackle the bright yellow roof situated at the very top of the puzzle. You also prepare to pull the final connected boxes from the tray containing a dark blue twenty five and a green twenty nine. The ants hunt down the tiny green patches scattered around the lower scene and the last dark blue tiles. The yellow forty six block provides plenty of resources for the colony to completely consume the entire roof structure. At the exact same time, the ants finalize the absolute last white and light blue pixels remaining on the board. Once every single colored tile is eaten, the ants finish their routes and return quietly to the nest. The board is totally clear and you have successfully beaten the puzzle. Your careful management of the waiting slots and strategic color choices made this total victory possible.
Final Thought
This puzzle rewards patience and careful observation of the exposed edges. Keep your waiting slots rotating constantly and you will clear the entire board with absolute ease. If any step is hard to follow in text, you should definitely watch the video above this article.