Colony Flow Level 974 Walkthrough Solution & Guides | How to solve Colony Flow 974

Guide By Liam Stone
Updated on August 8, 2026
Want the shortcut? Watch the video above for the full Level 974 solution.
Video doesn't match your screen?
Game updates frequently scramble layouts! Try our AI Screenshot Solver first to find your exact board instantly, or report broken guides to our team.
Colony Flow Level 974 presents a massive pixel art creature that takes careful planning to dismantle. You face a board dominated by a huge central numbered box and surrounded by intricate colored layers of tiles. I found that clearing the outer border first gives your ants the breathing room they need to reach the deeper sections. This board requires you to constantly monitor your limited space so your ants never get stuck.
Colony Flow Level 974 Overview
What You Are Working With
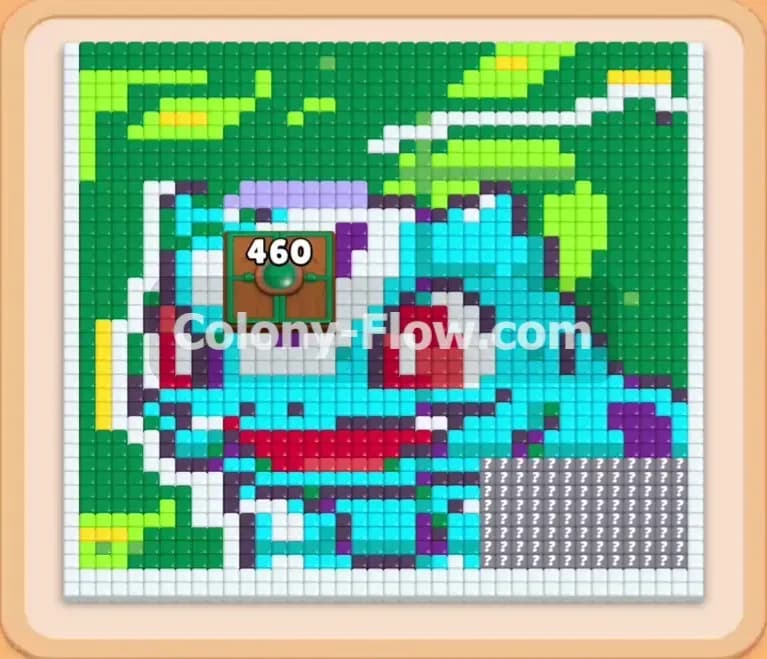
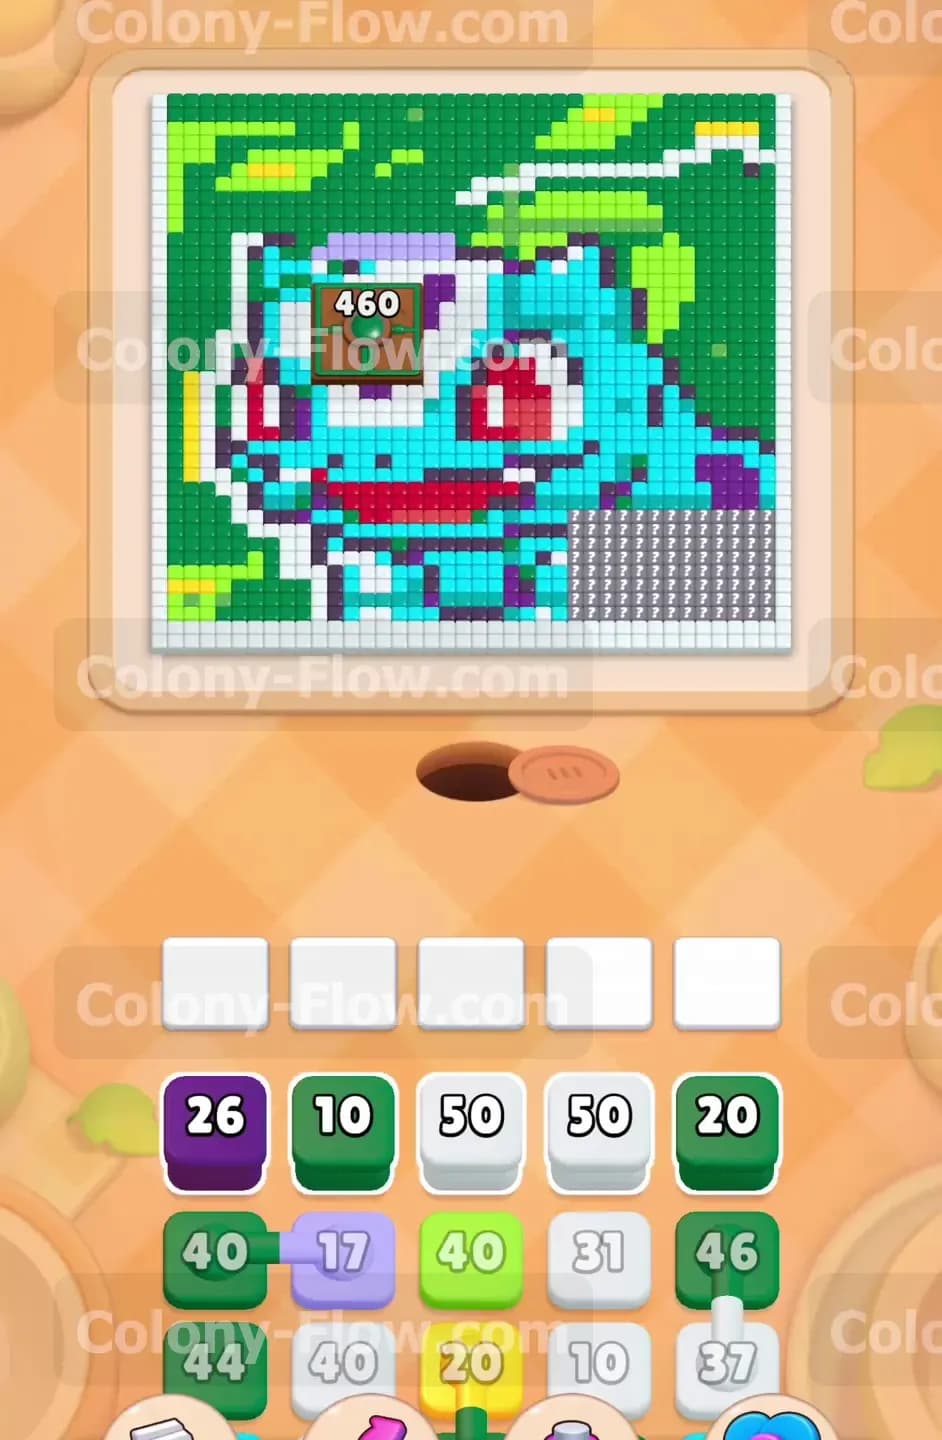
The board features a large green and teal creature with red details that looks a bit like a famous monster. Right in the middle sits a massive brown box starting at a huge number of 460. The tray at the bottom holds a wide mix of white, teal, green, dark purple, light purple, yellow, and red blocks. You will also see Connected Boxes in your tray. These linked blocks pull together and take up multiple waiting slots at once. The ants stream from a single dark hole located at the bottom center of the screen.
What It Takes to Clear Level 974 Board
You win by clearing every single colored tile and reducing that massive central box down to zero. Your main challenge is managing the five empty waiting slots at the bottom of the board. If you pull too many blocks and fill all five slots without an active open path on the board, the ants stop moving entirely and you lose the level immediately. You must frame every single decision around keeping at least one active path open so your waiting slots empty out naturally.
Colony Flow Level 974 Step by Step Solution
Step 1: Clear the outer white border to open access points
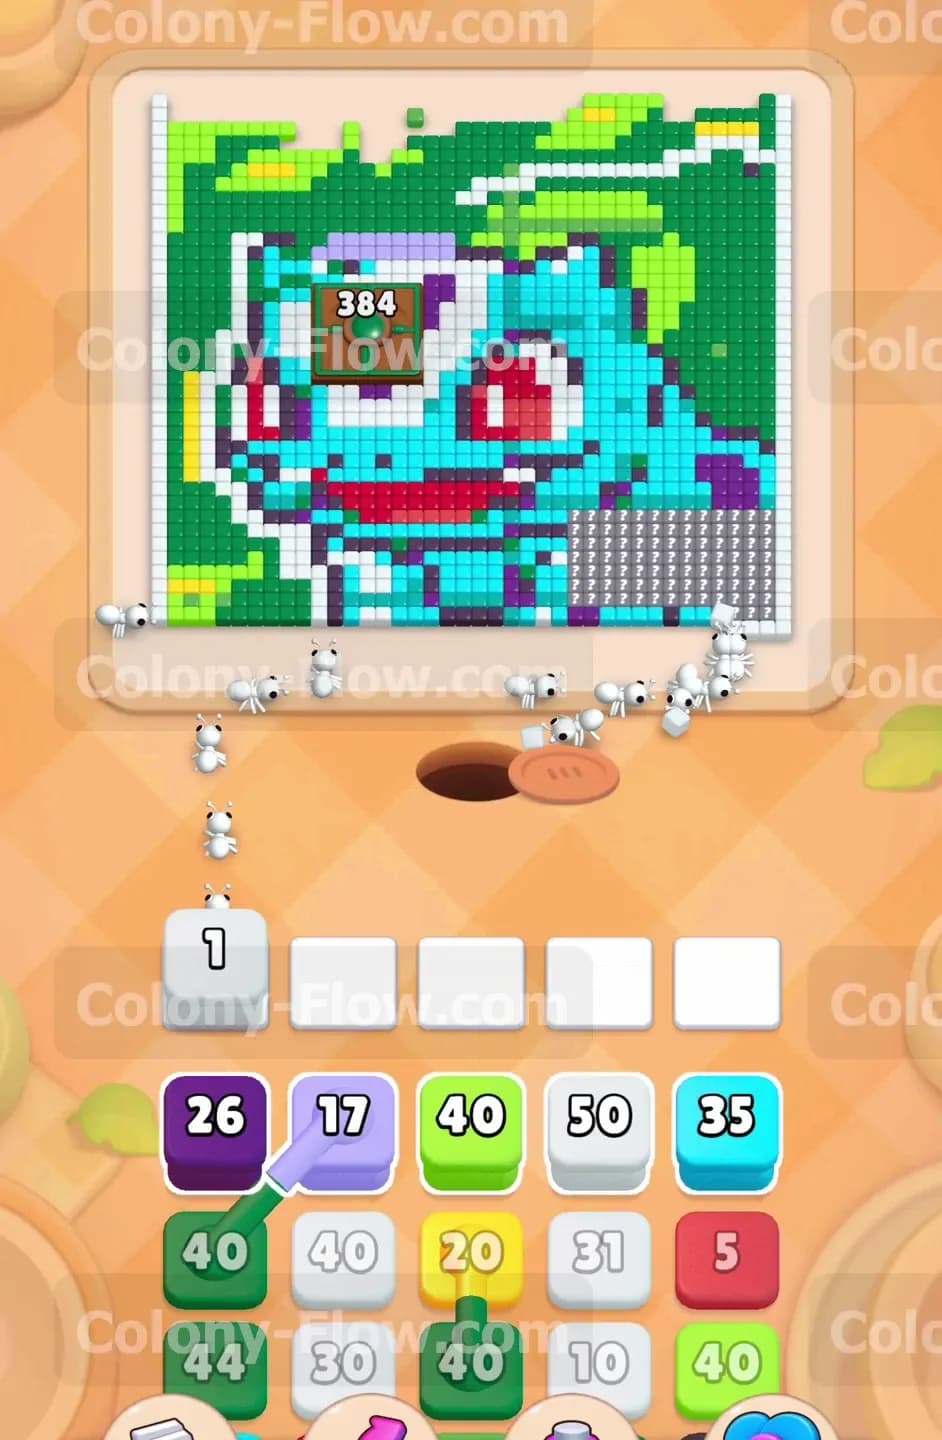
You start this level by pulling the large white blocks from your tray. The pixel art creature is completely boxed in by a thick layer of white tiles forming a solid square frame. Tapping a white 50 block sends a massive wave of ants around the entire perimeter of the board. This move is crucial because it eats away the barrier and exposes the outer edges of the green, teal, and purple sections. You must let these white ants do their job before pulling any other colors. If you pull a green block right now, the green ants will sit uselessly in the waiting slot because the white tiles block their path. Wait until the white border breaks apart completely.
Step 2: Attack the bottom teal base and dark purple shadow
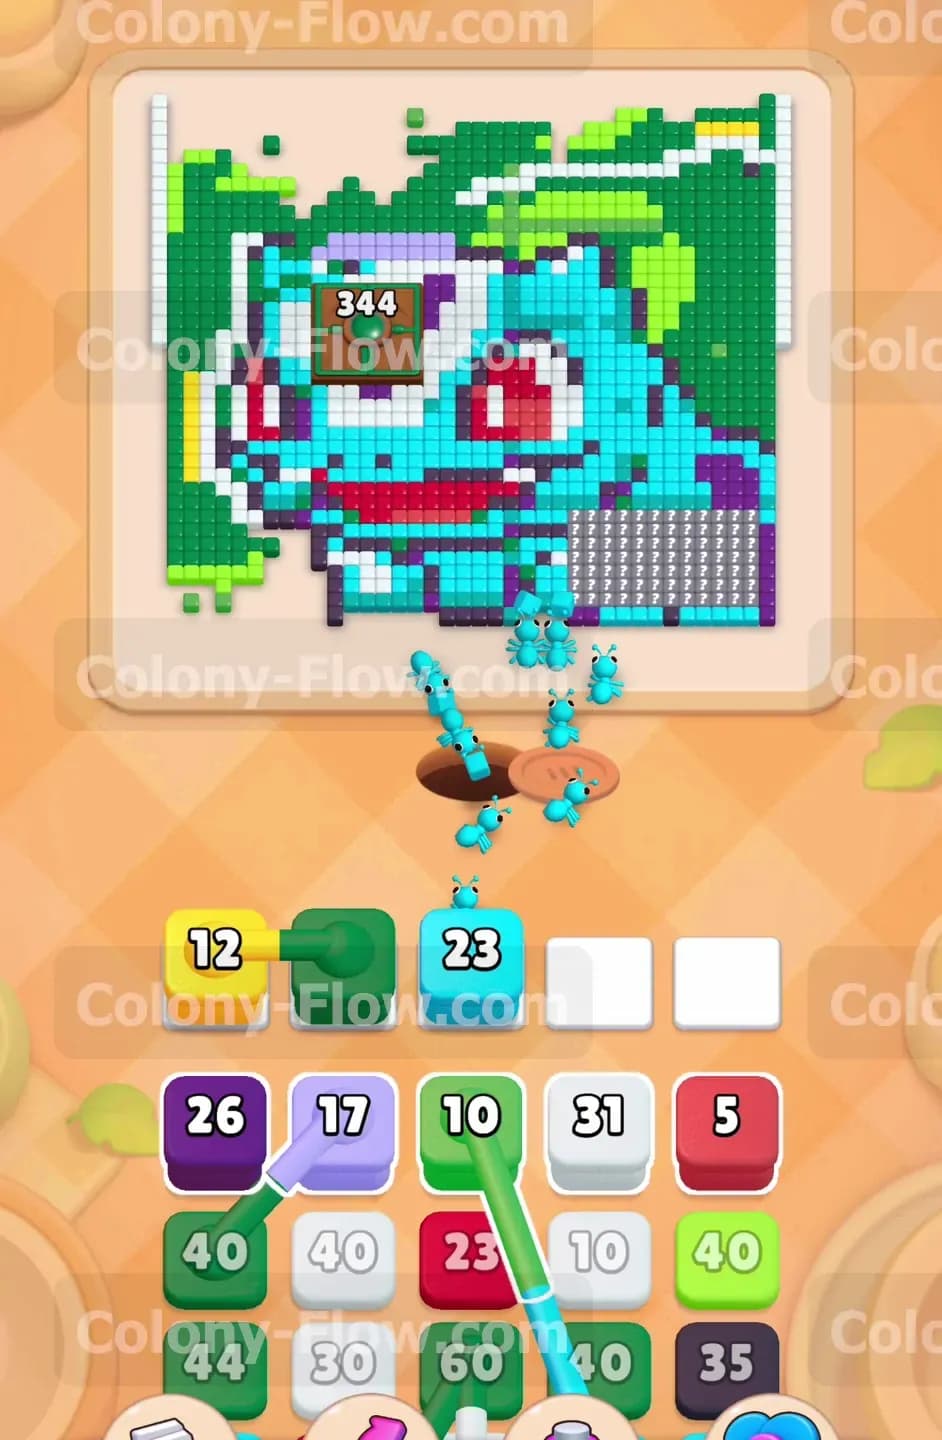
Once the outer white shell breaks apart, direct your attention to the bottom section of the board. The creature rests on a thick layer of teal and dark purple tiles. Pull the dark purple 26 block and a teal 40 block from your tray. The ants will march straight up from the bottom hole and begin eating the flat base of the picture. Watch your waiting slots closely during this phase. You only have five spaces available. By pulling just two colors, you leave three slots completely empty. This guarantees you will not jam the board and fail the level early. As the bottom tiles vanish, the path toward the red mouth area begins to open up.
Step 3: Manage the first set of Connected Boxes from the tray
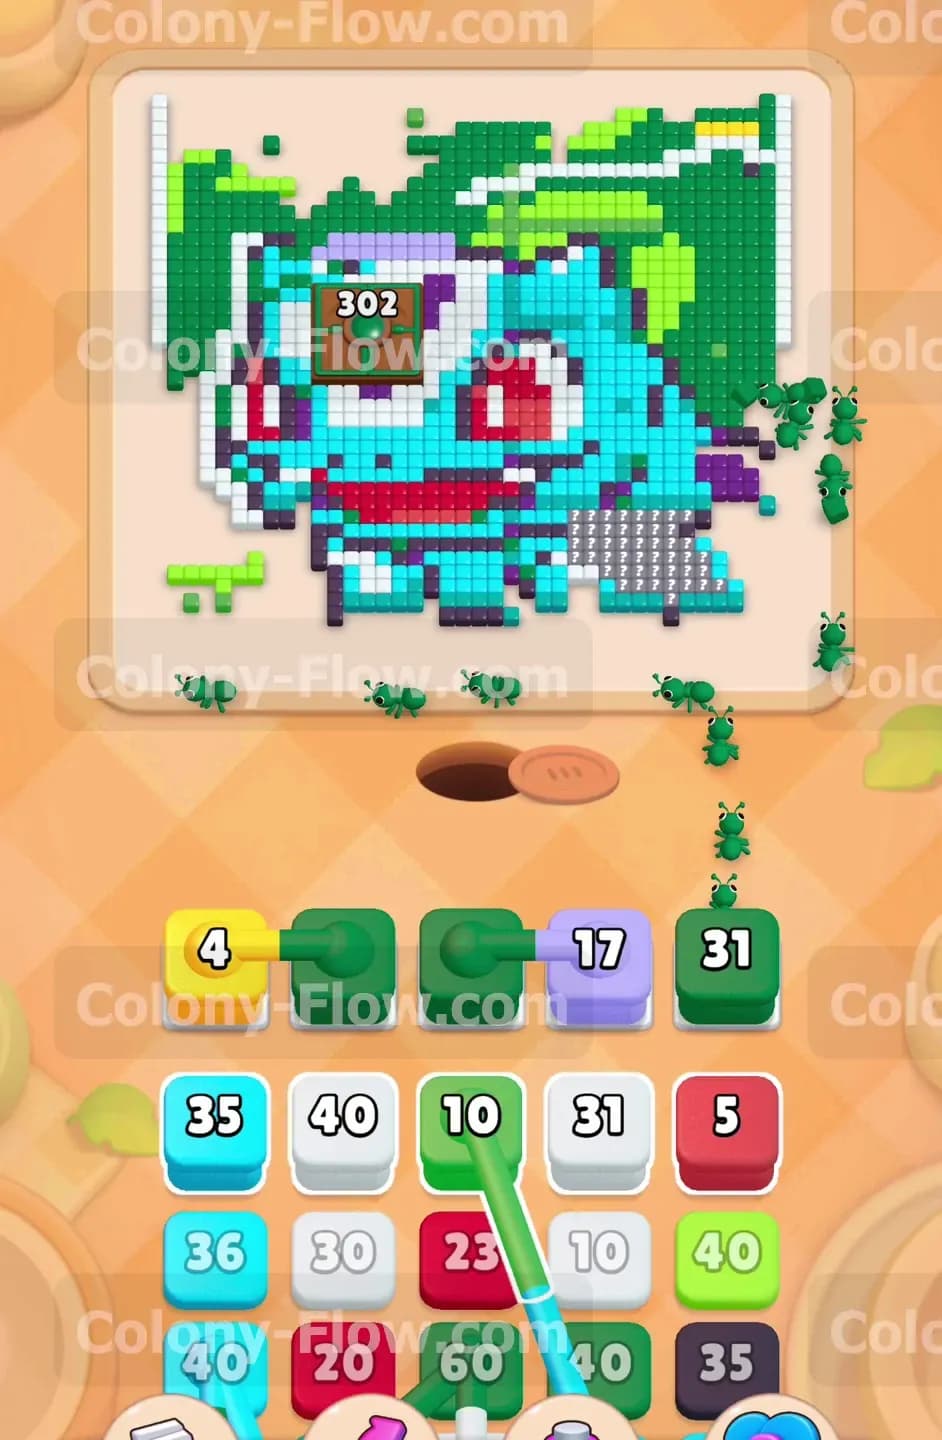
You will notice dark green blocks linked together by a line in your tray. These Connected Boxes require special attention and perfect timing. When you tap one of them, both linked blocks fly up into your waiting slots simultaneously. You absolutely must have two empty slots before you touch them. I recommend waiting until the left side of the creature is fully exposed before pulling these linked green blocks. Send the green ants up the left flank to eat the light green and dark green tiles. Because these linked blocks take up so much room in your slots, you cannot afford to pull anything else until the green ants find their path and start working on the tiles.
Step 4: Clear the yellow sections and light purple details
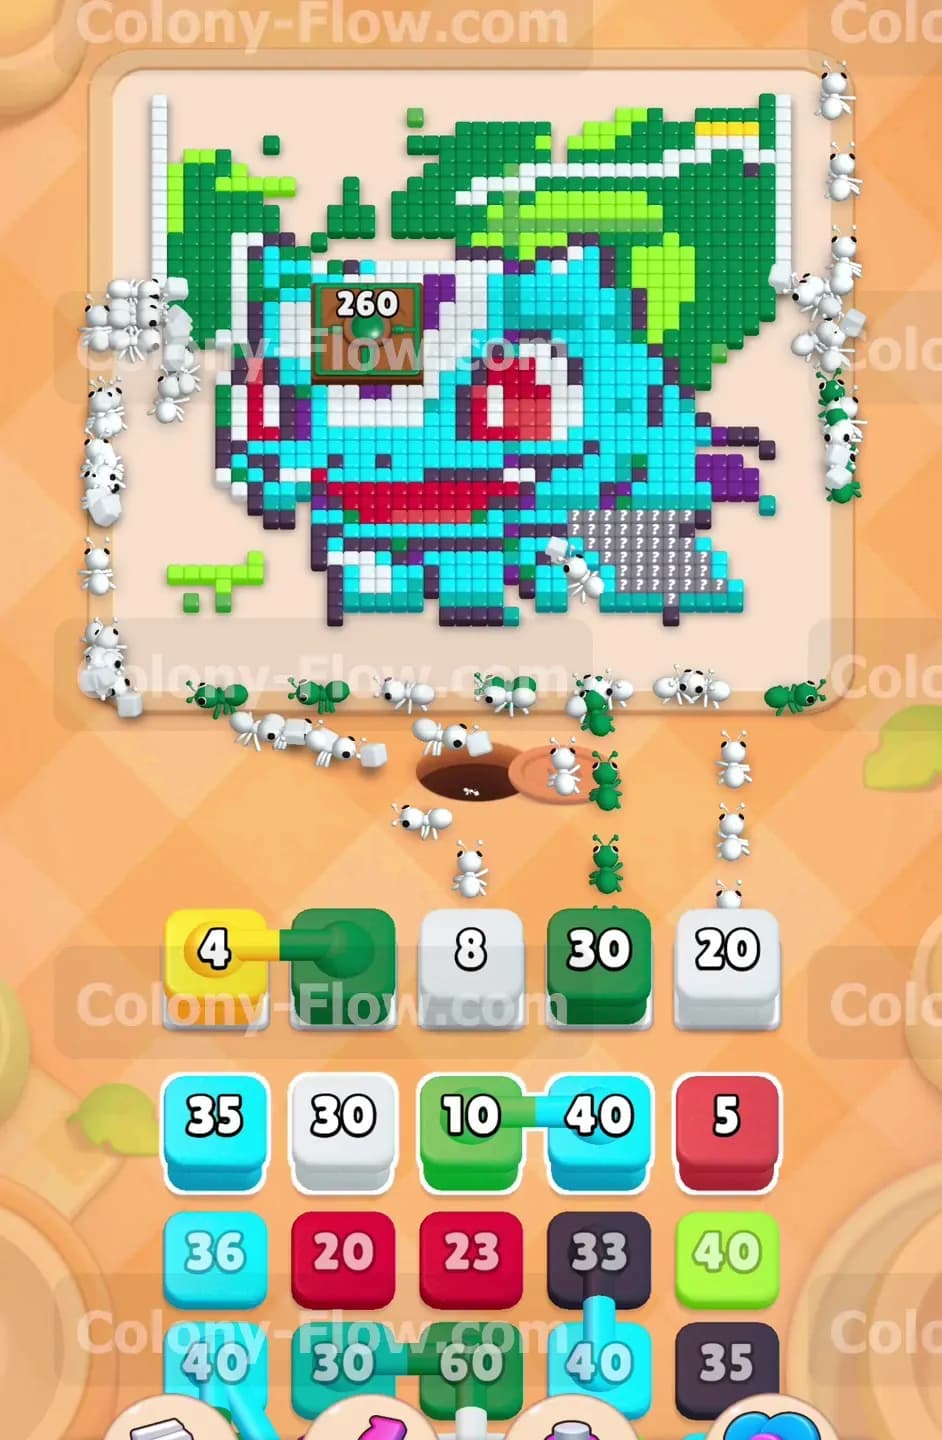
With the green ants working on the left side, you will expose small pockets of yellow and light purple tiles. Tap the light purple 17 block to clear the small details on the lower left side of the creature. Once the light purple ants clear out, pull the yellow 12 block or yellow 4 block depending on what your tray shows. Send the yellow ants up the left side to eat the scattered yellow tiles near the face. Always verify that the green ants have moved far enough out of the way before you send the yellow ants. If you flood the board with too many colors at once, the ants will bump into each other and your waiting slots will fill up dangerously fast.
Step 5: Break into the red center and reduce the large numbered box
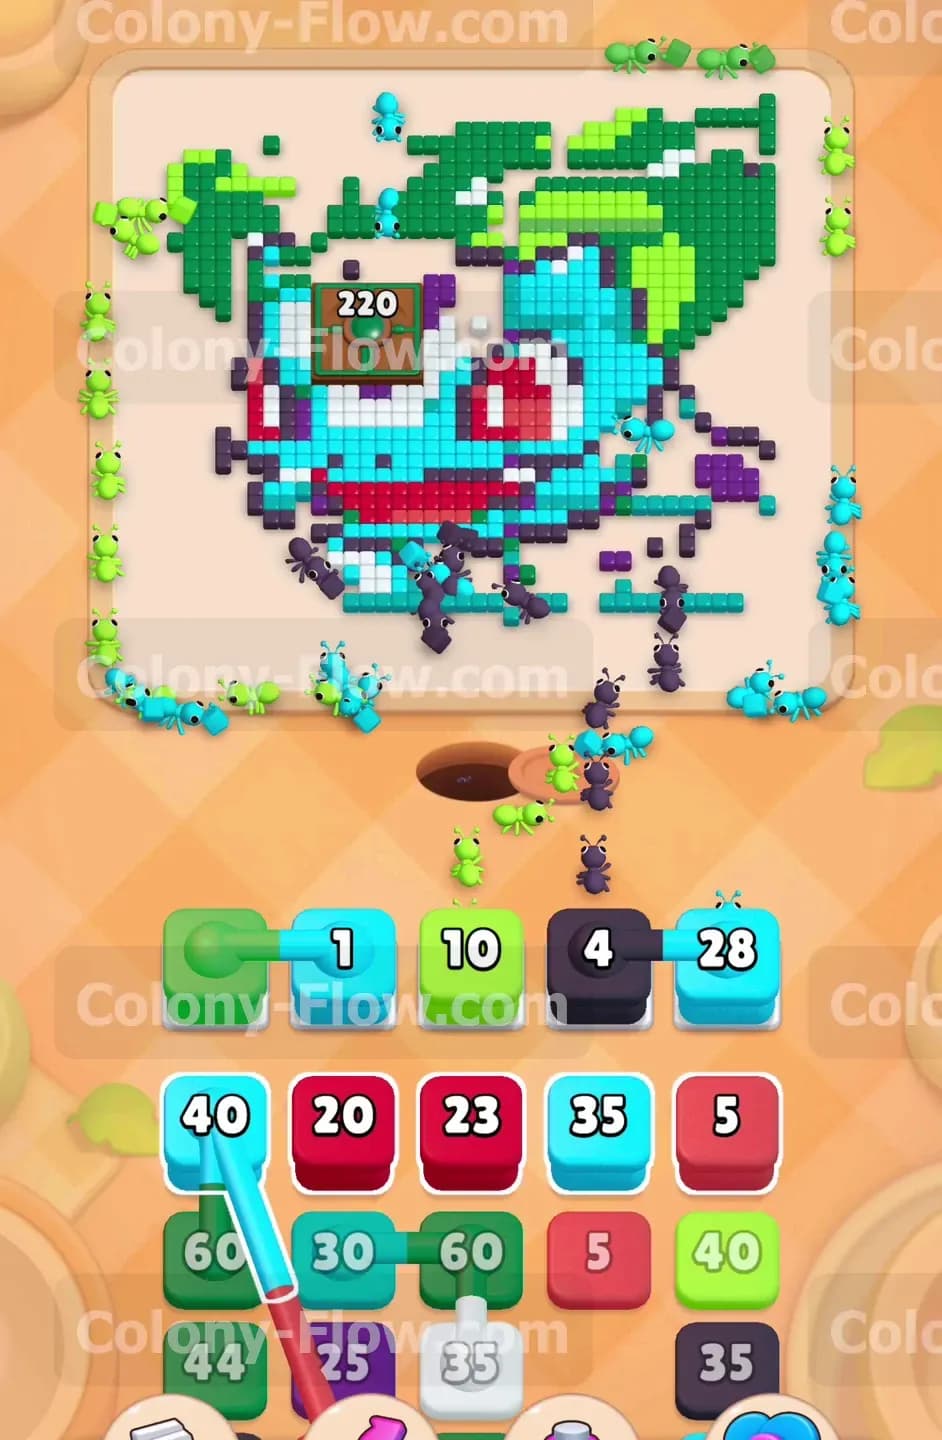
With the sides and bottom clearing out nicely, your ants finally gain access to the red tiles in the middle of the board. Pull a red block and let the ants march into the center to clear the creature mouth. At the same time, you will see the massive central numbered box dropping in value as you clear the area. The number falls from 460 down through the 300s and 200s as you progress. You must keep a steady flow of ants moving toward the center of the board. Focus purely on feeding ants into the red sections and the teal sections directly touching the box. This focused attack keeps the active paths short and ensures your waiting slots empty out quickly.
Step 6: Clear the upper green canopy to reduce board clutter
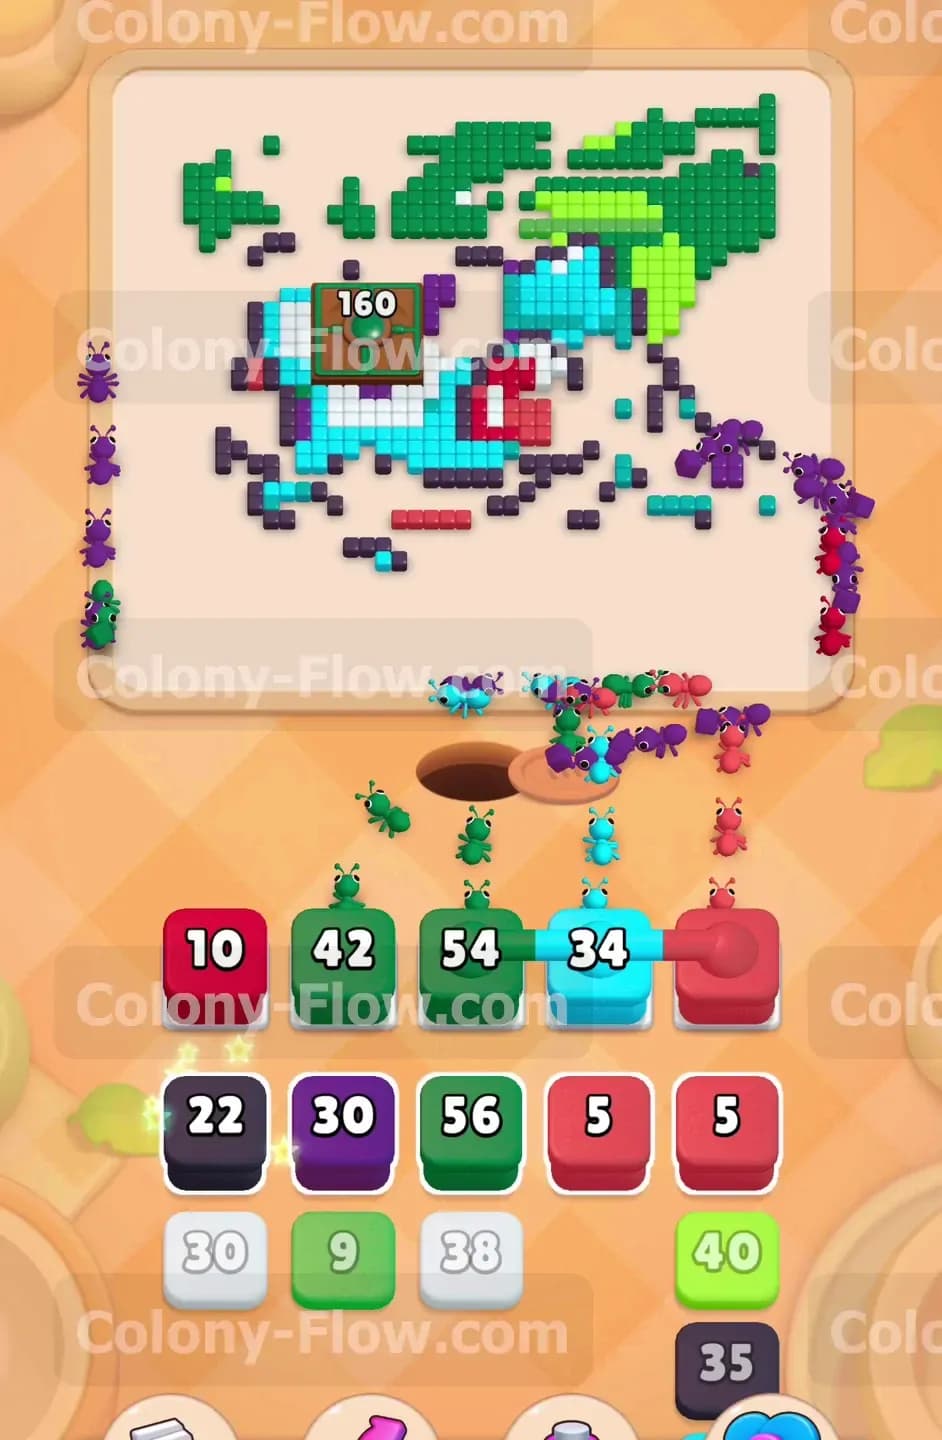
The top half of the board is a thick mix of dark green and light green tiles forming a leafy canopy. By now the central box number is dropping fast and the board feels much more open. Pull the remaining large green blocks from your tray to tackle this section. The green ants will stream up the extreme left and right sides to reach the top edge. You must ensure the ants can flow upwards without getting stuck behind other working ants. Keep your eyes on the waiting slots. Let one green block count all the way down to zero and vanish from the slot before you pull another green block from the tray.
Step 7: Handle the heavy teal blocks on the right side
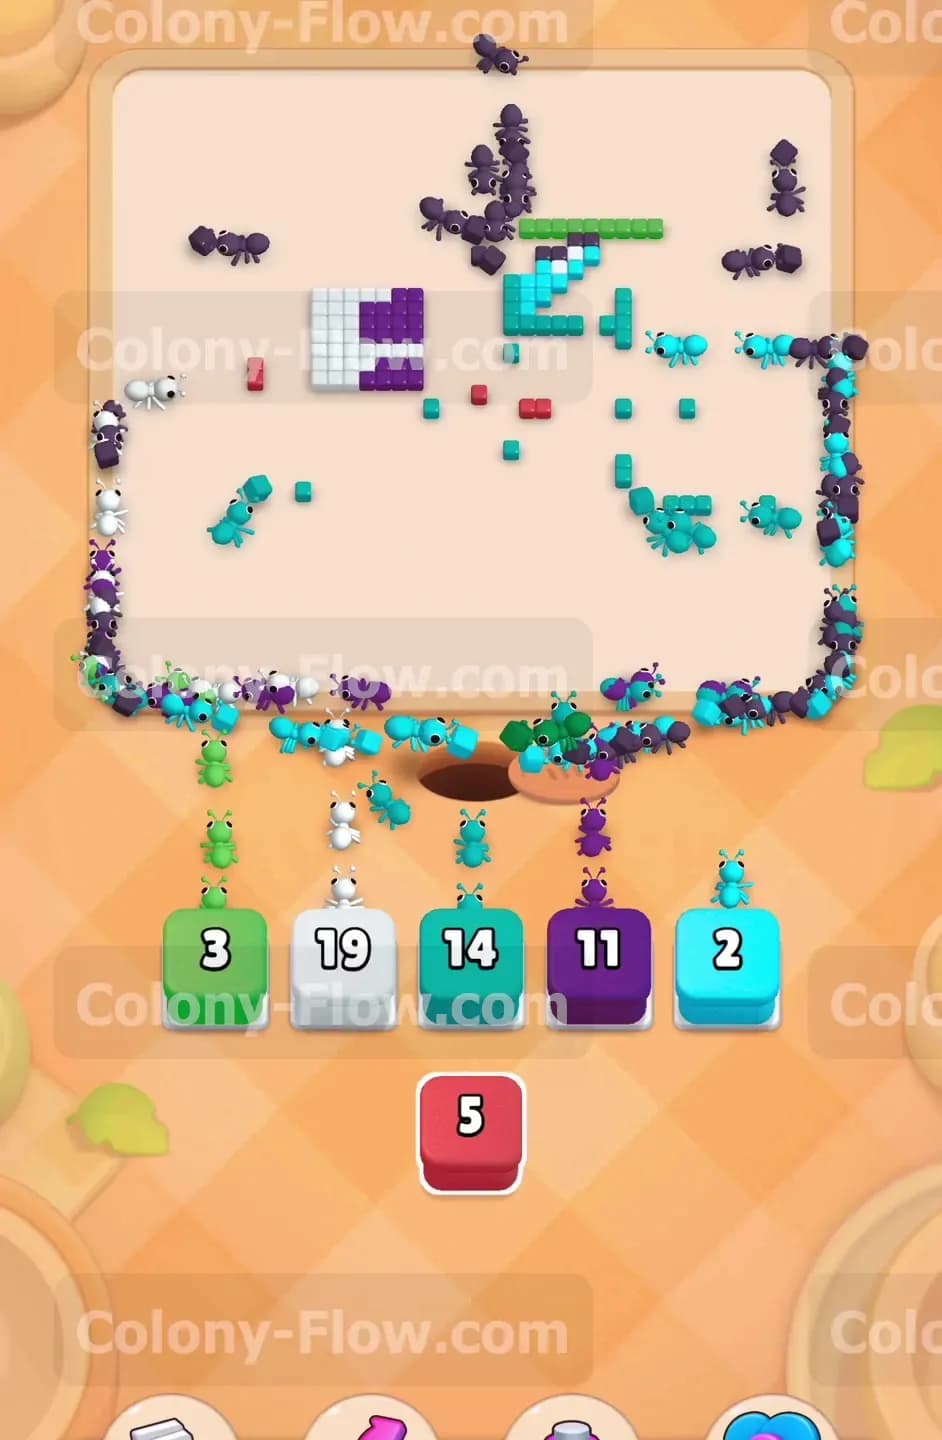
The right side of the creature holds a dense cluster of teal and dark purple tiles that you must clear before the end. Pull your teal 54 block and your teal 34 block from the tray. Because the board is mostly empty now, the ants will travel extremely fast across the open background to reach their targets. Watch the large central box drop to 160 and eventually disappear completely into clear space. Even though you are very close to winning, you still cannot pull blocks randomly. Ensure the dark purple tiles are fully exposed before pulling the final dark purple blocks from your tray.
Step 8: Clean up the final scattered tiles to finish the board
Your board is now down to just a few isolated clusters of red, teal, dark purple, and white tiles. Your tray holds low numbered blocks like a green 3, white 19, teal 14, and a dark purple 11. Pull these remaining blocks one at a time. Send the red ants to finish the very last piece of the central detail. Send the green ants to clear the final piece of the upper canopy. As long as you verify a clear path exists for each color before you tap the block, your slots will stay completely clear. The last few ants will finish eating their assigned food tiles and walk cleanly off the board to trigger the victory screen.
Final Thought
Colony Flow Level 974 demands patience during the opening white border moves and careful handling of the connected blocks in your tray. Always prioritize keeping an active open path over pulling every single block at once. If you find any specific sequence tricky to visualize or you want to see exactly how to manage the five waiting slots, watch the video above this article to see the exact timing I used to clear the board.