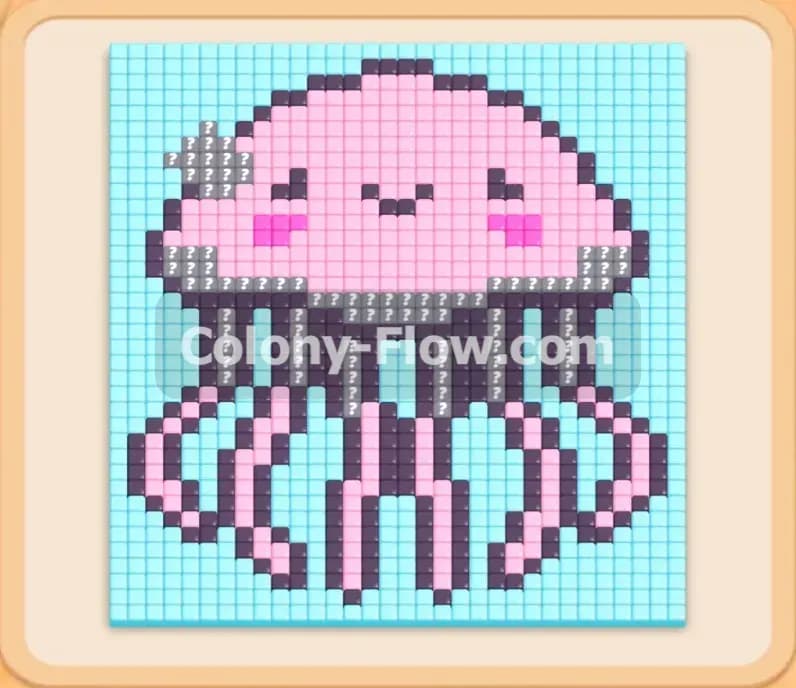
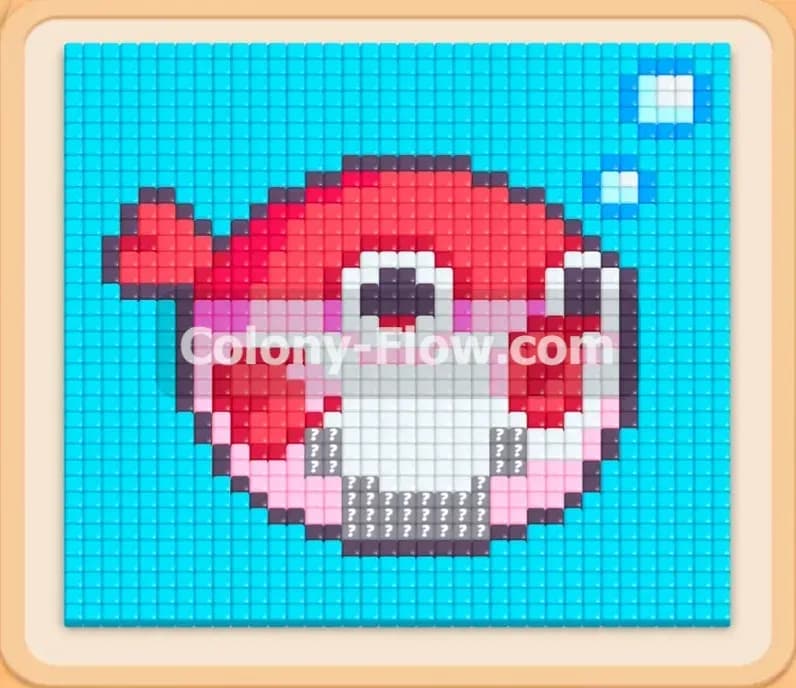
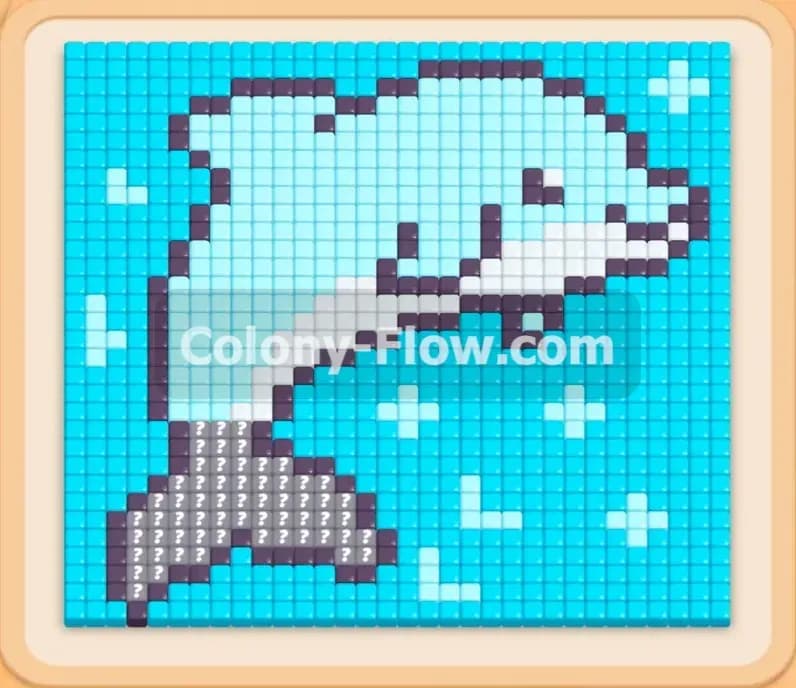
Colony Flow Level 508 Walkthrough Solution & Guides | How to solve Colony Flow 508

Guide By Liam Stone
Updated on July 30, 2026
Watch the video above for a faster look at how Level 508 gets solved.
Video doesn't match your screen?
Game updates frequently scramble layouts! Try our AI Screenshot Solver first to find your exact board instantly, or report broken guides to our team.
Playing Colony Flow Level 508 requires patience and good timing. You face a detailed picture of an adorable otter floating on its back. The puzzle looks cute but it can easily trap you if you pull the wrong colors too early. You must guide your ants carefully to dismantle the image piece by piece.
Colony Flow Level 508 Overview
What You Are Working With
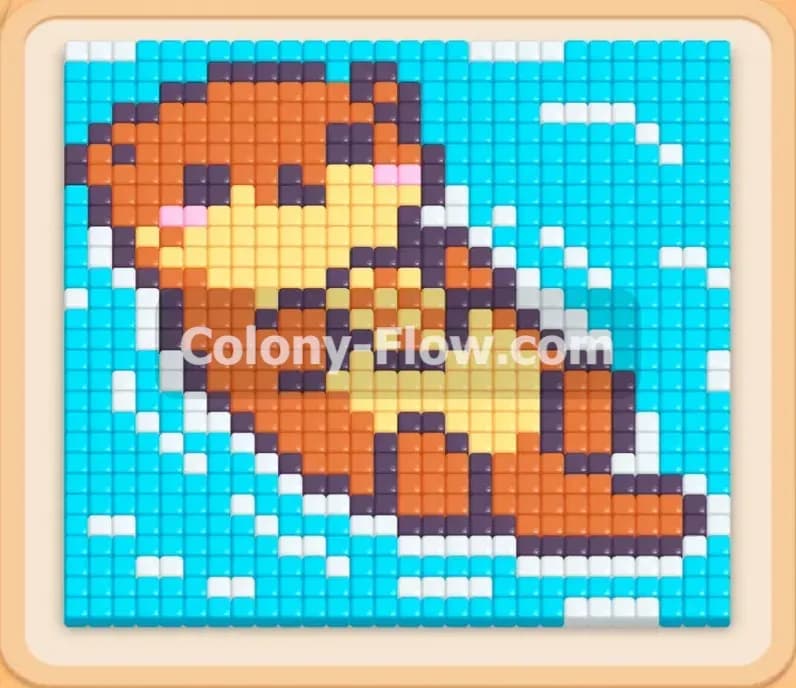
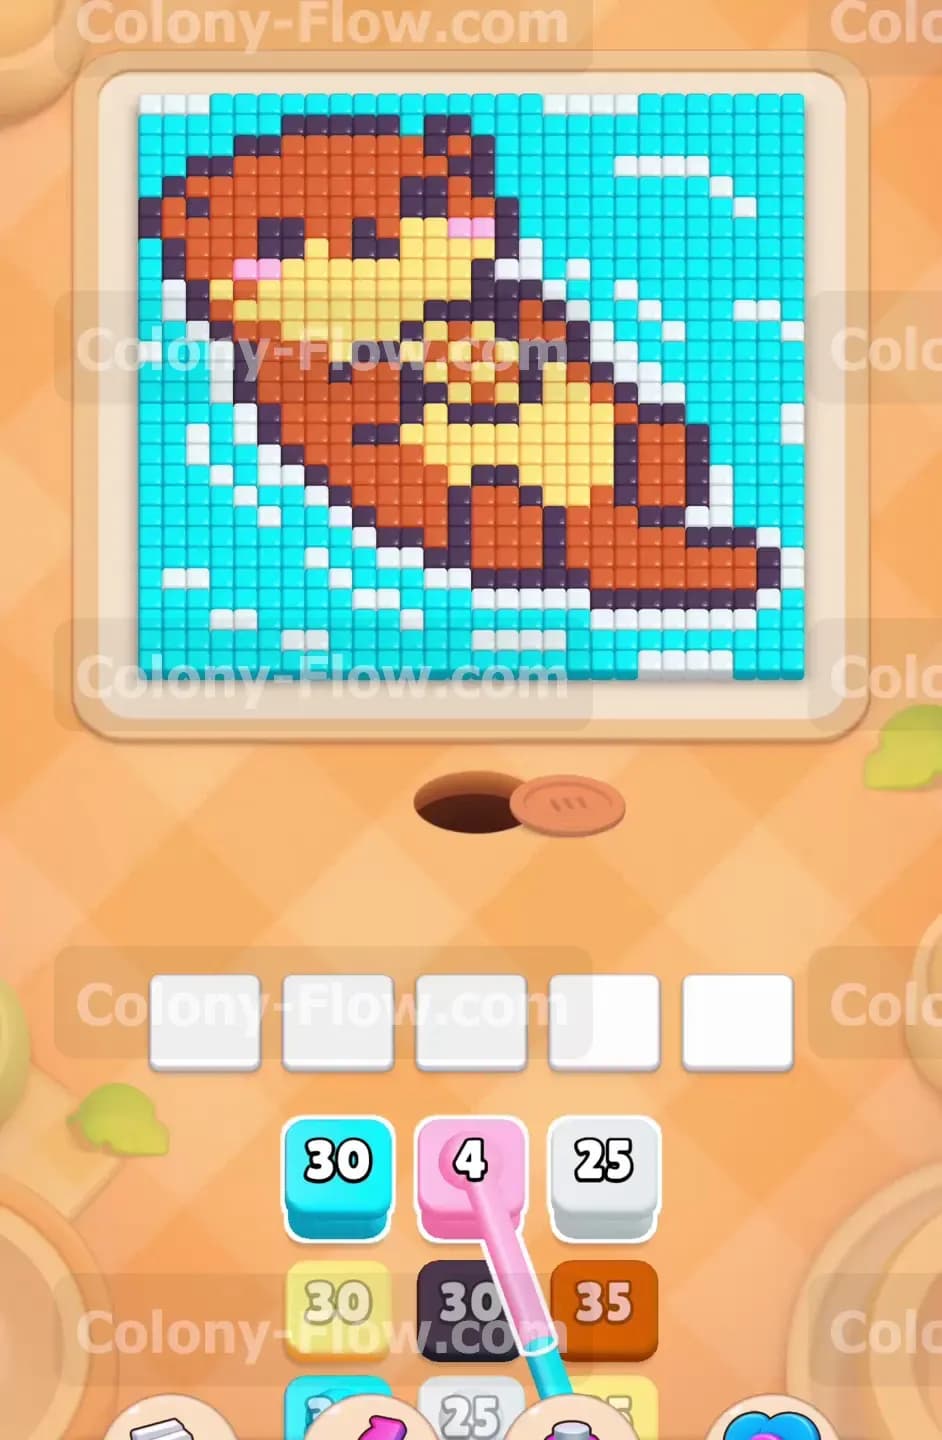
The pixel art shows a brown otter resting in light blue water. The otter has a large yellow belly and small pink cheeks. Dark grey tiles form the thick outline and the facial features. A layer of white tiles creates a border separating the otter from the surrounding water. The background consists entirely of light blue tiles. The bottom tray gives you numbered blocks matching all these colors. You have exactly five empty slots to hold your active blocks. The nest hole sits at the bottom center of the board. Your ants stream out of this hole and walk upward to find their food.
What It Takes to Clear Level 508 Board
You lose the game the moment all five waiting slots fill up and the ants have no valid target. The light blue water completely surrounds the otter. You cannot reach the inner colors until you break through the outer layers. You win by feeding the outer borders to your ants first. This strategy creates safe open paths into the center of the picture. You must clear the white border and the dark grey outline before you pull the blocks for the brown body or the yellow belly. Keep your tray clear and your ants moving constantly.
Colony Flow Level 508 Step by Step Solution
Step 1: Start with the outer white border to open the first paths
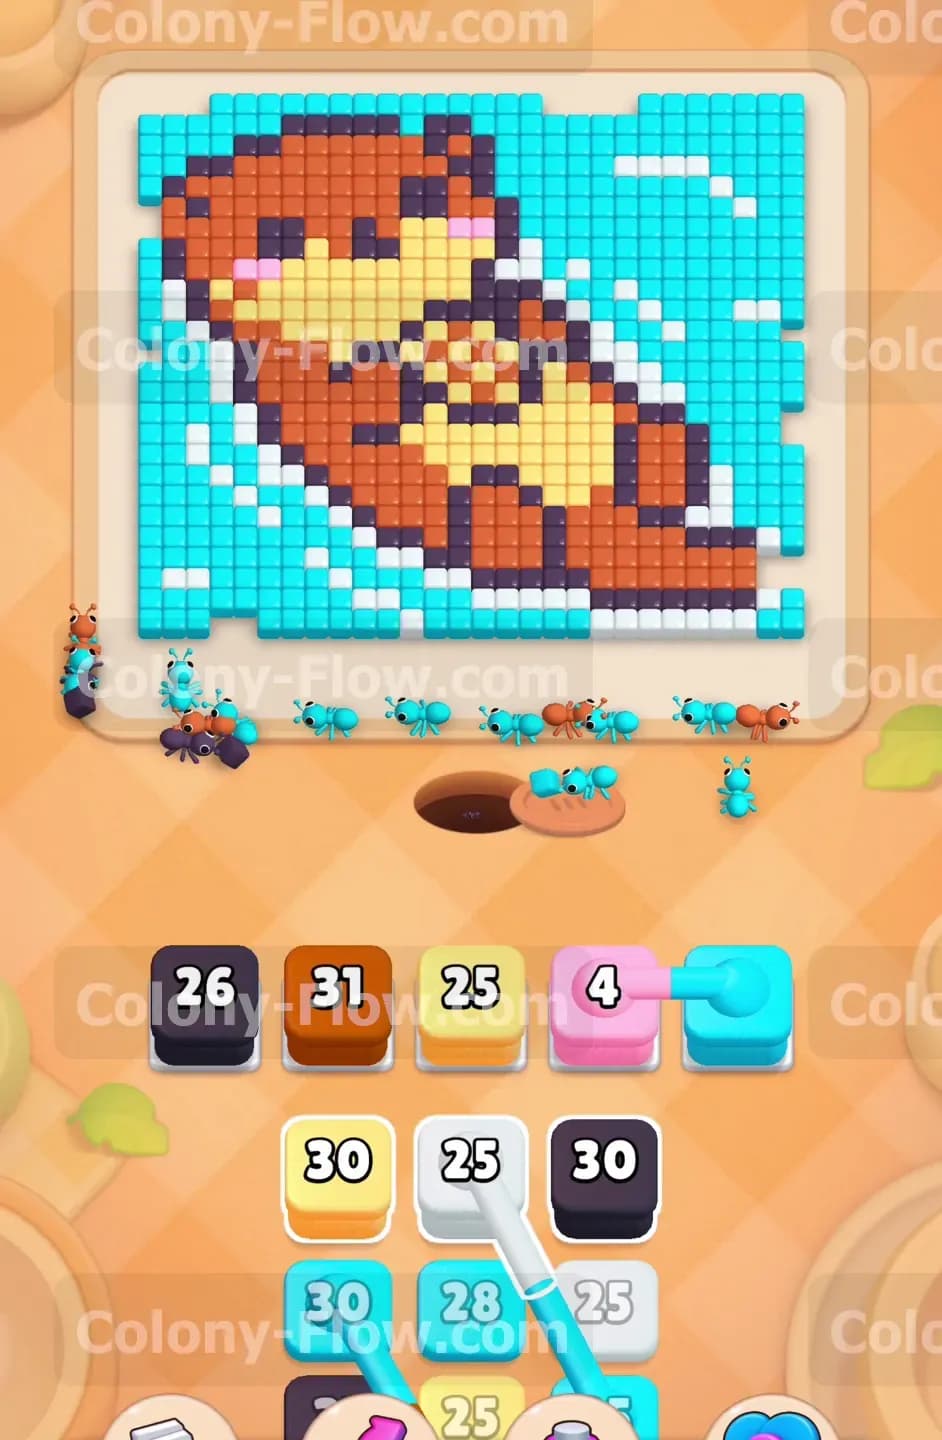
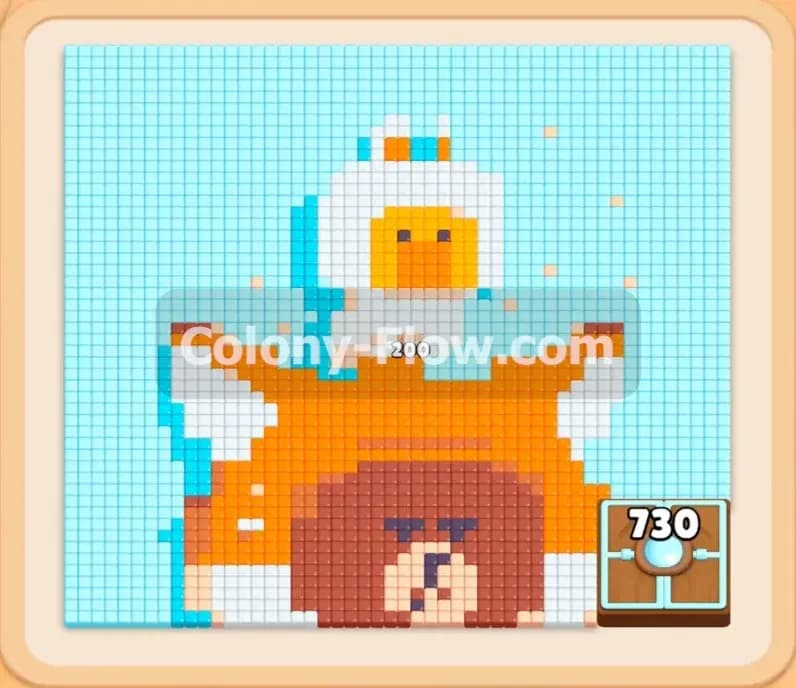
The white border wraps around the entire otter and blocks access to the inner colors. You pull the first white block from the tray into your first open slot. The white block holds twenty five points. A stream of ants leaves the nest hole and marches toward the bottom edge of the white outline. They carry the white tiles away one by one. The number on your white block drops steadily as the ants work. You keep the other four slots empty for now. You need the white layer gone before you can safely pull the next colors. Pulling a brown block now would be a huge mistake because the ants cannot reach the brown tiles yet. A trapped block fills a slot permanently and pushes you closer to a loss. The ants clear the bottom and left sides of the white border first. This initial clearing opens a direct path to the dark grey outline.
Step 2: Pull the dark grey block to break the main outline
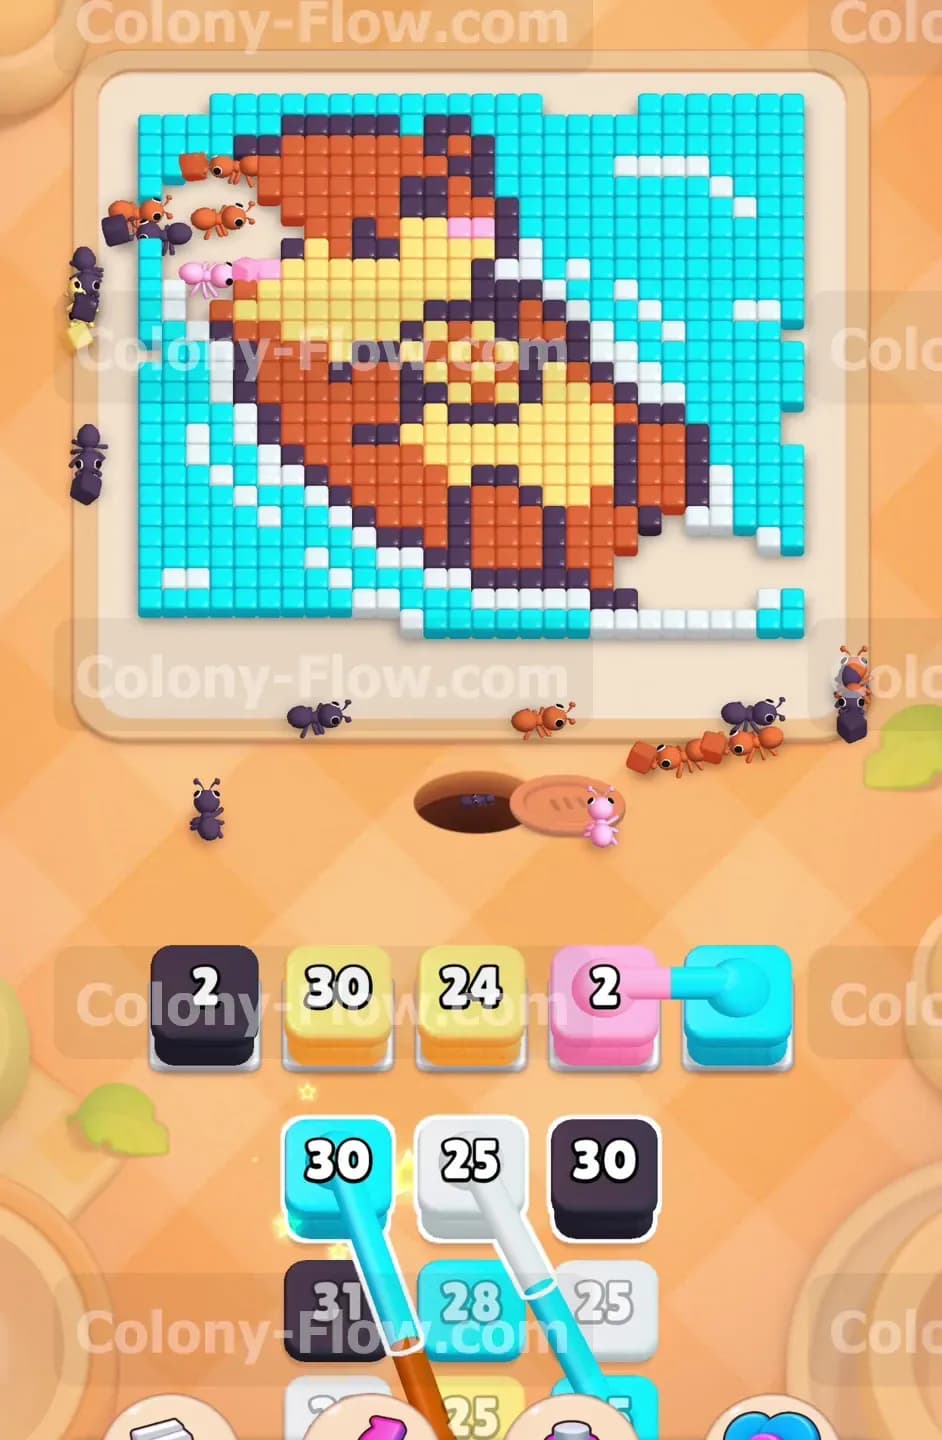
The dark grey tiles form the thick outline of the otter and separate the body from the water. You move the dark grey block into your second slot. This block holds thirty points. The ants immediately target the exposed dark grey tiles on the left side of the otter. You now have two active blocks in your tray. The white block continues to count down as ants finish the top right sections of the white border. The dark grey block counts down as the outline dissolves into nothing. You must watch your slots carefully as you play. You still have three empty slots. The paths remain wide open for the ants to travel. The ants eat through the dark grey outline and reveal the brown tiles of the otter body. You never pull a color if the ants cannot reach it. This patience keeps your board flowing perfectly.
Step 3: Clear the pink cheeks and start the yellow belly
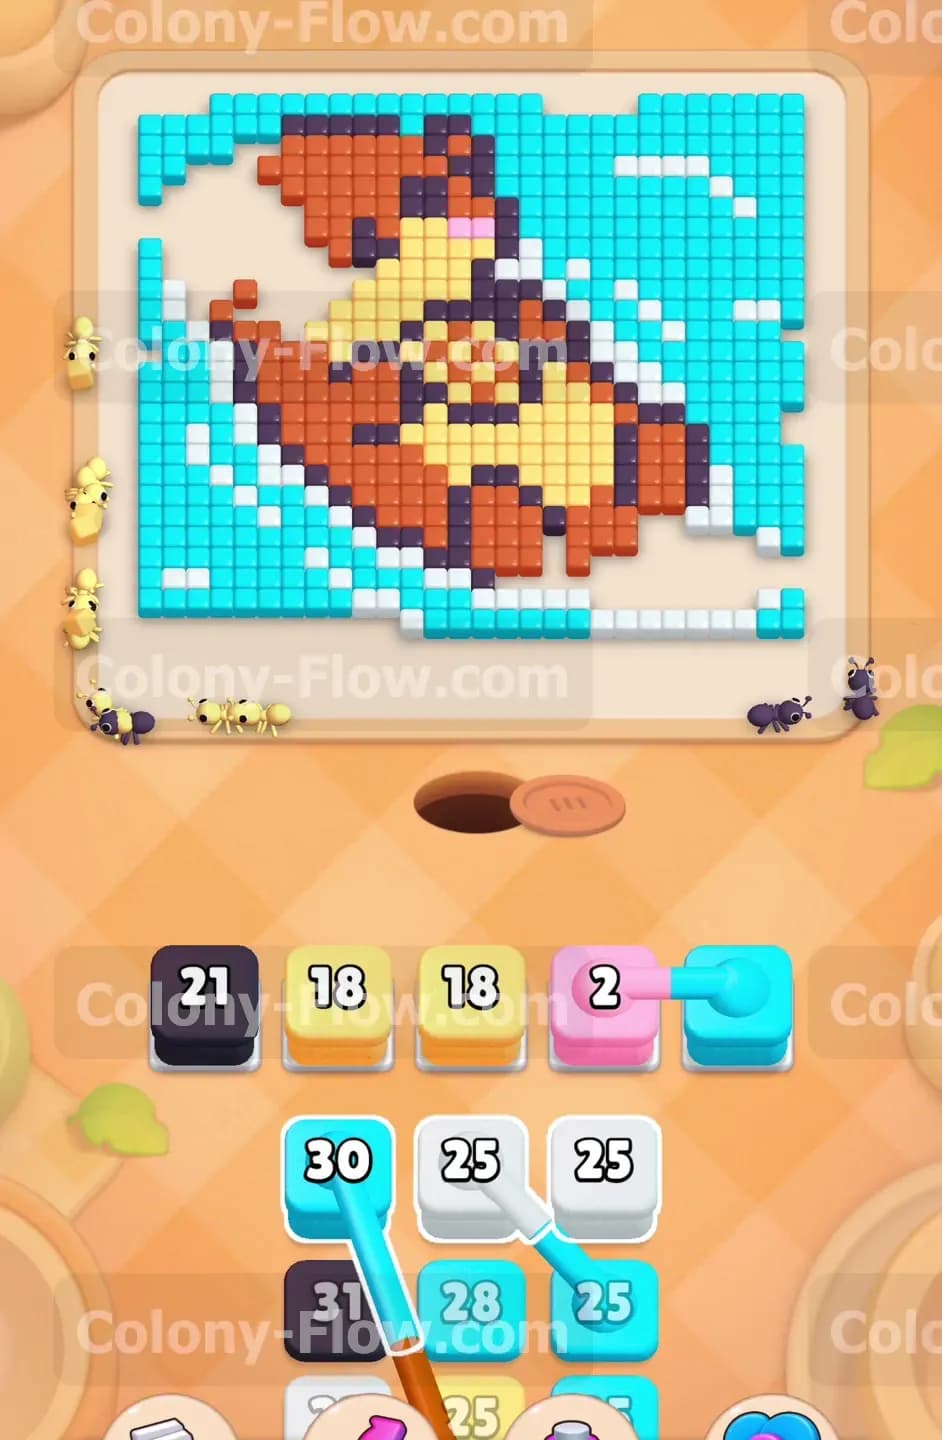
Two small pink tiles sit on the face of the otter to create cute pink cheeks. You pull the pink block into your third slot. The pink block only holds four points. A small group of ants rushes in to clear the pink cheeks instantly. The pink block vanishes from your tray and frees up a slot immediately. You replace it with the yellow block from your tray. The yellow block holds thirty points. The ants target the large yellow belly of the otter. They swarm the center of the board in a massive group. The dark grey block and the yellow block run simultaneously. Your ants have multiple open paths across the empty space. They do not block each other at all. You keep a steady flow of ants leaving the nest and heading toward the yellow and dark grey tiles.
Step 4: Bring in the brown blocks for the main body
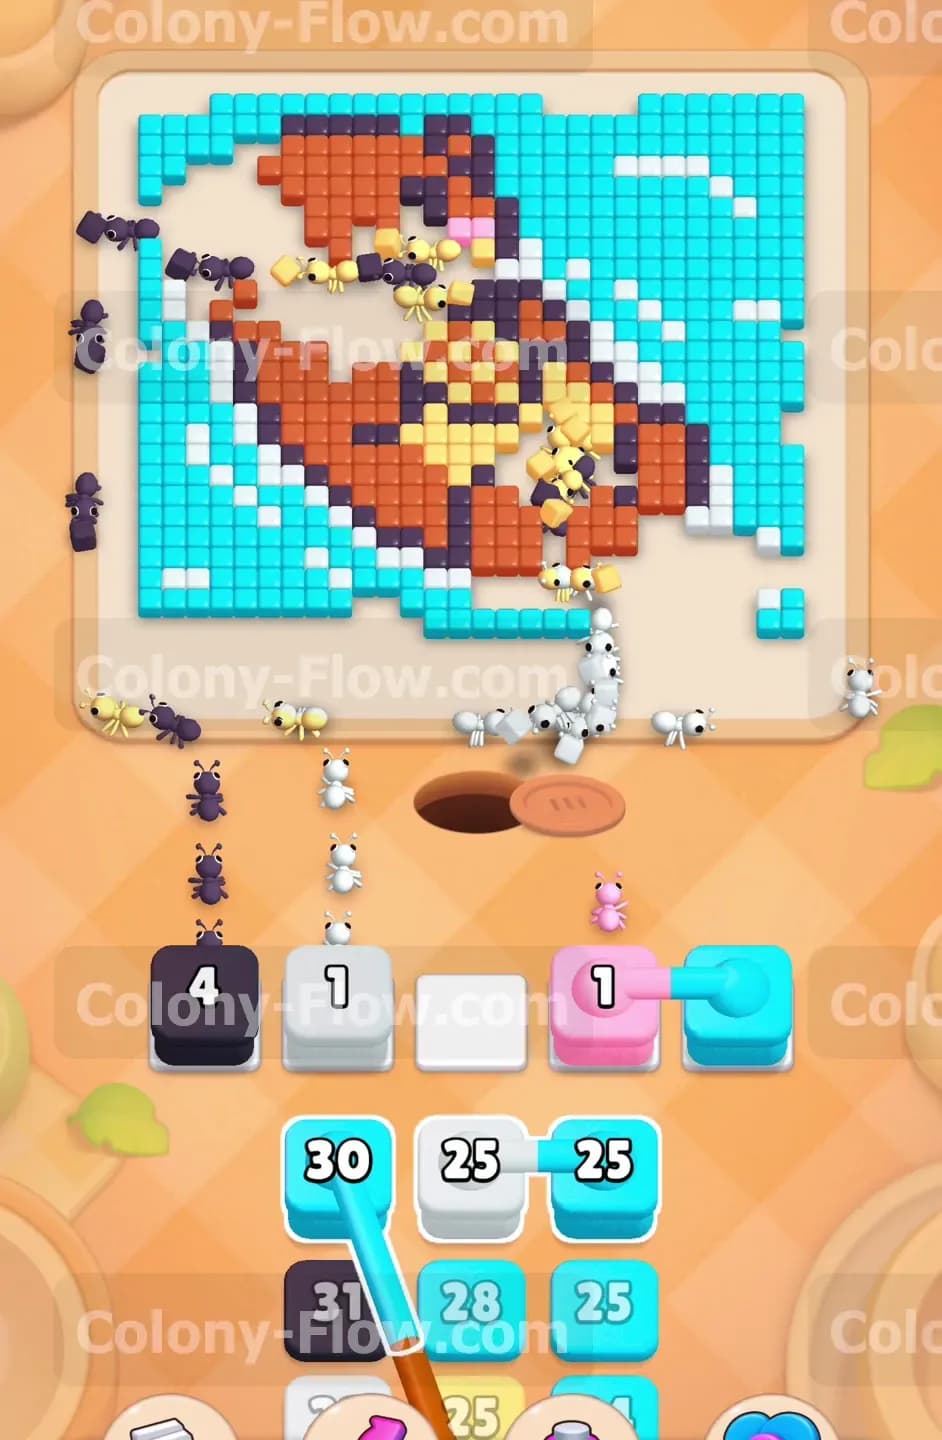
The dark grey outline is mostly gone and the brown body is fully exposed to the nest. You pull a brown block into your tray. The brown block holds thirty one points. Your slots now hold dark grey, yellow, and brown blocks. The ants march straight into the head and paws of the otter. The brown body takes up a large portion of the picture. The ants steadily eat away the top of the head and the bottom paws. The dark grey block finally reaches zero and disappears. This gives you another free slot. You never let your slots fill up completely. You always have room to pull a new block if needed. The yellow block also drops to zero as the ants finish the belly. Your patience with the outer layers pays off here because the ants have complete access to the center.
Step 5: Pull a second white block to finish the border
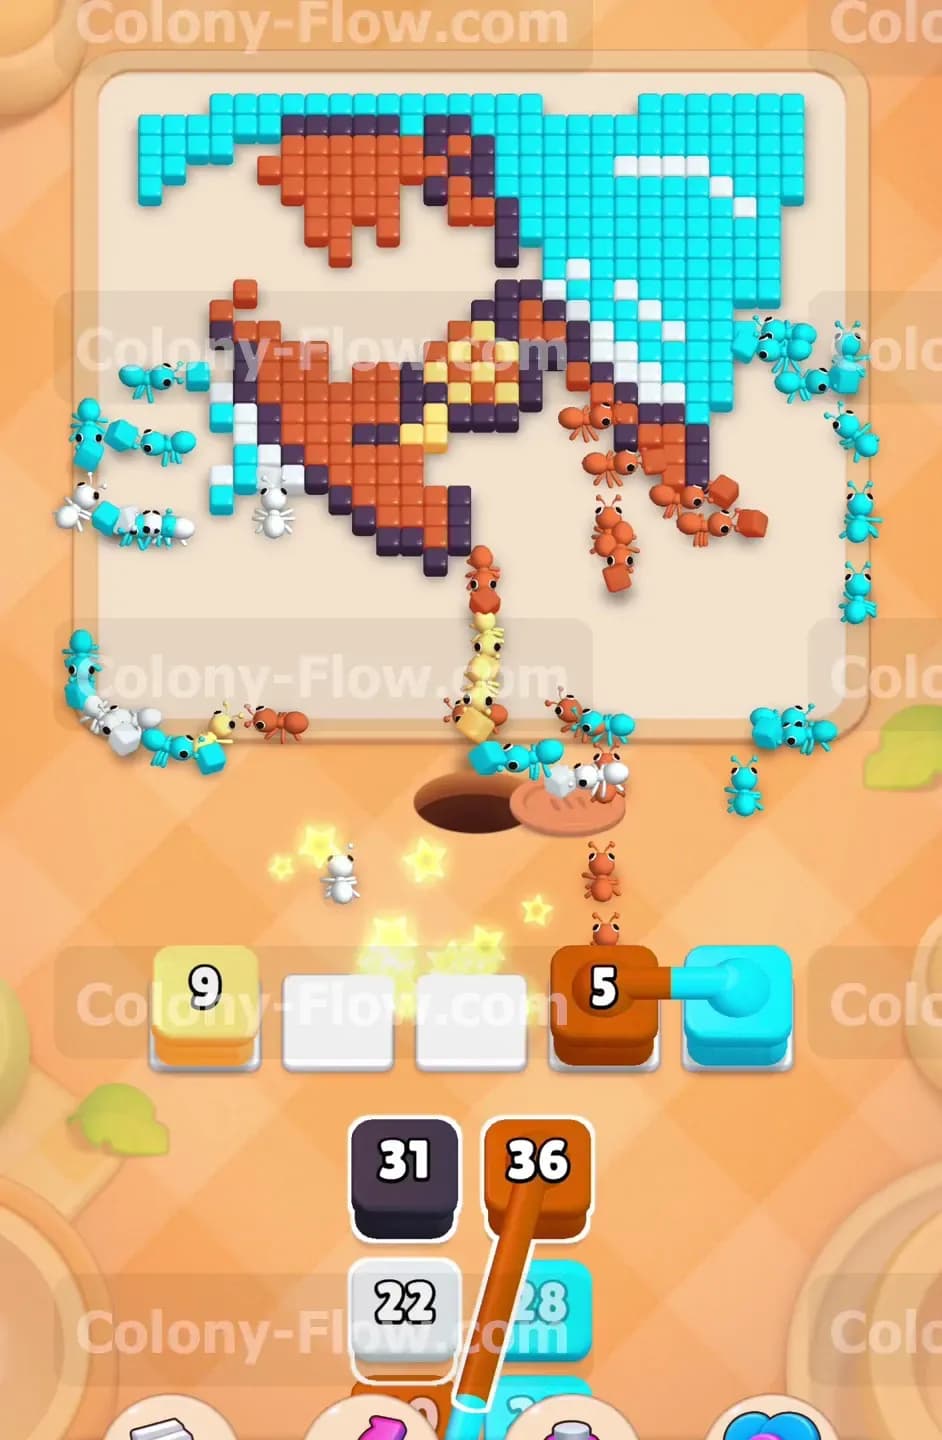
A few scattered white tiles remain near the top right edge of the water. You pull another white block into your tray. This block holds eighteen points. The ants navigate around the remaining brown body parts to reach the top right corner. You also pull a second yellow block with twenty five points to clean up the last pieces of the belly. Your tray now holds brown, white, and yellow blocks. The ants work on three different sections of the board at once. They clear the remaining white tiles and the final yellow tiles. Both of those blocks vanish from your tray. You only have the brown block left active. The board is getting very empty and the paths are completely clear. You have total control over the remaining pieces.
Step 6: Finish the brown body and the dark grey details
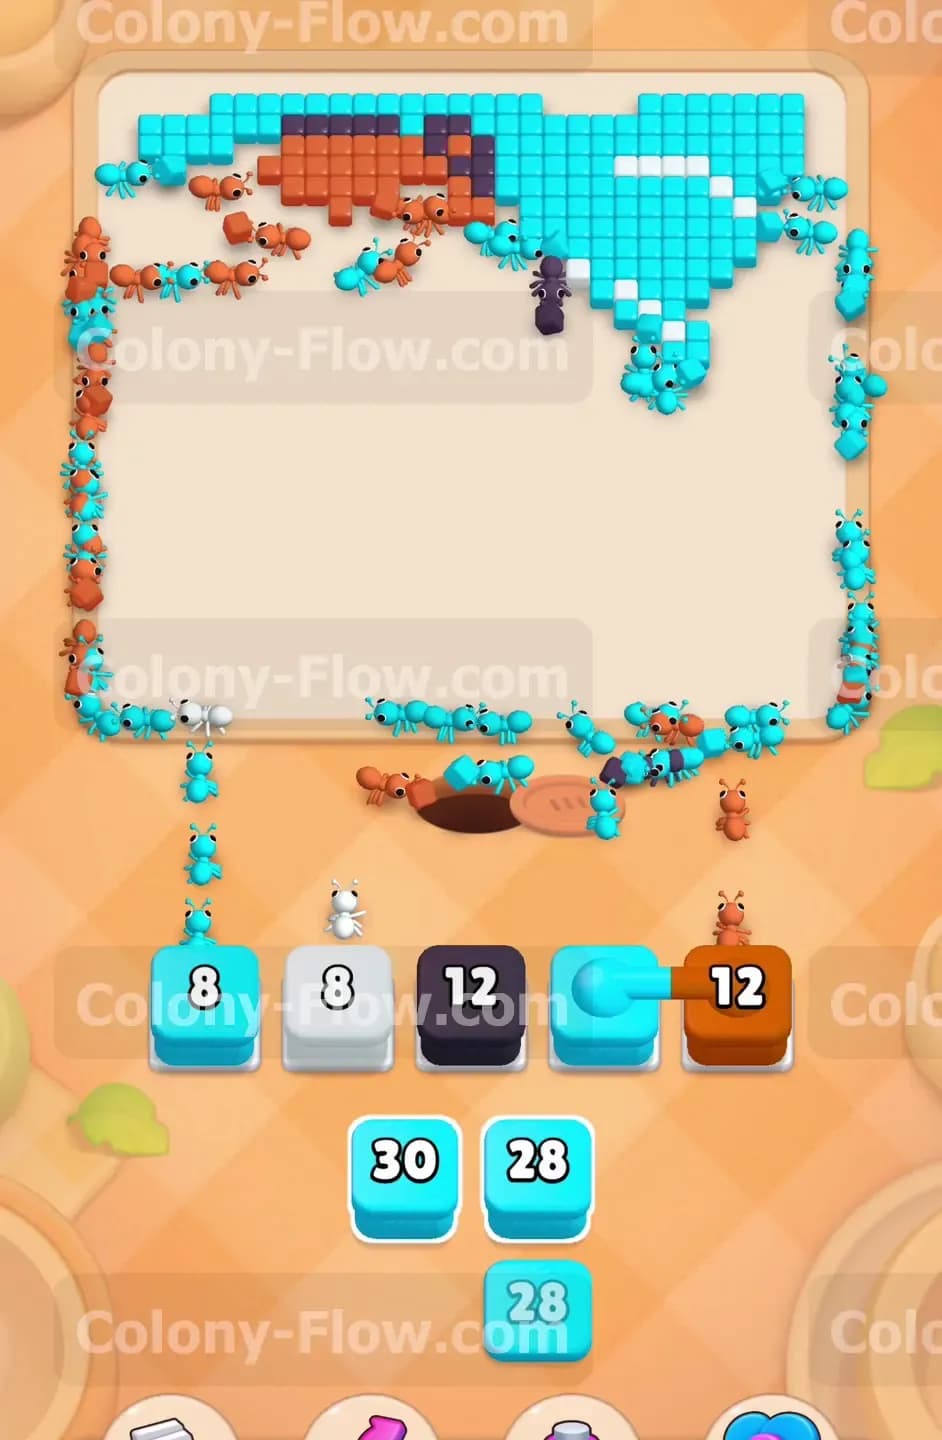
Only the top of the head and a few dark grey facial features remain in the center of the screen. You pull another brown block and a dark grey block. The new brown block holds twelve points. The new dark grey block also holds twelve points. The ants quickly devour the last of the brown head. They move on to the dark grey eyes and nose. The center of the board becomes completely bare. You now have a massive open space surrounded by the remaining light blue water tiles. You have successfully dismantled the entire otter without jamming your slots. Your ants have a massive open area to travel through. You are completely safe from losing the level because your tray is practically empty.
Step 7: Clear the massive light blue water background
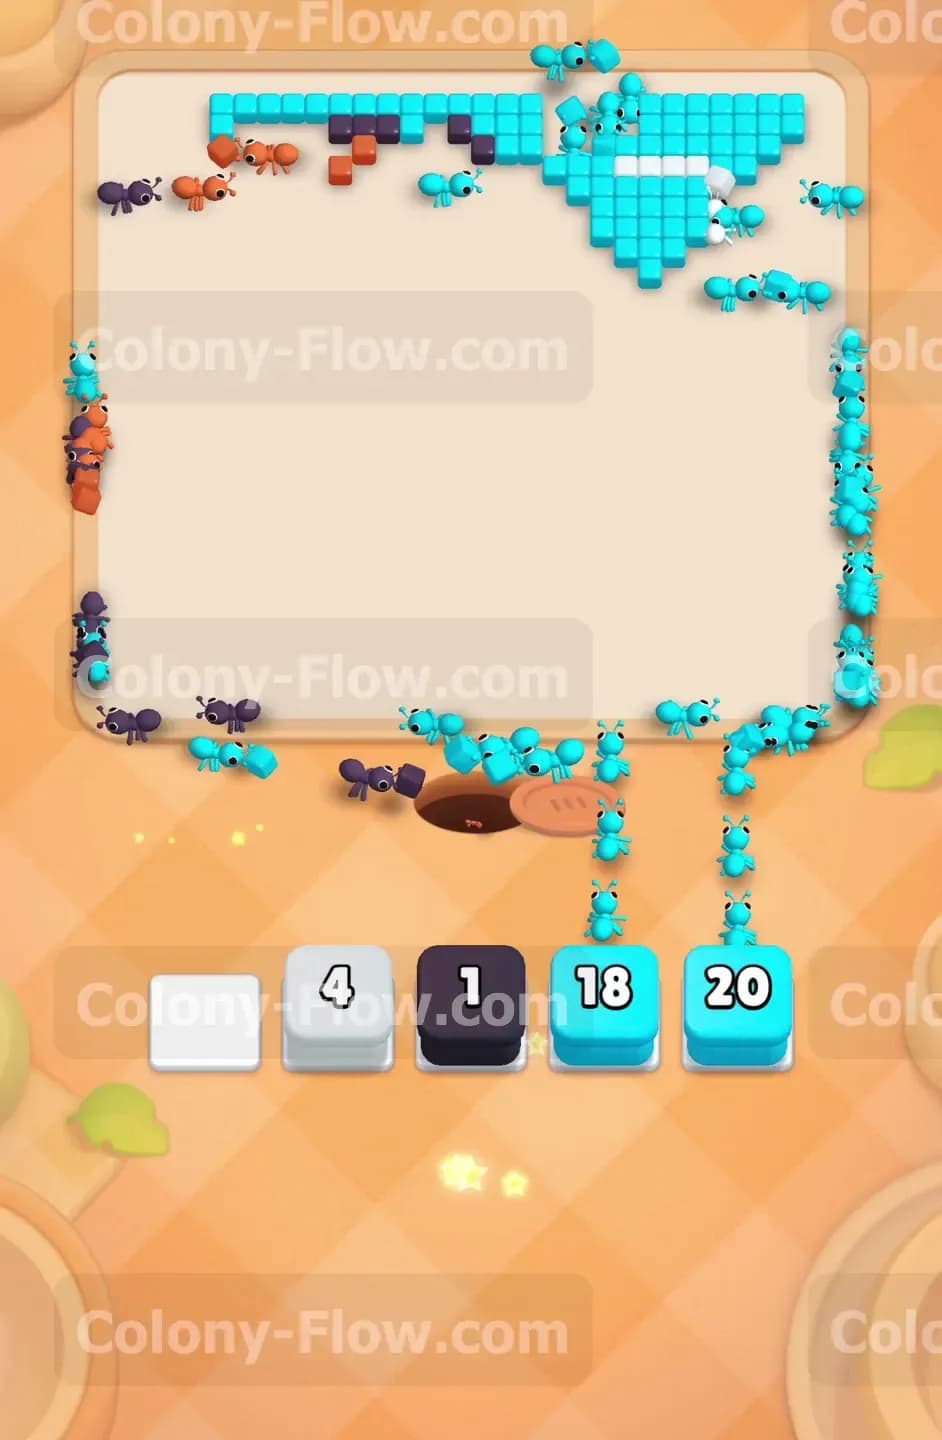
The only color left on the board is the light blue water. The water wraps around the top and right edges of the board. You pull the first light blue block into your tray. It holds thirty points. The ants flood the empty center of the board and spread out to eat the light blue tiles. The bottom edge and left edge of the water vanish quickly. You pull a second light blue block with twenty eight points. The ants continue their sweep across the top edge. You pull a final light blue block with twenty points. The ants devour the remaining water in the top right corner. The last block drops to zero. The board is completely clean and you win the level.
Final Thought
Level 508 looks complex because of the large background and the solid borders. You win easily when you strip the outer layers away first. Keep your slots open and always ensure your ants have a clear path to their target. Watch the video above this article if any step is hard to follow in text.