Colony Flow Level 396 Walkthrough Solution & Guides | How to solve Colony Flow 396

Guide By Liam Stone
Updated on July 19, 2026
You'll find the complete Level 396 walkthrough in the video above if reading isn't what you're after.
Video doesn't match your screen?
Game updates frequently scramble layouts! Try our AI Screenshot Solver first to find your exact board instantly, or report broken guides to our team.
Welcome to Colony Flow Level 396. This stage brings a vibrant puzzle and a heavy set of obstacles that demand careful planning to avoid a jammed tray. You need to balance clearing the outer borders of the board while chipping away at massive structural barriers in the center. I played through this exact layout and mapped out a reliable path to victory.
Colony Flow Level 396 Overview
What You Are Working With
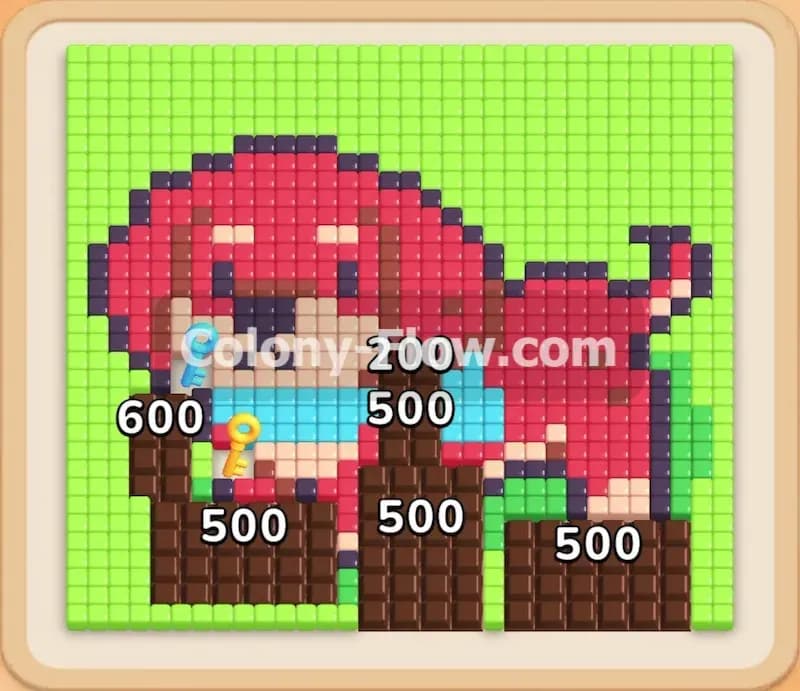
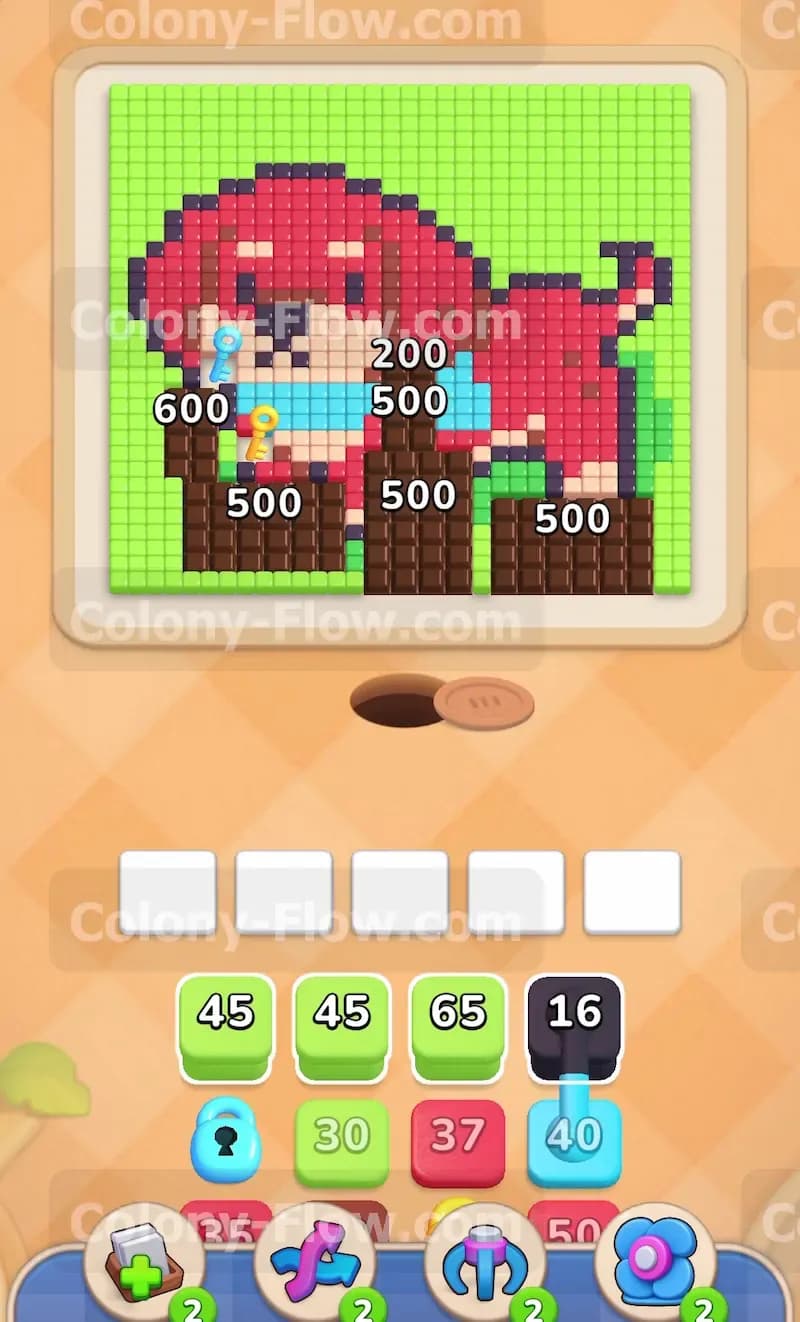
The pixel art for this puzzle features a cute red puppy standing in a bright green field. The puppy is holding a large blue bone shaped toy in its mouth. The most intimidating part of this board is the bottom section. Three massive chocolate blocks cover the lower half of the puppy and the grass. These chocolate blocks start with an enormous count of 500 each. The chocolate creates a solid barrier that completely blocks all the food tiles underneath until you clear it away.
You will also find a Lock and Key mechanic in play here. A blue key rests on the top left side of the large red dog head which starts with a count of 600. A yellow key sits on the blue toy directly below it. Down in your tray you have a wide variety of colored numbered blocks including green red blue black and beige. Some of these tray blocks carry blue or yellow locks that prevent you from using them until you collect the matching keys from the board. You will also encounter Connected Boxes in the tray. These are two blocks linked together by a thick line and pulling one brings both into your waiting slots at the same time.
What It Takes to Clear Level 396 Board
To win you must clear every single pixel from the puppy and the grassy field. You start by opening paths along the outer edges to get your colony moving freely. You have to chip away at those heavy chocolate blocks right from the beginning so you do not get stuck behind them later.
Your main focus is managing the five waiting slots at the bottom of the screen. If you pull too many blocks and fill all five slots without an open path for the ants to eat those specific colors you lose the level instantly. You have to prioritize collecting the blue and yellow keys from the board to free up the restricted blocks in your tray. Managing the Connected Boxes requires extra caution because they take up two waiting slots simultaneously. You must always ensure you have an active path on the board before you pull these heavy combinations.
Colony Flow Level 396 Step by Step Solution
Step 1: Clear the outer green grass border to open movement paths
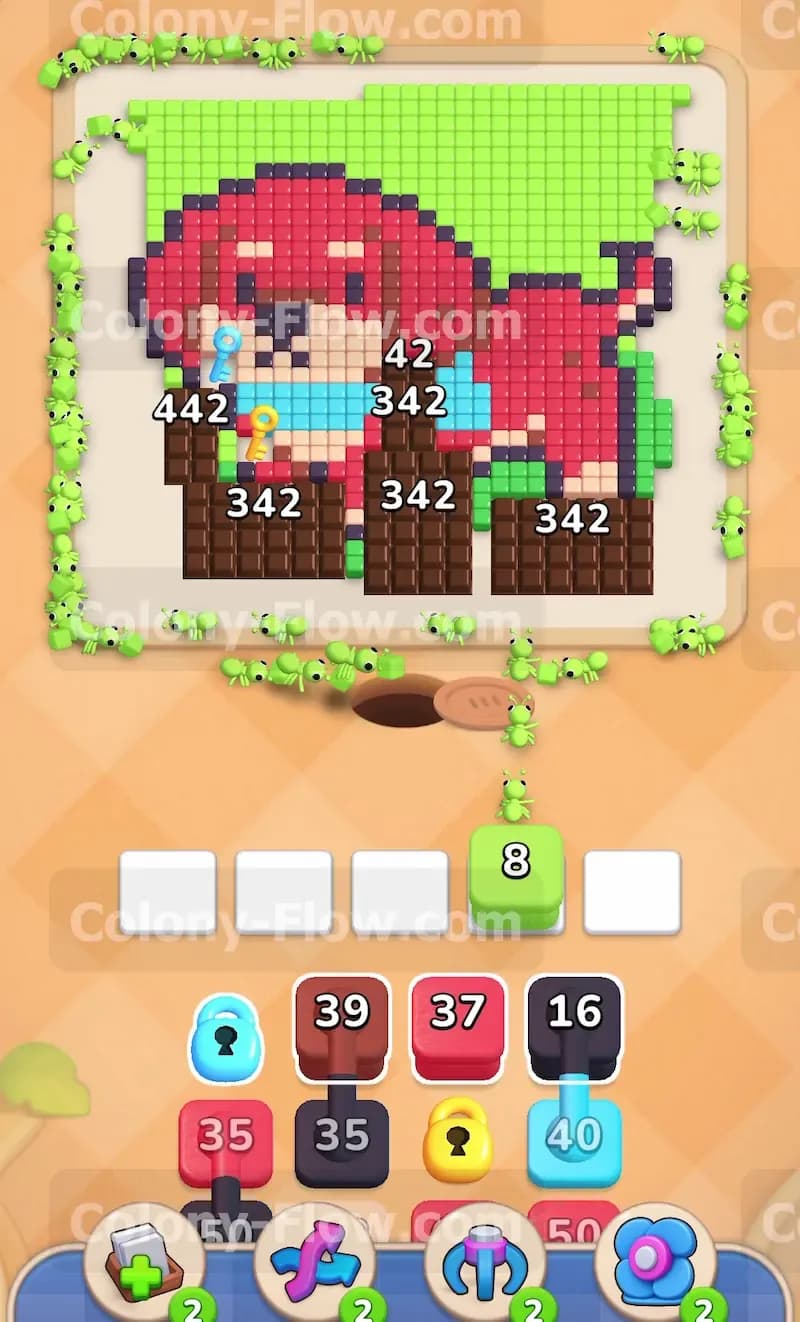
Start by focusing on the green grass border that surrounds the puppy. You have a large amount of green tiles available and several green blocks in your tray carrying high numbers like 45 and 65. Pull your first green block into the waiting slot to get the colony moving. The green ants stream out of the nest hole and take the open paths along the outer edges of the picture. They begin eating away the top left corner and the bottom right edge of the grass. The numbers on your green blocks count down quickly as the ants consume the open tiles. This opening move is very safe because the wide open perimeter ensures your ants never hit a dead end. By clearing this outer grass early you prevent your five waiting slots from jamming and create more room for the ants to navigate inward.
Step 2: Begin chipping away at the three heavy chocolate blocks
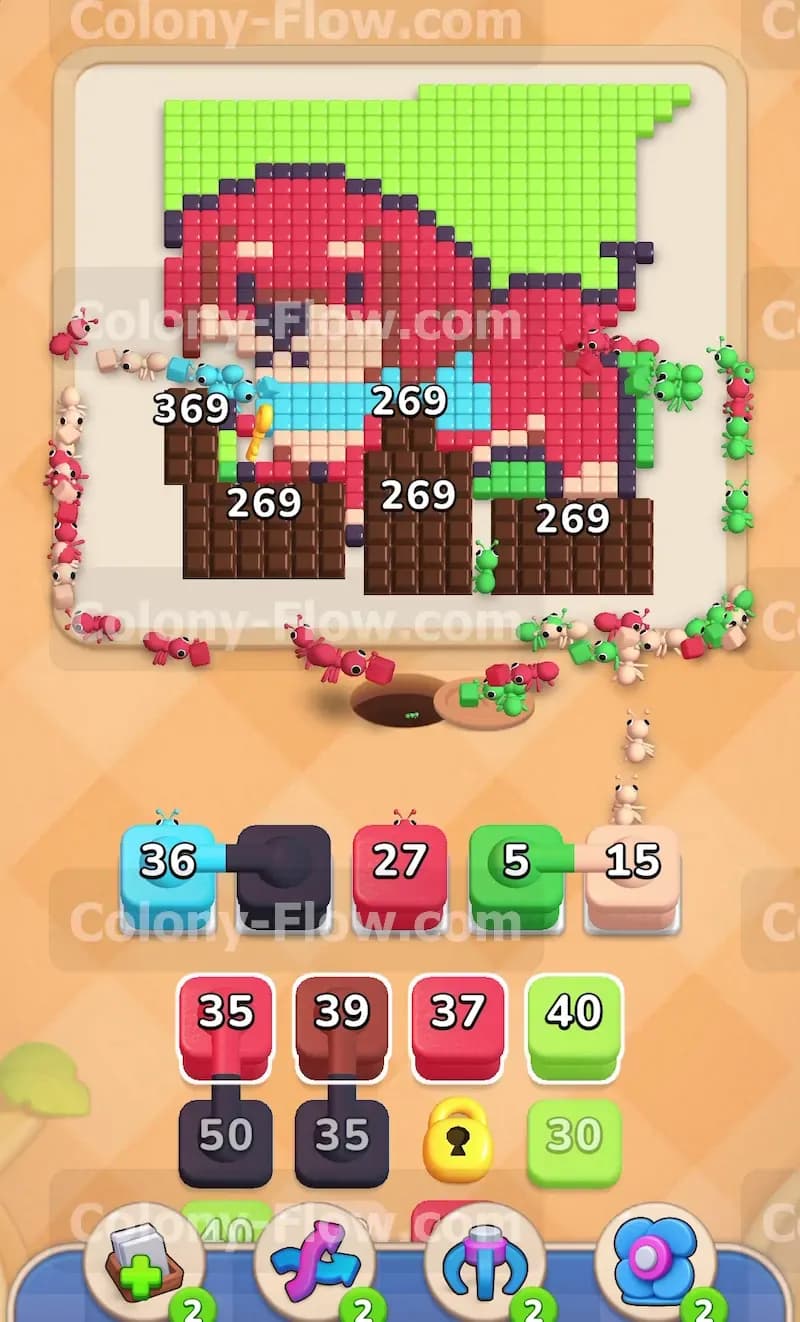
Once the outer perimeter starts moving you must tackle the massive chocolate barriers. You cannot wait until the end to clear these because their massive 500 count takes a lot of time and tray blocks to break down. Pull the dark brown and black blocks from your tray to send ants toward the chocolate. The ants march up the middle and begin eating away at the bottom edge of the three chunks. You will see the heavy 500 counts slowly drop down into the 300 range. Keep pulling these dark blocks whenever you have an open slot. You must maintain steady pressure on the chocolate to slowly reveal the bottom half of the puppy hidden underneath.
Step 3: Collect the blue key from the large red dog head
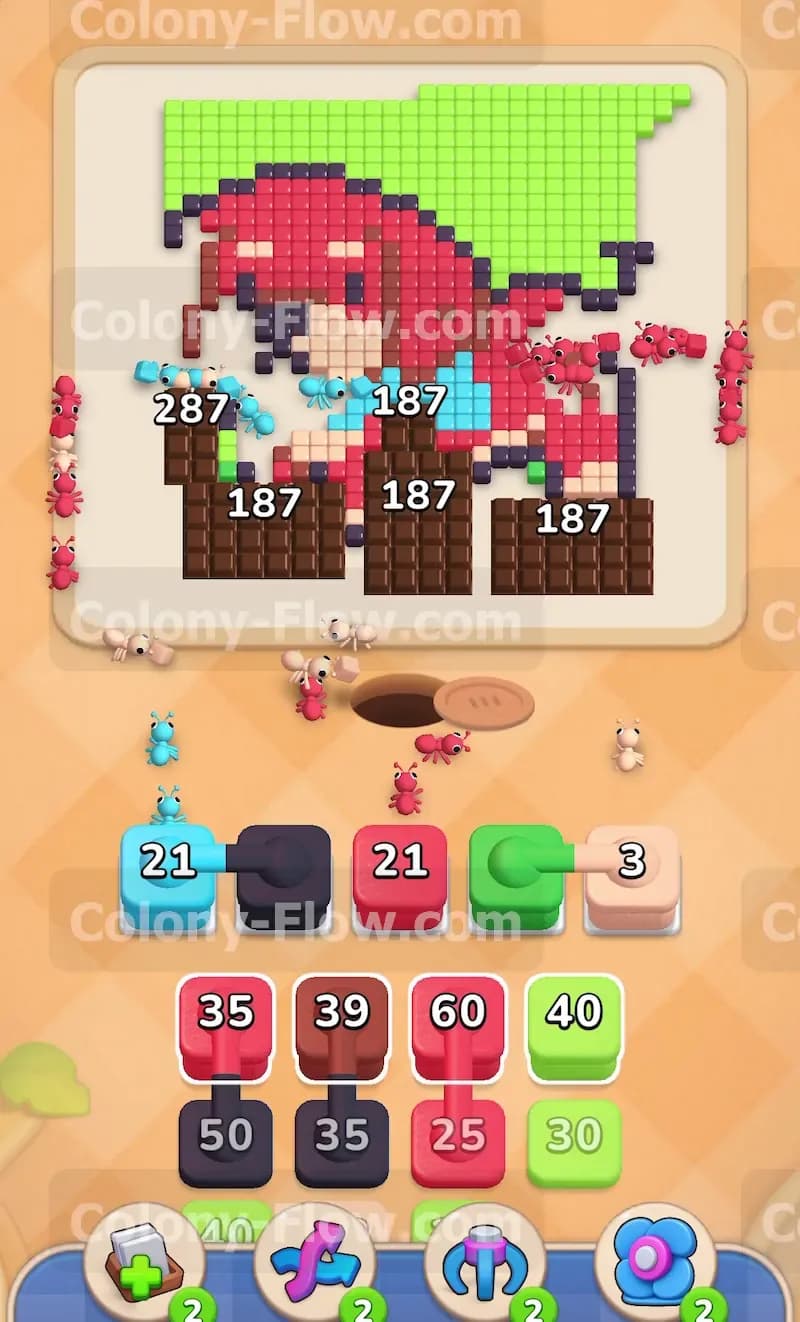
While the chocolate melts away you need to unlock the restricted blocks in your tray. Look at the top left section of the red puppy head. The blue key rests on a massive red section starting at 600. Pull the red blocks from your tray containing 39 and 37 ants into the open waiting slots. The red ants crawl up the left side of the board and attack the dog head. The tile count drops from 600 down to 442. As the ants consume this section they grab the blue key and carry it away. This action immediately breaks the blue lock on the corresponding block in your tray and expands your options.
Step 4: Deploy the first set of connected boxes from the tray
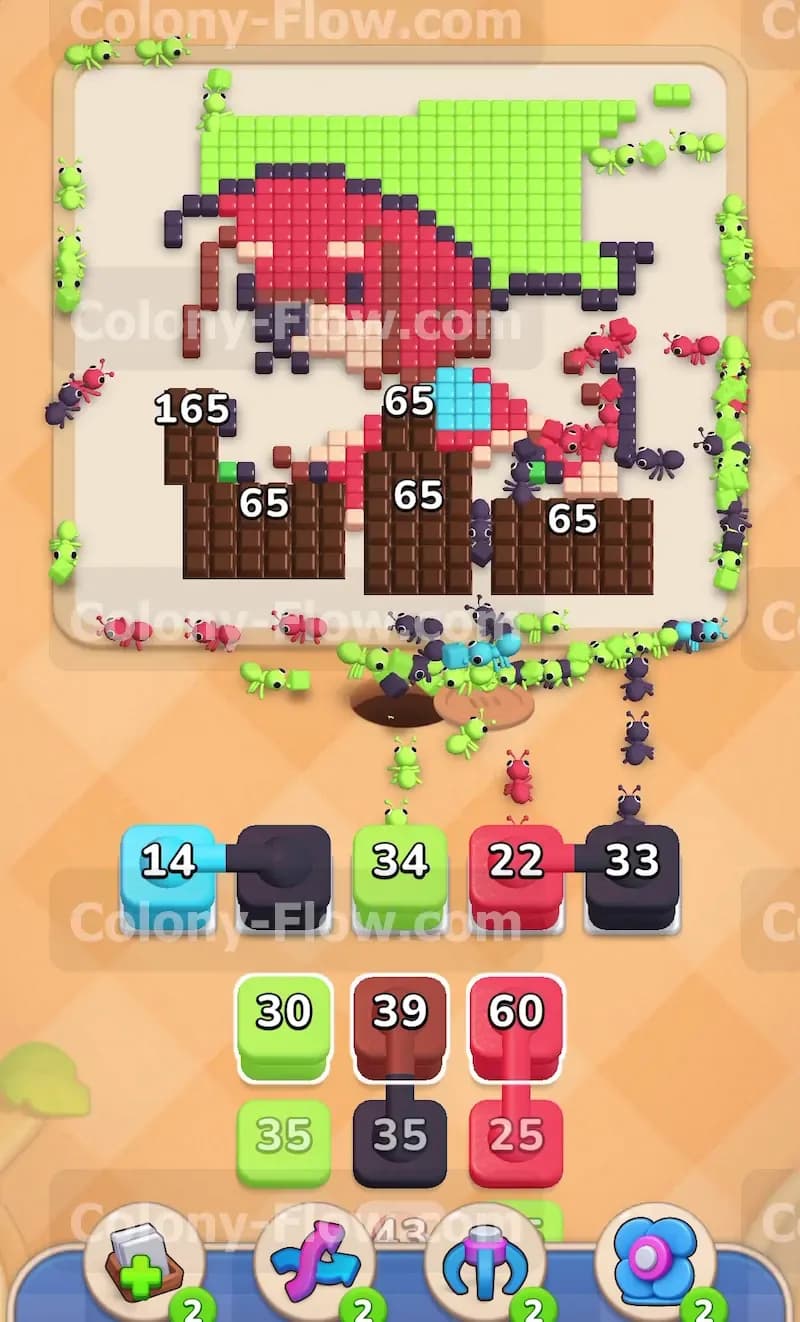
With the blue tray block unlocked you can now pull the first set of Connected Boxes. This pair links a blue block of 36 with a red block of 27. Pulling this combination fills two of your five waiting slots instantly. You must ensure you have paths open for both colors before making this move. The blue ants travel to the blue bone toy in the puppy mouth while the red ants continue eating the dog head. Both colors find their targets and the numbers drain smoothly. This keeps your waiting slots moving and prevents a critical jam.
Step 5: Secure the yellow key from the blue bone toy
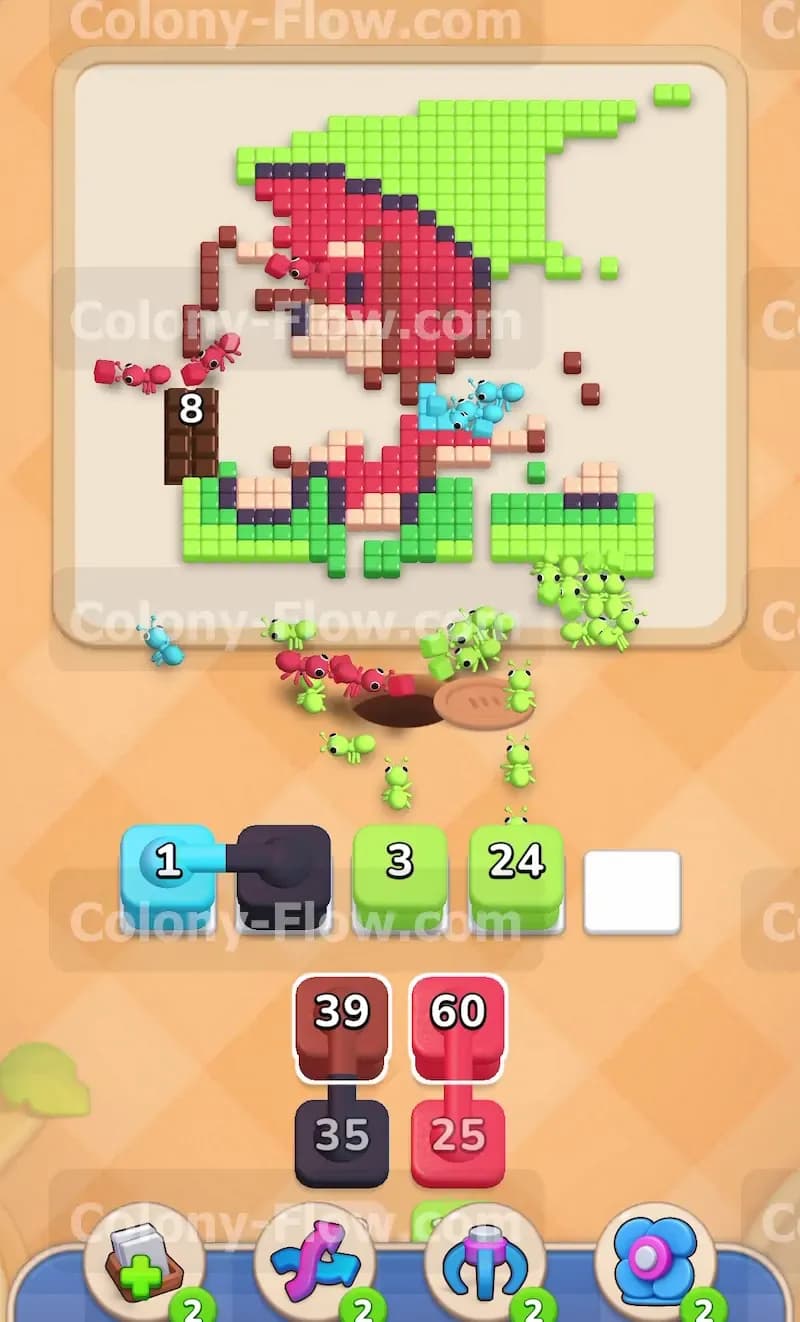
The blue bone toy holds the yellow key on a tile section starting at 200. You need this key to free the yellow locked block in your tray. Continue pulling blue blocks into your available slots. The blue ants swarm the center of the board and consume the toy tiles. The count drops rapidly and the ants secure the yellow key. Getting this key is vital because it unlocks the next sequence of blocks you need to clear the right side of the board. At the same time keep feeding black blocks to the chocolate which should now be dropping into the low 200 range.
Step 6: Deploy the second pair of connected boxes carefully
Your tray will present another set of Connected Boxes linking a blue block and a black block. The black block carries a count of 21. Pull this pair into your slots. The black ants rush toward the remaining chocolate barriers while the blue ants finish off the remaining pieces of the toy. You only have a few slots left so you must watch the paths closely. As long as the black ants have a direct line to the chocolate the numbers will clear out and empty your slots. Never pull another block until you see these connected numbers dropping.
Step 7: Manage a heavy sequence of individual blocks
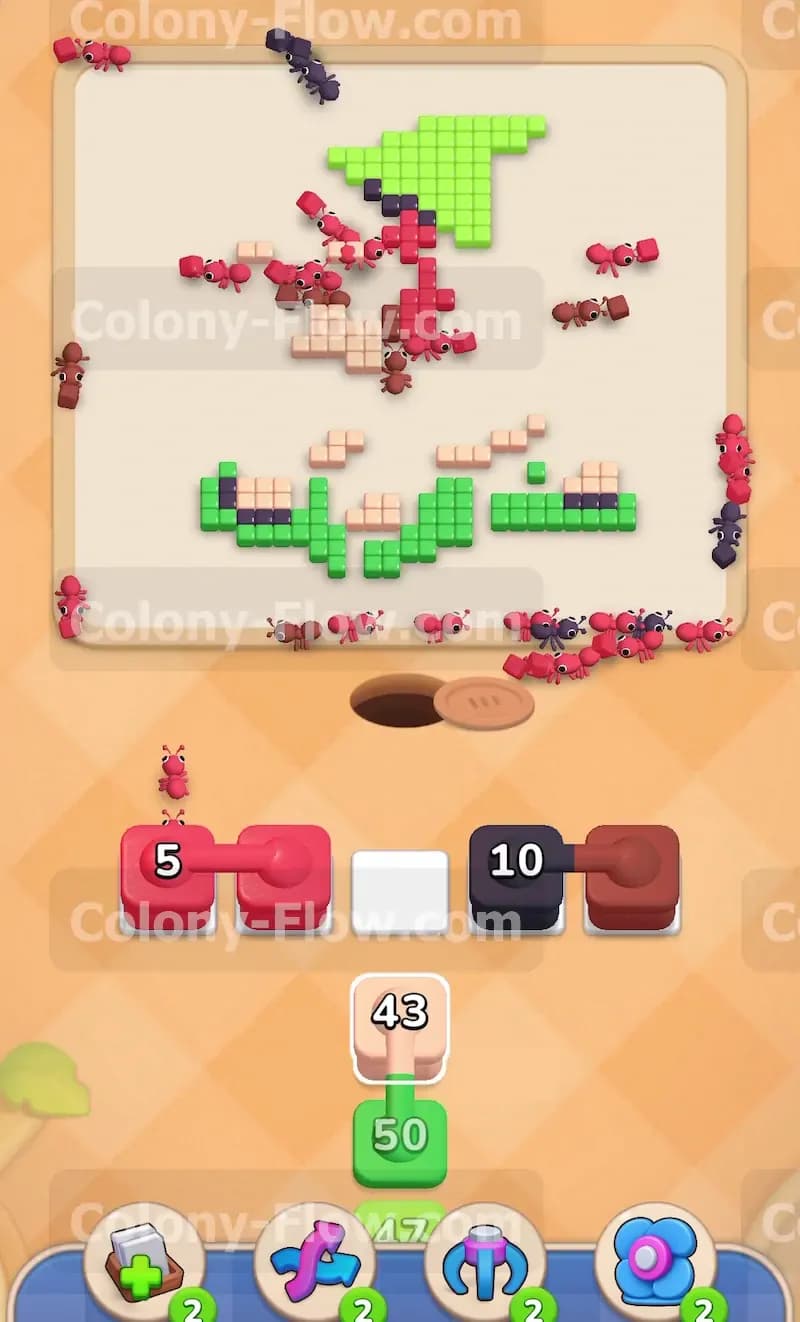
The tray will fill with individual blocks that you need to use quickly. You will see a blue block of 14 a black block of 34 a red block of 22 and another black block of 33. Pull these into your wait slots one after the other. This fills four out of your five slots leaving only one open space for emergencies. You can make this aggressive move because the board is now wide open. The black ants attack the final chunks of chocolate driving the count down to 65. The red ants swarm the remaining dog head and the blue ants eat the final fragments of the toy. Because you opened the paths early all four colors flow simultaneously without jamming the tray.
Step 8: Eliminate the final pieces of the chocolate barrier
The chocolate is almost entirely gone. Pull your next black block to send a small wave of ants to finish the job. The chocolate count drops from 65 to zero and the heavy brown blocks vanish entirely. This reveals the final food tiles making up the bottom half of the red puppy and the green grass underneath. Clearing the chocolate completely changes the board dynamics and gives your ants unrestricted access to the entire bottom area. You no longer have to worry about blocked paths.
Step 9: Consume the remaining red pixels forming the puppy
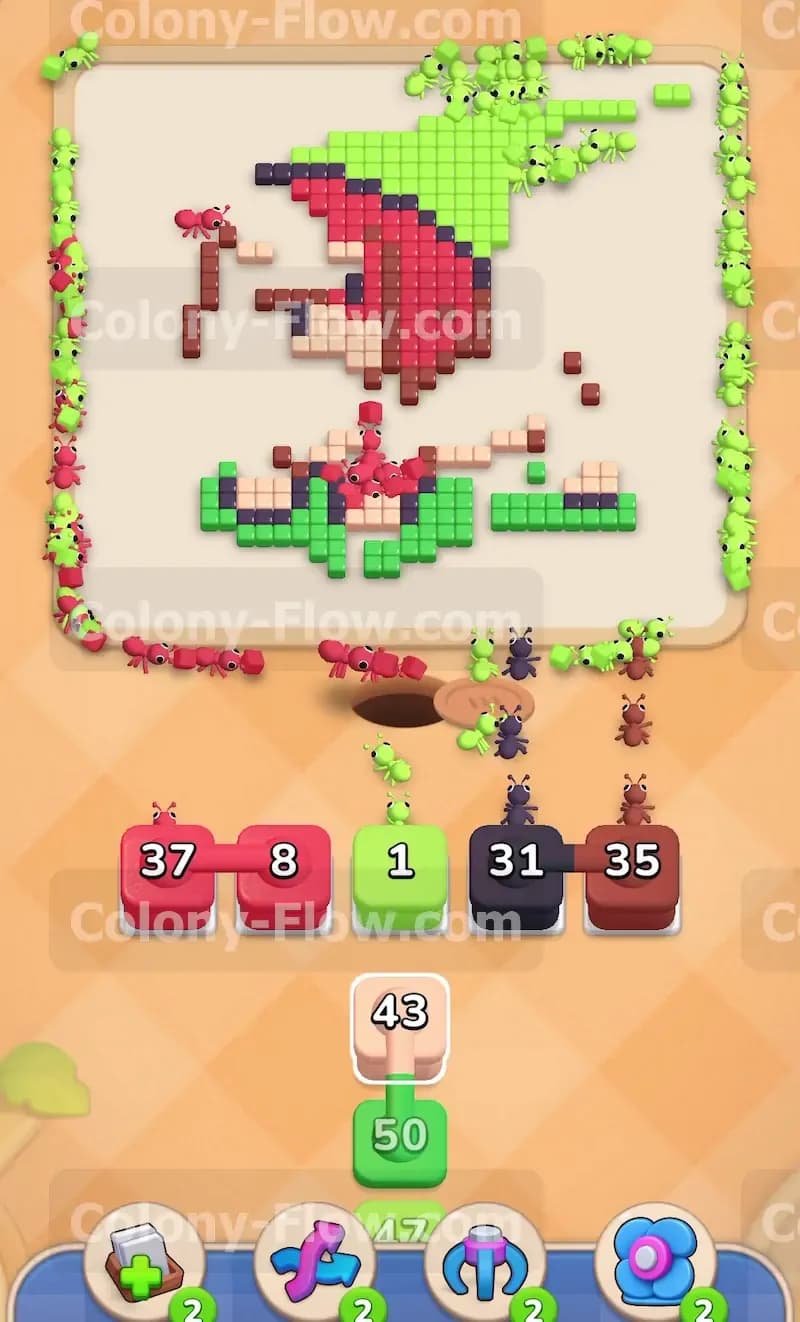
The dog head is mostly eaten but the outline and a few inner red pixels remain. Your tray provides several smaller red blocks carrying numbers like 37 and 8. Pull these red blocks into your slots. The red ants flood the center and top right areas of the board. They break down the remaining shape of the puppy. The red numbers in your tray drop to single digits. Let the ants finish their routes and watch the dog shape disappear entirely.
Step 10: Sweep up the final grass patches to finish the board
Only a few scattered patches of green grass and beige outlines remain on the board. You have a few small green and beige blocks left in your tray. Pull the green block of 1 and the beige block of 35. The ants scatter to the far corners and consume the last straggling pixels. Keep your final slot clear just in case an ant takes a longer path to the corner. The remaining tiles vanish and the board clears completely resulting in a satisfying win.
Final Thought
Level 396 tests your ability to juggle the heavy chocolate barriers while managing complex connected tray blocks. Opening the grass perimeter first gives you the space you need to avoid filling your five wait slots. If you find yourself struggling to track the exact sequence of the keys and connected boxes I encourage you to watch the video above this article. Seeing the ants clear the chocolate in motion makes the timing much easier to understand.