Colony Flow Level 1084 Walkthrough Solution & Guides | How to solve Colony Flow 1084

Guide By Liam Stone
Updated on August 12, 2026
You can watch the Level 1084 solution unfold in the video above instead of scrolling through the article.
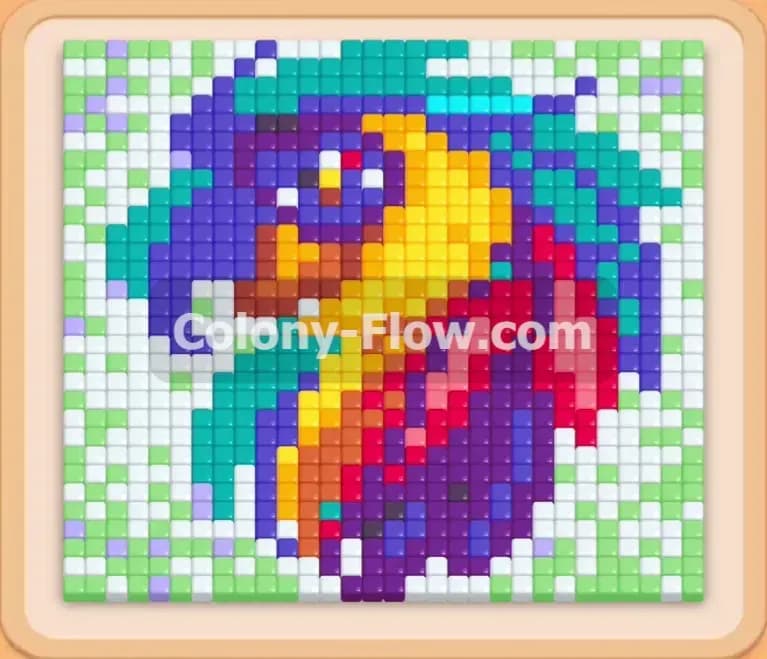
Video doesn't match your screen?
Game updates frequently scramble layouts! Try our AI Screenshot Solver first to find your exact board instantly, or report broken guides to our team.
Welcome to Colony Flow Level 1084 where we tackle a massive colourful bird picture. This puzzle throws a lot of connected blocks at you right from the start. I played through this exact level multiple times to figure out the perfect sequence so you do not get stuck filling your tray. Managing your five waiting slots is incredibly tricky when one tap pulls multiple blocks at once. The board looks intimidating with all those large numbers staring back at you. Read my complete guide below to learn the safest order of moves to dismantle this tricky pixel art without ever dead ending your board.
Colony Flow Level 1084 Overview
What You Are Working With
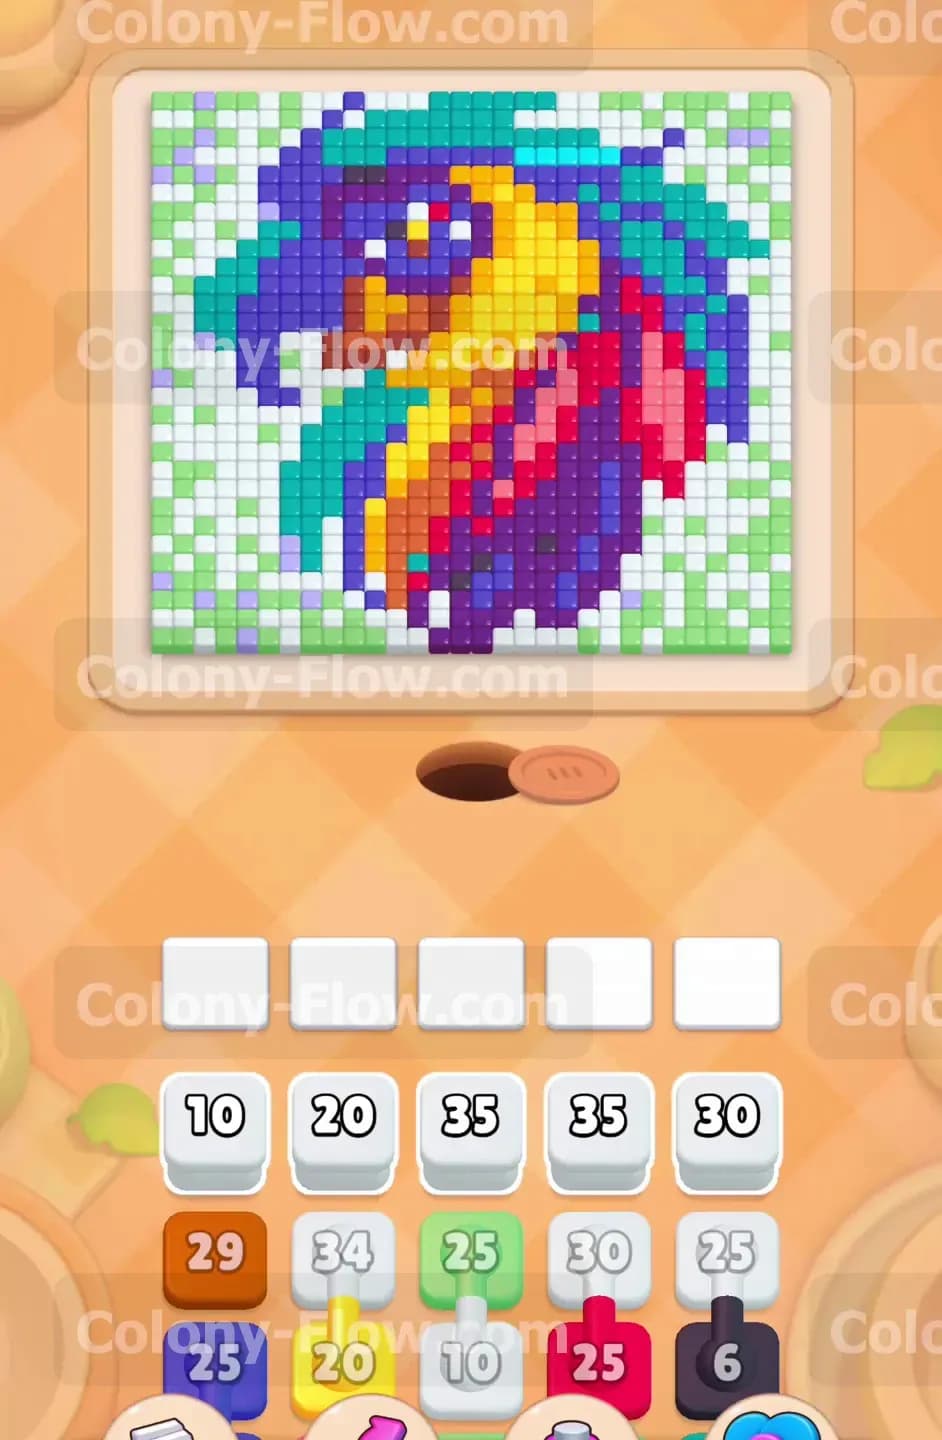
The board features a large parrot head design made of many bright colours. You will see dense sections of purple dark blue red orange yellow and a surrounding white background. The tray at the bottom is packed with high number blocks. You have multiple white blocks showing huge numbers like thirty five and thirty. The main special element you need to manage here is the Connected Boxes. You will see visible lines linking several blocks together in the tray. When you tap one connected block the attached blocks follow it up into the waiting slots. This takes up multiple spaces in your five slot queue instantly and creates a huge risk of jamming. You must plan around these linked pairs to survive.
What It Takes to Clear Level 1084 Board
To win you must clear every single tile from the bird picture. You do this by matching the coloured blocks from your tray to the exposed tiles on the board. The ants stream out from the bottom nest hole and carry the colours up the paths to the right spots on the grid. You lose if you fill all five waiting slots and no ants can reach a valid matching colour. You always have to plan your pulls to ensure at least one active colour has an open path on the board. The white background tiles are entirely trapped behind the colored feathers so you must save the large white blocks for the very end of the game.
Colony Flow Level 1084 Step by Step Solution
Step 1: Start by clearing the outer light green and teal tiles to open the left side.
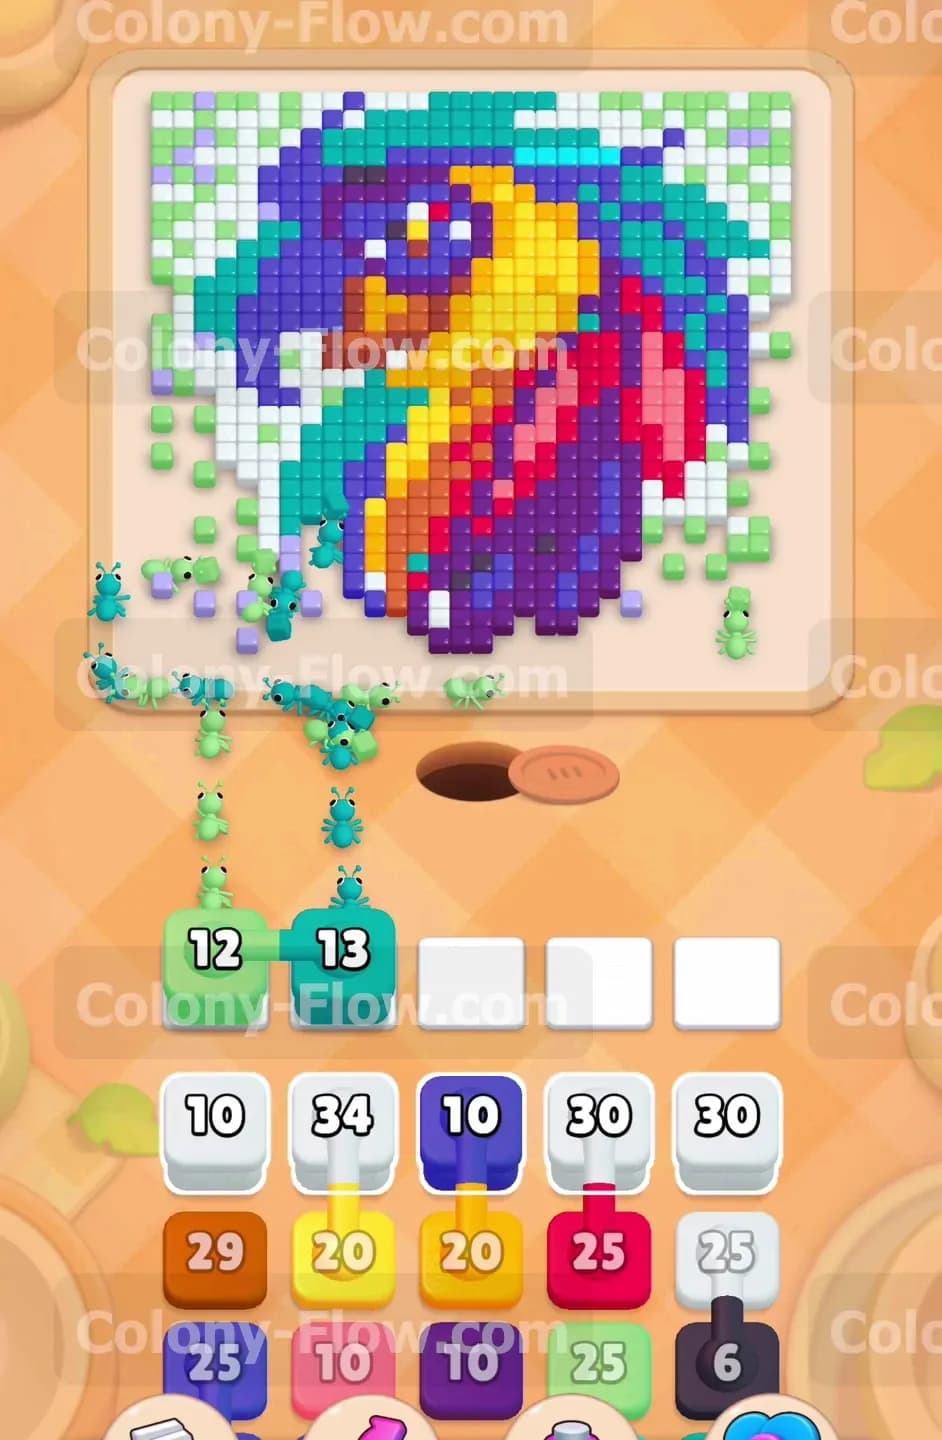
Look at the left edge of the bird picture to find exposed light green and teal tiles. Your tray holds a connected pair featuring a twelve light green block and a thirteen teal block. Tap this connected pair to bring both blocks up to your waiting slots. The ants will immediately begin streaming toward the bottom left and top left edges of the bird. These two colours drain fairly quickly because the path is completely open right from the nest hole. Keep an eye on the numbers on your blocks as they count down to zero. You do not want to pull anything else until this first connected pair finishes its work and frees up those two waiting slots for your next move. The open space on the left is crucial for building your main pathway into the center of the bird.
Step 2: Transition to the lower bird body using the red and orange connected blocks.
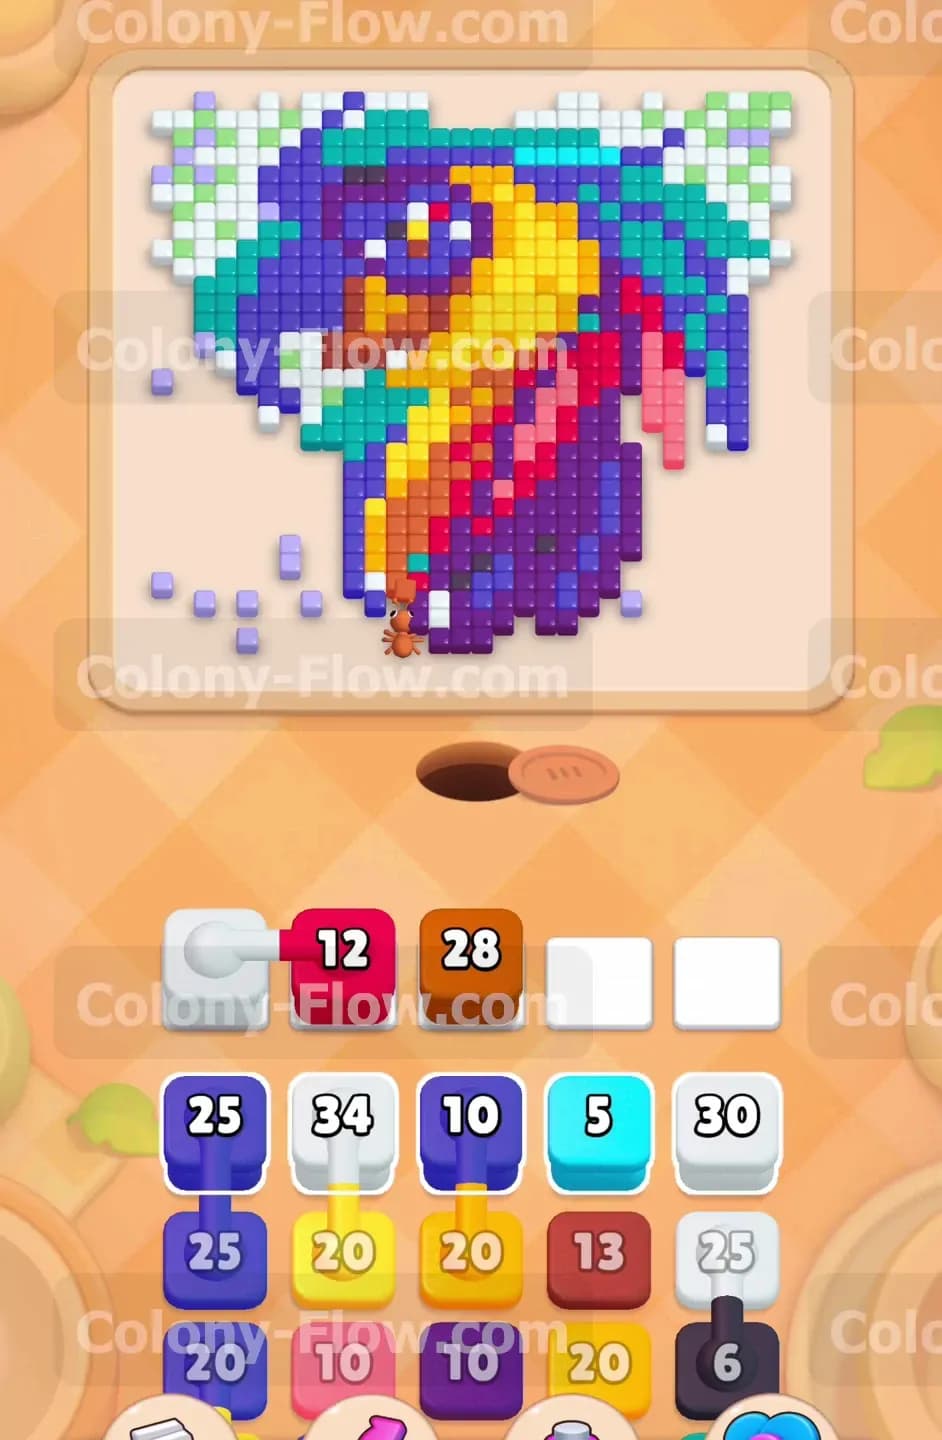
Once the left side opens up you will expose the orange and red feathers on the lower neck of the bird. Find the connected pair in your tray holding a twelve red block and a twenty eight orange block. Pull this pair up to the active waiting slots. The red ants will chew into the side edge while a massive line of orange ants marches up to clear the thick lower neck area. Since the orange block holds twenty eight ants it will sit in your waiting slot for a decent amount of time. You must be patient here and let the orange ants carve out the bottom half of the bird. This specific action exposes the darker inner colours that you absolutely need for your upcoming moves. Do not crowd the slots while the orange block drains.
Step 3: Target the upper head and eye using the purple and orange pair.
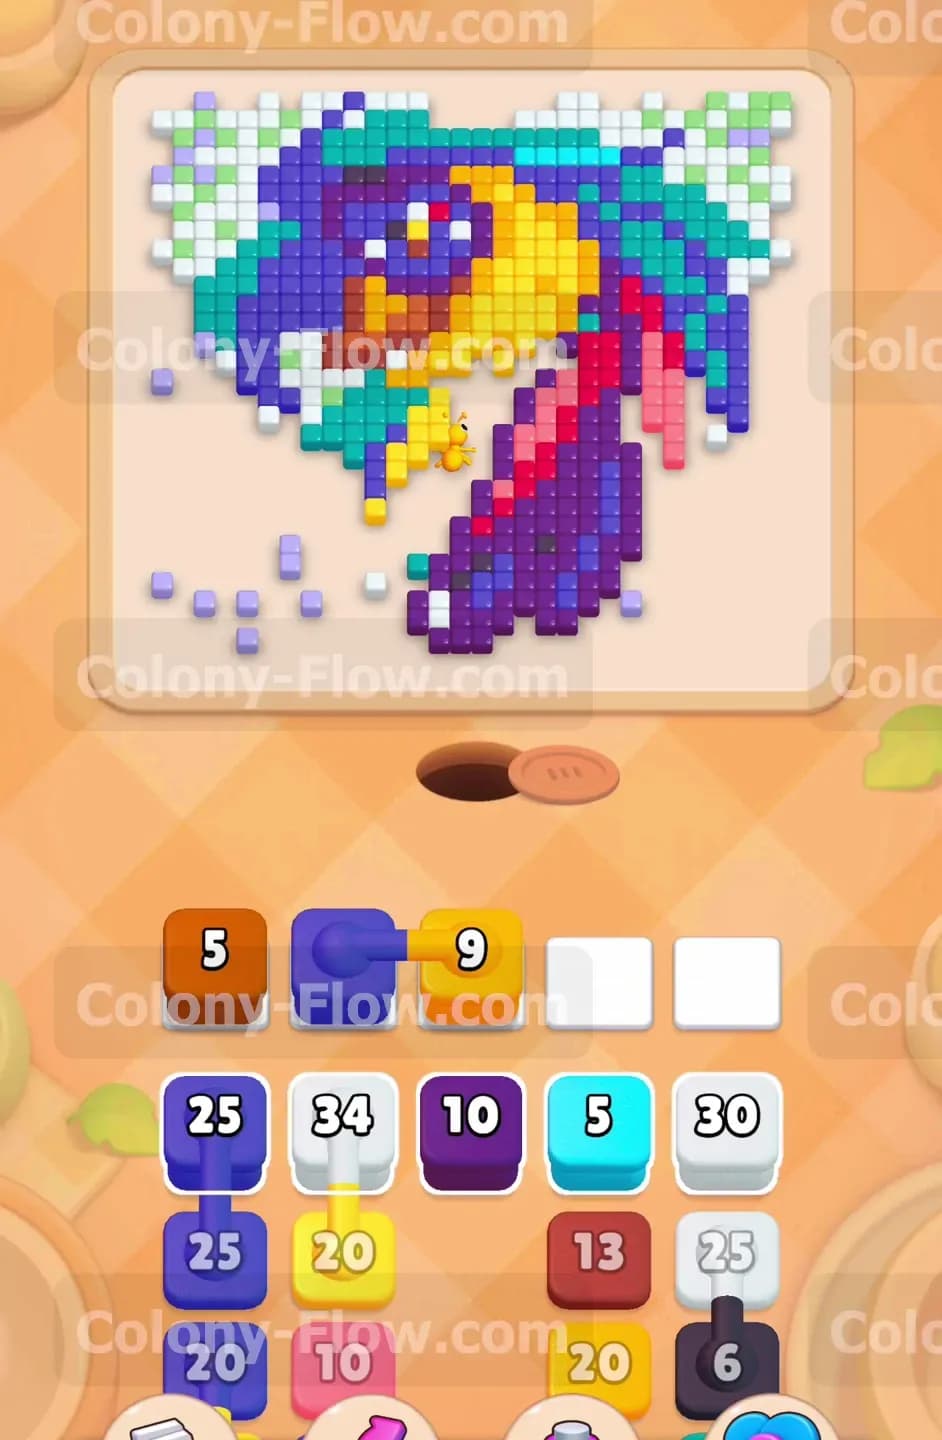
The previous moves uncover the purple tiles near the eye and the top of the head. Look through your tray for another connected pair with a five orange block and a nine purple block. Tap this pair to bring it active. The purple ants will rush up the new path to the eye section while the remaining orange ants clean up the last few orange tiles near the beak. The purple block clears out fast because the number is quite low. This quick clear is exactly what you want to keep your waiting slots from jamming up. You now have a much wider path leading straight into the dense blue and yellow sections of the face. The puzzle opens up significantly after this stage.
Step 4: Keep the flow moving with yellow blocks and dark blue connected pairs.
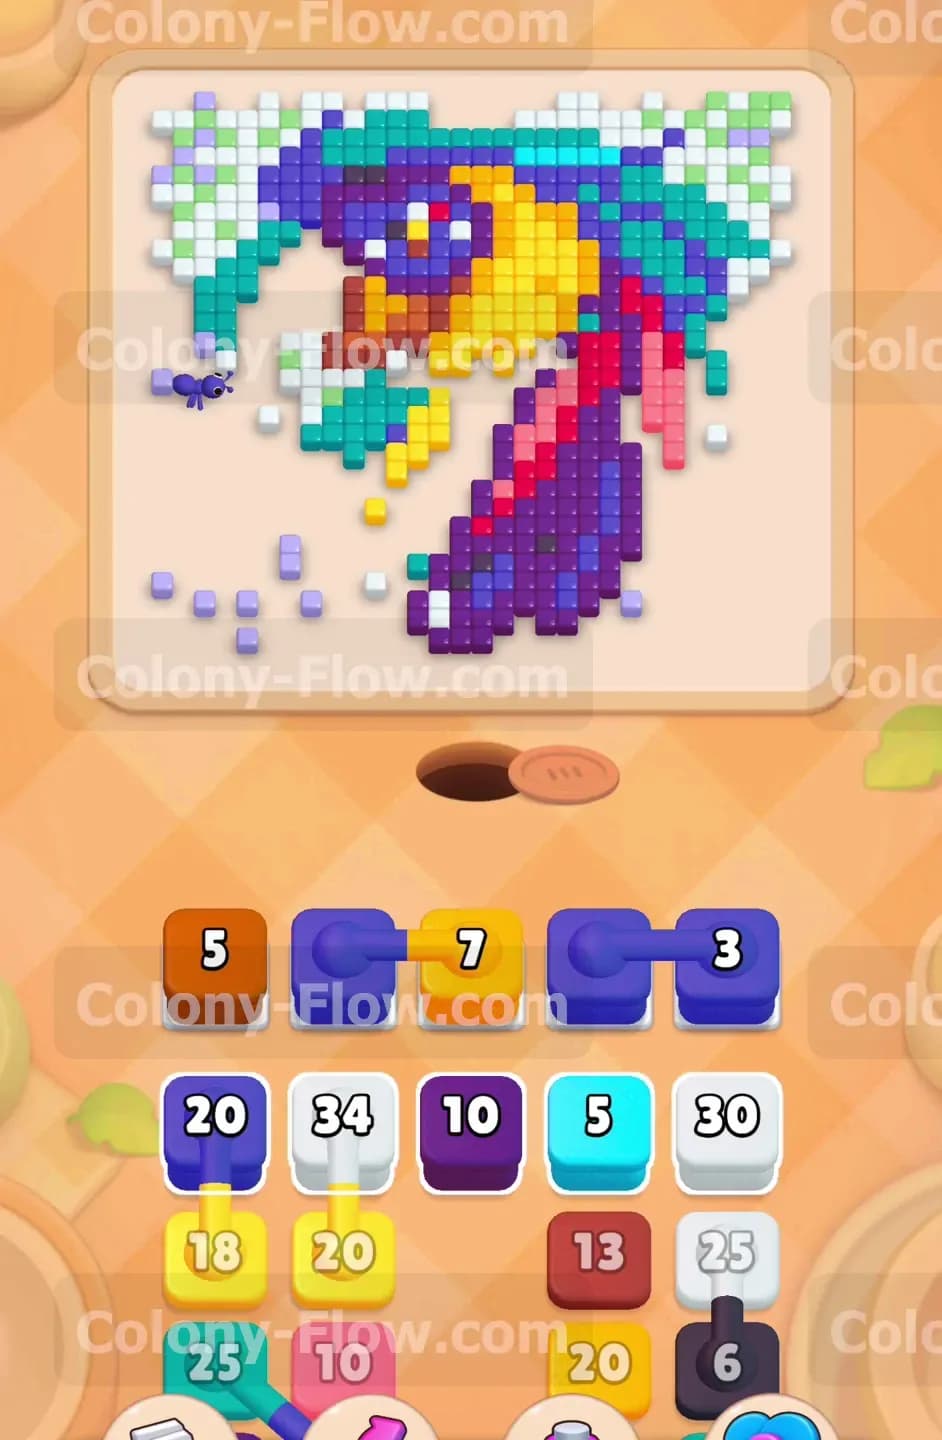
You will see a solid patch of yellow tiles forming the face of the bird alongside dark blue tiles lining the back of the head. Pull a twenty yellow block from your tray first. Follow this by pulling a connected pair containing a seven dark blue block and a three dark blue block. The yellow ants will slowly dismantle the face while the blue ants travel up the right side to eat away the head outline. The dark blue blocks are small so they drain rapidly and leave your slots open. The yellow block takes a bit longer but the path is extremely wide at this point. The ants have absolutely no trouble reaching their targets without any traffic jams slowing them down. This clears out the entire upper half of the bird shape.
Step 5: Peel away the cyan and remaining yellow tiles around the beak.
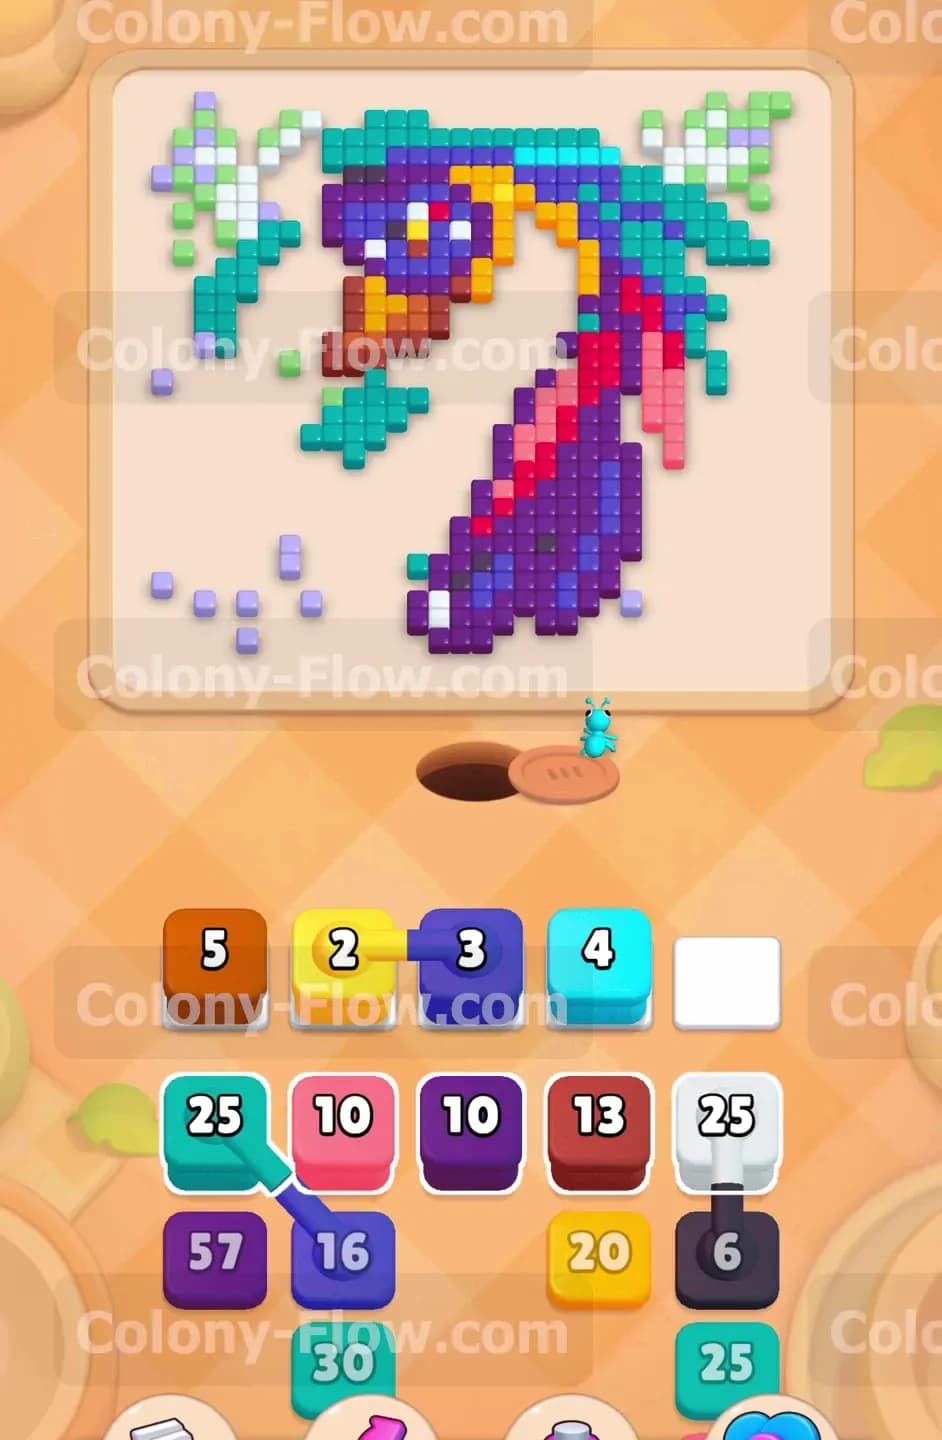
The inner beak and forehead area consist of small patches of cyan and yellow tiles. You will have small blocks in your tray like a four cyan block and a two yellow block. Pull these blocks up to finish off the beak section. These small numbers act as a great buffer to keep the ants moving without clogging your limited waiting space. The entire top left of the bird is now completely stripped away. This exposes the massive block of purple and red tiles that make up the main heavy body. Check your waiting slots closely to ensure you have at least three empty spaces before proceeding to the next major and most dangerous move. You need plenty of breathing room for the giant blocks coming up.
Step 6: Handle the massive fifty seven purple block to clear the main body of the bird.
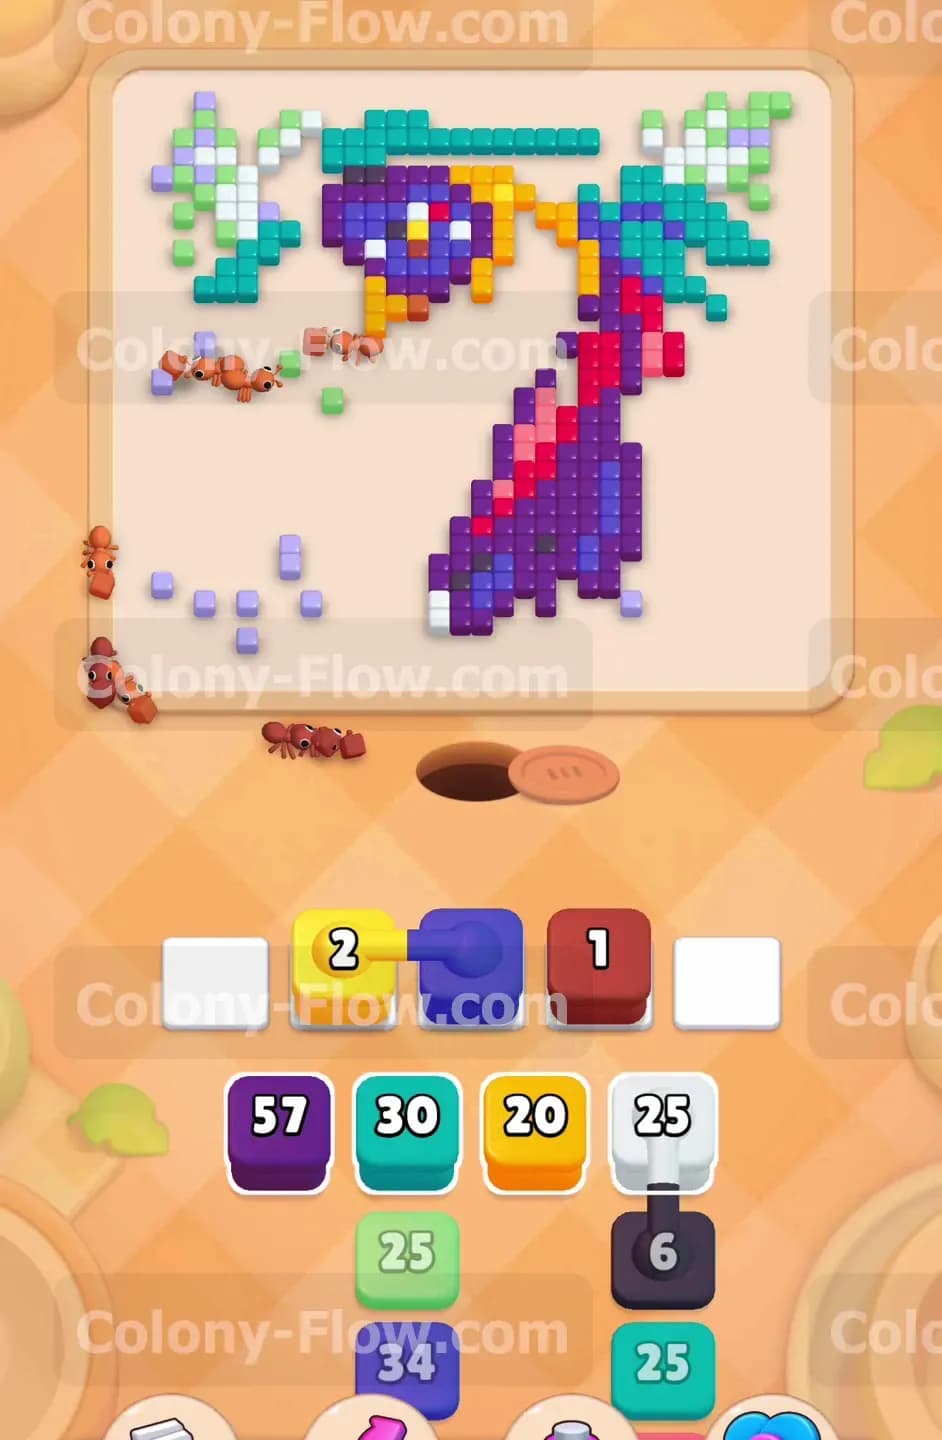
Your tray holds a giant fifty seven purple block connected to a twenty five teal block. This is the most dangerous pull of the entire level because it takes up two slots and the purple block takes a very long time to drain. Tap this connected pair to bring it up. A huge swarm of purple ants will flood the lower right section of the bird. The teal block will sit idle for a moment until the purple ants clear a path to the hidden teal tiles near the top right. You must sit back and let this fifty seven purple block do its job completely. Do not panic and pull random colours or you will fill your remaining slots and instantly fail the level. The sheer volume of purple ants will eventually hollow out the main body completely.
Step 7: Clean up the remaining red feathers and flood the white background border.
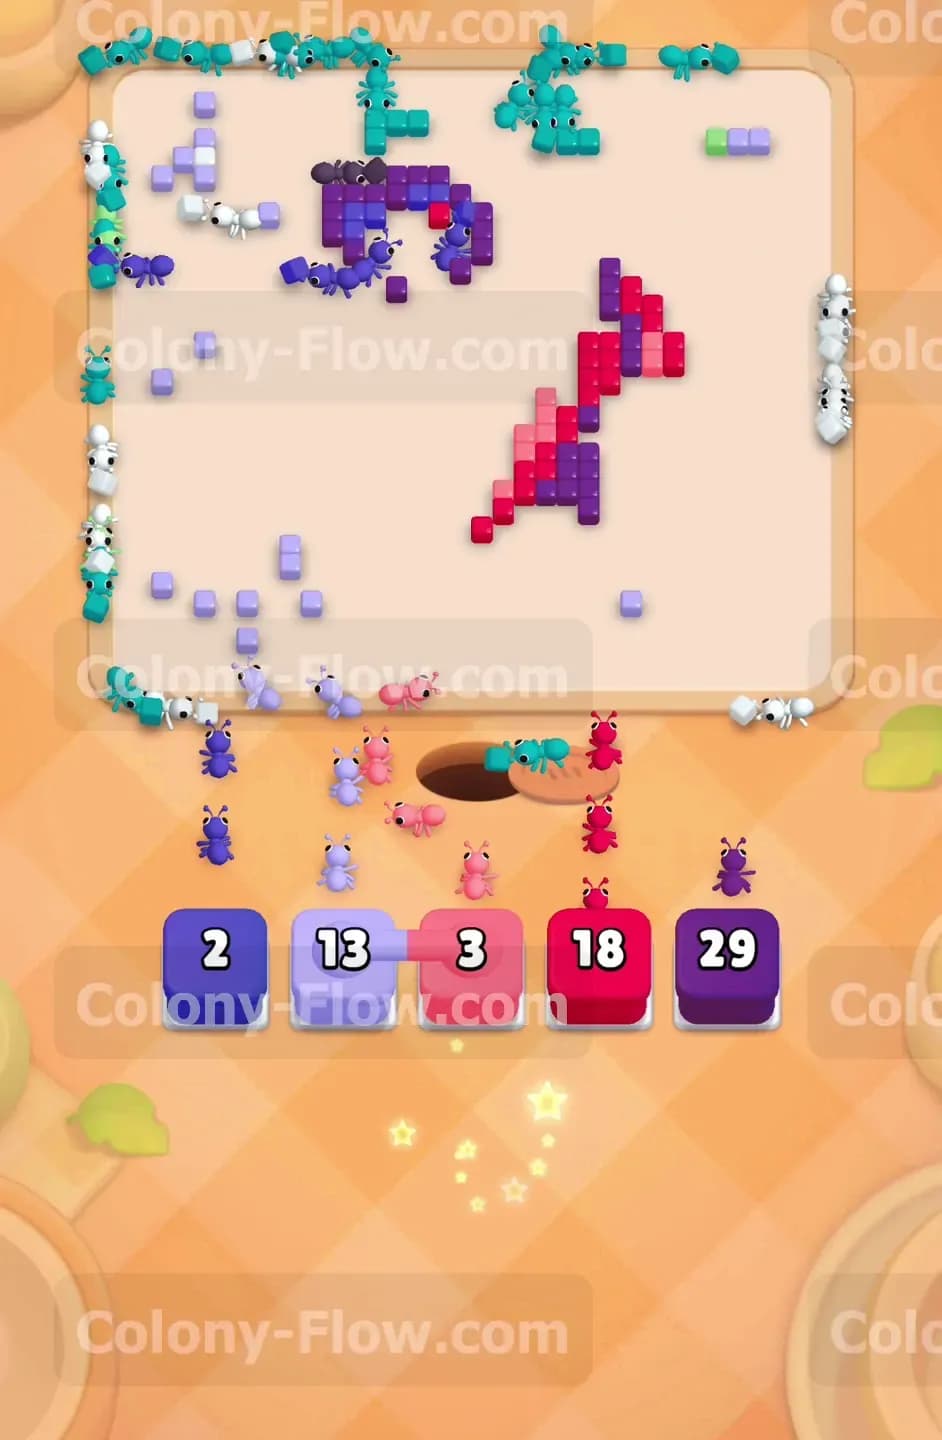
With the massive purple section gone the bird is basically completely dismantled. You are left with only a few red patches and the massive white background border. Pull the connected pair containing a three pink block and an eighteen red block to finish the last colored feathers on the board. Now the entire white border is completely exposed and ready to be eaten. Tap your huge thirty five and thirty four white blocks from the top row of your tray. A massive wave of white ants will pour out of the nest hole and swarm all over the board. They will easily eat up the remaining background tiles and finally complete the picture. You just need to watch them clean up the outer edges to secure your victory.
Final Thought
Managing connected boxes is the real test on this board because they steal your waiting slots so quickly. If you always wait for one large colour to finish before pulling another large connected number you will keep your paths wide open. Patience is your best strategy when dealing with those giant blocks. Feel free to watch the video above this article if any step is hard to follow in text.