Colony Flow Level 328 Walkthrough Solution & Guides | How to solve Colony Flow 328

Guide By Liam Stone
Updated on July 17, 2026
The video above has you covered on Level 328, so skip the text if you'd rather watch it play out.
Video doesn't match your screen?
Game updates frequently scramble layouts! Try our AI Screenshot Solver first to find your exact board instantly, or report broken guides to our team.
Colony Flow Level 328 drops you right into a massive puzzle featuring a giant sports badge. I played this level completely through to build a reliable sequence for you. The picture is huge and blocks the ants from moving upward right from the start. You have to open the bottom layers perfectly to avoid filling your waiting area with useless blocks. The colors are stacked thick and the special tiles will test your slot management skills.
Colony Flow Level 328 Overview
What You Are Working With
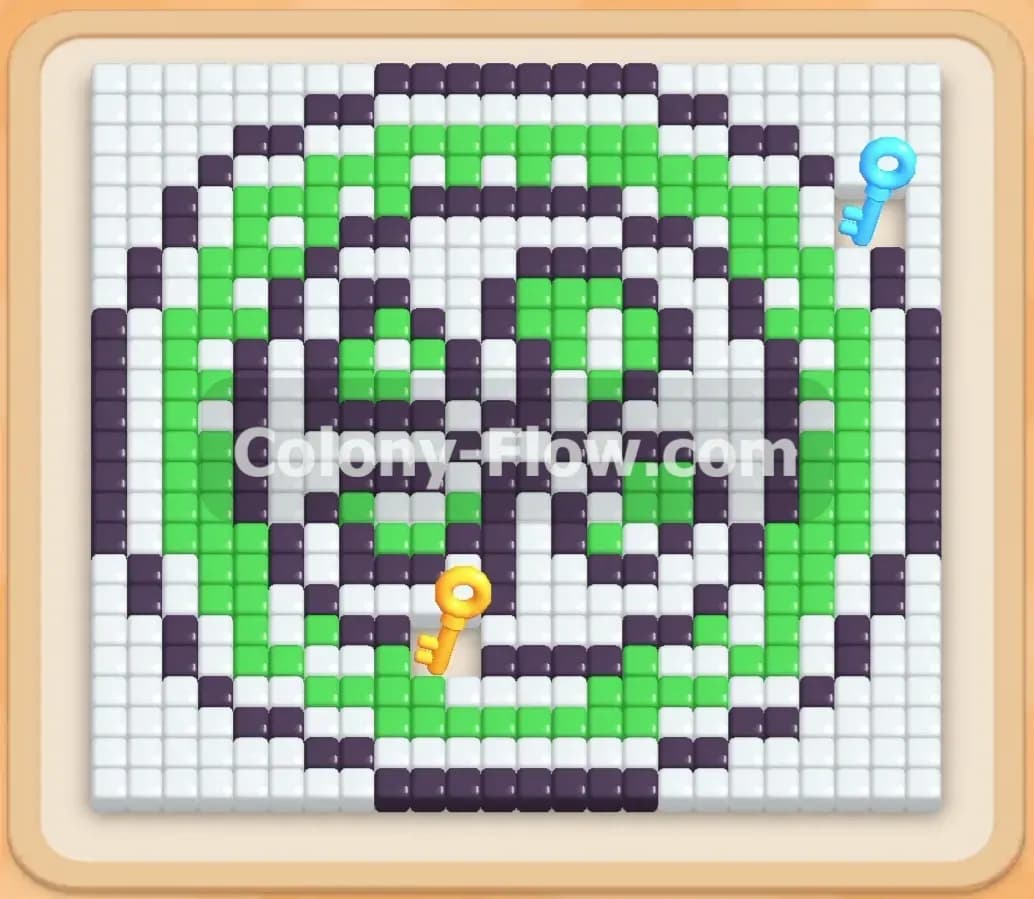
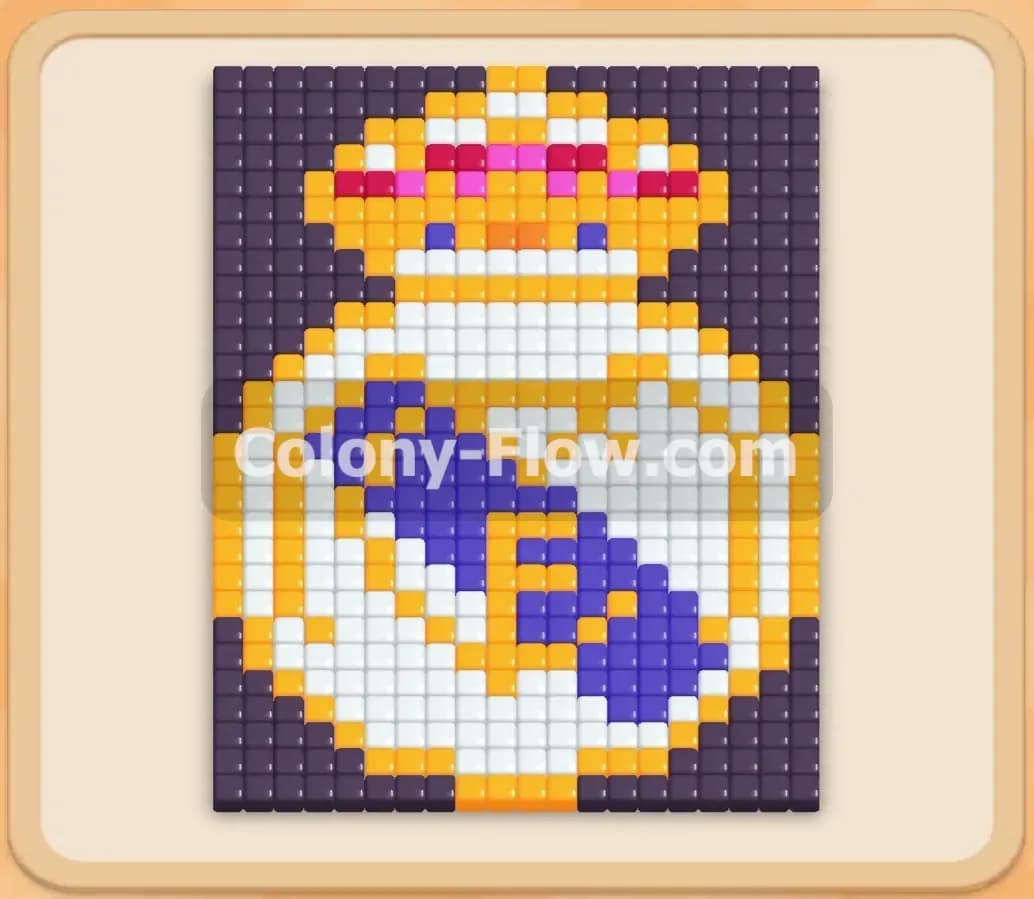
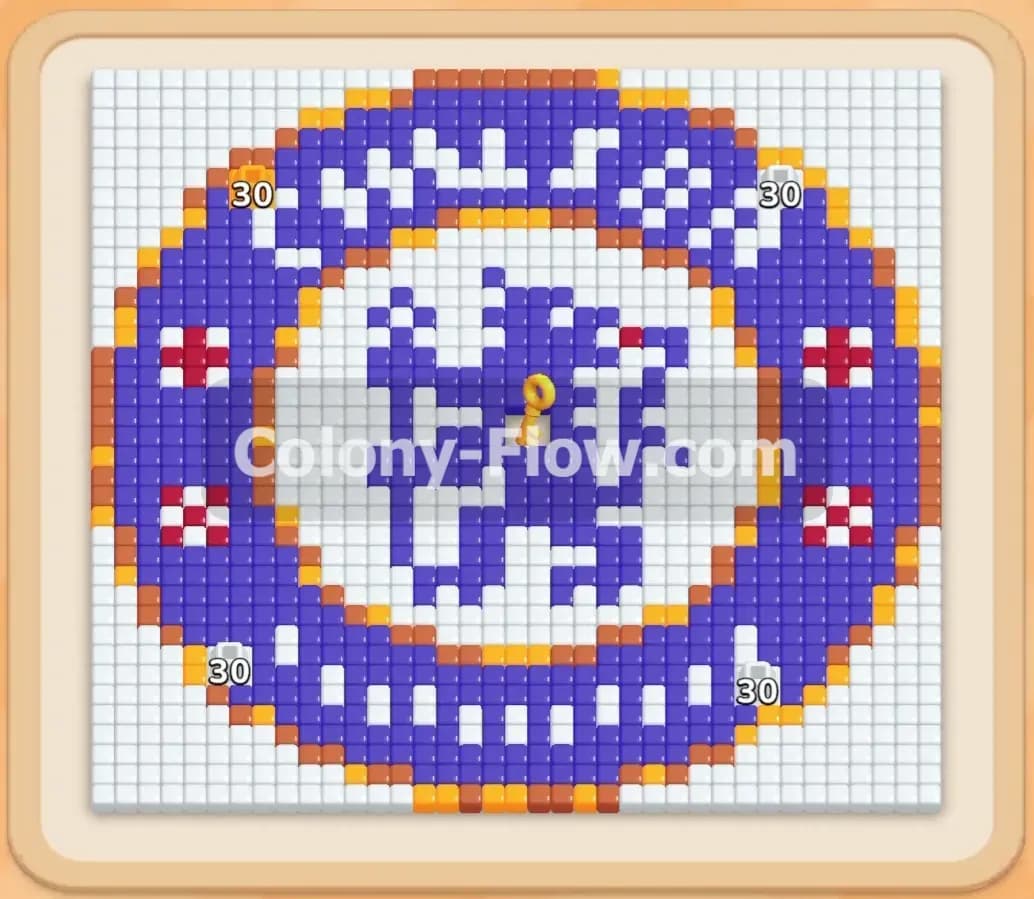
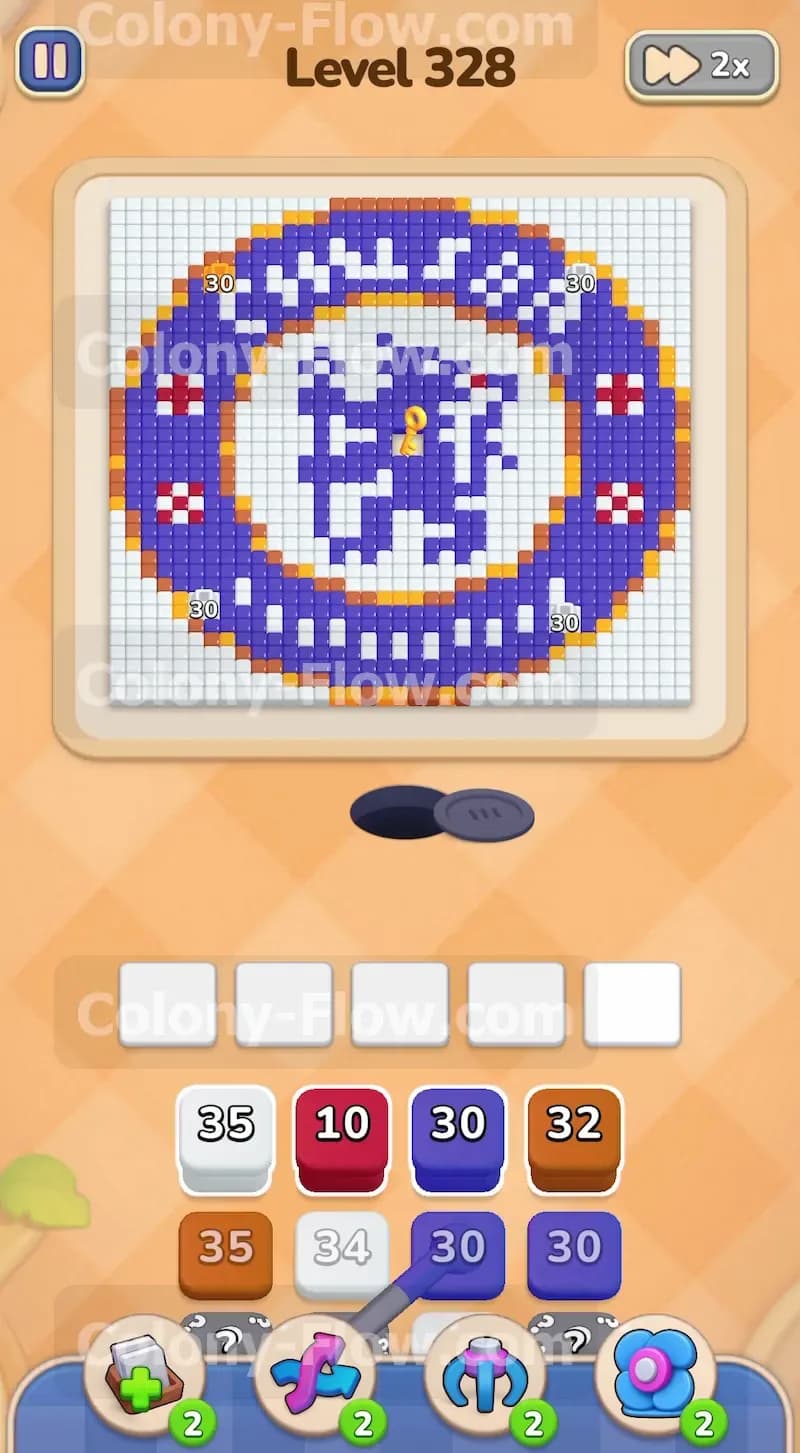
The picture on this board is a large circular crest resembling a sports team badge. It features a thick outer blue ring filled with white letters and small brown and red accents scattered around the borders. The middle of the circle is bright white. A detailed blue lion shape sits directly in the center of that white background. You will also spot a few yellow tiles positioned near the lion. Your block tray contains several special mechanics that complicate your moves. You will deal with connected boxes throughout the entire level. These are two colored numbered blocks linked together by a small purple bar. Tapping one moves both into your waiting slots simultaneously. You also have a yellow lock block sitting in your tray later in the puzzle. This lock prevents access to the blocks below it until you find and eat the matching yellow keys on the board.
What It Takes to Clear Level 328 Board
Winning this level requires careful management of your five waiting slots so they never jam. The connected blocks make this extremely tricky. Every time you pull a connected pair you instantly consume two of your five slots. If your ants are stuck behind another color and cannot reach the blocks you just pulled your tray locks up and you fail the level. The general strategy is to eat away the bottom edge of the circle first. This action opens wide walking paths up the left and right sides of the screen. From there you break into the middle interior to get the yellow keys. Once the lock opens you can unleash your ants on the giant blue lion and the top ring. You must clear the colors in a specific careful order so the ants always have a live target and never hit a dead end.
Colony Flow Level 328 Step by Step Solution
Step 1: Open the bottom boundary using brown and white blocks
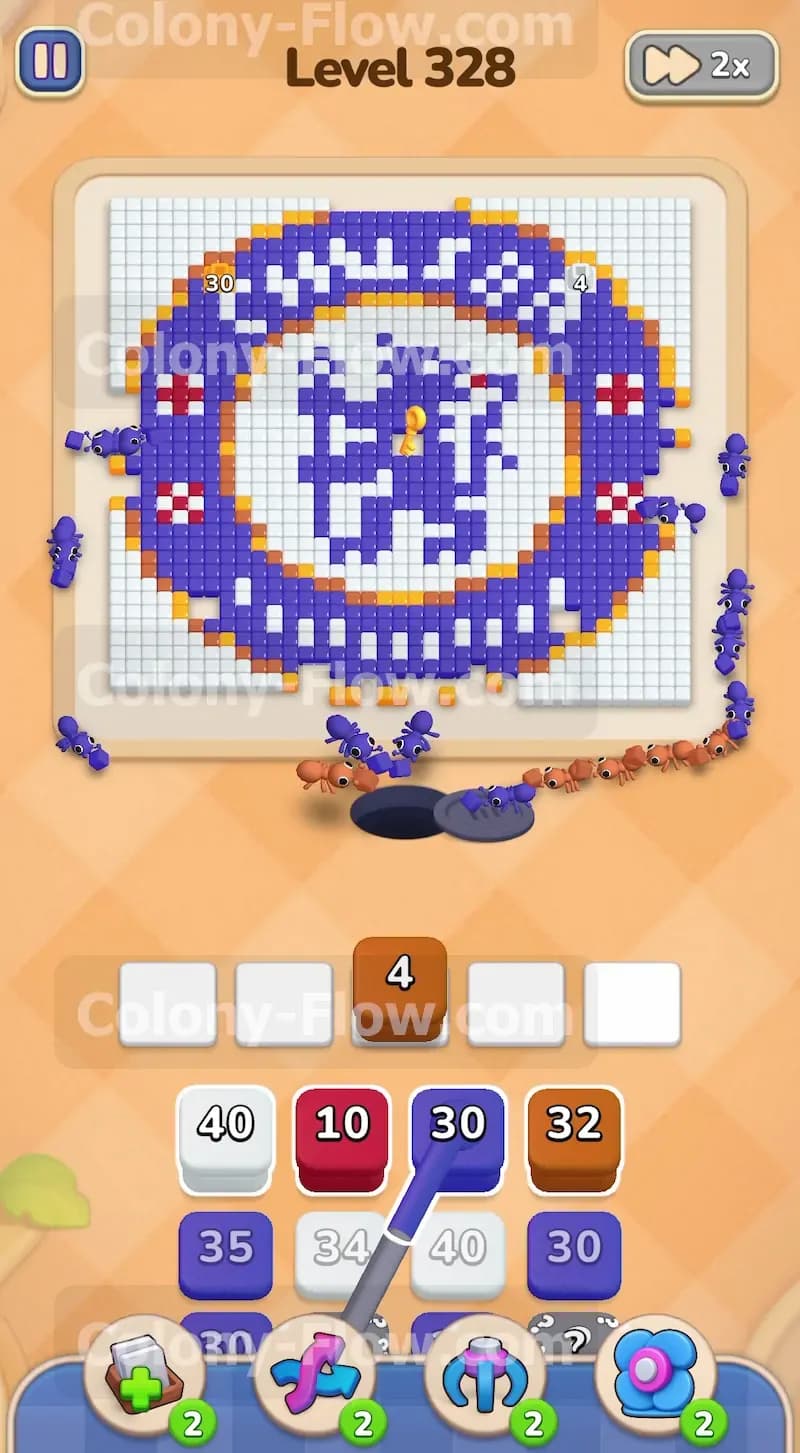
Start the puzzle by focusing on the very bottom edge of the giant circle. You need to clear the immediate tiles blocking the nest hole so your ants have room to maneuver. Tap a white block and a brown block from your tray to get things moving. The white block handles the bright border and the brown block handles the small dark accents. The ants rush out of the nest and immediately start consuming the lower border pieces. This early move is crucial because it carves out two distinct paths along the bottom. The ants can now wrap around the lower left and lower right sides of the massive crest. Keep your eyes on the remaining blocks in your tray. You will see connected blue blocks waiting further down in the queue. Leave them exactly where they are for now. Wait until the ants completely finish the brown tiles and the brown block disappears from your active slot.
Step 2: Peel away the lower blue ring and red accents
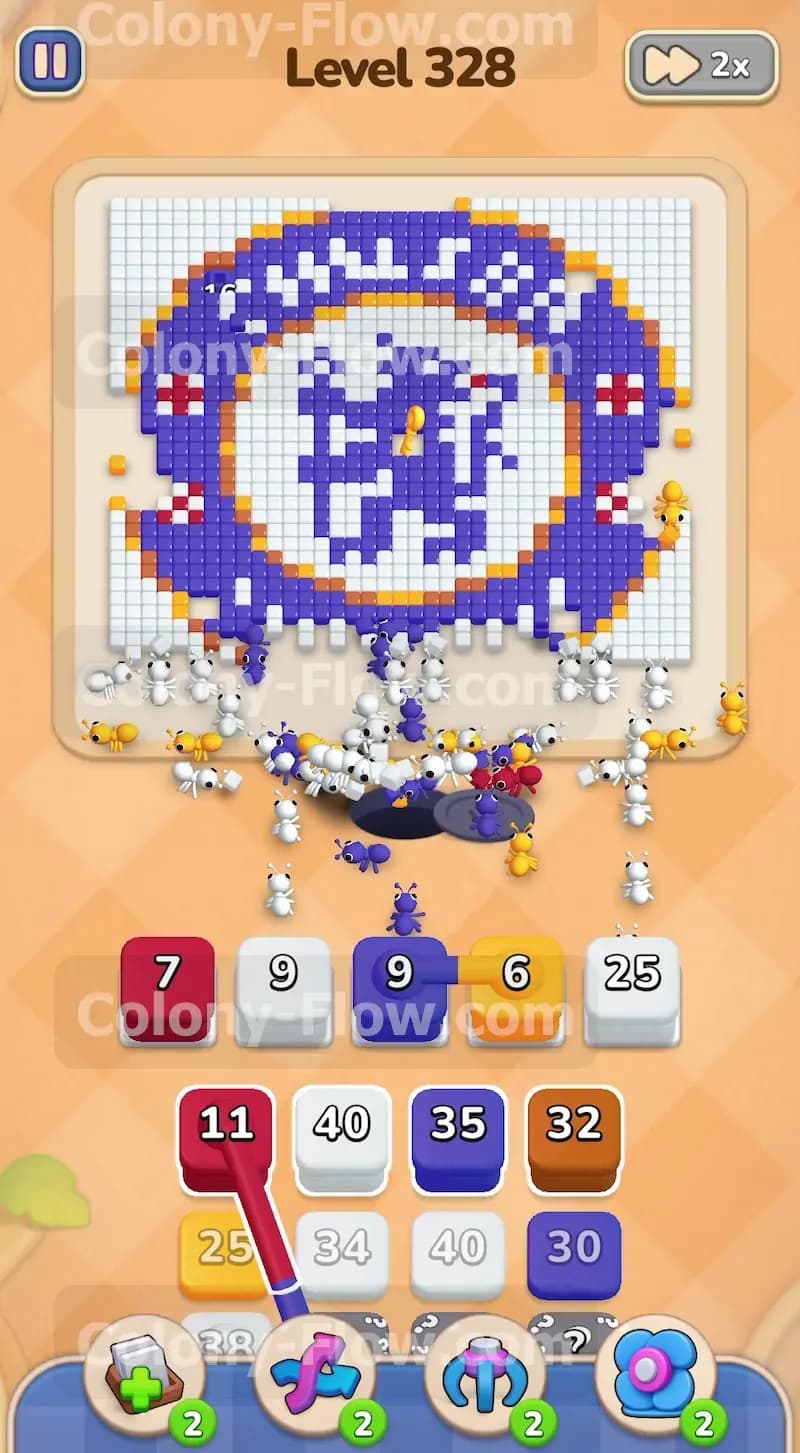
With the bottom path clearly open you can start feeding the ants the massive outer blue ring. Pull a large blue block into your waiting area. The colony splits into two large groups and marches up the freshly opened side paths to eat the blue tiles making up the thick circle. Watch the outer ring closely for the small red accent tiles embedded in the thick blue border. When the ants get near these red pieces you must tap a red block from the tray. This clears the red sections and prevents the ants from getting trapped behind a color they cannot eat. Your waiting slots will start to fill up during this phase of the game. Make sure you only pull a new block when the current active block drops to a very low number. This guarantees you always have a safety slot open to keep the board moving.
Step 3: Manage the first connected blocks to enter the interior
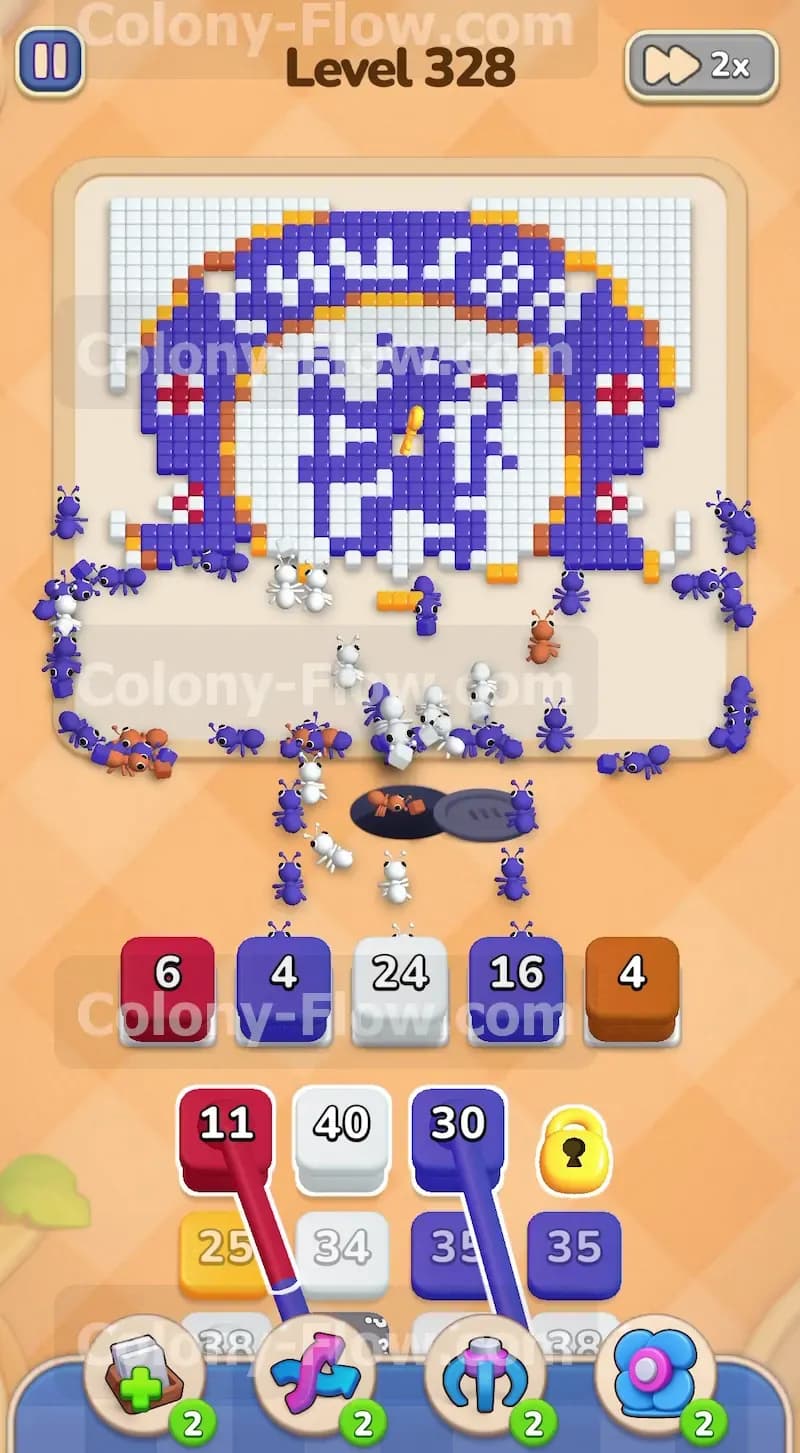
Now the tray forces you to manage the connected boxes to make further progress. You will see a red block linked directly to a white block by a purple bar. Check your waiting area before tapping anything. You must have two completely empty slots to accommodate this pair without crowding your tray. Pulling them without enough space will cause a catastrophic jam. Once your active blue block finishes its countdown tap the connected pair. The red and white blocks fly up to your slots together. The ants flood into the bottom white section of the inner badge. They also consume the red tiles on the inner edges. The paths now reach the very center of the board. This deep penetration gives your colony direct access to the blue lion shape and the crucial yellow key tiles.
Step 4: Collect the yellow keys to break the tray lock
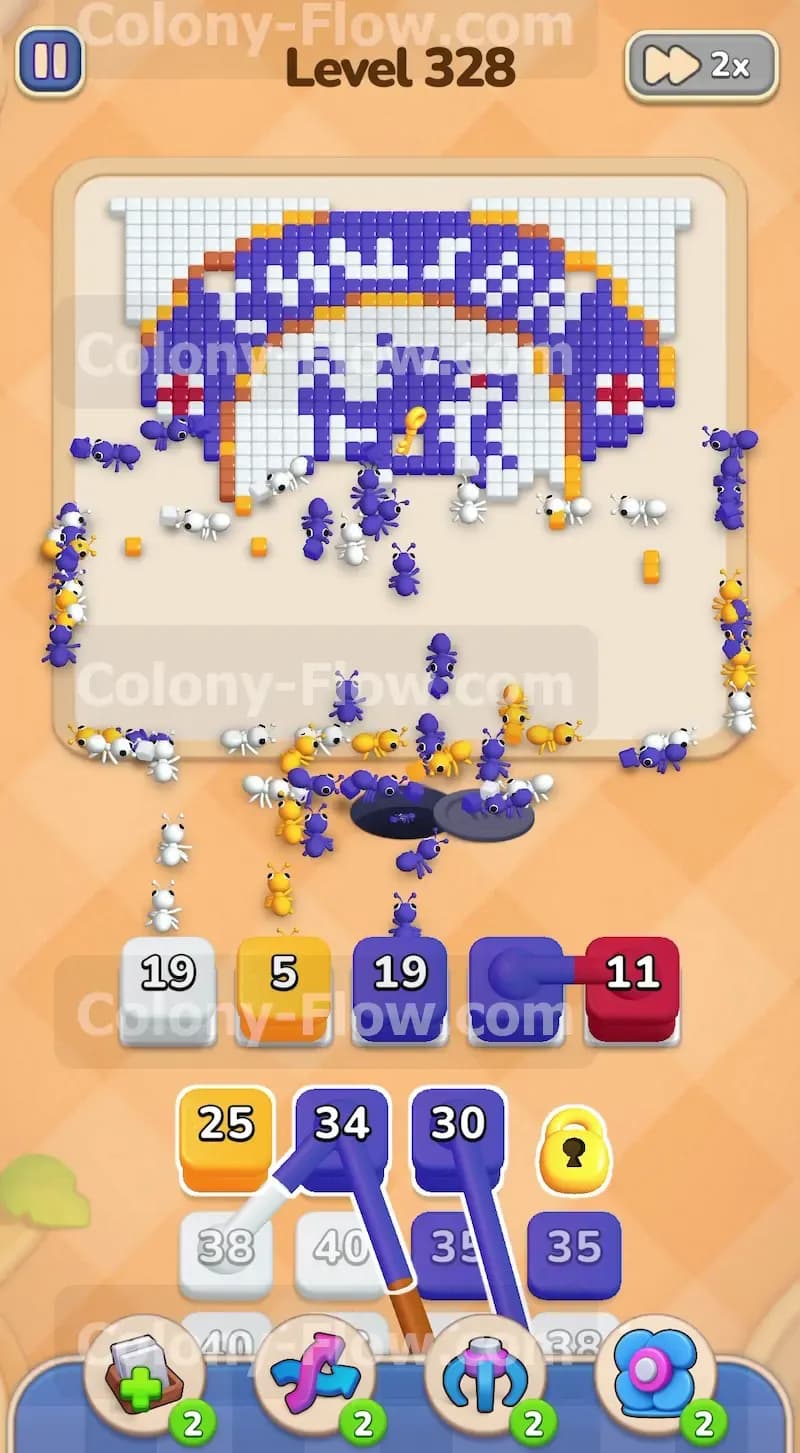
A yellow lock block currently blocks your progress in the tray. You cannot tap or use any of the heavy blue and white blocks hidden behind it. You must unlock it by letting the ants eat the key tiles located on the board. Look right at the center of the crest near the lion. You will see small groups of yellow tiles. Pull a yellow numbered block into an open slot. The ants march deep into the middle of the badge and devour the yellow tiles. These yellow pieces act as your keys for the lock. Once the ants finish the last yellow piece the lock in the tray shatters automatically. This action reveals the next set of large blocks you desperately need to finish the puzzle.
Step 5: Dismantle the central blue lion shape
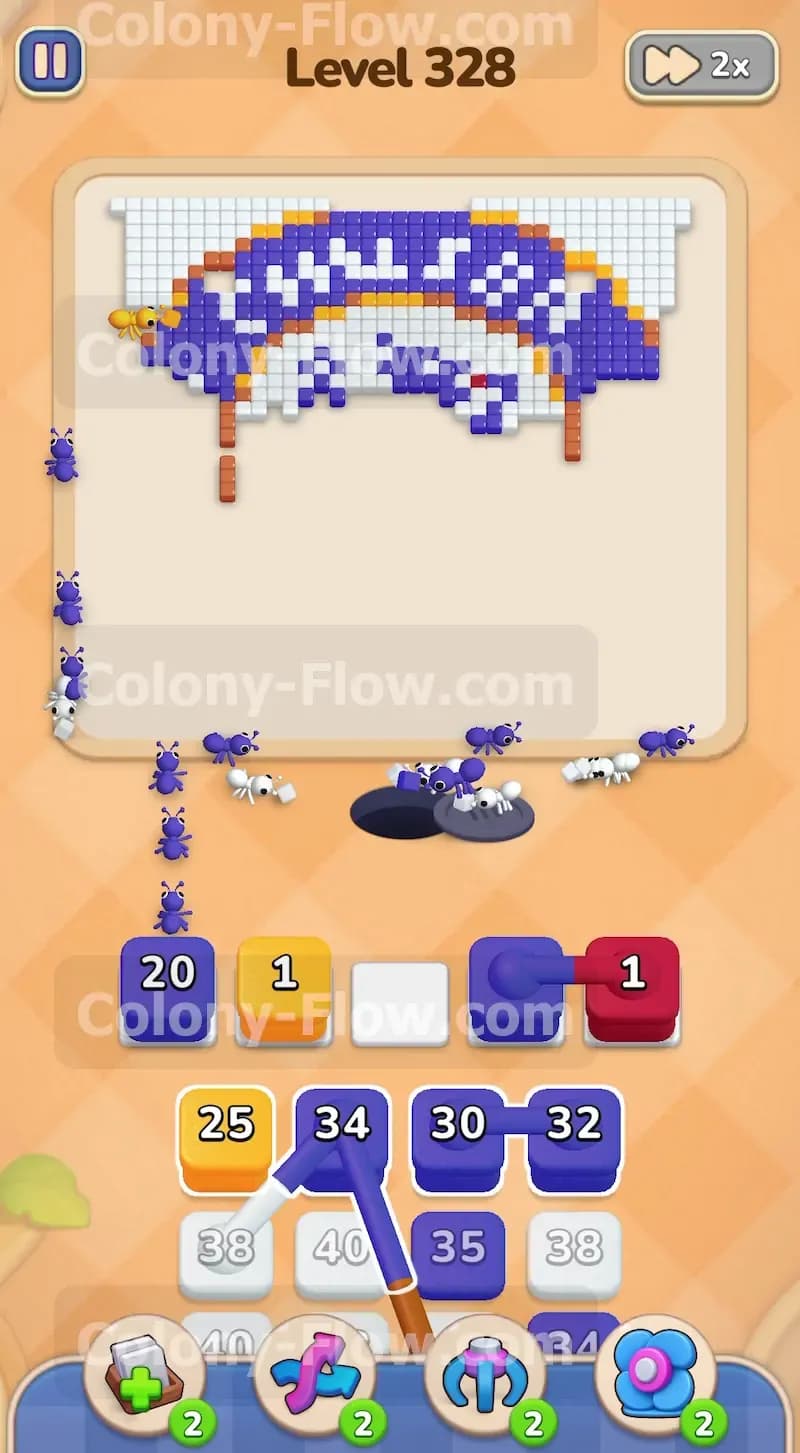
With the tray lock destroyed you can focus entirely on the massive blue lion in the center of the white background. Tap a large blue block from your freshly unlocked tray rows. The ants swarm the center of the board and start erasing the lion from the bottom up. The large number on your blue block will count down rapidly because so many ants are attacking the tiles at once. The board really opens up during this phase. The entire lower half of the badge disappears completely. Your ants now have a massive open space and a straight walking shot to the upper half of the ring. Keep an eye on your slots and let the blue block do its job before adding anything else.
Step 6: Erase the upper white background using connected boxes
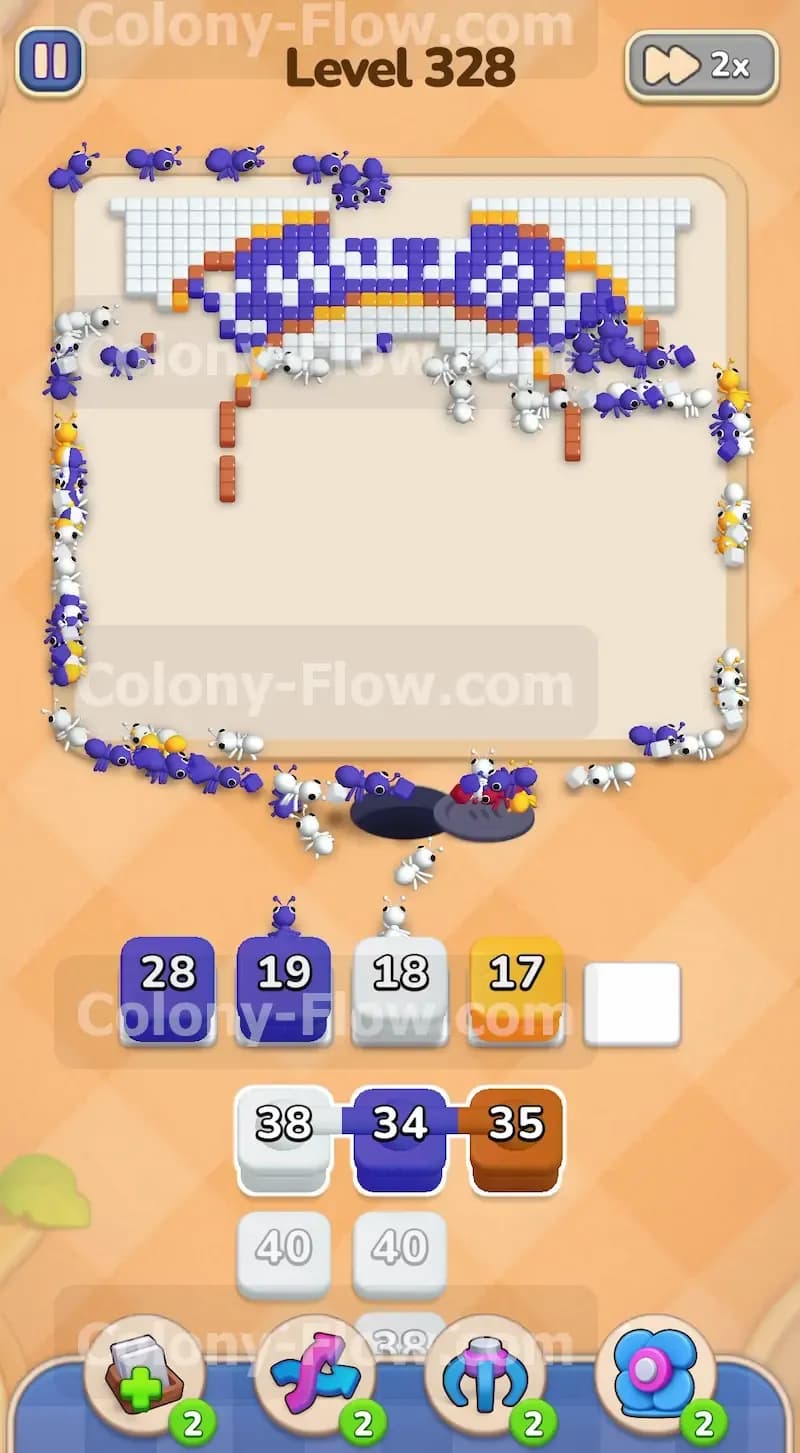
The lion shrinks away but a huge section of the white background remains to block your path. The tray presents another tricky pair of connected blocks to handle this problem. You will see a large blue block linked to a massive white block. Check your bottom screen and ensure you have two empty slots available before proceeding. Pull the connected pair up to the waiting area. The colony continues eating the top pieces of the blue lion while simultaneously clearing the massive upper white background. This combined move completely hollows out the center of the badge. Only the top arch of the blue ring and the white letters remain on the board at this point.
Step 7: Chew through the white letters in the top ring
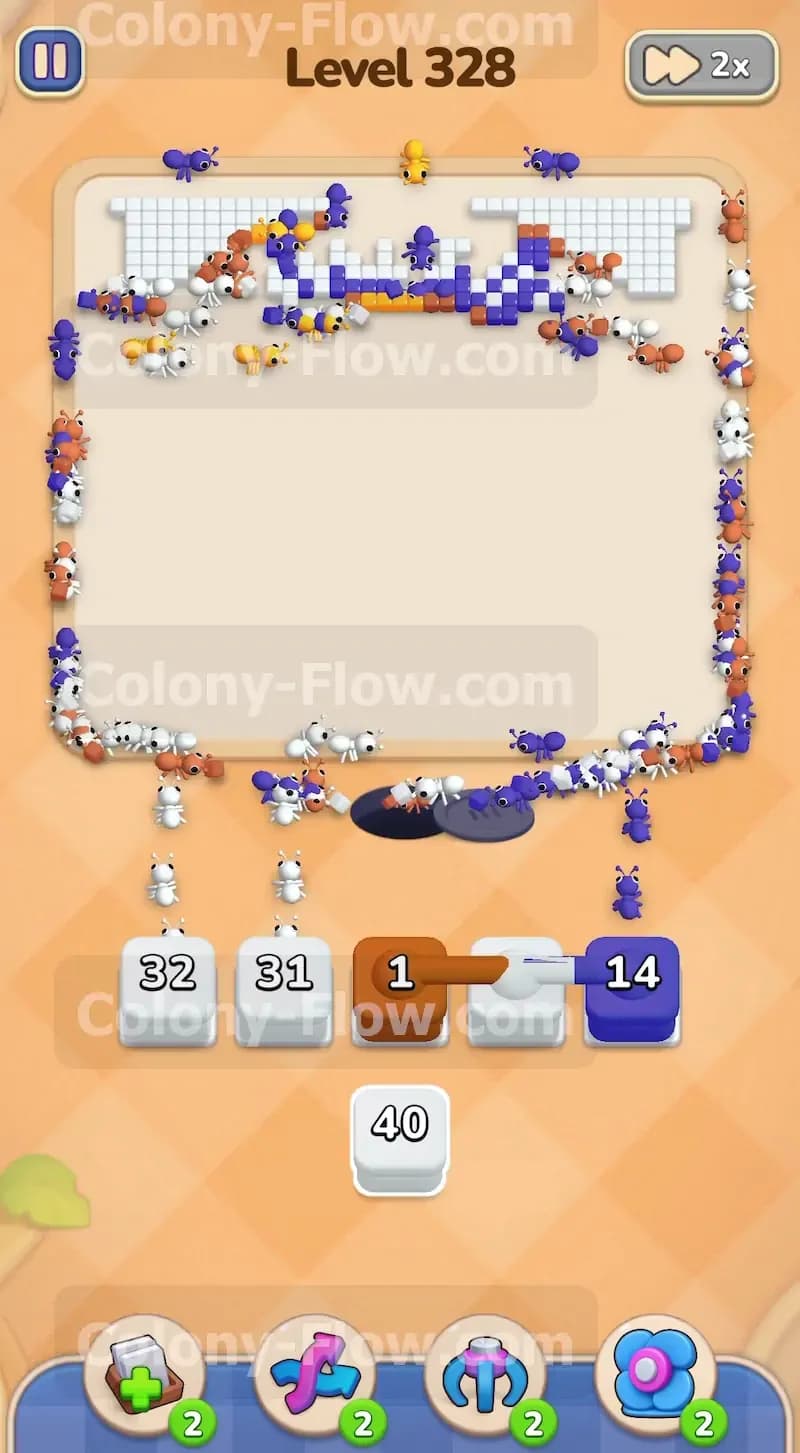
Now you target the top text section of the crest. Pull a white block into your waiting area to match the white letters spelling out the name in the top ring. The ants march all the way from the bottom nest to the very top of the screen and begin eating the text. This process takes a little more time than previous steps because the ants have a very long walking distance from the nest. Be patient and watch the numbers count down slowly. Keep your remaining slots completely clear while this happens. Do not pull the final blue blocks until the white letters are almost entirely gone from the screen. Pulling them too early will fill your tray with colors the ants cannot reach yet.
Step 8: Clear the final top blue arch and brown border pieces
The only tiles left on the board are the blue arch and a few brown border pieces right at the top boundary. Tap the remaining blue blocks and the last brown block from your tray. The game throws one last connected pair at you here featuring a brown and blue block. Pull them into your final open slots. The ants rush up the outer sides and consume the last thick bits of the blue ring. They wipe out the brown edge pieces immediately after. The entire picture vanishes and the ants return to the nest hole. You successfully clear the board without locking your slots.
Final Thought
This level tests your patience with the connected blocks and the lock mechanic. Always verify your ants have a clear path to their target colors before you pull pairs into your tray. Keeping at least one slot empty at all times is the best way to guarantee a win. If any of the later steps feel confusing in text you can watch the video above this article. Seeing the ants map out the routes makes mastering the slot management much easier.