Colony Flow Level 597 Walkthrough Solution & Guides | How to solve Colony Flow 597

Guide By Liam Stone
Updated on August 1, 2026
Skip the article and watch the video above instead. It covers every move you need for Level 597.
Video doesn't match your screen?
Game updates frequently scramble layouts! Try our AI Screenshot Solver first to find your exact board instantly, or report broken guides to our team.
Colony Flow Level 597 presents a charming pixel art teddy bear that requires precise block management to complete. You face a board filled with intricate details and a massive obstacle right in the center. Navigating around the special tiles without clogging your waiting slots is the true test of this stage.
Colony Flow Level 597 Overview
What You Are Working With
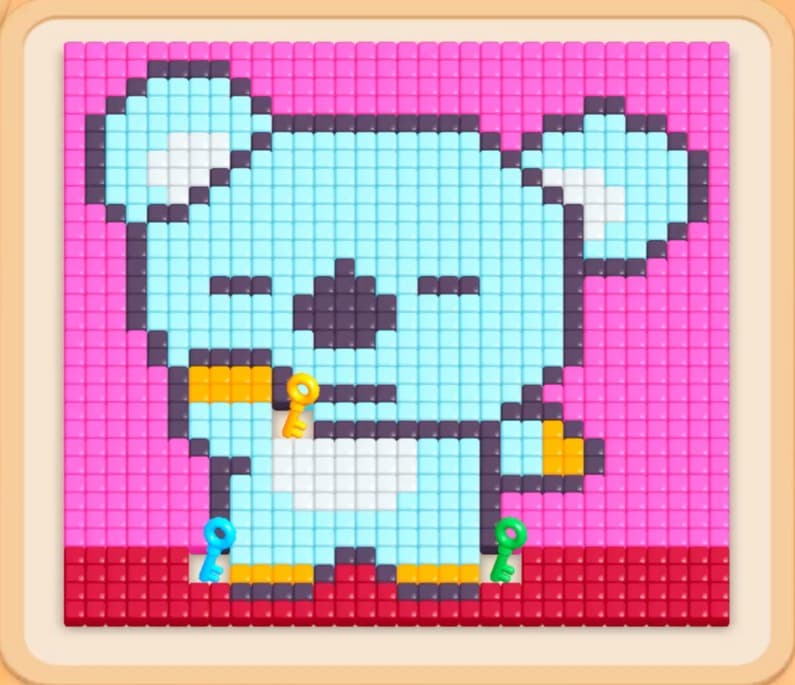
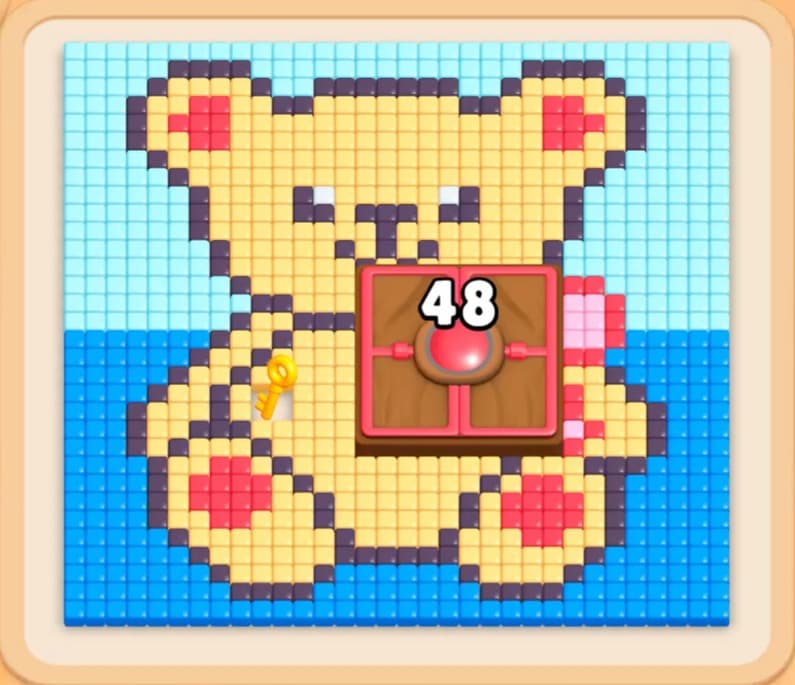
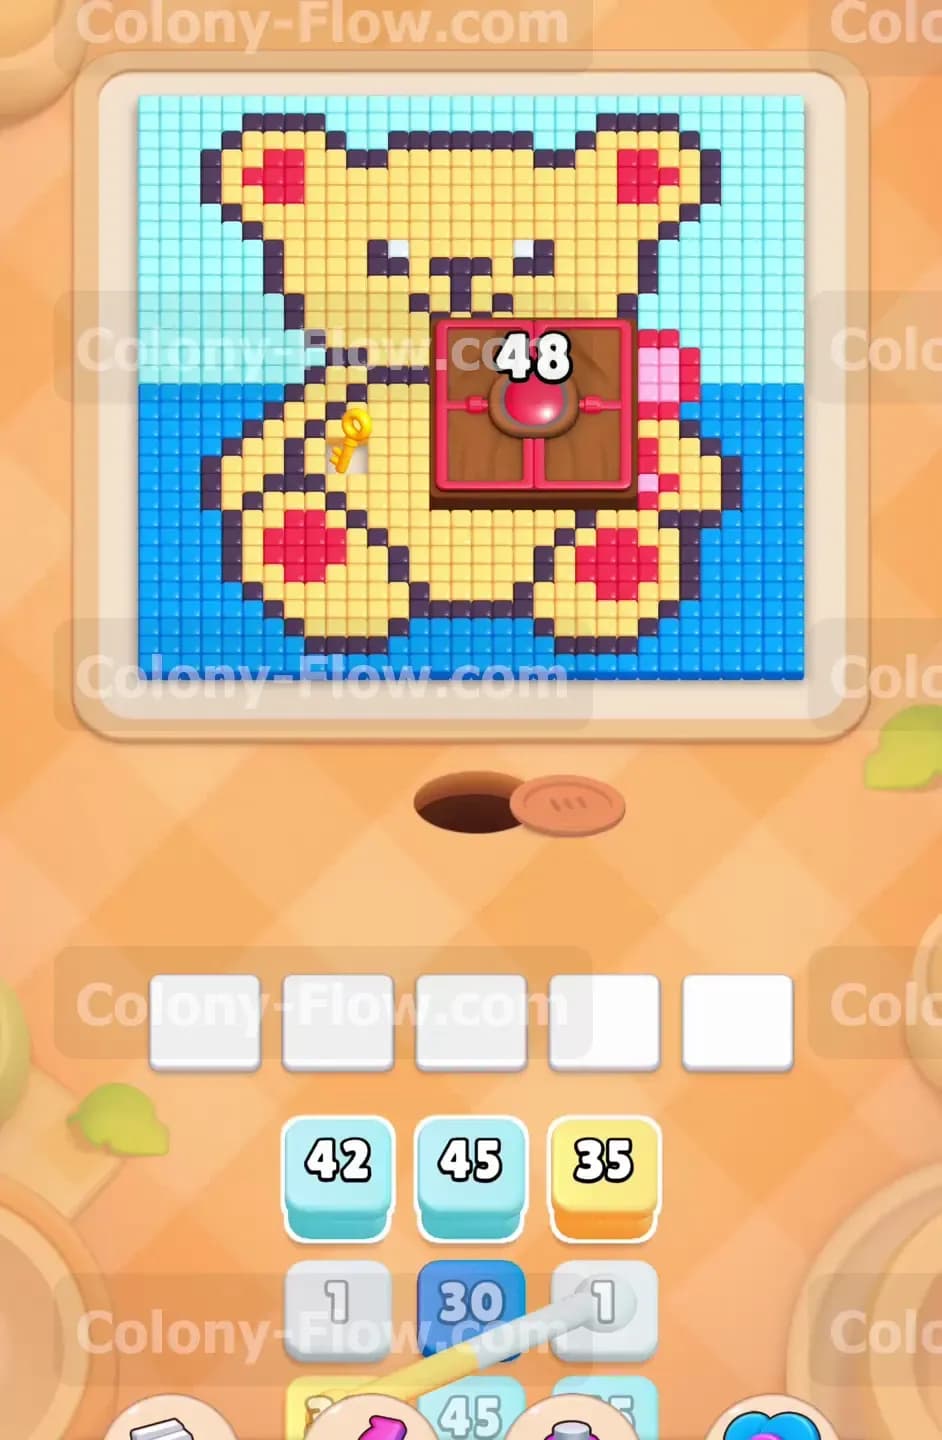
The pixel art displays a yellow teddy bear with a red and pink bow tie and red paws. Black tiles form the thick outlines and facial features of the bear. A bright cyan background surrounds the top and sides of the bear while dark blue tiles fill the bottom corners. Right in the middle of the bear sits a massive red Hungry Door holding a forty eight requirement. You will also notice two yellow keys resting on the left side of the bear body. The tray provides cyan, blue, yellow, black, red, and pink blocks. Among these tray blocks are connected yellow boxes that move as a unit and a locked tray block that requires the yellow keys from the board.
What It Takes to Clear Level 597 Board
Winning this stage requires peeling the puzzle back layer by layer from the outside in. You must clear the cyan and blue background tiles first. Removing the background opens the paths to the black outlines. You need those black outlines out of the way to reach the yellow tiles. The yellow tiles are critical because they hold the two yellow keys. You cannot afford to leave the locked block in your tray taking up space for long. You must also prepare a massive wave of red ants to satisfy the Hungry Door in the center. Feeding forty eight red ants to the door will pry it open and reveal the hidden pink and red tiles underneath. You must pace your block pulls carefully. Pulling too many colors at once will fill your five waiting slots and instantly cost you the game. You must always ensure the color you pull has an open path to its matching tiles on the board.
Colony Flow Level 597 Step by Step Solution
Step 1: Clear the top and side background sections using cyan blocks
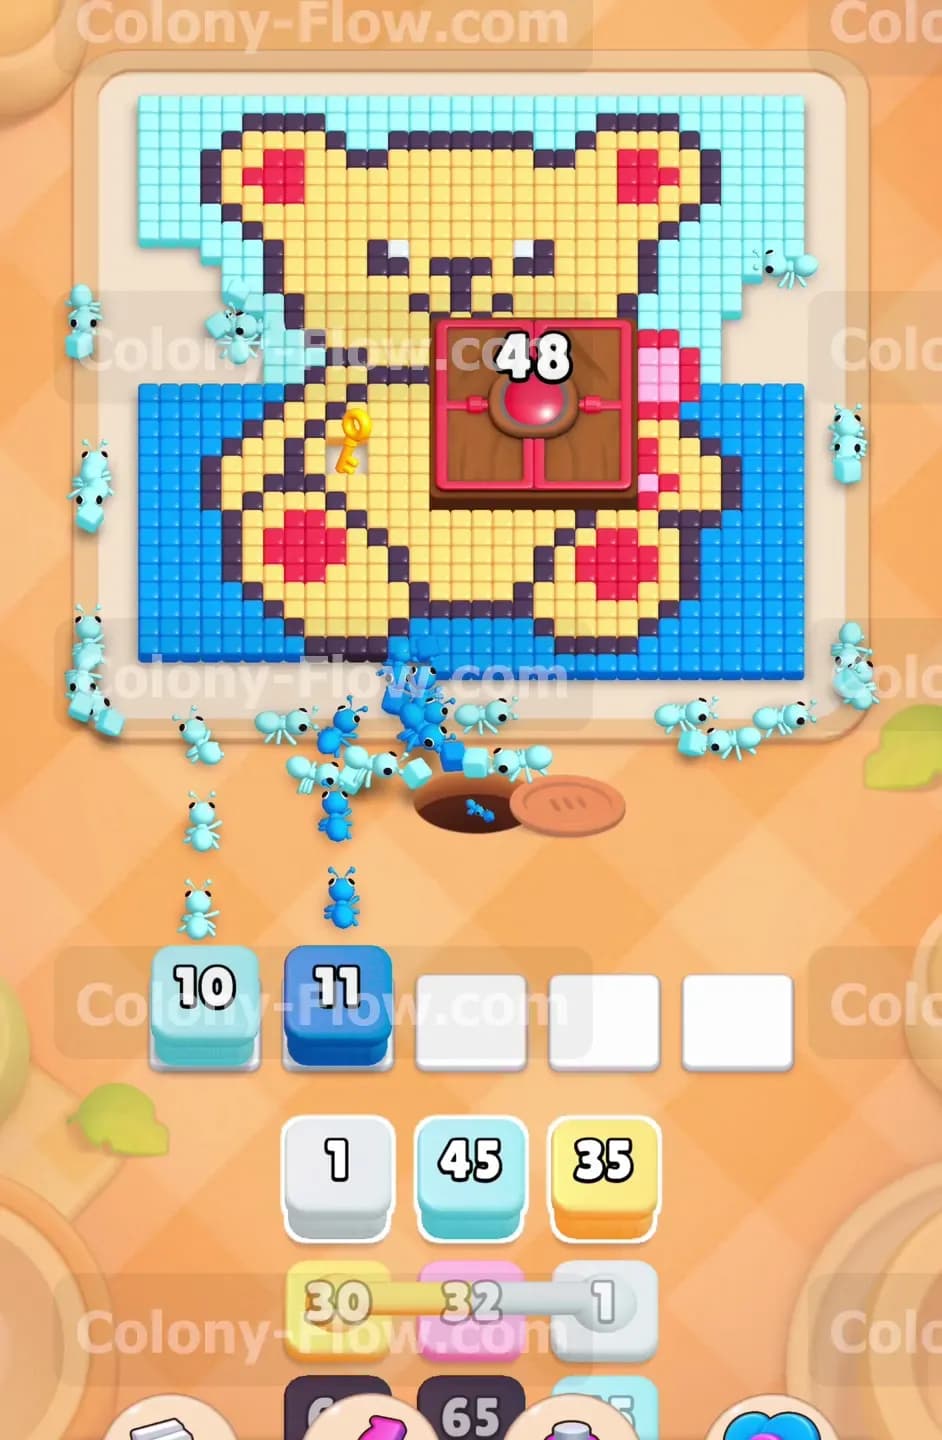
Start your game by pulling the large cyan blocks from the bottom tray into your waiting slots. The cyan tiles cover a huge portion of the top and sides of the board. The ants will stream out of the nest and rapidly eat away at the sky surrounding the bear. This initial push is crucial for creating physical space on the board. You want the ants to clear these outer edges completely so the inner layers become accessible. Keep a close eye on your five waiting slots. Do not pull any other colors until the cyan ants carve out a solid path toward the blue corners at the bottom.
Step 2: Remove the bottom blue corners to expose the black outlines
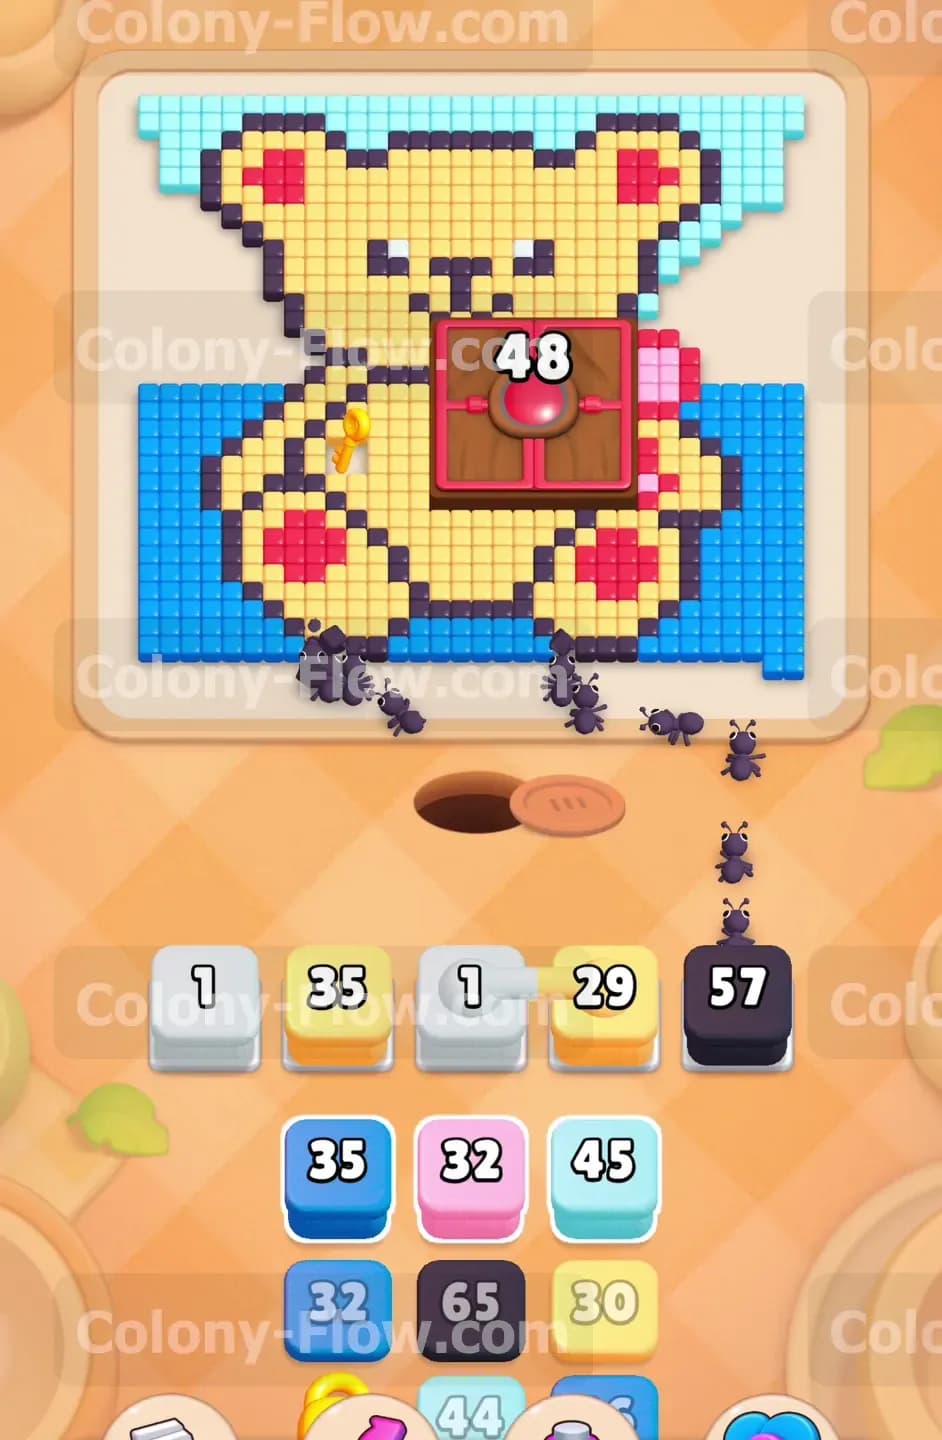
Once the cyan tiles begin to vanish, you will see a clear path to the dark blue chunks at the bottom left and bottom right. Pull a blue block into your active slots. The blue ants will march straight to these corners and strip them away. Finishing the blue sections completes the removal of the background. The entire outer perimeter of the black outlines is now totally exposed and ready for your next move. Your waiting slots should only hold cyan and blue blocks at this point. Letting the ants finish the background entirely prevents a traffic jam when you introduce the next colors.
Step 3: Attack the thick black outlines surrounding the bear
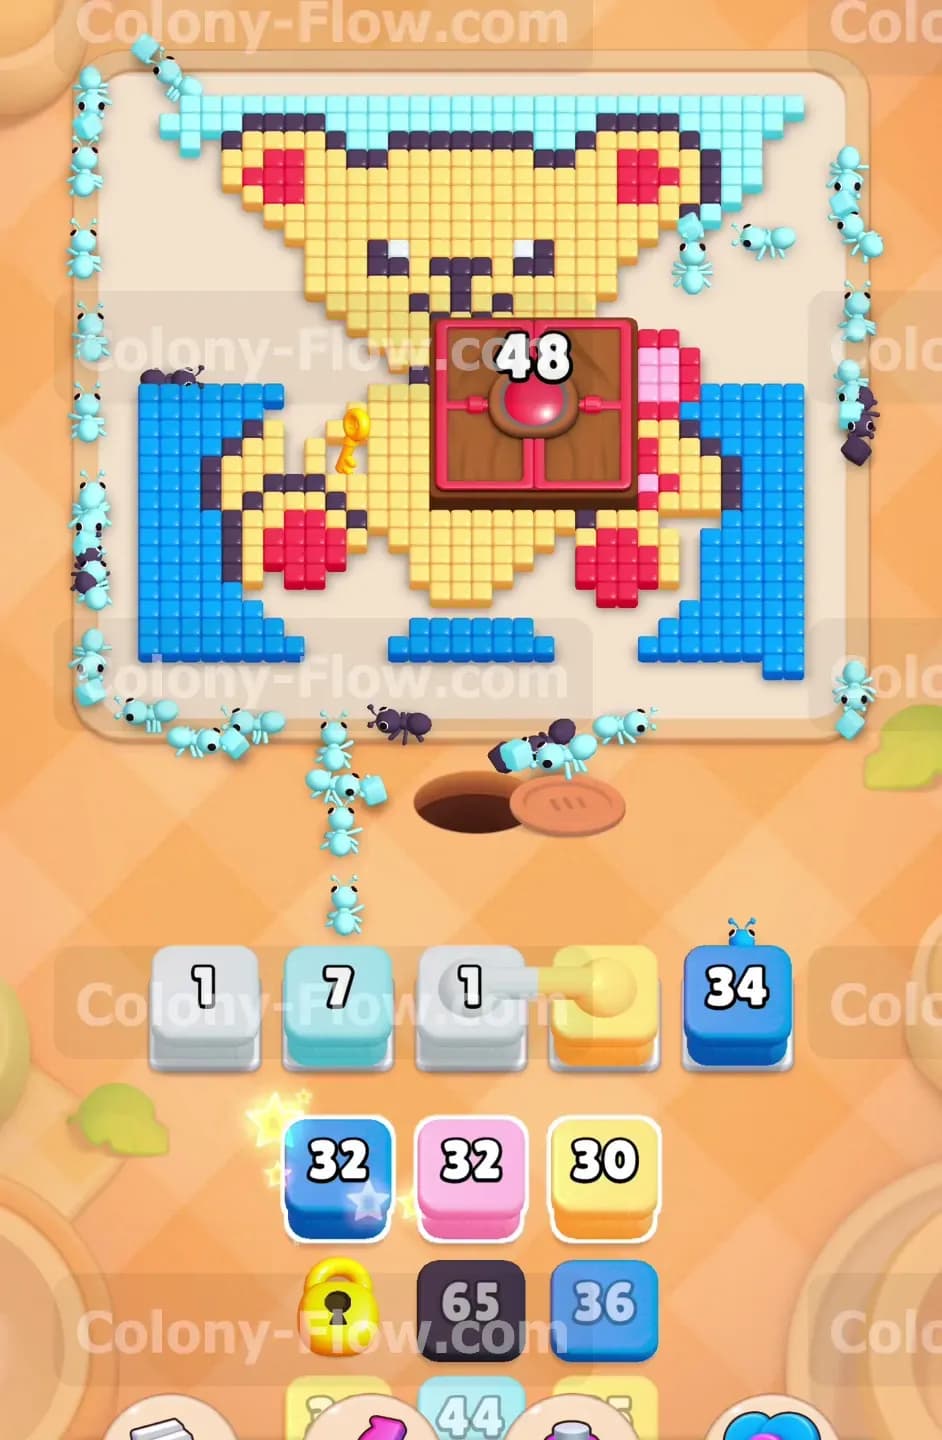
With the background completely gone, pull a large black block into your waiting slots. The black tiles form the protective outer shell of the teddy bear. The black ants will split up and march all the way around the perimeter of the yellow body. They will eat the ears, the arms, and the legs. Clearing these outlines is mandatory before you can reach the soft yellow interior. Wait patiently as the black ants do their work. They have a long distance to travel around the edges of the board. Pulling a yellow block too early would fill a waiting slot and dead end the board since the black outlines are still blocking the way.
Step 4: Deploy the connected yellow boxes to start clearing the body
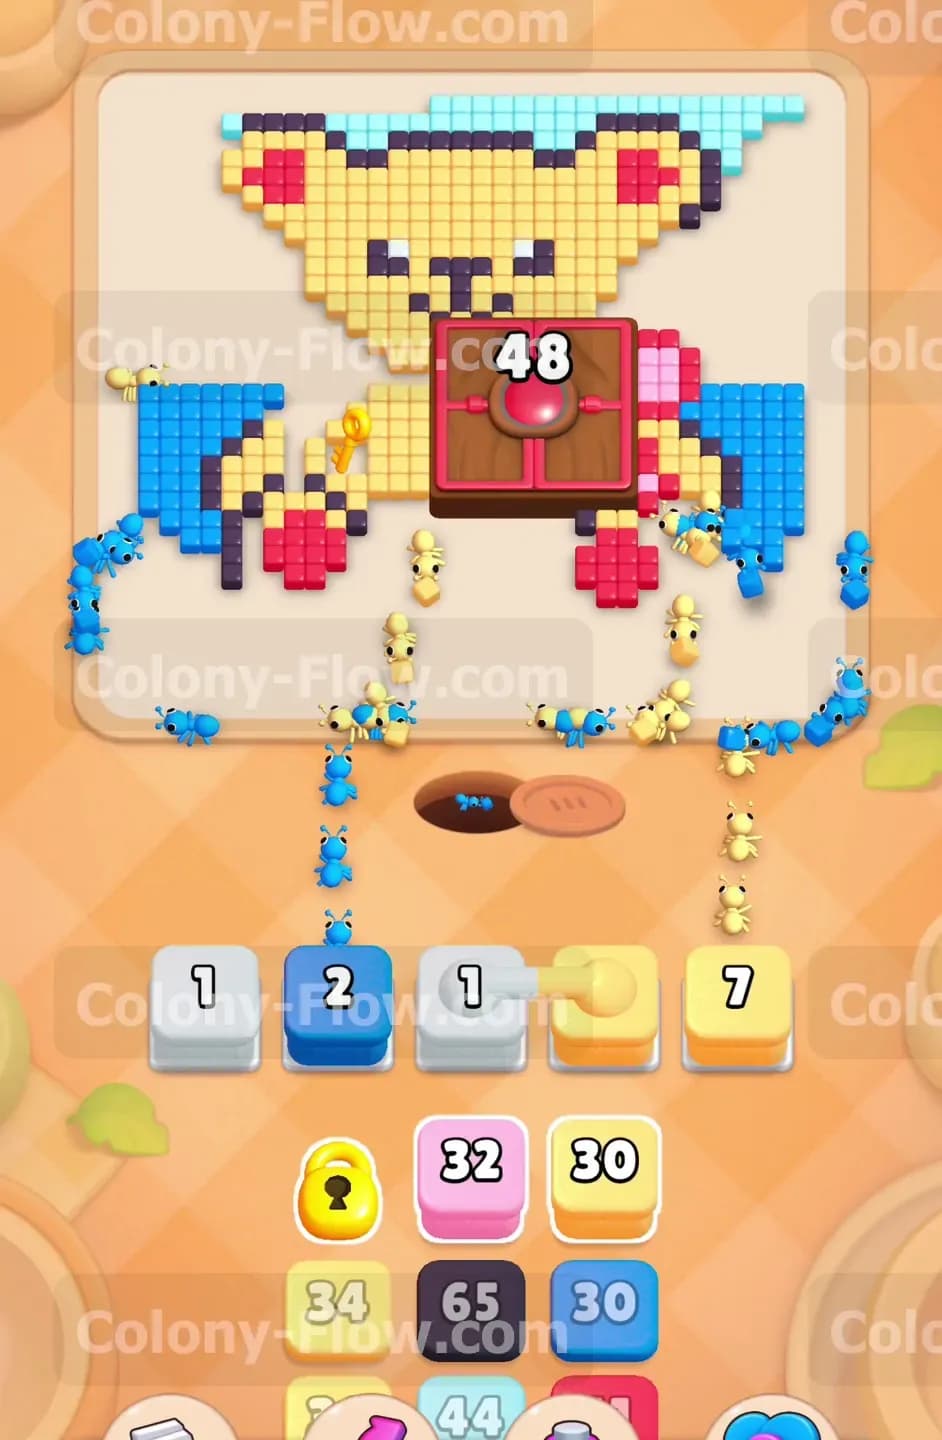
Now that the black outlines are broken, the yellow interior of the bear is open for business. Bring up the connected yellow boxes from your tray. These linked boxes function together and share their tile count. The yellow ants will pour onto the board and start chewing through the head and arms of the bear. This is the exact moment you need to focus on the left side of the bear. The two yellow keys sit directly on these outer yellow tiles. The connected boxes will push the ants right toward those keys. Keep the paths completely clear for this massive yellow wave.
Step 5: Collect the yellow keys to free your locked tray block
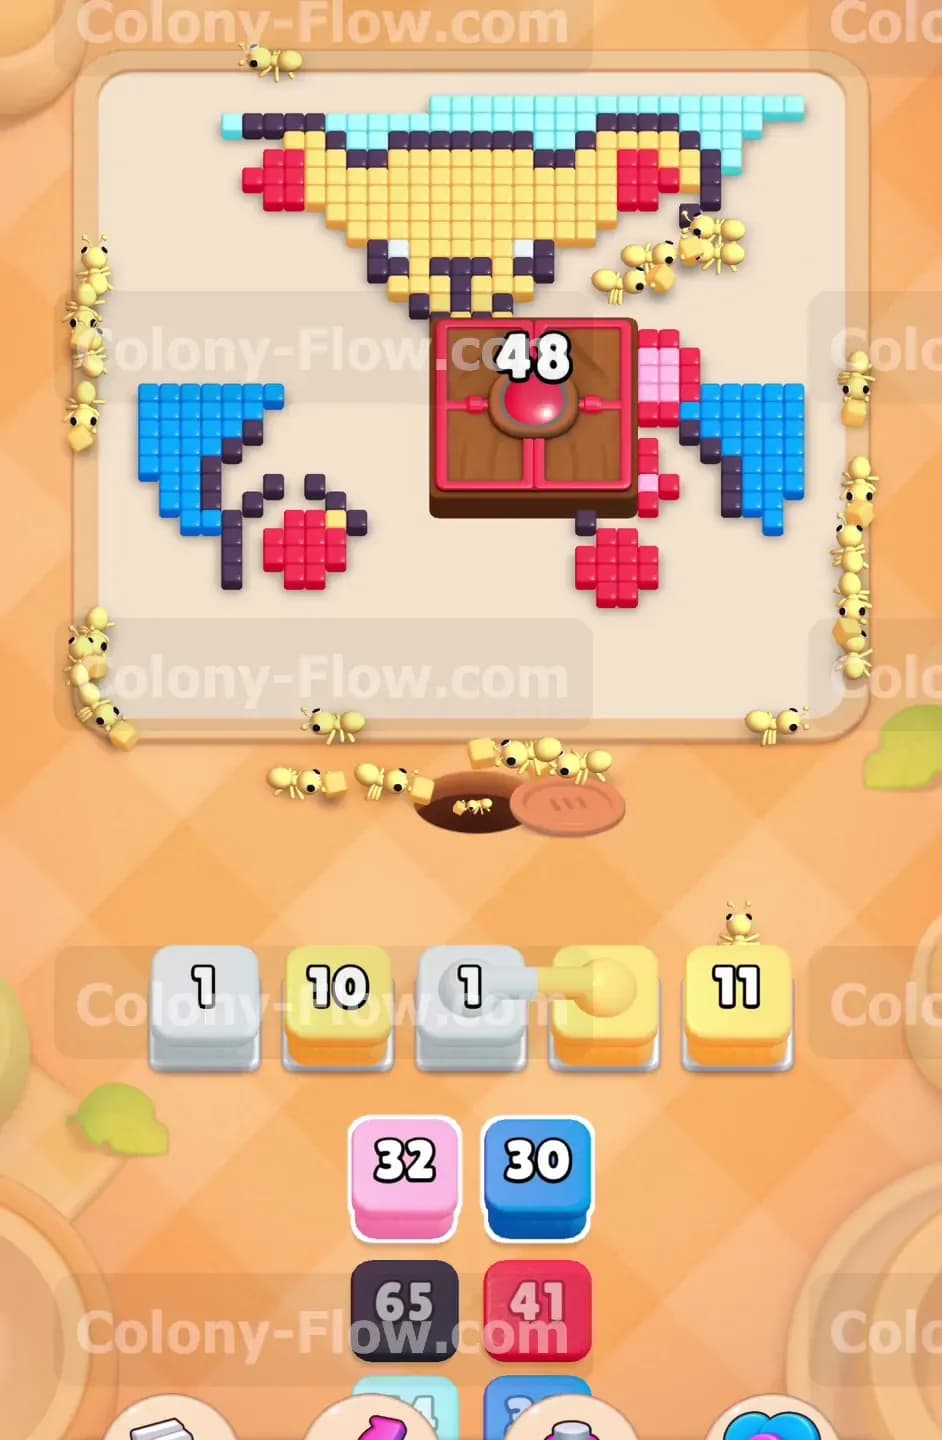
As the yellow ants from your connected boxes consume the left arm and side of the bear, they will naturally sweep up the two yellow keys. Watch the board closely as the keys light up and fly down to your tray. Collecting these keys instantly shatters the yellow lock holding your restricted block captive. Freeing this block is a huge relief for your tray management. The bottom area will shift up and give you access to the critical red and pink blocks you need for the final stages. You must maintain this steady rhythm to prevent your five waiting slots from choking out your game.
Step 6: Feed the red ants to the central Hungry Door
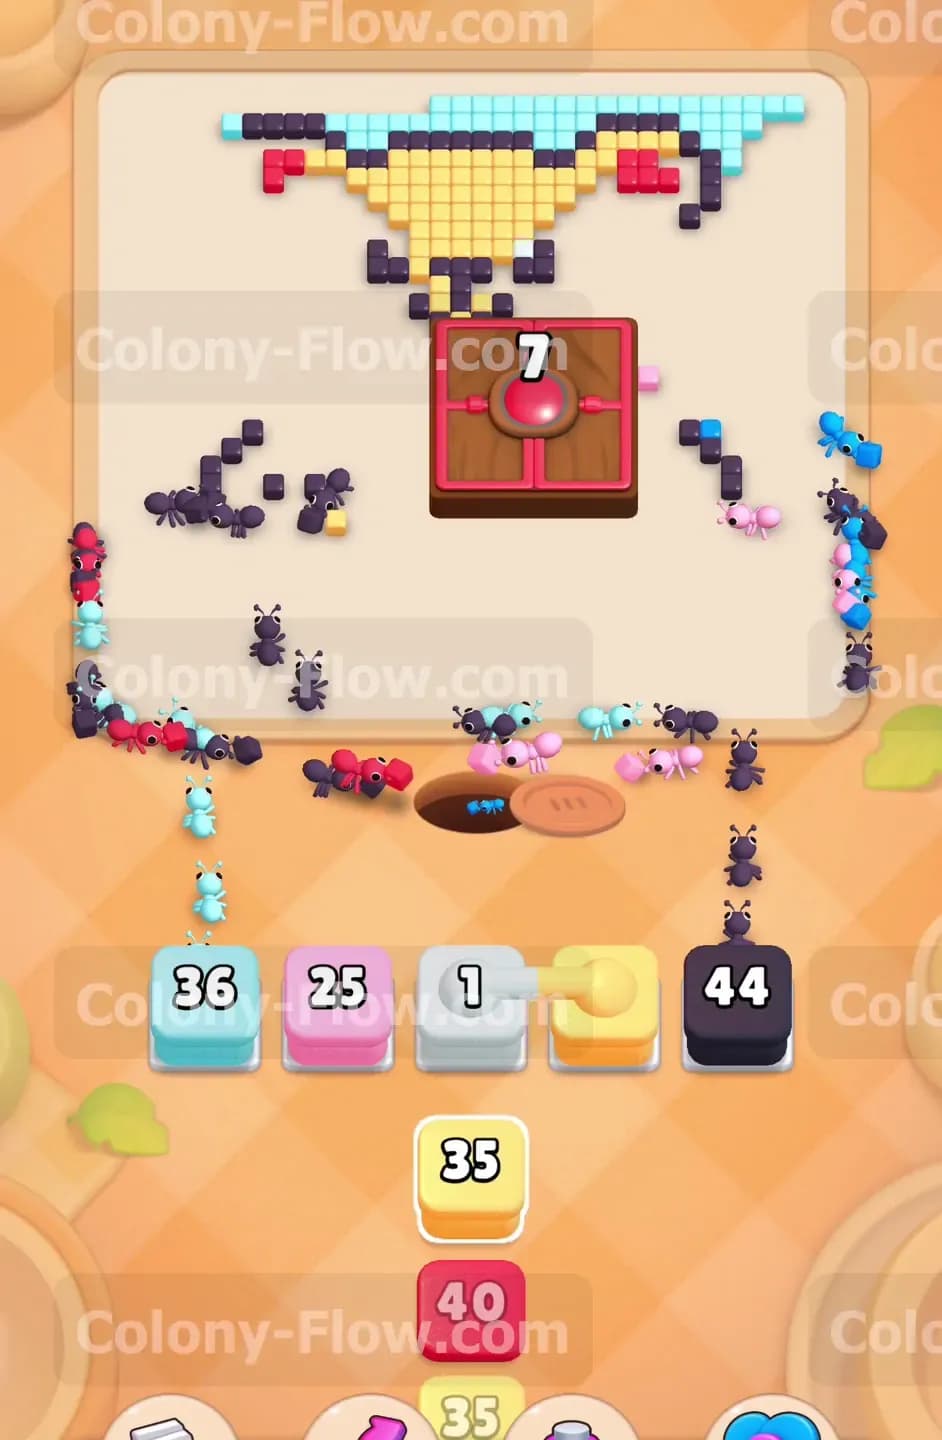
The center of the board is dominated by a giant red Hungry Door with a large requirement. With your tray newly organized, pull a high value red block into your waiting slots. The red ants will bypass the remaining yellow tiles and march directly into the Hungry Door. You will watch the number on the door tick down rapidly from forty eight to single digits. You must ensure no other colors are blocking the route to the center. The red ants need a straight shot to deliver all their hits. Satisfying this Hungry Door is the only way to expose the core of the bear puzzle.
Step 7: Clear the hidden pink and red bow tie tiles
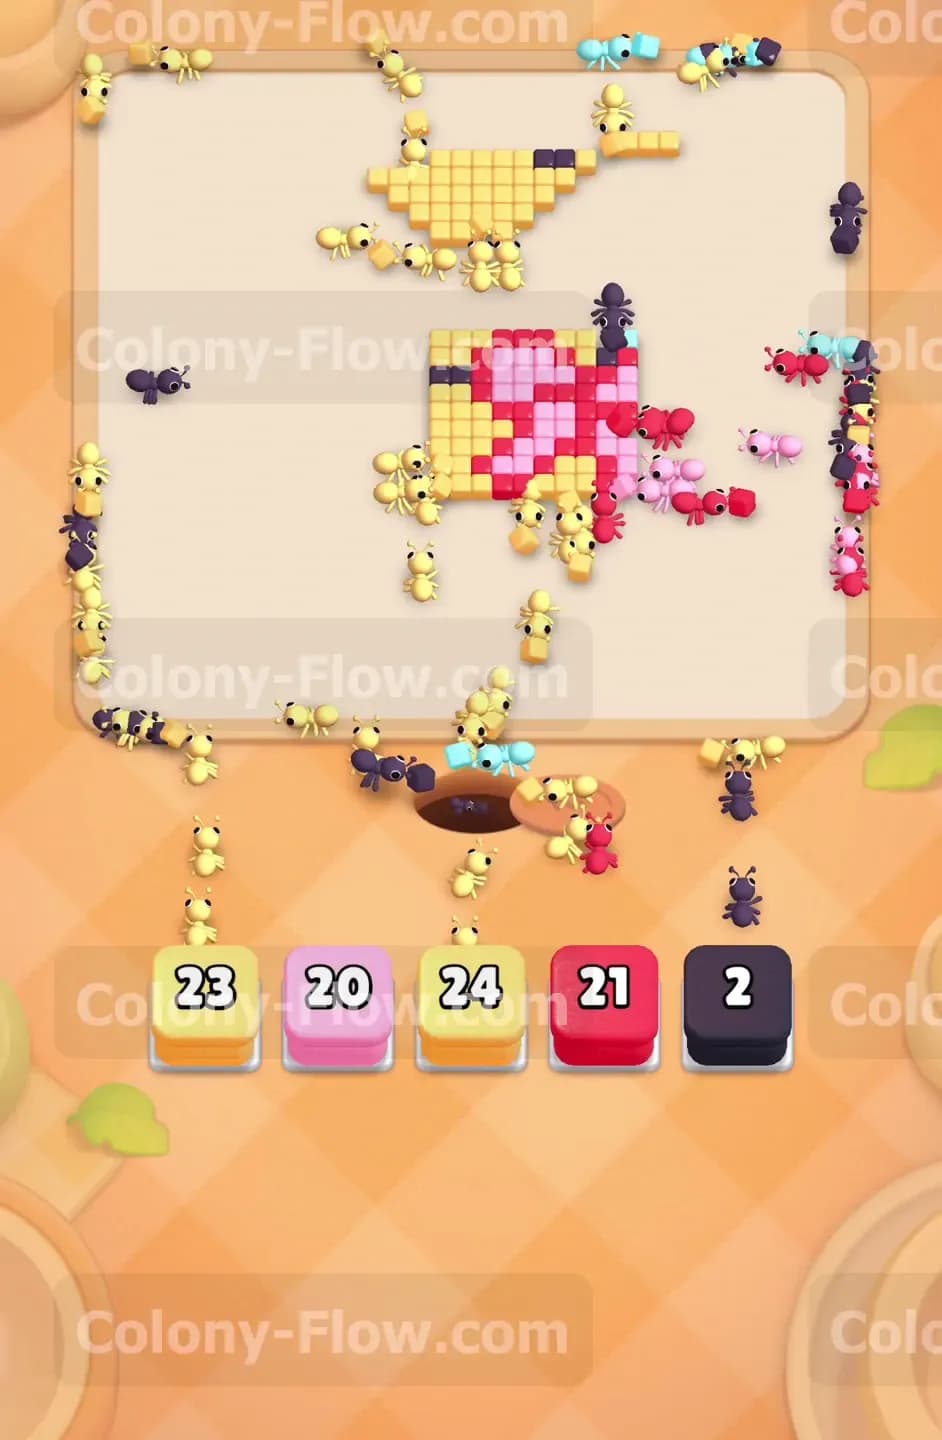
The moment the Hungry Door hits zero, it will vanish entirely. A dense cluster of pink and red tiles will appear in its place forming a cute bow tie and chest pattern. Immediately pull your pink blocks and any remaining red blocks into your active slots. The ants will rush the center of the board and devour the newly revealed bow tie. You must handle this step carefully to avoid a loss. If you pull a pink block before the Hungry Door opens, that pink block will sit trapped in your waiting slots with nowhere to go. Waiting for the door to vanish completely guarantees your ants have a valid target.
Step 8: Clean up the final body details and remaining paws
The board is now broken into small scattered sections of yellow body parts, pink paws, and a few black facial features. Bring up your final black, pink, and yellow blocks to finish the job. Check every corner of the board to make sure you match the exact colors needed. The yellow ants will finish the ears and belly. The pink and red ants will polish off the paws. The black ants will eat the eyes and nose. As long as you pull the blocks that correspond to the most accessible tiles first, your remaining ants will sweep the board clean and secure your victory.
Final Thought
Winning this level all comes down to managing the outer layers before attacking the center. You must pace your block pulls to ensure the black outlines and yellow keys are handled before you ever try to open the large central door. Watch the video above this article if you want to see exactly how to time the connected boxes and key collections to prevent a board jam.